Home>Gardening & Outdoor>Pool & Spa Care>How To Build A Paver Patio For A Hot Tub
Pool & Spa Care
How To Build A Paver Patio For A Hot Tub
Modified: May 6, 2024
Learn how to build a paver patio for your hot tub with our expert guide. Create a relaxing oasis with our pool and spa care tips. Start your DIY project today!
(Many of the links in this article redirect to a specific reviewed product. Your purchase of these products through affiliate links helps to generate commission for Storables.com, at no extra cost. Learn more)
Introduction
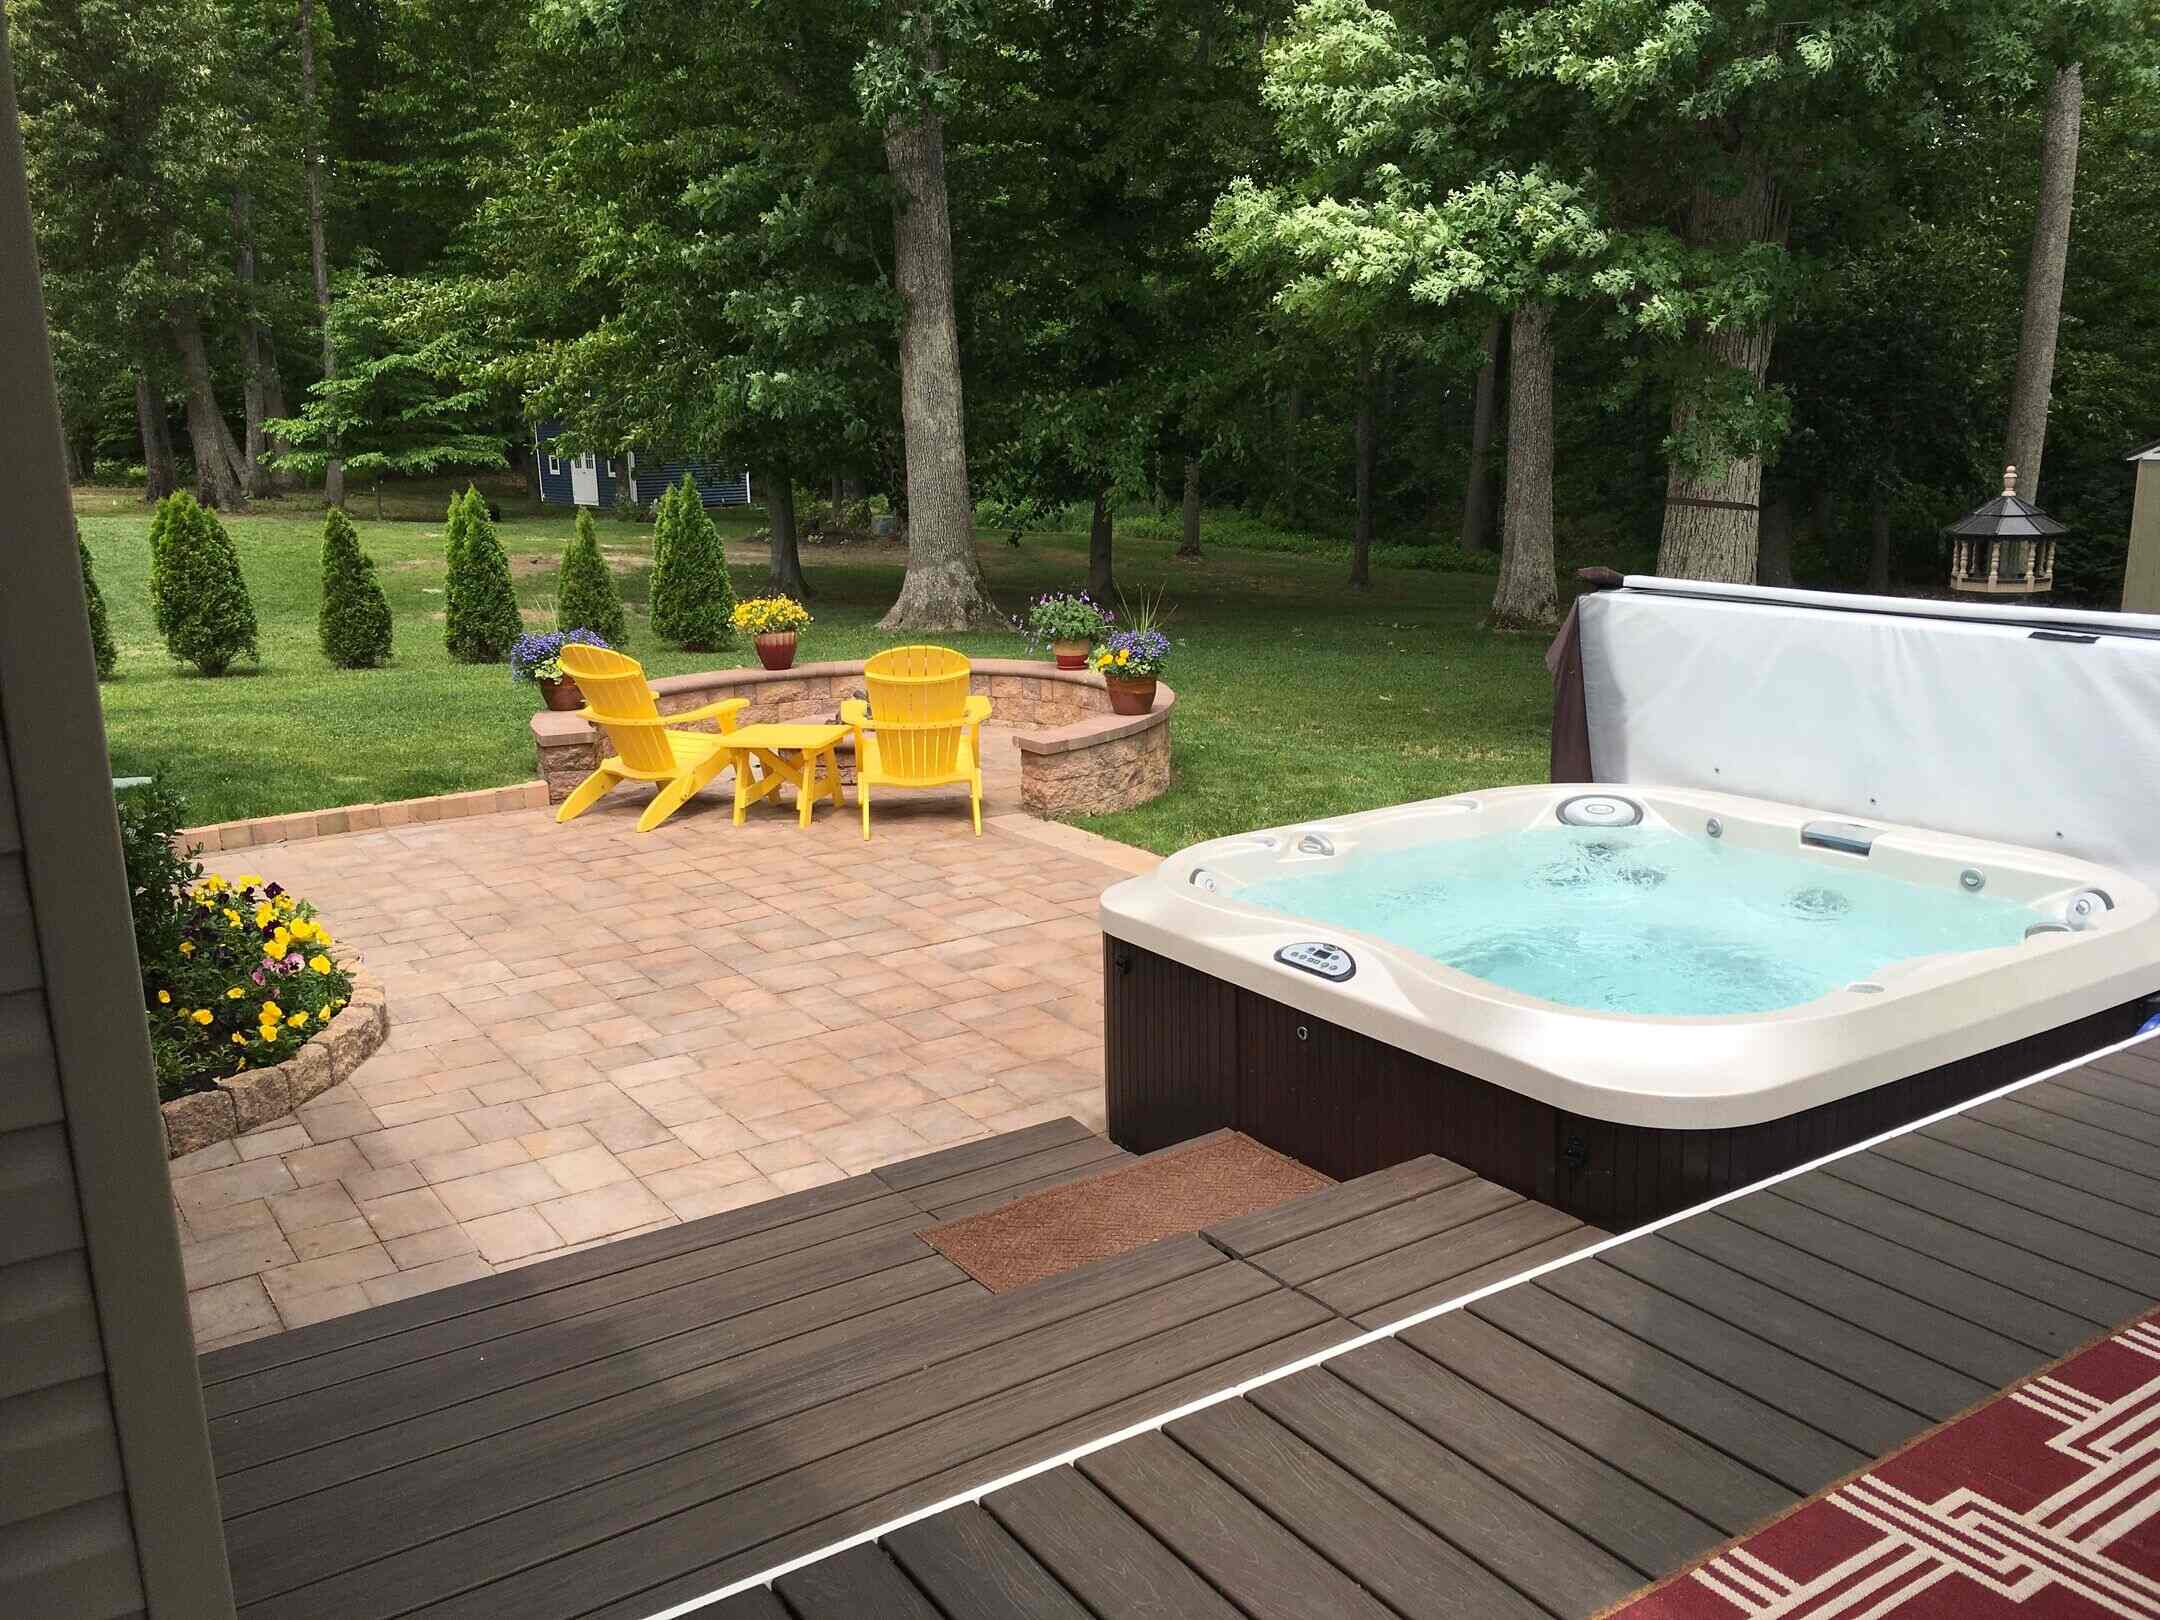
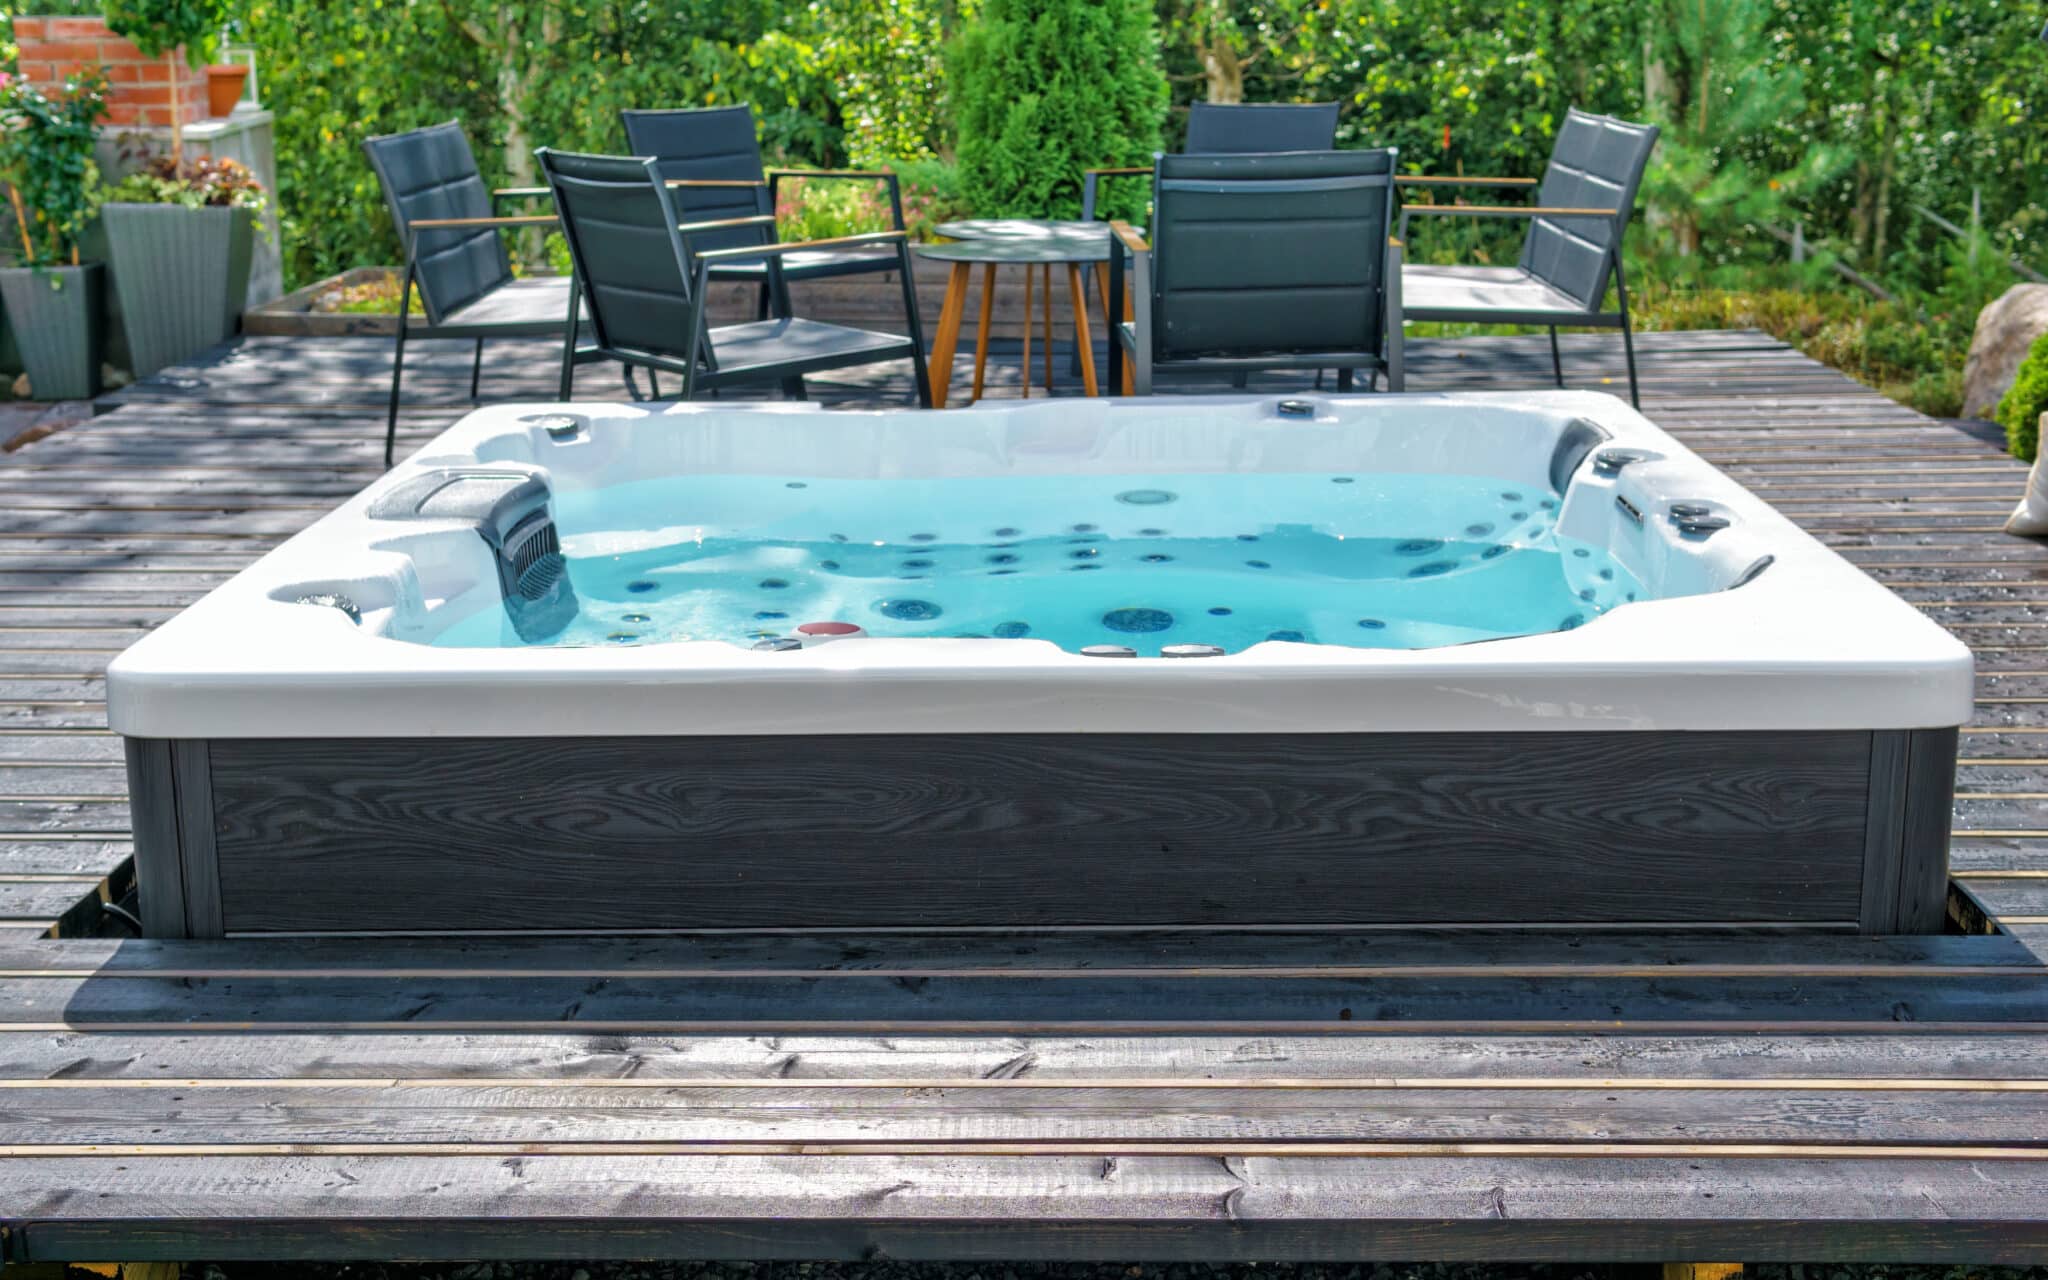
So, you've taken the plunge and decided to add a hot tub to your backyard oasis. Congratulations! There's nothing quite like sinking into the warm, bubbling waters of a hot tub after a long day. However, before you can start enjoying your new relaxation spot, you'll need to create a sturdy and visually appealing foundation for it. That's where a paver patio comes in.
Building a paver patio for your hot tub is a fantastic way to enhance the functionality and aesthetics of your outdoor space. Not only does it provide a level and durable surface for your hot tub, but it also adds a touch of elegance to the overall ambiance. Whether you're a seasoned DIY enthusiast or a first-time homeowner eager to tackle a project, constructing a paver patio for your hot tub is a rewarding endeavor that can be accomplished with the right guidance.
In this comprehensive guide, we'll walk you through the step-by-step process of building a paver patio specifically designed to support a hot tub. From planning and preparation to the finishing touches, you'll gain valuable insights and practical tips to ensure the successful completion of this project. So, roll up your sleeves, gather your tools, and let's dive into the exciting world of paver patio construction!
Key Takeaways:
- Planning and preparation are crucial for building a sturdy and visually appealing paver patio for your hot tub. Consider space assessment, local regulations, budgeting, tool gathering, and design choices.
- Choosing the right pavers, meticulous site preparation, proper base installation, precise paver installation, and thoughtful finishing touches are essential for creating a durable and inviting paver patio for your hot tub.
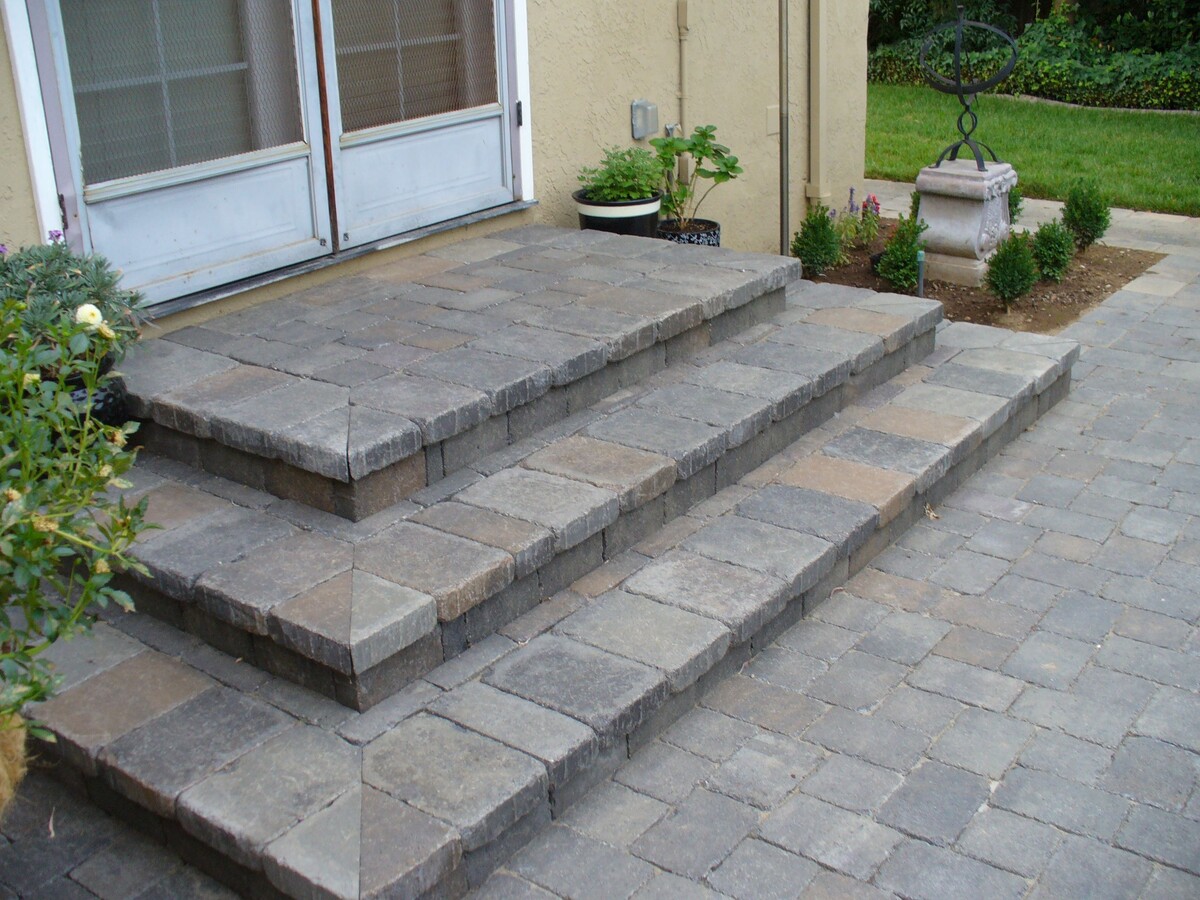
Read more: How To Build Patio Paver Stairs
Planning and Preparation
Before you start excavating and laying down pavers, it’s crucial to engage in thorough planning and preparation. This initial phase sets the stage for a successful paver patio project and helps you avoid costly mistakes down the line.
Assess the Space: Begin by evaluating the area where you intend to install the paver patio. Take precise measurements and consider the layout of your hot tub. Ensure that the dimensions of the patio will accommodate the hot tub with ample space for access and maintenance.
Check Local Regulations: It’s essential to check with your local building department or homeowner’s association to determine if there are any specific regulations or permits required for constructing a paver patio. Compliance with local codes will save you from potential legal hassles in the future.
Set a Budget: Establish a realistic budget for your project, factoring in the cost of materials, tools, and any professional assistance you may need. Setting a clear budgetary framework will guide your decision-making process and prevent overspending.
Gather Tools and Materials: Take inventory of the tools and materials required for the project. This typically includes shovels, rakes, a wheelbarrow, a compactor, pavers, gravel, sand, and landscaping fabric, among other items. Ensuring that you have all the necessary supplies on hand will streamline the construction process.
Design Considerations: Consider the overall design aesthetic you wish to achieve with your paver patio. Select pavers that complement the style of your home and landscape. Additionally, contemplate any additional features, such as seating walls or lighting, that could enhance the functionality and visual appeal of the patio.
By meticulously planning and preparing for the construction of your paver patio, you’ll lay a solid foundation for a successful and visually stunning addition to your outdoor space.
Choosing the Right Pavers
When it comes to building a paver patio for your hot tub, selecting the right pavers is a critical decision that significantly impacts the patio’s durability and visual appeal. With a myriad of options available, it’s essential to consider several factors before making your choice.
Material: Pavers are available in various materials, including concrete, natural stone, and clay brick. Each material offers distinct benefits in terms of durability, maintenance, and aesthetic appeal. Concrete pavers are a popular choice due to their affordability and versatility, while natural stone pavers exude a timeless elegance and unique character. Clay brick pavers are renowned for their rich, earthy tones and classic charm.
Size and Thickness: Consider the size and thickness of the pavers based on the anticipated load of the hot tub and the foot traffic in the surrounding area. Thicker pavers are better suited for supporting heavy loads and are often recommended for hot tub installations. Additionally, the size of the pavers should complement the scale of the patio and the overall design scheme.
Texture and Finish: The texture and finish of the pavers contribute to both safety and aesthetics. Opt for pavers with a non-slip surface, especially in areas prone to moisture, to prevent accidental slips and falls. Additionally, explore various finishes, such as tumbled or smooth, to achieve the desired look for your patio.
Color and Pattern: The color and pattern of the pavers play a pivotal role in defining the visual impact of the patio. Choose paver colors that harmonize with the existing elements in your outdoor space, such as the exterior of your home, landscaping features, and the hot tub itself. Experiment with different laying patterns, such as herringbone or basket weave, to add visual interest and sophistication to the patio.
By carefully considering the material, size, texture, finish, color, and pattern of the pavers, you can ensure that your paver patio not only provides a robust foundation for your hot tub but also elevates the overall allure of your outdoor sanctuary.
Site Preparation
Proper site preparation is crucial for laying the groundwork for a durable and long-lasting paver patio. This phase involves clearing the area, marking the layout, and addressing any potential drainage issues to ensure the stability and functionality of the patio.
Clearing the Area: Begin by clearing the designated area of any existing vegetation, debris, or obstacles. Use a shovel, rake, or a sod cutter to remove grass, roots, and other organic matter. This step creates a clean slate for the patio installation and prevents future issues caused by uneven surfaces.
Marking the Layout: Use marking paint or stakes and string to outline the shape and dimensions of the patio. Ensure that the layout accommodates the hot tub while allowing for a safe and convenient access path around it. Double-check the measurements and adjust the layout as needed before proceeding.
Addressing Drainage: Proper drainage is essential to prevent water from pooling on the patio surface. Evaluate the slope of the area and make provisions for water runoff, directing it away from the patio and the hot tub. Consider incorporating a slight slope into the patio design or installing a drainage system to manage excess water effectively.
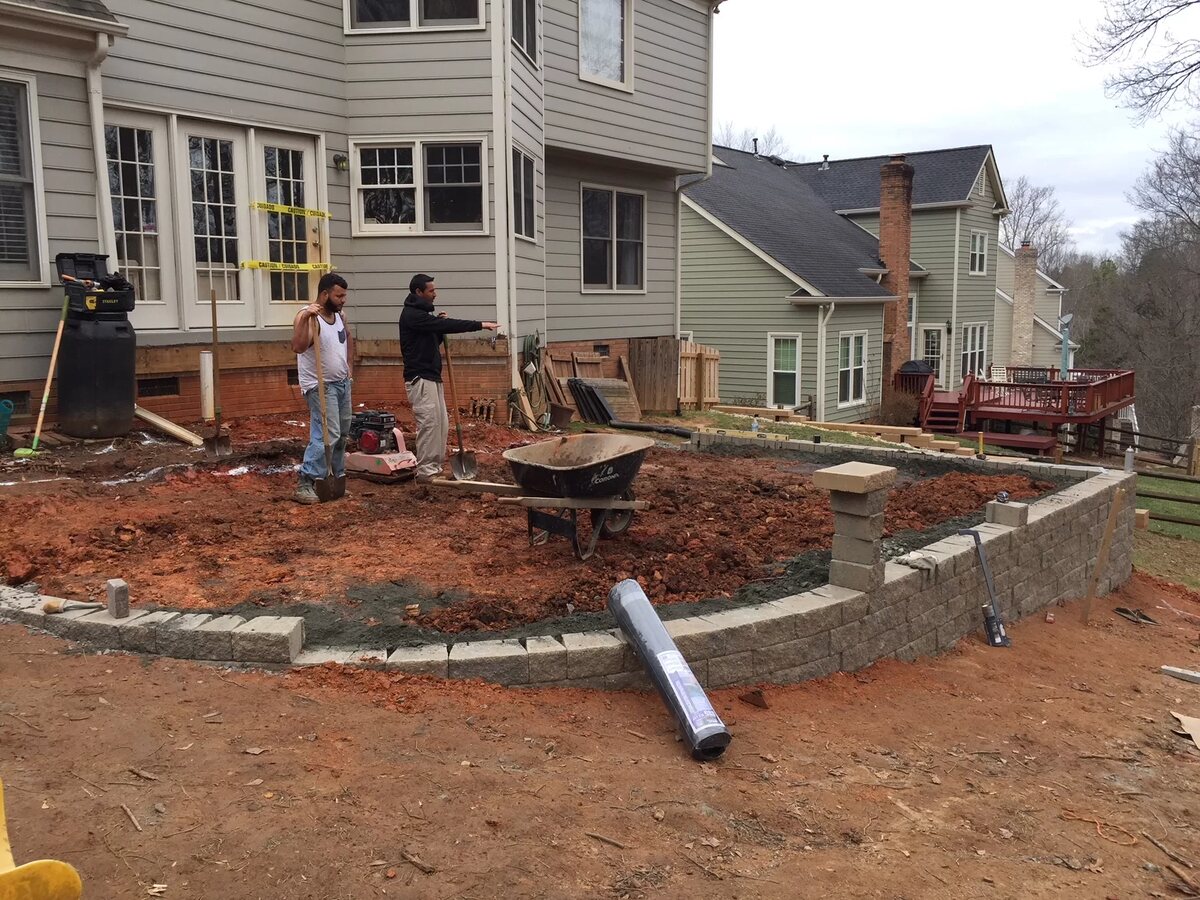
Excavation: Excavate the marked area to the required depth, accounting for the base and paver thickness, as well as the necessary slope for drainage. Use a shovel, a wheelbarrow, or a small excavator to remove the soil, creating a uniform depth throughout the site. Compact the soil to establish a stable subgrade for the patio foundation.
Installing Edging: Install sturdy edging material, such as plastic or metal paver restraints, along the perimeter of the excavated area. The edging helps contain the pavers, prevents them from shifting, and creates a clean separation between the patio and adjacent surfaces, such as grass or flower beds.
By meticulously preparing the site, you’ll set the stage for a smooth and efficient installation of the paver patio, ensuring that it remains structurally sound and visually appealing for years to come.
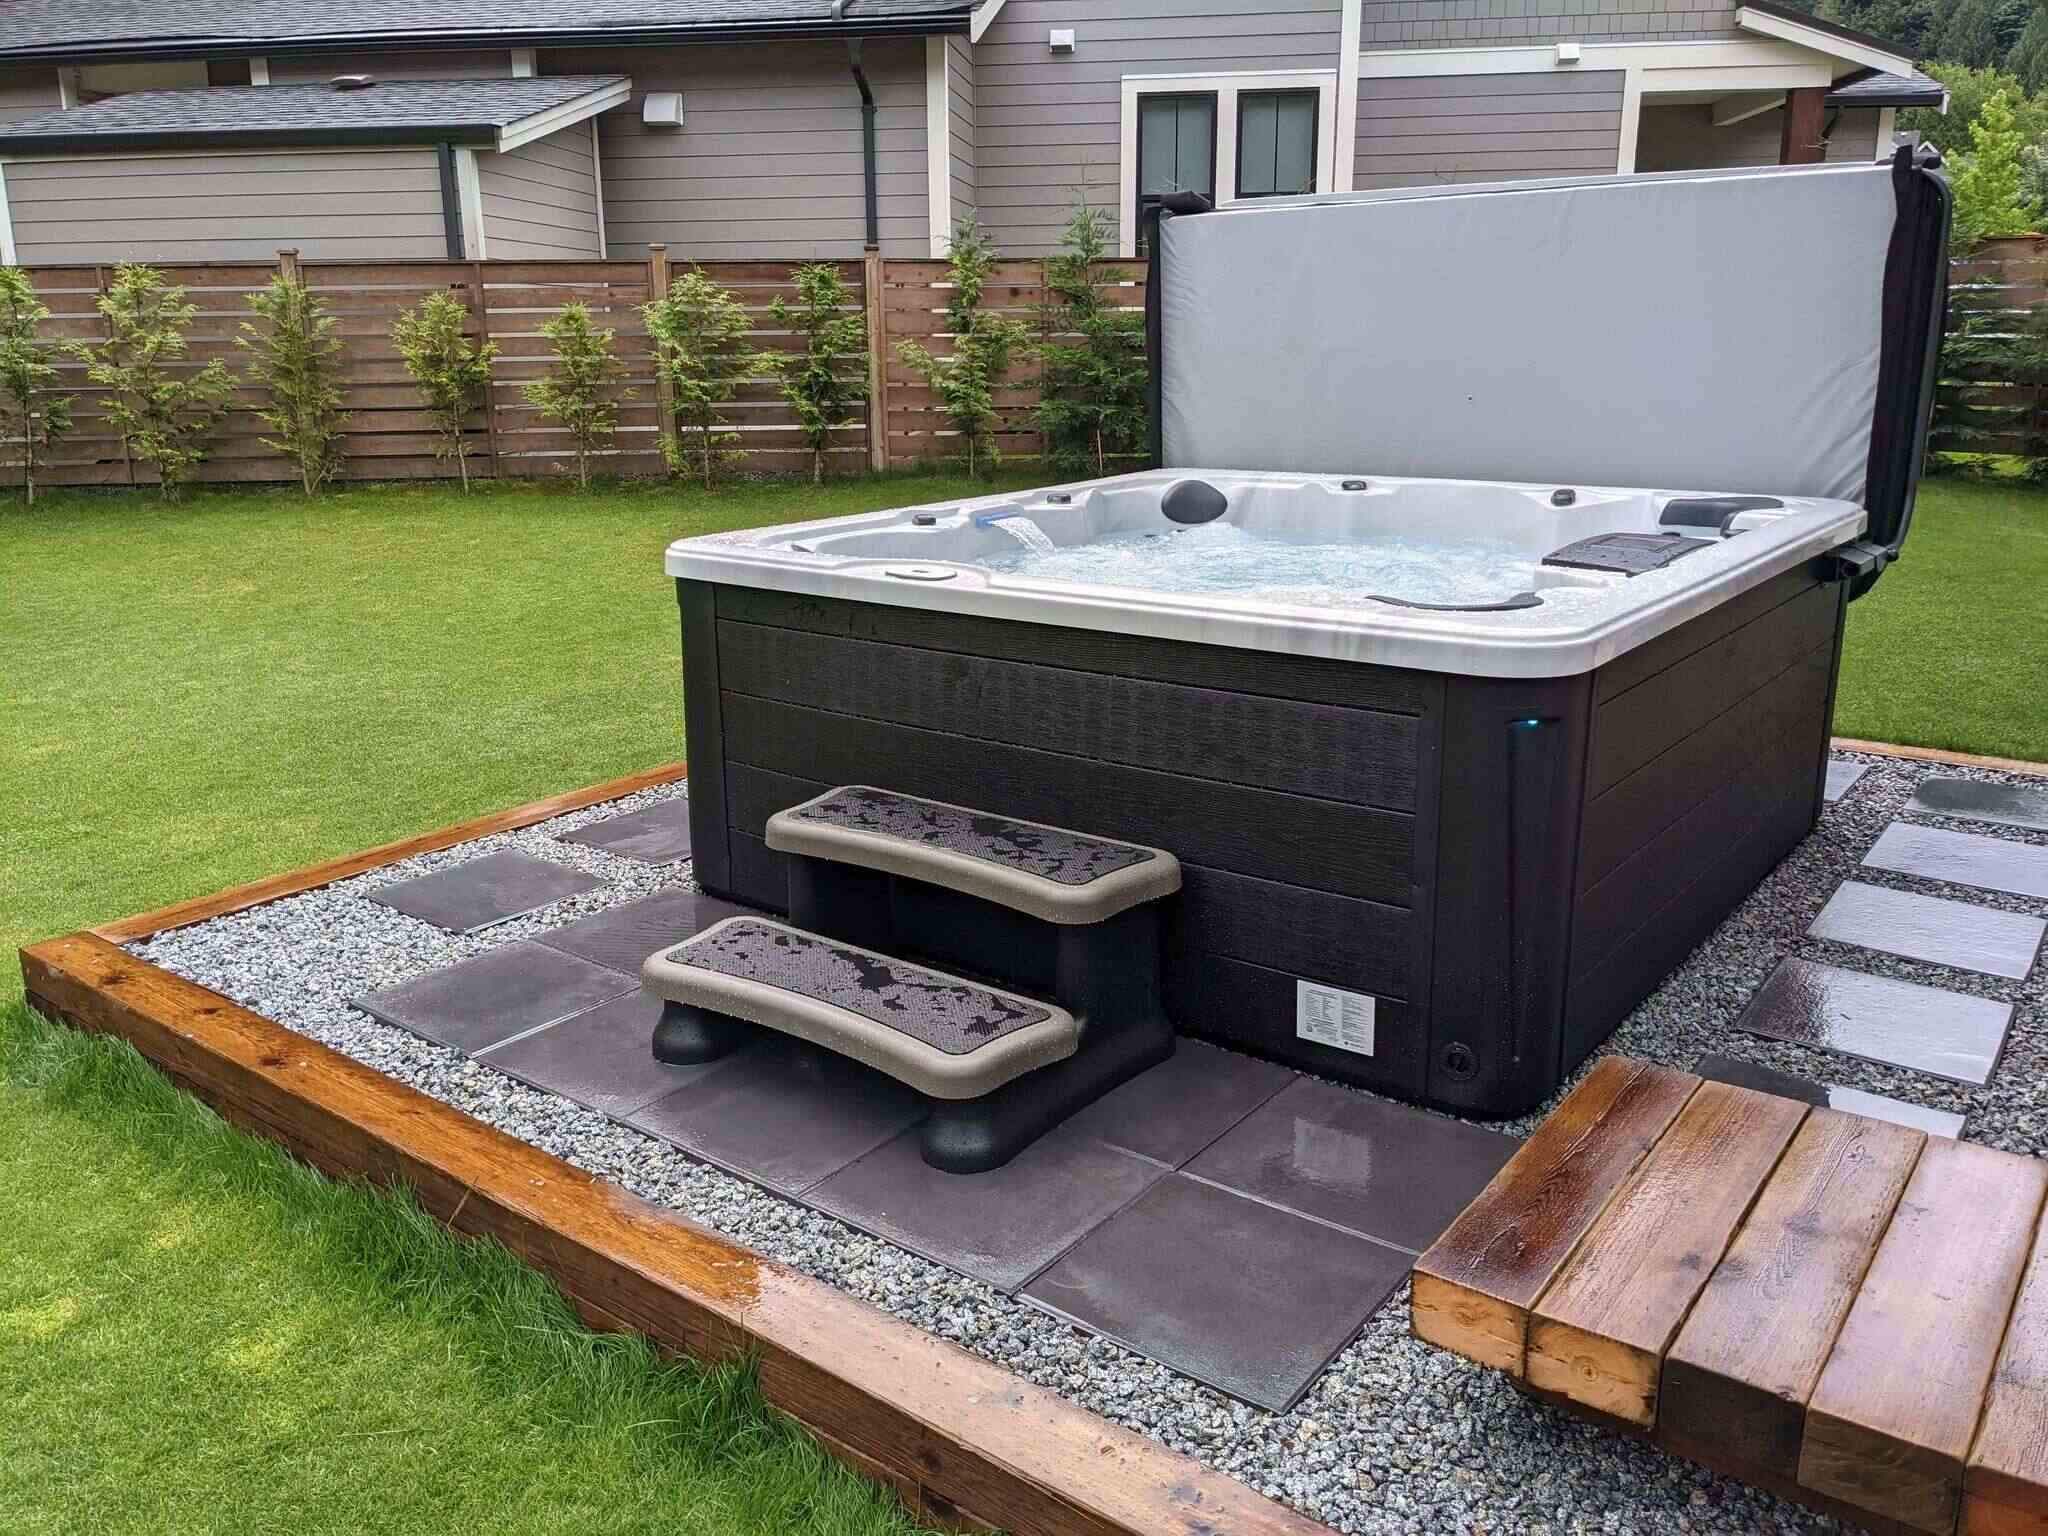
When building a paver patio for a hot tub, make sure to properly prepare the base by excavating and compacting the soil, and then adding a layer of gravel for drainage. This will help ensure the patio can support the weight of the hot tub and prevent any shifting or settling over time.
Base Installation
The base of your paver patio serves as the foundation that supports the pavers and distributes the load, making it a critical component of the construction process. Proper base installation is essential for ensuring the stability, longevity, and structural integrity of the patio.
Layering the Base: The base typically consists of multiple layers, starting with the bottom-most layer of compacted soil or aggregate. This is followed by a layer of gravel or crushed stone, which provides drainage and stability, and a layer of coarse sand, which facilitates leveling and placement of the pavers.
Compaction: Each layer of the base material must be thoroughly compacted to achieve a solid and uniform foundation. Use a plate compactor or a hand tamper to compact the soil and subsequent layers of gravel and sand. Proper compaction minimizes settling and ensures that the patio remains level and free from uneven spots.
Establishing Slope: During base installation, it’s crucial to establish the appropriate slope to facilitate water drainage away from the patio. The recommended slope is typically 1/8 inch per foot, directing water toward designated drainage areas. Use a long straightedge or a level to verify the slope across the patio surface.
Adding Landscape Fabric: Consider adding a layer of landscape fabric over the compacted base to inhibit weed growth and prevent the migration of the base materials into the soil below. The fabric acts as a barrier while allowing water to permeate, contributing to the overall longevity of the patio.
Verifying Compaction and Levelness: Before proceeding to the paver installation, verify the compaction of the base layers and ensure that the surface is uniformly level. Address any low or high spots by adding or removing base material and recompacting as needed to achieve a smooth and stable substrate for the pavers.
By meticulously executing the base installation process, you’ll establish a solid and reliable foundation for your paver patio, setting the stage for the seamless integration of the pavers and the enduring functionality of the outdoor space.
Read more: How To Build A Raised Paver Patio
Paver Installation
With the base meticulously prepared, it’s time to embark on the exciting phase of paver installation, where the patio begins to take shape, and the transformation of your outdoor space unfolds. This process involves laying the pavers in the chosen pattern, ensuring proper alignment, and meticulously filling the joints to create a cohesive and visually appealing surface.
Setting the First Pavers: Begin by setting the first pavers along one edge of the patio, typically starting from a straight and stable reference point, such as the edge restraint. Pay close attention to the pattern and orientation of the pavers, ensuring that they align with the predetermined design and layout.
Establishing Patterns: Whether you opt for a traditional running bond pattern, a sophisticated herringbone layout, or a customized design, it’s essential to maintain consistency and precision throughout the paver installation. Take your time to align the pavers, maintain straight edges, and achieve a uniform surface appearance.
Cutting Pavers: As you approach the patio’s perimeter or encounter obstructions, you may need to cut pavers to fit the available space. Use a paver splitter, a wet saw, or a chisel and hammer to make accurate cuts, ensuring a seamless integration of the pavers and a polished overall look.
Filling the Joints: Once all the pavers are in place, fill the joints with fine sand or polymeric sand, carefully sweeping the material across the surface and into the gaps between the pavers. Compact the sand into the joints using a plate compactor and add more sand as needed to achieve a solid and stable interlock between the pavers.
Edging and Restraints: Verify that the pavers are snugly nestled against the edge restraints, ensuring a secure and uniform perimeter. Make any necessary adjustments to the pavers’ position and alignment, paying close attention to the edging details and the overall integrity of the patio surface.
By approaching the paver installation with precision, attention to detail, and a keen eye for aesthetics, you’ll bring your vision to life, creating a stunning and functional paver patio that serves as the perfect foundation for your hot tub oasis.
Finishing Touches
As the paver installation nears completion, attention turns to the finishing touches that elevate the patio from a construction site to a polished and inviting outdoor retreat. These final steps encompass cleaning the surface, applying sealant, and integrating additional elements to enhance the functionality and visual appeal of the paver patio.
Cleaning the Surface: Thoroughly clean the paver surface to remove any residual sand, dirt, or debris. Use a leaf blower or a stiff-bristled broom to sweep the patio, ensuring that the joints are free from excess sand and the paver faces are clean and ready for the next steps.
Applying Sealant: Consider applying a high-quality sealant to the paver patio to safeguard the surface from stains, moisture penetration, and the effects of weathering. The sealant enhances the color of the pavers, prolongs their lifespan, and simplifies maintenance, making it an invaluable investment in the longevity of your patio.
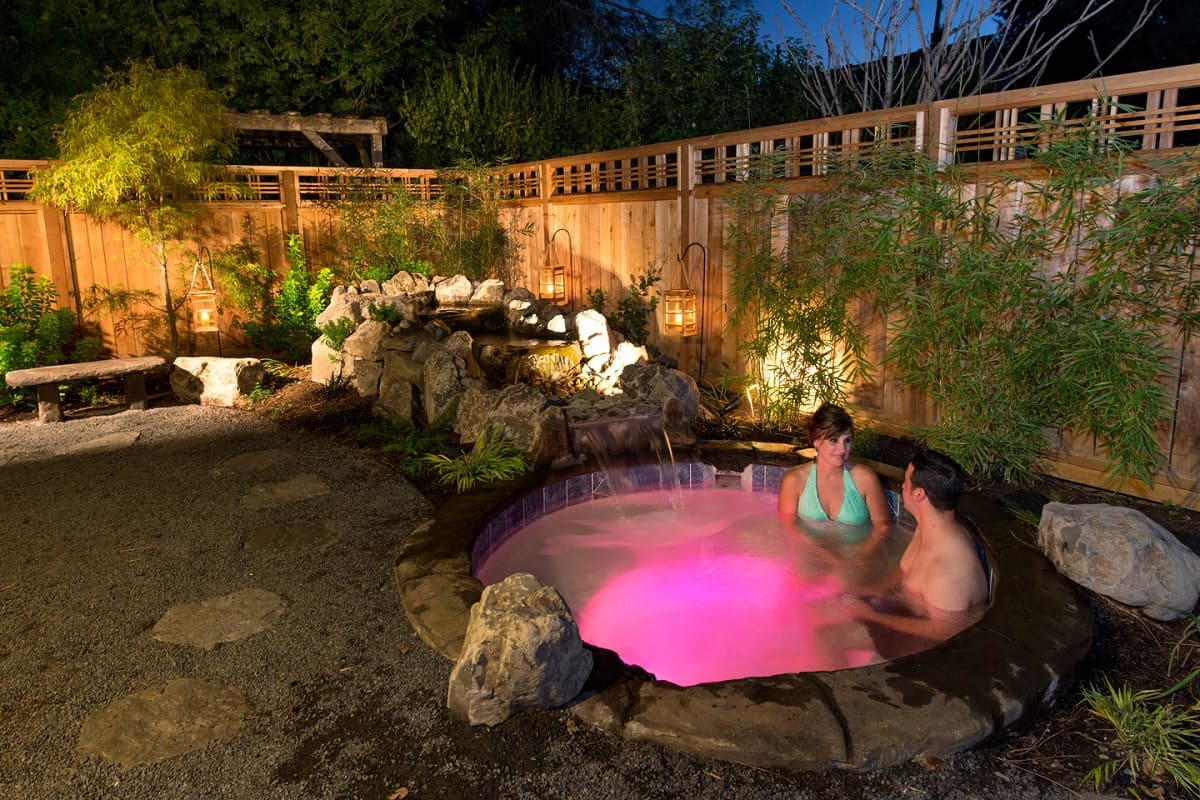
Integrating Lighting: Explore the addition of outdoor lighting to the patio to create a captivating ambiance and extend its functionality into the evening hours. Incorporate pathway lights, uplights, or string lights to accentuate key features of the patio and ensure safe navigation around the hot tub area.
Enhancing with Greenery: Introduce lush greenery and planters to soften the hardscape elements and infuse the patio with natural beauty. Consider adding potted plants, decorative shrubs, or a vertical garden to create a harmonious blend of textures and colors, transforming the patio into a serene and inviting sanctuary.
Furnishing the Space: Complete the patio with comfortable outdoor furniture, such as weather-resistant seating, tables, and loungers. Furnishings tailored to your lifestyle and preferences transform the patio into a functional and inviting extension of your home, where you can relax and entertain in style.
By attending to these finishing touches, you’ll bring the paver patio to its full potential, creating a captivating and well-appointed space that complements your hot tub and enriches your outdoor living experience.
Conclusion
Congratulations on successfully completing the construction of your paver patio for your hot tub! Through meticulous planning, careful preparation, and skilled execution, you’ve transformed your outdoor space into a captivating and functional oasis. As you admire the fruits of your labor, it’s essential to reflect on the journey and appreciate the numerous benefits that your new paver patio brings to your lifestyle and home environment.
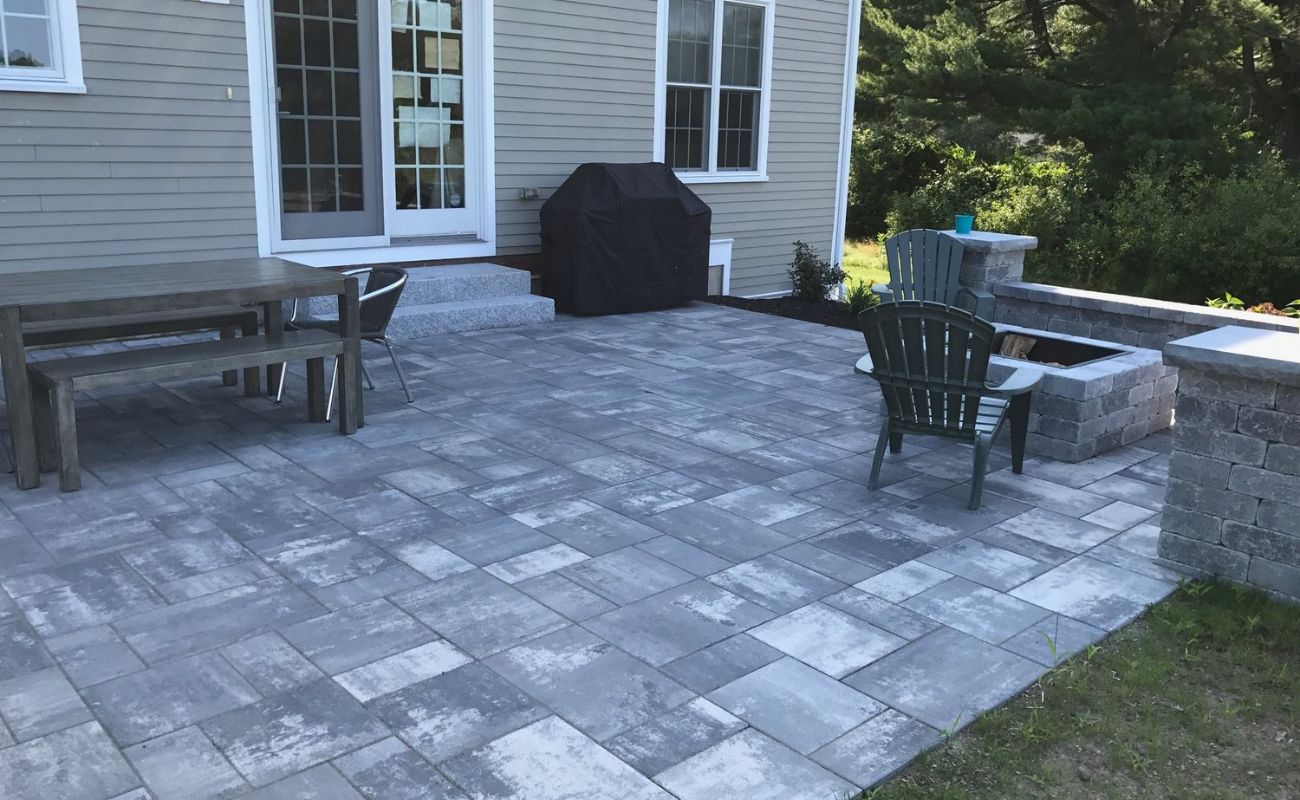
Enhanced Aesthetics: The paver patio serves as a stunning focal point in your backyard, seamlessly integrating with the natural surroundings and adding a touch of elegance to the landscape. Its harmonious design and meticulous craftsmanship elevate the visual appeal of your outdoor space, creating a captivating backdrop for relaxation and entertainment.
Structural Integrity: The careful attention to detail and adherence to best practices in construction have resulted in a structurally sound and durable patio that provides a stable foundation for your hot tub. The robust base, precision-laid pavers, and meticulous finishing touches ensure that the patio stands the test of time, withstanding the rigors of regular use and environmental elements.
Functional Versatility: Your new paver patio extends the functionality of your outdoor living area, offering a designated space for your hot tub while accommodating various activities and gatherings. Whether you’re unwinding in the soothing waters of the hot tub, hosting outdoor gatherings, or simply enjoying moments of solitude, the patio provides a versatile and inviting setting for a wide range of experiences.
Personal Enjoyment: Above all, the paver patio represents a personal sanctuary where you can escape the hustle and bustle of daily life and indulge in moments of tranquility and rejuvenation. It’s a place where you can immerse yourself in the therapeutic benefits of hot tub therapy, connect with nature, and savor the simple pleasures of outdoor living, all within the comfort of your own home.
As you embark on this new chapter of outdoor living, may your paver patio serve as a source of joy, relaxation, and cherished memories for years to come. Whether you’re basking in the warm glow of the sunset, entertaining loved ones, or simply taking a well-deserved break, your meticulously crafted paver patio stands as a testament to your dedication to creating a harmonious and inviting outdoor haven.
Now that you've mastered building a paver patio for your hot tub, why not bring the same charm and functionality to other areas of your home? Our next feature offers vibrant ideas and clever enhancements that transform any deck into a perfect spot for outdoor living. From stylish decor to practical additions, find out how simple changes can make a big difference in enjoying your outdoor space. Ready to spruce up your deck?
Frequently Asked Questions about How To Build A Paver Patio For A Hot Tub
Was this page helpful?
At Storables.com, we guarantee accurate and reliable information. Our content, validated by Expert Board Contributors, is crafted following stringent Editorial Policies. We're committed to providing you with well-researched, expert-backed insights for all your informational needs.


0 thoughts on “How To Build A Paver Patio For A Hot Tub”