Home>Gardening & Outdoor>Pool & Spa Care>How To Remove Hot Tub From Deck
Pool & Spa Care
How To Remove Hot Tub From Deck
Modified: November 1, 2024
Learn the best methods for removing a hot tub from your deck and reclaiming your outdoor space. Get expert tips for pool and spa care.
(Many of the links in this article redirect to a specific reviewed product. Your purchase of these products through affiliate links helps to generate commission for Storables.com, at no extra cost. Learn more)
Introduction
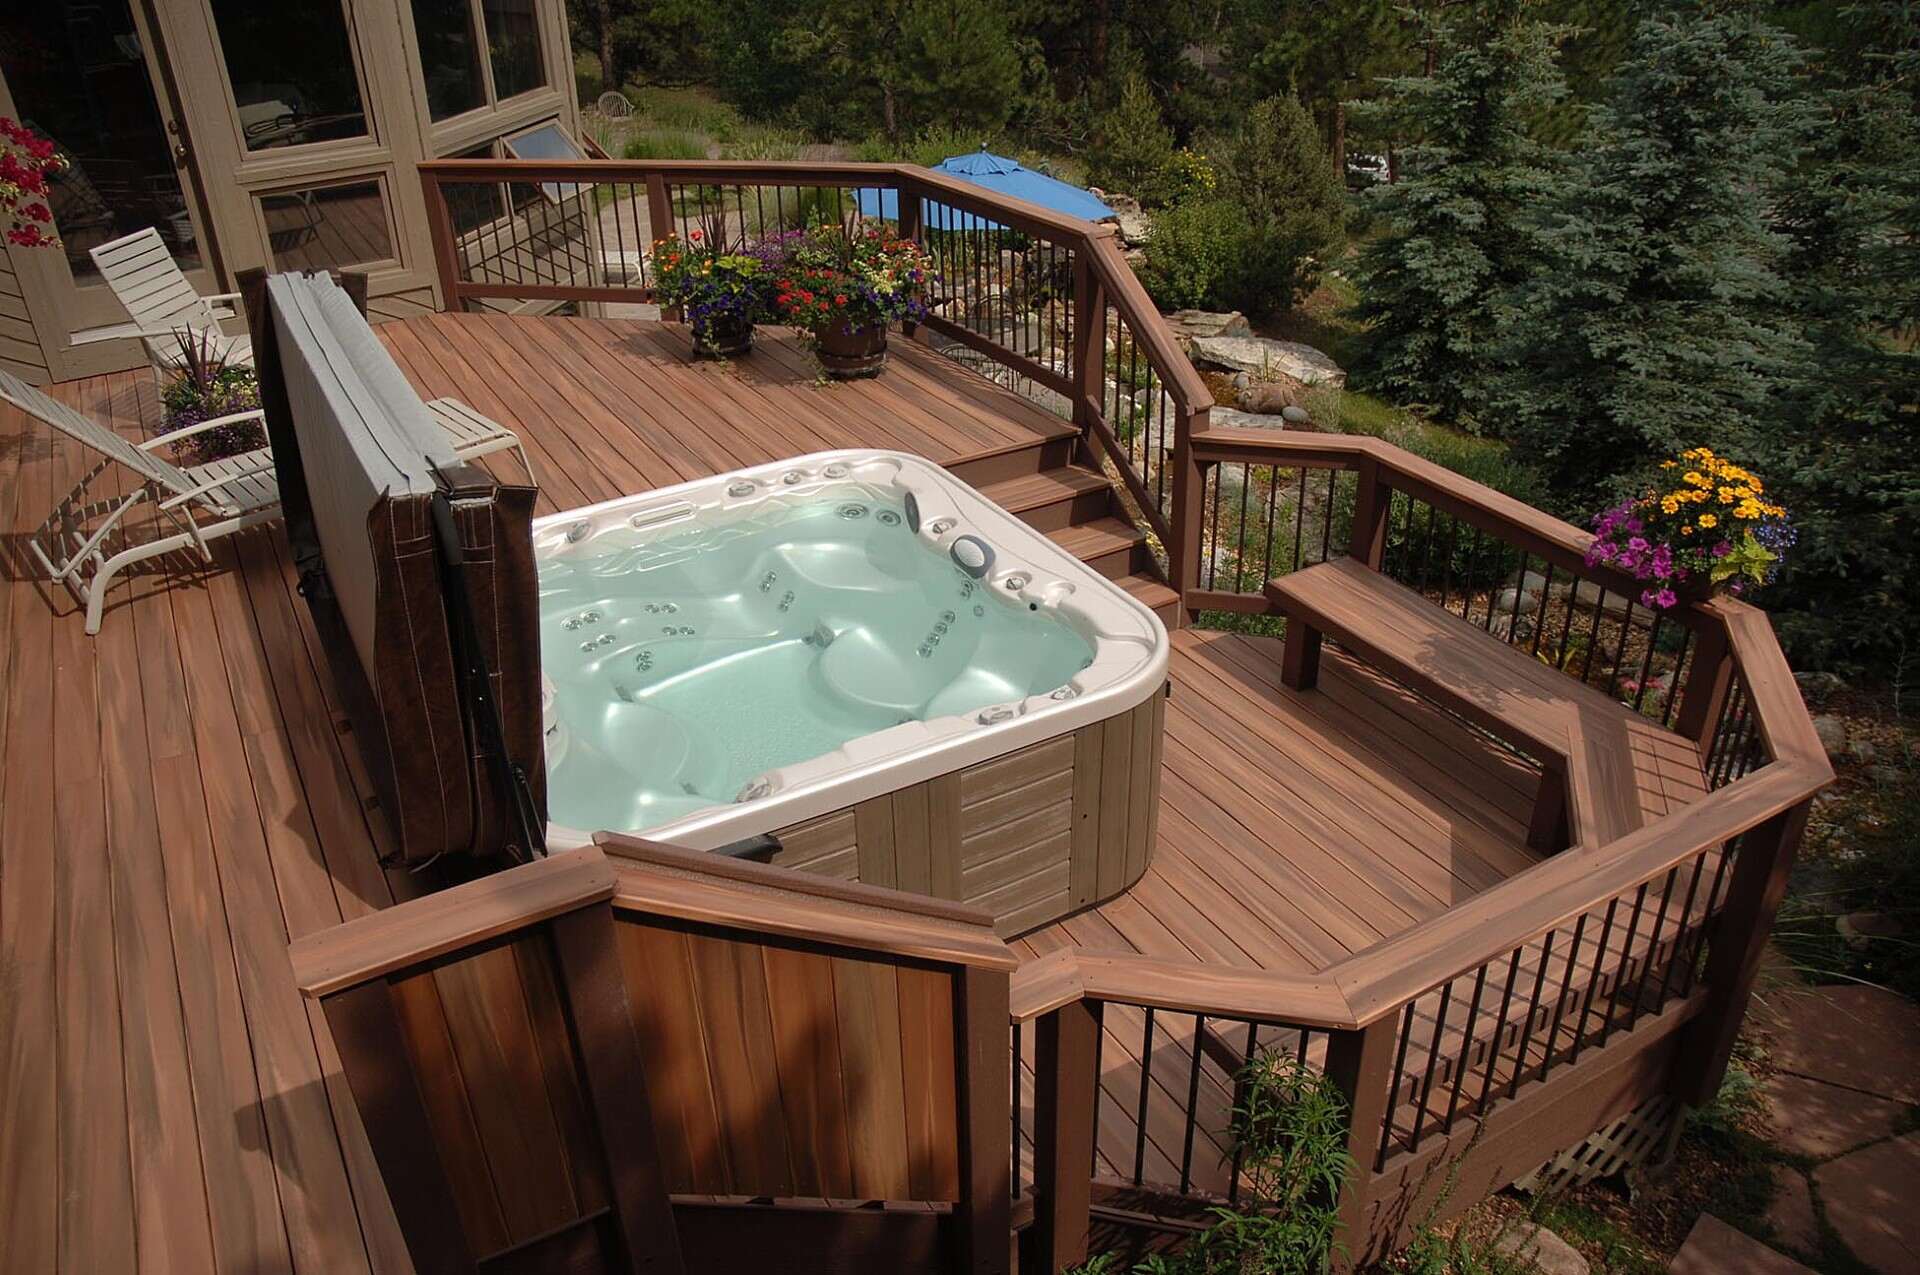
So, you've decided to bid farewell to your hot tub that has been a source of relaxation and enjoyment for years. Whether it's to make room for a new model or to repurpose the space, removing a hot tub from your deck is a task that requires careful planning and execution. While the process may seem daunting at first, with the right guidance and a bit of elbow grease, you can successfully remove your hot tub without breaking a sweat.
In this comprehensive guide, we'll walk you through the step-by-step process of removing a hot tub from your deck, covering everything from draining the tub to clearing the deck area. By following these instructions, you'll be well-equipped to tackle this project with confidence and ensure a smooth transition for your deck space.
So, roll up your sleeves and get ready to embark on this journey to reclaim your deck's prime real estate!
Key Takeaways:
- Removing a hot tub from your deck involves draining, disconnecting electrical/plumbing, dismantling, clearing the area, and lifting/transporting. Safety, patience, and organization are key for a successful removal.
- After successfully removing your hot tub, consider responsible disposal options and explore new possibilities for your deck space. Your proactive approach and attention to detail have paved the way for a fresh outdoor oasis.
Read more: How To Remove A Jet From A Hot Tub
Step 1: Drain the Hot Tub
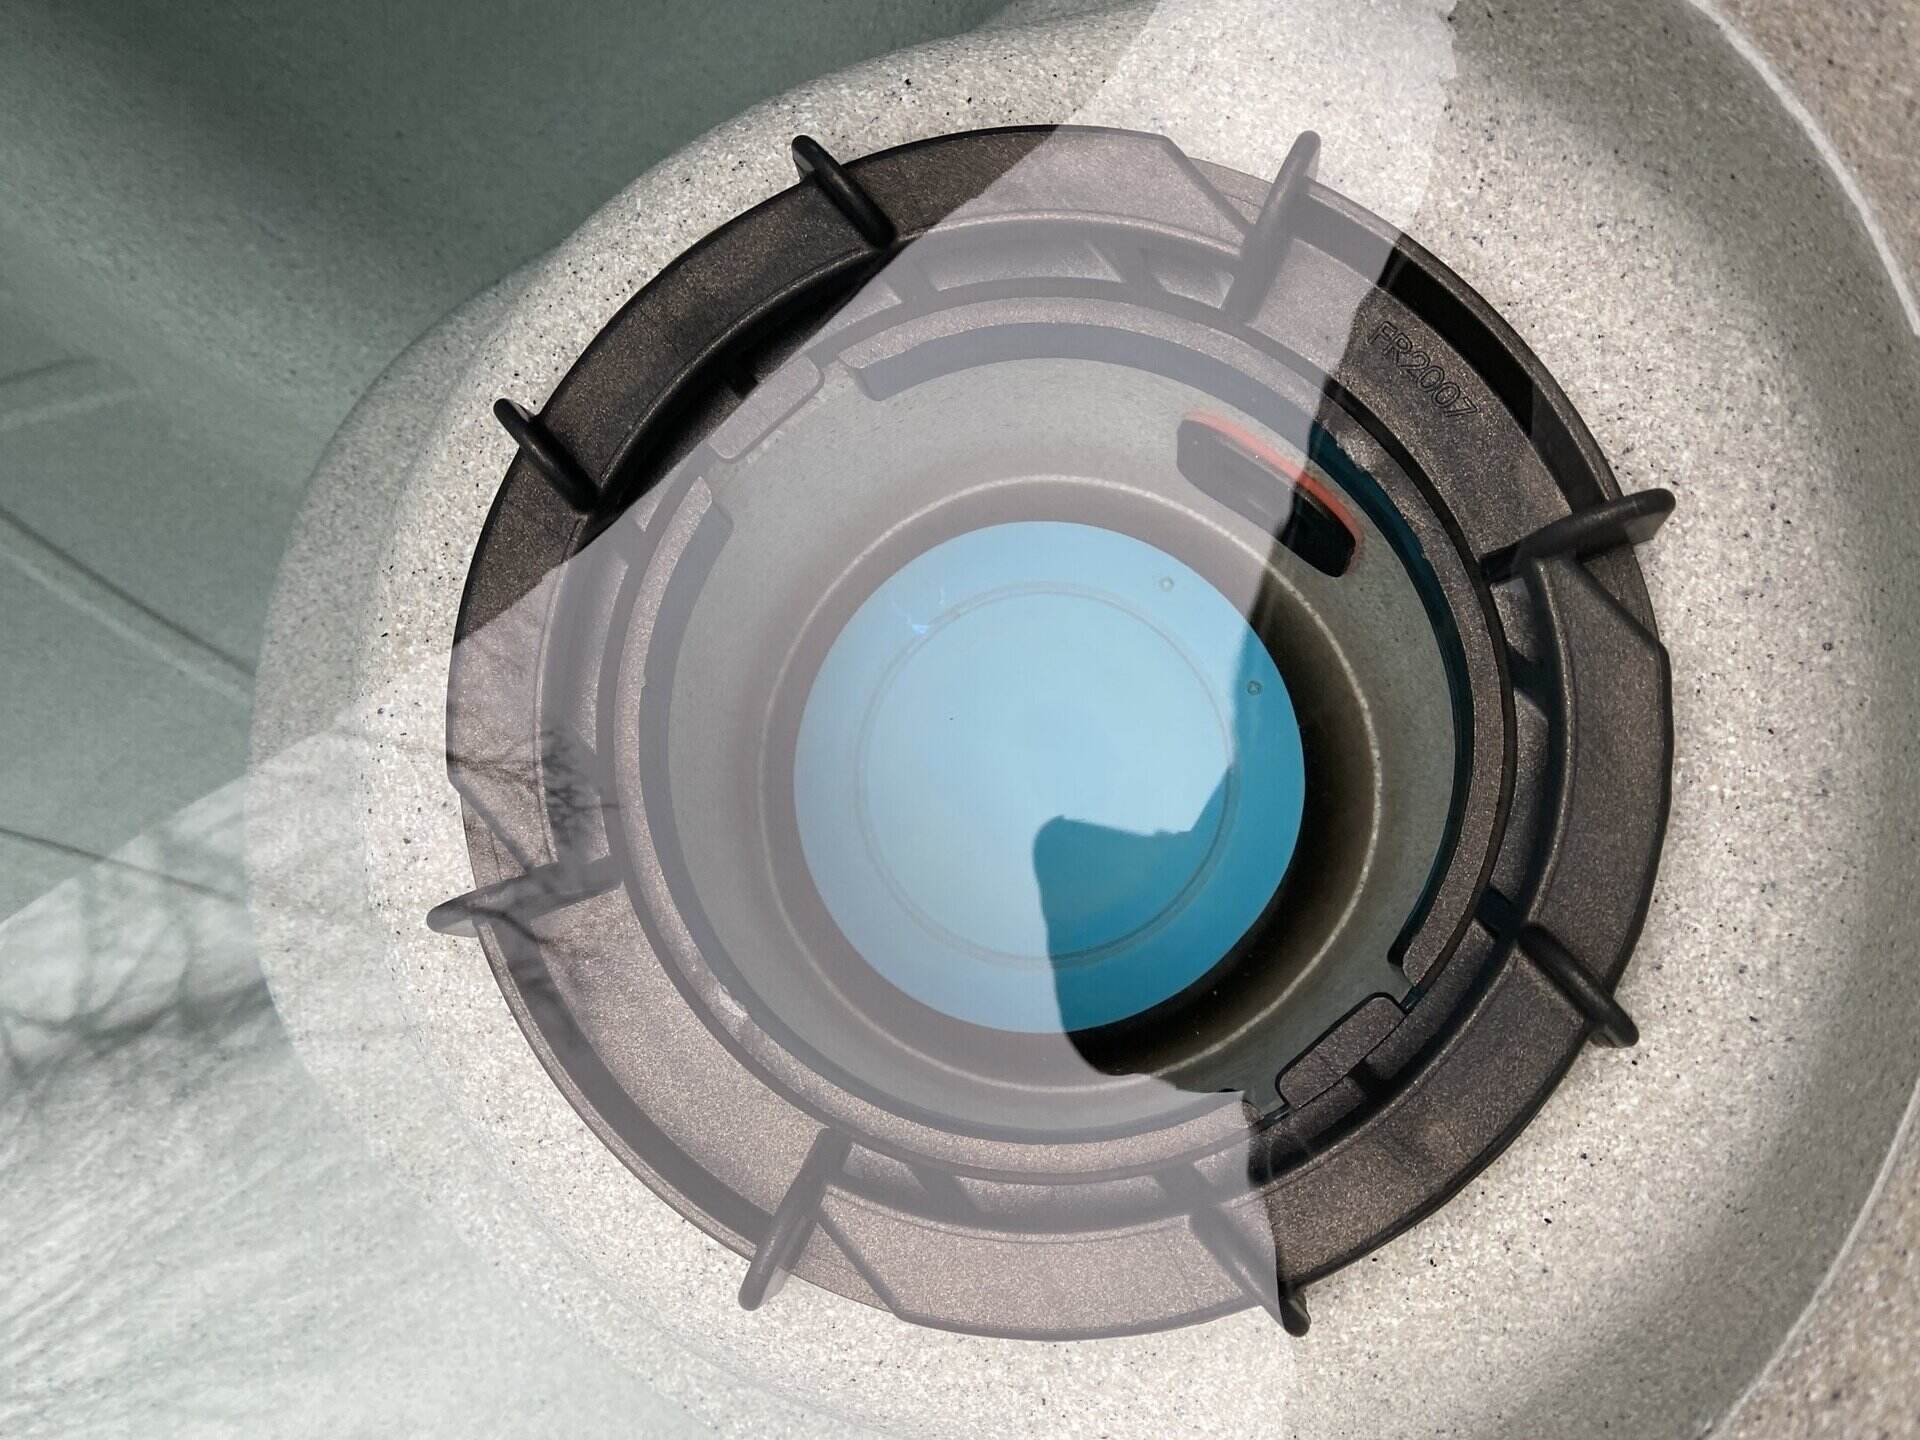
Before you begin the physical removal of your hot tub, it's essential to drain it completely. Start by locating the drain valve, which is typically positioned at the bottom of the tub. Attach a garden hose to the drain valve and direct the other end to a suitable drainage area, ensuring that the water will flow away from your deck to prevent any potential damage. Once the hose is securely attached, open the drain valve and allow the water to empty from the tub. Depending on the size of your hot tub, this process may take some time, so exercise patience as the water drains.
After the majority of the water has been drained, use a wet vacuum to remove any remaining water from the tub. Ensure that the interior of the hot tub is completely dry before proceeding to the next step. This will not only make the dismantling process more manageable but also prevent any water spillage during the removal.
Properly draining the hot tub sets the stage for the subsequent steps and is crucial in ensuring a safe and efficient removal process. With the tub now empty and dry, you're ready to move on to the next phase of dismantling the electrical and plumbing connections.
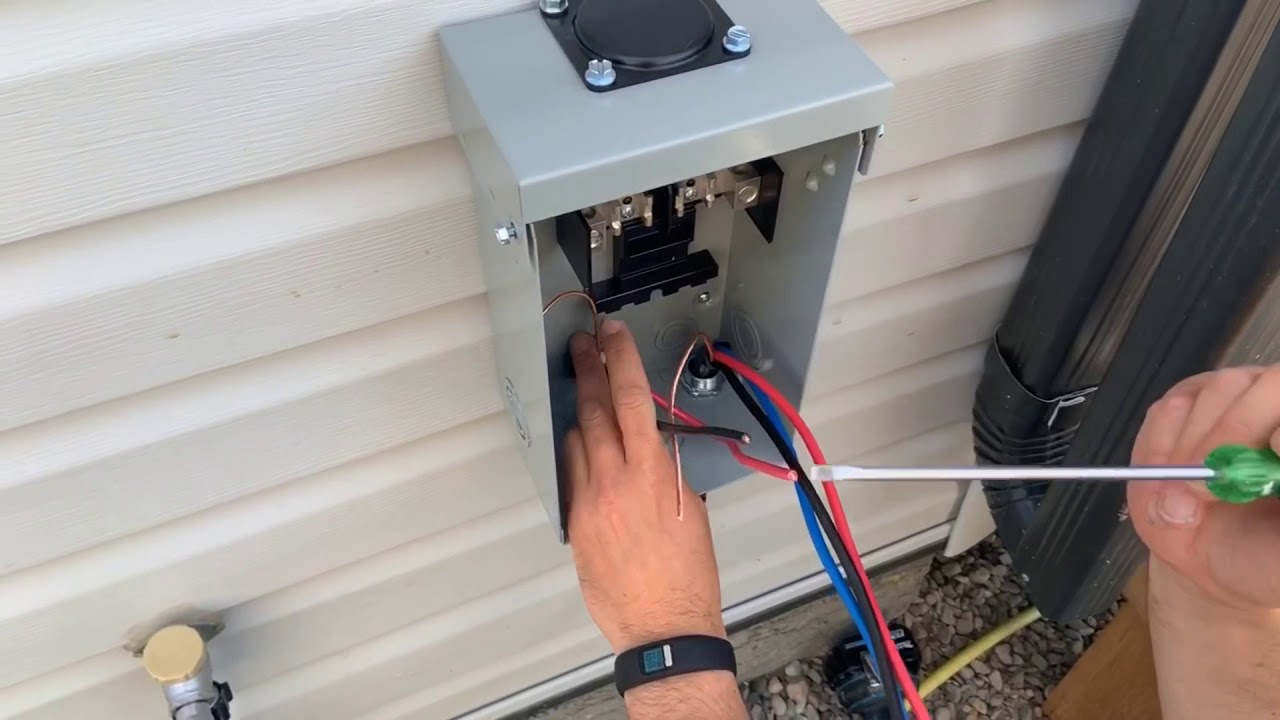
Step 2: Disconnect the Electrical and Plumbing Connections
With the hot tub drained, the next crucial step in the removal process is disconnecting the electrical and plumbing connections. Safety should be your top priority when dealing with electrical components, so if you're not comfortable with this task, it's advisable to seek assistance from a qualified professional.
Start by locating the main power source that supplies electricity to the hot tub. Depending on the setup, this may involve shutting off the circuit breaker or removing the dedicated fuse for the hot tub. Once the power source is disconnected, carefully remove the electrical access panel on the hot tub to gain access to the wiring and components. Take note of the wiring configuration or, better yet, label the wires to ensure they can be reconnected correctly if needed in the future.
After safely disconnecting the electrical components, turn your attention to the plumbing connections. Locate the water supply line and any other plumbing connections leading to and from the hot tub. Using the appropriate tools, carefully disconnect the plumbing lines, ensuring that any residual water is drained and the lines are capped to prevent leaks.
Once both the electrical and plumbing connections have been safely disconnected and secured, take a moment to review the area and ensure that all safety precautions have been observed. With the electrical and plumbing components safely managed, you're ready to proceed to the next step of removing the hot tub cover.
Step 3: Remove the Hot Tub Cover
With the electrical and plumbing connections safely disconnected, it's time to tackle the hot tub cover. Hot tub covers can be heavy and cumbersome, so enlisting the help of a friend or family member is highly recommended to ensure safe and efficient removal.
Start by unlatching or unlocking the cover, depending on the type of fastening mechanism your hot tub utilizes. Once the cover is unlatched, carefully lift it from the hot tub, taking care to support its weight evenly to prevent strain or damage. If your cover is equipped with a lift-assist mechanism, follow the manufacturer's instructions for disengaging it before attempting to remove the cover.
After the cover has been lifted from the hot tub, place it in a safe and designated area away from the removal path. Hot tub covers are often bulky and can obstruct movement, so ensuring that it is placed in a secure location will prevent any potential hazards during the subsequent steps of the removal process.
With the hot tub cover safely removed and stowed away, you're now ready to move on to the dismantling phase, where you'll prepare the hot tub for removal from the deck.
Before removing a hot tub from a deck, make sure to drain all the water and disconnect the electrical supply. Use a dolly or straps to carefully lift and move the hot tub to avoid damage to the deck or injury.
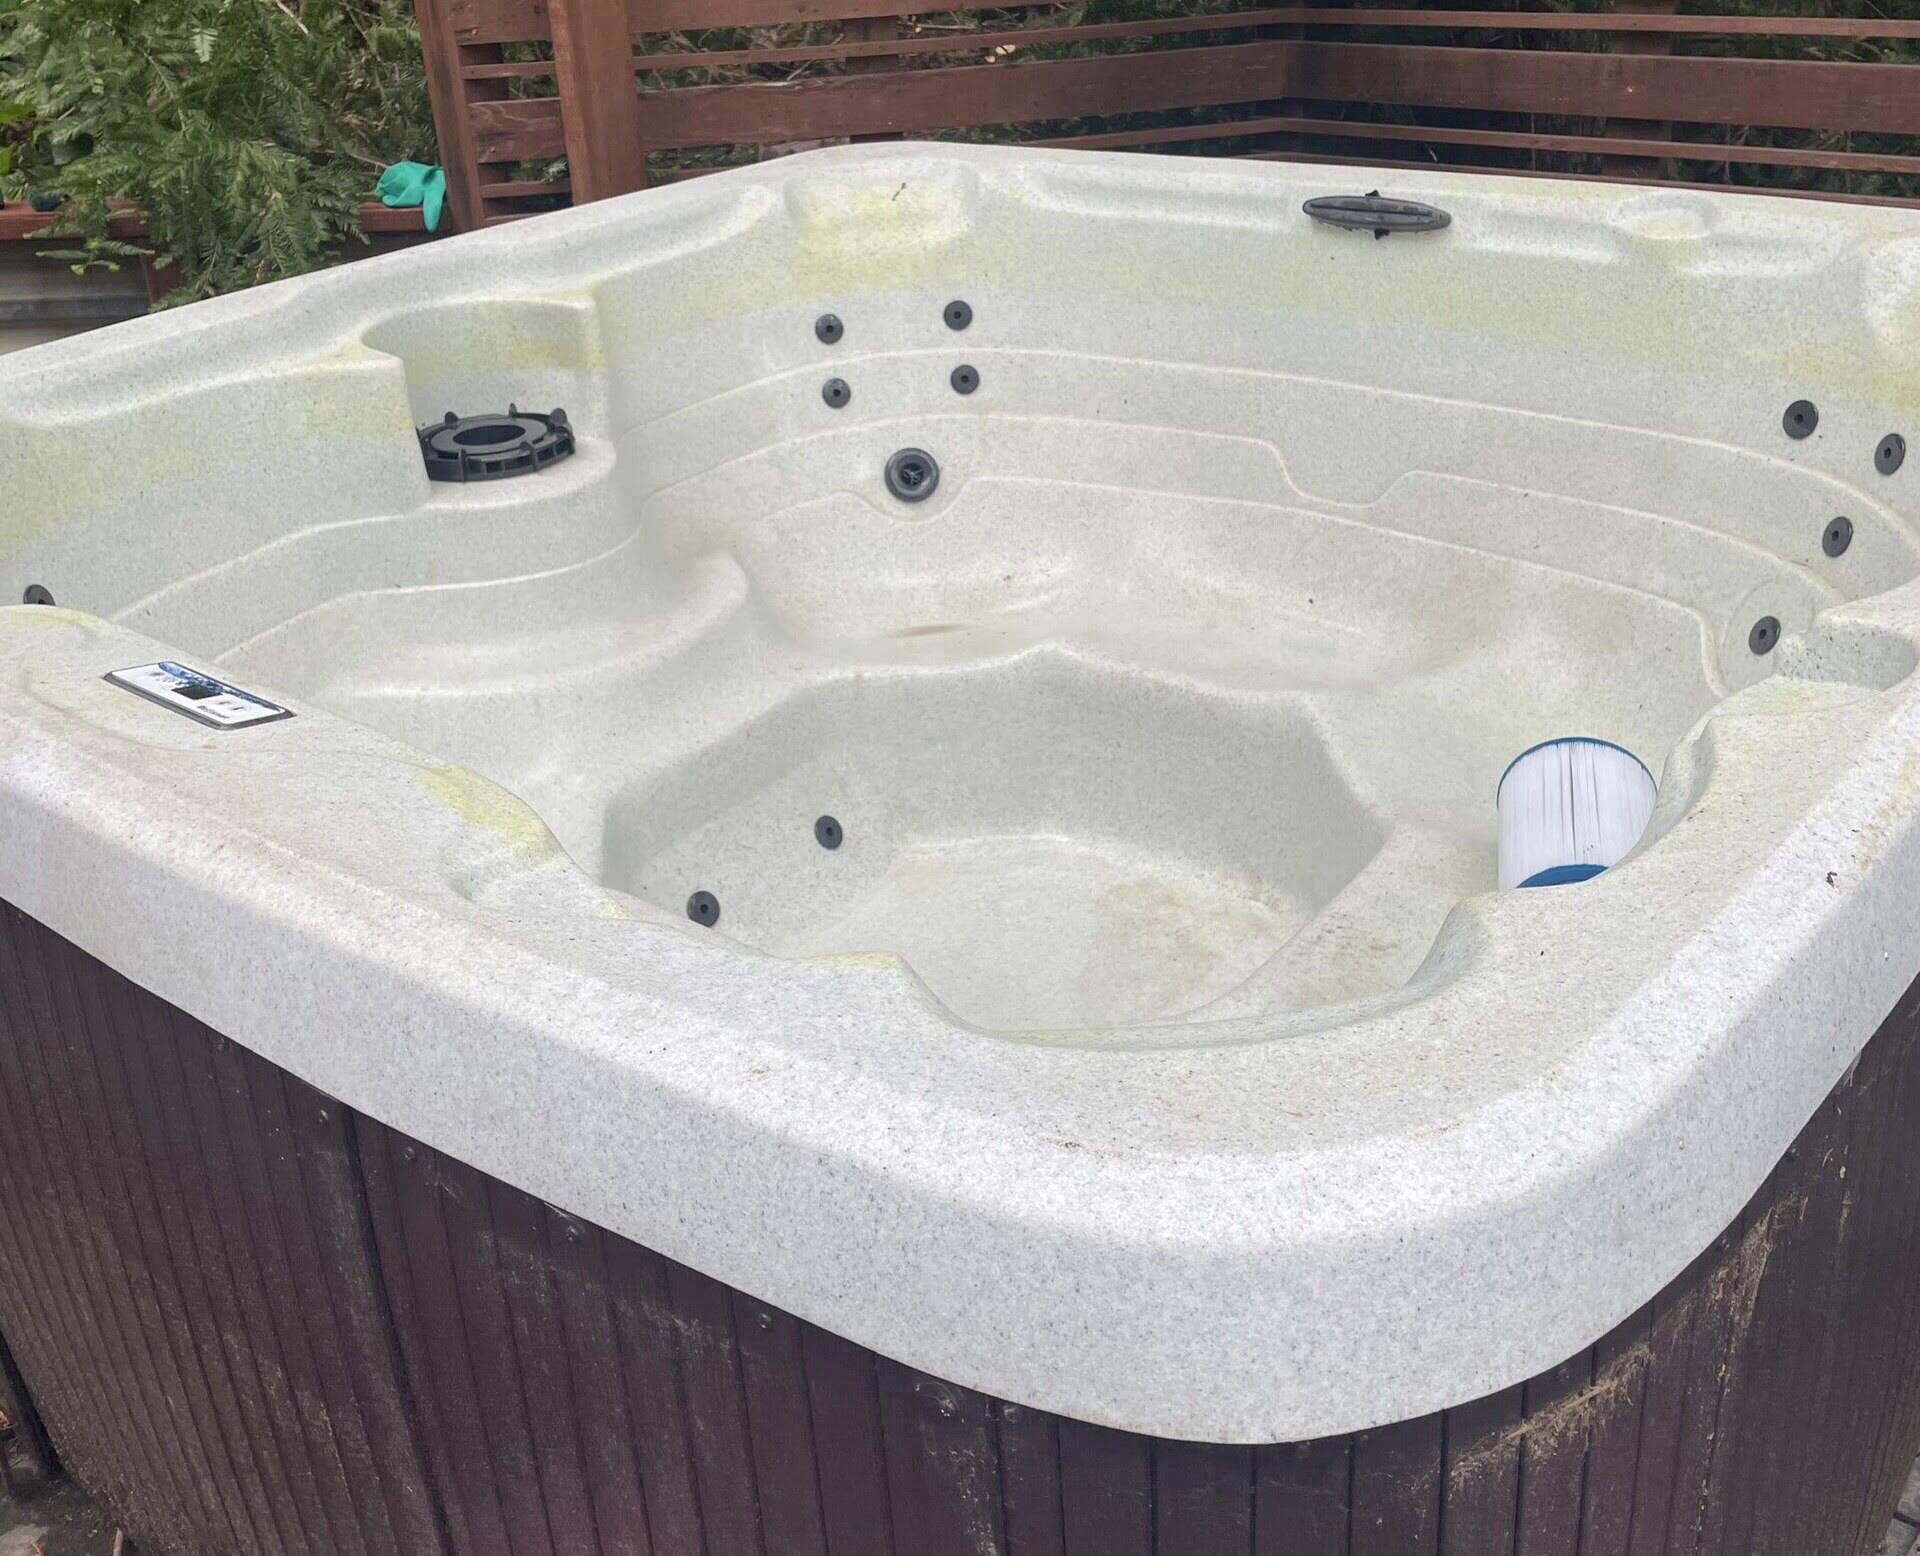
Step 4: Dismantle the Hot Tub
Now that the hot tub cover has been successfully removed, it’s time to dismantle the hot tub itself. Dismantling a hot tub can be a labor-intensive process, so it’s essential to approach this step with caution and patience.
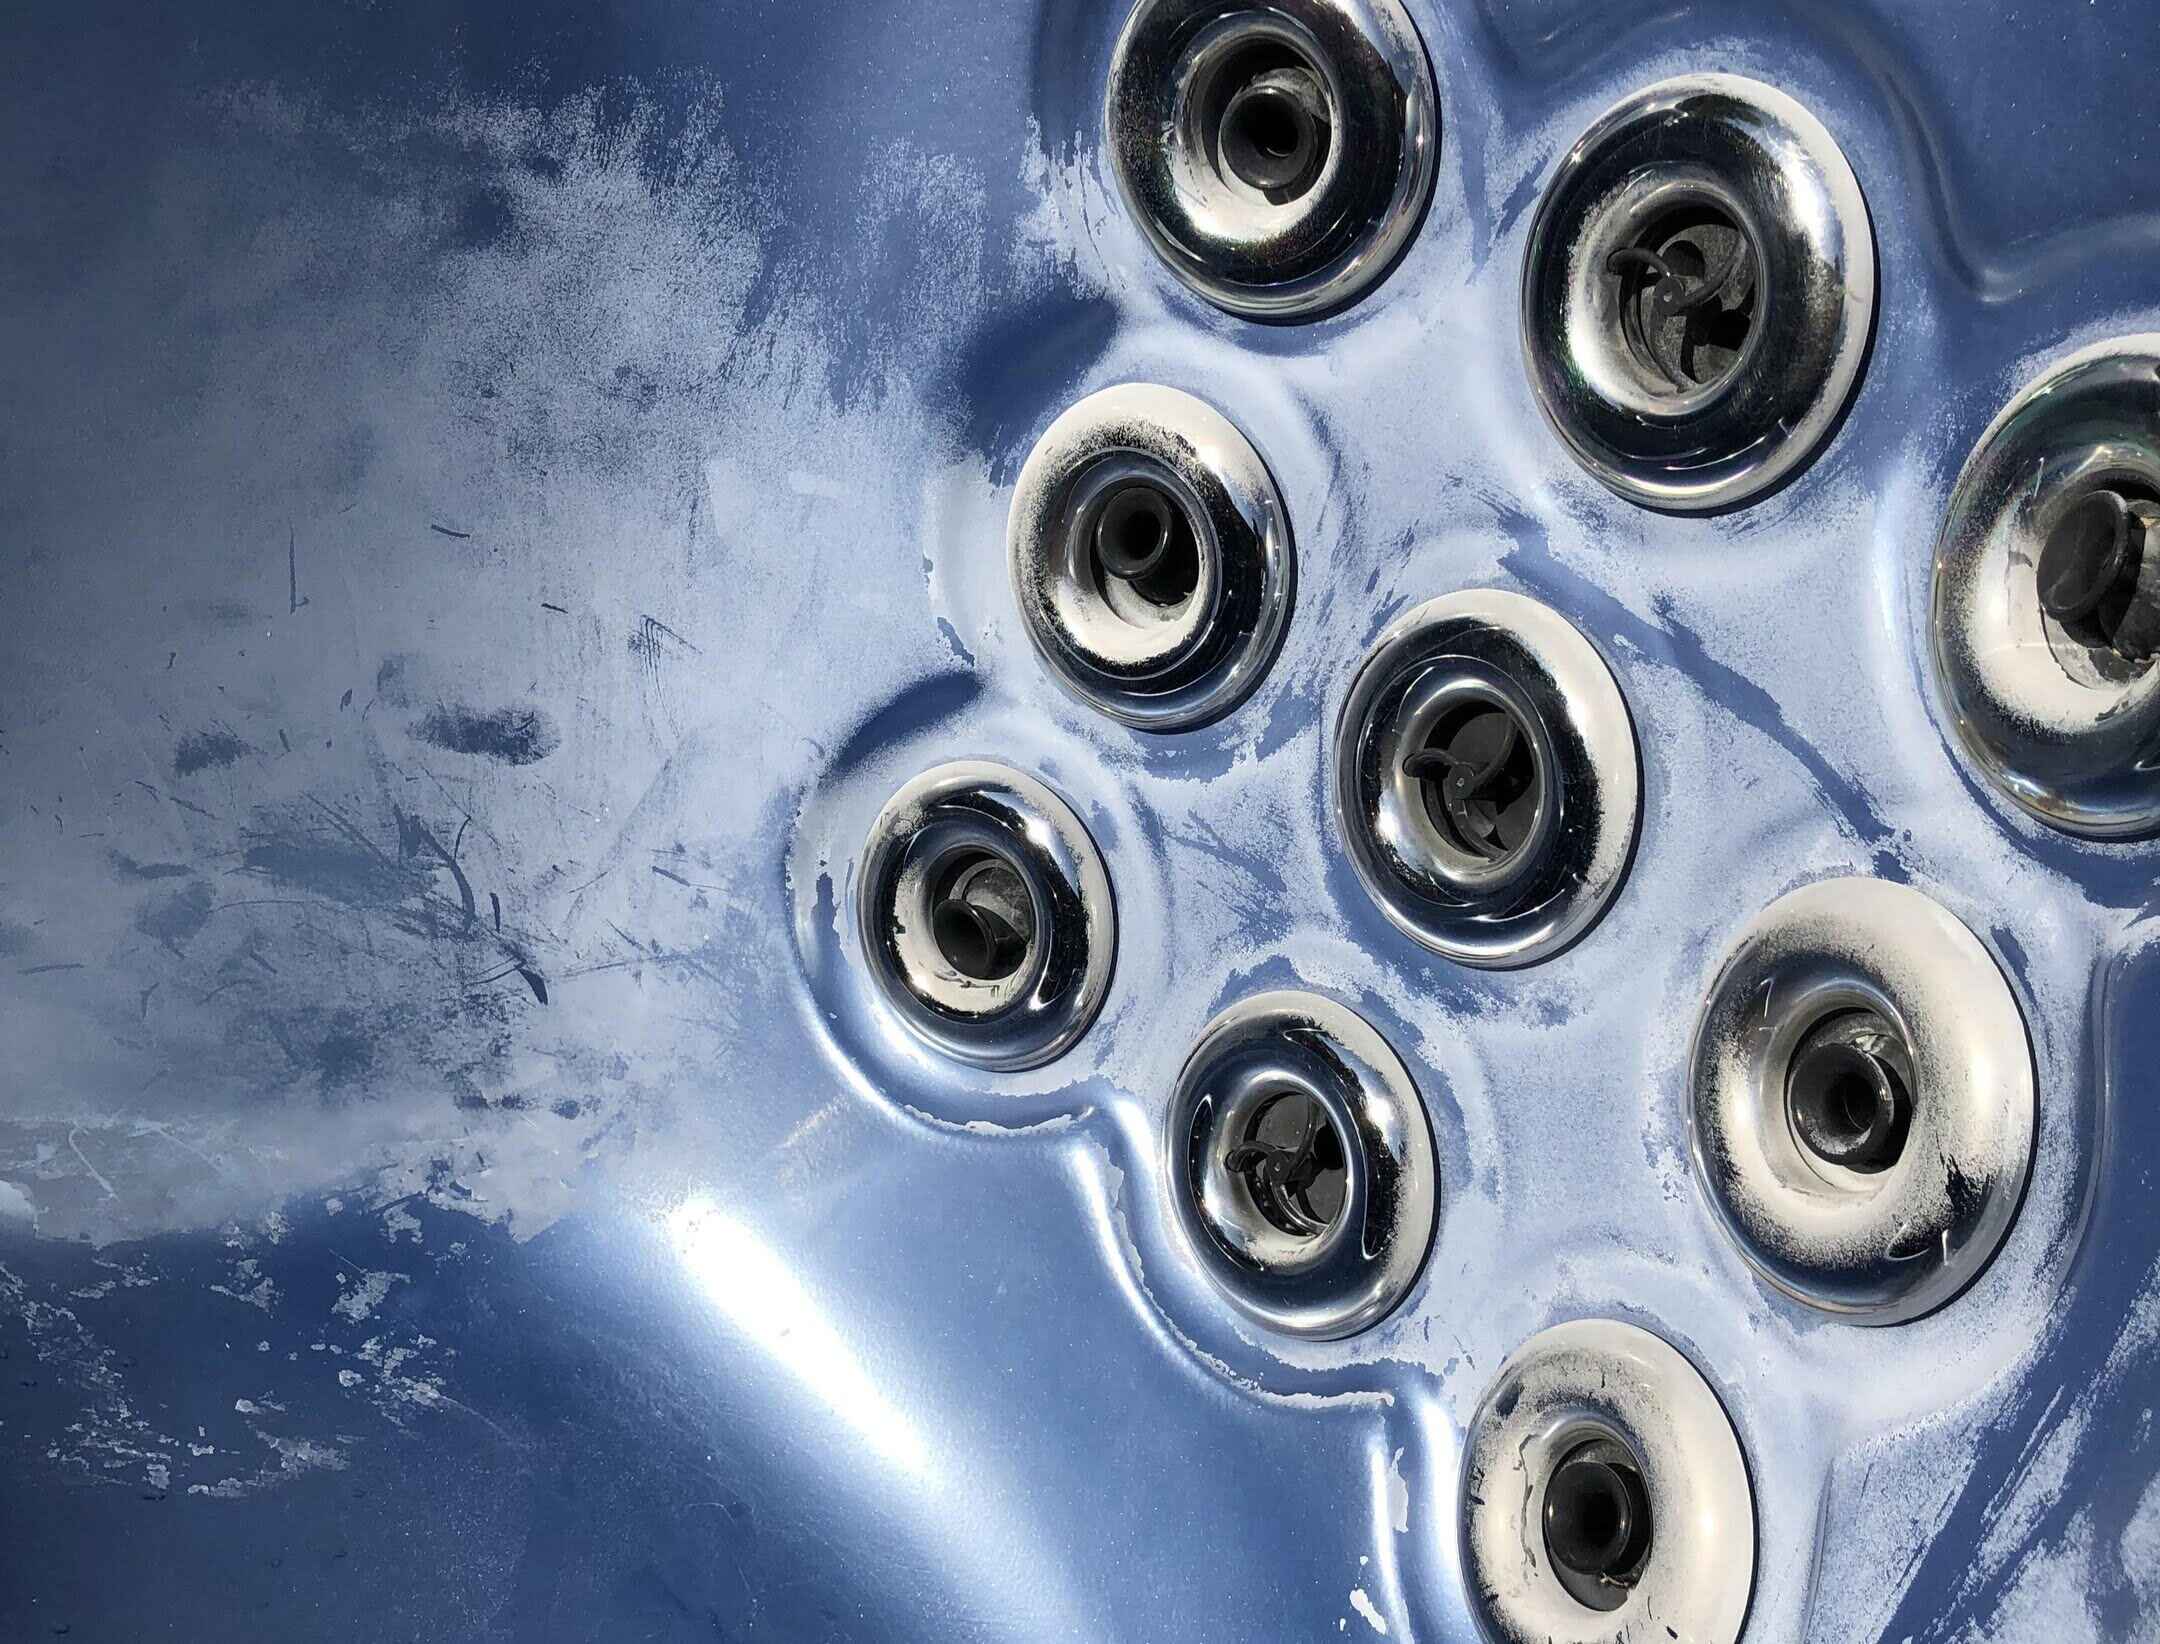
Start by identifying any panels or sections of the hot tub that can be disassembled. Most hot tubs have outer panels that can be removed to expose the internal components. Carefully unscrew or detach these panels, taking care to set aside the screws and hardware for safekeeping. As you remove the panels, be mindful of any insulation or wiring that may be concealed beneath them. Take the time to inspect and disconnect any wiring or plumbing that may still be connected to the panels.
As you progress with the dismantling process, it’s crucial to maintain a clear pathway for safe movement and disposal of the hot tub components. If you’re working with a particularly large hot tub, consider using a reciprocating saw or similar tool to cut the tub into more manageable sections. Exercise caution and wear appropriate safety gear when using power tools, and be mindful of the structural integrity of the hot tub as you disassemble it.
Once the hot tub has been dismantled into manageable sections, carefully transport and store the components in a designated area. If the hot tub contains a shell or liner, take care to remove and dispose of it responsibly, following local regulations for waste disposal and recycling.
With the hot tub now dismantled and the components safely stowed, you’re ready to proceed to the next step of clearing the deck area in preparation for the final removal phase.
Read more: How To Remove Biofilm From Hot Tub
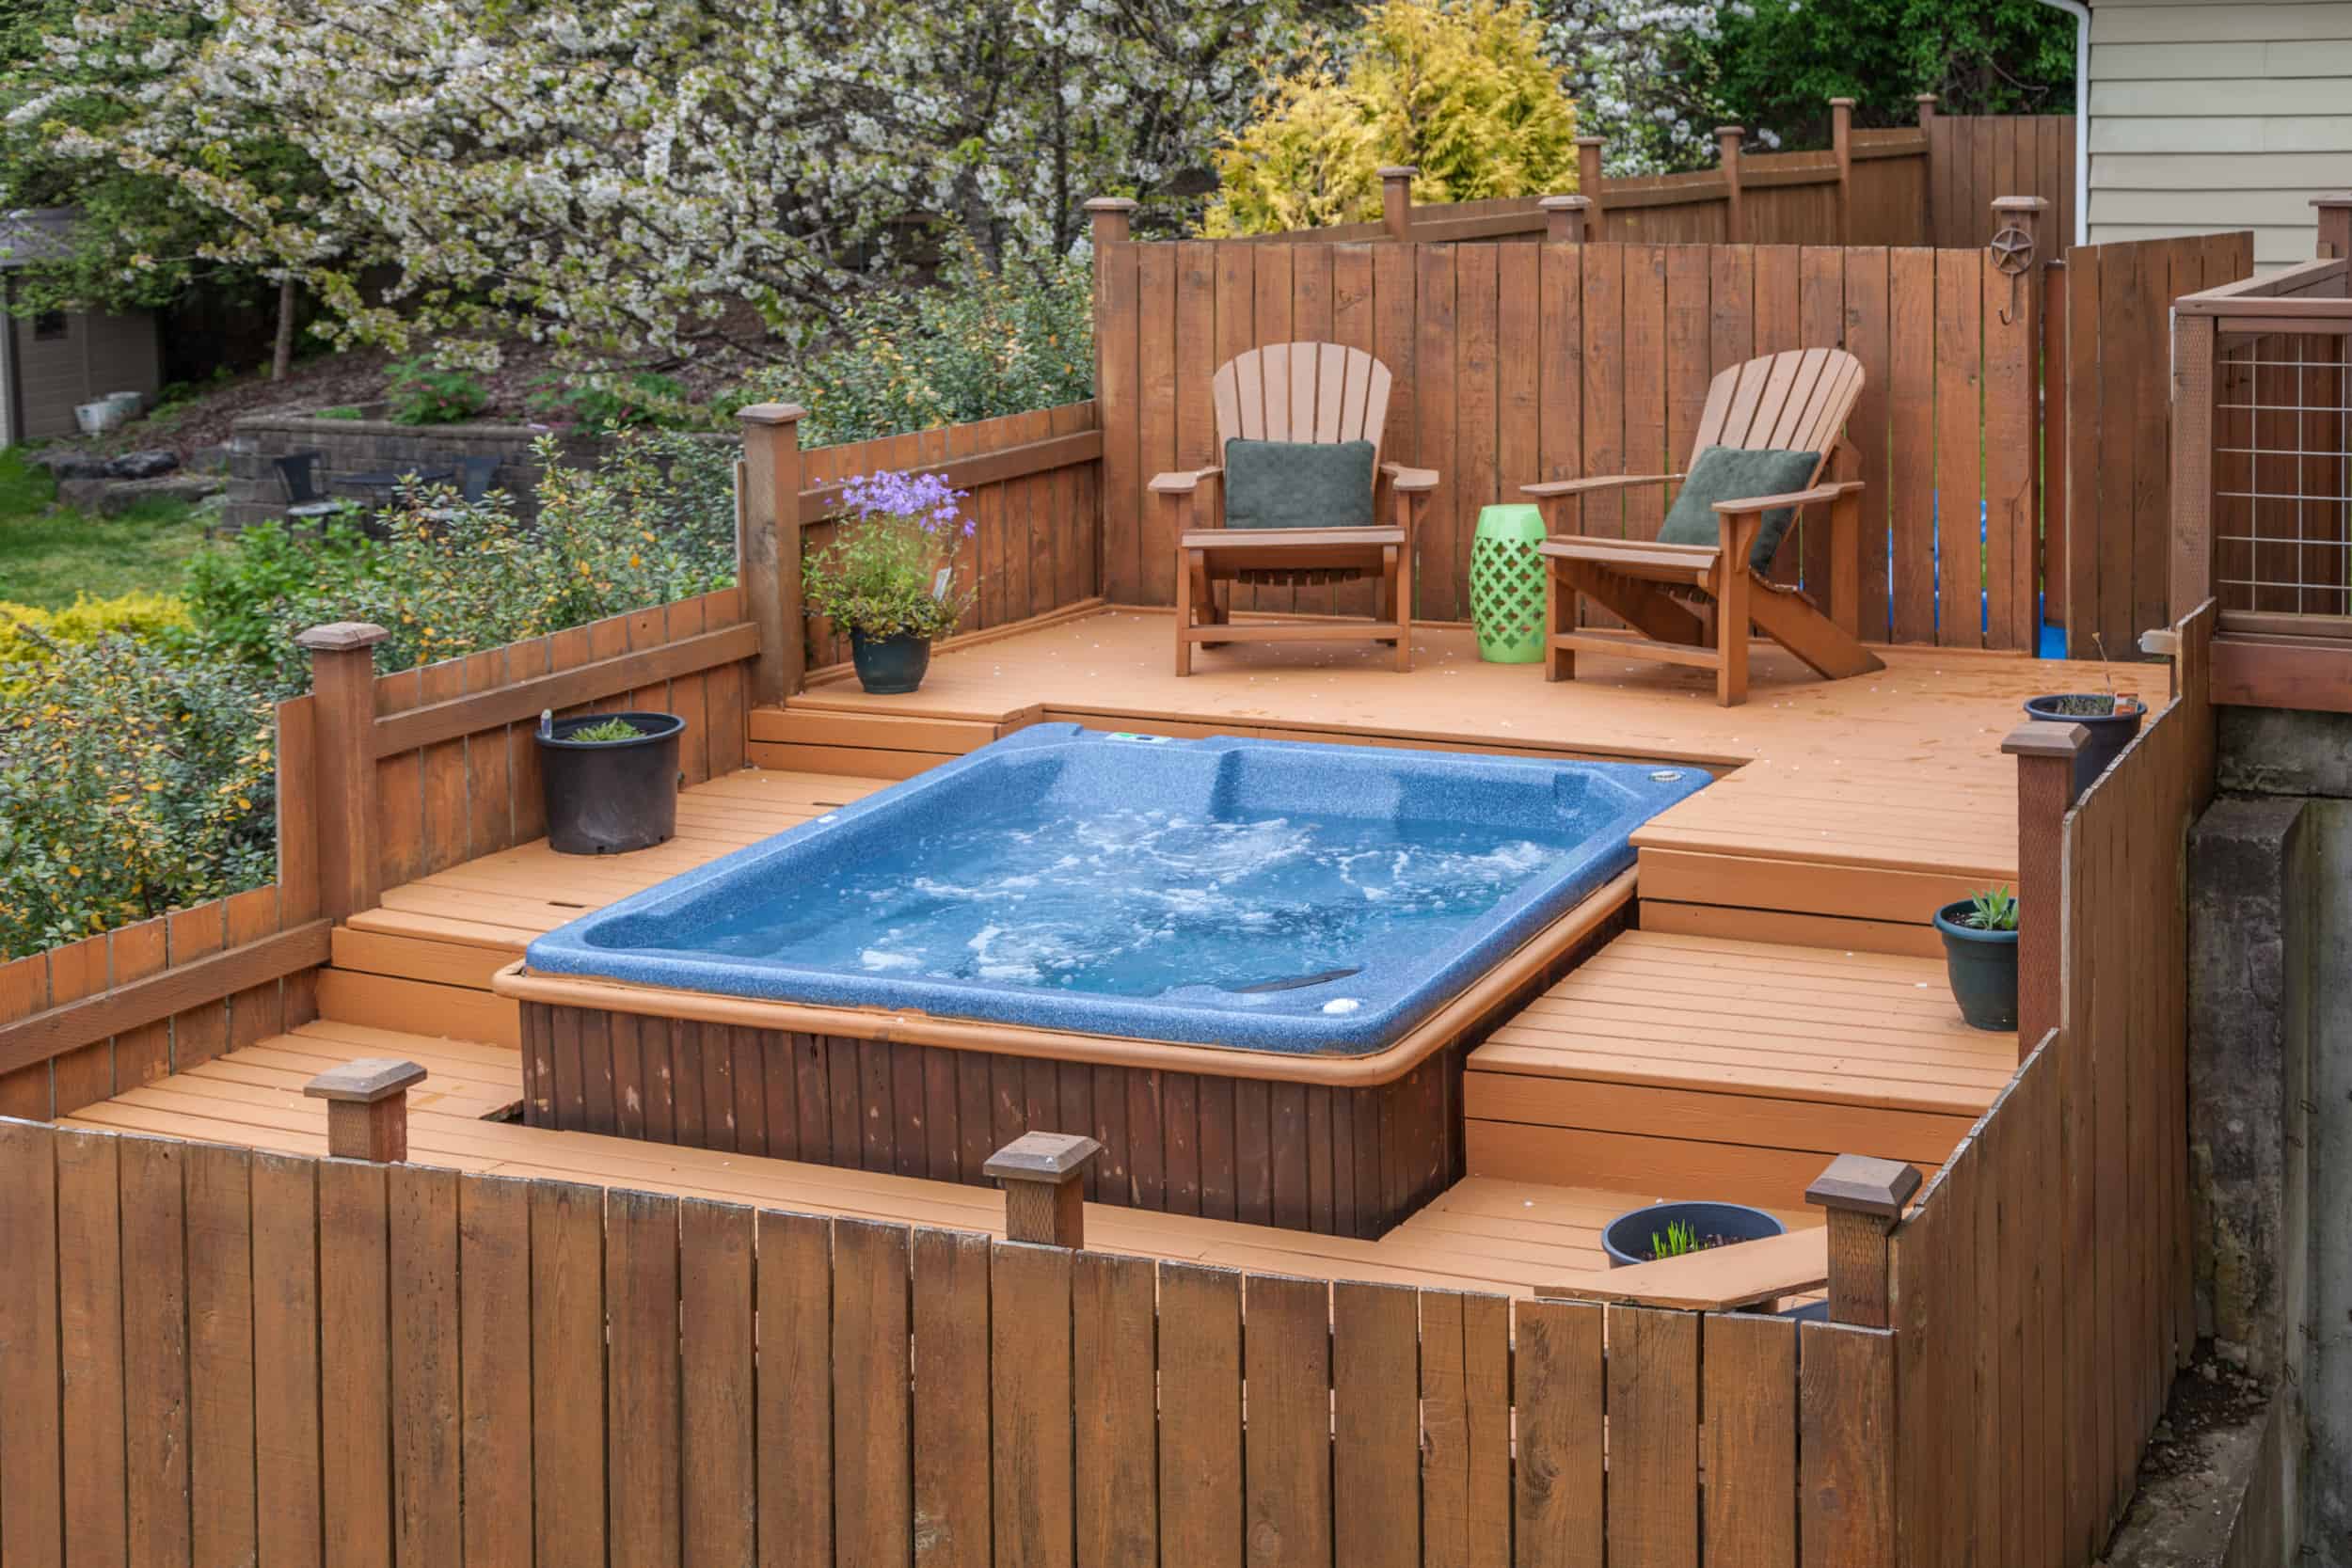
Step 5: Clear the Deck Area
With the hot tub dismantled and the components safely stored, it’s time to focus on clearing the deck area to facilitate the final removal phase. This step involves preparing the surrounding space for safe and unobstructed access, ensuring a smooth and efficient removal process.
Start by removing any furniture, accessories, or obstacles from the deck area surrounding the hot tub. This includes items such as chairs, tables, planters, or any other decor that may impede the removal path. Clearing the deck area will not only create a clear pathway for transporting the hot tub components but also minimize the risk of accidents or damage to the surrounding property.
If your hot tub was installed on a raised deck, take the necessary precautions to ensure the structural integrity of the deck during the removal process. Consider enlisting the assistance of a professional if you have any concerns about the impact of the hot tub’s removal on the deck’s stability. It’s essential to prioritize safety and prevent any potential damage to the deck structure during the removal process.
Once the deck area has been cleared and secured, take a moment to assess the removal path and address any potential obstacles or hazards. This includes ensuring that the pathway is free from tripping hazards, slippery surfaces, or any other impediments that may pose a risk during the transportation of the hot tub components.
By thoroughly clearing the deck area and addressing any safety considerations, you’ll set the stage for a seamless and secure removal of the hot tub from the deck. With the removal path now clear, you’re ready to proceed to the final phase of lifting and transporting the hot tub components.
Step 6: Lift and Transport the Hot Tub
As you reach the final phase of the hot tub removal process, it’s time to focus on lifting and transporting the dismantled components from the deck to their designated storage or disposal area. This step requires careful coordination, proper lifting techniques, and the use of suitable equipment to ensure a safe and efficient removal.
Before lifting any heavy components, assess the weight and size of each section to determine the best approach for handling and transportation. Enlist the help of friends or family members to assist with the lifting process, ensuring that everyone is aware of their roles and the necessary safety precautions.
Depending on the size and weight of the hot tub components, consider using a sturdy dolly or hand truck to facilitate the transportation process. Secure the dismantled sections onto the dolly, ensuring that they are properly balanced and stable for transport. If the components are particularly heavy or bulky, consider using lifting straps or harnesses to distribute the weight and reduce the risk of strain or injury during transport.
As you navigate the removal path, be mindful of any obstacles, stairs, or narrow passages that may require careful maneuvering. Communicate clearly with your team to ensure a coordinated and safe transport of the hot tub components, taking breaks as needed to prevent fatigue and ensure the safety of everyone involved.
Once the hot tub components have been successfully transported to their designated area, carefully store them in a secure and organized manner. If any sections are slated for disposal, ensure that they are handled in accordance with local regulations for waste management and recycling.
With the hot tub components safely transported and stored, take a moment to appreciate the accomplishment of successfully removing the hot tub from your deck. By following these step-by-step instructions and exercising caution throughout the process, you’ve effectively reclaimed your deck space and completed the removal of the hot tub with confidence and efficiency.
Conclusion
Congratulations on successfully completing the removal of your hot tub from the deck! This undertaking required careful planning, diligent execution, and a commitment to safety at every step. By following the comprehensive guide outlined in this article, you’ve navigated the removal process with confidence and ensured a smooth transition for your deck space.
Throughout the removal process, you’ve demonstrated resourcefulness, patience, and a proactive approach to addressing each phase of the project. From draining the hot tub to safely transporting the dismantled components, your attention to detail and commitment to safety have been instrumental in achieving a successful outcome.
As you reflect on this accomplishment, take a moment to consider the newfound potential of your deck space. Whether you’re planning to repurpose the area for a new outdoor oasis or simply seeking a fresh layout, the removal of the hot tub opens up a world of possibilities for your outdoor living space.
Remember to consider the environmental impact of disposing of any hot tub components, and explore responsible options for recycling or proper waste disposal in accordance with local regulations. By taking proactive steps to minimize the environmental footprint of the removal process, you’re contributing to sustainable practices and responsible stewardship of resources.
As you embark on the next chapter for your deck, whether it involves a new installation, landscaping, or a creative outdoor design, carry forward the lessons learned from this removal project. Your proactive approach, attention to detail, and commitment to safety will continue to serve as valuable assets in future endeavors.
Thank you for entrusting us with the guidance and expertise to navigate the removal of your hot tub from the deck. We hope this comprehensive guide has empowered you to tackle this project with confidence and achieve a successful outcome. Wishing you all the best as you embark on the exciting journey of transforming your deck space into a new haven of relaxation and enjoyment!
Frequently Asked Questions about How To Remove Hot Tub From Deck
Was this page helpful?
At Storables.com, we guarantee accurate and reliable information. Our content, validated by Expert Board Contributors, is crafted following stringent Editorial Policies. We're committed to providing you with well-researched, expert-backed insights for all your informational needs.


0 thoughts on “How To Remove Hot Tub From Deck”