Home>Furniture>Outdoor Furniture>How To Remove Scratches From Trex Decking
Outdoor Furniture
How To Remove Scratches From Trex Decking
Modified: August 27, 2024
Learn how to remove scratches from your Trex decking and restore the beauty of your outdoor furniture.
(Many of the links in this article redirect to a specific reviewed product. Your purchase of these products through affiliate links helps to generate commission for Storables.com, at no extra cost. Learn more)
Introduction
Welcome to our guide on how to remove scratches from Trex decking! Trex decking is a popular choice for outdoor spaces due to its durability and low maintenance. However, over time, even the toughest decking materials like Trex can develop scratches from regular use and general wear and tear. Fortunately, with the right techniques and tools, you can easily restore the pristine appearance of your Trex deck.
In this article, we will take you through a step-by-step process to assess the scratch severity, clean the deck surface, and provide various methods to remove scratches from your Trex decking. We will also cover how to blend in the repaired area, as well as provide some tips to prevent future scratches.
Before we dive into the solutions, let’s gain a better understanding of Trex decking and why it’s essential to address scratches promptly.
Key Takeaways:
- Regularly clean and inspect your Trex decking to prevent scratches. Use preventive measures like furniture pads, trimmed pet claws, and caution with sharp objects to maintain its pristine appearance.
- Assess scratch severity before choosing a repair method. Apply heat for minor scratches, sand for deeper ones, and use a decking repair kit for the most severe damage. Always follow manufacturer’s guidelines.
Read more: What Is Trex Decking
Understanding Trex Decking
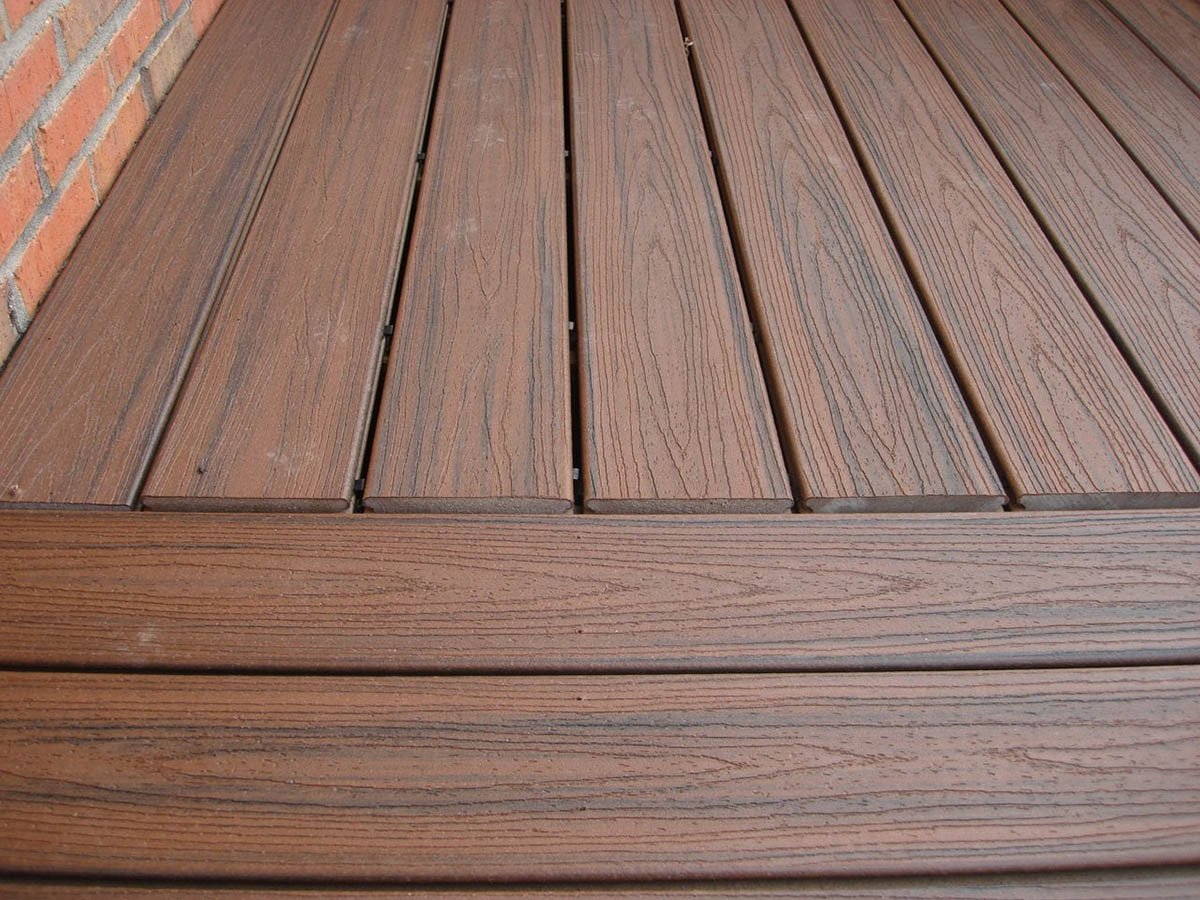
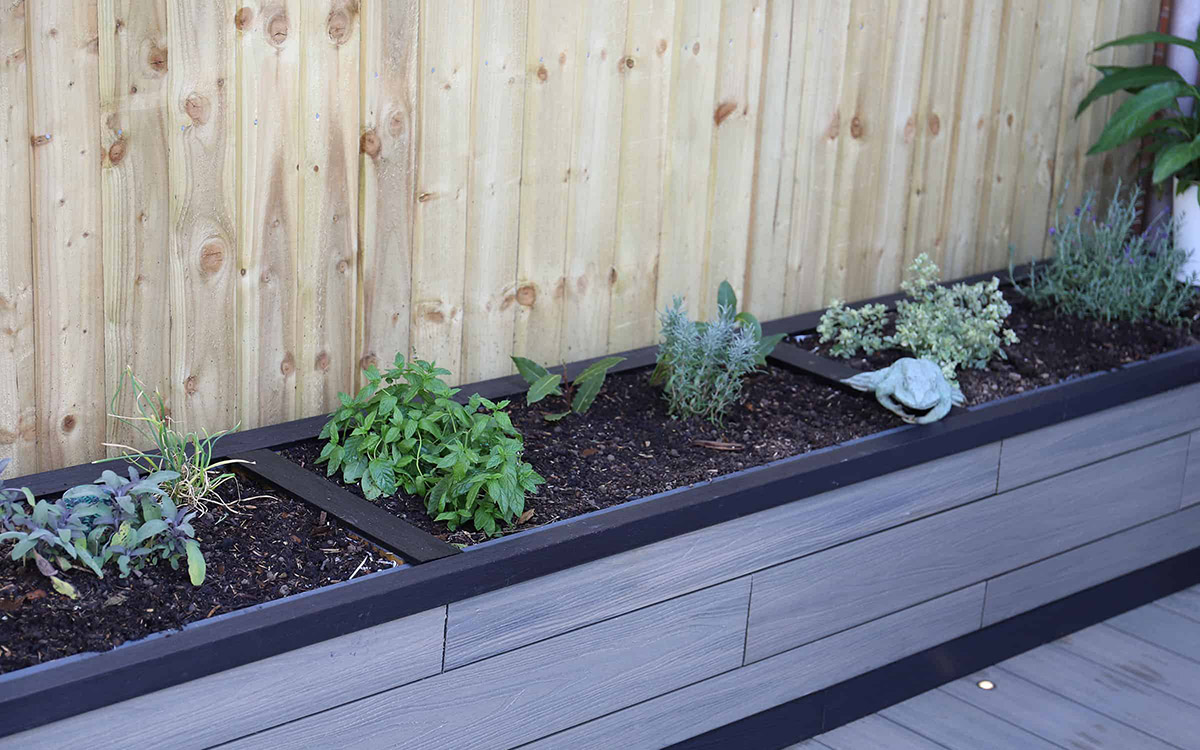
Trex decking is a composite decking material that is composed of a mixture of wood fibers, recycled plastic, and a bonding agent. It is designed to mimic the appearance of natural wood while offering superior durability and resistance to moisture, insects, and rot. Trex decking is also known for its low maintenance requirements, as it does not require staining, sealing, or painting like traditional wood decks.
One of the key benefits of Trex decking is its resistance to scratches and abrasions. However, even though Trex decking is highly resistant to scratches, it is not completely scratch-proof. Over time, heavy furniture, sharp objects, or pet claws can leave visible scratches on the surface. While these scratches may detract from the beauty of your deck, the good news is that they can be repaired, and your Trex decking can be brought back to its original glory.
Before attempting to remove scratches from your Trex deck, it’s important to assess the severity of the scratches. Minor scratches, such as light surface scuffs, can often be easily addressed and repaired without much effort. However, deeper scratches may require more extensive repair techniques, such as sanding or using a decking repair kit.
Now that we have a basic understanding of Trex decking, let’s move on to the next step in the process, which is assessing the scratch severity on your deck.
Assessing the Scratch Severity
Before you start the process of removing scratches from your Trex decking, it’s important to assess the severity of the scratches. This will help you determine the appropriate method to use and ensure the best results.
Here are a few steps to help you assess the scratch severity:
- Observe the scratch: Take a close look at the scratch and determine its depth. Light surface scuffs or minor scratches are usually shallow and only affect the top layer of the deck surface. Deeper scratches may penetrate through the protective layer and require more extensive repair.
- Run your fingernail over the scratch: If your fingernail does not catch on the scratch and glides smoothly over the surface, it is likely a minor scratch. If your nail catches in the scratch, it may indicate a deeper gouge.
- Assess the length and width: Consider the size of the scratch. If it is a small and localized scratch, it may be easier to repair. Larger, longer, or multiple scratches may require more involved repair methods.
- Check the surrounding area: Take note of any discoloration or damage around the scratch. If the area is discolored or the scratch has caused material to chip or warp, it may require additional repair steps.
By assessing the scratch severity, you will have a better idea of the appropriate repair technique to use and whether you can tackle the repair yourself or seek professional assistance.
Once you have determined the scratch severity, it’s time to move on to the next step: cleaning the deck surface.
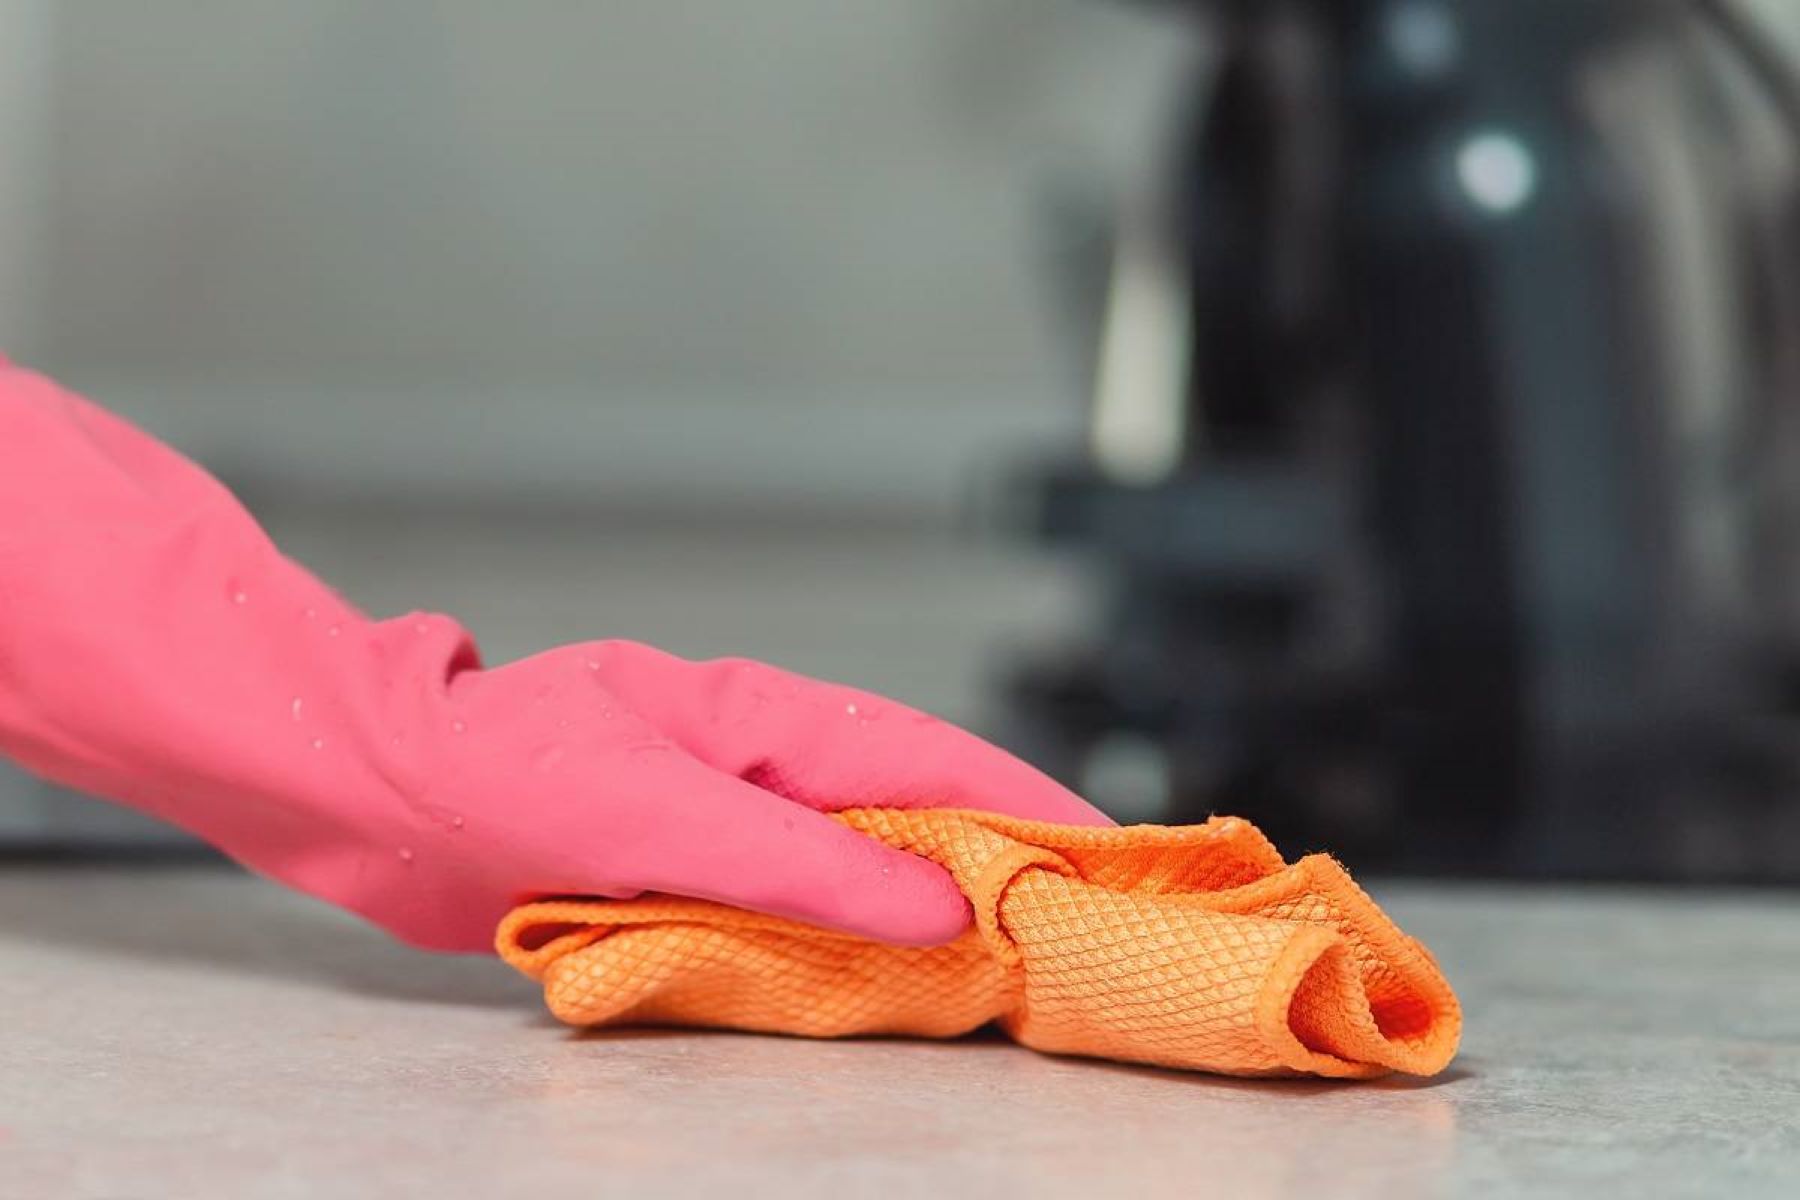
Cleaning the Deck Surface
Before you start any repair or removal process, it’s crucial to clean the deck surface thoroughly. Cleaning the surface will remove any dirt, debris, or stains that may hinder the effectiveness of the scratch removal methods.
Here’s a step-by-step guide on how to clean your Trex decking:
- Sweep or brush the deck: Begin by sweeping or brushing the deck surface to remove loose dirt, leaves, and debris. Pay extra attention to the scratched areas to ensure all loose particles are cleared away.
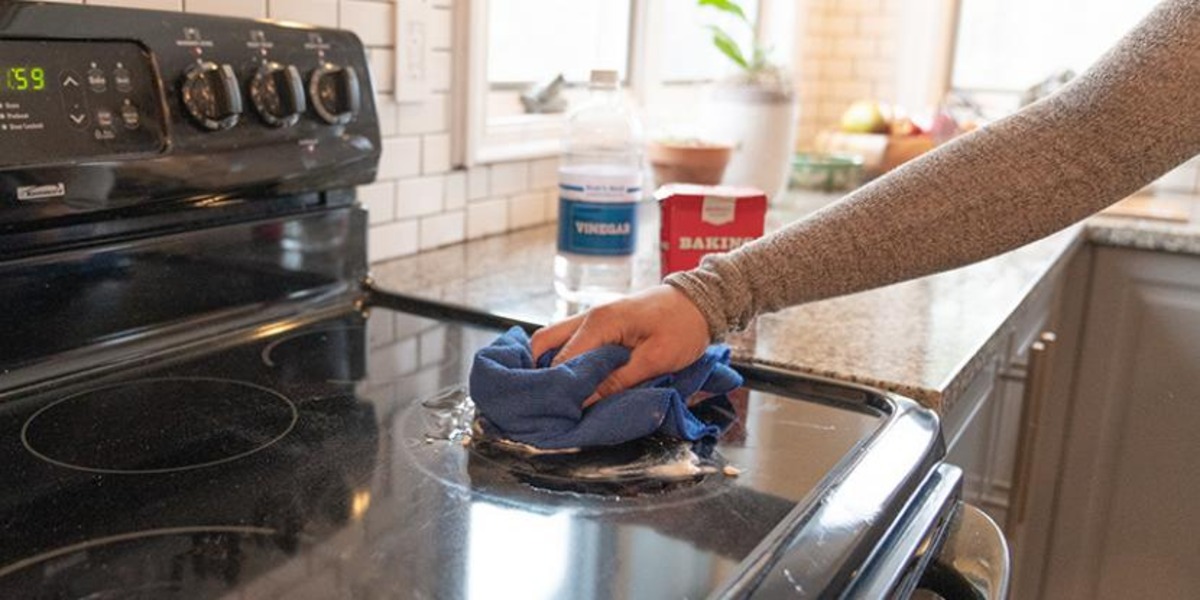
- Prepare a mild cleaning solution: In a bucket, mix warm water with a mild detergent or a composite decking cleaner according to the manufacturer’s instructions. Avoid using harsh chemicals or bleach, as they can damage the deck surface.
- Scrub the deck: Dip a soft bristle brush or sponge into the cleaning solution and scrub the entire deck surface, focusing on the scratched areas. Use gentle circular motions to loosen any stubborn dirt or stains.
- Rinse the deck: After scrubbing, thoroughly rinse the deck surface with clean water to remove the cleaning solution and any remaining residue. A garden hose or a pressure washer with a low-pressure setting can be used for rinsing.
- Allow the deck to dry: Allow the deck surface to dry completely before proceeding to the next step. This may take a few hours, depending on the weather conditions.
By cleaning the deck surface, you create a clean and optimal environment for the following steps in the scratch removal process. A clean surface also ensures that the repair methods adhere properly and provide long-lasting results.
With the deck surface cleaned and dry, you can now proceed to the next step: applying heat to remove minor scratches.
Applying Heat to Remove Minor Scratches
If you have minor scratches on your Trex decking, one effective method to remove them is by applying heat. This technique works well for light surface scuffs and shallow scratches that have not penetrated through the protective layer of the deck.
Here’s how you can use heat to remove minor scratches from your Trex decking:
- Gather the necessary supplies: You will need a heat gun or a hairdryer, a soft cloth, and a mild detergent or composite decking cleaner.
- Clean the scratched area: Start by cleaning the scratched area with a mild detergent or composite decking cleaner. This will remove any dirt or debris that may interfere with the heat application.
- Heat the scratched area: Use the heat gun or hairdryer to apply heat directly to the scratched area. Keep the heat source moving back and forth to avoid concentrating the heat in one spot for too long.
- Observe the heat reaction: As you apply heat, the scratch may temporarily disappear or blend in with the surrounding deck surface. Continue heating the area until the scratch becomes less visible.
- Stop heating and let the area cool: Once the scratch has reduced or disappeared, stop applying heat and allow the area to cool down completely. This will help the material regain its original appearance.
- Inspect the area: After the area has cooled, carefully examine it to ensure the scratch has been effectively minimized or removed. If needed, you can repeat the process or proceed to the next step for deeper scratches.
It’s important to note that the heat method is most effective for minor scratches and surface scuffs. If you have deeper or more severe scratches, this method may not provide the desired results. In such cases, it’s advisable to proceed to the next steps, such as sanding or using a decking repair kit, which we will discuss in the following sections.
Now that we have covered the heat method for minor scratches, let’s move on to the next step: sanding the surface for deeper scratches.
To remove scratches from Trex decking, use a heat gun or a heat source to gently heat the scratched area. This will help the material to expand and the scratches to blend in with the rest of the decking. Be careful not to overheat the area.
Read more: How To Straighten Trex Decking
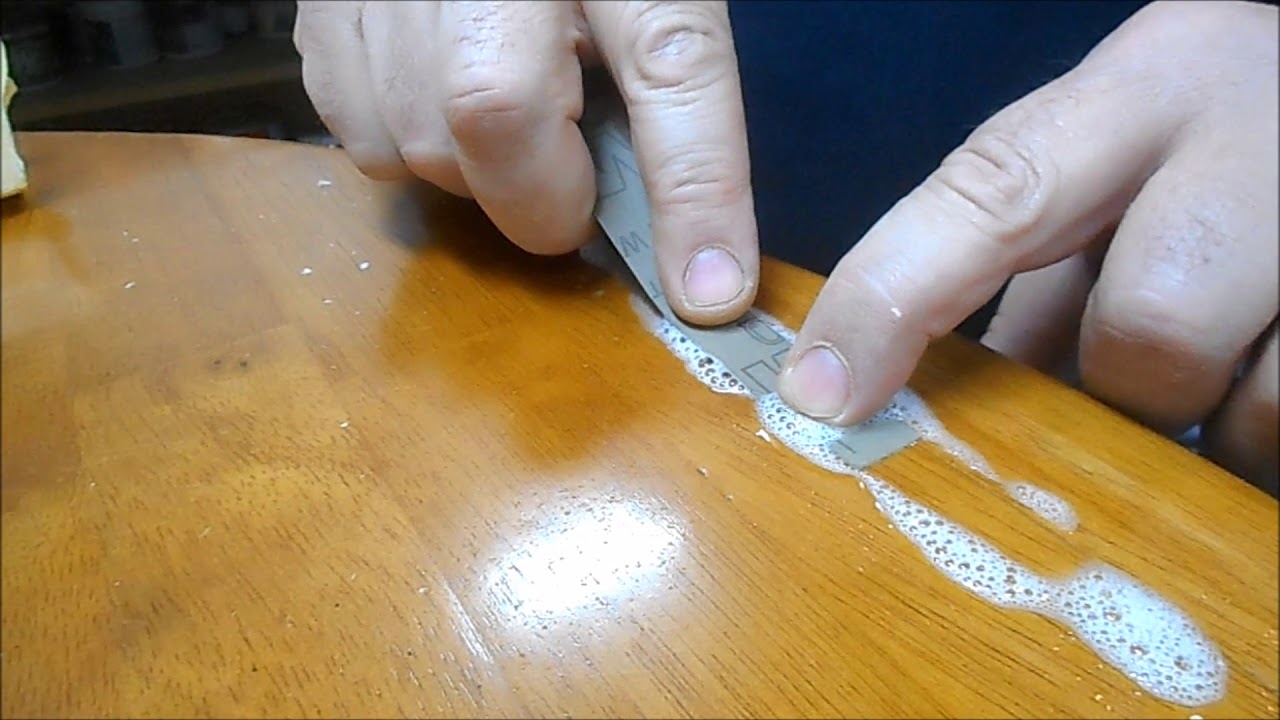
Sanding the Surface for Deeper Scratches
If you have deeper scratches on your Trex decking that cannot be effectively removed with heat or other superficial methods, sanding the surface can be an effective solution. Sanding helps to level out the surface and minimize the appearance of deeper scratches.
Here’s a step-by-step guide on how to sand the surface for deeper scratches:
- Gather the necessary supplies: You will need a random orbital sander or a sanding block, sandpaper with a grit suitable for your Trex decking (typically around 120-150 grit), a soft cloth, and a mild detergent or composite decking cleaner.
- Clean the scratched area: Begin by cleaning the scratched area with a mild detergent or composite decking cleaner. This will remove any dirt, debris, or loose particles that may interfere with the sanding process.
- Sand the scratched area: Attach the appropriate grit sandpaper to your random orbital sander or sanding block. Start sanding the scratched area, applying even pressure and moving in a controlled back-and-forth motion. Be careful not to oversand or create uneven surfaces.
- Check your progress: Periodically stop sanding to check your progress. You want to sand the surface until the scratches are significantly reduced and the area appears smooth and even with the surrounding deck surface.
- Clean the sanded area: Once you are satisfied with the sanding results, use a soft cloth to wipe away any dust or particles resulting from the sanding process. This will ensure a clean surface for the next steps.
- Inspect the area: After cleaning, inspect the sanded area to ensure the scratches have been effectively minimized. If needed, you can continue sanding or proceed to the next step using a decking repair kit.
Sanding the surface can be a more extensive process, especially for larger or deeper scratches. It’s important to approach the sanding process with caution and patience to achieve the desired results without damaging the surrounding deck surface.
Now that we have covered sanding for deeper scratches, let’s move on to using a decking repair kit, which can be helpful for various types of scratches.
Using a Decking Repair Kit
If you have scratches on your Trex decking that are too deep to be removed through surface methods like heat or sanding, using a decking repair kit can be an effective solution. Decking repair kits are specially formulated to fill in and repair deeper scratches, gouges, and holes in composite decking materials like Trex.
Here’s a step-by-step guide on how to use a decking repair kit:
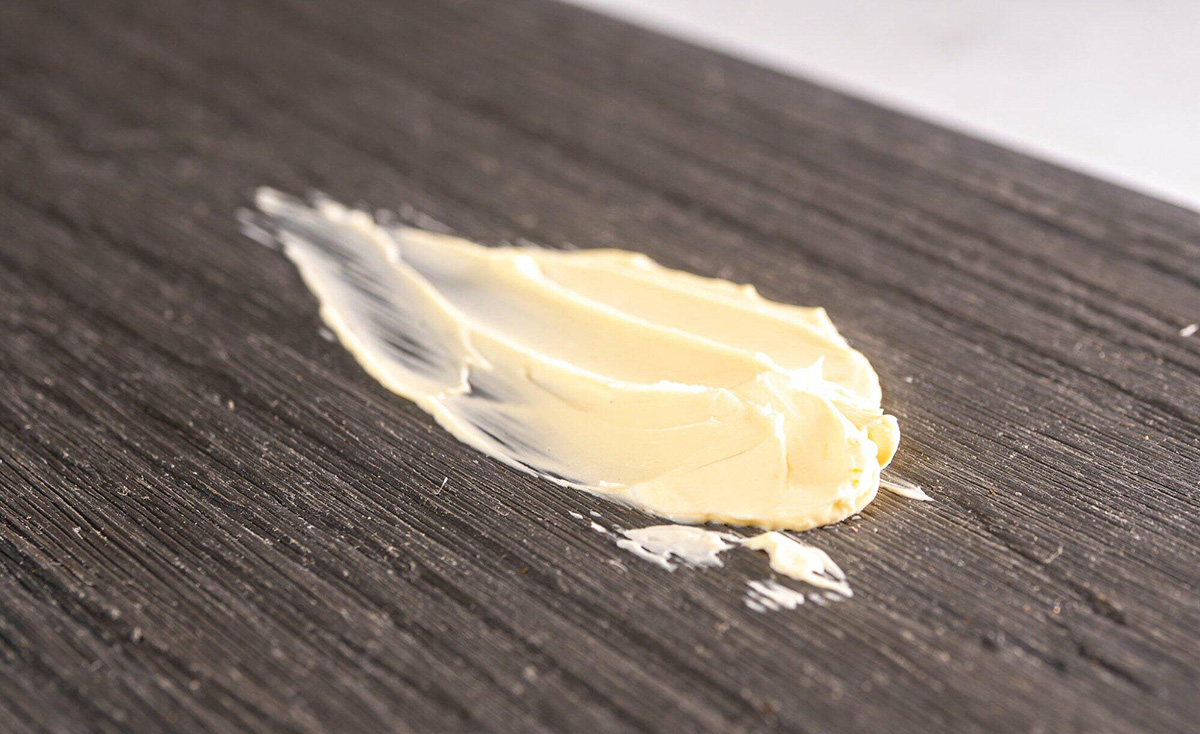
- Gather the necessary supplies: Purchase a decking repair kit suitable for composite decking, following the manufacturer’s instructions. The kit typically includes a filler material, a putty knife or applicator, and a color-matching guide.
- Clean the scratched area: Begin by cleaning the scratched area with a mild detergent or composite decking cleaner. This will remove any dirt, debris, or loose particles that may interfere with the repair process.
- Prepare the filler material: Follow the instructions provided in the repair kit to mix the filler material. This usually involves combining two or more components to create a putty-like consistency.
- Apply the filler to the scratch: Use the putty knife or applicator provided in the kit to apply the filler material to the scratch. Smooth it over the surface, ensuring the entire scratch is filled and level with the surrounding deck area.
- Blend and match the color: Use the color-matching guide provided in the kit to find the closest match to your Trex decking color. Apply a small amount of the matching color onto the filled area using a brush or sponge, blending it in with the surrounding deck surface.
- Allow the repair to dry and cure: Follow the manufacturer’s instructions regarding the drying and curing time for the repair. This will ensure the filler material sets properly and provides a durable, long-lasting repair.
- Inspect the repair: Once the repair has fully dried and cured, inspect the area to ensure the scratch has been effectively filled and blended. If needed, you can make additional touch-ups or proceed to the next step for blending in the repaired area.
A decking repair kit is a convenient solution for deeper scratches and can help restore the appearance and integrity of your Trex decking. Just make sure to carefully follow the manufacturer’s instructions provided with the kit for the best results.
Now that we have covered using a decking repair kit, let’s move on to the next step: blending in the repaired area.
Blending in the Repaired Area
After repairing and filling in the scratches on your Trex decking, it’s important to blend in the repaired area with the surrounding deck surface. This will ensure a seamless and natural appearance, making the repaired area virtually indistinguishable from the rest of the deck.
Here are some steps to help you blend in the repaired area:
- Allow the repair to fully cure: Before attempting to blend in the repaired area, make sure the filler material has fully dried and cured according to the manufacturer’s instructions. This will ensure that the repair is stable and ready for further treatment.
- Clean the entire deck surface: Begin by cleaning the entire deck surface, including the repaired area, using a mild detergent or composite decking cleaner. This will remove any dust, debris, or residue that may interfere with the blending process.
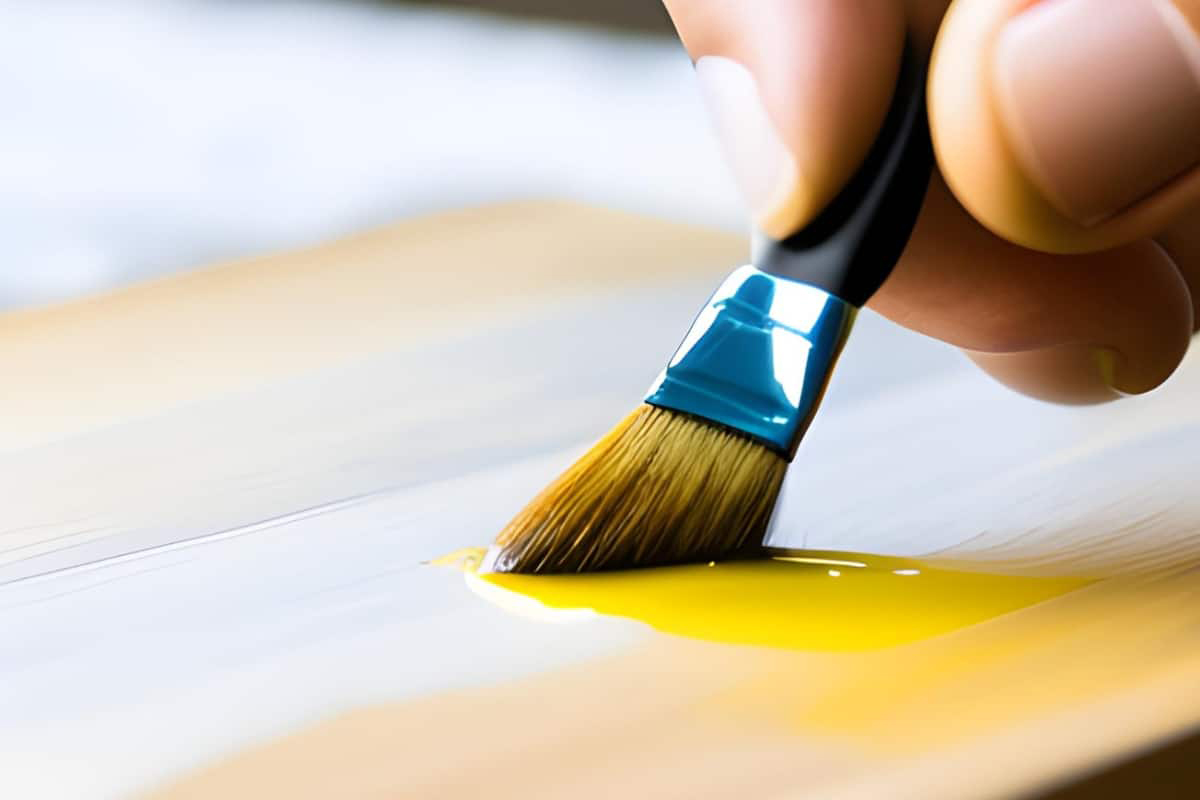
- Apply a deck stain or sealer: To create a uniform appearance, consider applying a layer of deck stain or sealer to the entire deck surface. Choose a product that closely matches the color of your Trex decking. This will help to blend in the repaired area with the rest of the deck.
- Brush or roll the stain/sealer: Use a paintbrush or roller to apply the deck stain or sealer evenly on the deck surface, including the repaired area. Follow the manufacturer’s instructions for application and drying time.
- Blend in the repaired area: Once the deck stain or sealer has dried, take a close look at the repaired area. If necessary, use a brush or sponge to apply a small amount of the deck stain or sealer specifically to the repaired area. Blend it in gently, feathering the edges to match the surrounding deck color.
- Inspect the repair: After blending in the repaired area, step back and inspect the entire deck surface to ensure a seamless blend. The repaired area should now be virtually indistinguishable from the rest of the deck.
Blending in the repaired area is essential for achieving a professional and aesthetically pleasing result. Taking the time to carefully match the color and texture of the repaired area with the rest of the deck will ensure a seamless and integrated finish.
With the repaired area blended in, it’s vital to take preventive measures to avoid future scratches on your Trex decking. Let’s explore some tips to help you prevent future scratches.
Preventing Future Scratches
While it’s inevitable that your Trex decking will experience some wear and tear over time, there are steps you can take to minimize and prevent future scratches. By implementing these preventive measures, you can prolong the beauty and durability of your deck.
Here are some tips to help you prevent future scratches on your Trex decking:
- Use furniture pads or rugs: Place furniture pads or rugs under heavy furniture to minimize direct contact with the deck surface. This will help prevent scratches caused by dragging or sliding furniture.
- Avoid dragging sharp objects: Avoid dragging sharp objects, such as metal chairs or tables, across the deck surface. Always lift and carry these items to prevent scratching.
- Keep pet claws trimmed: Regularly trim your pet’s claws to prevent them from scratching the deck surface. Additionally, consider providing a designated area or deck mat for your pets to prevent them from scratching or digging at the deck.
- Use caution with grills and BBQs: Place a grill mat or protective barrier underneath grills and BBQs to prevent accidental scratches or heat damage to your decking.
- Remove debris promptly: Remove leaves, branches, and any other debris from the deck surface promptly. These items can cause scratches if left to accumulate and are dragged across the deck by foot traffic.
- Avoid using sharp tools on the deck: When working on your deck, use caution with tools that could potentially scratch the surface. Opt for tools with rounded edges or use a protective barrier, such as a piece of plywood, to prevent direct contact with the deck.
- Regularly clean your deck: Regular cleaning of your Trex decking is not only important for maintaining its appearance, but it also helps remove dirt and abrasive particles that can cause scratches over time.
- Perform routine inspections: Regularly inspect your deck for any signs of wear, damage, or potential areas that may require touch-ups or repairs. Addressing minor issues promptly can prevent them from becoming larger problems.
By following these preventive measures, you can significantly reduce the chances of future scratches on your Trex decking. It’s important to be mindful of how you use and maintain your deck to keep it looking beautiful and scratch-free for years to come.
With these tips in mind, you are now equipped with the knowledge and techniques to remove and prevent scratches from your Trex decking. Remember to always read and follow the manufacturer’s instructions for any specific cleaning or repair products you use. Enjoy your pristine and scratch-free outdoor space!
Please note that the specific instructions and products mentioned in this article may vary depending on the brand and type of Trex decking you have. Always refer to the manufacturer’s guidelines for the best practices and recommendations for your specific decking material.
Read more: How To Restore Trex Decking
Conclusion
Maintaining the pristine appearance of your Trex decking is essential to ensure long-lasting beauty and enjoyment of your outdoor space. Scratches can occur over time, but with the right techniques and preventive measures, you can effectively remove and minimize their appearance.
In this comprehensive guide, we have covered various methods to remove scratches from Trex decking, ranging from applying heat to sanding the surface for deeper scratches. We also explored the use of decking repair kits and provided tips on blending in the repaired area.
Additionally, we discussed preventive measures to help you avoid future scratches, such as using furniture pads, keeping pet claws trimmed, and being cautious with grills and sharp tools on the deck. By implementing these measures, you can help preserve the appearance and integrity of your Trex decking.
Remember, it’s important to assess the severity of scratches before deciding on the appropriate repair method. Minor scratches can often be addressed with heat or light sanding, while deeper scratches may require the use of a decking repair kit. Taking the time to properly clean, repair, and blend in the repaired area will ensure a seamless and natural-looking finish.
Lastly, regular maintenance and inspection of your Trex decking are crucial for identifying any potential issues or areas that may need touch-ups. By addressing minor issues promptly, you can prevent them from developing into more significant problems down the line.
With the knowledge and techniques outlined in this guide, you are now equipped to tackle scratches on your Trex decking and keep it looking beautiful for years to come. Remember to always follow the manufacturer’s guidelines and recommendations for your specific Trex decking material.
Enjoy your scratch-free outdoor oasis and make lasting memories on your stunning Trex decking!
Now that you've learned how to remove scratches from your Trex decking, why not spruce up the whole outdoor area? Dive into our latest guide on adding vibrant decor and simple enhancements to make your deck perfect for outdoor living. From cozy furnishings to colorful accents, find all you need to transform your space into a haven for relaxation and entertainment.
Frequently Asked Questions about How To Remove Scratches From Trex Decking
Was this page helpful?
At Storables.com, we guarantee accurate and reliable information. Our content, validated by Expert Board Contributors, is crafted following stringent Editorial Policies. We're committed to providing you with well-researched, expert-backed insights for all your informational needs.
0 thoughts on “How To Remove Scratches From Trex Decking”