Home>Gardening & Outdoor>Pool & Spa Care>How To Repair A Hot Tub Crack
Pool & Spa Care
How To Repair A Hot Tub Crack
Modified: August 23, 2024
Learn how to effectively repair a hot tub crack with our expert tips and techniques for pool and spa care. Keep your hot tub in top condition with our step-by-step guide.
(Many of the links in this article redirect to a specific reviewed product. Your purchase of these products through affiliate links helps to generate commission for Storables.com, at no extra cost. Learn more)
Introduction
Welcome to the wonderful world of hot tub ownership! There’s nothing quite like soaking in the warm, bubbling water after a long day. However, as with any cherished possession, hot tubs require regular maintenance to ensure they remain in top condition. One common issue that hot tub owners may encounter is a crack in the tub’s shell. While this can be a concerning sight, fear not – with the right knowledge and a bit of elbow grease, repairing a hot tub crack is a manageable task.
In this guide, we’ll walk you through the process of assessing and repairing a crack in your hot tub. By following these steps, you can restore your hot tub to its former glory and get back to enjoying its soothing benefits. Let’s dive in and learn how to address this common issue with confidence!
Key Takeaways:
- Don’t let a crack in your hot tub shell ruin your relaxation time! Assess the damage, choose the right repair kit, and seal the repair to keep your hot tub in top condition.
- After repairing a hot tub crack, test it thoroughly to ensure it’s safe and fully operational. Refill the tub, monitor for leaks, and enjoy a soak to confirm the repair’s success.
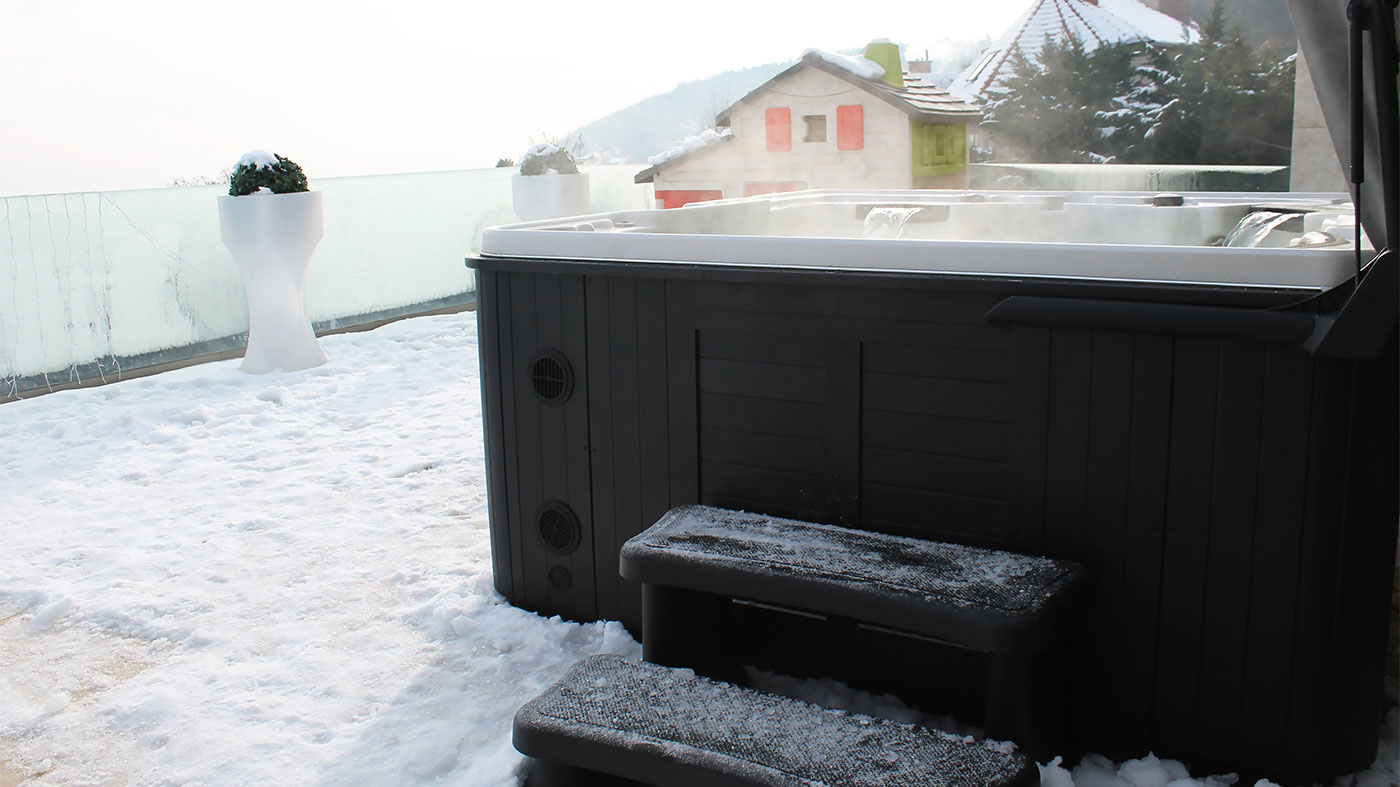
Read more: How To Keep Hot Tub Hot In Winter
Assessing the Damage
Before diving into the repair process, it’s crucial to thoroughly assess the extent of the damage to your hot tub. Start by draining the water from the tub to expose the affected area. Inspect the crack closely, taking note of its size, location, and any surrounding damage. Is the crack small and confined to a specific area, or does it extend across a larger portion of the tub’s surface?
Next, consider the material of your hot tub. Is it made of acrylic, fiberglass, or another type of composite? Understanding the composition of the tub will help determine the most suitable repair method. Additionally, take note of any structural issues that may have contributed to the crack. For instance, is there excessive pressure on the area from nearby equipment, or is the crack a result of impact damage?
It’s also important to inspect the interior of the tub for any signs of water leakage or moisture damage. Even hairline cracks can lead to water seepage, potentially causing further damage over time. By conducting a thorough assessment, you’ll gain a clear understanding of the damage and be better equipped to proceed with the appropriate repair solution.
Keep in mind that some cracks may be more complex than they initially appear. A seemingly small surface crack could indicate underlying structural issues, while a larger crack may be a result of ongoing stress on the tub. By carefully evaluating the damage, you’ll be able to make an informed decision regarding the best course of action for restoring your hot tub.
Repairing the Crack
Now that you’ve assessed the damage, it’s time to roll up your sleeves and begin the repair process. The specific method for repairing a hot tub crack will depend on the material of the tub and the size of the damage. Here are the general steps to follow:
- Clean the Area: Start by thoroughly cleaning the cracked area to remove any dirt, debris, or residual water. Use a gentle cleanser and ensure that the surface is completely dry before proceeding.
- Choose the Right Repair Kit: Select a repair kit designed for your hot tub’s material. For acrylic tubs, an acrylic repair kit with color-matching capabilities is ideal. Fiberglass tubs may require a specific fiberglass repair kit.
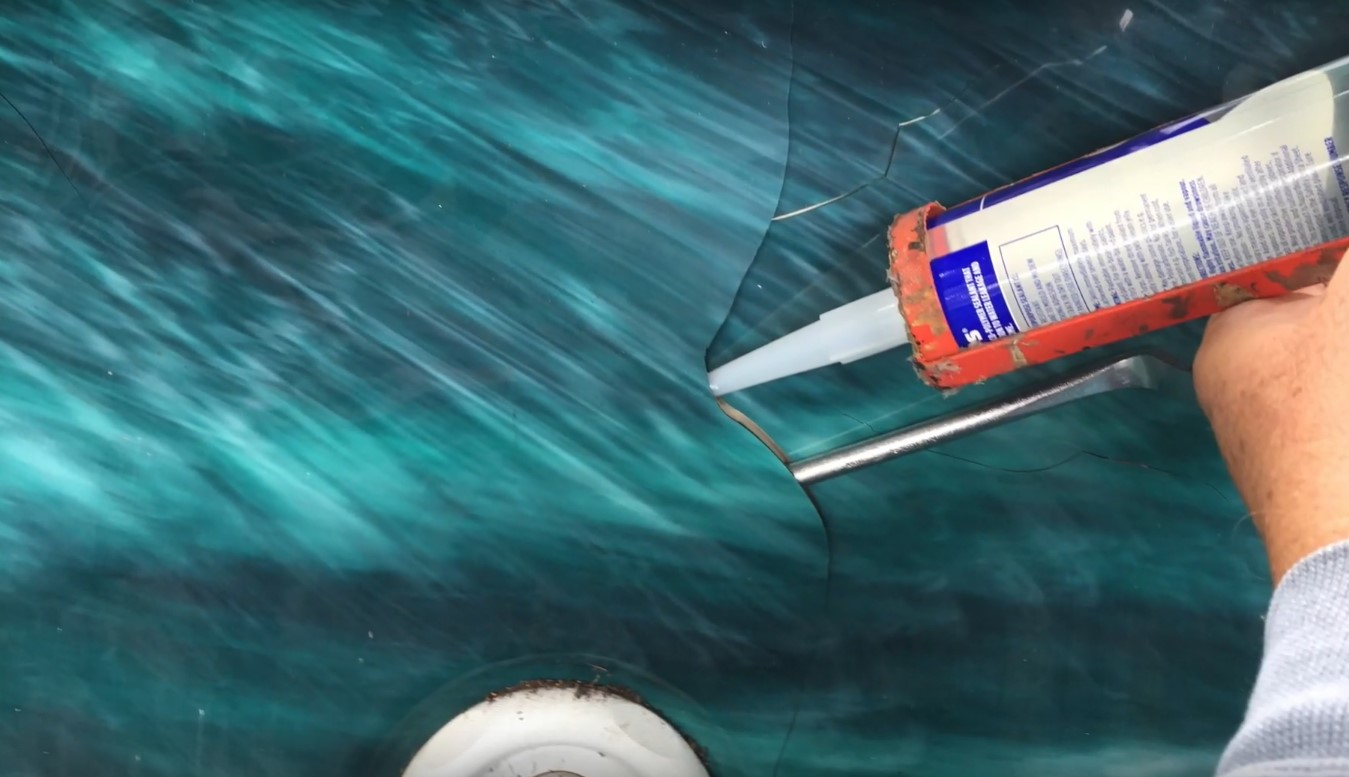
- Apply the Repair Compound: Following the instructions provided with the repair kit, carefully apply the repair compound to the cracked area. Use a steady hand to ensure an even application, and build up the layers as directed to fill the crack completely.
- Smooth and Blend: Once the repair compound is in place, use fine-grit sandpaper to smooth the patched area. This will help blend the repair with the surrounding surface, creating a seamless finish.
- Allow for Proper Curing: Depending on the type of repair compound used, allow sufficient time for curing. This may involve keeping the area dry and at a consistent temperature as the repair sets.
It’s important to follow the instructions provided with your chosen repair kit meticulously. Each type of hot tub material and repair compound may have specific requirements for application and curing. By adhering to the manufacturer’s guidelines, you can ensure a successful and long-lasting repair.
For larger or more complex cracks, it’s advisable to consult with a professional hot tub repair technician. They can assess the damage and provide expert guidance on the most effective repair approach. By addressing the crack promptly and effectively, you’ll be one step closer to restoring your hot tub to its optimal condition.
To repair a hot tub crack, clean the area thoroughly, apply a waterproof epoxy or acrylic repair kit, and allow it to dry completely before refilling the tub.
Sealing the Repair
Once the crack in your hot tub has been effectively repaired, the next critical step is to seal the repair to ensure its durability and longevity. Properly sealing the repaired area will safeguard it against water infiltration and help maintain the structural integrity of the tub. Here’s how to seal the repair effectively:
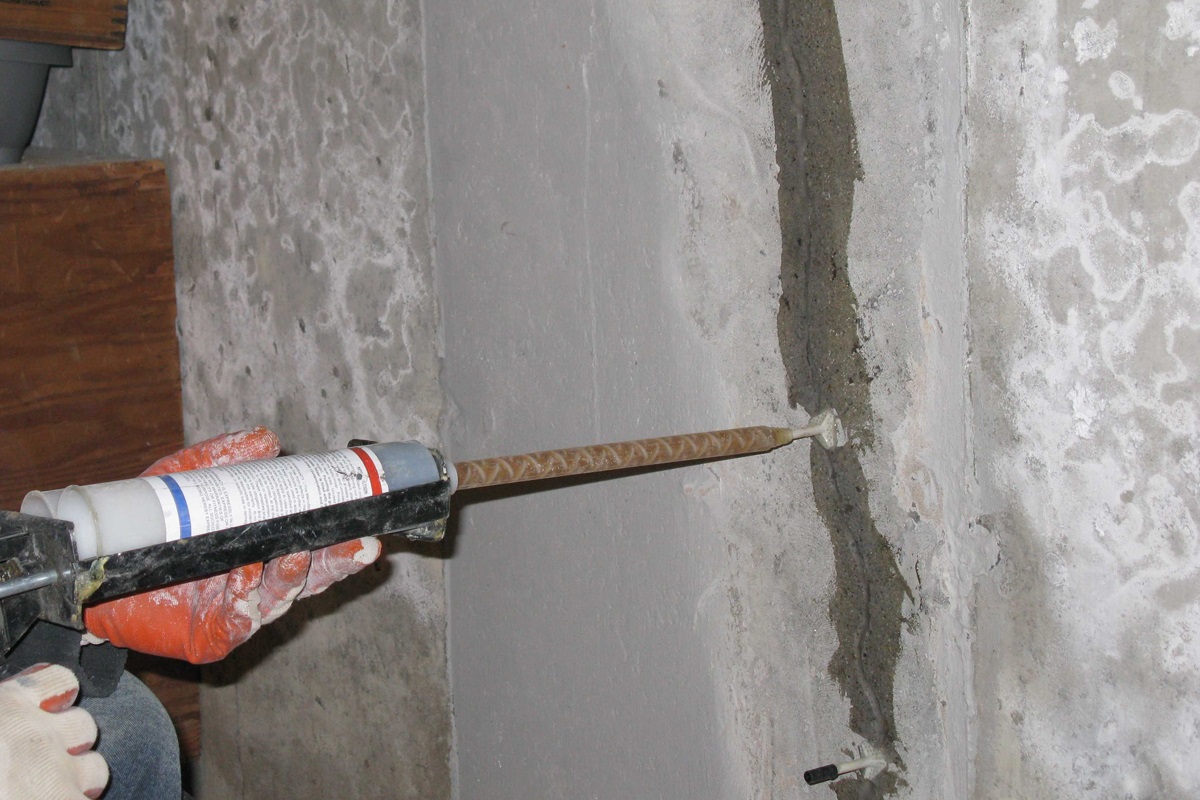
- Apply a Protective Sealant: Select a high-quality sealant designed for use in hot tub repairs. This sealant should be compatible with the material of your tub and provide a waterproof barrier once applied.
- Carefully Cover the Repaired Area: Using a fine brush or applicator, meticulously apply the sealant over the entire repaired area. Ensure that the sealant extends slightly beyond the edges of the repair to create a comprehensive barrier against moisture.
- Allow Ample Drying Time: After applying the sealant, allow it to dry completely according to the manufacturer’s recommendations. This drying period is crucial for the sealant to form a resilient, water-resistant layer over the repair.
- Inspect and Touch Up if Necessary: Once the sealant has dried, inspect the repaired area closely. If any areas appear thin or uneven, apply an additional layer of sealant to reinforce the protection over the repair.
By effectively sealing the repair, you’ll fortify the integrity of the repaired area and prevent water from compromising the fix. This proactive measure is essential for maintaining the structural soundness of your hot tub and ensuring that the repair withstands the rigors of regular use.
It’s important to note that the type of sealant used should be specifically formulated for hot tub repairs. Avoid using generic sealants or adhesives, as they may not provide the necessary level of waterproofing and adhesion required for hot tub applications. By investing in a reputable sealant designed for this purpose, you’ll enhance the resilience of the repair and contribute to the long-term health of your hot tub.
Testing the Hot Tub
With the crack repaired and sealed, it’s time to ensure that your hot tub is fully operational and free from any lingering issues. Testing the hot tub following a repair is a crucial step in confirming that the repair has been successful and that the tub is safe for use. Here’s how to conduct a thorough test of your hot tub:
- Refill the Tub: Begin by refilling the hot tub with water to the appropriate level. Take care to monitor the water as it fills, checking for any signs of leakage around the repaired area.
- Monitor for Leaks: Once the tub is filled, closely inspect the repaired area for any indications of water seepage. Look for moisture, discoloration, or other signs that may suggest a compromised repair.
- Activate the System: Turn on the hot tub’s system, including the jets, heater, and any additional features. Observe the functionality of the system and listen for any unusual noises that may indicate underlying issues related to the repair.
- Conduct a Test Soak: To thoroughly test the tub, consider enjoying a brief soak to assess the overall comfort and performance. Pay attention to the repaired area, ensuring that it remains structurally sound and free from any unexpected issues.
- Monitor for Changes: Over the next several days, periodically check the repaired area for any changes or signs of stress. By conducting ongoing observations, you can identify and address any potential concerns promptly.
By meticulously testing your hot tub following the repair, you can gain confidence in the effectiveness of the fix and the continued reliability of your tub. Should you observe any unexpected issues during the testing process, it’s advisable to seek professional assistance to address the concerns promptly.
Remember, the safety and enjoyment of your hot tub depend on the quality of its repairs and maintenance. By conducting thorough testing and remaining attentive to any changes, you can uphold the integrity of your hot tub and ensure that it continues to provide a relaxing and rejuvenating experience for years to come.
Read more: How A Hot Tub Works
Conclusion
Repairing a crack in your hot tub is a rewarding endeavor that restores both the functionality and aesthetics of this beloved relaxation haven. By following the steps outlined in this guide, you’ve taken a proactive approach to addressing the damage and safeguarding the long-term integrity of your hot tub. As you conclude the repair process, it’s essential to reflect on the significance of maintaining your hot tub and ensuring its ongoing performance.
Remember, regular maintenance and prompt repairs are key to preserving the condition of your hot tub. By addressing cracks and other issues as they arise, you can prevent minor problems from escalating into more significant concerns that may compromise the functionality and safety of your tub. Additionally, staying attuned to the needs of your hot tub allows you to enjoy uninterrupted relaxation and peace of mind while soaking in its warm, inviting waters.
As a hot tub owner, your dedication to maintaining and caring for your tub contributes to its longevity and the quality of your overall experience. Whether you’ve tackled a small surface crack or addressed a more complex repair, your efforts have played a vital role in upholding the comfort and enjoyment that your hot tub provides.
Looking ahead, continue to prioritize regular inspections, maintenance, and any necessary repairs to keep your hot tub in optimal condition. By staying proactive and attentive, you’ll ensure that your hot tub remains a cherished retreat – a place where you can unwind, rejuvenate, and create lasting memories for years to come.
Congratulations on successfully repairing your hot tub crack and taking proactive steps to care for this cherished oasis of relaxation. Your commitment to maintaining your hot tub will undoubtedly enhance the enjoyment and longevity of this beloved feature in your home.
Frequently Asked Questions about How To Repair A Hot Tub Crack
Was this page helpful?
At Storables.com, we guarantee accurate and reliable information. Our content, validated by Expert Board Contributors, is crafted following stringent Editorial Policies. We're committed to providing you with well-researched, expert-backed insights for all your informational needs.


0 thoughts on “How To Repair A Hot Tub Crack”