Home>Gardening & Outdoor>Outdoor Structures>How To Install A Toilet In A Shed
Outdoor Structures
How To Install A Toilet In A Shed
Modified: August 28, 2024
Learn how to install a toilet in a shed with our comprehensive guide. Perfect for outdoor structures like sheds and workshops. Get started today!
(Many of the links in this article redirect to a specific reviewed product. Your purchase of these products through affiliate links helps to generate commission for Storables.com, at no extra cost. Learn more)
Introduction
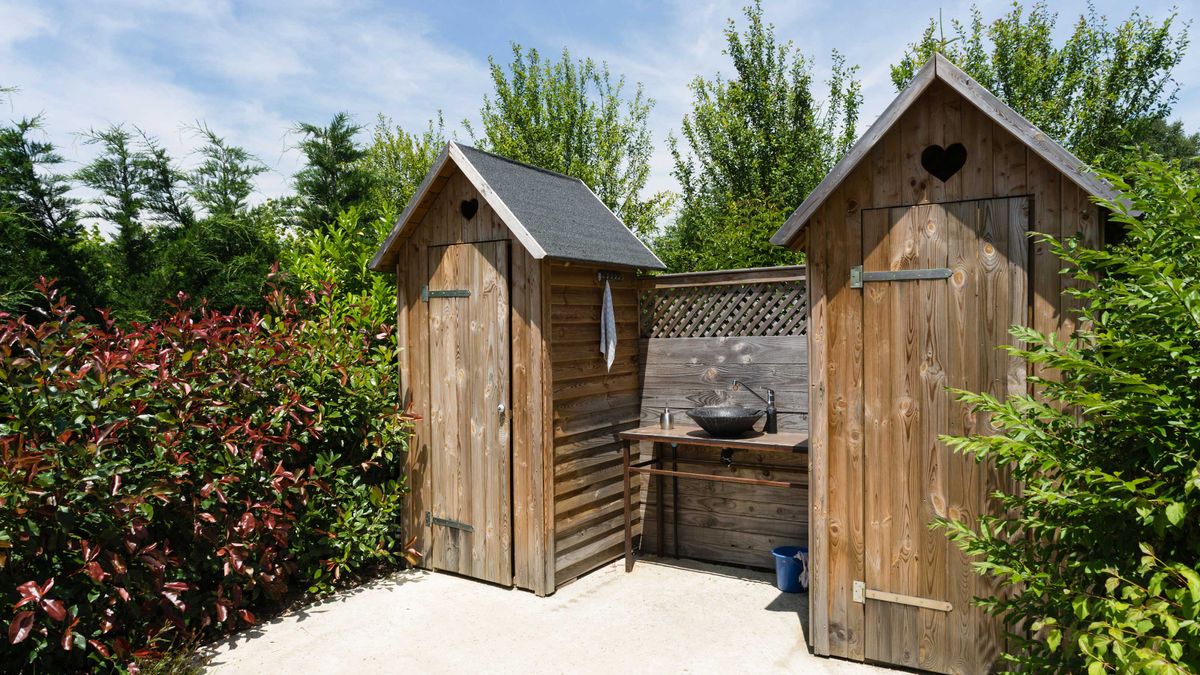
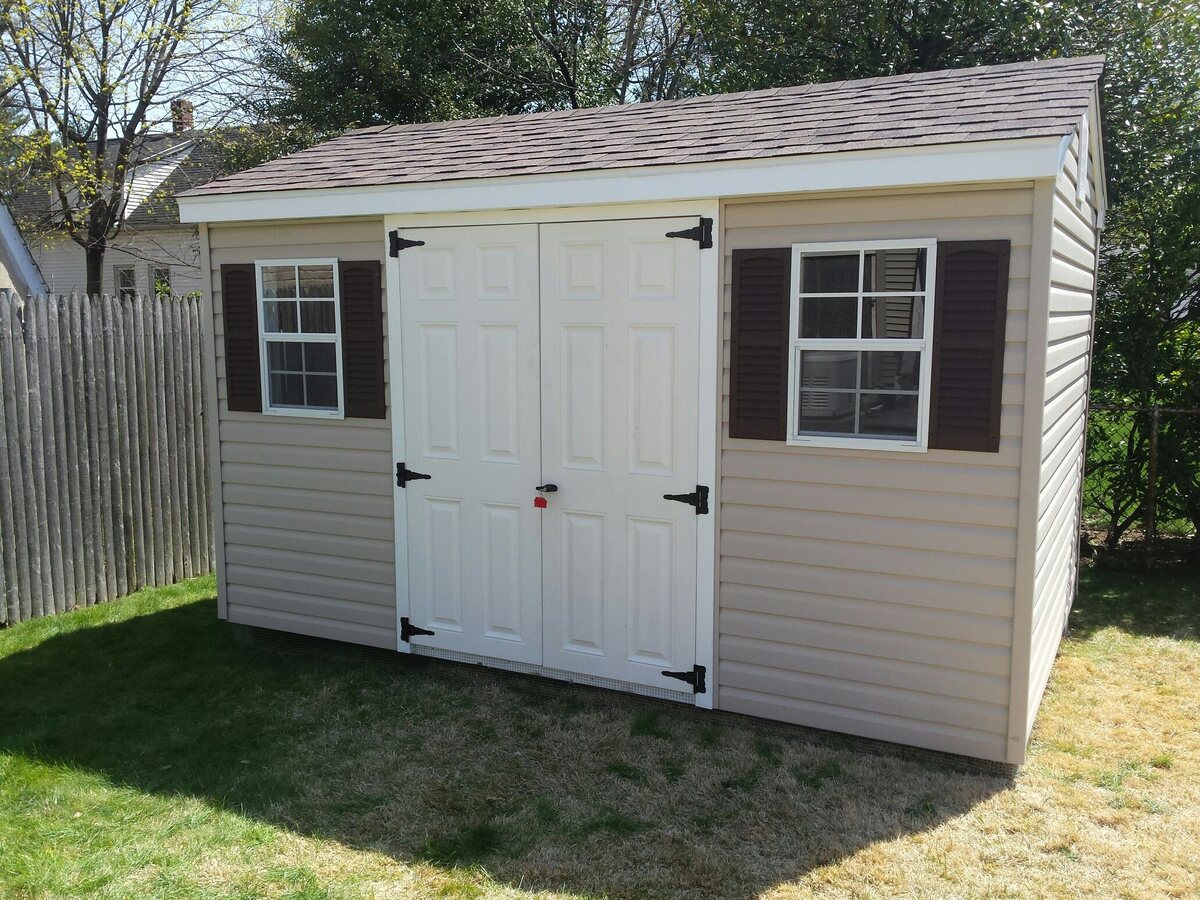
Welcome to the world of outdoor structures! Whether you have a cozy backyard shed, a rustic cabin, or a charming tiny house, the addition of a toilet can significantly enhance the functionality and comfort of your space. In this guide, we will walk you through the process of installing a toilet in your shed, providing you with the knowledge and confidence to tackle this project with ease.
Having a toilet in your shed can be incredibly convenient, especially if your shed serves as a workspace, studio, or even a guesthouse. By following the steps outlined in this article, you can transform your shed into a more versatile and welcoming environment. So, roll up your sleeves, gather your tools, and let’s get started on this exciting endeavor!
Key Takeaways:
- Adding a toilet to your shed can make it more versatile and welcoming, whether it’s a workspace or guesthouse. With the right tools and steps, you can successfully install a toilet and enhance your shed’s functionality.
- After installing a shed toilet, prioritize regular maintenance to ensure long-term functionality. Enjoy the convenience and expanded possibilities while keeping an eye on plumbing, connections, and seals for reliability.
Read more: How To Install A Metal Shed
Step 1: Gather the Necessary Tools and Materials
Before embarking on the installation process, it’s essential to gather all the tools and materials you’ll need. Here’s a comprehensive list to ensure you’re well-prepared:
- Toilet: Select a toilet that fits the space and meets your preferences. Consider factors such as size, style, and flushing mechanism.
- Toilet Flange: This crucial component connects the toilet to the waste pipe. Ensure that it matches the size and type required for your setup.
- Wax Ring: A wax ring creates a watertight seal between the toilet and the flange, preventing leaks and odors from escaping.
- Adjustable Wrench: This versatile tool will be essential for securing various connections and components.
- Hacksaw or PVC Cutter: Depending on the type of pipes you’re working with, a hacksaw or PVC cutter will be necessary for cutting and adjusting the plumbing.
- Screwdriver: Choose a screwdriver that matches the types of screws or fasteners used in your toilet and flange.
- Level: Ensuring that the toilet is perfectly level is crucial for its functionality and longevity.
- Measuring Tape: Accurate measurements are vital for positioning the toilet and aligning the plumbing.
- Plumber’s Putty or Caulk: This will be used to create a watertight seal around the base of the toilet, enhancing its stability and preventing leaks.
- Protective Gear: Don’t forget to prioritize safety by wearing gloves and eye protection throughout the installation process.
By gathering these tools and materials in advance, you’ll be well-equipped to proceed smoothly through the installation process. With everything at your fingertips, you can approach each step with confidence and precision, ensuring that your shed’s new toilet will be a reliable and functional addition to your space.
Step 2: Prepare the Location for the Toilet
Before installing the toilet, it’s crucial to prepare the location to ensure a stable and functional setup. Here are the key steps to follow:
1. Choose the Placement: Select the ideal location for the toilet within your shed. Consider factors such as accessibility, privacy, and proximity to the existing plumbing and ventilation systems.
2. Clear the Area: Ensure that the chosen spot is clear of any obstructions or debris. A clean and open space will facilitate the installation process and allow for easy maneuvering during the placement of the toilet.
3. Check the Flooring: Assess the condition of the flooring where the toilet will be installed. It should be level, stable, and capable of supporting the weight of the toilet and the individual using it. If needed, make any necessary repairs or adjustments to the flooring to ensure a solid foundation.
4. Mark the Position: Use a measuring tape and a pencil to mark the precise position where the toilet will be placed. Ensure that the measurements align with the requirements specified in the toilet’s installation instructions.
5. Plan for Plumbing Connections: If the shed is not already equipped with plumbing for a toilet, you will need to plan for the installation of the necessary pipes and connections. Consider consulting a professional plumber to ensure that the plumbing is installed correctly and meets all relevant codes and regulations.
By thoroughly preparing the location for the toilet, you can set the stage for a successful installation. Taking the time to assess the space, address any necessary adjustments, and plan for the plumbing connections will contribute to a seamless and reliable setup, ensuring that your shed’s new toilet functions optimally for years to come.
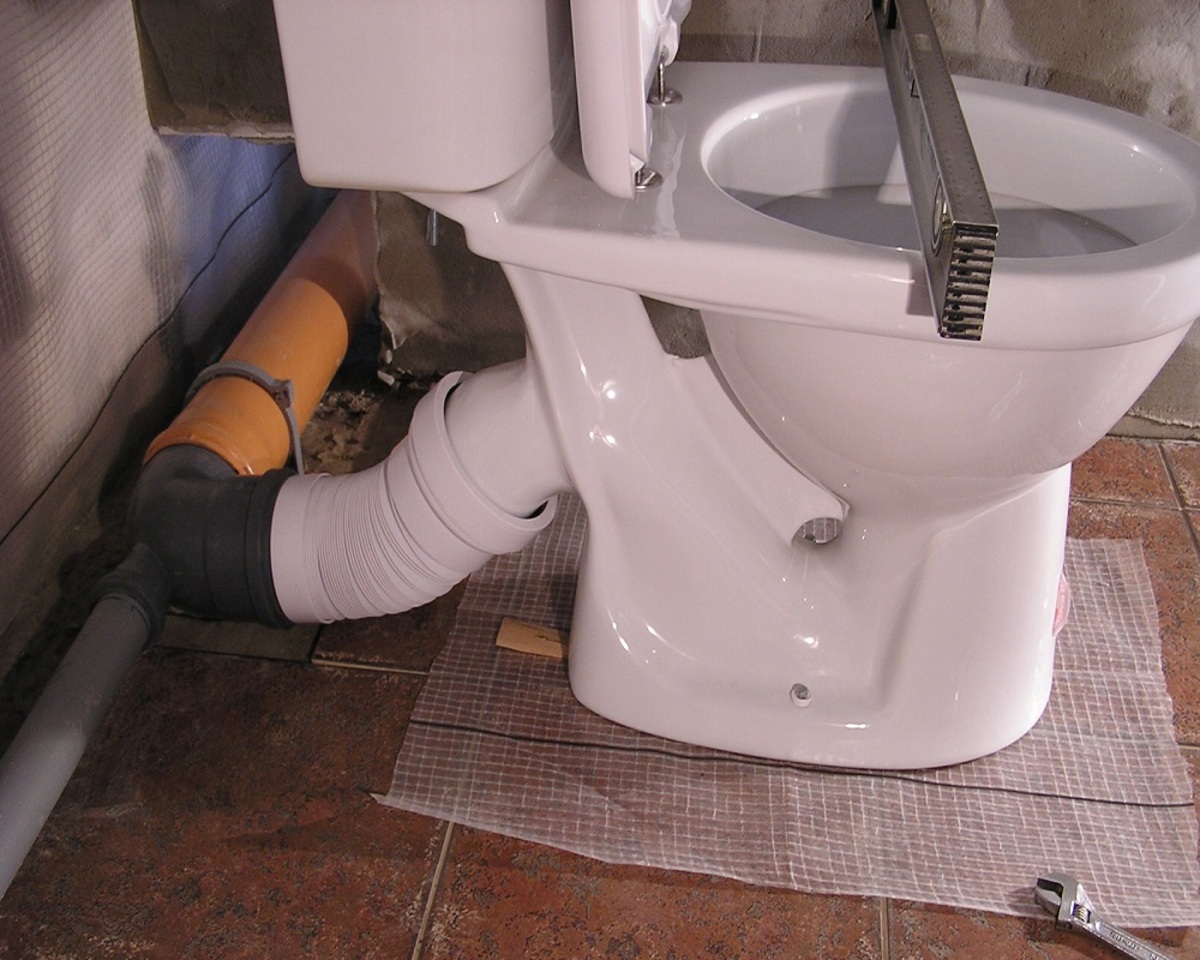
Step 3: Install the Toilet Flange
Installing the toilet flange is a crucial step in the process of adding a toilet to your shed. The flange serves as the connection point between the toilet and the waste pipe, ensuring a secure and leak-free setup. Here’s how to proceed with this essential installation:
1. Assess the Existing Plumbing: If the shed already has a waste pipe in place, assess its condition and ensure that it is properly positioned for the installation of the toilet flange. If necessary, make any adjustments to the pipe to accommodate the flange.
2. Position the Flange: Carefully position the toilet flange over the waste pipe, ensuring that it aligns correctly and sits flush with the floor. The flange should be oriented to allow for a secure attachment to the waste pipe.
3. Secure the Flange: Once the flange is properly positioned, secure it to the floor using the appropriate fasteners. Ensure that the flange is firmly anchored, as it will provide the essential connection point for the toilet.
4. Apply Sealant: To create a watertight seal and prevent any potential leaks, apply a suitable sealant around the base of the flange where it meets the floor. This will help to secure the flange in place and prevent water from seeping into the subfloor.
5. Check for Stability: After installing the flange, perform a stability check to ensure that it is securely attached and does not wobble or shift. A stable and properly installed flange is essential for the overall stability and functionality of the toilet.
By carefully following these steps, you can successfully install the toilet flange, laying the groundwork for the seamless connection between the toilet and the waste pipe. With the flange securely in place, you can proceed with confidence to the next phase of the installation process, bringing your shed one step closer to featuring a fully functional toilet.
Make sure to install a proper drainage system for the toilet in your shed. This will require digging a trench for the pipes and connecting them to the main sewer line or a septic tank. It’s important to follow local building codes and regulations when installing a toilet in a shed.
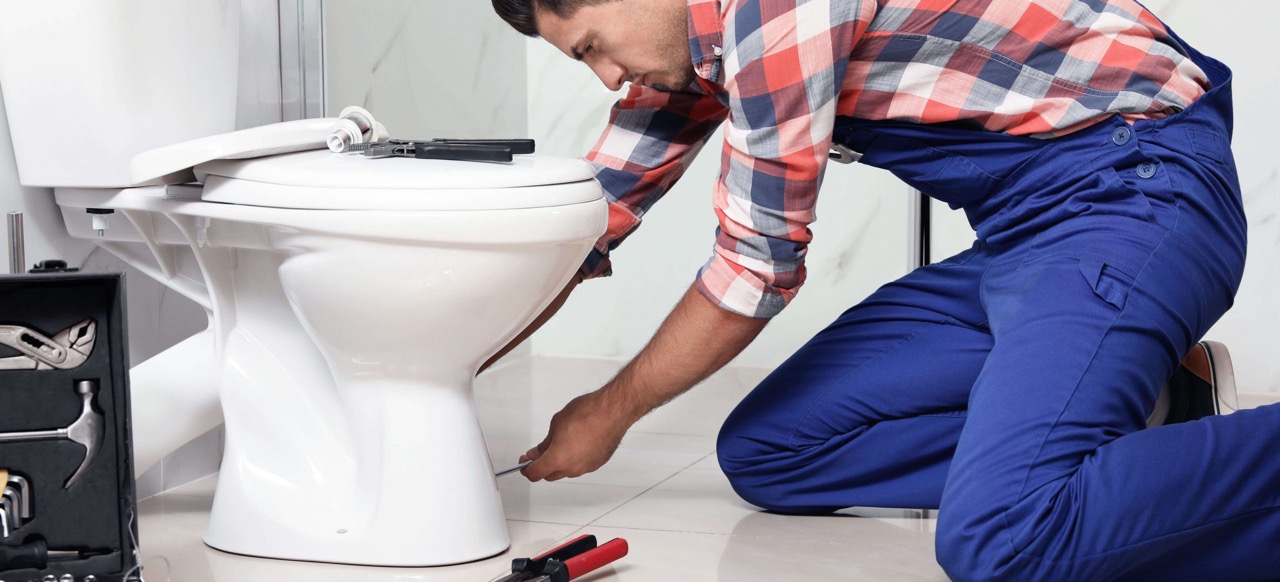
Step 4: Install the Toilet
With the toilet flange securely in place, it’s time to proceed with the exciting step of installing the toilet in your shed. Follow these essential guidelines to ensure a successful installation:
1. Position the Toilet: Carefully position the toilet over the flange, ensuring that it aligns correctly and sits level on the floor. Take your time to position the toilet precisely, as its alignment is crucial for its stability and functionality.
2. Create a Seal: Place a wax ring or a wax-free gasket seal on the flange to create a watertight seal between the toilet and the waste pipe. This seal is essential for preventing leaks and odors from escaping into the shed.
3. Lower the Toilet: Gently lower the toilet onto the flange, ensuring that the wax ring or gasket seal is compressed evenly. Apply downward pressure to create a secure connection between the toilet and the flange.
4. Secure the Toilet: Once the toilet is in position, secure it to the flange using the appropriate fasteners. Follow the manufacturer’s instructions to ensure that the toilet is firmly anchored and stable.
5. Check the Alignment: Use a level to verify that the toilet is perfectly aligned and sits level on the floor. Adjust the positioning if necessary to ensure that the toilet is stable and aesthetically pleasing.
6. Apply Caulk: To create a clean and watertight seal around the base of the toilet, apply a bead of plumber’s putty or caulk. This will enhance the stability of the toilet and prevent any potential leaks around its base.
By following these steps, you can successfully install the toilet in your shed, bringing you one step closer to enjoying the convenience and functionality of a dedicated toilet space. With the toilet securely in place, you can proceed to the next phase of the installation process, connecting the plumbing to complete the setup.
Read more: How To Install A Shed Roof
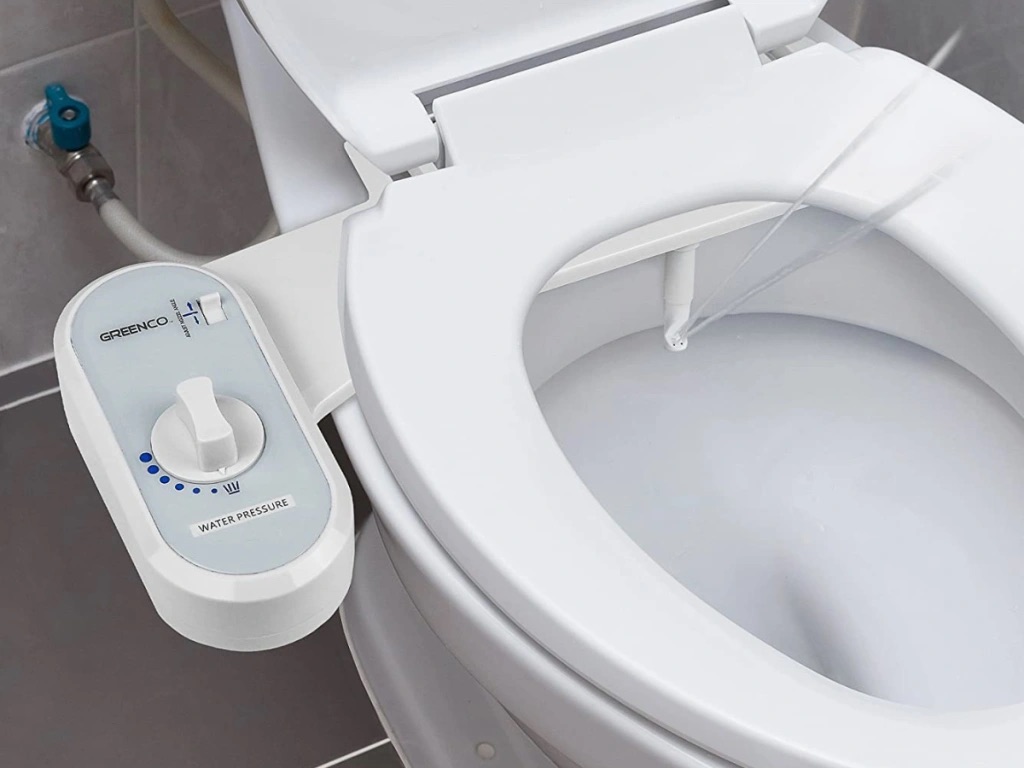
Step 5: Connect the Plumbing
Connecting the plumbing is a pivotal aspect of installing a toilet in your shed, as it ensures the proper functioning of the toilet and the efficient disposal of waste. Follow these essential steps to connect the plumbing and complete the installation:
1. Connect the Waste Pipe: If the shed is not already equipped with a waste pipe, it’s essential to connect the toilet’s waste outlet to the appropriate plumbing system. Ensure that the connection is secure and complies with all relevant building codes and regulations.
2. Secure the Connections: Use appropriate fittings and connectors to secure the plumbing connections, ensuring that they are watertight and resistant to leaks. Take your time to verify the integrity of the connections, as any potential leaks can lead to significant issues over time.
3. Test for Leaks: Before proceeding further, test the plumbing connections for leaks by flushing the toilet and observing the flow of water through the system. Check for any signs of leakage or seepage, and address any issues promptly to prevent water damage and potential structural problems.
4. Install the Water Supply: Connect the toilet’s water supply line to the appropriate source, ensuring that it delivers a steady and reliable flow of water to the toilet’s tank. Verify that the water supply is connected securely and does not exhibit any signs of leakage.
5. Adjust the Water Level: Once the water supply is connected, adjust the water level in the toilet’s tank to the manufacturer’s recommended specifications. This ensures optimal flushing performance and water conservation.
6. Insulate Exposed Pipes (If Necessary): If the shed is located in a region with cold temperatures, consider insulating any exposed plumbing to prevent freezing and potential damage during colder months.
By diligently connecting the plumbing and verifying the integrity of the connections, you can ensure that your shed’s new toilet operates reliably and efficiently. With the plumbing successfully connected, you can proceed to the final step of the installation process, testing the toilet to confirm its functionality.
Step 6: Test the Toilet
After completing the installation and connecting the plumbing, it’s crucial to test the toilet to ensure that it operates flawlessly and meets all functional requirements. Follow these steps to conduct a comprehensive test of the toilet:
1. Flush the Toilet: Test the toilet’s flushing mechanism by flushing it multiple times to verify its functionality. Observe the flush for any signs of irregularities, such as weak flushing or lingering water in the bowl.
2. Check for Leaks: Inspect the base of the toilet and the surrounding area for any signs of leaks or moisture. Address any leaks immediately to prevent water damage and maintain the integrity of the installation.
3. Assess the Fill Valve: Verify that the toilet’s tank refills properly after flushing, and ensure that the fill valve operates smoothly without any unusual noises or malfunctions.
4. Test the Seal: To confirm the effectiveness of the wax ring or gasket seal, inspect the area around the base of the toilet for any signs of water leakage. A properly sealed toilet will exhibit no signs of water seepage.
5. Check for Proper Drainage: Observe the drainage of water from the toilet bowl and tank to ensure that it flows smoothly and efficiently into the waste pipe without any obstructions or irregularities.
6. Verify Stability: Sit on the toilet to assess its stability and ensure that it remains firmly anchored to the floor. Any wobbling or instability should be addressed to prevent potential damage and ensure user safety.
7. Conduct Odor Tests: After using the toilet, check for any odors that may indicate a faulty seal or improper ventilation. Address any odor issues promptly to maintain a fresh and pleasant environment in your shed.
By conducting a thorough test of the toilet, you can identify and address any potential issues, ensuring that your shed’s new toilet operates reliably and meets your expectations. With the successful completion of the testing phase, you can confidently celebrate the installation of a fully functional toilet in your shed, enhancing its convenience and versatility.
Conclusion
Congratulations on successfully installing a toilet in your shed! By following the comprehensive steps outlined in this guide, you have transformed your shed into a more versatile and functional space, offering the convenience of a dedicated toilet. The addition of a toilet can greatly enhance the usability and comfort of your shed, whether it serves as a workspace, studio, or guesthouse.
Throughout the installation process, you have gained valuable insights into the essential steps involved in adding a toilet to an outdoor structure. From gathering the necessary tools and materials to testing the functionality of the installed toilet, you have demonstrated resourcefulness and determination in completing this project.
As you enjoy the benefits of your newly installed shed toilet, remember to prioritize regular maintenance and care to ensure its long-term functionality. Periodically inspect the plumbing, connections, and seals to address any potential issues promptly and maintain the reliability of the toilet.
With a fully functional toilet in your shed, you have expanded the possibilities for utilizing the space and accommodating your needs and those of your guests. Whether you’re pursuing creative endeavors, hosting visitors, or simply seeking a more convenient workspace, the addition of a toilet represents a significant enhancement to your shed’s amenities.
Thank you for embarking on this exciting journey of shed improvement and for entrusting us to guide you through the installation process. We hope that your newly installed shed toilet brings you convenience, comfort, and an enhanced sense of functionality in your outdoor space.
Frequently Asked Questions about How To Install A Toilet In A Shed
Was this page helpful?
At Storables.com, we guarantee accurate and reliable information. Our content, validated by Expert Board Contributors, is crafted following stringent Editorial Policies. We're committed to providing you with well-researched, expert-backed insights for all your informational needs.


0 thoughts on “How To Install A Toilet In A Shed”