Articles
How To Install An Lg Dishwasher
Modified: October 28, 2024
Learn how to install an LG dishwasher with step-by-step instructions and helpful articles. Simplify your kitchen routine and enjoy the convenience of a new appliance.
(Many of the links in this article redirect to a specific reviewed product. Your purchase of these products through affiliate links helps to generate commission for Storables.com, at no extra cost. Learn more)
Introduction
Welcome to a comprehensive guide on how to install an LG dishwasher. Whether you’re replacing an old dishwasher or installing a new one, this step-by-step tutorial will walk you through the process. Installing a dishwasher may seem intimidating, but with the right tools and a bit of patience, you can have your LG dishwasher up and running in no time.
LG dishwashers are known for their innovative features, energy efficiency, and sleek design. They offer a range of models to suit various needs, from compact sizes for small kitchens to larger models with advanced features.
Before we dive into the installation process, it’s important to ensure you have all the necessary tools and materials. This includes a wrench, pliers, screwdriver, a level, and a power drill. It’s also essential to review the manufacturer’s instructions provided with your LG dishwasher, as they may contain specific guidelines or requirements.
As with any home improvement project, safety should be a top priority. Remember to turn off the power supply before starting the installation process. If you’re not comfortable working with electricity or plumbing, it’s recommended to consult a professional to ensure a safe and proper installation.
With the necessary precautions in mind, let’s move on to the first step of the installation process: gathering the necessary tools and materials.
Key Takeaways:
- Installing an LG dishwasher is a manageable DIY project with the right tools and instructions. Prioritize safety, prepare the area, connect supplies, secure the dishwasher, and conduct a thorough test for a seamless installation.
- Enjoy the convenience and efficiency of your LG dishwasher by familiarizing yourself with its features and settings. Regular maintenance and cleaning will prolong its lifespan, leaving you with more free time for yourself.
Read more: How To Install A Samsung Dishwasher
Step 1: Gather the necessary tools and materials
Before you begin installing your LG dishwasher, it’s important to make sure you have all the tools and materials you’ll need for a successful installation. Here’s a checklist of what you’ll need:
1. LG dishwasher: Make sure you have the dishwasher itself, with all the necessary parts and components included.
2. Wrench: You’ll need a wrench to secure the water supply lines and other connections.
3. Pliers: Pliers will come in handy for tightening nuts and bolts during the installation process.
4. Screwdriver: Have a screwdriver on hand for removing and installing screws as needed.
5. Level: A level will help ensure that your dishwasher is properly aligned and balanced.
6. Power drill: Depending on your specific installation requirements, a power drill may be necessary for drilling holes or securing brackets.
7. Dishwasher installation kit: This kit typically includes a dishwasher connector hose, clamp, and other necessary hardware for installation.
In addition to these tools, it’s important to have safety equipment such as gloves and safety glasses to protect yourself during the installation process. It’s always better to be prepared and have everything you need readily available before you start the installation.
It’s also worth noting that different dishwasher models may have additional requirements or specific tools needed for installation. Refer to the manufacturer’s instructions provided with your LG dishwasher to ensure you have all the necessary tools and materials.
Once you have gathered all the required tools and materials, you’re ready to move on to the next step: preparing the installation area.
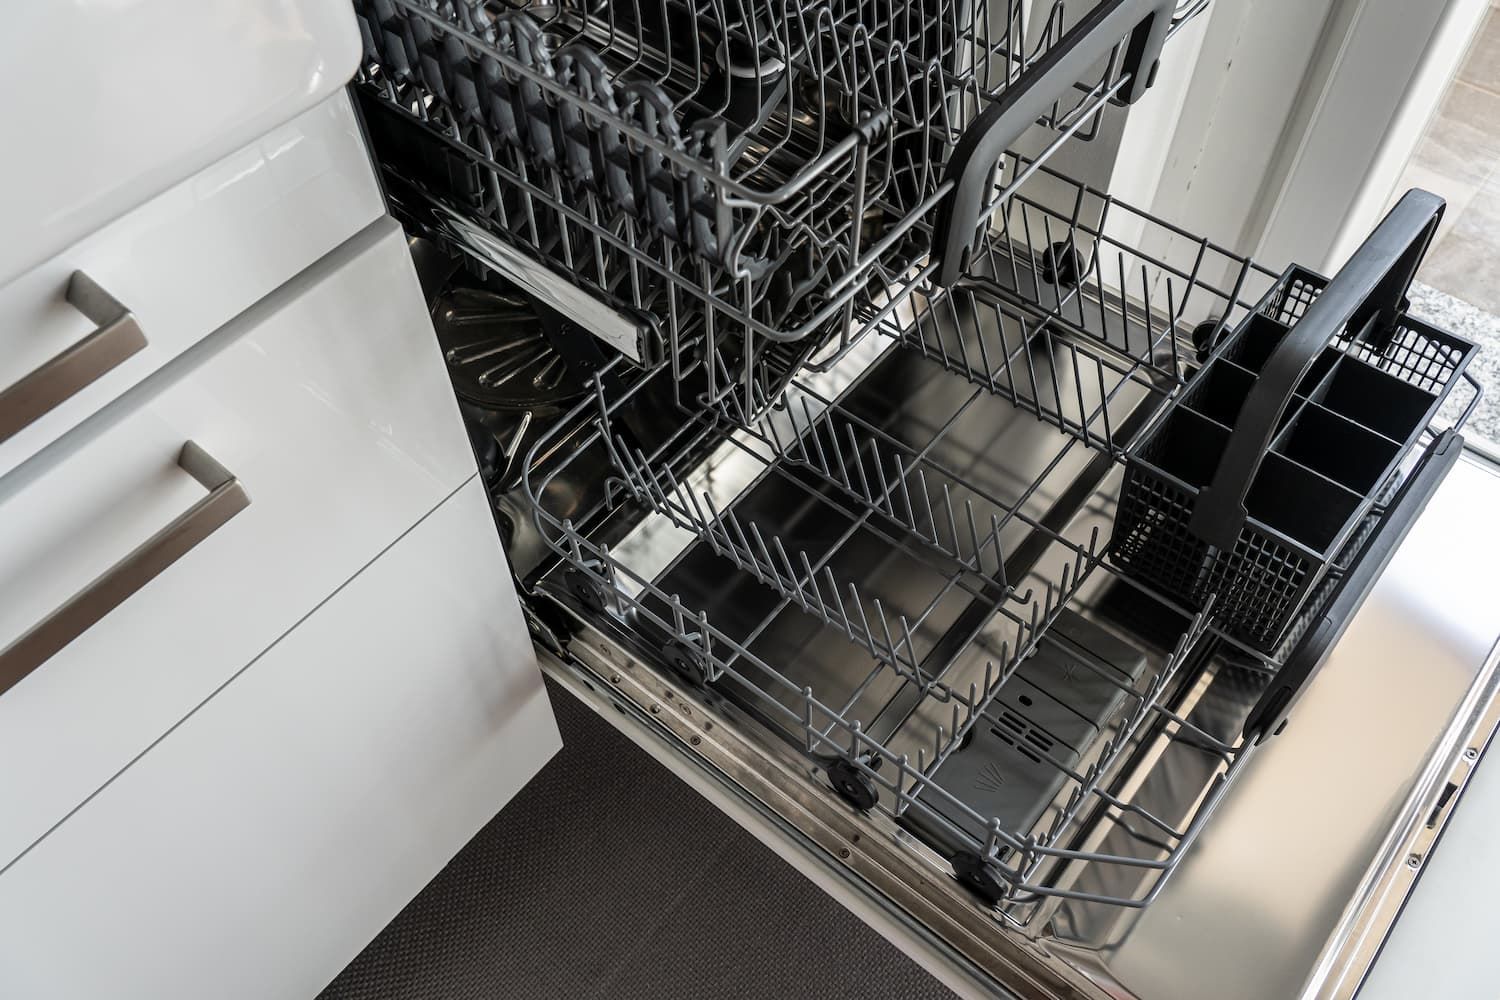
Step 2: Prepare the installation area
Preparing the installation area is crucial to ensure a smooth and efficient installation of your LG dishwasher. Follow these steps to prepare the area:
1. Clear the space: Remove any objects or debris from the area where you plan to install the dishwasher. This includes pots, pans, utensils, and other items that might be in the way.
2. Measure the space: Use a tape measure to determine the dimensions of the installation area. Make sure there is enough clearance for the dishwasher to fit properly, taking into account the width, depth, and height of the appliance.
3. Check the plumbing and electrical connections: Before you proceed, ensure that the plumbing and electrical connections are easily accessible near the installation area. This includes the water supply line, drain pipe, and electrical outlet.
4. Level the floor: Place a level on the floor where the dishwasher will be installed. Check if the floor is level or if there are any noticeable slopes or uneven areas. If necessary, use shims or adjust the leveling feet on the dishwasher to ensure it sits perfectly level.
5. Install a water hammer arrestor (optional): If your home experiences water hammer, it is recommended to install a water hammer arrestor on the water supply line. This device helps reduce sudden water pressure fluctuations that can damage the dishwasher or cause noise during operation.
6. Consider insulation: If you want to minimize noise during operation, consider adding insulation to the surrounding cabinets. This can help reduce vibrations and noise transfer.
By taking the time to properly prepare the installation area, you will ensure that the dishwasher fits seamlessly into the space and functions optimally. Once you have completed these preparations, you’re ready to move on to the next step: connecting the water supply.
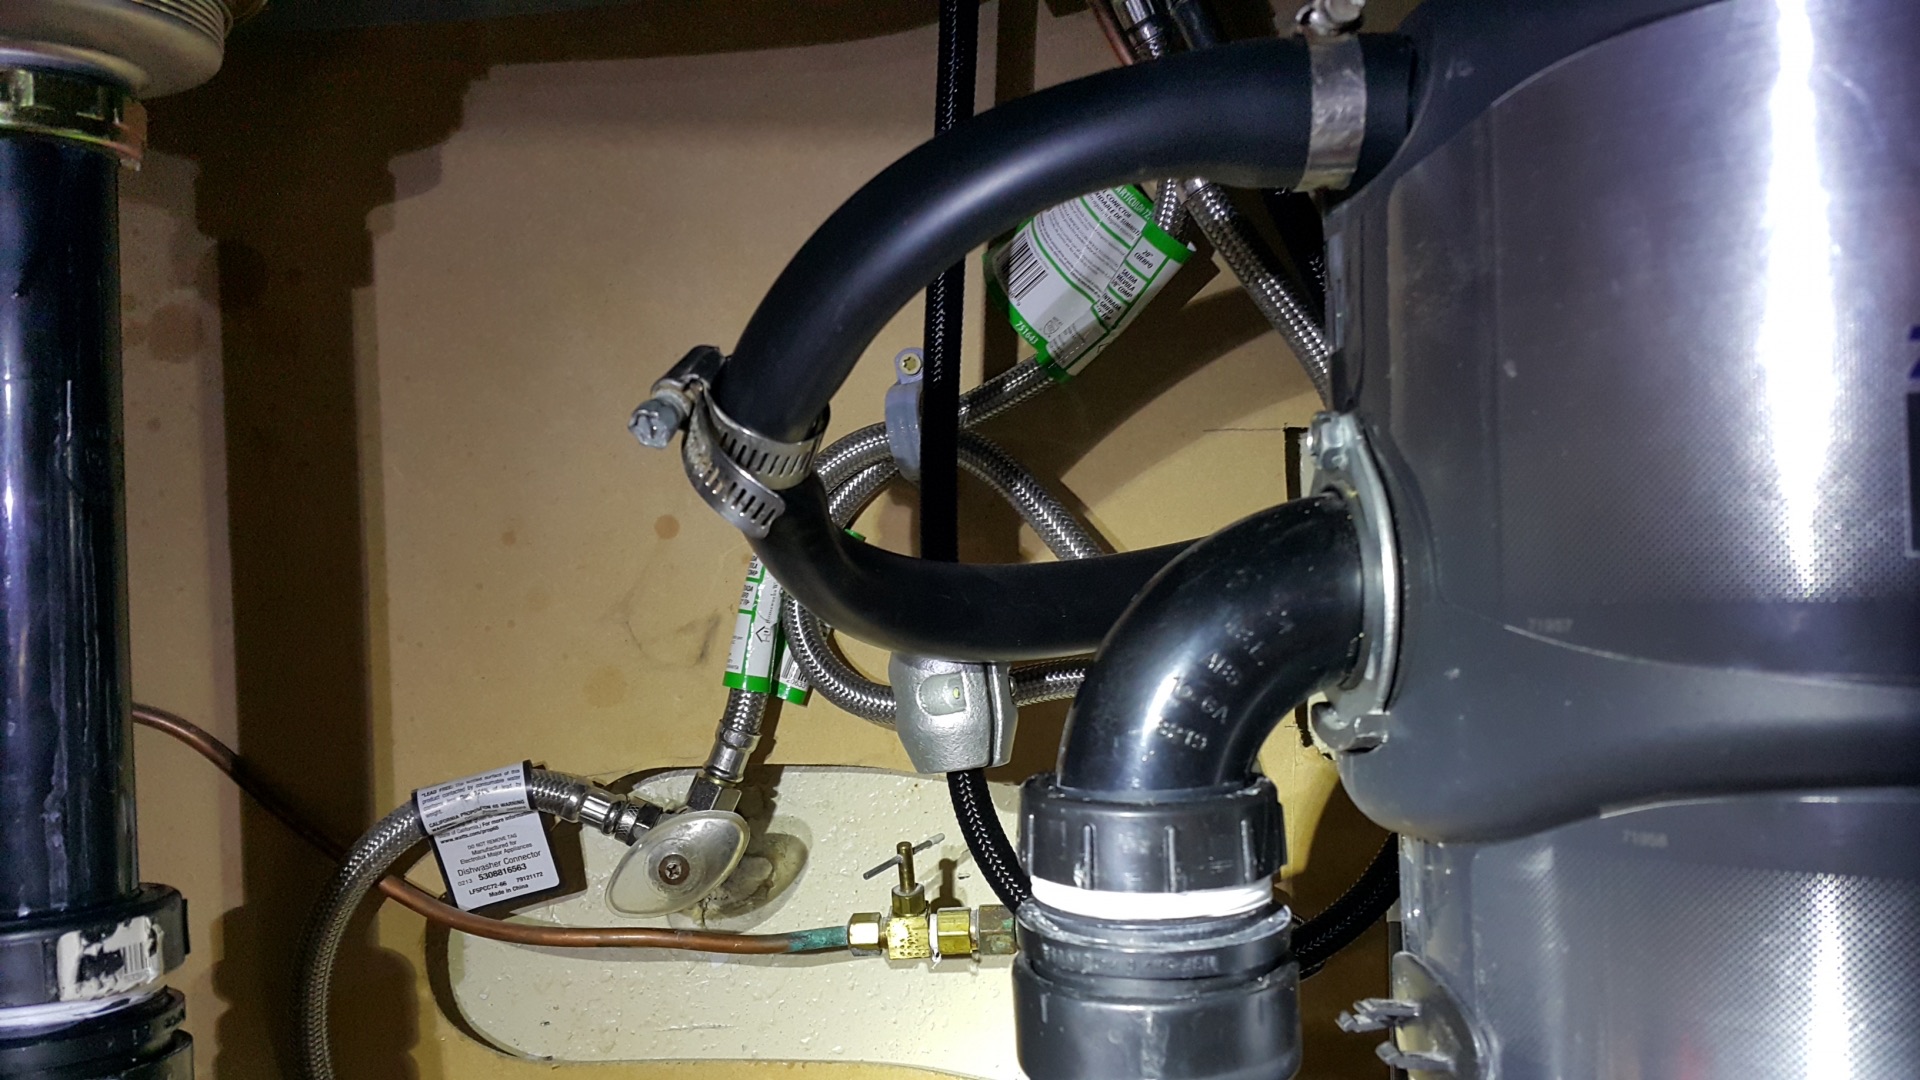
Step 3: Connect the water supply
Connecting the water supply is a crucial step in the installation process of your LG dishwasher. Follow these steps to ensure a proper connection:
1. Locate the water supply valve: The water supply valve is typically located under the sink. Turn off the water supply by rotating the valve clockwise until it is fully closed.
2. Connect the water supply line: Take the dishwasher connector hose from the installation kit and connect one end to the water supply valve. Use a wrench to securely tighten the connection. Make sure it is tight but avoid over-tightening to prevent damage.
3. Connect the other end to the dishwasher: Attach the other end of the connector hose to the water inlet valve on the back of the dishwasher. Again, use a wrench to tighten the connection.
4. Check for leaks: Once the water supply line is connected, slowly turn on the water supply valve. Keep an eye out for any leaks around the connections. If you notice any leaks, turn off the water supply immediately and check the connections for tightness.
5. Test the water supply: With the water supply turned on, run a test cycle on your dishwasher to ensure water flows properly into the unit. Monitor for any leaks or irregularities during the test cycle.
6. Adjust the water supply line: Depending on the location of the water supply valve and the dishwasher, you may need to adjust the length of the connector hose. Ensure there is no kinking or excessive bending, as this can restrict water flow.
7. Secure the water supply line: Once everything is properly connected, use a clamp or zip tie to secure the water supply line to prevent it from moving or getting tangled.
By following these steps, you will have successfully connected the water supply to your LG dishwasher. The next step involves connecting the drain hose.
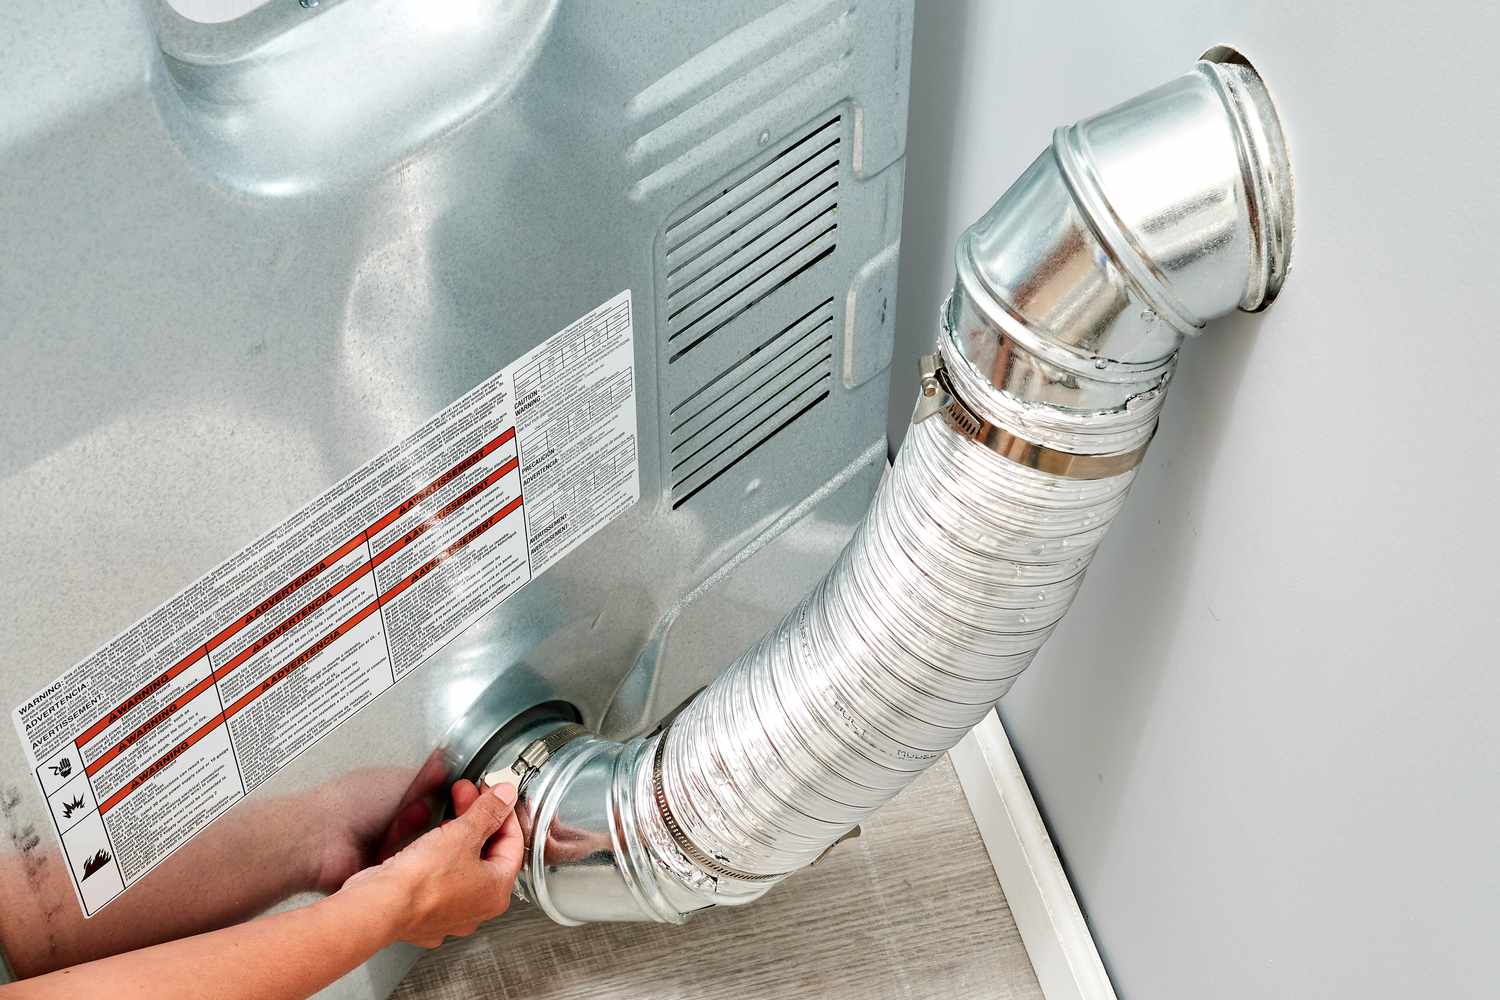
Step 4: Connect the drain hose
Connecting the drain hose is an essential step in the installation process of your LG dishwasher. Follow these steps to ensure a proper connection:
1. Locate the drain outlet: The drain outlet is typically located under the sink. It is connected to the main drain pipe or garbage disposal unit. Ensure the drain outlet is clear of any debris or obstructions.
2. Connect the drain hose: Take the drain hose provided with your LG dishwasher and connect one end to the drain outlet. Depending on your setup, you may need to use a clamp or a hose connector to secure the connection. Ensure it is tightly fastened.
3. Position the drain hose: Properly position the drain hose to prevent any kinks or sharp bends. It should follow a smooth and gradual slope from the dishwasher to the drain outlet. Avoid placing the hose too high or too low, as this can impact the dishwasher’s drainage performance.
4. Secure the hose: Use zip ties or a clamp to secure the drain hose to prevent it from moving or coming loose during operation. Make sure it is securely fastened but avoid over-tightening.
5. Test the drain function: With the drain hose connected, run a test cycle on your dishwasher and observe the drainage process. Ensure that water is flowing smoothly through the drain hose and into the drain outlet without any leaks or backups.
6. Check local plumbing codes: It’s important to comply with local plumbing codes and regulations when connecting the drain hose. Some jurisdictions may require the use of an air gap or a high loop configuration to prevent backflow into the dishwasher.
By following these steps, you will have successfully connected the drain hose for your LG dishwasher. This ensures that wastewater is properly and efficiently drained from the unit. The next step involves installing the dishwasher itself.
Before installing an LG dishwasher, make sure to measure the space to ensure it fits properly. Also, check the electrical and plumbing connections to ensure they are compatible with the new dishwasher.
Read more: How To Install Frigidaire Dishwasher
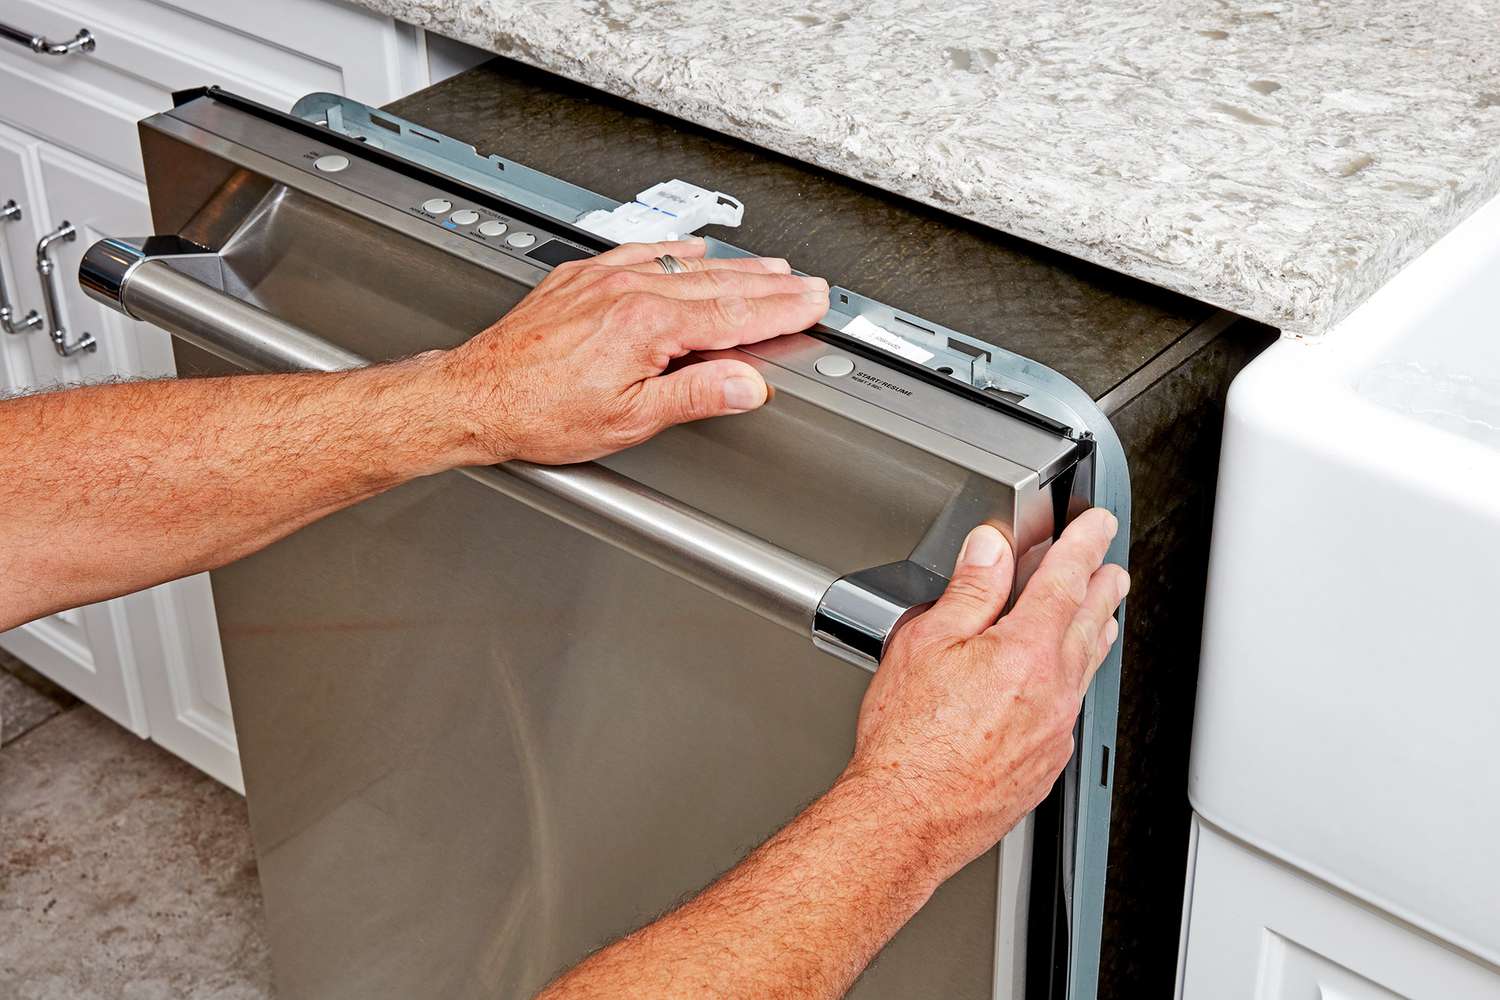
Step 5: Install the dishwasher
Now that you’ve prepared the installation area and connected the water supply and drain hose for your LG dishwasher, it’s time to proceed with the installation itself. Follow these steps to properly install the dishwasher:
1. Position the dishwasher: Carefully slide the dishwasher into the designated space, ensuring it is aligned with the surrounding cabinets. Check that the dishwasher is centered and level using a spirit level.
2. Adjust the leveling feet: If the dishwasher is not level, adjust the leveling feet located at the bottom of the unit. Turn the feet clockwise to raise the dishwasher and counterclockwise to lower it. Continuously check the level to achieve a perfectly level installation.
3. Align the dishwasher with the countertop: Ensure that the dishwasher is flush with the front of the cabinets and the countertop. Make any necessary adjustments to achieve a seamless alignment.
4. Secure the dishwasher to the cabinets: Secure the dishwasher to the surrounding cabinets using the brackets or screws provided with the dishwasher. This will prevent any movement or instability during operation. Ensure the screws are tight but be cautious not to overtighten and damage the appliance or the cabinets.
5. Verify the door operation: Open and close the dishwasher door to ensure smooth and unhindered movement. Make any necessary adjustments to the hinges or brackets to achieve proper door alignment.
6. Check for proper clearance: Verify that there is sufficient space between the dishwasher and the adjacent cabinets or walls. This will allow for proper ventilation and prevent heat buildup during operation.
7. Inspect the dishwasher for any damage: Before proceeding with the electrical connection, thoroughly inspect the dishwasher for any visible damage or loose components. If you notice any issues, contact LG customer support for assistance.
By following these steps, you will have successfully installed the LG dishwasher in its designated space. The next step involves connecting the electrical supply.
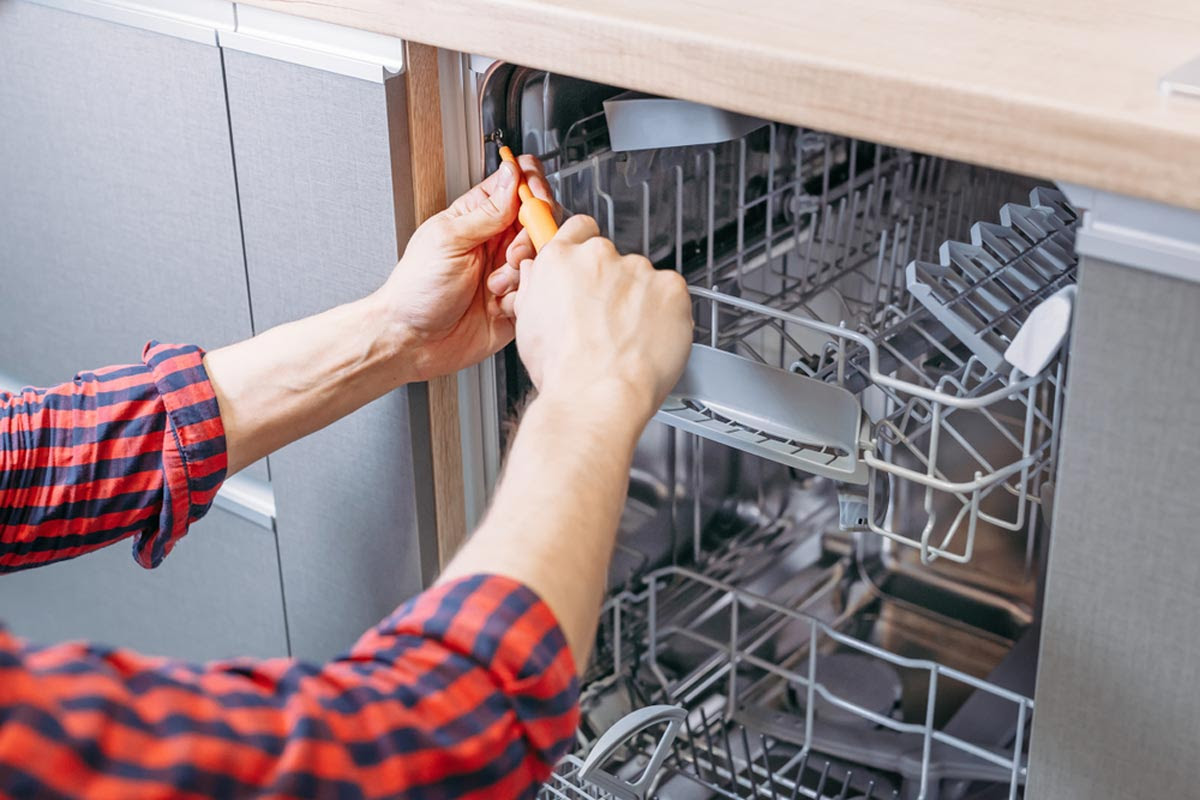
Step 6: Secure the dishwasher
Securing the dishwasher is an important step to ensure stability and prevent any movement during operation. Follow these steps to properly secure your LG dishwasher:
1. Locate the mounting brackets: The dishwasher will come with mounting brackets that are designed to secure it to the countertop or cabinets. Locate these brackets, which are usually located on the top or side of the dishwasher.
2. Align the brackets: Align the mounting brackets with the holes or slots on the dishwasher and position them in place.
3. Secure the brackets: Use screws or other fasteners provided with your LG dishwasher to securely attach the brackets to the underside of the countertop or the sides of the adjacent cabinets. Ensure that the brackets are tightly fastened, but be cautious not to overtighten and damage the surfaces.
4. Test the dishwasher’s stability: Gently rock the dishwasher from side to side and front to back to ensure that it is securely fastened. If you notice any excessive movement or instability, revisit the mounting brackets and ensure they are properly secured.
5. Check for any interference: Verify that the secured dishwasher does not interfere with the opening or closing of adjacent cabinets or drawers. Make any necessary adjustments to ensure smooth operation.
6. Inspect all connections: Before proceeding, double-check all the connections, including the water supply and drain hoses, to ensure they are properly secured and free from any leaks.
By following these steps, you will have successfully secured your LG dishwasher, providing stability and ensuring it remains securely in place during its operation. The next step involves connecting the electrical supply.
Step 7: Connect the electrical supply
Connecting the electrical supply is a critical step in the installation process of your LG dishwasher. Follow these steps to ensure a safe and proper electrical connection:
1. Turn off the power: Before working with the electrical connections, turn off the power supply to the dishwasher at the circuit breaker. This will prevent any electrical hazards during the installation process.
2. Locate the electrical junction box: The electrical junction box is typically located at the back of the dishwasher, near the base of the unit. Open the access panel to reveal the wiring connections.
3. Check the electrical requirements: Refer to the manufacturer’s instructions to determine the specific electrical requirements for your LG dishwasher. Ensure that the electrical supply meets the necessary voltage and amperage requirements.
4. Strip the wires: If necessary, strip the insulation from the electrical wires to expose the bare copper ends. Use wire strippers to make clean and precise cuts, being cautious not to damage the wire strands.
5. Connect the wires: Connect the corresponding wires from the dishwasher to the electrical supply. Match the colors of the wires (usually black to black, white to white, and green or bare copper to the grounding wire). Use appropriate wire connectors or wire nuts to secure the connections.
6. Insulate the connections: After connecting the wires, insulate each connection using electrical tape or heat shrink tubing. This provides an added layer of protection and prevents any accidental contact between the wires.
7. Secure the access panel: Once the electrical connections are made and properly insulated, secure the access panel on the dishwasher with screws or clips to cover the electrical junction box.
8. Restore the power supply: Turn on the power supply at the circuit breaker. Verify that the dishwasher is receiving power by checking the control panel for any illuminated indicators or displays.
9. Test the electrical connection: Run a test cycle on your LG dishwasher to ensure that it operates properly, and the electrical connection is functioning without any issues.
By following these steps, you will have successfully connected the electrical supply to your LG dishwasher. The next step involves testing the dishwasher to ensure everything is functioning correctly.
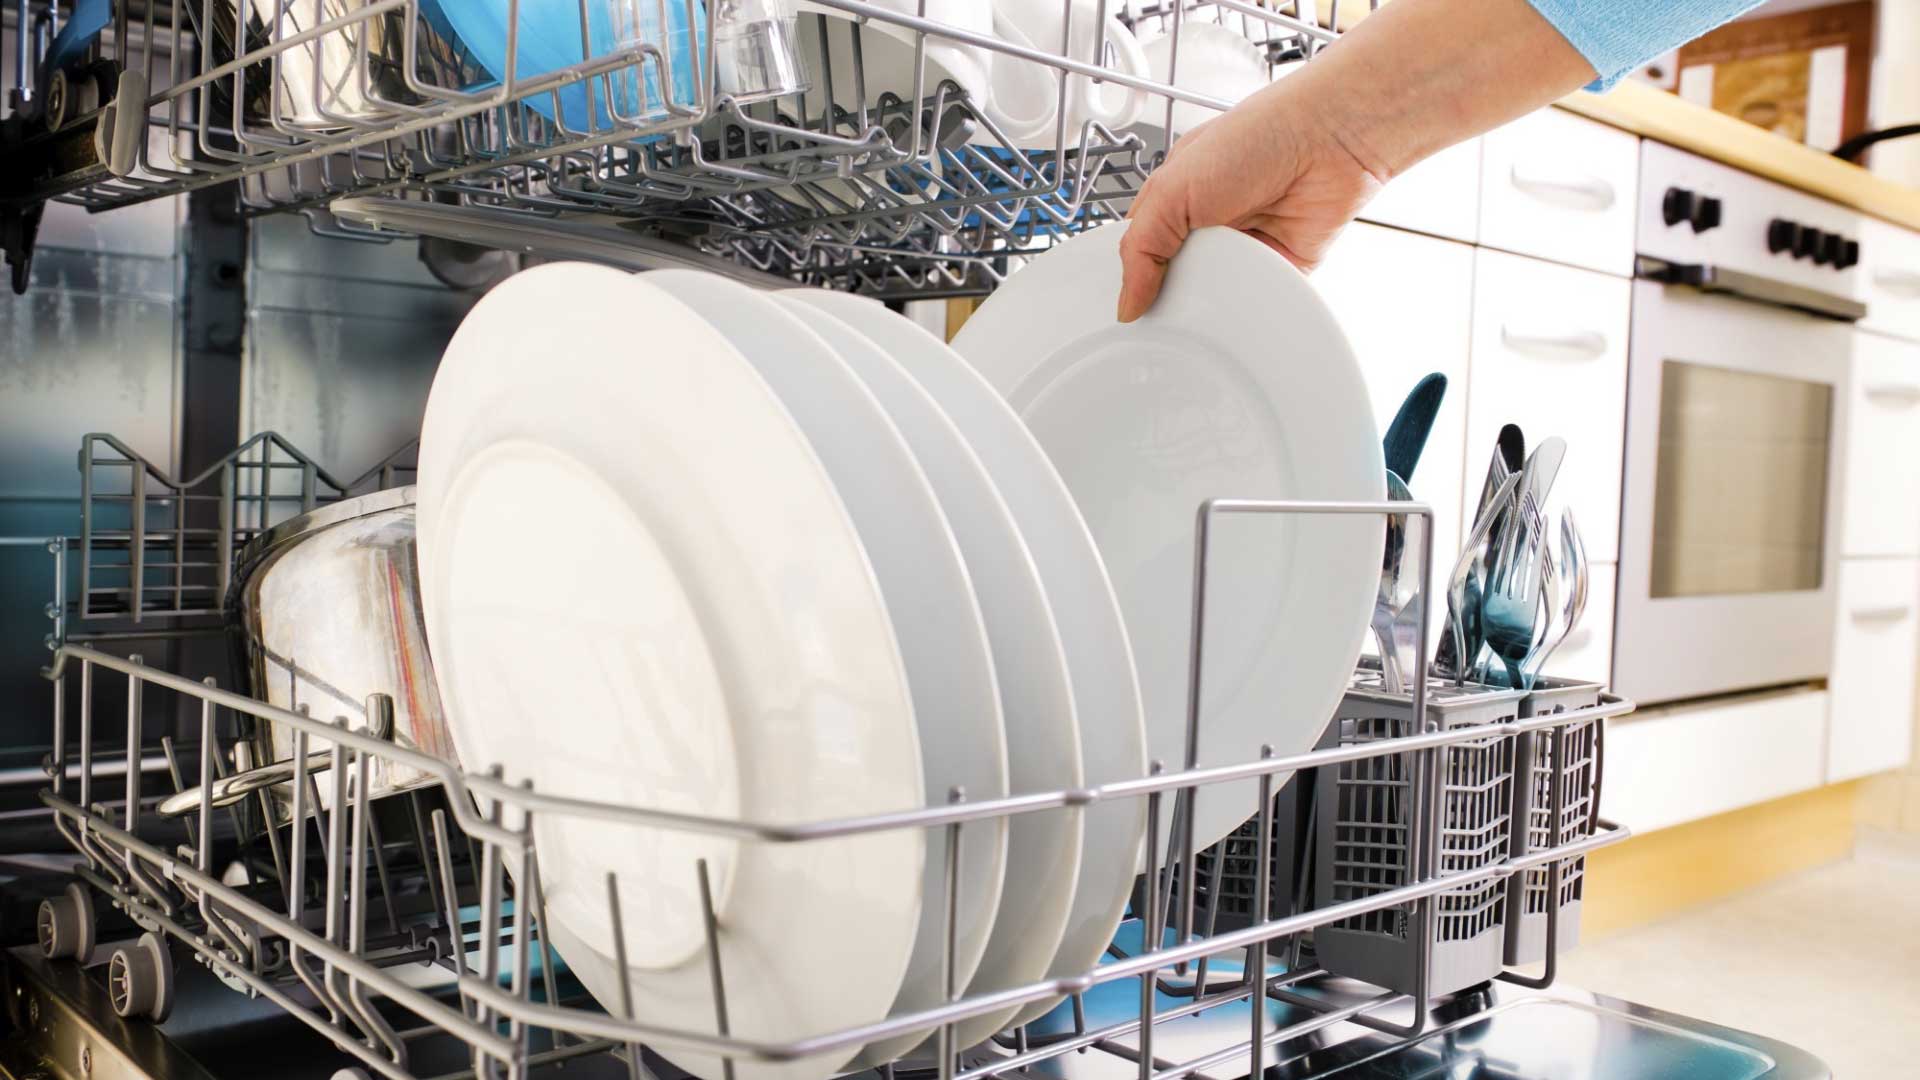
Step 8: Test the dishwasher
After completing the installation and connecting all the necessary supplies, it’s time to test your LG dishwasher to ensure that it is functioning properly. Follow these steps to conduct a thorough test:
1. Check for leaks: Before running a full cycle, inspect all the water supply and drain connections for any leaks. Make sure that all the connections are securely tightened and that there is no water seeping from any fittings or hoses.
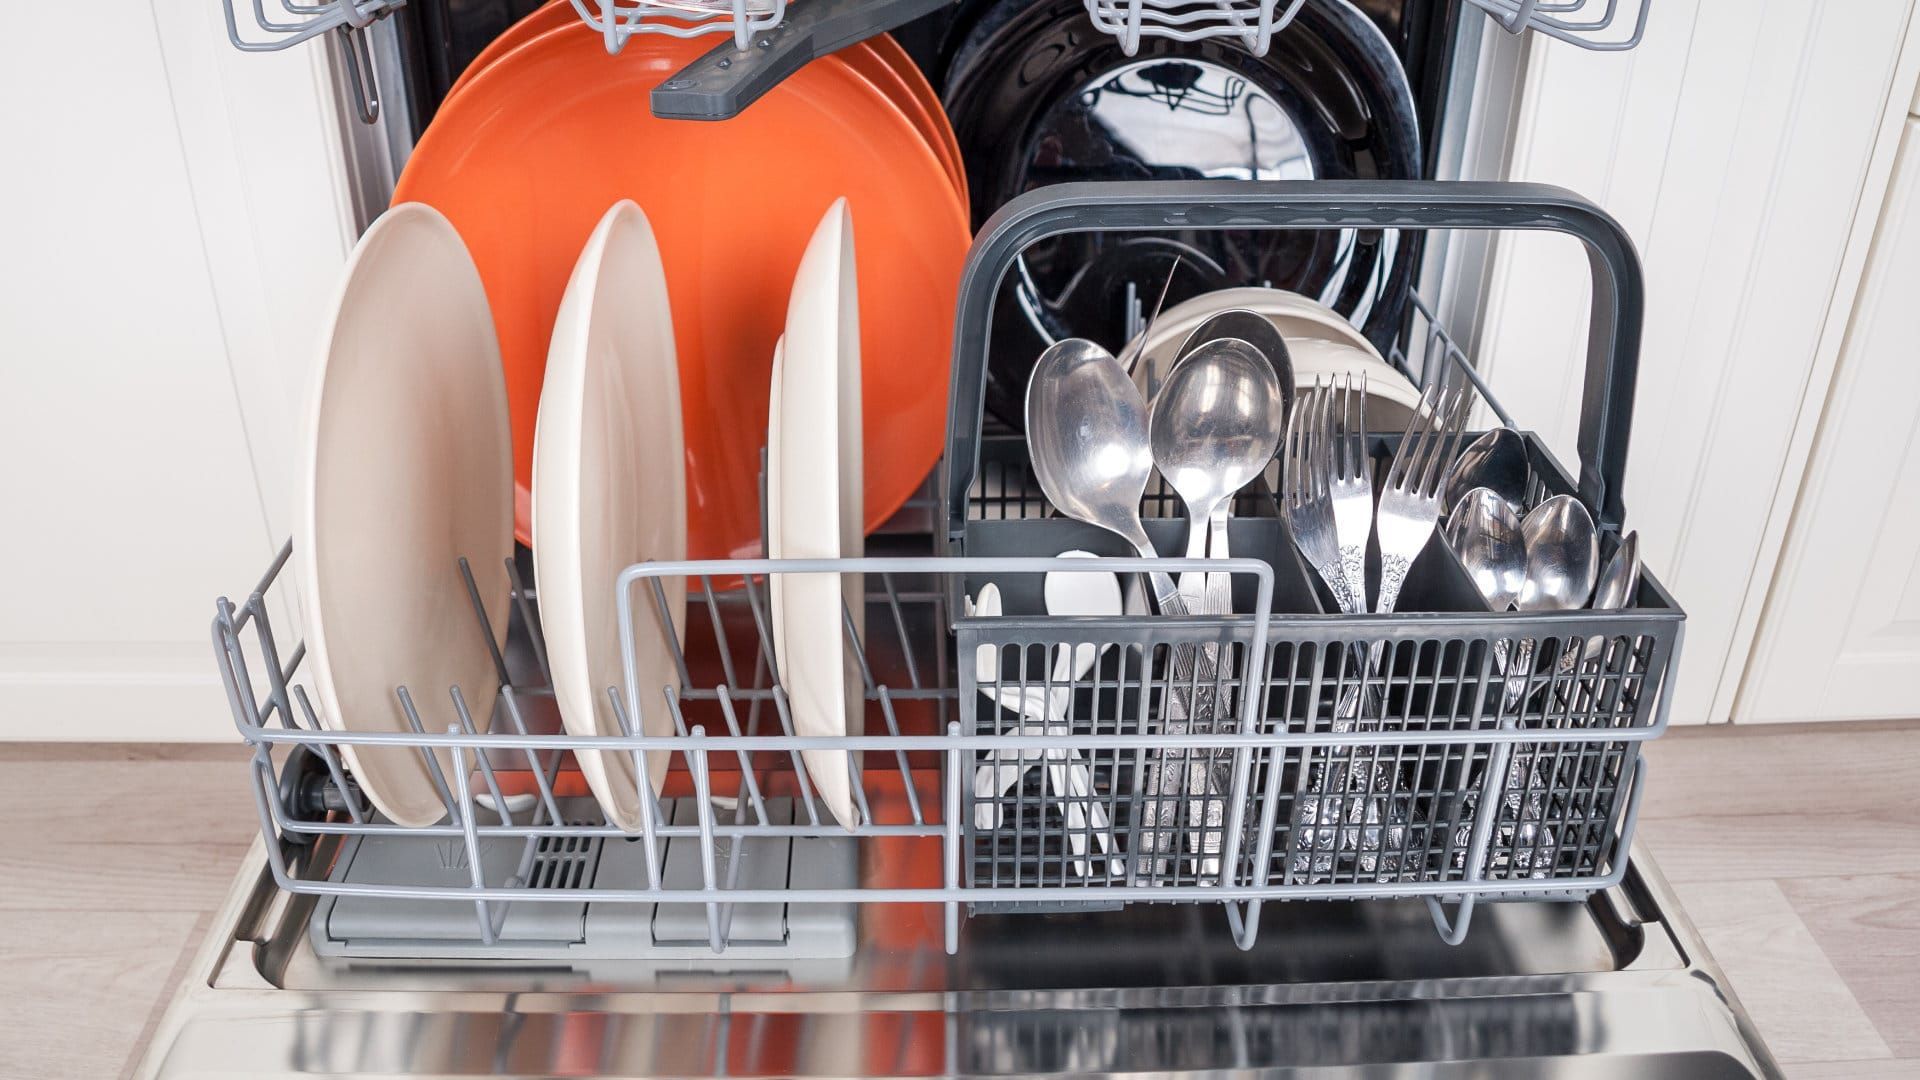
2. Load the dishwasher: Load the dishwasher with some dishes, ensuring that they are properly positioned and that the sprayer arms can rotate freely without obstruction.
3. Add detergent: Add the appropriate amount of dishwasher detergent to the detergent dispenser. Follow the manufacturer’s instructions on the label for the recommended dosage.
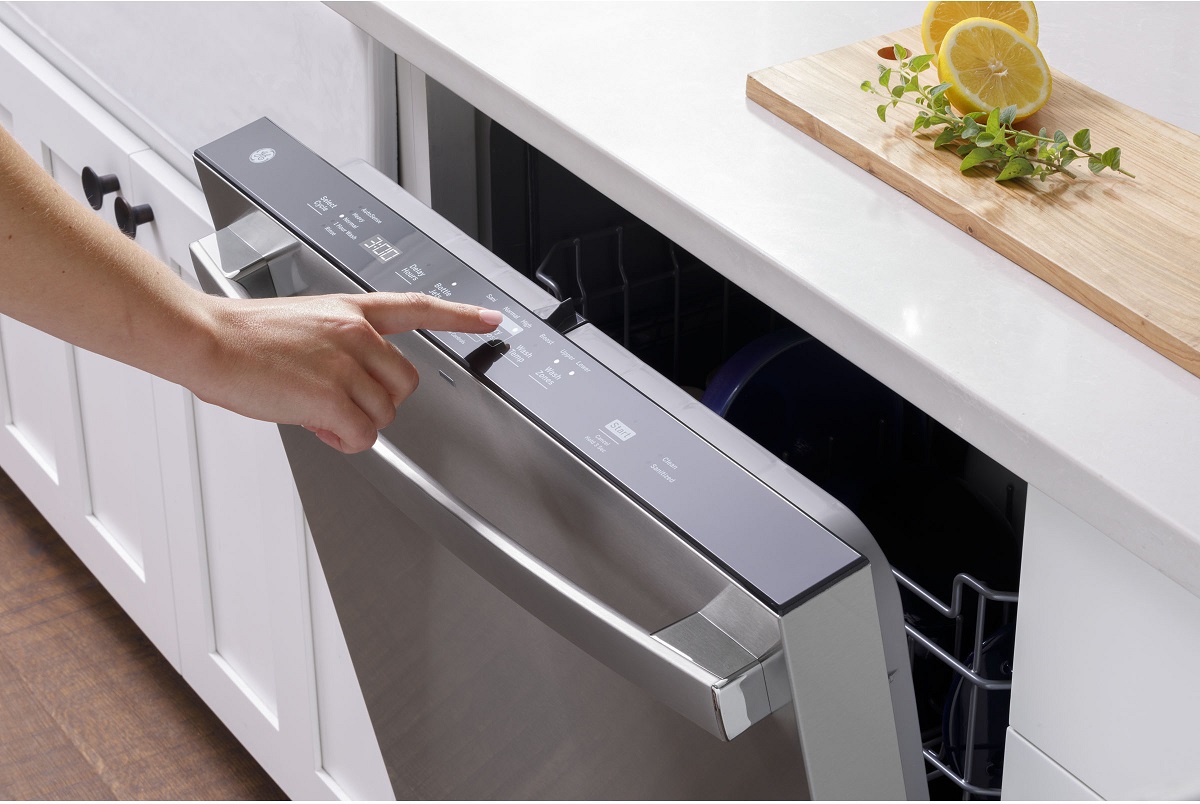
4. Select a cycle: Depending on the model of your LG dishwasher, select the desired cycle and any additional options you want to use, such as sanitizing or delayed start.
5. Start the dishwasher: Close the dishwasher door and start the cycle. Listen for any unusual noises during the initial filling of water and throughout the wash cycle.
6. Monitor the operation: Observe the dishwasher throughout the entire cycle. Ensure that the spray arms are rotating properly, the detergent is dispensing, and the water is draining effectively.
7. Check for proper cleaning: Once the cycle is complete, open the dishwasher and inspect the dishes. Ensure that they are clean and free from any residue or food particles.
8. Check for proper drying: If your dishwasher has a drying function, verify that the dishes are adequately dried at the end of the cycle. Check for any remaining water droplets on dishes and inside the dishwasher.
9. Adjust settings if necessary: If you notice any issues during the test cycle, such as poor cleaning performance or inadequate drying, consult the user manual to adjust the settings accordingly.
10. Repeat the test: If needed, run another test cycle to ensure that any adjustments made have resolved the issue. This will help you confirm that your LG dishwasher is operating smoothly.
By conducting a thorough test, you can identify and address any potential issues with your LG dishwasher early on. This ensures that it is functioning correctly and provides you with peace of mind knowing that it is ready for regular use.
Read more: How To Install A Whirlpool Dishwasher
Conclusion
Congratulations! You have successfully learned how to install your LG dishwasher. By following the step-by-step guide provided here, you can confidently install your dishwasher and enjoy its convenience and efficiency. Installing an LG dishwasher may seem daunting at first, but with the right tools, materials, and instructions, it can be a manageable and rewarding DIY project.
Remember to always prioritize safety during the installation process. Turn off the power and water supply before making any connections, and if you’re unsure about any aspect of the installation, don’t hesitate to seek professional assistance.
Properly preparing the installation area, connecting the water supply and drain hose, securing the dishwasher, connecting the electrical supply, and testing the appliance are all critical steps to ensure a seamless installation. Take your time in each step and double-check your work to avoid any potential issues down the line.
Once your LG dishwasher is installed, make sure to familiarize yourself with its features and settings. Explore the different wash cycles and options to optimize its performance and efficiency. Regularly maintain and clean your dishwasher, following the manufacturer’s instructions, to prolong its lifespan and keep it running smoothly.
Now that you have successfully installed your LG dishwasher, you can enjoy the convenience of efficient dishwashing in your home. Sit back, relax, and let your LG dishwasher handle the dirty work while you enjoy more free time for yourself. Cheers to clean dishes and a hassle-free kitchen experience!
Frequently Asked Questions about How To Install An Lg Dishwasher
Was this page helpful?
At Storables.com, we guarantee accurate and reliable information. Our content, validated by Expert Board Contributors, is crafted following stringent Editorial Policies. We're committed to providing you with well-researched, expert-backed insights for all your informational needs.


0 thoughts on “How To Install An Lg Dishwasher”