Home>Home Appliances>Bathroom Appliances>How To Take Apart A Conair 1875 Hair Dryer
Bathroom Appliances
How To Take Apart A Conair 1875 Hair Dryer
Modified: October 19, 2024
Learn how to safely disassemble a Conair 1875 hair dryer with our step-by-step guide. Keep your bathroom appliances in top condition with our expert tips.
(Many of the links in this article redirect to a specific reviewed product. Your purchase of these products through affiliate links helps to generate commission for Storables.com, at no extra cost. Learn more)
Introduction
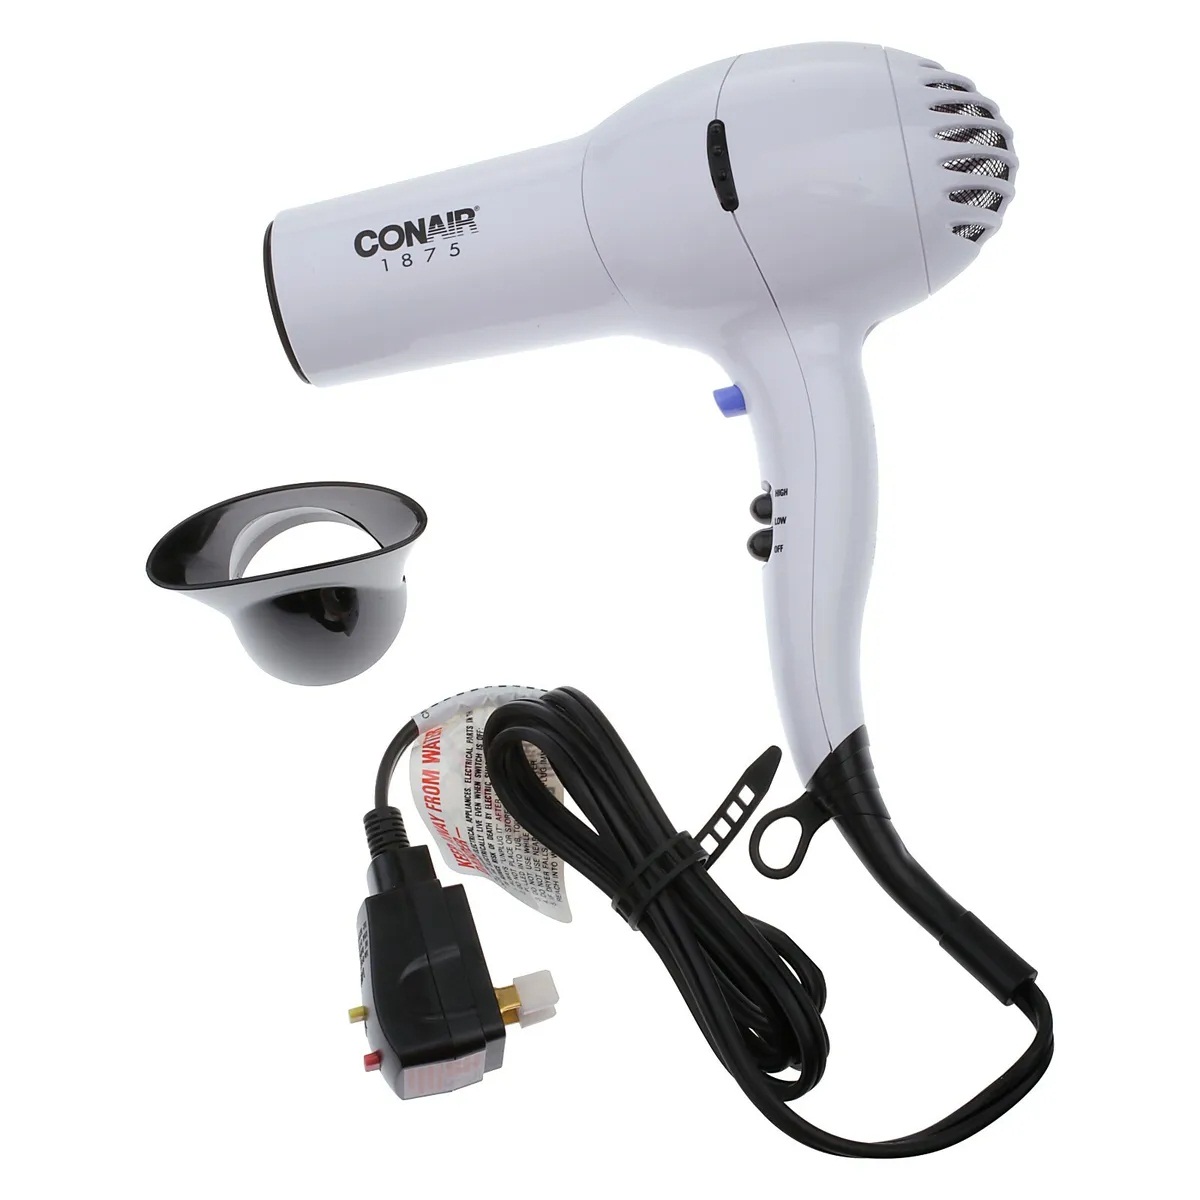
Welcome to the comprehensive guide on how to take apart a Conair 1875 hair dryer. Whether you are a DIY enthusiast, a professional repair person, or simply curious about the inner workings of this popular hair care appliance, this step-by-step tutorial will provide you with the knowledge and confidence to disassemble the Conair 1875 hair dryer safely and effectively.
The Conair 1875 hair dryer is a staple in many households, known for its reliability and performance. However, like any electronic device, it may require maintenance or repairs over time. By understanding how to disassemble the hair dryer, you can troubleshoot issues, replace faulty components, or simply gain a deeper appreciation for the technology behind this everyday device.
Throughout this guide, we will cover the tools needed for the disassembly process, safety precautions to ensure your well-being, and the step-by-step procedures for taking apart the hair dryer. Additionally, we will provide insights into reassembling the hair dryer once you have completed the necessary maintenance or repairs.
Whether you are seeking to extend the lifespan of your Conair 1875 hair dryer or are interested in exploring the engineering marvels hidden within its sleek exterior, this article will equip you with the knowledge and skills to embark on this disassembly journey with confidence. Let’s dive into the world of hair dryer mechanics and unleash the inner workings of the Conair 1875 model.
Key Takeaways:
- Safety First!
When taking apart a Conair 1875 hair dryer, always unplug it, wear safety gear, and work in a well-lit area. Prioritize safety to prevent accidents and protect yourself from electrical hazards. - Reassembly Success
After disassembling and maintaining the hair dryer, follow the step-by-step guide to reassemble it. Test the appliance to ensure all components are functioning properly. Your dedication to safety and precision will keep your hair dryer in top condition.
Tools Needed
Before embarking on the disassembly of the Conair 1875 hair dryer, it is essential to gather the necessary tools to ensure a smooth and safe process. Here are the tools you will need:
- Phillips Head Screwdriver: This tool is indispensable for removing the screws that secure the housing and internal components of the hair dryer. Ensure that the screwdriver fits the size of the screws to prevent damage during the removal process.
- Flathead Screwdriver: A flathead screwdriver may be required to pry open certain sections of the hair dryer or assist in disconnecting components. It is advisable to have a variety of flathead screwdrivers in different sizes to accommodate various needs.
- Safety Gloves: To protect your hands from sharp edges and potential electrical hazards, wearing safety gloves is highly recommended. Opt for gloves that allow dexterity while providing a protective barrier.
- Safety Glasses: When working with electrical appliances, there is a risk of small components or debris dislodging during disassembly. Safety glasses will shield your eyes from any potential hazards.
- Container for Screws: As you remove screws and small components from the hair dryer, it is crucial to keep them organized and prevent loss. A container, such as a small bowl or compartmentalized tray, will help you keep track of the disassembled parts.
- Electrical Tape: In the event that you need to disconnect wires or secure loose connections, electrical tape will come in handy. It provides insulation and helps prevent accidental contact with live electrical components.
- Circuit Tester: A circuit tester or multimeter can be used to ensure that the hair dryer is completely disconnected from the power source before proceeding with the disassembly. This tool helps verify that no electrical current is flowing through the appliance.
By having these essential tools at your disposal, you can approach the disassembly of the Conair 1875 hair dryer with confidence and preparedness. Remember to prioritize safety throughout the process and handle electrical components with caution to prevent injury or damage to the appliance.
Safety Precautions
Before delving into the disassembly of the Conair 1875 hair dryer, it is crucial to prioritize safety to prevent accidents and ensure a secure working environment. Adhering to the following safety precautions will help mitigate potential risks associated with handling electrical appliances and their internal components:
- Unplug the Hair Dryer: Prior to initiating the disassembly process, unplug the Conair 1875 hair dryer from the power outlet. This action eliminates the risk of electric shock and ensures that the appliance is not connected to a live electrical source.
- Allow Cooling Time: If the hair dryer has been in use, allow it to cool down before beginning the disassembly. Internal components, such as the heating element, may retain heat even after the appliance has been turned off, posing a burn risk if handled immediately.
- Wear Protective Gear: Utilize safety gloves and safety glasses throughout the disassembly process to shield your hands and eyes from potential hazards. Sharp edges, small components, and electrical connections warrant the use of protective gear to minimize the risk of injury.
- Work in a Well-Lit Area: Ensure that your work area is well-lit to facilitate clear visibility of the hair dryer’s components and internal wiring. Adequate lighting reduces the likelihood of errors and enhances safety during the disassembly process.
- Verify Disconnection of Power: Use a circuit tester or multimeter to confirm that the hair dryer is completely disconnected from the power source. Testing for the absence of electrical current is essential to prevent accidental shocks or short circuits.
- Handle Electrical Components with Care: When dealing with internal wiring and electrical connections, exercise caution to avoid damaging the components or causing electrical malfunctions. Use insulated tools when necessary and refrain from touching live wires with bare hands.
- Organize Disassembled Parts: As you remove screws and components from the hair dryer, keep them organized and in a secure location. This practice prevents misplacement and facilitates the reassembly process once maintenance or repairs are complete.
- Refer to User Manual: If available, consult the user manual for the Conair 1875 hair dryer to gain insights into specific disassembly instructions and safety considerations provided by the manufacturer.
By adhering to these safety precautions, you can approach the disassembly of the Conair 1875 hair dryer with a heightened awareness of potential risks and the necessary measures to mitigate them. Prioritizing safety throughout the process is paramount to safeguarding yourself and maintaining the integrity of the appliance.
Removing the Back Cover
With the necessary tools and safety precautions in place, you are ready to commence the disassembly of the Conair 1875 hair dryer. The first step involves removing the back cover to gain access to the internal components. Follow these steps to safely detach the back cover:
- Unplug the Hair Dryer: Ensure that the hair dryer is unplugged from the power source to eliminate the risk of electrical shock during the disassembly process.
- Allow Cooling Time: If the hair dryer has been in use, allow it to cool down to prevent accidental burns when handling the appliance.
- Locate and Remove Screws: Using a Phillips head screwdriver, identify and remove the screws securing the back cover of the hair dryer. These screws are typically positioned around the perimeter of the back cover.
- Pry Open the Back Cover: Once the screws have been removed, gently pry open the back cover using a flathead screwdriver. Carefully work your way around the edges to release any clips or fastenings holding the cover in place.
- Set Aside the Back Cover: After detaching the back cover, set it aside in a safe location. Take note of any internal components or wiring that may be visible upon removing the cover.
Upon successfully removing the back cover, you will have exposed the internal workings of the Conair 1875 hair dryer, setting the stage for further disassembly and maintenance. Proceed with caution and attentiveness as you move on to the subsequent steps, ensuring that the hair dryer remains disconnected from the power source throughout the process.
Disconnecting the Power Cord
As you progress with the disassembly of the Conair 1875 hair dryer, the next crucial step involves disconnecting the power cord to ensure the complete isolation of the appliance from the electrical supply. Follow these steps to safely detach the power cord:
- Verify Unplugged Status: Prior to handling the power cord, confirm that the hair dryer is unplugged from the power outlet to prevent the risk of electric shock.
- Identify Cord Entry Point: Locate the entry point of the power cord into the hair dryer’s housing. This may be situated at the back or bottom of the appliance, depending on the model.
- Inspect Cord Connection: Examine the cord connection to identify any securing mechanisms, such as clips or fasteners, that hold the power cord in place within the housing.
- Release Cord Retention: If applicable, release any retention mechanisms to free the power cord from its housing. This may involve pressing tabs, loosening screws, or disengaging locking features.
- Gently Withdraw the Power Cord: With caution, gently withdraw the power cord from its housing, ensuring that any connected wires or terminals are not strained or damaged during the disconnection process.
- Secure the Power Cord: Once the power cord is detached, secure it in a safe location to prevent entanglement or accidental damage. Take note of its orientation and position for reassembly purposes.
By carefully disconnecting the power cord, you effectively isolate the Conair 1875 hair dryer from the electrical supply, mitigating the risk of electrical hazards during the subsequent disassembly steps. Proceed with attentiveness and ensure that the power cord is handled and stored in a manner that maintains its integrity for future use.
Before taking apart a Conair 1875 hair dryer, make sure to unplug it and let it cool down. Use a screwdriver to remove the screws and gently separate the casing to access the internal components. Be careful with the wires and connections inside.
Removing the Heating Element
As you delve deeper into the disassembly of the Conair 1875 hair dryer, the removal of the heating element is a pivotal step, particularly if maintenance or replacement of this essential component is required. Follow these steps to safely detach the heating element from the hair dryer:
- Ensure Disconnection from Power: Prior to proceeding, reconfirm that the hair dryer is unplugged from the power source to prevent electrical hazards during the component removal process.
- Locate the Heating Element: Identify the heating element within the housing of the hair dryer. It is often positioned near the airflow outlet and is connected to the internal wiring of the appliance.
- Disconnect Wiring: Carefully disconnect any wires or terminals attached to the heating element. Use caution and, if necessary, label the connections to ensure correct reattachment during the reassembly phase.
- Remove Mounting Screws or Fasteners: Using a suitable screwdriver, locate and remove the mounting screws or fasteners that secure the heating element within the hair dryer’s housing. Keep track of the removed hardware for organized reassembly.
- Extract the Heating Element: Once the securing components are detached, gently extract the heating element from its position within the hair dryer. Exercise care to avoid damage to the element or surrounding components.
- Inspect the Heating Element: Upon removal, inspect the heating element for signs of wear, damage, or malfunction. If replacement is necessary, ensure that the new element is compatible with the Conair 1875 model.
- Secure the Removed Element: Store the removed heating element in a safe and designated area, protecting it from potential damage and ensuring its accessibility for inspection or replacement purposes.
By successfully removing the heating element, you gain access to a critical component of the Conair 1875 hair dryer, enabling inspection, maintenance, or replacement as needed. Proceed with attentiveness and meticulousness to maintain the integrity of the heating element and associated components throughout the disassembly process.
Removing the Fan
As you proceed with the disassembly of the Conair 1875 hair dryer, the removal of the fan is a pivotal step in accessing and maintaining this essential component. Follow these steps to safely detach the fan from the hair dryer:
- Ensure Disconnection from Power: Prior to initiating the removal process, double-check that the hair dryer is unplugged from the power source to mitigate the risk of electrical hazards.
- Locate the Fan Assembly: Identify the fan assembly within the interior of the hair dryer’s housing. The fan is typically positioned near the rear of the appliance and is integral to the airflow and cooling mechanisms.
- Disconnect Wiring (if applicable): If the fan is connected to the hair dryer’s internal wiring, carefully disconnect any electrical connections or terminals, ensuring that the wires are labeled for accurate reattachment.
- Access Mounting Fasteners: Identify and access the mounting fasteners, which secure the fan assembly within the housing. These may be screws, clips, or other fastening mechanisms depending on the specific model of the Conair 1875 hair dryer.
- Remove Mounting Fasteners: Using the appropriate tools, carefully remove the mounting fasteners to release the fan assembly from its position within the hair dryer. Keep track of the removed hardware for organized reassembly.
- Extract the Fan Assembly: Once the fasteners are detached, gently extract the fan assembly from its location within the hair dryer, taking care not to damage the fan blades or surrounding components.
- Inspect the Fan Assembly: Upon removal, inspect the fan assembly for any debris, damage, or signs of wear that may impact its performance. Thoroughly clean the fan blades and housing if necessary.
- Secure the Removed Fan Assembly: Store the removed fan assembly in a safe and designated area, safeguarding it from potential damage and ensuring its accessibility for inspection, cleaning, or replacement purposes.
By successfully removing the fan assembly, you gain access to an integral component of the Conair 1875 hair dryer, facilitating maintenance, cleaning, or replacement as needed. Proceed with attentiveness and precision to preserve the fan assembly and associated components throughout the disassembly process.
Reassembling the Hair Dryer
After completing the necessary maintenance, repairs, or component inspections, reassembling the Conair 1875 hair dryer is a critical step in restoring the appliance to its fully operational state. Follow these guidelines to effectively reassemble the hair dryer:
- Retrieve Disassembled Components: Gather all the components and parts that were removed during the disassembly process, ensuring that they are clean and free of debris or damage.
- Position the Fan Assembly: If the fan assembly was removed, carefully position it back into its designated location within the hair dryer’s housing, ensuring a secure fit and alignment with the airflow and cooling pathways.
- Secure Mounting Fasteners: Reattach the mounting screws or fasteners that secure the fan assembly in place, ensuring that they are tightened to the appropriate torque to maintain stability and functionality.
- Reconnect Wiring (if applicable): If the fan assembly is connected to internal wiring, carefully reconnect the electrical terminals, ensuring that the connections are secure and properly insulated.
- Place the Heating Element: If the heating element was removed, position it back into its designated location within the hair dryer, aligning it with the internal wiring and airflow pathways as per the manufacturer’s specifications.
- Reinstall Mounting Screws or Fasteners: Secure the heating element in place by reinstalling the mounting screws or fasteners, ensuring that they are tightened to the appropriate specifications for a secure and stable fit.
- Reconnect Heating Element Wiring: If the heating element is connected to internal wiring, carefully reconnect the electrical terminals, ensuring proper insulation and secure connections.
- Reattach the Back Cover: Position the back cover onto the hair dryer’s housing, aligning it with the corresponding grooves or fasteners. Gently press the cover into place, ensuring that it is securely seated.
- Secure Back Cover Screws: Using a Phillips head screwdriver, reinsert and tighten the screws that secure the back cover, ensuring that they are evenly fastened to maintain the integrity of the housing.
- Test the Hair Dryer: Once reassembly is complete, plug in the hair dryer and conduct a brief test to ensure that all components are functioning as intended. Verify the airflow, heating element operation, and overall performance of the appliance.
By meticulously following these reassembly steps, you can effectively restore the Conair 1875 hair dryer to a fully operational and functional state, ensuring that all components are securely positioned and aligned for optimal performance. Prioritize attentiveness and precision throughout the reassembly process to maintain the integrity and functionality of the hair dryer.
Conclusion
Congratulations on successfully navigating the disassembly and reassembly of the Conair 1875 hair dryer. By following the comprehensive steps outlined in this guide, you have gained valuable insights into the inner workings of this essential hair care appliance, empowering you to perform maintenance, repairs, and component inspections with confidence and precision.
Throughout the disassembly process, you prioritized safety by adhering to essential precautions, ensuring that the hair dryer was disconnected from the power source, and handling components with care. This conscientious approach not only safeguards your well-being but also preserves the integrity of the appliance’s internal elements.
As you reassembled the hair dryer, attention to detail and methodical execution allowed you to restore the appliance to its fully operational state, ensuring that all components were securely positioned and aligned for optimal performance. The meticulous reassembly process serves as a testament to your commitment to maintaining the functionality of the Conair 1875 hair dryer.
Whether your disassembly journey led to a thorough cleaning, inspection of components, or the replacement of essential elements such as the heating element or fan, your dedication to understanding and maintaining the hair dryer has undoubtedly enhanced your technical skills and appreciation for this everyday device.
As you reflect on your disassembly experience, remember that the knowledge and proficiency gained can be applied to future maintenance tasks, empowering you to extend the lifespan and performance of various household appliances. Your newfound expertise positions you as a capable troubleshooter and caretaker of essential devices, contributing to a more sustainable and efficient home environment.
Thank you for embarking on this disassembly adventure with diligence and dedication. Your commitment to mastering the intricacies of the Conair 1875 hair dryer exemplifies your proactive approach to home maintenance and technical proficiency.
As you reassemble the hair dryer and witness its seamless operation, take pride in your accomplishment and the valuable skills acquired throughout this process. Your expertise and hands-on experience will continue to serve you well in future endeavors related to appliance maintenance and repair.
Frequently Asked Questions about How To Take Apart A Conair 1875 Hair Dryer
Was this page helpful?
At Storables.com, we guarantee accurate and reliable information. Our content, validated by Expert Board Contributors, is crafted following stringent Editorial Policies. We're committed to providing you with well-researched, expert-backed insights for all your informational needs.


0 thoughts on “How To Take Apart A Conair 1875 Hair Dryer”