
Articles
How To Take A Dryer Apart
Modified: February 21, 2024
Learn how to take a dryer apart with our informative articles that provide step-by-step instructions and tips for a successful DIY repair
(Many of the links in this article redirect to a specific reviewed product. Your purchase of these products through affiliate links helps to generate commission for Storables.com, at no extra cost. Learn more)
Introduction
Having a malfunctioning dryer can be a significant inconvenience, especially when you rely on it to dry your clothes efficiently. While there are various reasons why a dryer may not be working properly, sometimes the best solution is to take it apart and inspect the internal components. In this article, we will guide you through the process of disassembling a dryer, step by step, so you can identify and troubleshoot any issues it may have.
Before we begin, it’s important to note that taking apart a dryer should only be done by individuals who are comfortable working with electrical appliances. If you are unsure of your abilities, it’s best to seek professional help to avoid any potential hazards. Remember to always unplug the dryer from the power source before starting any repairs.
Now that we have covered the necessary precautions, let’s dive into the step-by-step process of disassembling a dryer.
Key Takeaways:
- Safely disassemble and troubleshoot your dryer by following step-by-step instructions, ensuring optimal performance and prolonging its lifespan. Remember to prioritize safety and seek professional help if needed.
- Gather essential tools, unplug the dryer, and follow detailed steps to access and clean internal components, such as the heating element, for improved efficiency and safety. Reassemble the dryer carefully and enjoy its optimal performance.
Read more: How To Take Apart A GE Dryer
Step 1: Gather the necessary tools
Before you begin disassembling your dryer, it’s crucial to gather all the tools you’ll need for the job. Having the right tools on hand will make the process much smoother and help prevent any unnecessary delays or frustrations.
Here are the essential tools you’ll need:
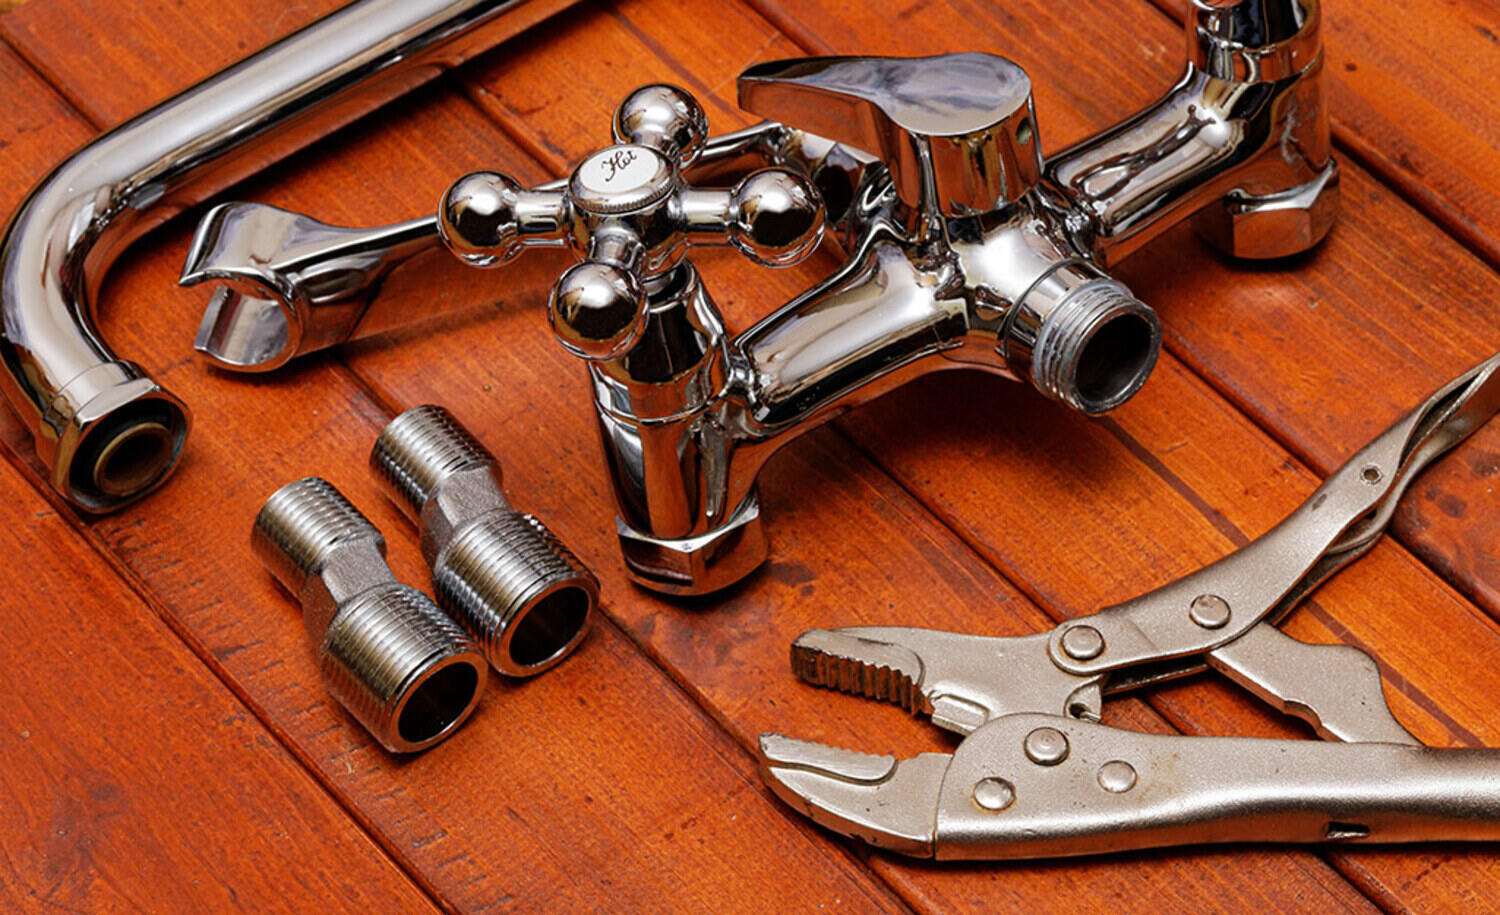
- Screwdriver set: Ensure you have both flathead and Phillips screwdrivers, as different screws may be used in different parts of the dryer.
- Socket set: A socket set will be handy for removing any nuts or bolts that secure panels or components in place.
- Pliers: Pliers will come in useful for grasping and twisting wires or connectors.
- Putty knife: A putty knife, or any flat and thin tool, will be necessary for prying open panels or disconnecting clips.
- Multi-meter: A multi-meter is an electrical testing tool that can help diagnose any electrical issues with your dryer.
- Safety gloves and goggles: Always prioritize safety when working with electrical appliances. Wear gloves to protect your hands and goggles to shield your eyes from any debris.
By having these tools ready before you start disassembling your dryer, you’ll be prepared for the different components and fasteners you may encounter along the way. This will not only save you time but also prevent any damage that could occur from using the wrong tools.
Once you have gathered all the necessary tools, you are ready to move on to the next step: unplugging the dryer.
Step 2: Unplug the dryer
Before you begin disassembling your dryer, it’s crucial to ensure that it is completely disconnected from any power source. This step is essential to prevent accidental electrical shocks when handling the internal components.
Follow these steps to safely unplug your dryer:
- Locate the power cord: The power cord is usually located at the back of the dryer near the bottom. It is a thick cord that plugs into the electrical outlet.
- Turn off the power: Locate the circuit breaker box in your home and find the breaker that corresponds to the dryer. Flip the breaker switch to the “Off” position to cut off the power supply.
- Disconnect the power cord: Firmly grasp the plug of the power cord and pull it out from the electrical outlet. Make sure you do not pull on the cord itself, as this could damage the cord or the outlet.
Once the dryer is completely unplugged, you can proceed with disassembling it safely.
It’s important to note that even though the power has been disconnected, some components of the dryer may still retain electrical charges. To minimize any risks, avoid touching any exposed wires or metal parts unless necessary, and always wear safety gloves and goggles throughout the disassembly process.
With the dryer safely disconnected from the power source, we can now move on to the next step: removing the lint trap and filter.
Step 3: Remove the lint trap and filter
The lint trap and filter are essential components of a dryer as they help prevent lint and debris from clogging the vent and causing potential fire hazards. Regularly removing and cleaning the lint trap and filter is important for maintaining the efficiency and safety of your dryer.
To remove the lint trap and filter, follow these steps:
- Locate the lint trap: The lint trap is typically located on the top surface of the dryer, near the door opening. It is a rectangular or square-shaped screen with small holes.
- Gently pull out the lint trap: Once you have located the lint trap, carefully pull it straight out towards you. It should slide out easily.
- Remove the lint: With the lint trap in your hand, use your fingers or a soft brush to remove the lint and debris that has accumulated on the screen. Make sure to clean it thoroughly to promote proper airflow.
- Inspect the lint trap compartment: After cleaning the lint trap, take a moment to inspect the area where the lint trap sits. Use a flashlight if necessary to look for any additional lint or debris that may have accumulated. Clean out any visible lint or debris using a soft cloth or brush.
- Clean the lint filter: Some dryers have an additional lint filter located inside the dryer drum or behind the front panel. If your dryer has a secondary lint filter, locate it and remove any lint or debris.
Once you have removed and cleaned the lint trap, filter, and any secondary lint filters, you can proceed with the next steps in disassembling your dryer.
Removing the lint trap and filter is just the beginning of the disassembly process. In the next step, we will learn how to remove the top panel of the dryer.
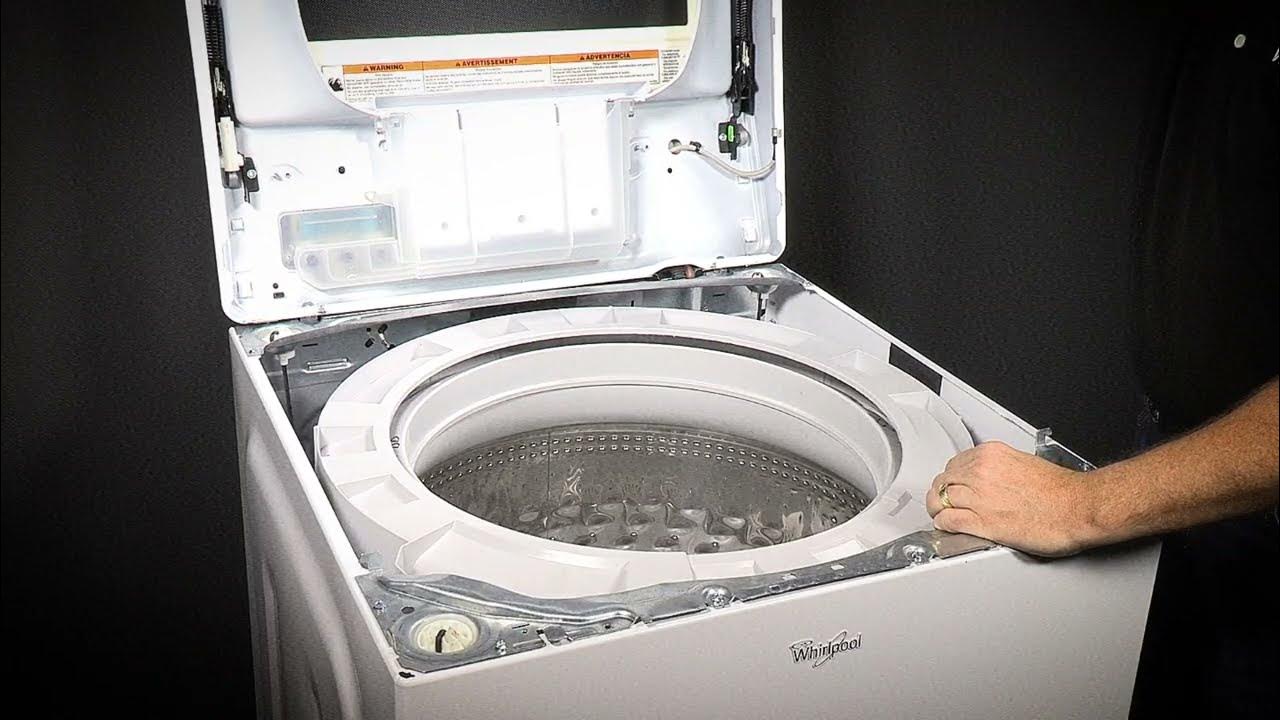
Step 4: Remove the top panel
Removing the top panel of your dryer will provide you with access to the internal components and allow you to proceed with further disassembly. Follow these steps to safely remove the top panel:
- Locate the screws: Look for the screws that secure the top panel to the dryer cabinet. These screws are usually located at the back of the top panel.
- Use the appropriate screwdriver: Depending on the type of screws used, use a flathead or Phillips screwdriver to remove them. Loosen the screws but leave them in place for the time being.
- Slide the top panel back: Once the screws are loose, slide the top panel towards the back of the dryer. This action will disengage the front clips from the cabinet.
- Lift and remove the top panel: With the top panel slid back, lift it upwards to separate it from the dryer cabinet. Set it aside in a safe place.
Once you have successfully removed the top panel, you will have a clear view of the internal workings of your dryer. Take a moment to familiarize yourself with the components before proceeding to the next steps of disassembly.
Removing the top panel is an important step in disassembling your dryer, but it is not the end of the process. In the next step, we will learn how to disconnect the control panel for further access.
Read more: How To Take Apart Stackable Washer/Dryer
Step 5: Disconnect the control panel
The control panel of your dryer houses the buttons and knobs that allow you to select desired settings and operate the appliance. Disconnecting the control panel will provide you with better access to other components and allow for easier disassembly.
Follow these steps to safely disconnect the control panel:
- Locate the control panel: The control panel is typically located on the top front of the dryer.
- Remove any screws or fasteners: Look for any screws or fasteners that secure the control panel to the dryer cabinet. Use the appropriate screwdriver or tool to remove them.
- Gently pull forward: Once the screws or fasteners are removed, gently pull the control panel forward. Be cautious not to pull too forcefully, as there may be wires or connectors attached to the panel.
- Disconnect the wires and connectors: Carefully disconnect any wires or connectors that are attached to the control panel. Take note of their positions or use a camera to document the connections for easy reassembly later.
Once you have disconnected the control panel, set it aside in a safe place. Be mindful of any delicate or sensitive components, and handle the control panel with care to prevent damage.
With the control panel safely disconnected, you can now proceed to the next step of disassembling the dryer, which involves removing the front panel.
When taking a dryer apart, always unplug it first to avoid electrical shock. Use the appropriate tools and keep track of the screws and parts. Take photos as you go to help with reassembly.
Step 6: Detach the front panel
Removing the front panel of your dryer will give you access to the drum and other internal components. Follow these steps to safely detach the front panel:
- Locate the screws or clips: Depending on the make and model of your dryer, the front panel may be secured by screws or clips. Look for the screws or clips that hold the front panel in place.
- Use the appropriate tools: If your dryer has screws, use a screwdriver to remove them. If it has clips, use a putty knife or similar tool to gently pry open the clips.
- Disconnect any wires or connectors: Once the screws or clips are removed, carefully detach any wires or connectors that connect the front panel to the dryer. Again, it’s a good idea to take pictures or make notes of the connections for reference during reassembly.
- Remove the front panel: With the screws, clips, and wires disconnected, lift and remove the front panel from the dryer. Set it aside in a safe place.
Once the front panel is successfully detached, you will have a clear view of the drum and other internal components of your dryer. Take a moment to inspect the area and clean out any visible lint or debris that may have accumulated.
With the front panel removed, you are now ready to move on to the next steps of disassembling your dryer. In the next step, we will learn how to remove the drum.
Step 7: Remove the drum
Removing the drum from your dryer is necessary to access and clean the heating element, belts, and other components. Follow these steps to safely remove the drum:
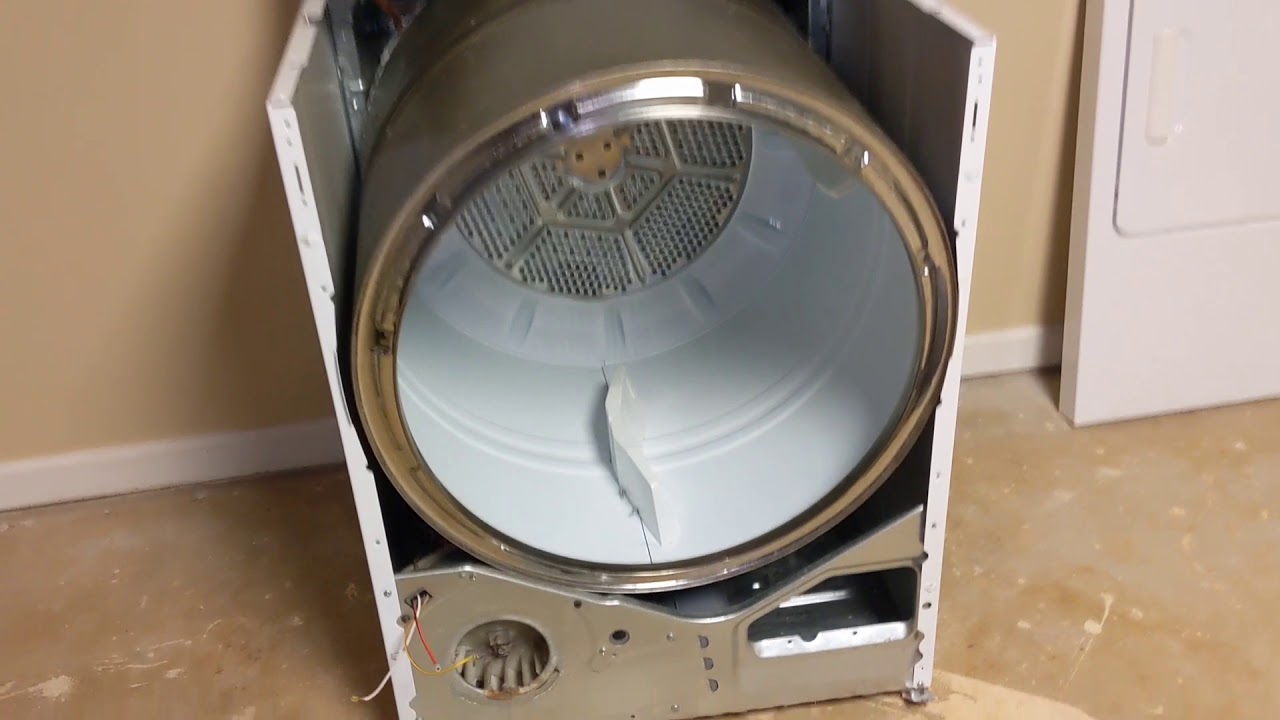
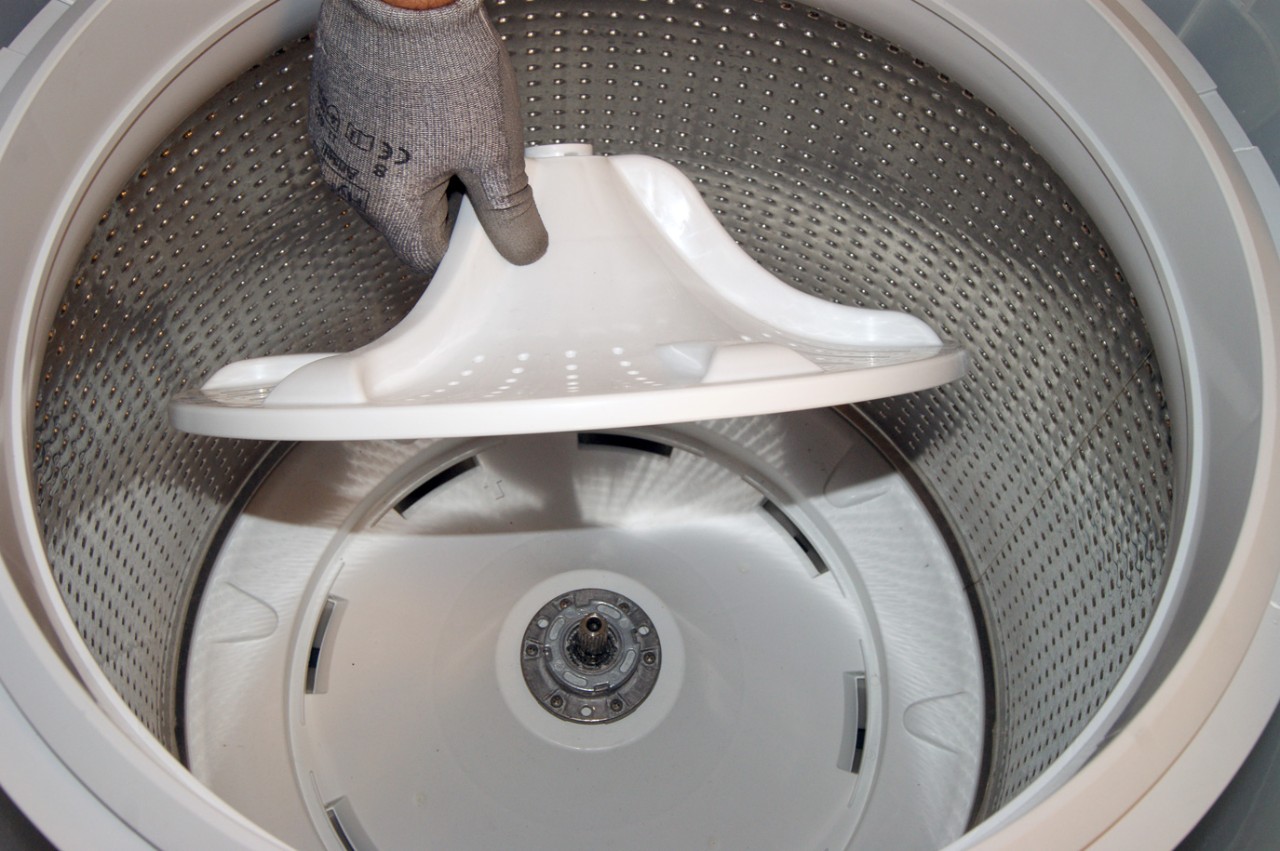
- Locate the drum: The drum is the large, cylindrical container inside the dryer where the clothes are placed.
- Release the belt tension: In order to remove the drum, you’ll first need to release the tension on the belt that connects it to the motor. Refer to your dryer’s manual or online resources specific to your dryer model to find the belt tension release mechanism.
- Remove the belt from the pulley: Once the tension is released, carefully slip the belt off the pulley. Take note of how the belt is routed around the drum and pulley for reassembly later.
- Remove any supporting components: Look for any clips, screws, or brackets that secure the drum to the dryer. Remove them using the appropriate tools.
- Gently lift and remove the drum: With the belt detached and supporting components removed, carefully lift and slide the drum out of the dryer cabinet. Take care not to damage any surrounding components or wiring.
Once the drum is removed, you’ll have better access to the heating element, belts, and other components for cleaning, inspection, and potential repairs. Take the opportunity to inspect the drum for any signs of damage and clean any accumulated lint or debris from the inside of the dryer cabinet.
With the drum successfully removed, you can proceed to the next step, which involves accessing and cleaning the heating element.
Step 8: Access and clean the heating element
The heating element is a crucial component of your dryer that generates the heat needed to dry your clothes. Over time, the heating element can become clogged with lint or debris, affecting its efficiency. Follow these steps to safely access and clean the heating element:
- Locate the heating element: The heating element is usually positioned at the back of the dryer, near the bottom or side.
- Refer to your dryer’s manual: Different dryers have varying methods of accessing the heating element. Consult your dryer’s manual or refer to online resources specific to your dryer model for detailed instructions.
- Remove any panels or components blocking access: Depending on your dryer, you may need to remove certain panels or components to reach the heating element. Use the appropriate tools, such as a screwdriver, to remove the necessary panels.
- Carefully clean the heating element: Once you have accessed the heating element, inspect it for any visible lint or debris. Use a soft brush or cloth to gently clean the surface of the heating element. Avoid using any liquid cleaners or abrasive materials that could damage the element.
- Inspect the wiring and connections: While you have access to the heating element, take a moment to inspect the wiring and connections. Ensure that everything is securely connected and there are no signs of damage or wear. If you notice any issues, consult a professional for repairs.
Properly cleaning the heating element will help maintain its efficiency and prevent potential fire hazards. It’s recommended to clean the heating element periodically or as needed, depending on the amount of lint accumulation.
With the heating element cleaned and inspected, you can move on to the final step: reassembling your dryer.
Read more: How To Take Apart A Conair 1875 Hair Dryer
Step 9: Reassemble the dryer
After completing the necessary repairs, cleaning, or inspections, it’s time to put your dryer back together. Follow these steps to properly reassemble your dryer:
- Retrieve the drum: Carefully slide the drum back into the dryer cabinet, making sure it aligns properly with any supporting components or guides.
- Reconnect the belt: Place the belt back onto the motor pulley and restore tension using the belt tension release mechanism. Ensure the belt is properly routed around the drum and pulley as per your dryer’s manual.
- Reattach the front panel: With the drum in place and the belt connected, lift the front panel and align it with the cabinet. Secure it by reinserting the screws or engaging the clips that were removed earlier. Don’t forget to reconnect any wires or connectors to the control panel as well.
- Replace the top panel: Slide the top panel back into position, ensuring the front clips engage with the cabinet. Tighten the screws that secure the top panel to the dryer.
- Install and clean the lint trap/filter: Slide the lint trap/filter back into its designated compartment, ensuring it fits securely. Clean the lint trap compartment and any secondary lint filters before inserting them back into place.
- Plug in the dryer: Finally, plug the dryer back into the power source and restore power from the circuit breaker box.
Once the dryer is reassembled and plugged in, perform a test run to ensure everything is functioning properly. Monitor the dryer for any unusual noises, smells, or malfunctions. If you notice any issues, consult a professional for further assistance.
Remember, safety should always be a priority when working with electrical appliances. Always follow proper guidelines, ensure the dryer is safely disconnected from the power source, and wear appropriate safety gear throughout the disassembly and reassembly process.
Congratulations! You have successfully reassembled your dryer and are now ready to enjoy its optimal performance once again.
Conclusion
Disassembling a dryer may seem like a daunting task, but with the right knowledge and tools, it can be a manageable and rewarding endeavor. By following the step-by-step process outlined in this article, you can troubleshoot issues, clean internal components, and ensure your dryer is running efficiently.
Remember, safety should always be a top priority while working with electrical appliances. If you are not confident in your abilities or encounter any complexities during the disassembly process, it is advisable to seek professional assistance.
Gathering the necessary tools, unplugging the dryer, removing the lint trap and filter, detaching the top panel, disconnecting the control panel, and removing the front panel and drum are all vital steps that allow you to access and clean the heating element and other internal components. Proper maintenance and cleaning will not only improve the performance of your dryer but also prolong its lifespan.
Once you have completed the necessary repairs, cleaning, or inspections, reassembling the dryer is the final step. Make sure to follow the reverse order of the disassembly process, reconnect all wires and connectors securely, and perform a test run to ensure everything is in working order.
By taking the time to disassemble and maintain your dryer, you can enjoy the benefits of a properly functioning appliance that efficiently dries your clothes. Regular maintenance will not only save you time and money in the long run but also contribute to a safer and more efficient laundry routine.
Remember, if you encounter any complex issues or are unsure about any aspect of the disassembly process, it’s best to consult a professional to avoid any hazards or potential damage to your dryer.
HTML Validation
To validate the HTML encoding of this article, you can use an HTML validator tool such as the W3C Markup Validation Service (https://validator.w3.org/). Copy the HTML content of this article and paste it into the validation tool. It will check for any errors or warnings in the HTML markup and provide a validation report.
Frequently Asked Questions about How To Take A Dryer Apart
Was this page helpful?
At Storables.com, we guarantee accurate and reliable information. Our content, validated by Expert Board Contributors, is crafted following stringent Editorial Policies. We're committed to providing you with well-researched, expert-backed insights for all your informational needs.

0 thoughts on “How To Take A Dryer Apart”