Home>Home Appliances>Cleaning Appliances>How To Put Swiffer Mop Pad On
Cleaning Appliances
How To Put Swiffer Mop Pad On
Modified: May 6, 2024
Learn how to easily attach a Swiffer mop pad for efficient cleaning. Find step-by-step instructions for using cleaning appliances.
(Many of the links in this article redirect to a specific reviewed product. Your purchase of these products through affiliate links helps to generate commission for Storables.com, at no extra cost. Learn more)
Introduction
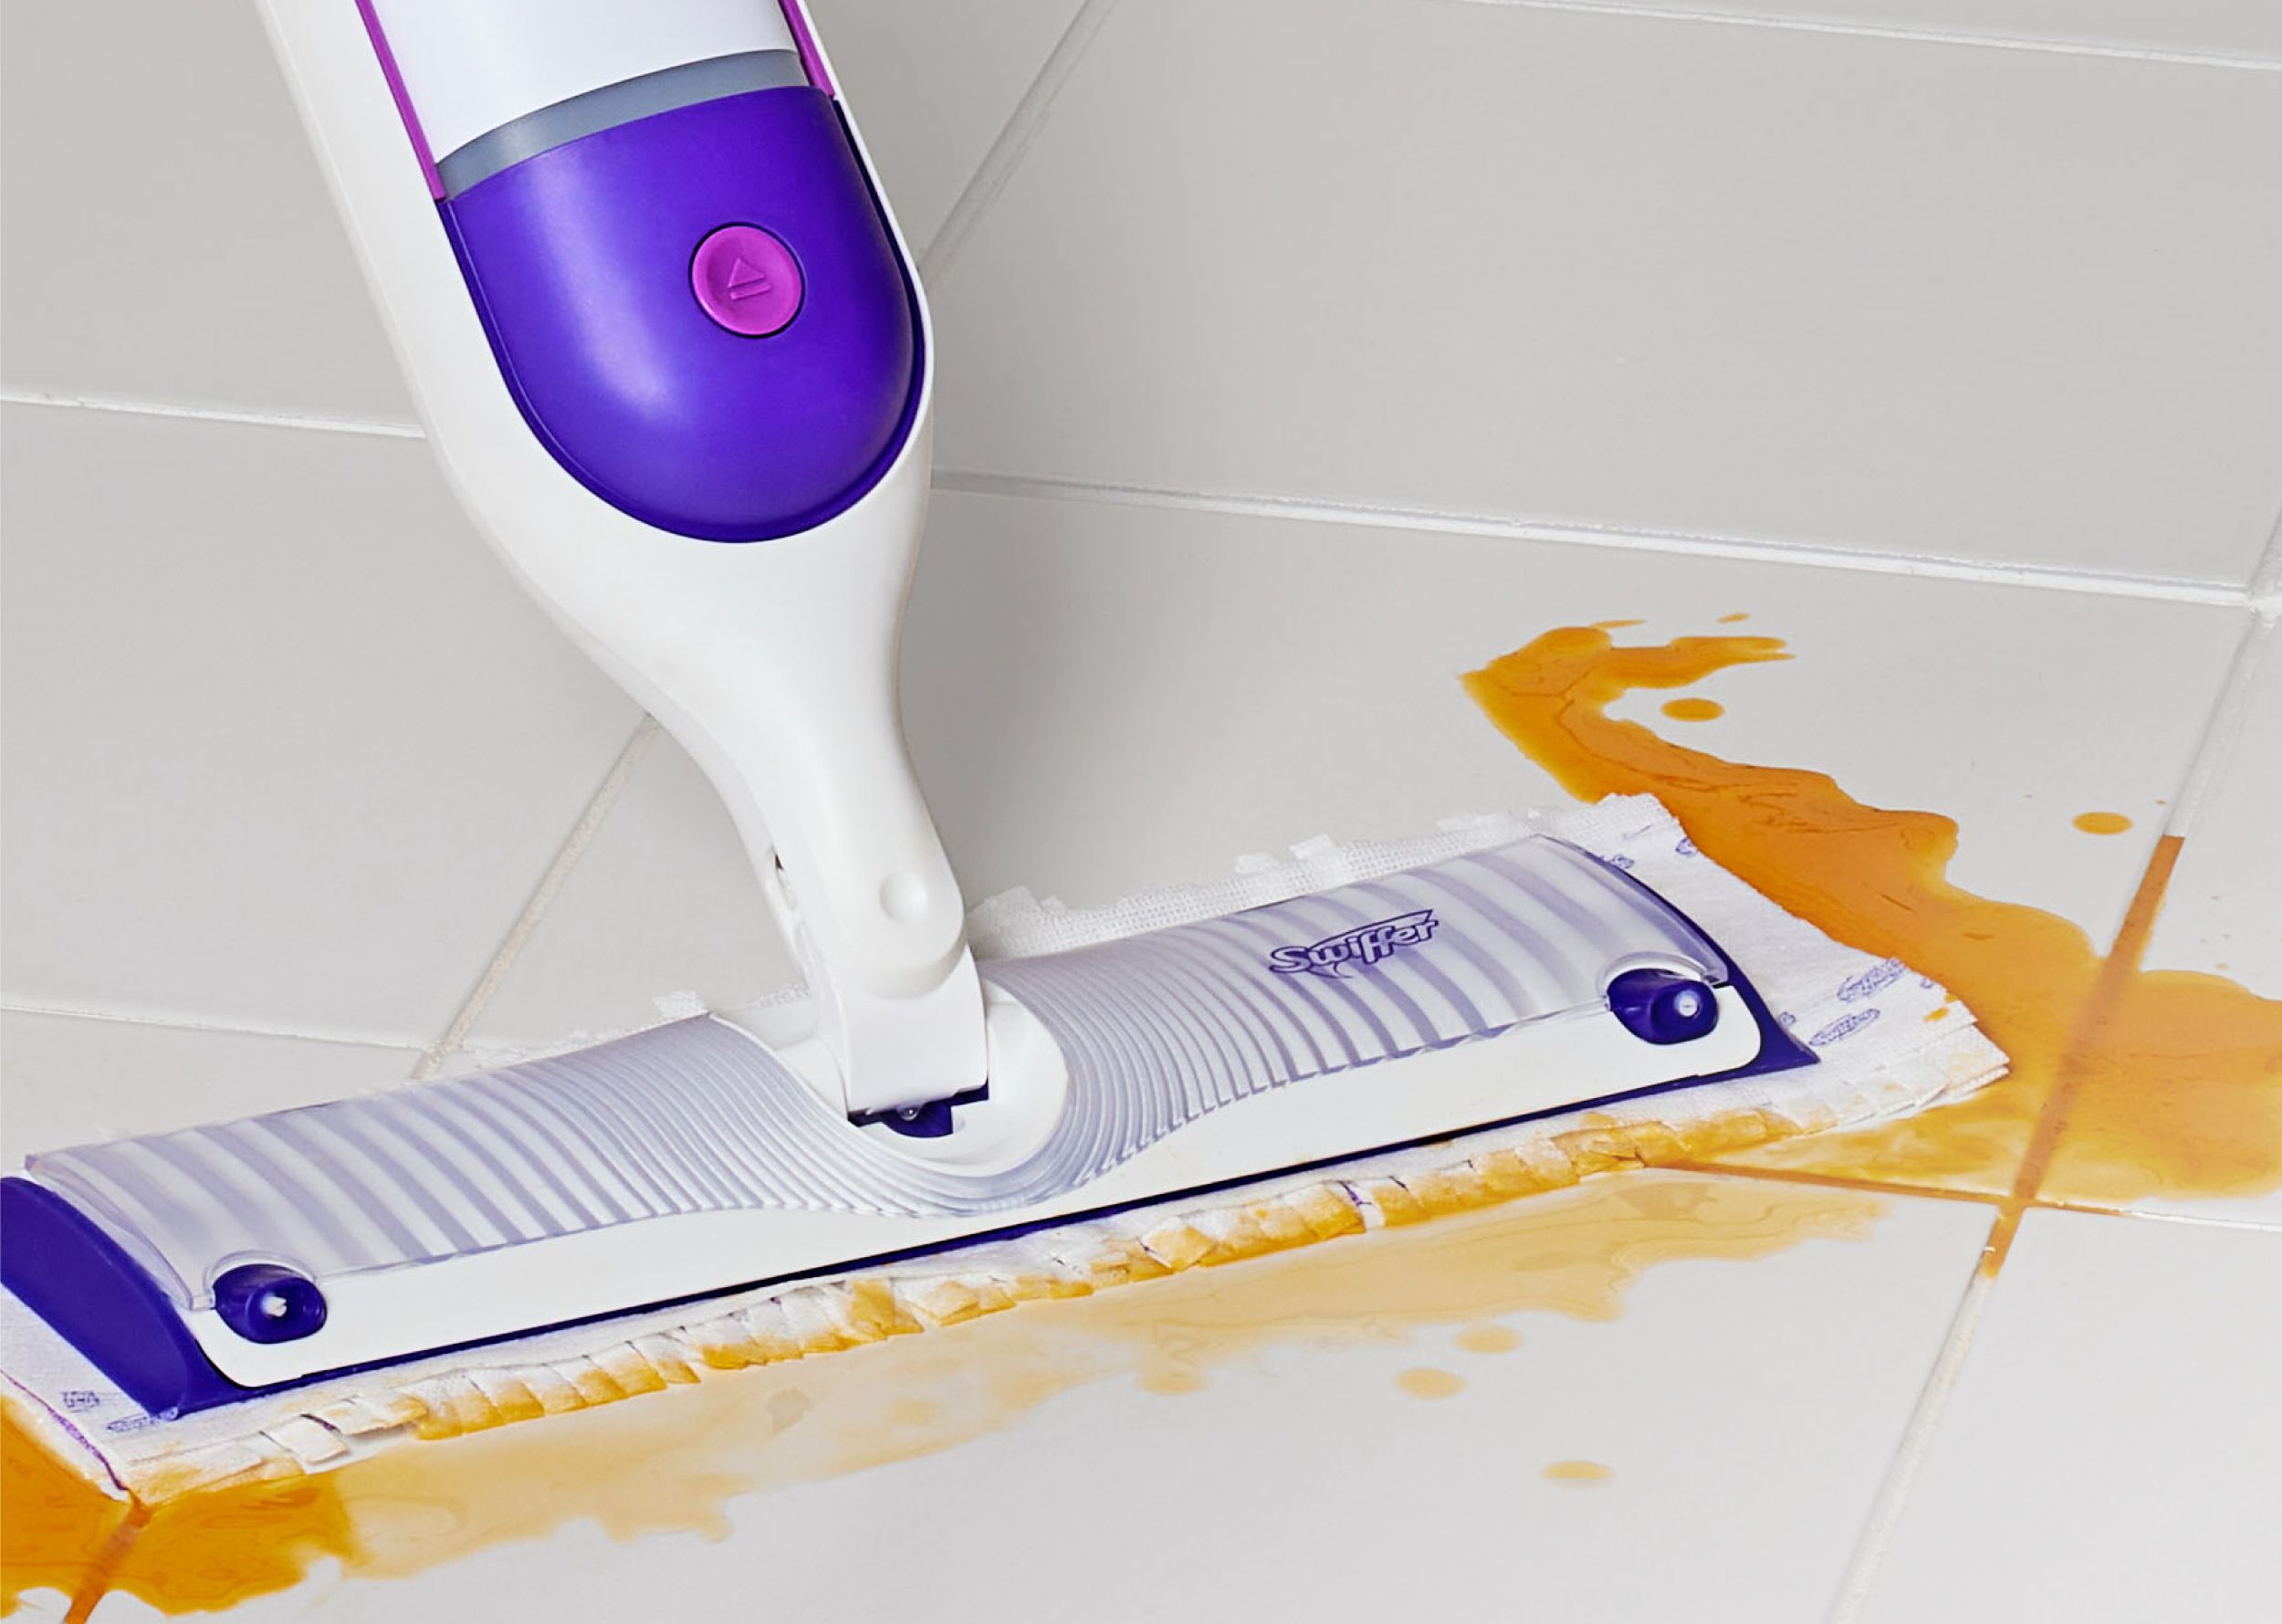
Welcome to the world of Swiffer mops, where cleaning your floors becomes a breeze. Swiffer mops are known for their convenience and efficiency, making the daunting task of mopping a joy rather than a chore. One of the key features of a Swiffer mop is its replaceable pads, which make it easy to maintain cleanliness without the hassle of traditional mop heads. In this guide, we will walk you through the simple and straightforward process of putting a Swiffer mop pad on, ensuring that your cleaning experience is as seamless as possible.
Whether you are new to using a Swiffer mop or simply need a refresher on the process, we’ve got you covered. By following these step-by-step instructions, you’ll be able to effortlessly attach a new pad to your Swiffer mop and get back to enjoying your freshly cleaned floors in no time. Let’s dive in and discover the ease and convenience of using a Swiffer mop to keep your home spick and span.
Key Takeaways:
- Easily attach a Swiffer mop pad by following simple steps: gather materials, open the mop, attach the pad, secure it in place, and dispose of used pads responsibly.
- Swiffer mops with replaceable pads make floor cleaning a breeze, ensuring convenience, effectiveness, and a fresh living space with minimal effort.
Step 1: Gather the materials
Before you begin the process of putting a Swiffer mop pad on, it’s essential to gather all the necessary materials. Having everything at hand will streamline the process and ensure that you can complete the task without interruptions. Here’s what you’ll need:
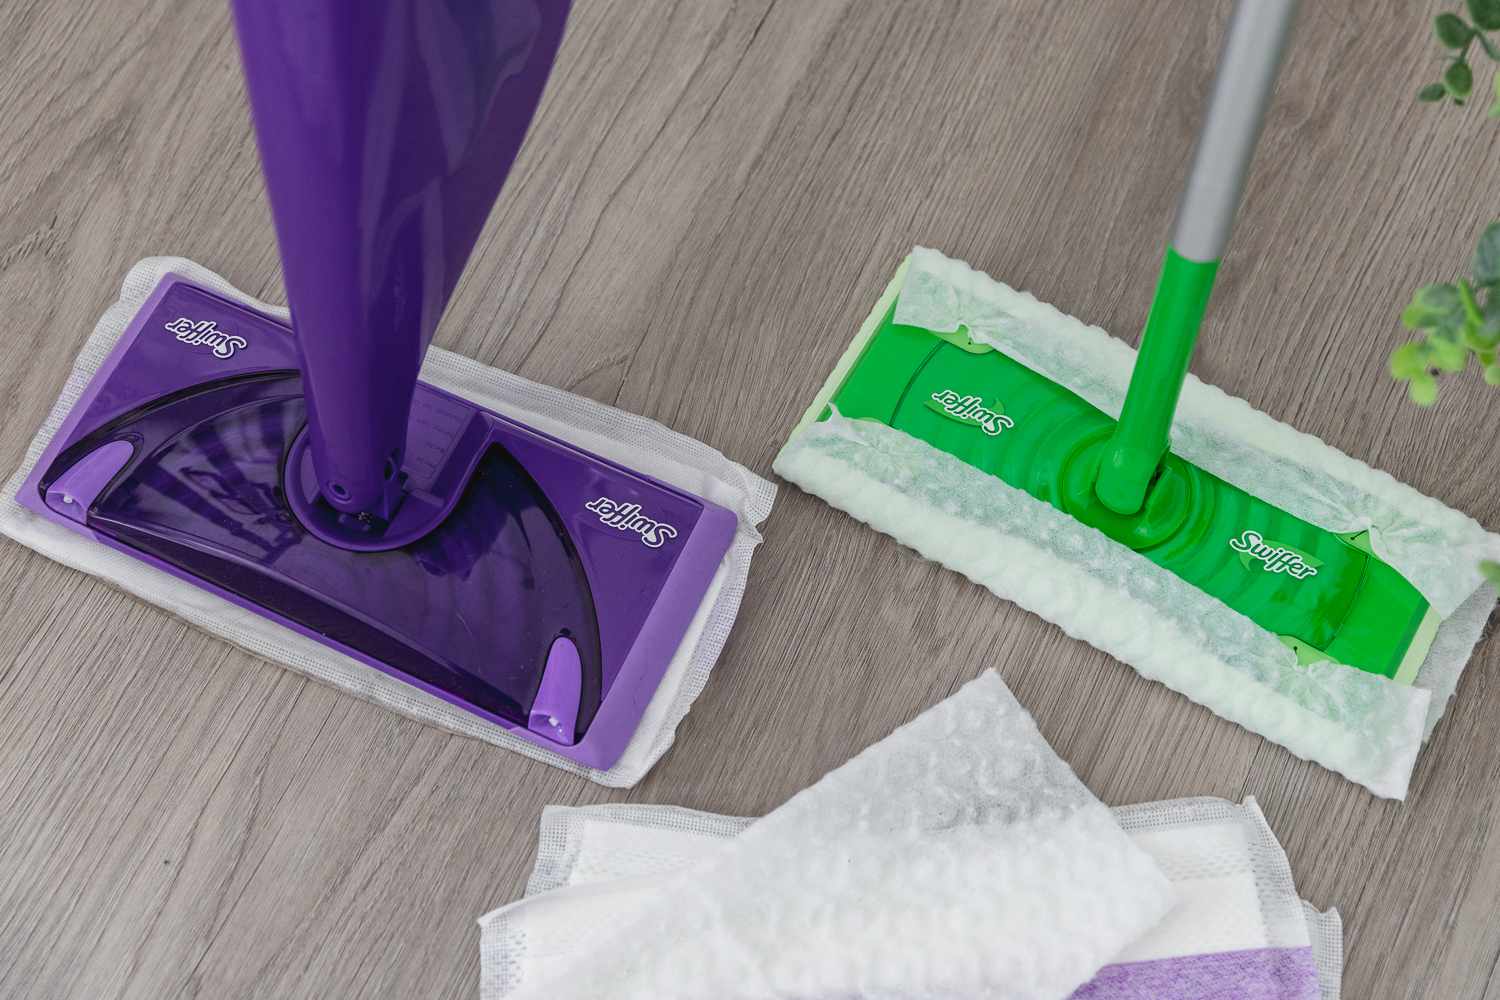
- A Swiffer mop: This is the main tool for cleaning your floors with ease.
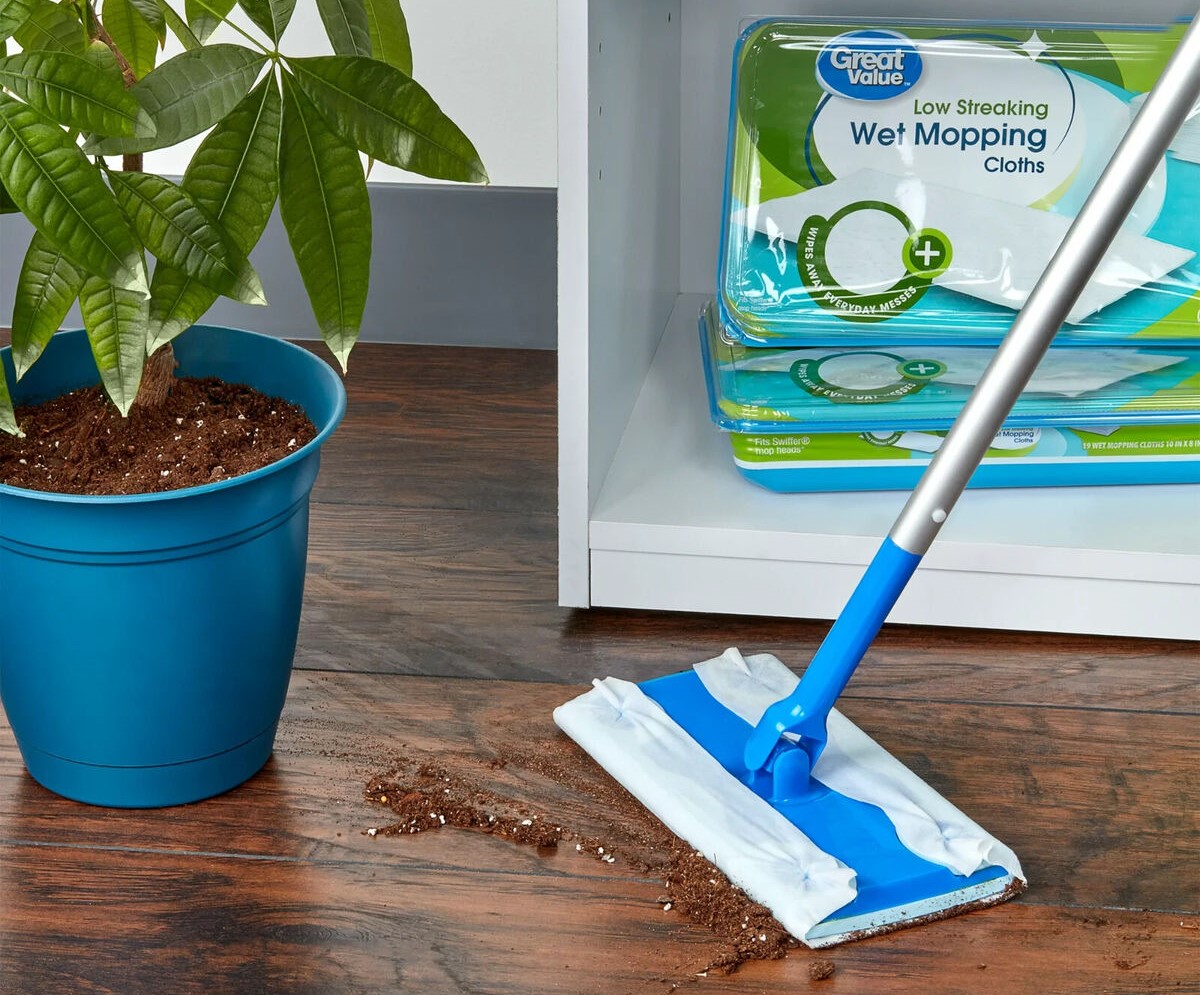
- A Swiffer mop pad: Ensure that you have the appropriate pad for your specific Swiffer mop model. Swiffer offers various types of pads, including dry and wet options, designed to cater to different cleaning needs.
- A clean and dry floor: It’s important to start with a floor that is free of debris and moisture to maximize the effectiveness of the Swiffer mop pad.
- Clear space: Ensure that the area where you’ll be attaching the pad to the mop head is free of obstacles, allowing for easy maneuvering.
By having these materials ready, you’ll be well-prepared to proceed with the process of putting the Swiffer mop pad on. With everything in place, you can focus on achieving a sparkling clean floor without any unnecessary delays.
Step 2: Open the Swiffer mop
Once you have gathered the necessary materials, it’s time to open the Swiffer mop in preparation for attaching a new pad. Follow these simple steps to access the mop head:
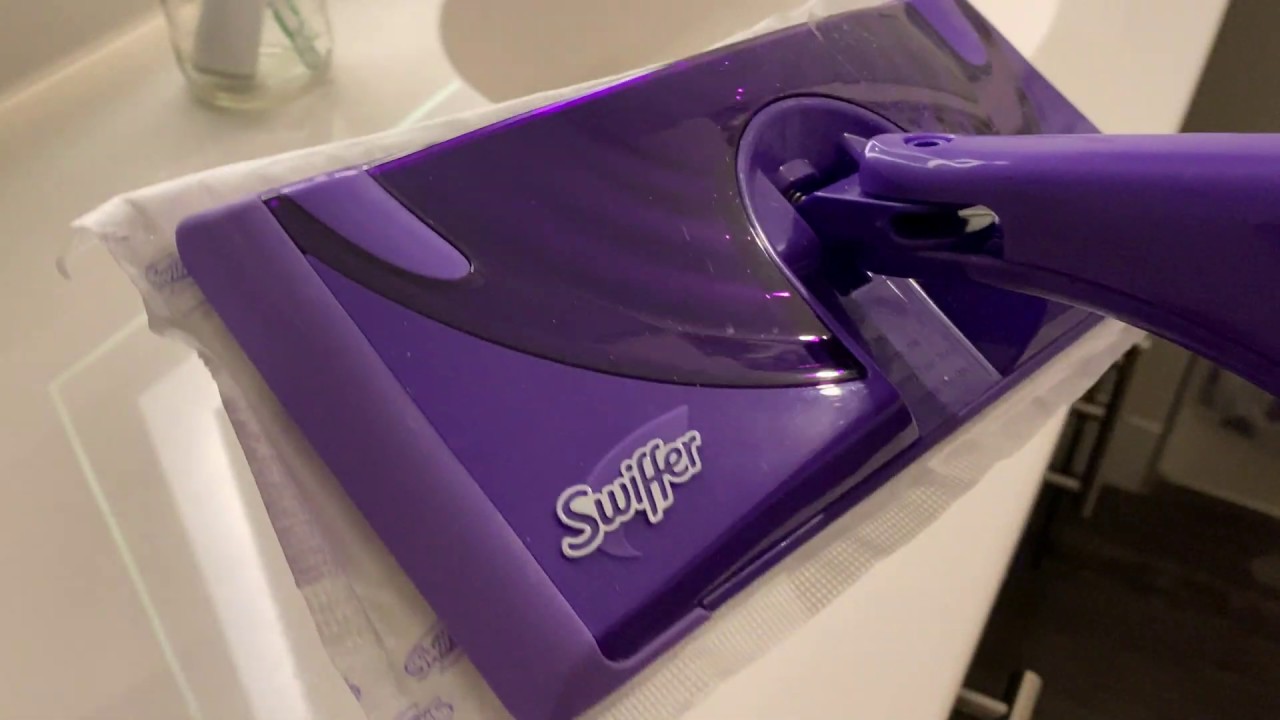
- Locate the release button or lever: Depending on the model of your Swiffer mop, there will be a designated release mechanism to unlock the mop head. This may be a button, lever, or other type of release feature.
- Press or activate the release: Use your fingers to press the release button or activate the lever, which will allow you to open the Swiffer mop and access the mop head.
- Ensure the mop is securely open: Once you have activated the release, confirm that the Swiffer mop is fully open and the mop head is easily accessible for pad attachment.
By carefully following these steps, you will be able to open your Swiffer mop without any hassle, setting the stage for the next phase of the process: attaching the pad to the mop head. Opening the Swiffer mop is a straightforward task that paves the way for effortless cleaning and maintenance of your floors.
Step 3: Attach the pad to the mop head
With the Swiffer mop open and the mop head accessible, it’s time to proceed with attaching the pad. Follow these simple steps to secure the pad to the mop head:
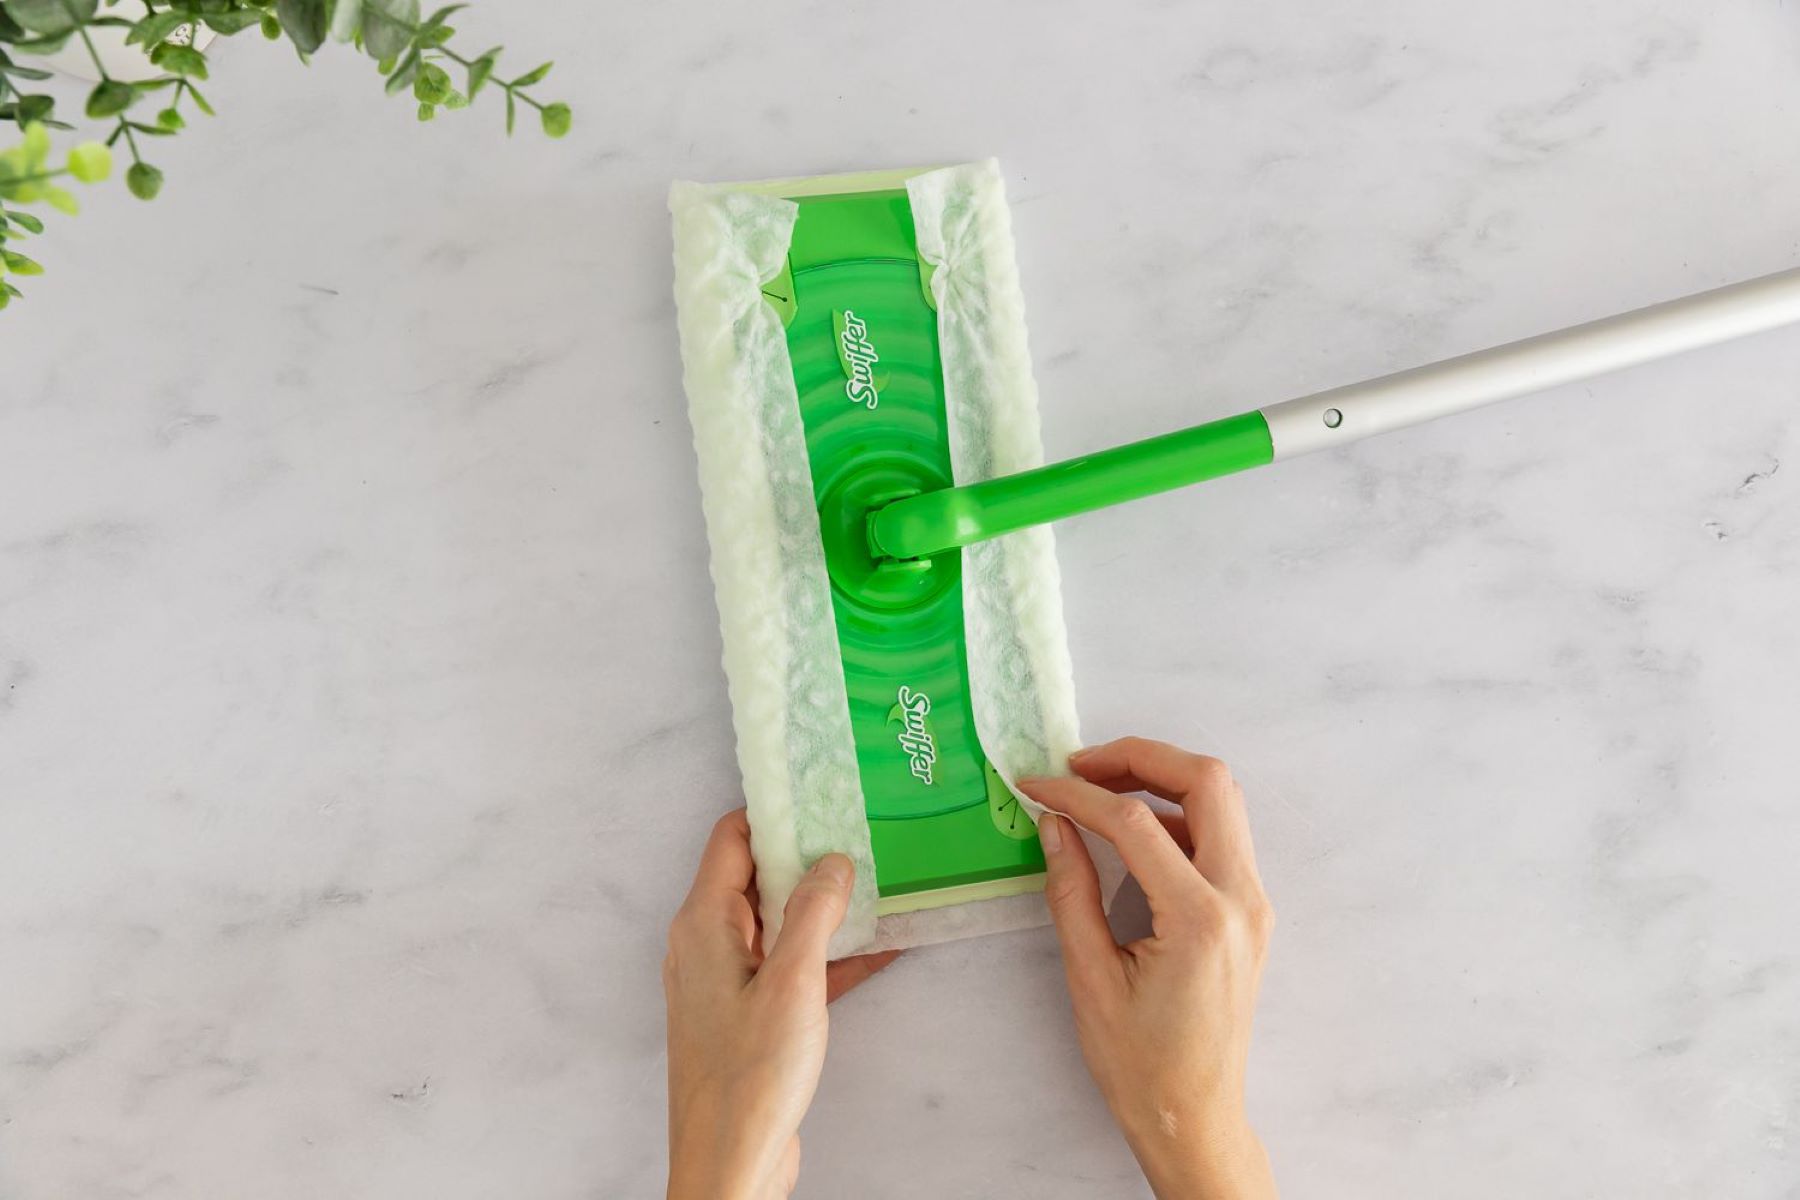
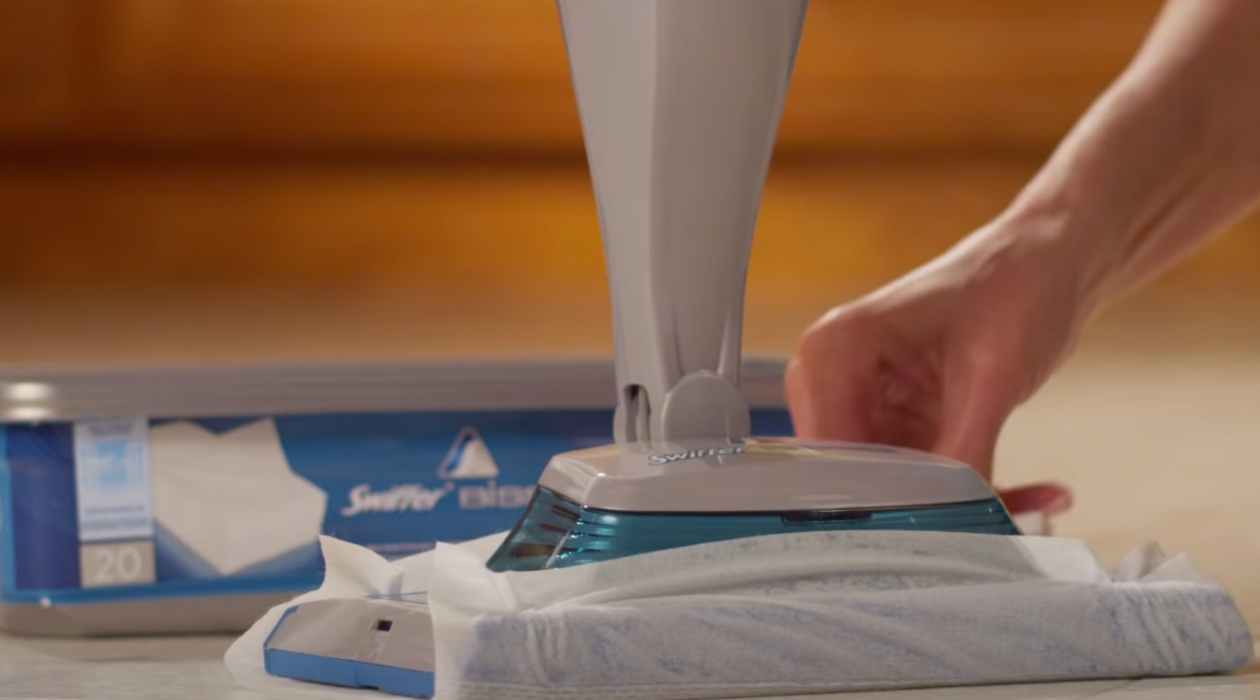
- Position the pad: Take the Swiffer mop pad and position it over the mop head, ensuring that it aligns correctly with the shape and size of the mop head.
- Secure the edges: Carefully tuck the edges of the pad under the gripping tabs or slots located on the mop head. This will ensure that the pad remains in place during use.
- Smooth out any wrinkles: Once the pad is secured under the gripping tabs, gently smooth out any wrinkles or creases to ensure that the pad lies flat and even on the mop head.
By following these steps, you will be able to effortlessly attach the pad to the mop head, setting the stage for effective and efficient cleaning. The process is designed to be simple and user-friendly, allowing you to maintain a clean and hygienic living space with ease.
To put a Swiffer mop pad on, simply align the edges of the pad with the mop head and press down firmly to secure it in place. Make sure it is evenly attached before use.
Step 4: Secure the pad in place
After attaching the pad to the mop head, it’s important to ensure that it is securely in place to facilitate effective cleaning. Follow these steps to confirm that the pad is properly secured:
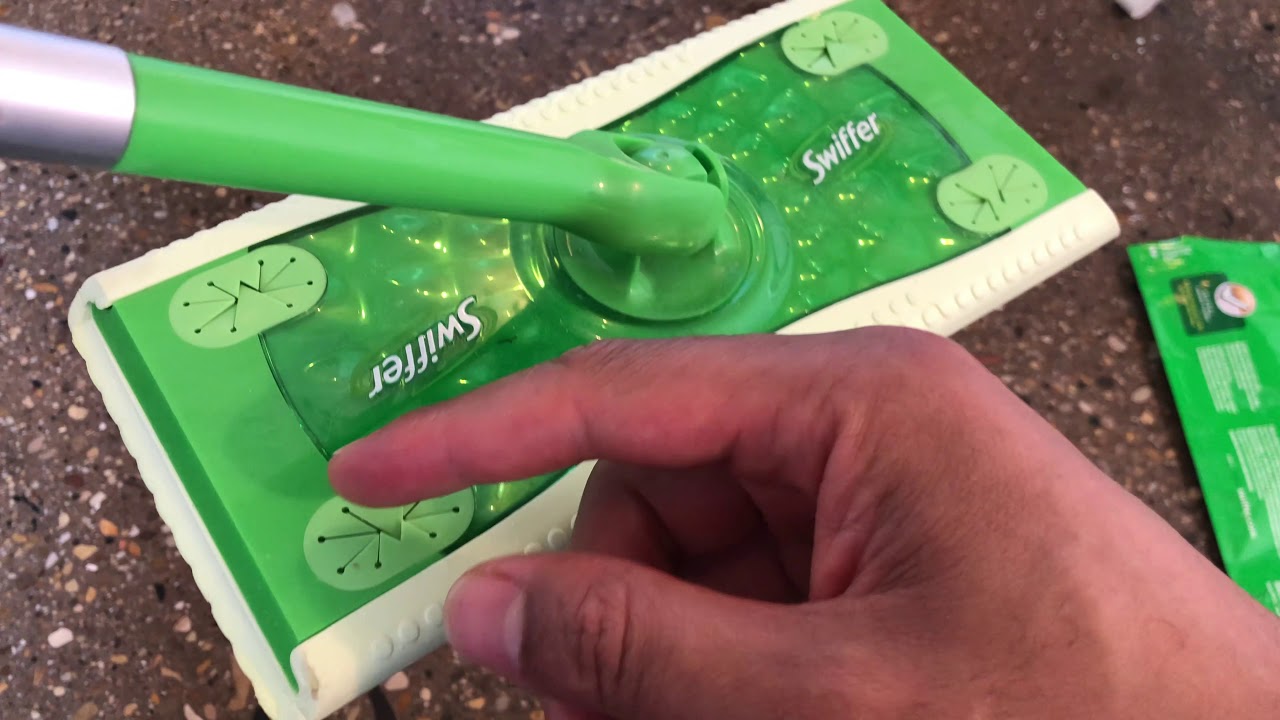
- Check the alignment: Verify that the pad is aligned evenly on the mop head, with no areas sticking out or bunching up. Proper alignment will ensure optimal contact with the floor during cleaning.
- Tug gently on the pad: Give the pad a gentle tug to confirm that it is firmly secured to the mop head. This will help prevent the pad from dislodging during use.
- Adjust if necessary: If the pad seems loose or uneven, make any necessary adjustments to ensure a snug and secure fit on the mop head.
By taking these simple steps, you can be confident that the pad is securely in place, ready to tackle dirt, dust, and grime on your floors. A well-secured pad ensures that your Swiffer mop delivers optimal cleaning performance, leaving your floors sparkling clean with minimal effort.
Read more: How To Use Swiffer Mop
Step 5: Dispose of the used pad
Once you have completed your cleaning task and the Swiffer mop pad has served its purpose, it’s important to dispose of the used pad properly. Follow these simple steps to safely and hygienically dispose of the pad:
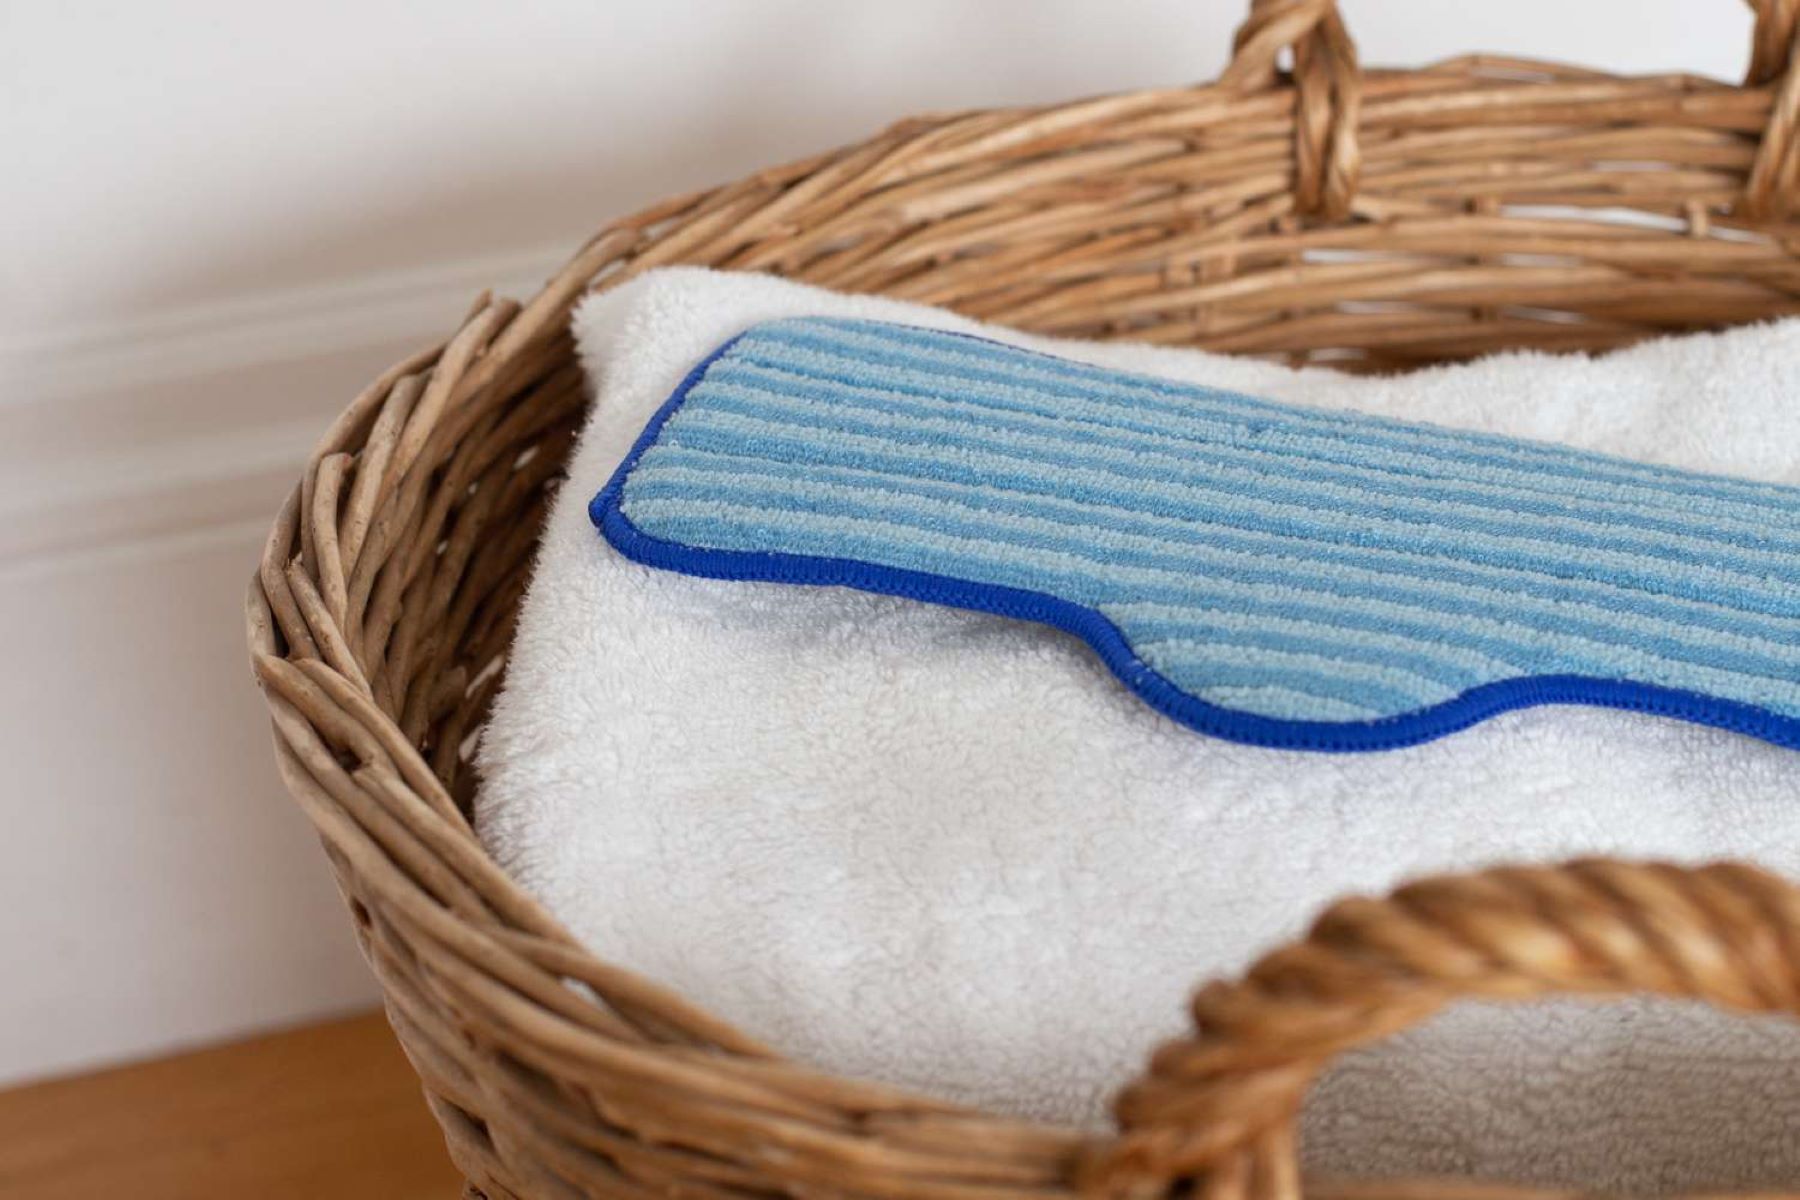
- Remove the pad from the mop head: Carefully detach the used pad from the mop head, ensuring that you avoid direct contact with any dirt or debris that may have accumulated on the pad during cleaning.
- Dispose of the pad in a waste bin: Place the used pad in a designated waste bin or trash receptacle. If the pad has collected significant dirt or grime, consider wrapping it in a plastic bag before discarding it to contain any mess.
- Secure the waste bin: Once the used pad is disposed of, secure the waste bin to prevent any spillage or odors from escaping.
By following these steps, you can ensure that the used pad is safely and responsibly disposed of, maintaining a clean and tidy environment in your home. Proper disposal also contributes to a hygienic cleaning routine, allowing you to enjoy the benefits of a fresh and inviting living space.
Conclusion
Congratulations! You’ve successfully learned how to put a Swiffer mop pad on, transforming the task of floor cleaning into a simple and efficient process. By following the step-by-step instructions outlined in this guide, you can seamlessly attach a new pad to your Swiffer mop, ensuring that your floors receive the care and attention they deserve.
With the right materials at hand, opening the Swiffer mop, attaching the pad to the mop head, securing the pad in place, and responsibly disposing of the used pad become effortless tasks. The convenience and effectiveness of using a Swiffer mop with replaceable pads make floor maintenance a breeze, allowing you to enjoy a clean and inviting living space with minimal effort.
By incorporating these simple steps into your cleaning routine, you can experience the satisfaction of maintaining spotless floors while saving time and energy. The versatility of Swiffer mop pads, including dry and wet options, ensures that you can address various cleaning needs with ease, from quick touch-ups to deep cleaning sessions.
Embrace the convenience and effectiveness of Swiffer mops, and let the replaceable pads simplify your cleaning routine. With the knowledge and skills you’ve gained from this guide, you can confidently tackle floor cleaning tasks, knowing that a sparkling clean home is well within reach.
So go ahead, put on that Swiffer mop pad, and revel in the joy of effortlessly maintaining a fresh and pristine living environment. Your floors will thank you, and you’ll appreciate the simplicity and effectiveness of using a Swiffer mop with replaceable pads.
Ready to keep your floors spotless with less effort? Up your cleaning game by checking out our latest guide on top mop refills. Perfect for anyone eager to make household chores a breeze, these options promise efficiency and durability. Additionally, if you're on the hunt for something a bit more specialized, our selection of premium wet mop pads should not be missed. Designed to tackle even the toughest messes, these pads are a must-have for maintaining pristine floors throughout your home.
Frequently Asked Questions about How To Put Swiffer Mop Pad On
Was this page helpful?
At Storables.com, we guarantee accurate and reliable information. Our content, validated by Expert Board Contributors, is crafted following stringent Editorial Policies. We're committed to providing you with well-researched, expert-backed insights for all your informational needs.


0 thoughts on “How To Put Swiffer Mop Pad On”