Home>Home Appliances>Cleaning Appliances>How To Remove Rubbermaid Mop Head
Cleaning Appliances
How To Remove Rubbermaid Mop Head
Modified: October 21, 2024
Learn how to effectively remove a Rubbermaid mop head for cleaning appliances. Keep your cleaning tools in top condition with our step-by-step guide.
(Many of the links in this article redirect to a specific reviewed product. Your purchase of these products through affiliate links helps to generate commission for Storables.com, at no extra cost. Learn more)
Introduction
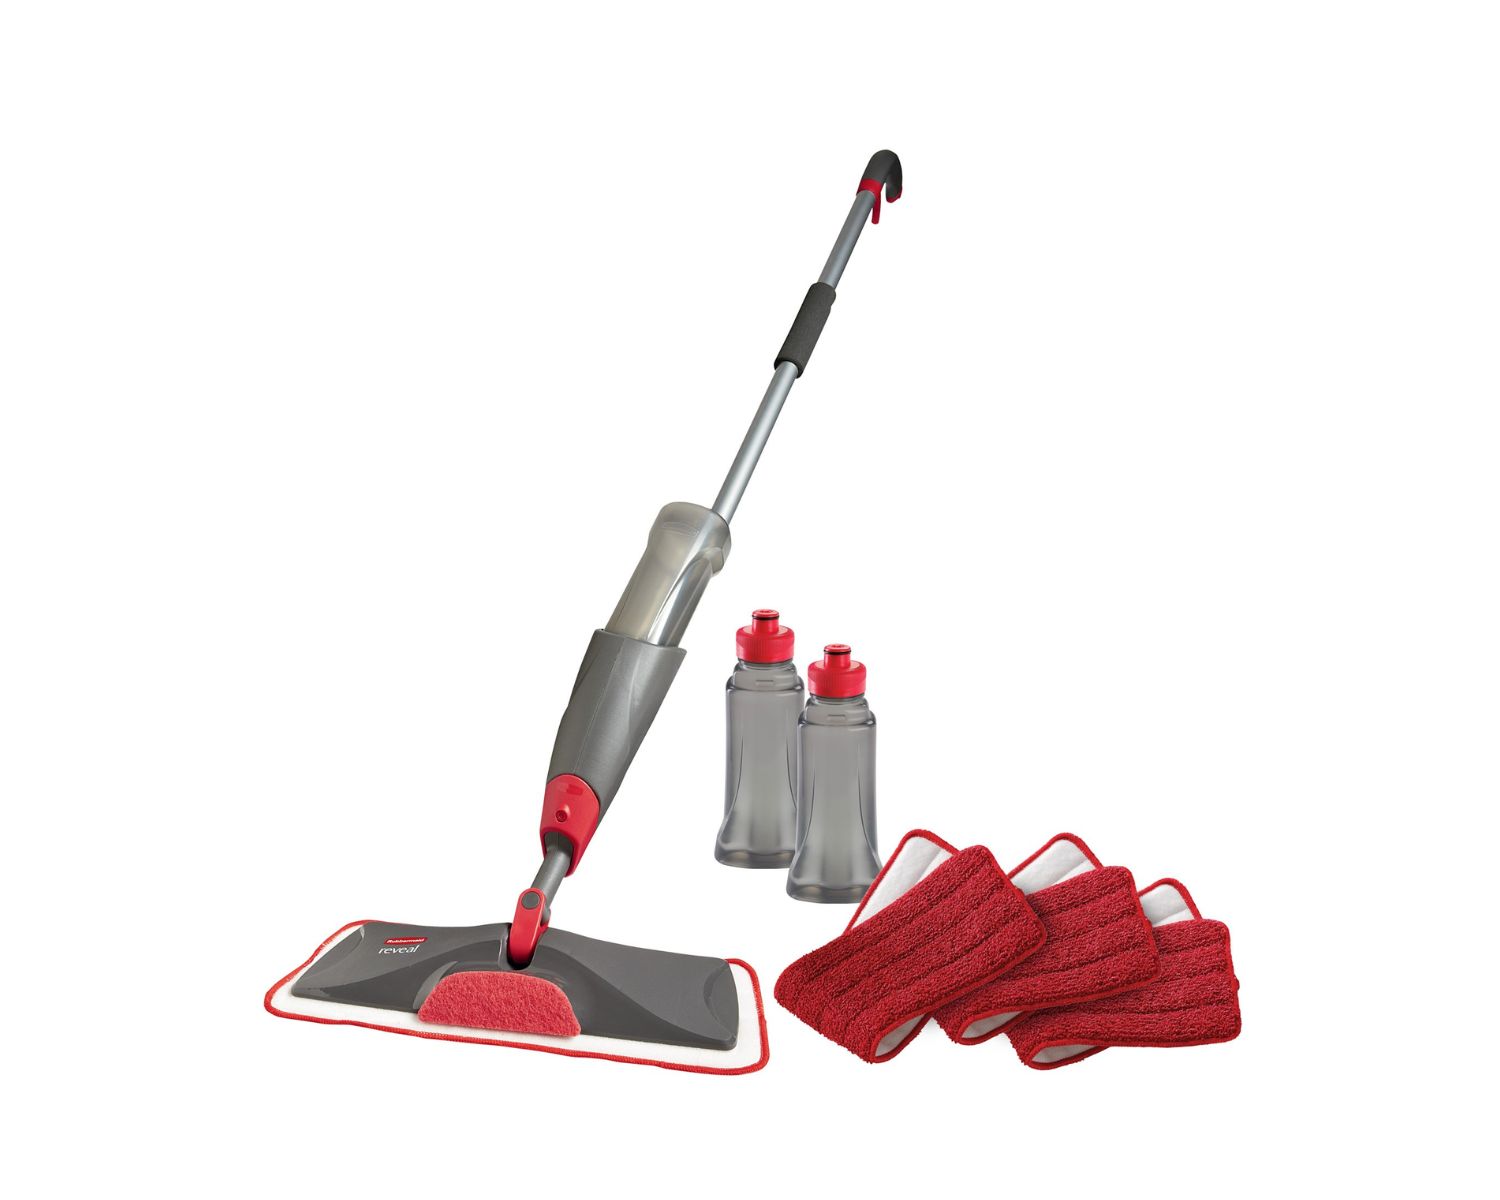
Cleaning your home is an essential task, and having the right tools can make the process much more manageable. A Rubbermaid mop is a popular choice for many households due to its effectiveness and durability. However, over time, the mop head may become dirty or worn out, necessitating its removal for thorough cleaning or replacement.
In this comprehensive guide, we will walk you through the step-by-step process of removing a Rubbermaid mop head. Whether you are dealing with a standard or twist mop, we have you covered. By following these simple yet effective methods, you can ensure that your Rubbermaid mop continues to deliver optimal cleaning performance.
So, gather your supplies and let's dive into the process of removing and cleaning your Rubbermaid mop head.
Key Takeaways:
- Keep your Rubbermaid mop in top condition by removing and cleaning the mop head regularly. This ensures optimal cleaning performance and a more hygienic home environment.
- Gather your supplies and follow the simple steps to remove and clean your Rubbermaid mop head. With a little effort, you can extend the lifespan of your mop and enjoy consistently impressive cleaning results.
Read more: Hurricane Spin Mop – How To Remove Mop Head
Step 1: Prepare the materials
Before embarking on the task of removing the Rubbermaid mop head, it’s essential to gather the necessary materials. By having everything at hand, you can streamline the process and avoid any unnecessary interruptions. Here’s what you’ll need:
- A Rubbermaid mop with the head that needs to be removed
- A bucket or sink filled with warm water
- Mild detergent or a cleaning solution
- A scrub brush or sponge
- Clean towels or a drying rack
Once you have these items assembled, you’re ready to move on to the next step. Having the materials prepared ensures that you can seamlessly proceed through the process, making the task of removing the mop head a smooth and efficient endeavor.
Step 2: Loosen the mop head
Now that you have all the necessary materials at hand, it’s time to begin the process of loosening the Rubbermaid mop head. This step is crucial in preparing the mop for removal, and it can be accomplished with the following simple yet effective method:
Start by filling a bucket or sink with warm water. The warmth of the water will help to loosen any dirt, grime, or debris that may be clinging to the mop head. If the mop head is particularly soiled, you can add a small amount of mild detergent or a cleaning solution to the water to aid in the cleaning process.
Once the water is prepared, immerse the mop head into the warm water, ensuring that it is fully submerged. Allow the mop head to soak for several minutes, giving the warm water and cleaning solution ample time to penetrate and loosen any built-up residue.
While the mop head is soaking, you can gently agitate it by swishing it back and forth in the water. This motion will help to dislodge any stubborn dirt or grime, further facilitating the loosening process.
After the mop head has soaked for an adequate period, carefully lift it out of the water and inspect it for any remaining debris. If necessary, use a scrub brush or sponge to gently remove any lingering dirt or stains from the mop head’s surface.
By following these steps, you can effectively loosen the Rubbermaid mop head, preparing it for the next stage of removal. This method ensures that the mop head is thoroughly cleaned and primed for the subsequent cleaning or replacement process.
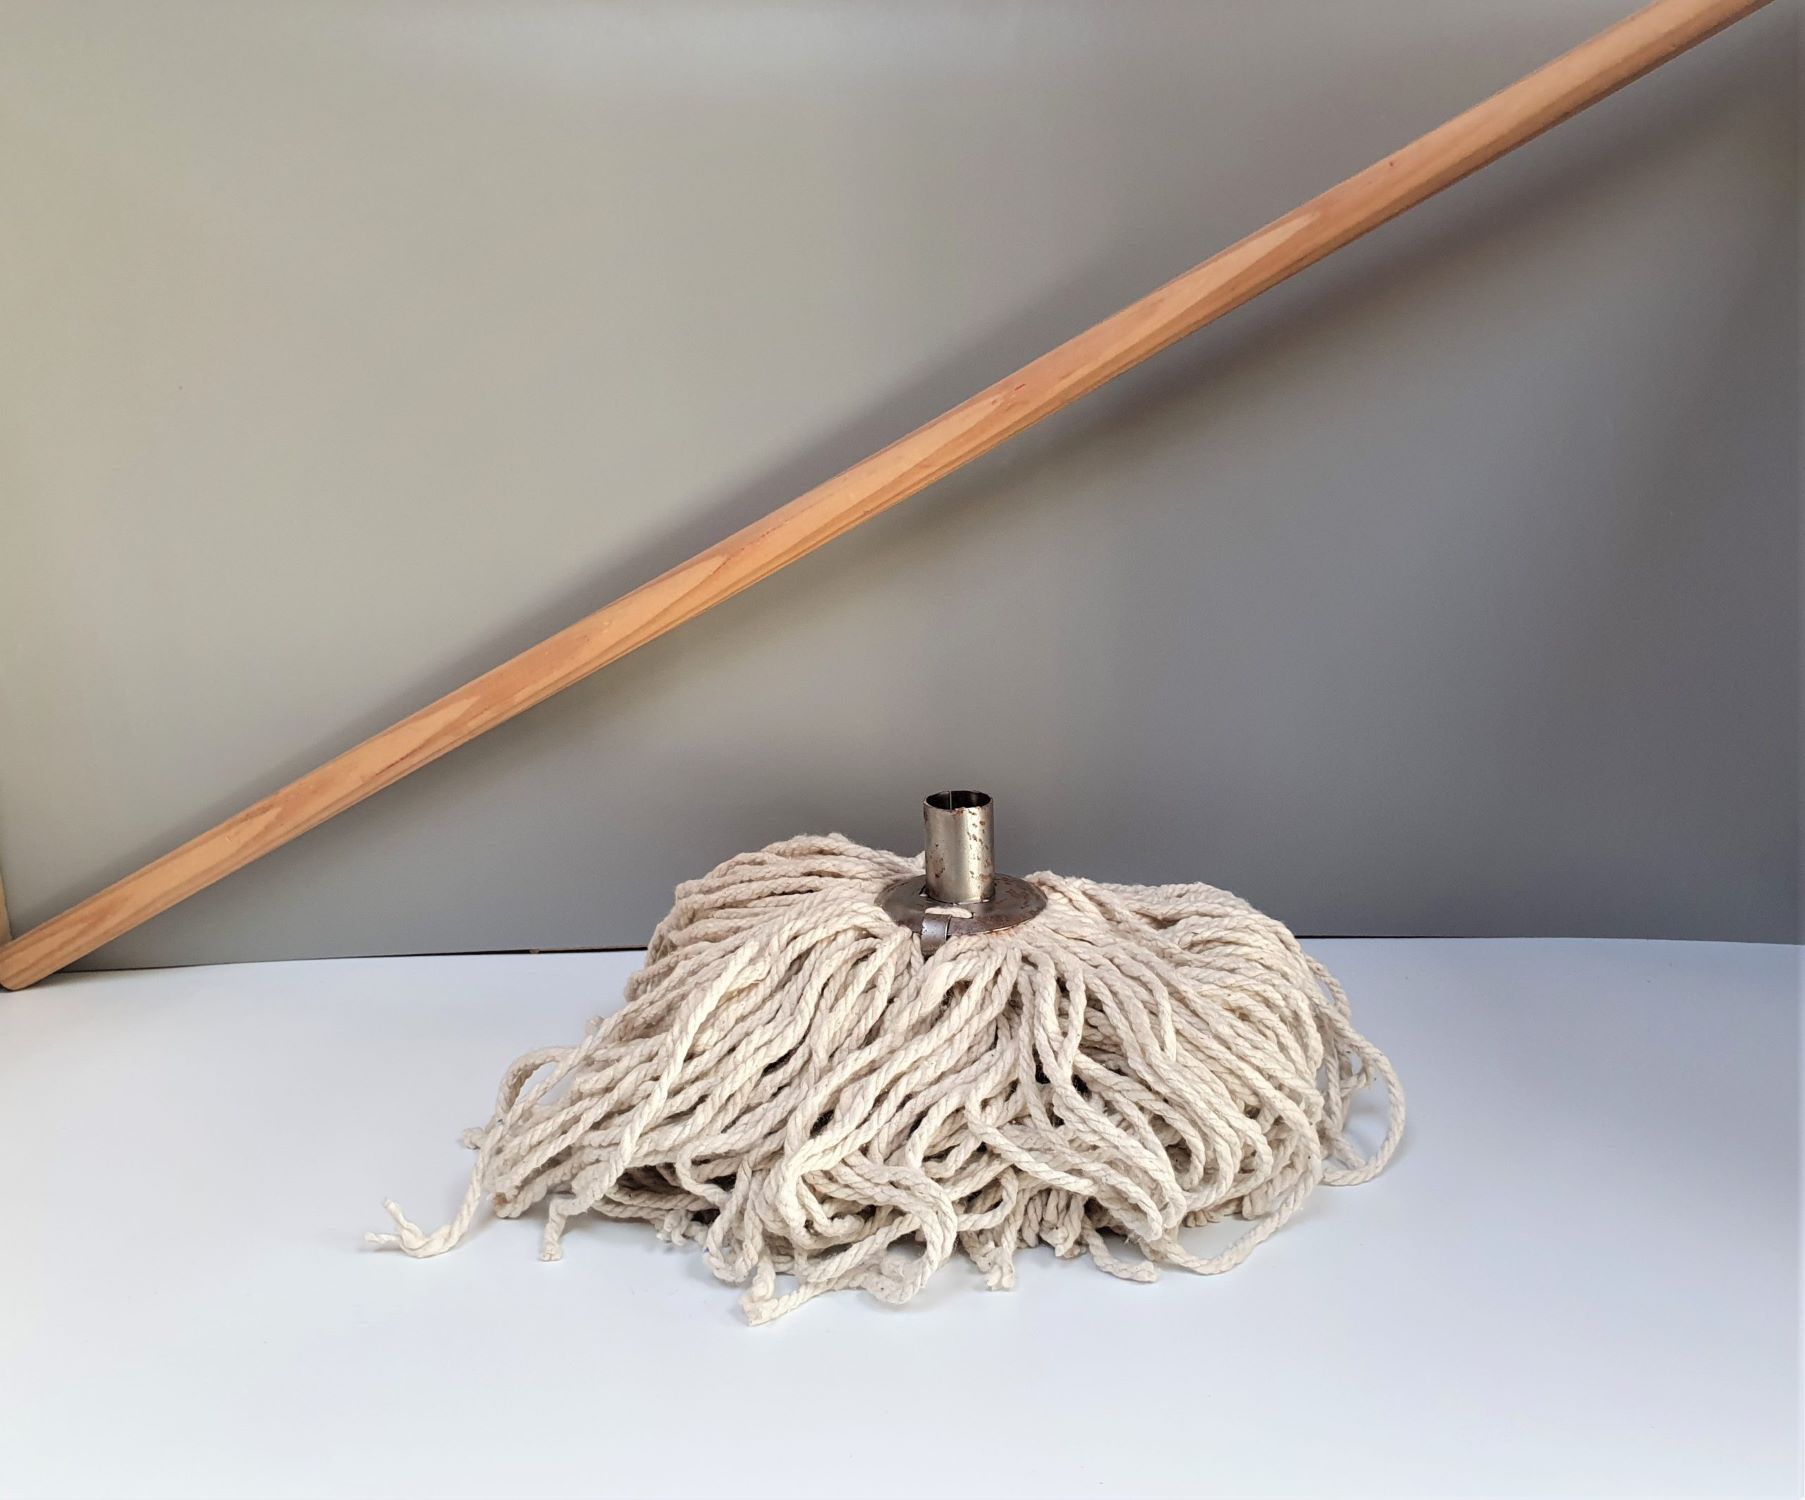
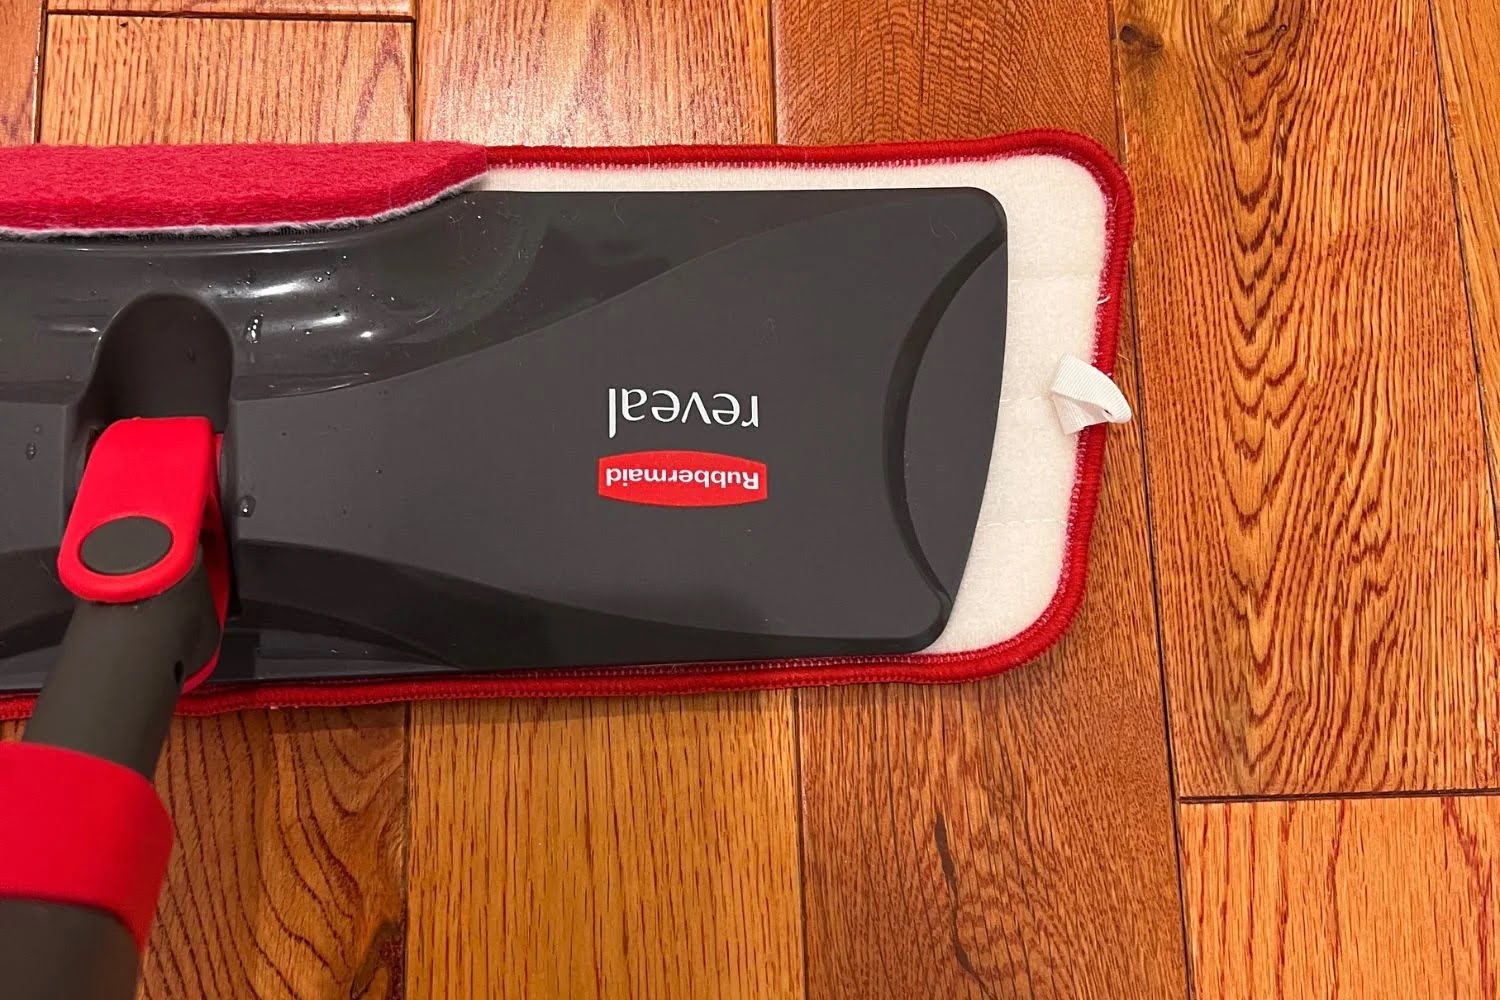
To remove a Rubbermaid mop head, simply twist the mop handle to the left to loosen it, then pull the mop head off. It should come off easily without the need for any tools.
Step 3: Remove the mop head
With the mop head appropriately loosened and cleaned, the next step involves removing it from the Rubbermaid mop. This process may vary slightly depending on the specific model of the mop, but the following general guidelines will help you navigate the removal with ease:
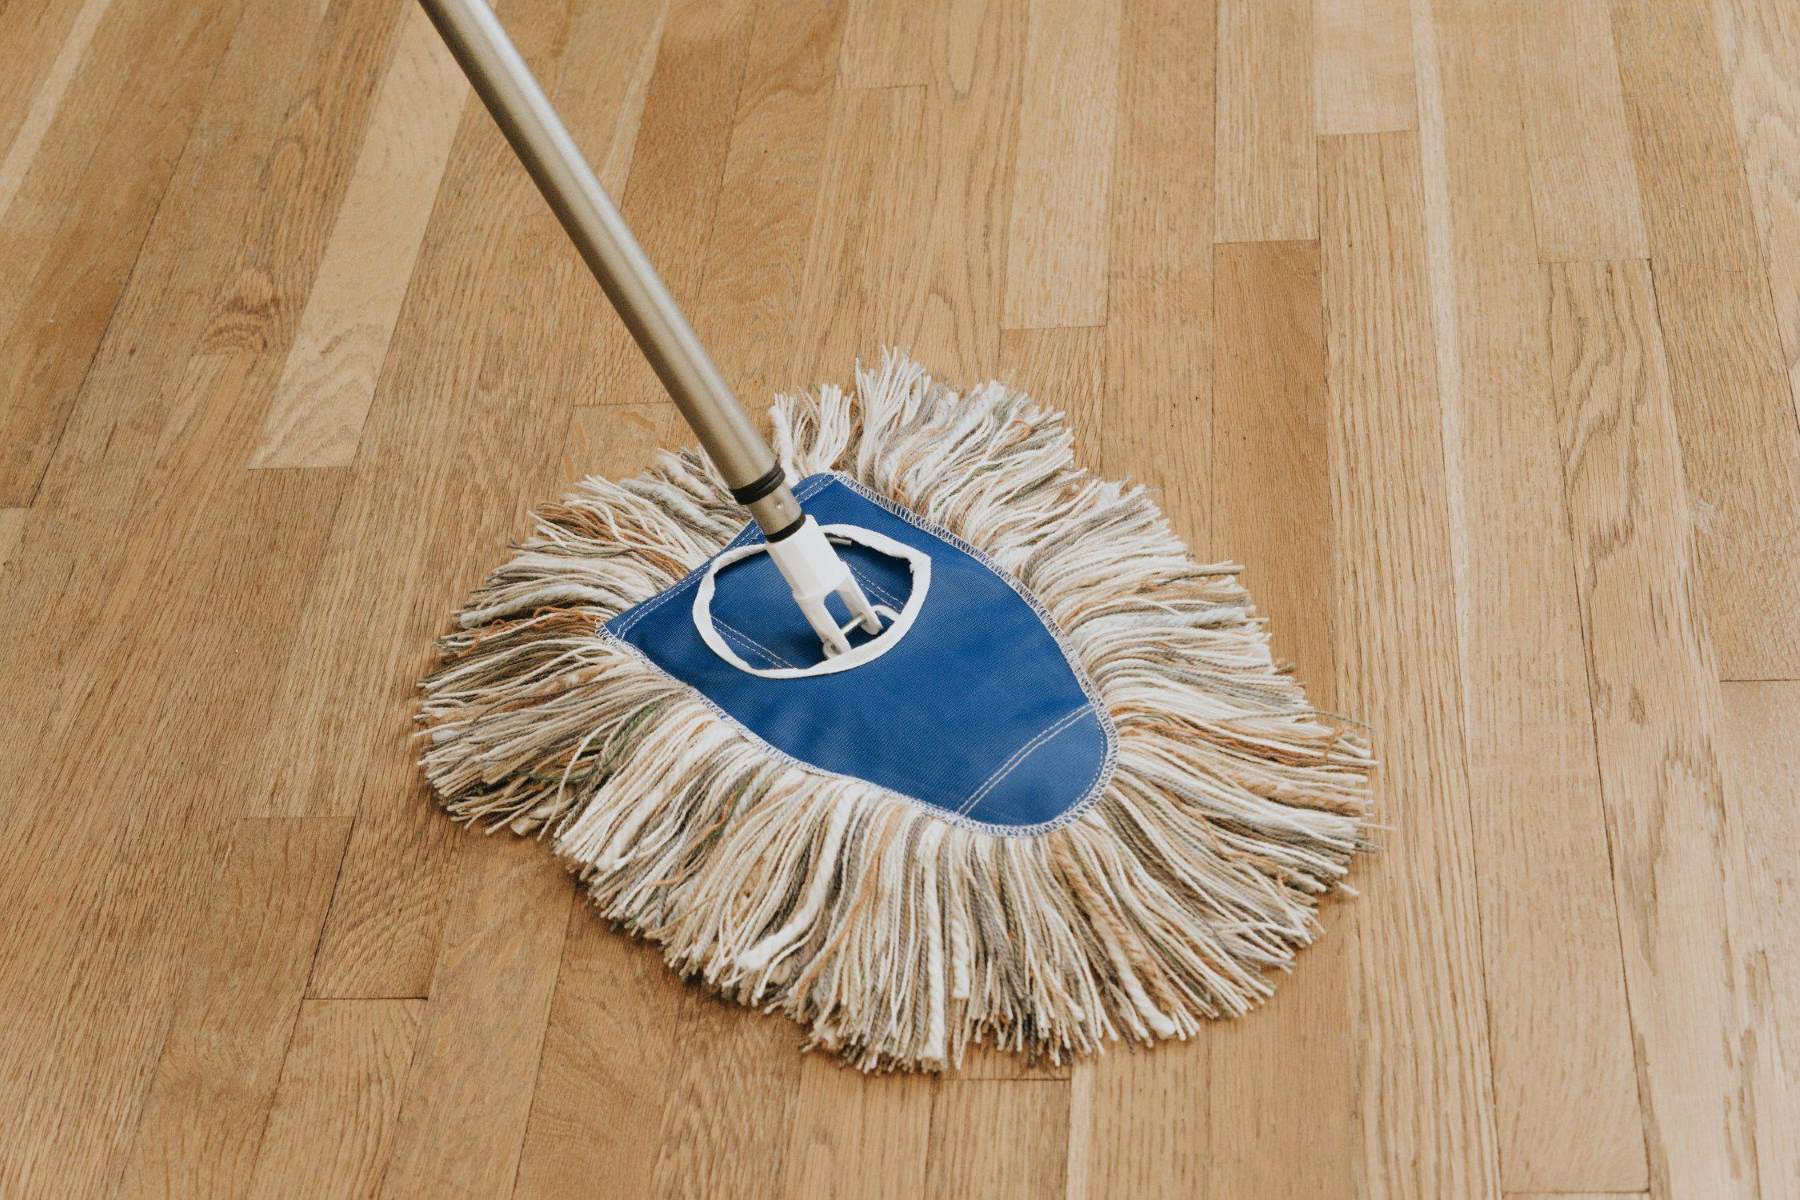
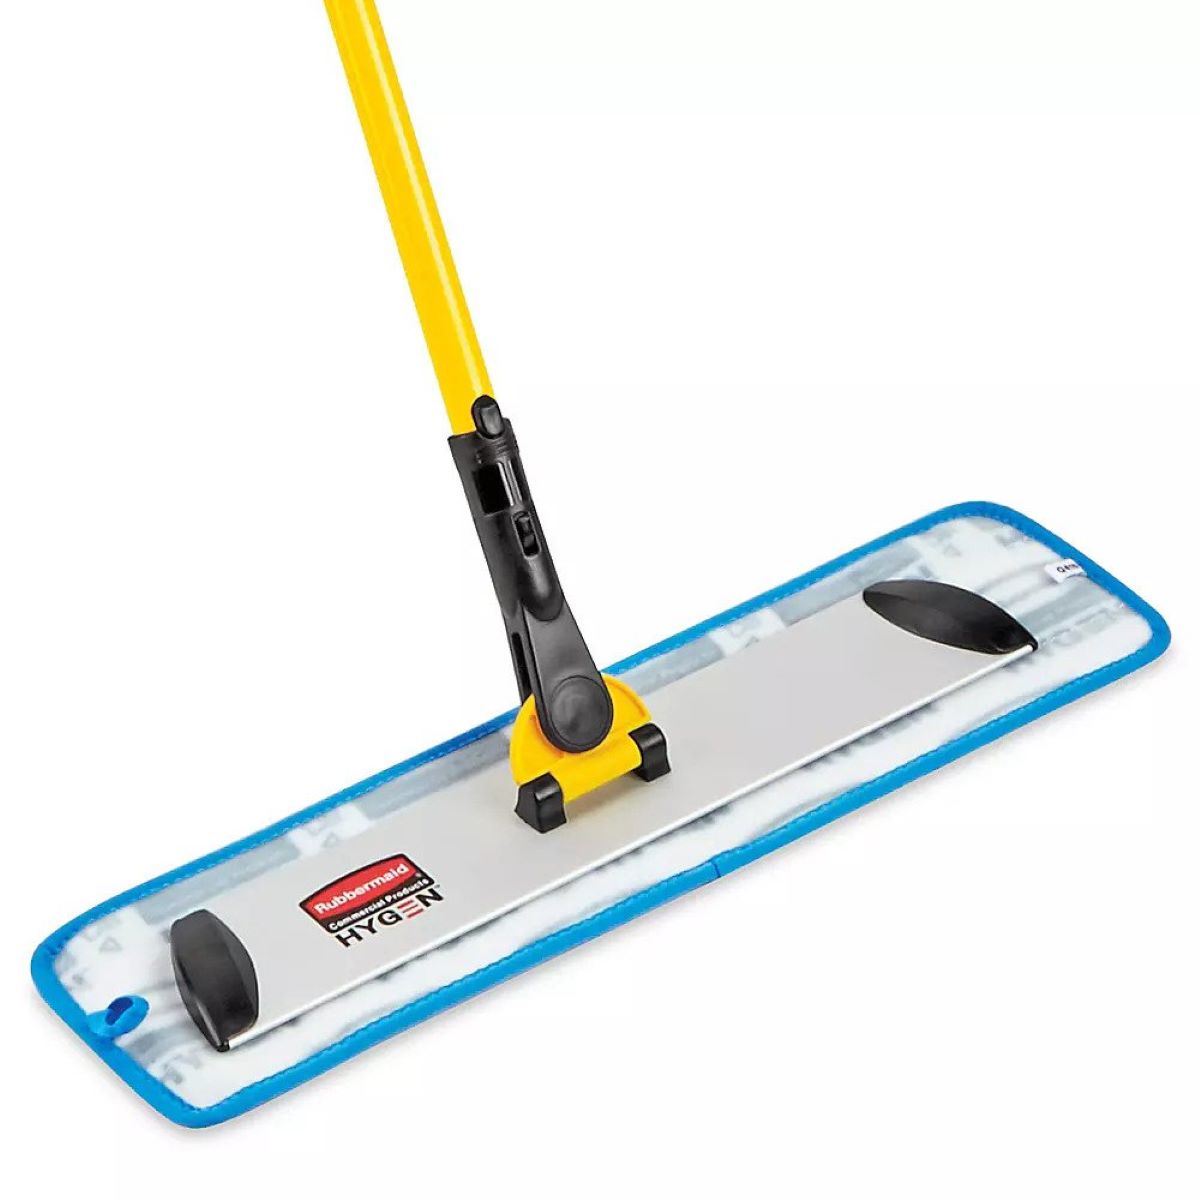
For a standard Rubbermaid mop, the mop head is typically attached using a simple fastening mechanism, such as a clip or clasp. To remove the mop head, locate the attachment point where the head connects to the mop handle. Depending on the design, you may need to press a release button or simply unhook the fastening mechanism to detach the mop head.
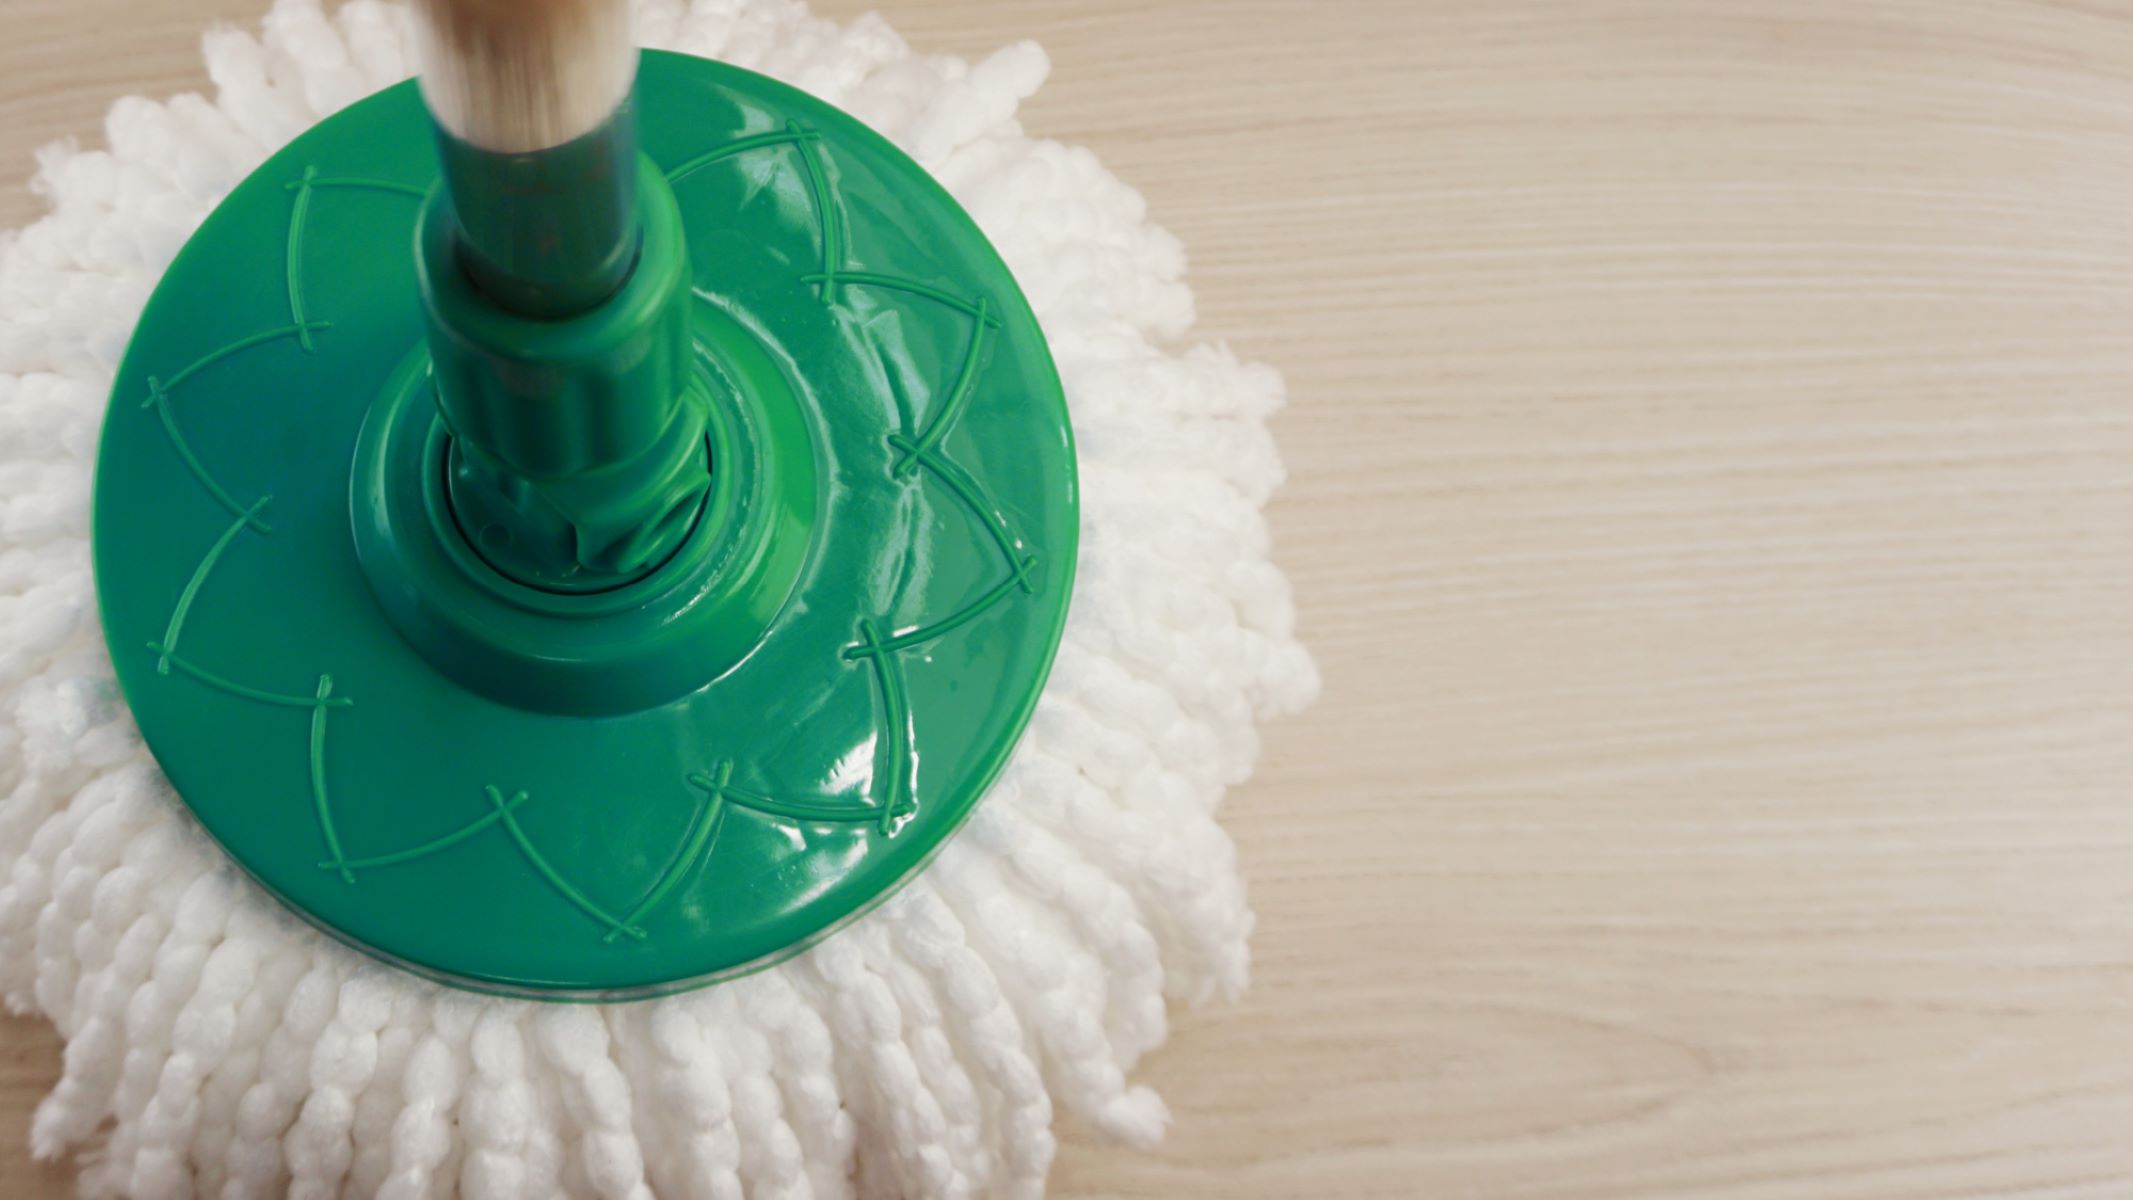
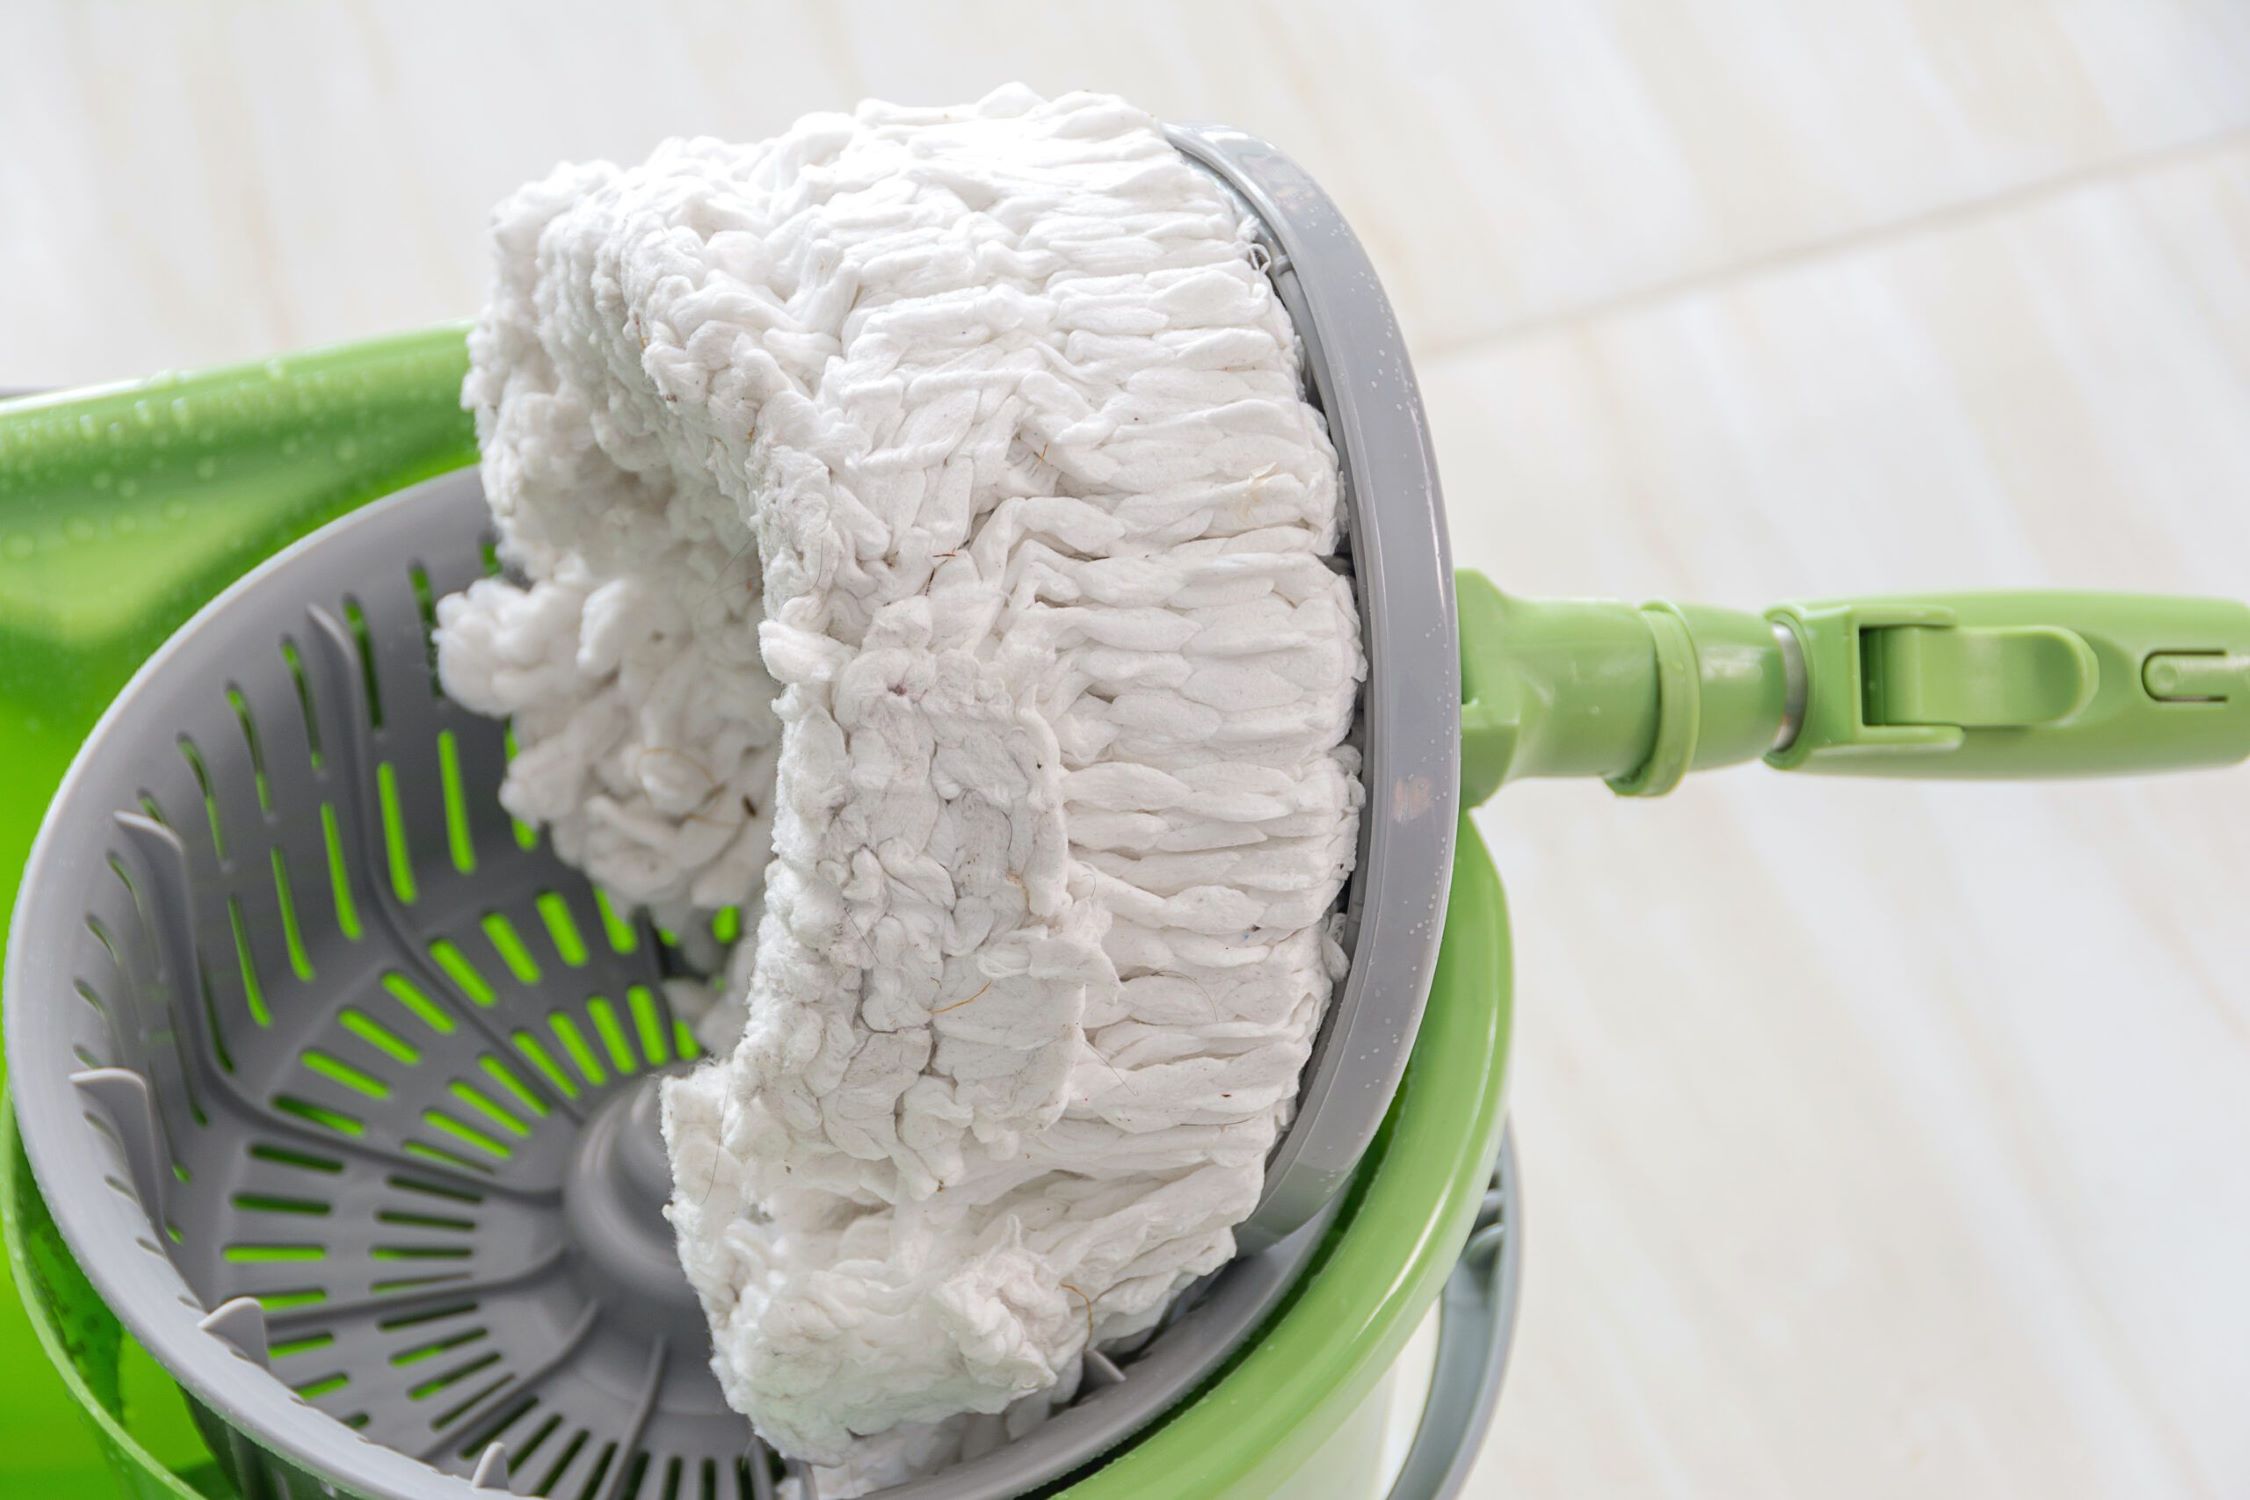
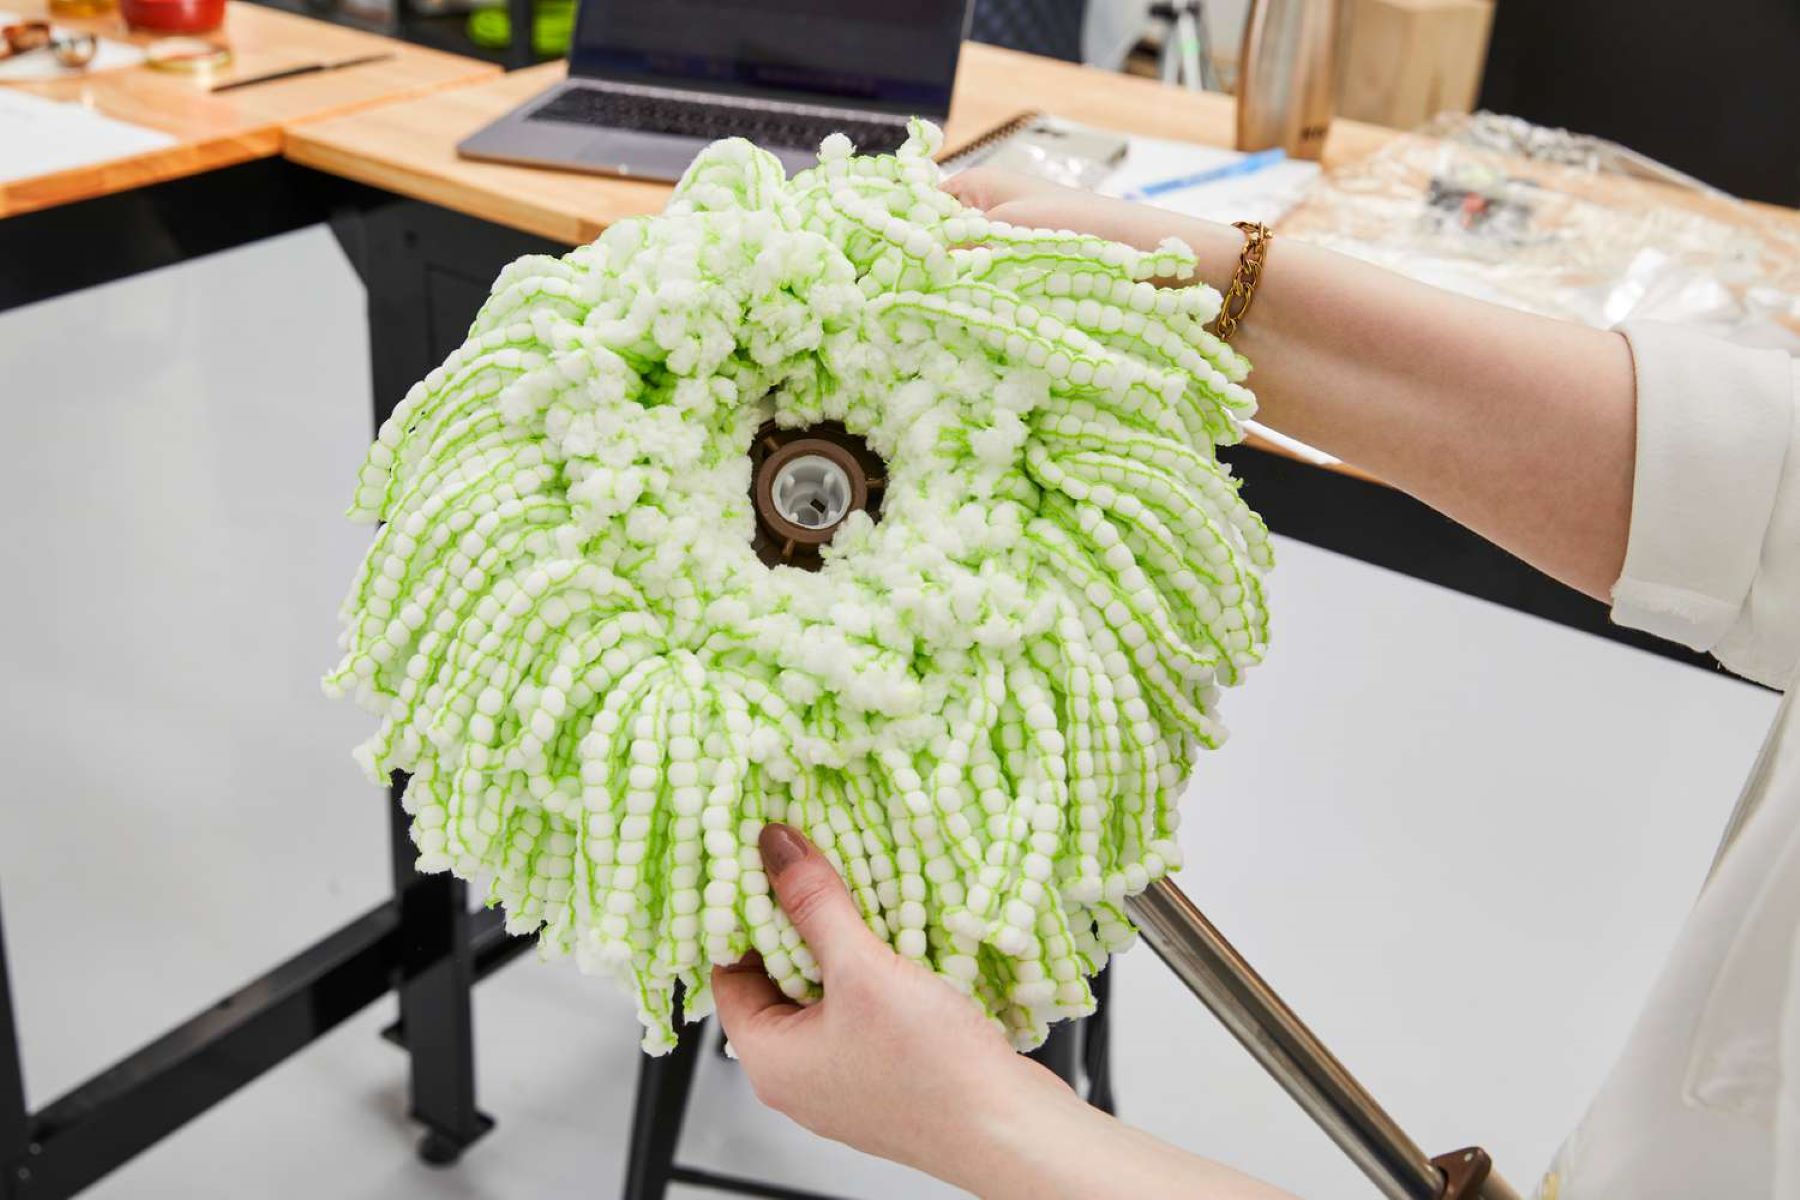
If you are dealing with a twist mop, the removal process may involve twisting the mop head to unlock it from the handle. This twisting action is usually accompanied by a distinct clicking or unlocking sensation, indicating that the mop head is ready to be removed.
Regardless of the type of Rubbermaid mop you have, it’s essential to follow the manufacturer’s instructions for removing the mop head. These guidelines can typically be found in the product manual or on the manufacturer’s website. By adhering to the recommended removal method, you can ensure that the process is carried out correctly and safely.
Once the mop head is detached from the handle, carefully set it aside for further cleaning or replacement. Take this opportunity to inspect the mop handle and attachment mechanism for any signs of dirt or wear, and clean or maintain them as needed to keep your Rubbermaid mop in optimal condition.
By following these steps, you can confidently remove the mop head from your Rubbermaid mop, paving the way for thorough cleaning or replacement as required.
Step 4: Clean the mop head
Now that the mop head has been successfully removed from the Rubbermaid mop, it’s time to focus on cleaning this essential component. By following these steps, you can ensure that your mop head is thoroughly cleaned and maintained, ready to deliver optimal performance during your cleaning tasks.
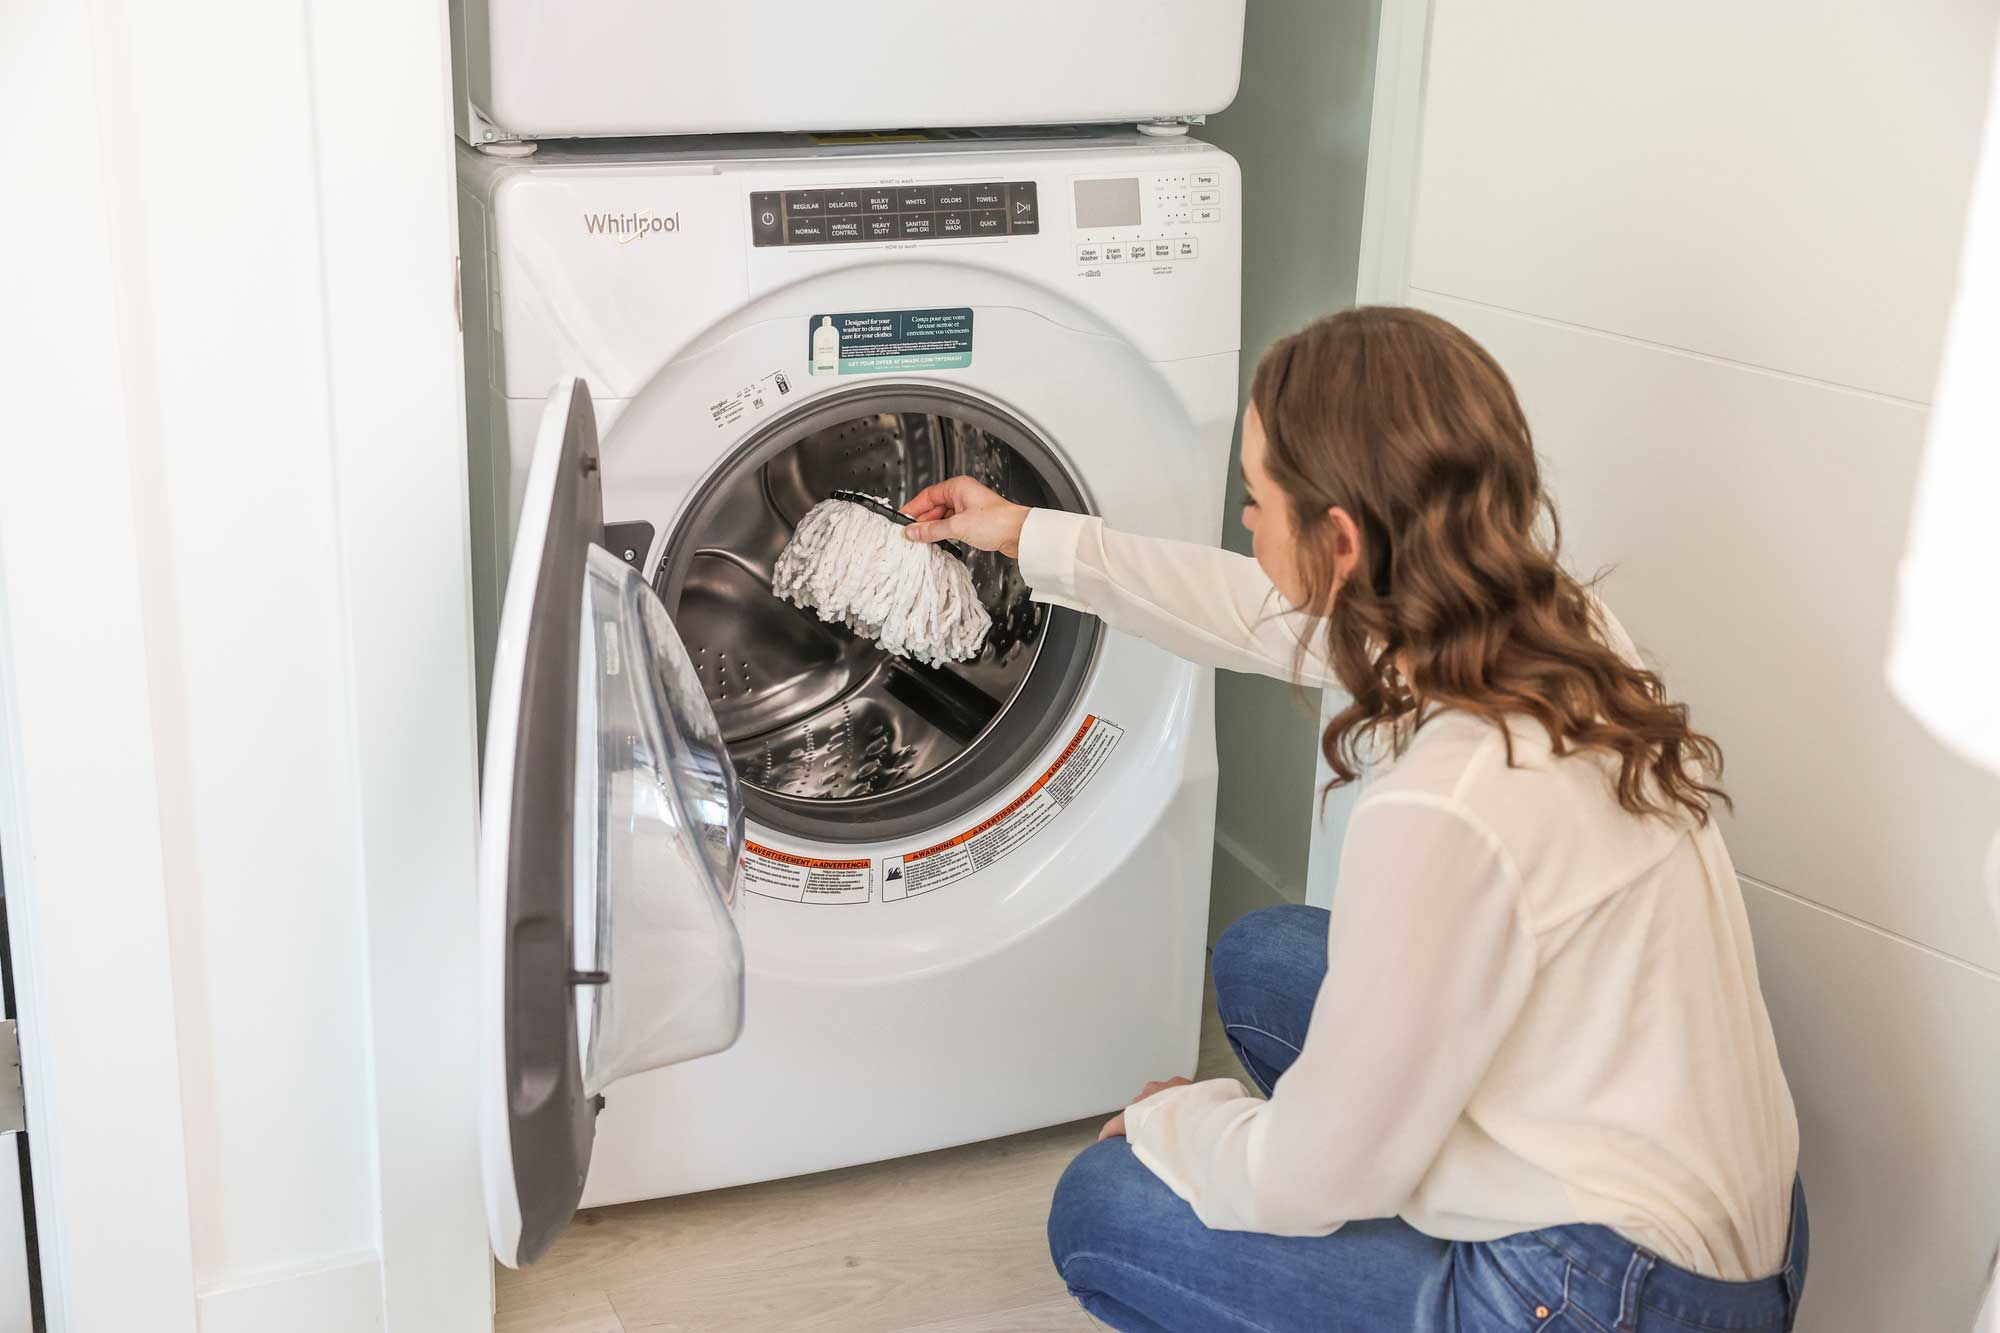
Begin by rinsing the mop head under running water to remove any remaining dirt, detergent, or cleaning solution. Gently squeeze and wring out the mop head to expel excess water and dislodge any trapped debris.
Next, fill a sink or bucket with warm water and add a small amount of mild detergent or a cleaning solution. Immerse the mop head in the soapy water, ensuring that it is fully submerged. Allow the mop head to soak for several minutes, enabling the cleaning solution to penetrate and dissolve any stubborn stains or residues.
While the mop head is soaking, you can use a scrub brush or sponge to gently agitate and clean the individual strands or fibers. Pay particular attention to any heavily soiled areas, ensuring that they receive thorough cleaning and attention.
After the soaking period, thoroughly rinse the mop head under running water to remove the cleaning solution and any loosened debris. Continue to squeeze and wring out the mop head until the expelled water runs clear, indicating that the mop head is clean and free of contaminants.
Once the mop head is clean, carefully hang it to air-dry or place it on a drying rack. Ensure that the mop head is allowed to dry completely before reattaching it to the Rubbermaid mop handle, as residual moisture can lead to unpleasant odors or mold growth.
By diligently following these cleaning steps, you can maintain the hygiene and functionality of your Rubbermaid mop head, prolonging its lifespan and ensuring that it continues to deliver exceptional cleaning performance.
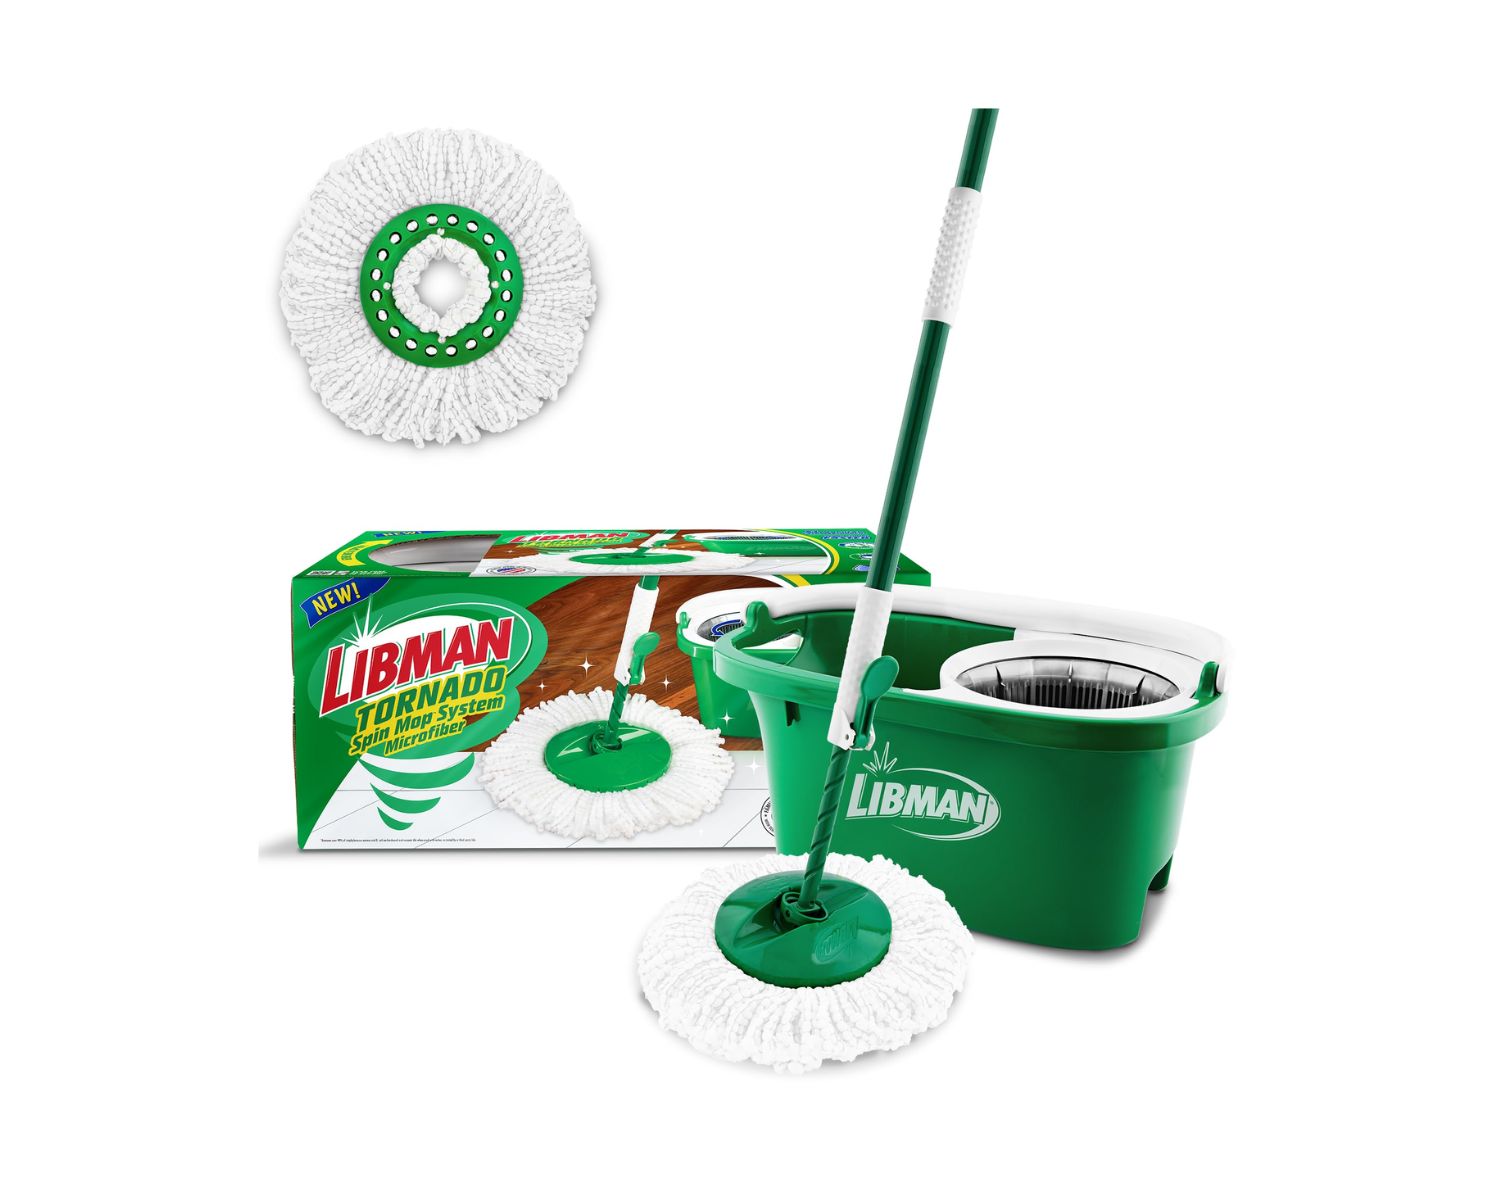
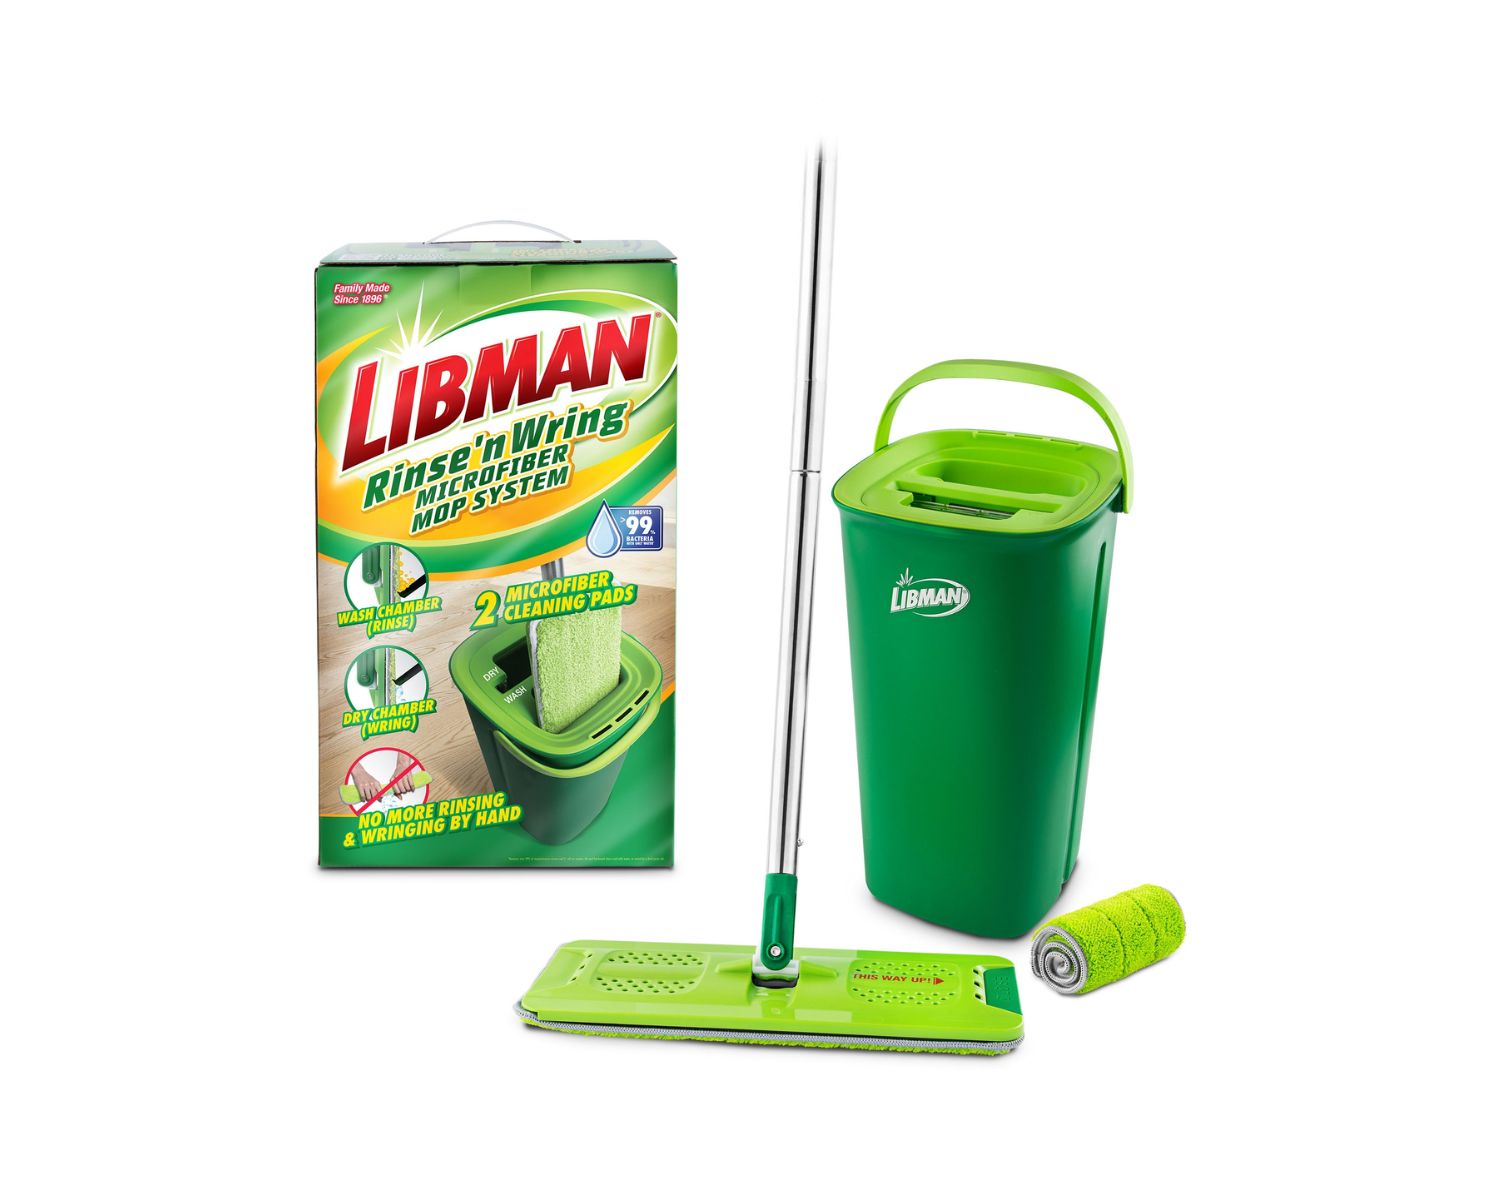
Read more: How To Remove Mop Head From Libman Spin Mop
Conclusion
Removing and cleaning the Rubbermaid mop head is a straightforward yet essential task that contributes to the overall effectiveness and longevity of your cleaning tools. By following the step-by-step process outlined in this guide, you can ensure that your Rubbermaid mop remains in optimal condition, ready to tackle your cleaning needs with efficiency and precision.
From preparing the necessary materials to loosening the mop head, removing it from the mop handle, and conducting a thorough cleaning, each step plays a crucial role in maintaining the cleanliness and functionality of your mop head. By dedicating time and attention to this maintenance task, you can extend the lifespan of your Rubbermaid mop and enjoy consistently impressive cleaning results.
Remember to refer to the manufacturer’s guidelines and recommendations for specific care instructions tailored to your Rubbermaid mop model. By adhering to these instructions, you can ensure that your cleaning tools receive the appropriate care and maintenance, maximizing their performance and durability.
With a clean and well-maintained mop head, you can confidently tackle household cleaning tasks, knowing that your Rubbermaid mop is primed for success. So, gather your materials, follow the steps outlined in this guide, and keep your Rubbermaid mop in top condition for a cleaner, more hygienic home environment.
Frequently Asked Questions about How To Remove Rubbermaid Mop Head
Was this page helpful?
At Storables.com, we guarantee accurate and reliable information. Our content, validated by Expert Board Contributors, is crafted following stringent Editorial Policies. We're committed to providing you with well-researched, expert-backed insights for all your informational needs.
0 thoughts on “How To Remove Rubbermaid Mop Head”