Home>Home Appliances>Cleaning Appliances>How To Put Pad On Shark Steam Mop
Cleaning Appliances
How To Put Pad On Shark Steam Mop
Modified: August 23, 2024
Learn the step-by-step process of placing a pad on your Shark steam mop for efficient cleaning. Discover the best practices for maintaining your cleaning appliances.
(Many of the links in this article redirect to a specific reviewed product. Your purchase of these products through affiliate links helps to generate commission for Storables.com, at no extra cost. Learn more)
Introduction
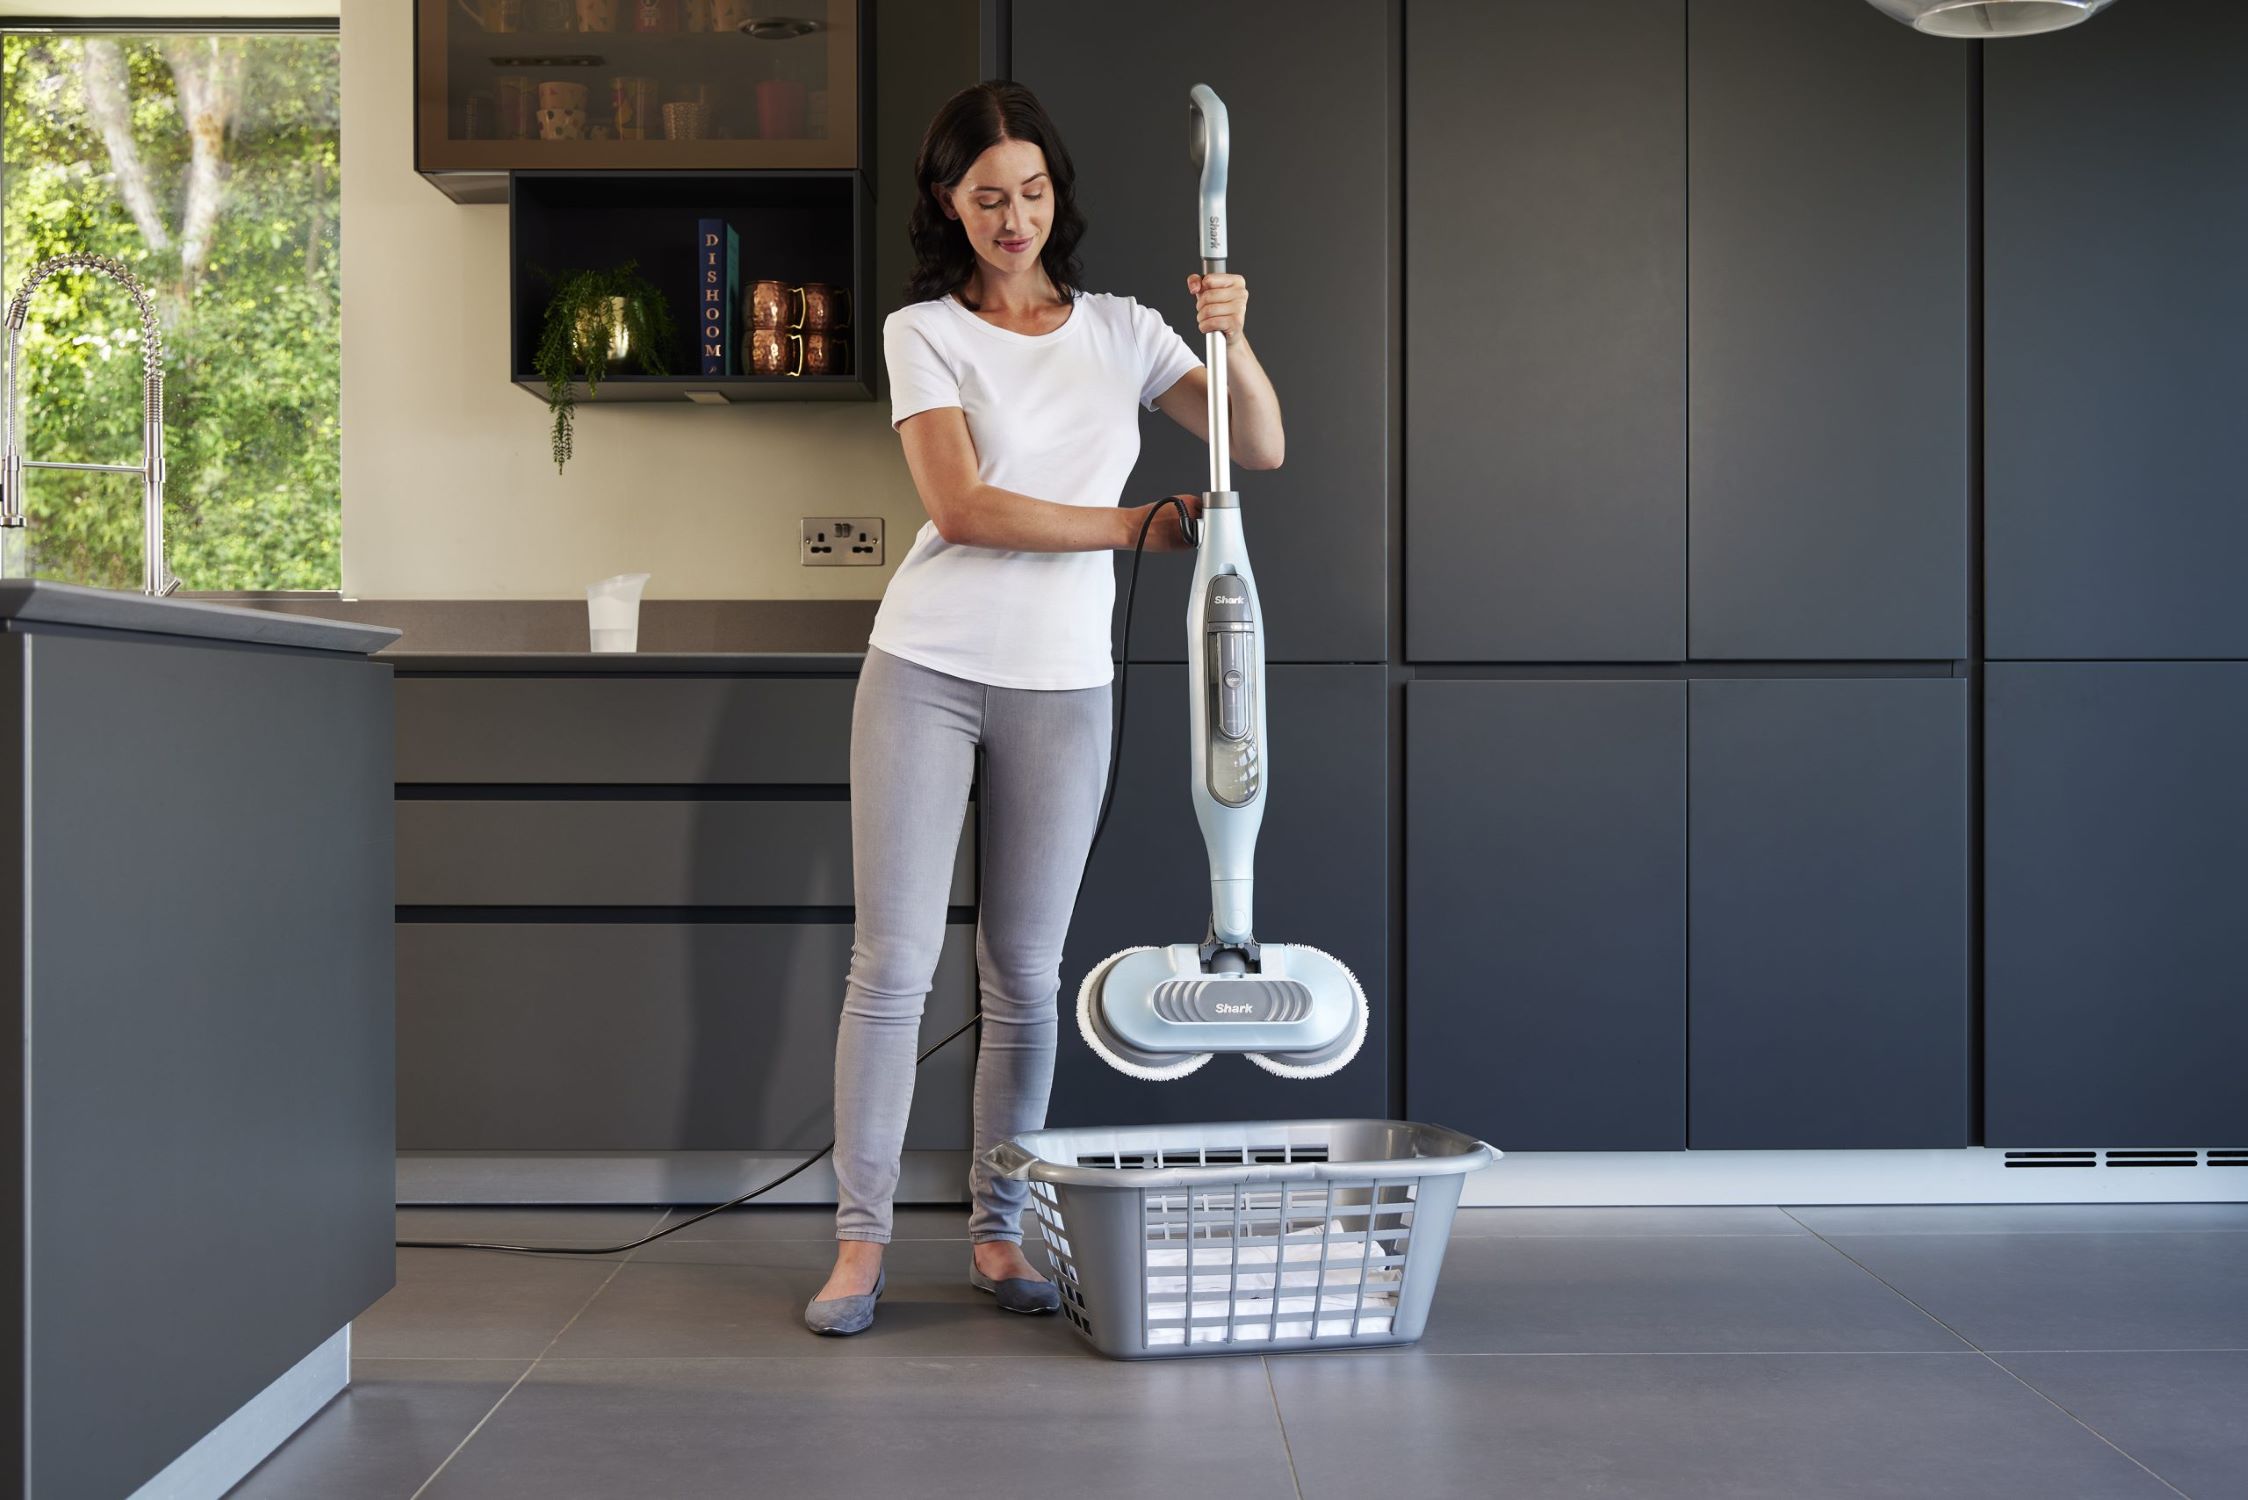
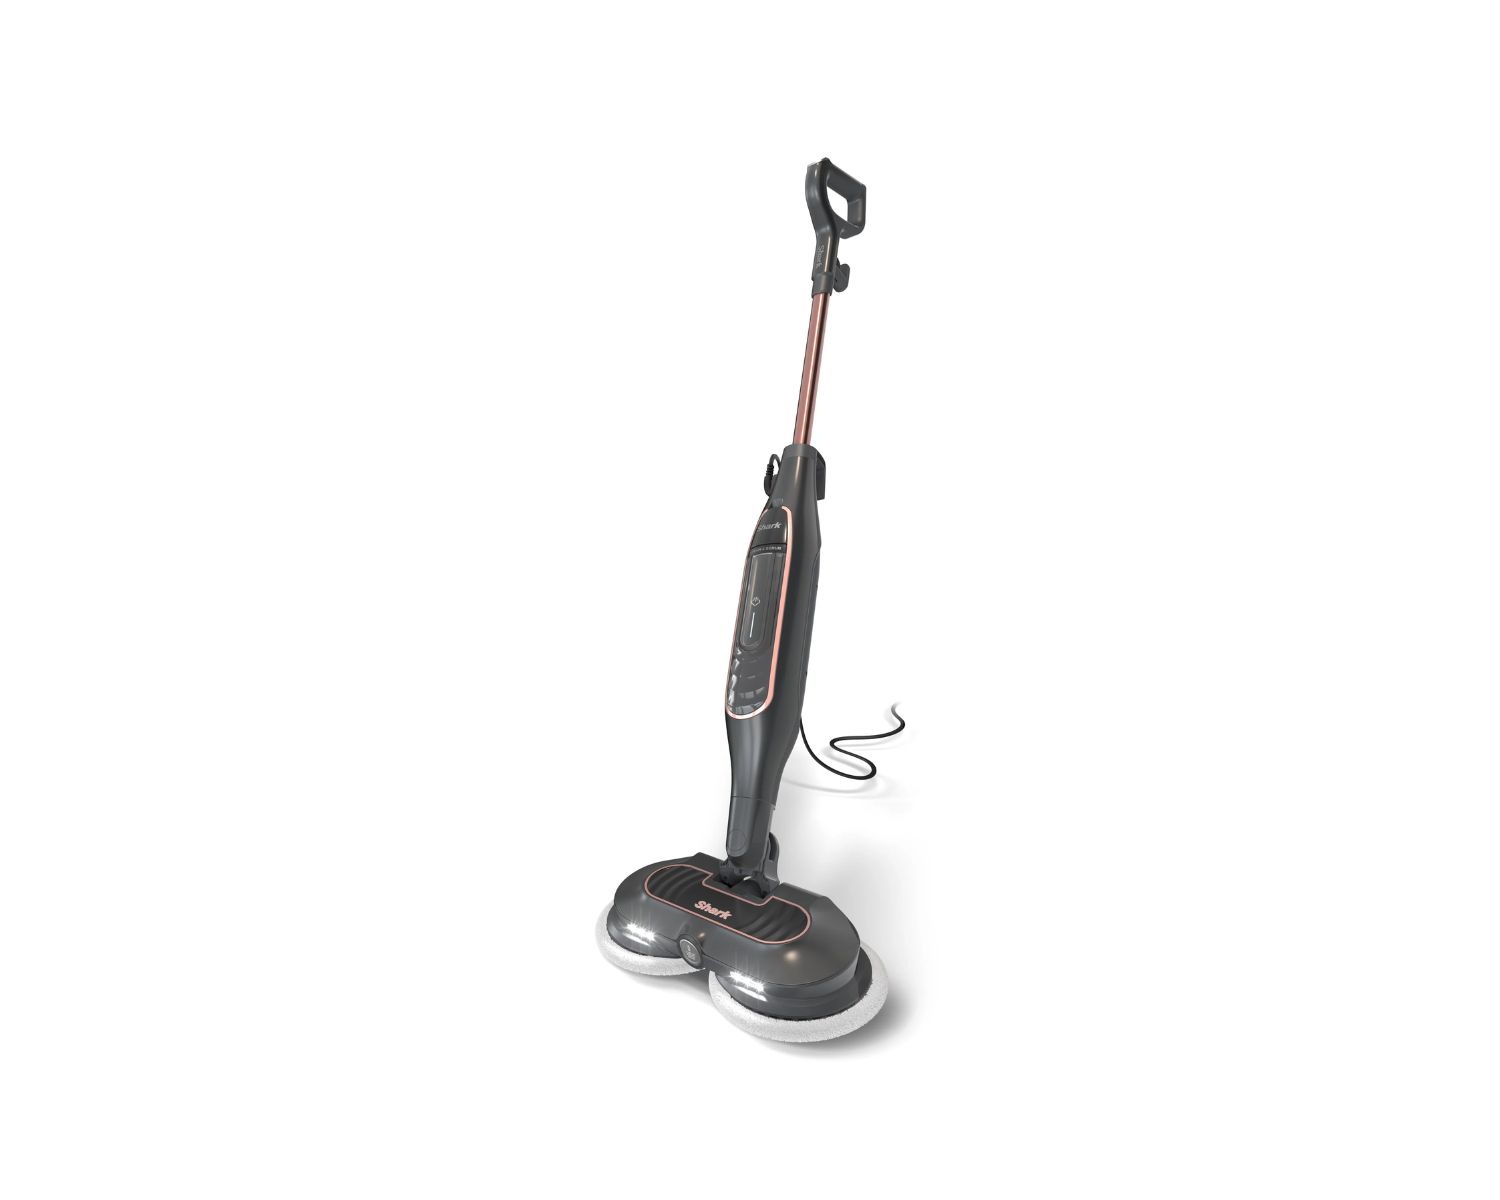
Welcome to the world of hassle-free, efficient cleaning with the Shark Steam Mop! This innovative cleaning tool harnesses the power of steam to sanitize and refresh your floors, leaving them sparkling clean without the need for harsh chemicals. One of the key features of the Shark Steam Mop is its versatile cleaning pads, which are designed to effortlessly attach to the mop and effectively trap dirt and grime.
In this comprehensive guide, we will walk you through the simple yet essential process of putting a pad on your Shark Steam Mop. Whether you are a first-time user or looking to refresh your memory, this step-by-step tutorial will equip you with the knowledge and confidence to make the most of your cleaning routine.
By following these easy instructions, you will be able to seamlessly prepare your Shark Steam Mop for a thorough cleaning session, ensuring that your floors receive the care and attention they deserve. So, let’s dive in and discover how to effortlessly attach a cleaning pad to your Shark Steam Mop!
Key Takeaways:
- Effortlessly attach a cleaning pad to your Shark Steam Mop by following simple steps, ensuring optimal cleaning coverage and effective dirt and grime capture.
- Customize steam settings for tailored cleaning, then initiate the mopping process to achieve sparkling, sanitized floors with ease and efficiency.
Read more: What To Put In Shark Steam Mop
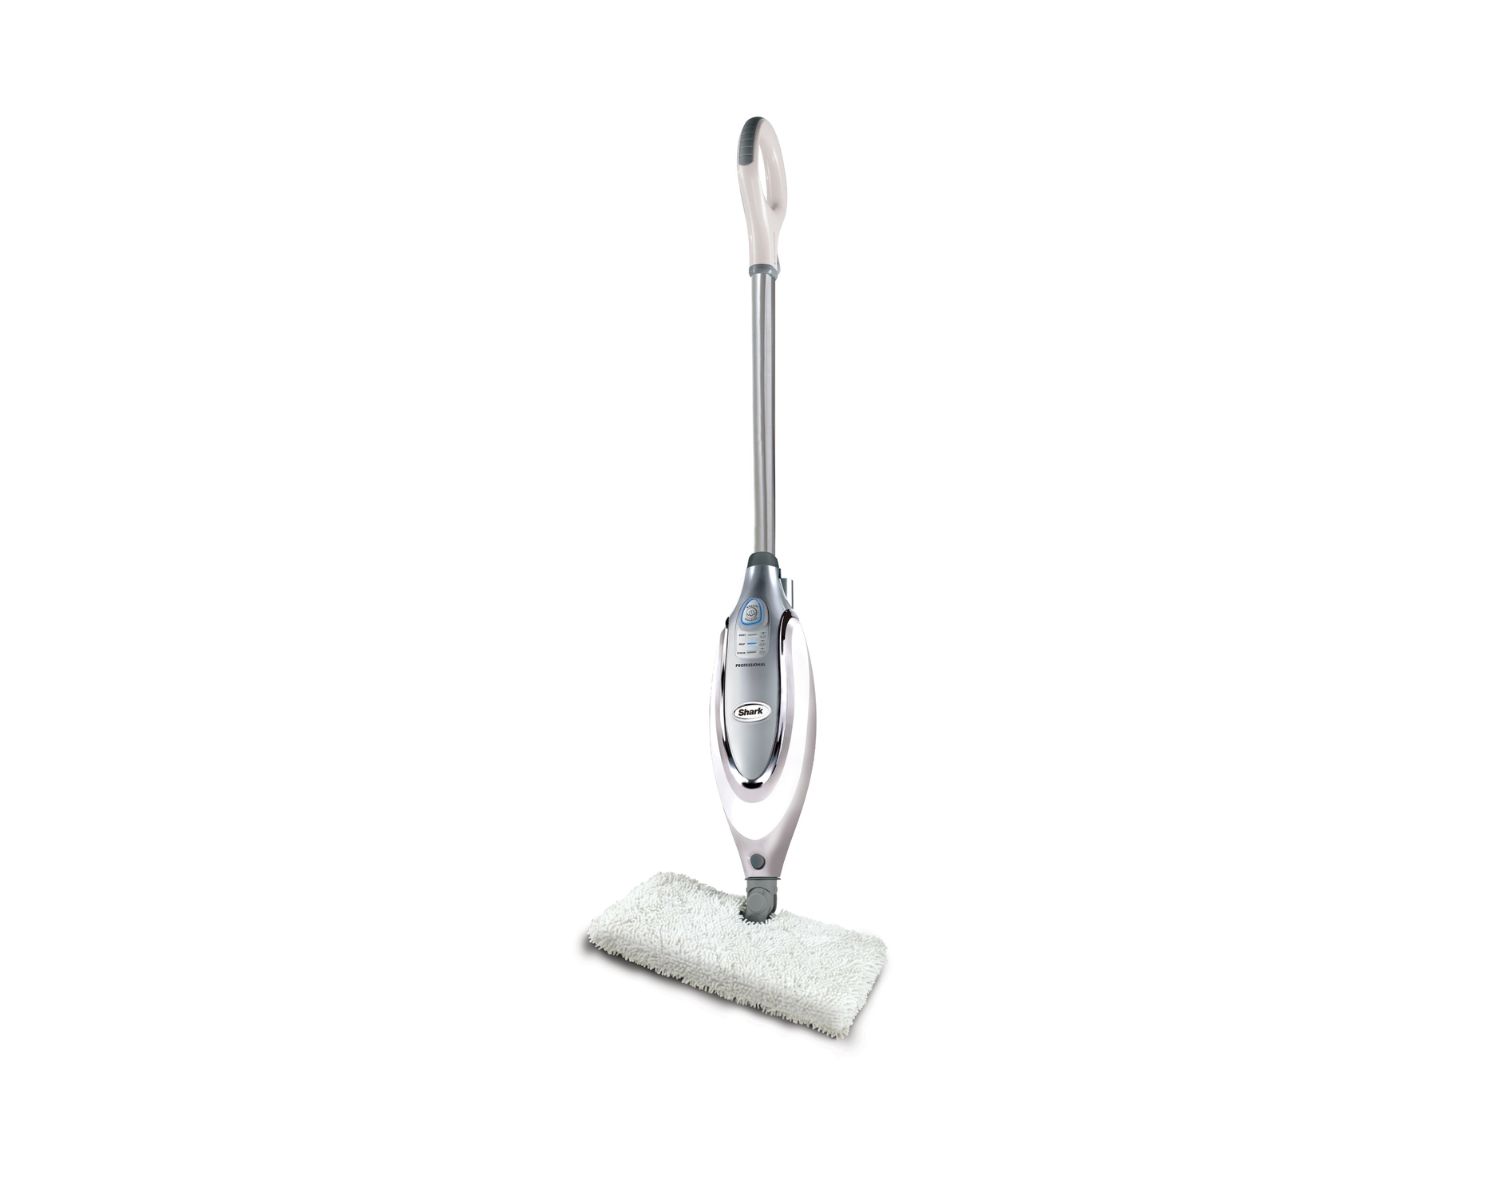
Step 1: Prepare the Shark Steam Mop
Before attaching a cleaning pad to your Shark Steam Mop, it’s crucial to ensure that the mop is properly prepared for the task at hand. Here’s how to get started:
- Fill the Water Tank: Begin by filling the water tank of the steam mop with clean water. The precise instructions for filling the tank can typically be found in the user manual provided with your Shark Steam Mop. It’s important to use only water in the tank to ensure optimal performance and avoid potential damage to the mop.
- Plug in the Mop: Next, locate a suitable power outlet and plug in your Shark Steam Mop. Allow the mop to heat up according to the manufacturer’s recommendations, ensuring that the steam reaches the desired temperature for effective cleaning.
- Ensure Proper Flooring: Verify that the flooring you intend to clean with the steam mop is suitable for this type of cleaning. Certain delicate surfaces may not be compatible with steam cleaning, so it’s essential to check the manufacturer’s guidelines for your specific flooring material.
By following these preparatory steps, you can set the stage for a successful and efficient cleaning experience with your Shark Steam Mop. With the mop primed and ready, you’re now prepared to move on to the next crucial step: attaching the cleaning pad.
Step 2: Attach the Pad to the Steam Mop
Once your Shark Steam Mop is prepared and ready for action, it’s time to attach the cleaning pad. Follow these simple steps to seamlessly affix the pad to the mop:
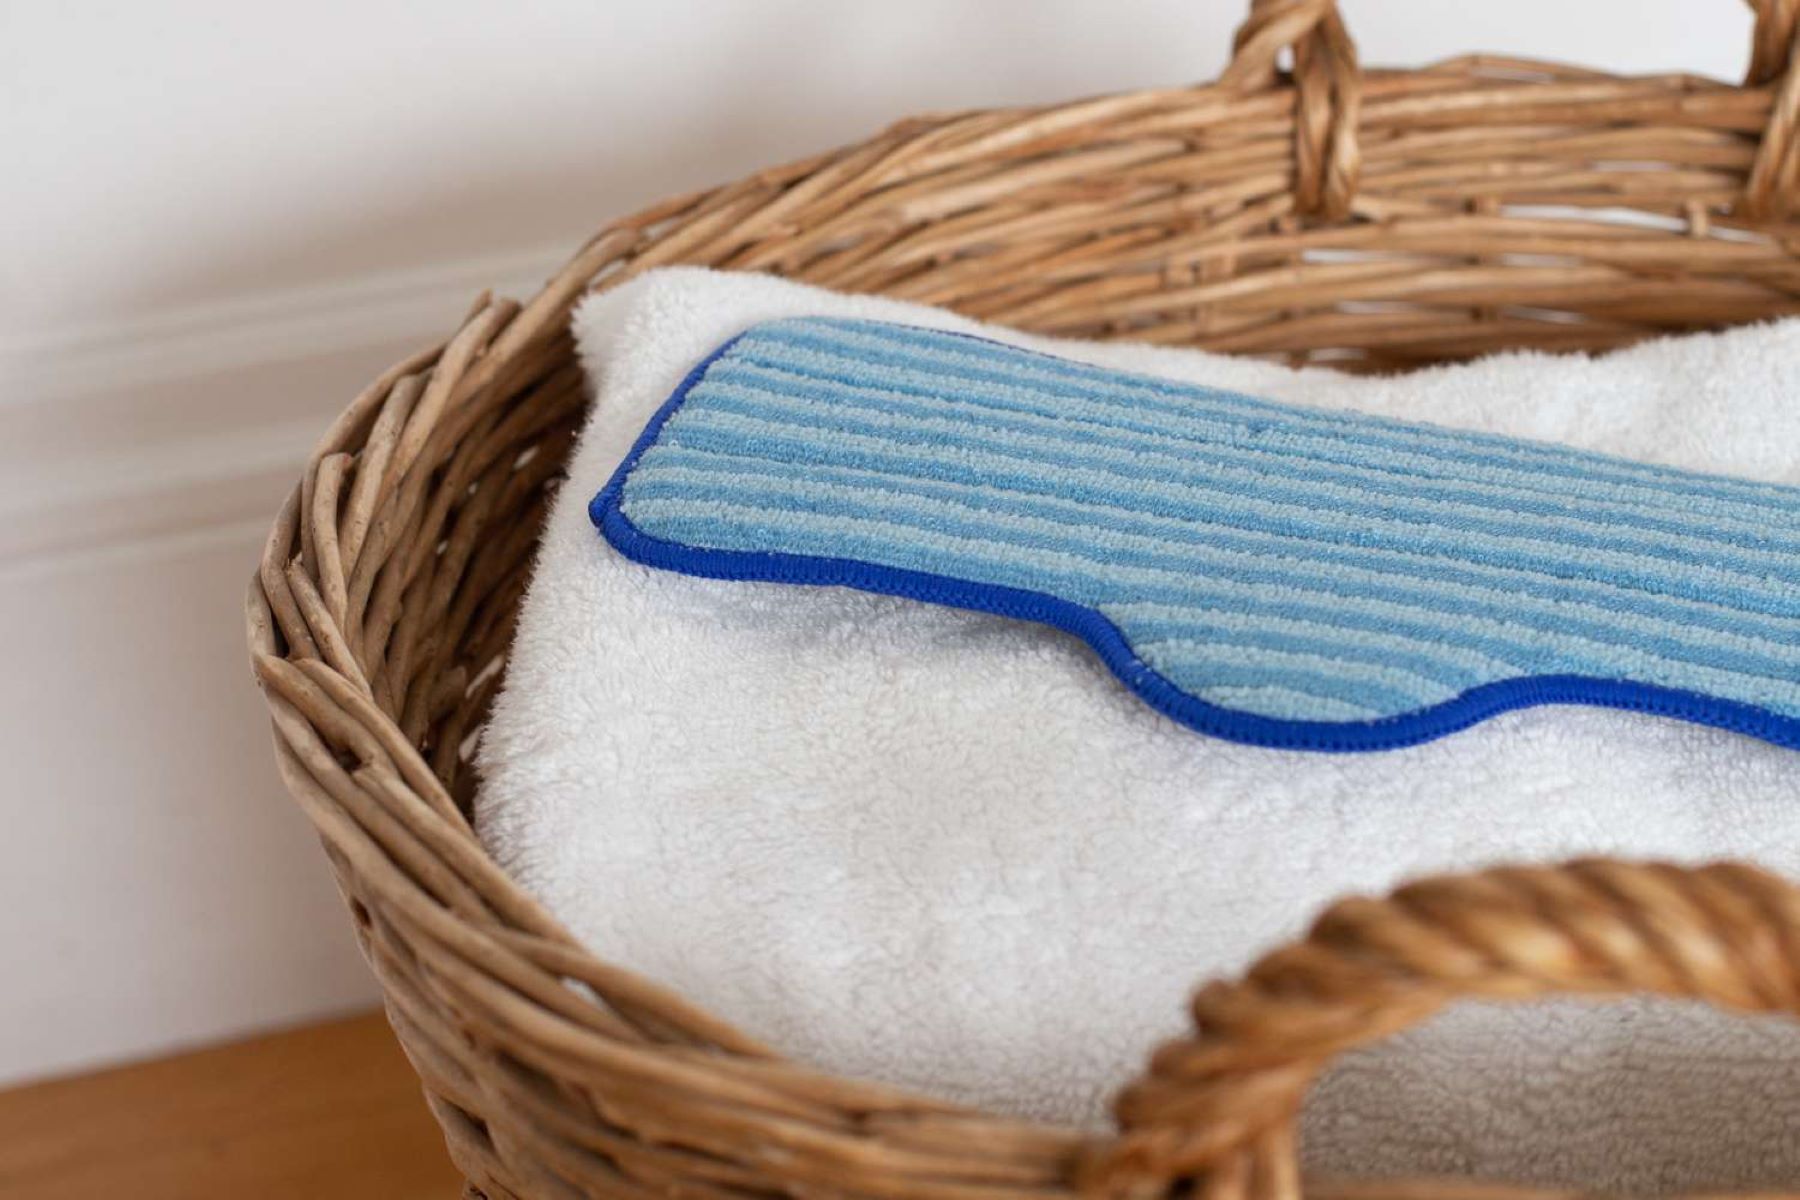
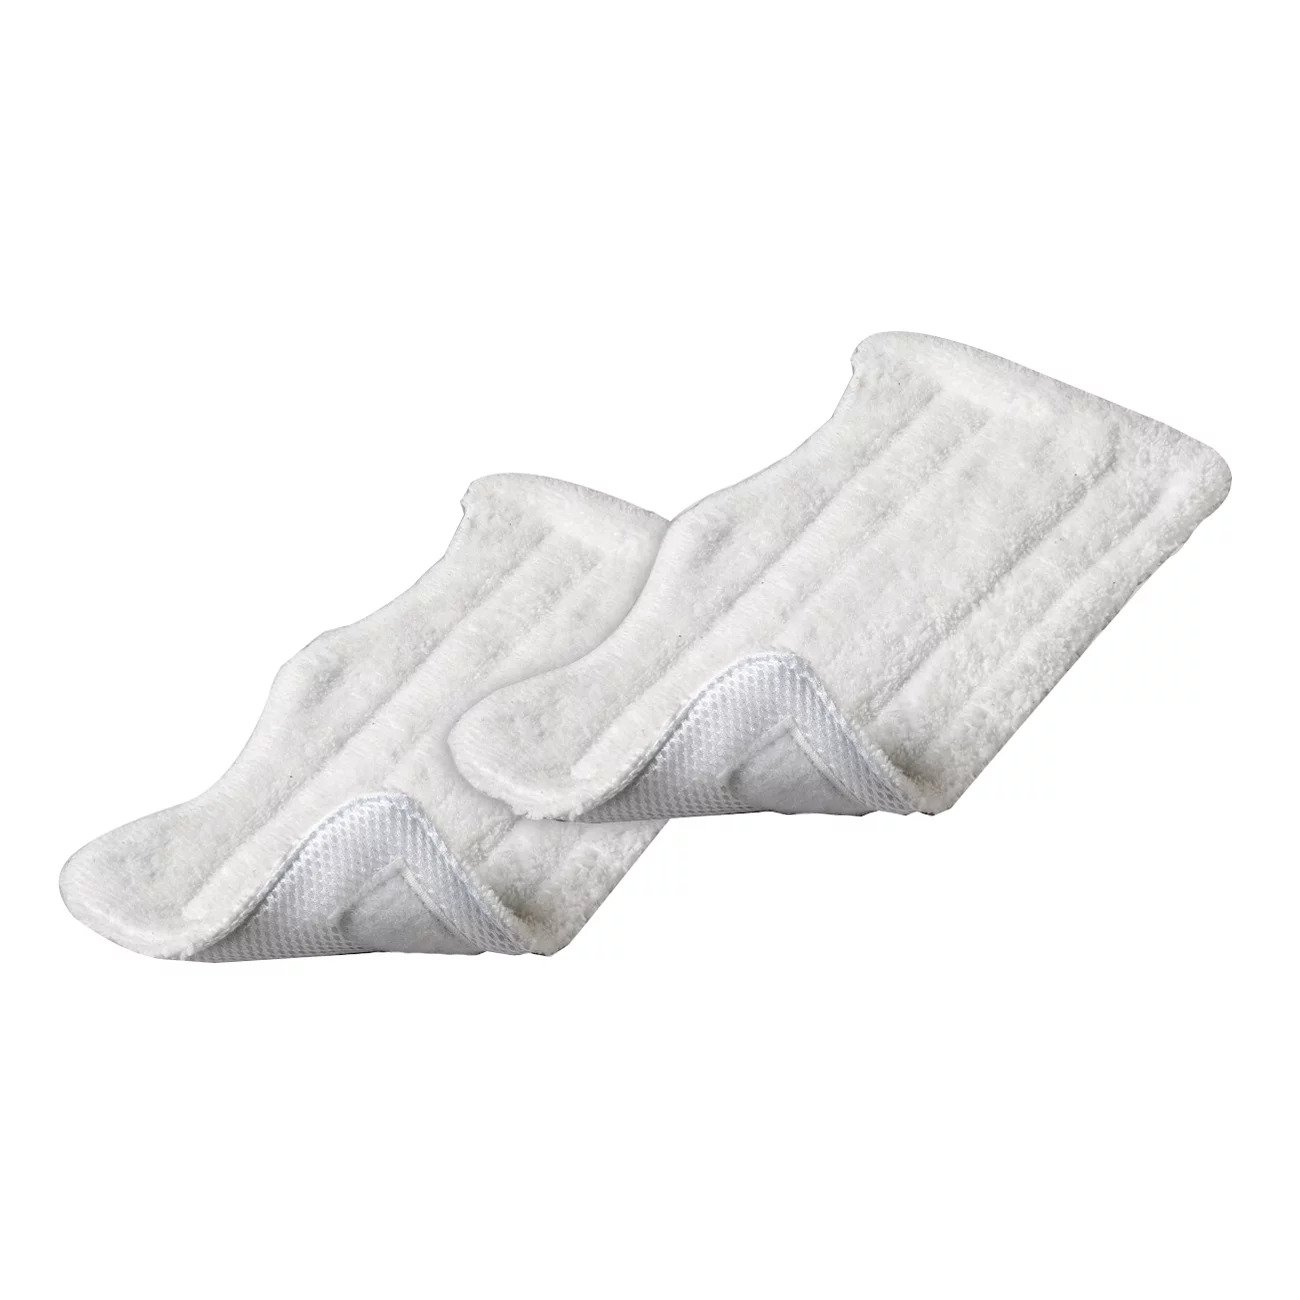
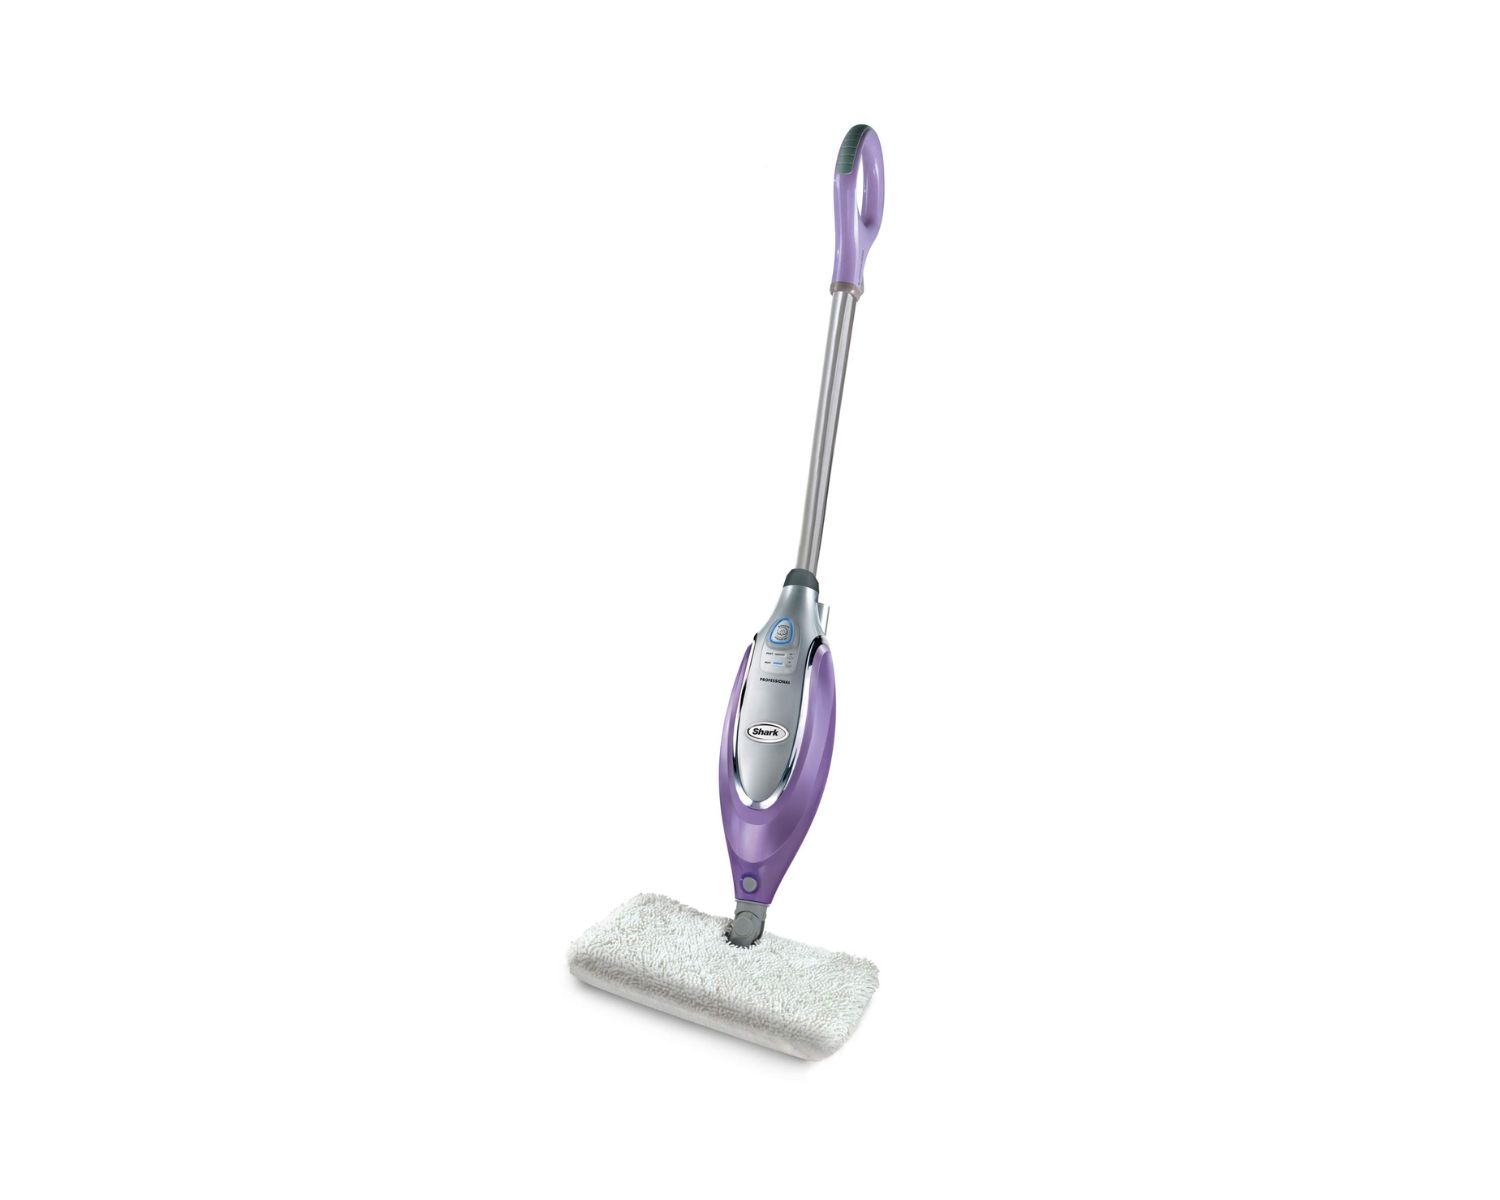
- Select the Appropriate Pad: Depending on the model of your Shark Steam Mop, you may have different types of cleaning pads at your disposal, such as microfiber pads for general cleaning or scrubbing pads for tougher messes. Choose the pad that best suits your cleaning needs and the type of flooring you will be cleaning.
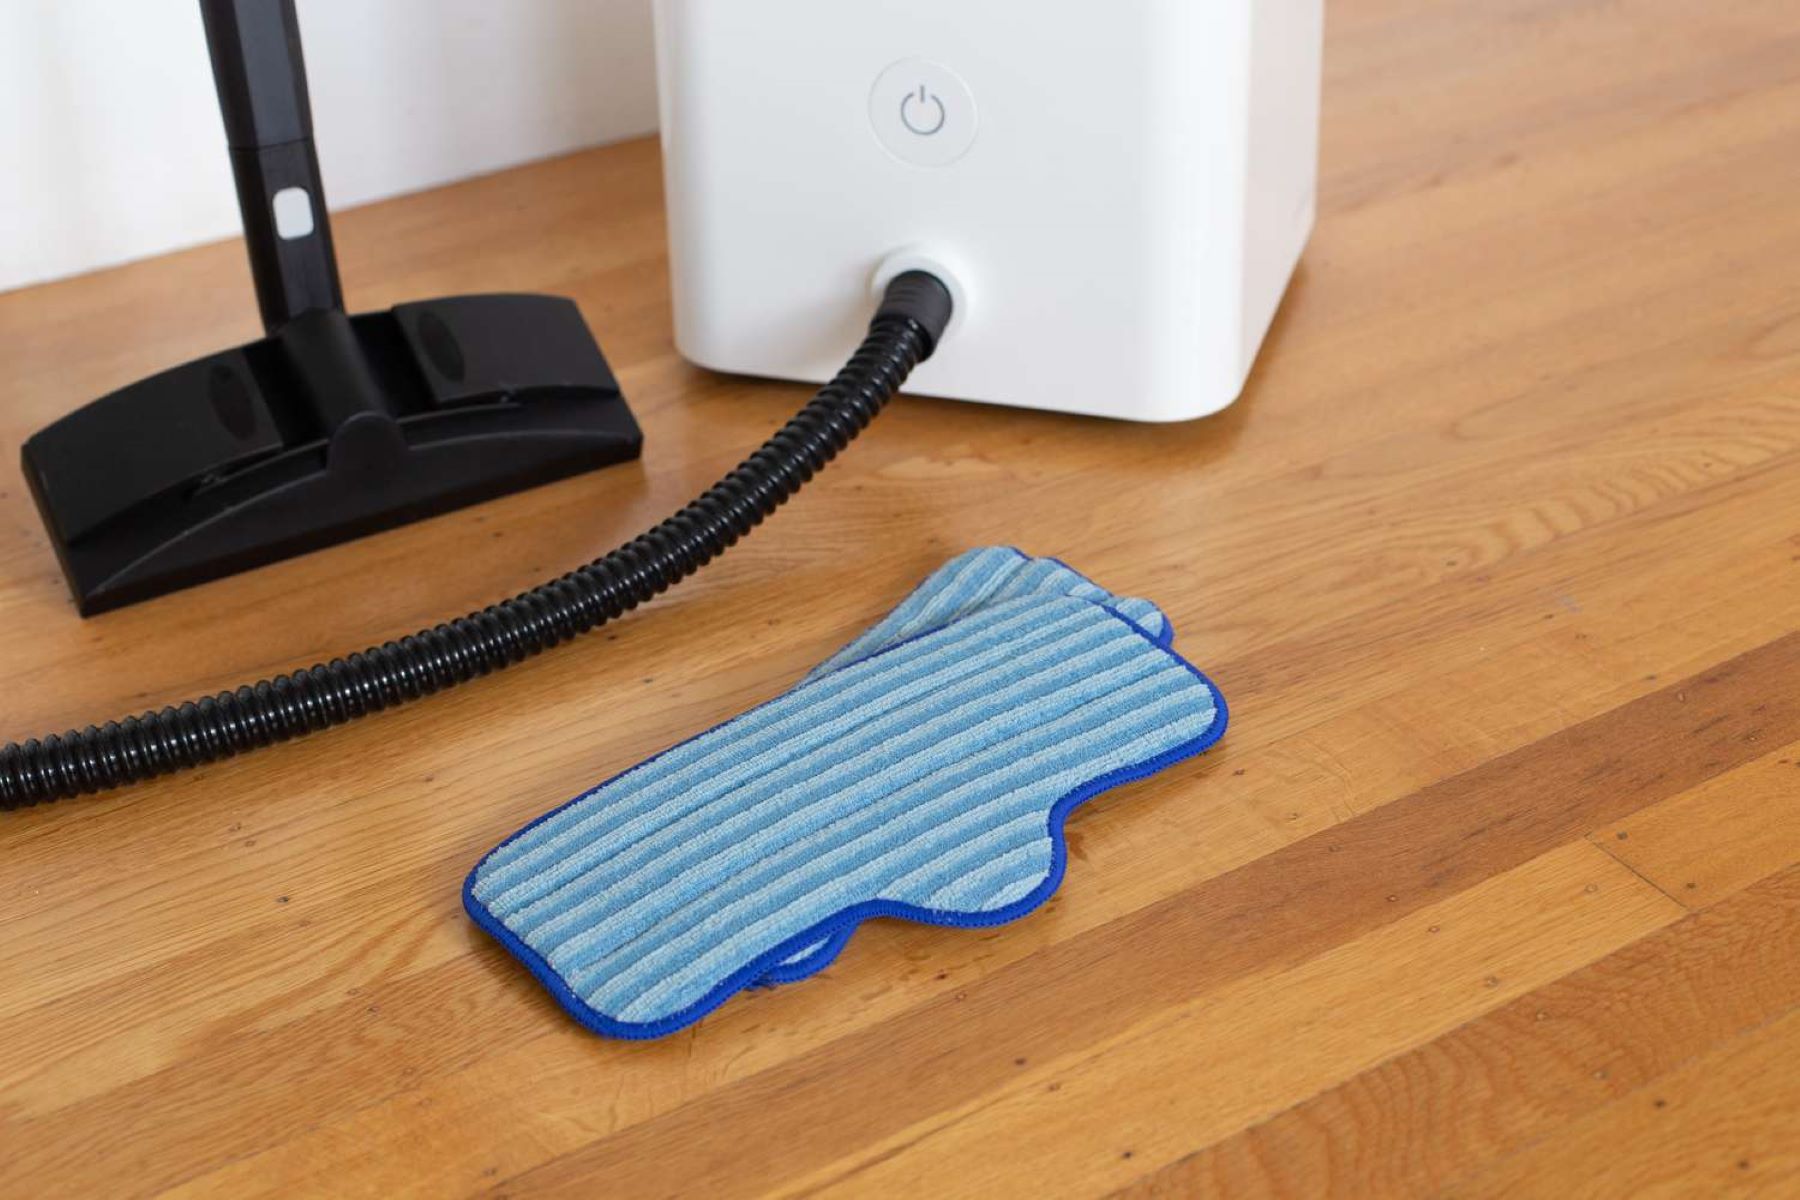
- Align the Pad: Lay the selected cleaning pad flat on the floor, ensuring that it is positioned correctly and ready to be attached to the mop. Take a moment to smooth out any wrinkles or folds in the pad to guarantee a secure and even attachment.
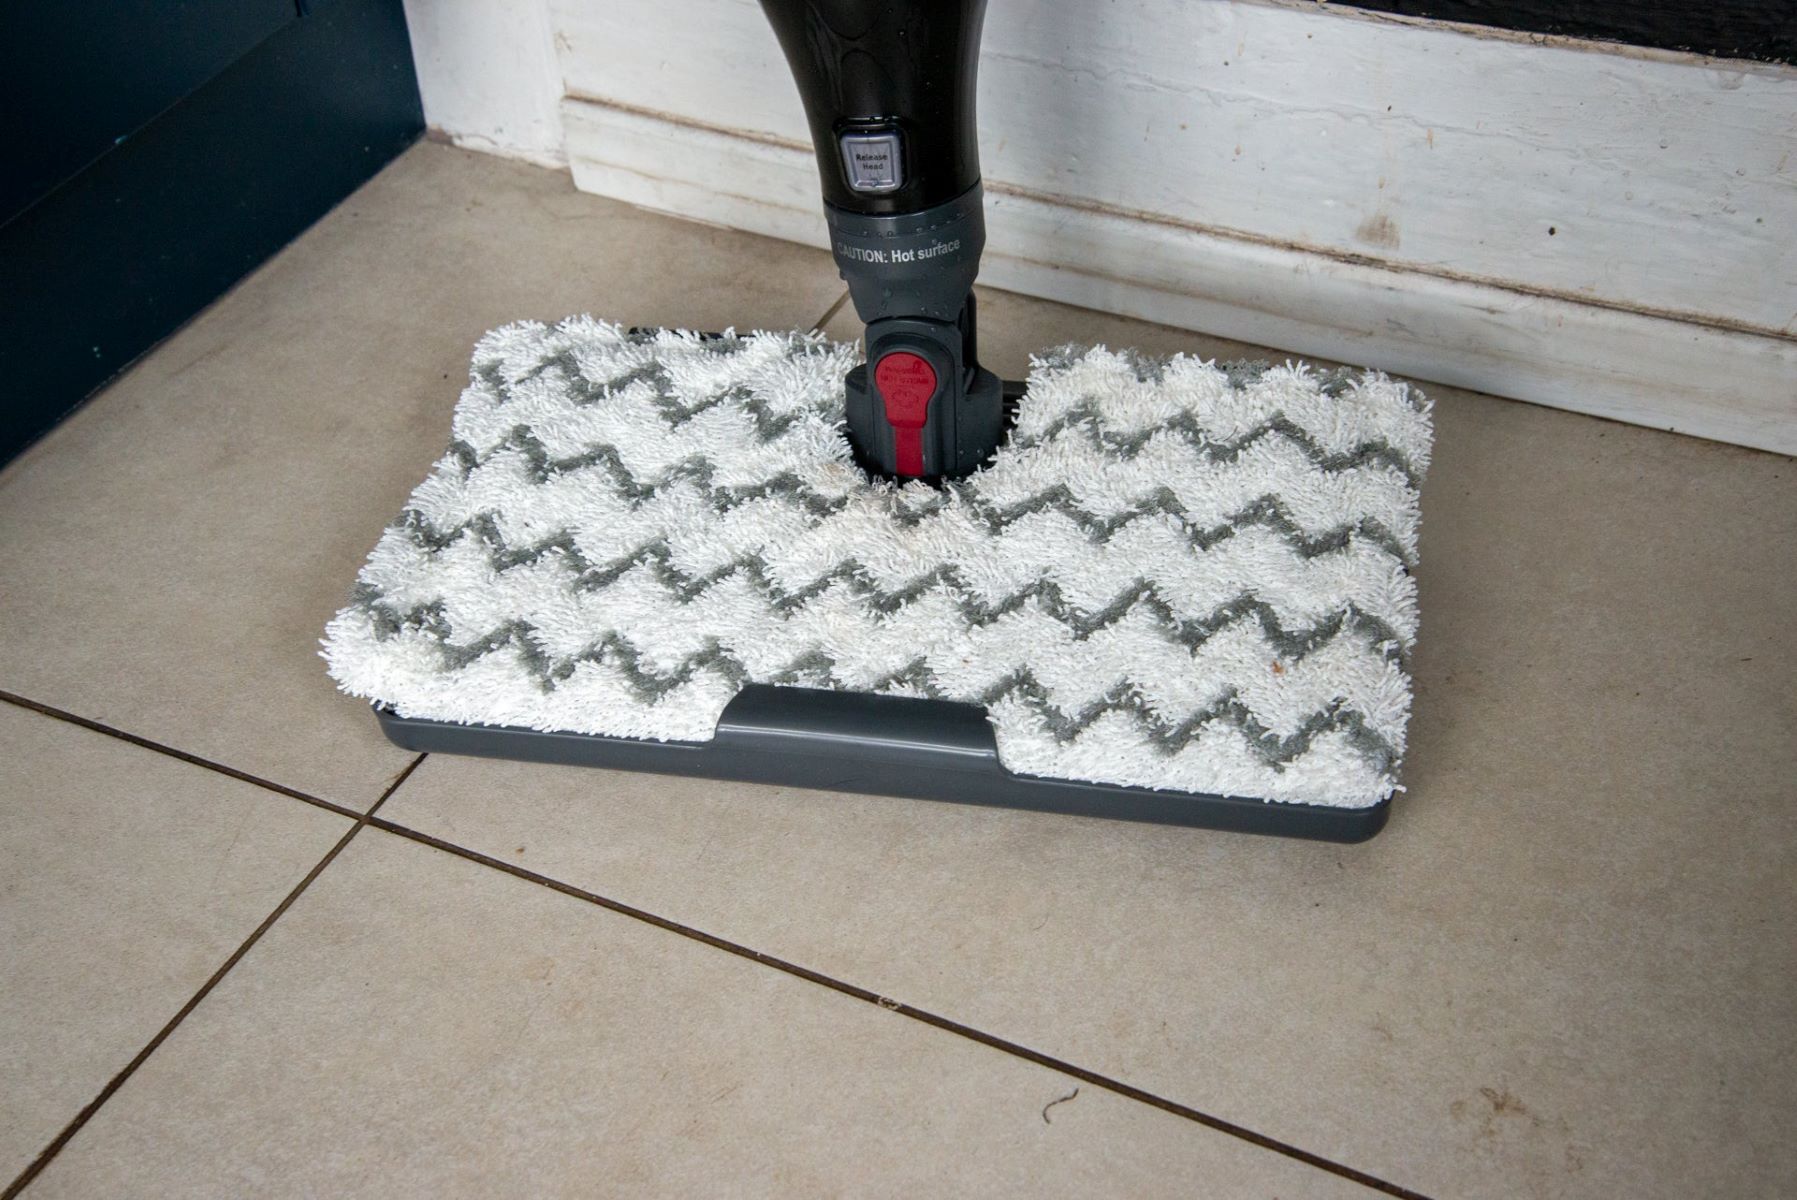
- Position the Mop: Carefully place the Shark Steam Mop over the cleaning pad, ensuring that the pad is centered beneath the mop’s cleaning head. This step is crucial for achieving optimal cleaning coverage and ensuring that the pad effectively captures dirt and grime.
By carefully following these steps, you can effortlessly prepare your Shark Steam Mop for the upcoming cleaning task. With the pad securely in place, you are now ready to proceed to the next essential step: securing the pad to the mop to ensure a hassle-free cleaning experience.
Step 3: Secure the Pad in Place
Ensuring that the cleaning pad is securely attached to your Shark Steam Mop is vital for achieving effective and thorough cleaning results. Follow these steps to securely fasten the pad in place:
- Adjust the Fastening Mechanism: Depending on the specific model of your Shark Steam Mop, there may be various methods for securing the cleaning pad. This could include hook-and-loop fasteners, elastic straps, or other attachment mechanisms. Refer to the user manual for detailed instructions on how to secure the pad using the designated fastening system.
- Secure the Pad: Once you have identified the fastening mechanism, proceed to secure the cleaning pad to the mop. Take care to follow the manufacturer’s guidelines for the specific type of fastener used, ensuring that the pad is snugly and securely attached to the mop’s cleaning head.
- Verify the Attachment: After securing the pad, perform a visual inspection to confirm that it is properly fastened and free of any loose or uneven areas. A securely attached pad is essential for optimal cleaning performance and ensures that the pad remains in place throughout the cleaning process.
By carefully following these steps, you can confidently secure the cleaning pad to your Shark Steam Mop, setting the stage for a successful and efficient cleaning session. With the pad firmly in place, you are now prepared to move on to the next crucial step: adjusting the steam settings for tailored cleaning performance.
Make sure the Shark steam mop is unplugged before putting on a new pad. Align the pad with the mop head and secure it in place according to the manufacturer’s instructions.
Step 4: Adjust the Steam Settings
Customizing the steam settings on your Shark Steam Mop allows you to tailor the cleaning process to suit the specific needs of your floors. Follow these essential steps to adjust the steam settings for optimal cleaning performance:
- Refer to the User Manual: Familiarize yourself with the steam control options available on your Shark Steam Mop. The user manual provides valuable insights into the various steam settings and how they can be adjusted to accommodate different flooring types and cleaning requirements.
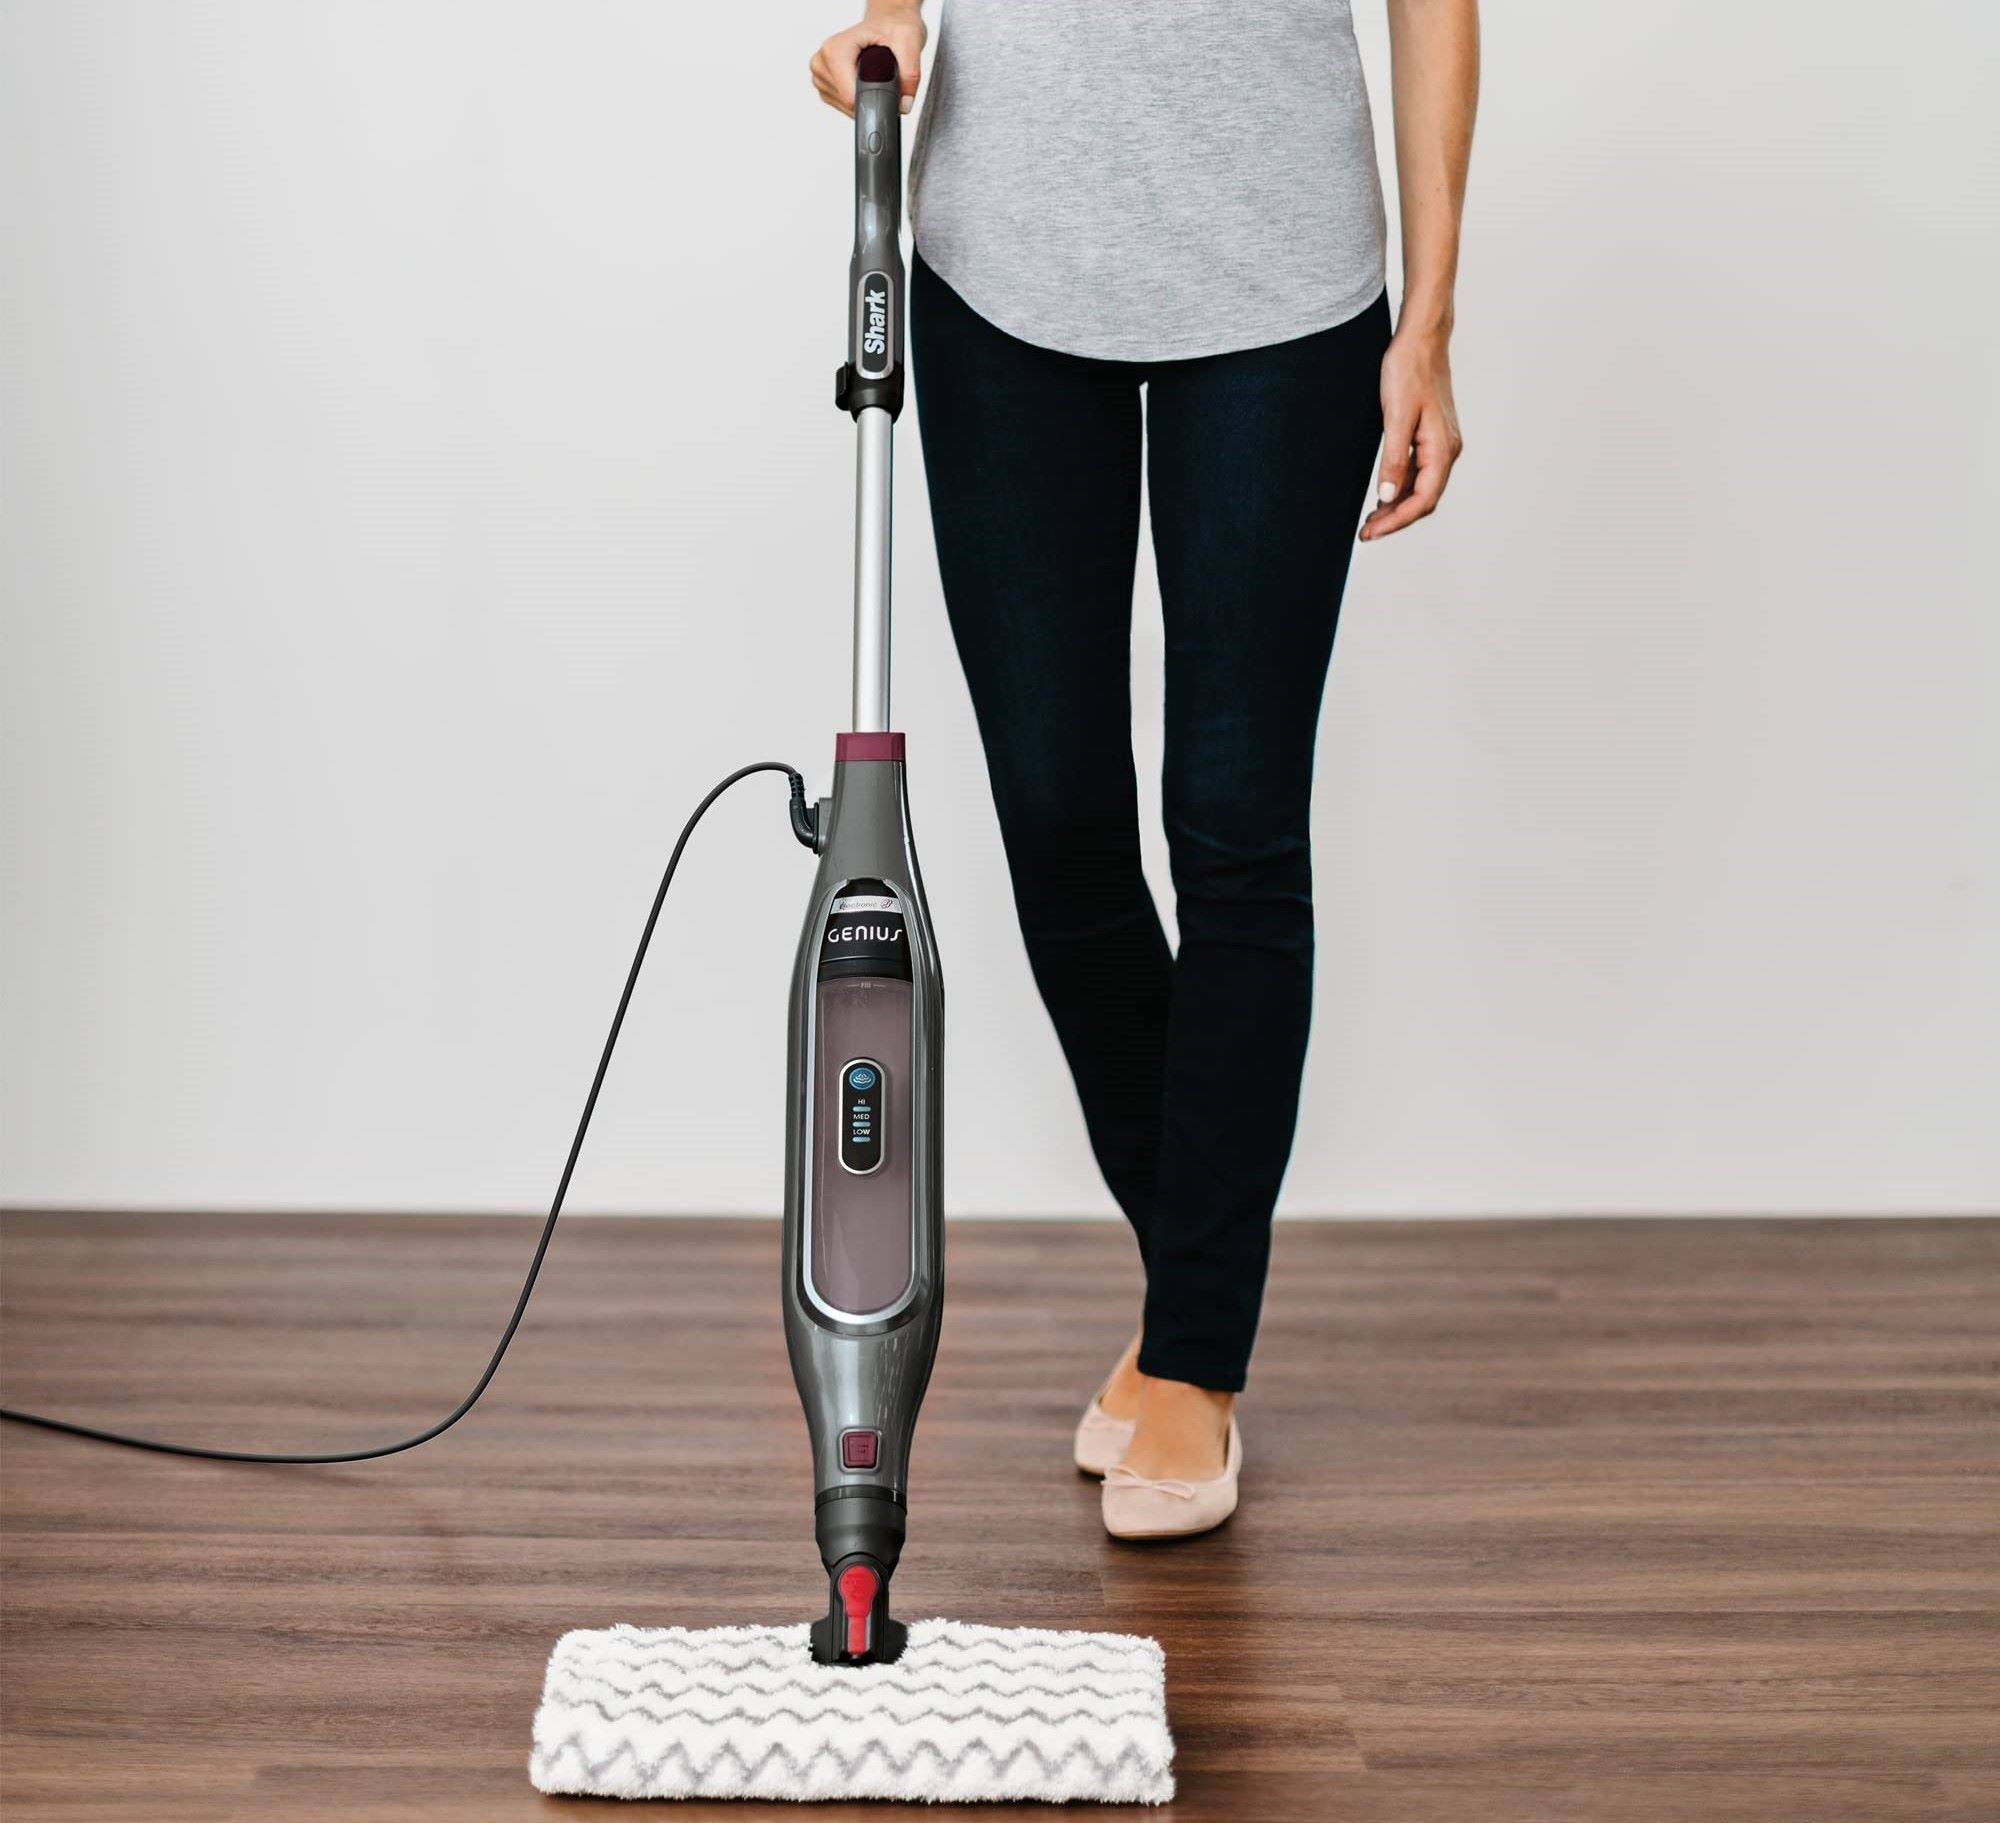
- Select the Desired Steam Level: Depending on the model of your steam mop, you may have the option to choose from multiple steam levels, such as low, medium, or high. Consider the type of flooring you will be cleaning and the level of soil or grime present to determine the most suitable steam setting for the task at hand.
- Adjust the Steam Control: Use the designated controls or buttons on the steam mop to adjust the steam level to your preferred setting. Take care to make gradual adjustments, allowing the mop to respond and reach the selected steam level before commencing the cleaning process.
By following these steps, you can effectively customize the steam settings on your Shark Steam Mop, ensuring that the cleaning process is tailored to deliver optimal results for your specific cleaning needs. With the steam settings adjusted to your preference, you are now ready to proceed to the final step: initiating the mopping process for a thorough and refreshing clean.
Read also: 8 Best Shark Steam Mop Pads For 2025
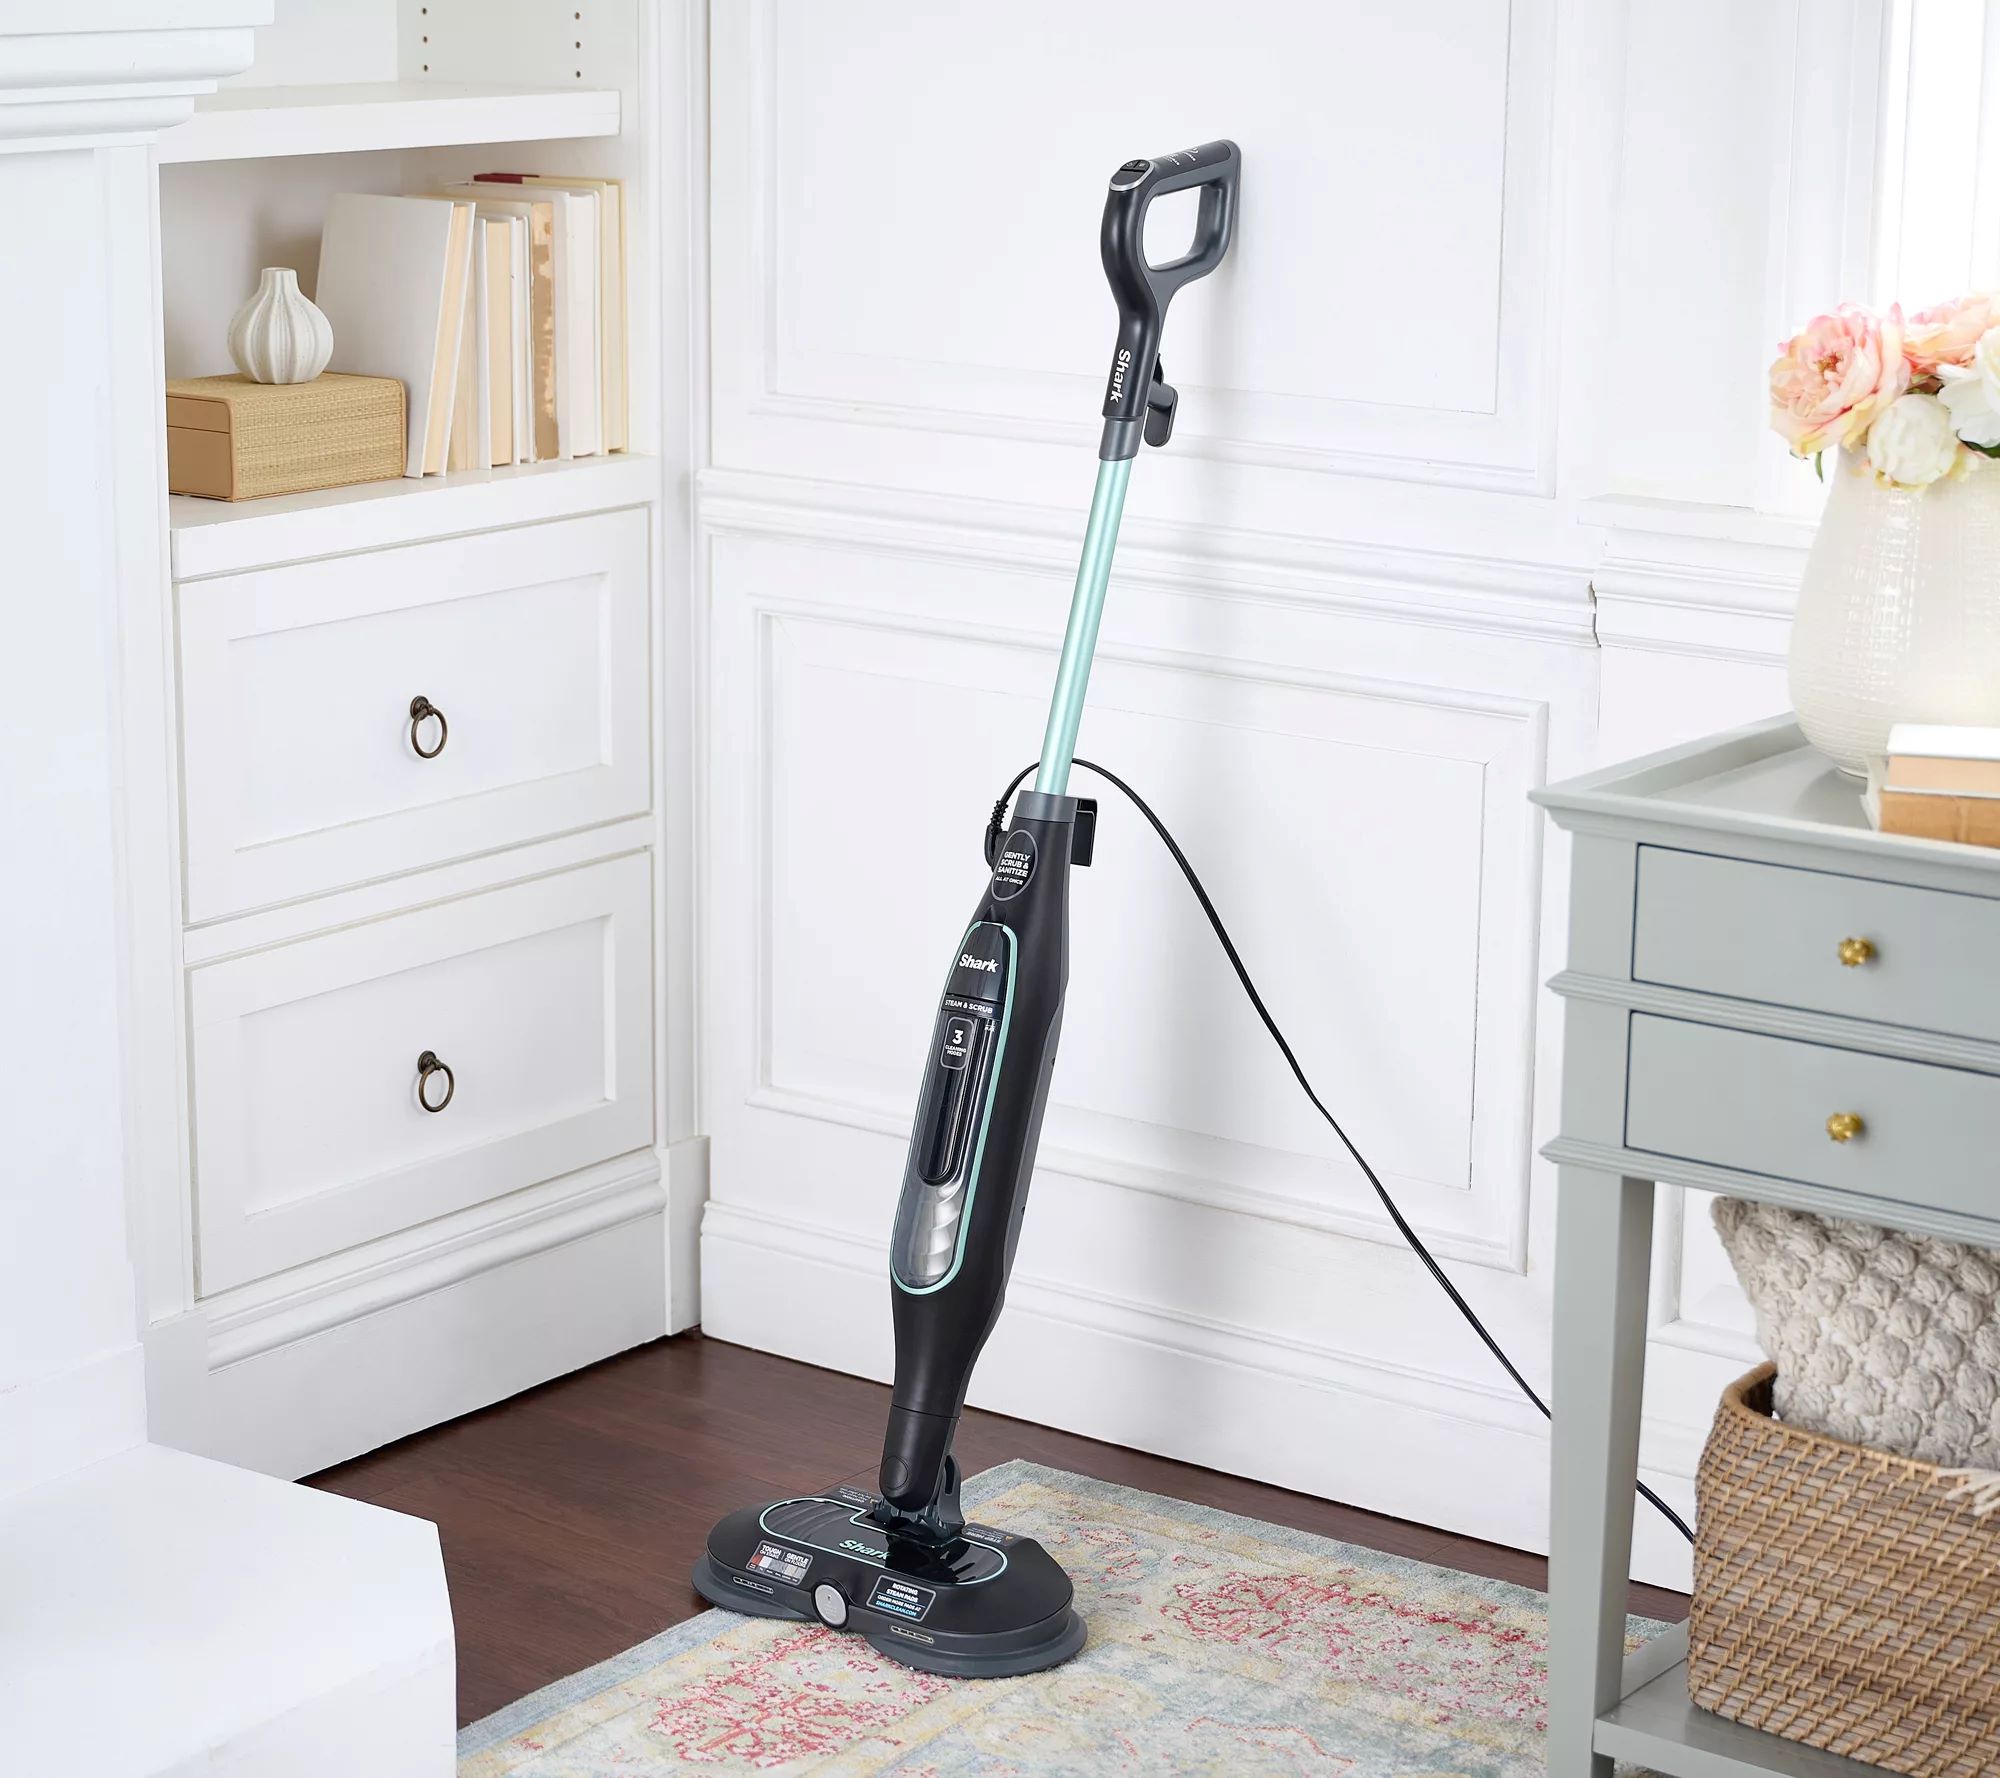
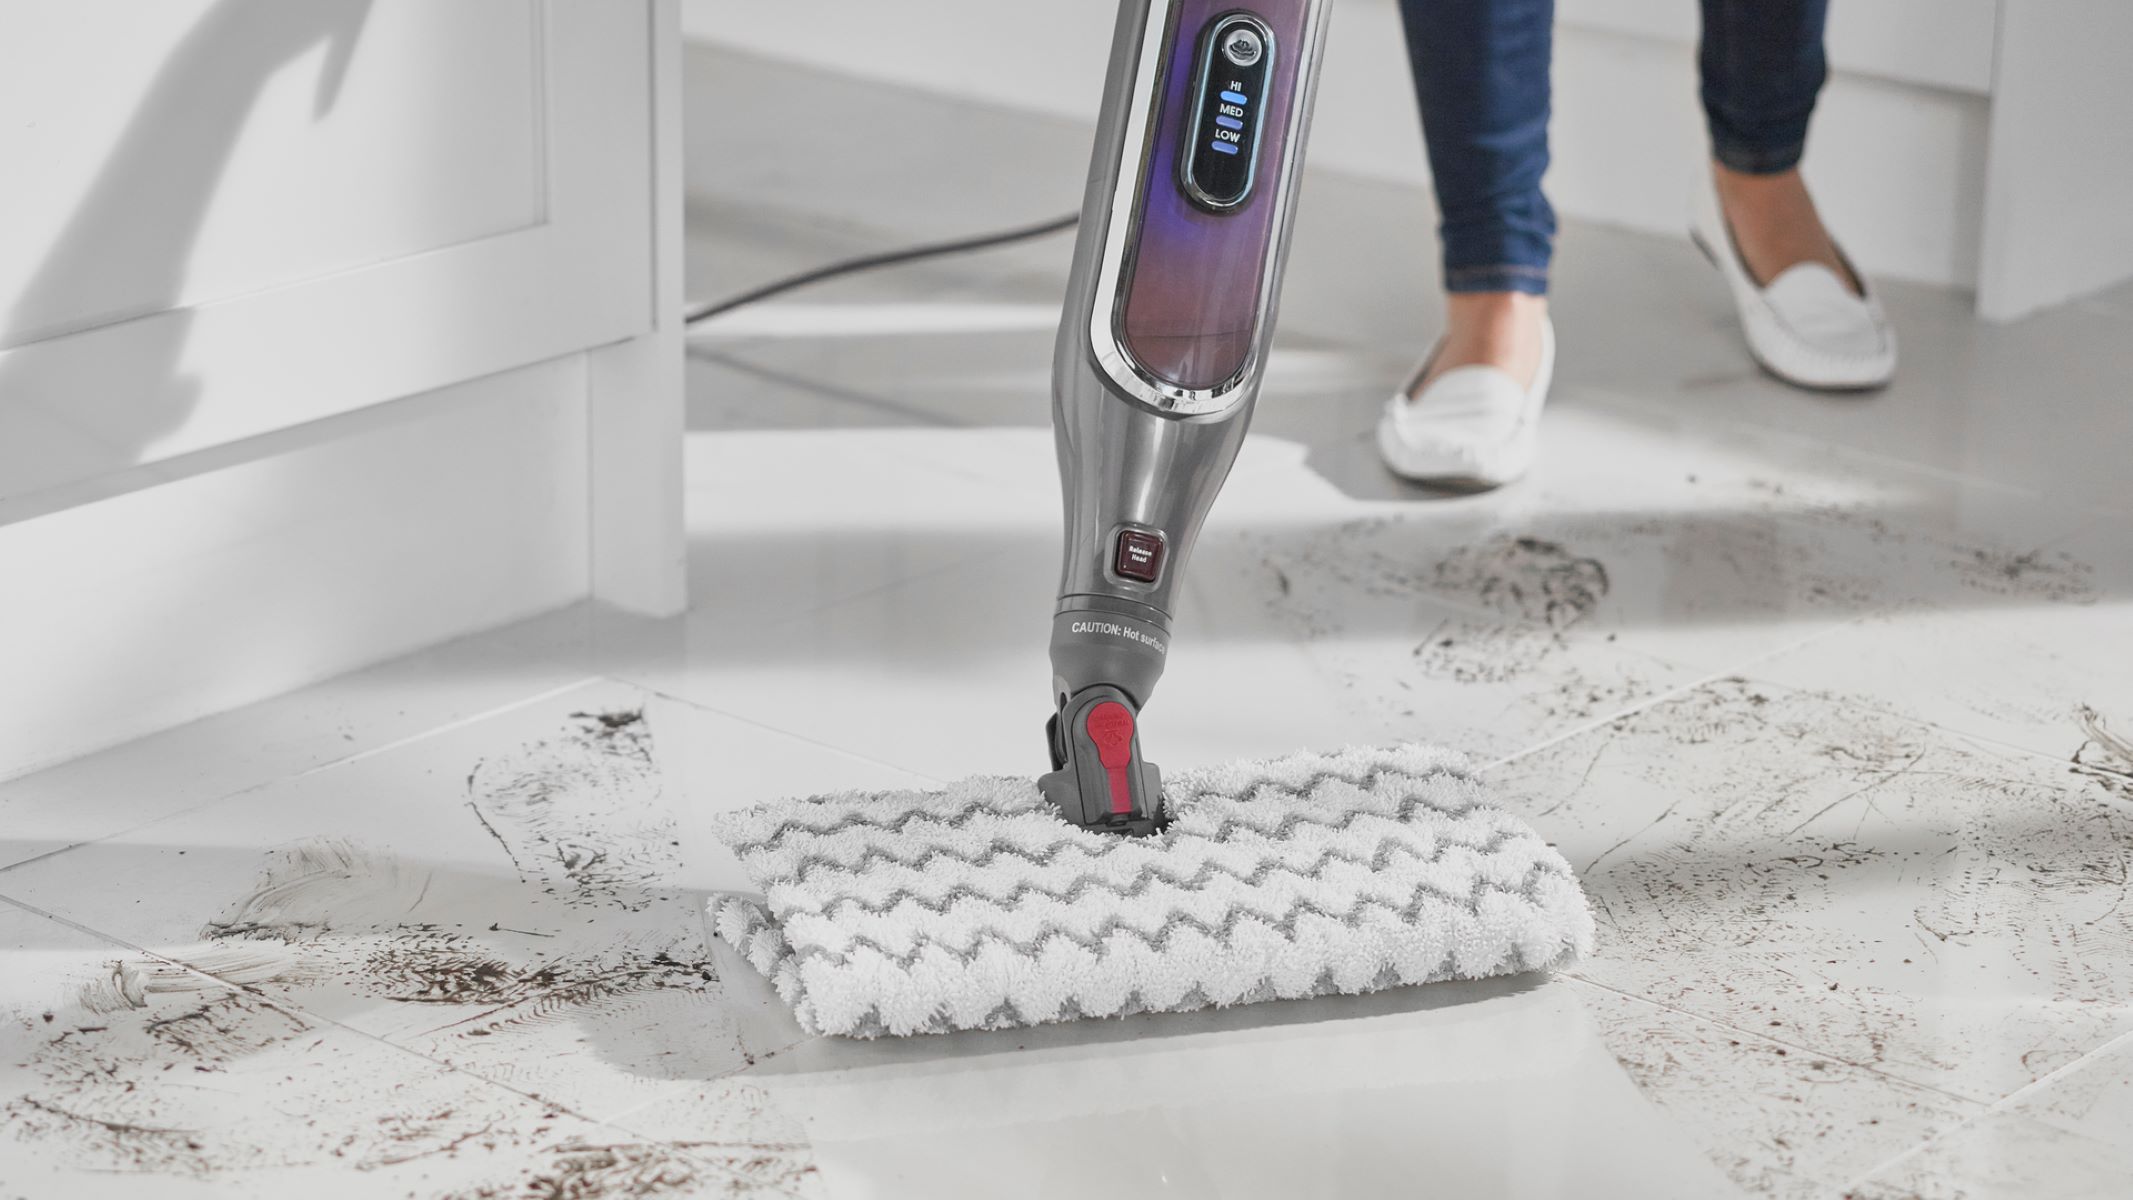
Step 5: Start Mopping
With your Shark Steam Mop prepared, the cleaning pad securely attached, and the steam settings adjusted to your preference, it’s time to initiate the mopping process. Follow these simple steps to effectively use your Shark Steam Mop and achieve sparkling, sanitized floors:
- Begin in a Designated Area: Select a manageable area of the floor to start mopping. It’s advisable to divide larger spaces into smaller sections to ensure thorough cleaning and efficient coverage.
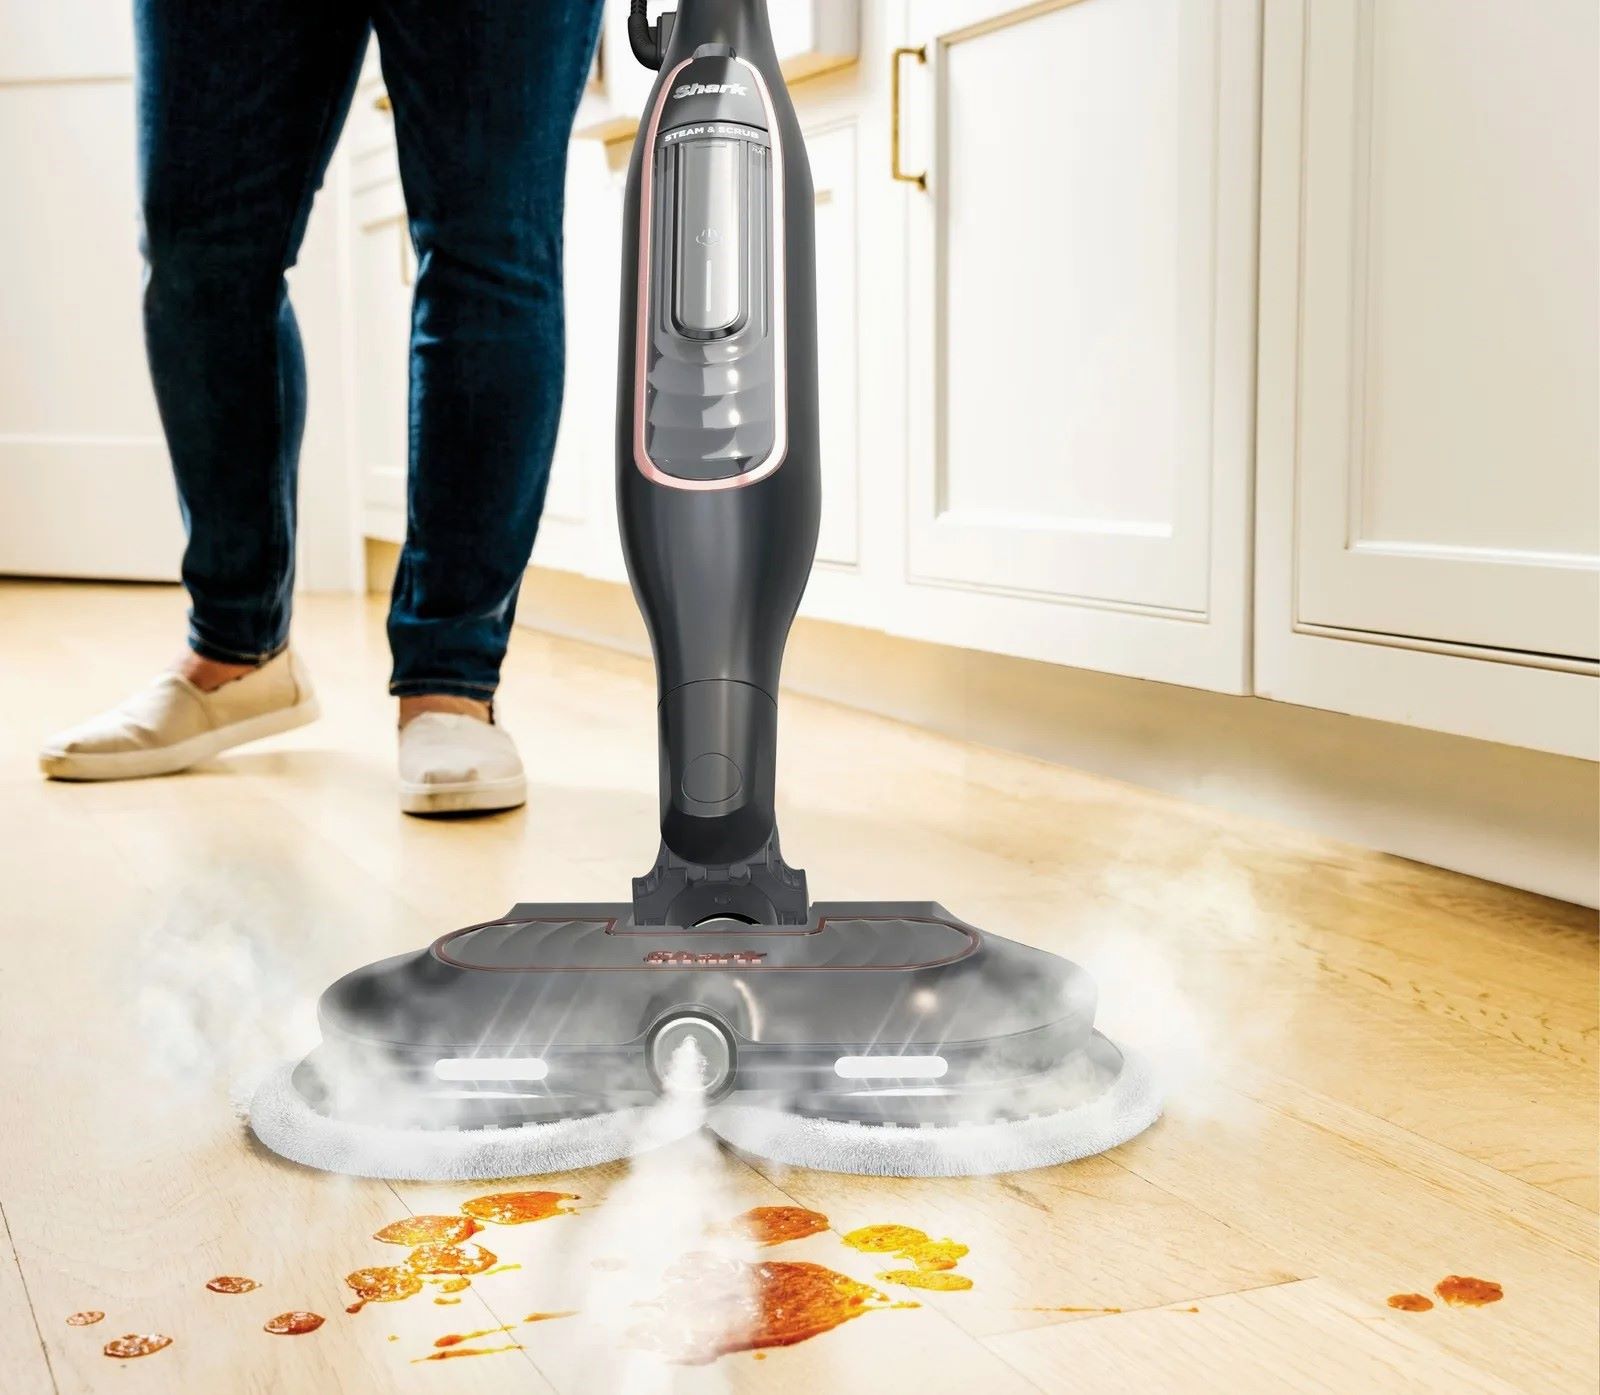
- Activate the Steam: Once you are positioned in the designated cleaning area, activate the steam flow according to the settings you previously adjusted. Allow the steam to permeate the cleaning pad, activating its sanitizing and cleaning properties.
- Move the Mop Methodically: With the steam activated, guide the Shark Steam Mop across the floor in deliberate, overlapping strokes. This methodical approach ensures that the entire surface area is thoroughly cleaned and sanitized, leaving no trace of dirt or grime behind.
- Complete the Section: Once you have mopped the designated area, assess the cleanliness of the floor. If necessary, repeat the mopping process to achieve the desired level of cleanliness. Once satisfied, move on to the next section, continuing the mopping process until the entire area has been effectively cleaned.
By following these steps, you can harness the full cleaning potential of your Shark Steam Mop, effortlessly revitalizing your floors and creating a fresh, hygienic living environment. With the mopping process complete, you can revel in the satisfaction of knowing that your floors have received the care and attention they deserve.
Conclusion
Congratulations! You’ve successfully navigated the process of preparing, attaching, and utilizing a cleaning pad with your Shark Steam Mop. By following the step-by-step instructions outlined in this guide, you’ve not only mastered the art of seamlessly integrating the cleaning pad into your cleaning routine but also empowered yourself to achieve exceptional cleaning results with ease and efficiency.
With your Shark Steam Mop primed and ready, the cleaning pad securely attached, and the steam settings tailored to your specific needs, you’re well-equipped to tackle a wide range of cleaning challenges with confidence. Whether you’re refreshing hardwood floors, sanitizing tile surfaces, or tackling stubborn stains, your Shark Steam Mop and its versatile cleaning pads are your trusted allies in the quest for a spotless and hygienic home environment.
Remember, the key to maintaining the pristine condition of your floors lies in regular cleaning and proper care. By incorporating your Shark Steam Mop into your cleaning routine and utilizing the invaluable tips provided in this guide, you can ensure that your floors remain impeccably clean and inviting for years to come.
So, go ahead and embark on your cleaning adventures with renewed enthusiasm, knowing that you have the knowledge and expertise to make the most of your Shark Steam Mop and its remarkable cleaning capabilities. Here’s to sparkling, sanitized floors and a home that exudes freshness and cleanliness at every turn!
Frequently Asked Questions about How To Put Pad On Shark Steam Mop
Was this page helpful?
At Storables.com, we guarantee accurate and reliable information. Our content, validated by Expert Board Contributors, is crafted following stringent Editorial Policies. We're committed to providing you with well-researched, expert-backed insights for all your informational needs.


0 thoughts on “How To Put Pad On Shark Steam Mop”