Home>Home Appliances>Heating & Cooling>How To Clean A Central Heating System
Heating & Cooling
How To Clean A Central Heating System
Modified: February 18, 2024
Learn how to effectively clean your central heating system to improve its efficiency and lifespan. Follow our expert tips for heating and cooling maintenance.
(Many of the links in this article redirect to a specific reviewed product. Your purchase of these products through affiliate links helps to generate commission for Storables.com, at no extra cost. Learn more)
Introduction
Maintaining a clean and efficient central heating system is essential for ensuring optimal performance and longevity. Over time, sludge, debris, and mineral deposits can accumulate within the system, leading to reduced heat output, uneven heating, and potential damage to the components. Regular cleaning of the central heating system is a crucial aspect of home maintenance that can significantly improve its efficiency and lifespan.
In this comprehensive guide, we will walk you through the step-by-step process of cleaning a central heating system. Whether you are a seasoned homeowner or a new property owner, understanding the importance of this maintenance task and learning how to perform it can save you from costly repairs and ensure a cozy and comfortable indoor environment.
By following the outlined steps, you will be able to remove the built-up impurities and restore the system to its optimal condition. From turning off the central heating system to bleeding the radiators, each stage plays a vital role in the overall cleaning process. Additionally, we will provide valuable insights and tips to help you navigate through the cleaning procedure with confidence and precision.
As we delve into the intricacies of cleaning a central heating system, it's important to note that regular maintenance not only enhances the system's efficiency but also contributes to energy savings. A clean heating system operates more effectively, requiring less energy to maintain the desired temperature, which can lead to reduced energy bills and a smaller environmental footprint.
With a clear understanding of the significance of a clean central heating system and the benefits it offers, let's embark on this journey to revitalize your home's heating infrastructure. By the end of this guide, you will have the knowledge and skills to undertake this essential maintenance task, ensuring that your central heating system operates at its best for years to come.
Key Takeaways:
- Regularly cleaning your central heating system is crucial for efficient performance and cost savings. Follow the step-by-step guide to maintain a cozy and comfortable indoor environment.
- By cleaning and maintaining your central heating system, you can ensure optimal functionality, energy savings, and a healthier indoor environment. Take charge of your home’s comfort and efficiency.
Read more: How To Drain The Central Heating System
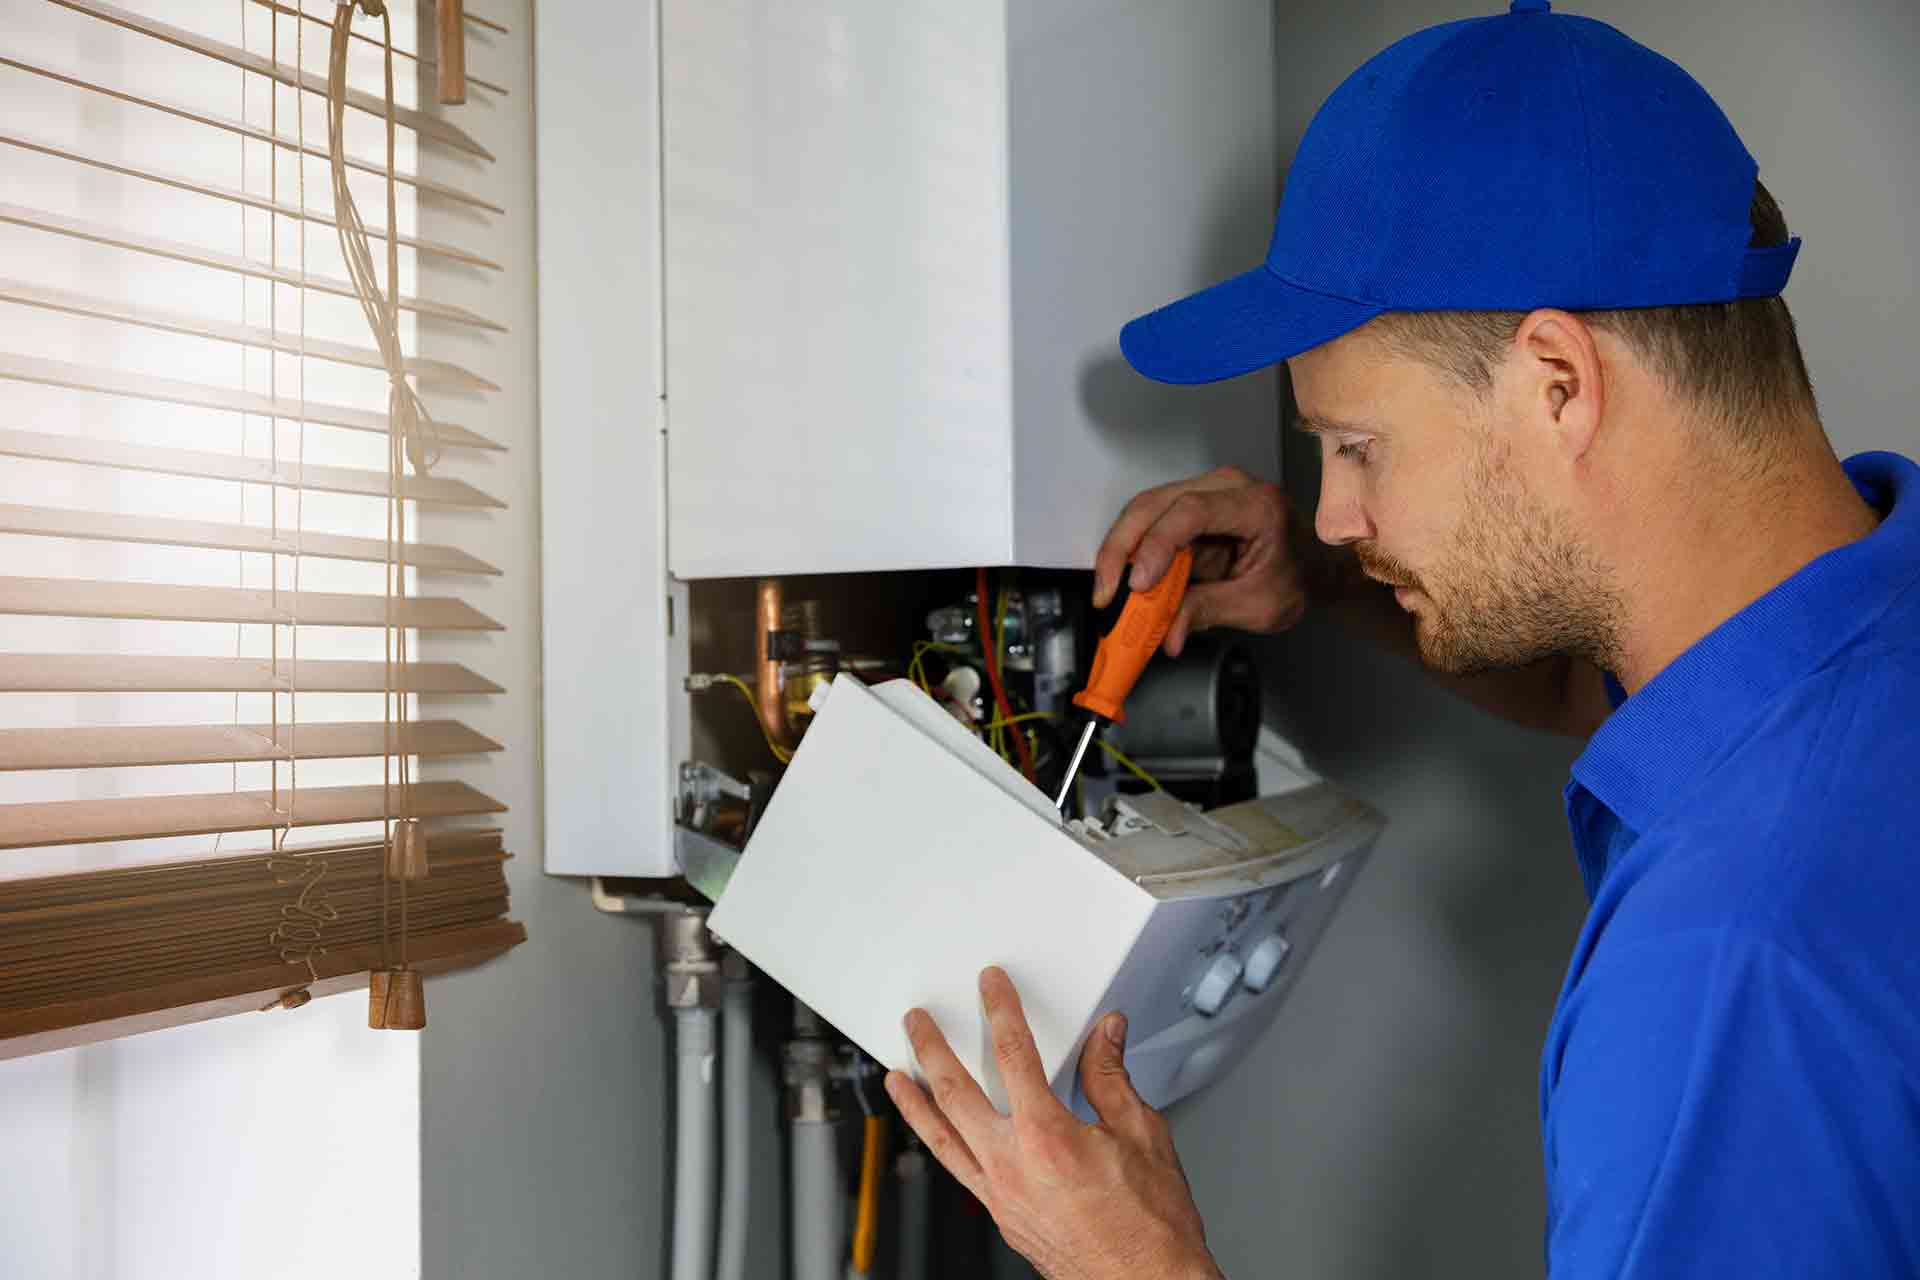
Step 1: Turn off the central heating system
Before initiating the cleaning process, it is crucial to ensure the central heating system is completely turned off. This step is essential for safety and to prevent any complications during the cleaning procedure. Here's a detailed overview of the process:
-
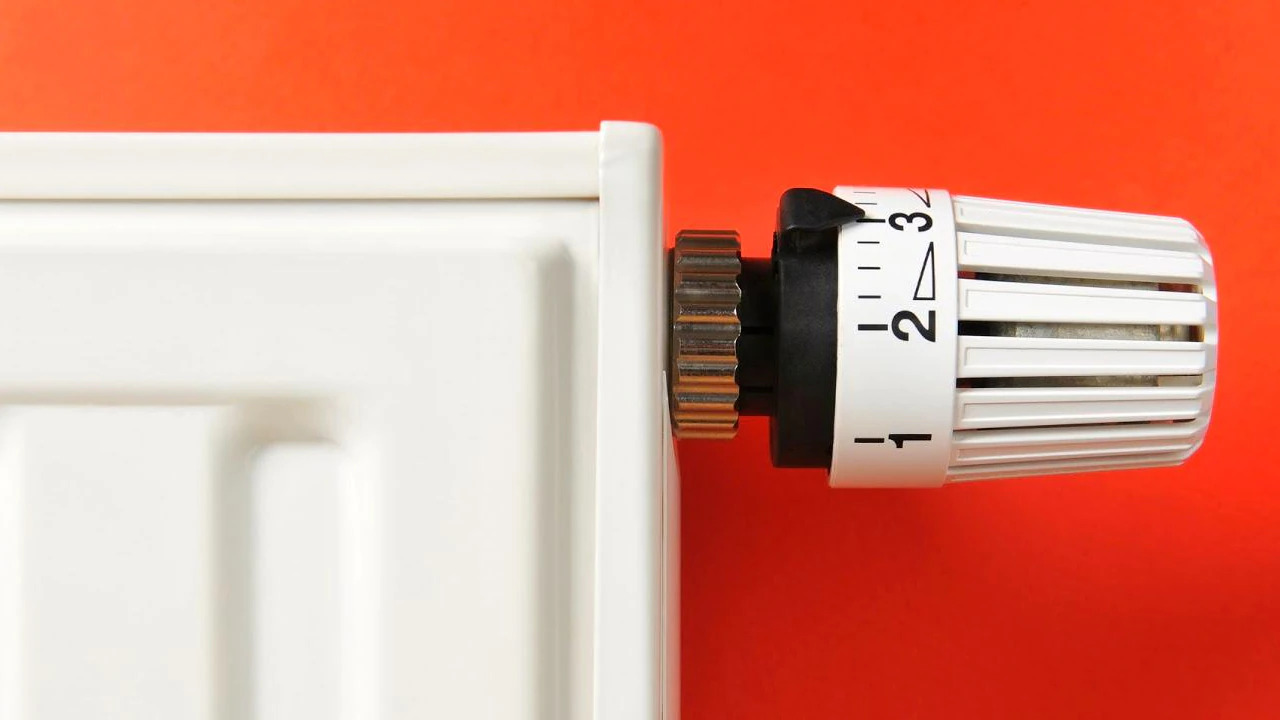
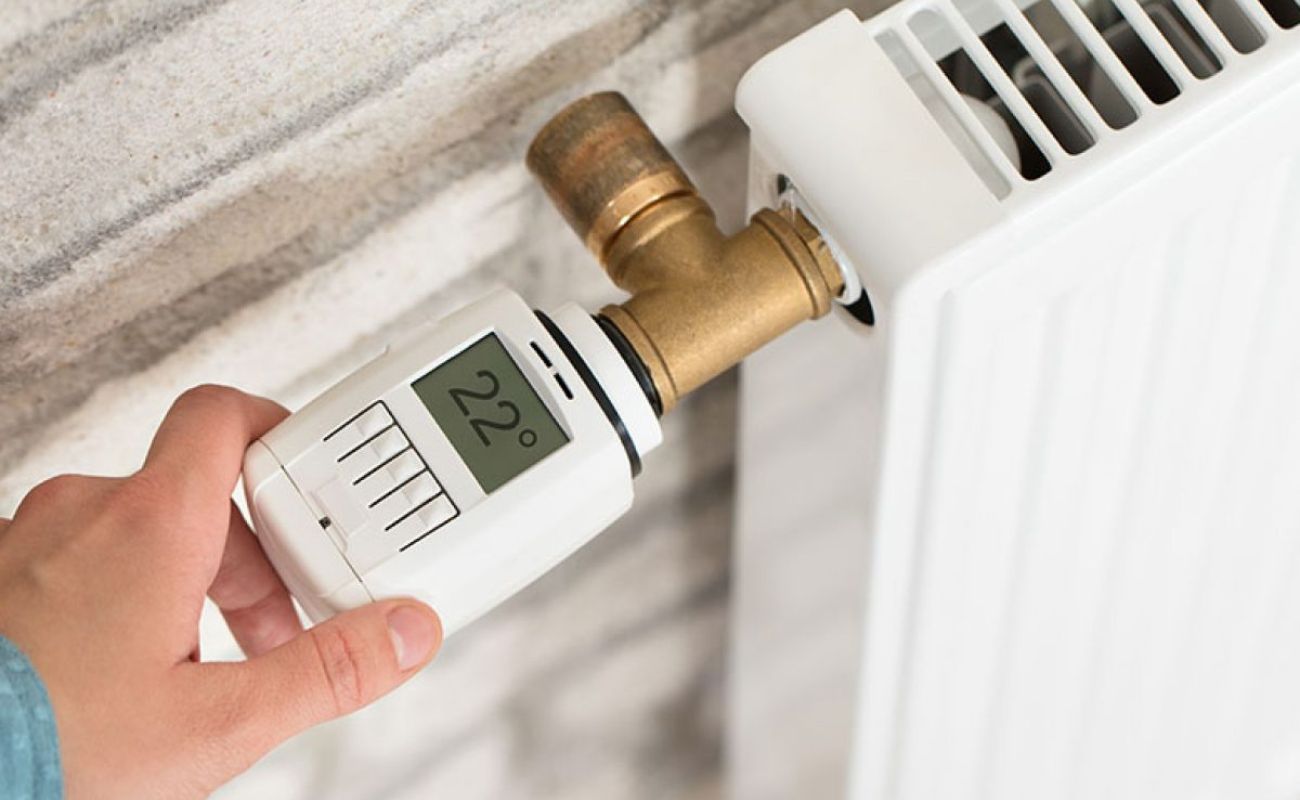
Thermostat Adjustment: Begin by adjusting the thermostat to the lowest setting to prevent the heating system from activating during the cleaning process. This will ensure that the system remains inactive while you perform the necessary maintenance tasks.
-
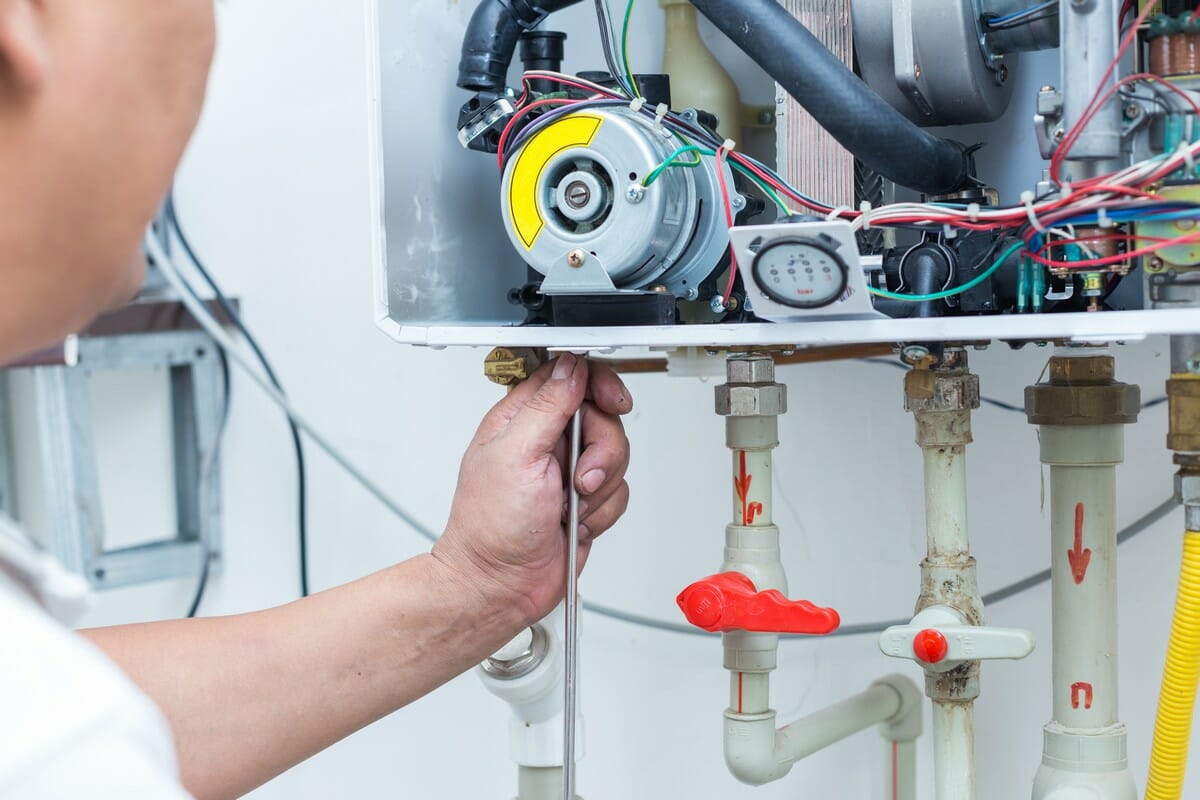
Boiler Shutdown: Locate the main power switch for the boiler and turn it off. This will halt the heating process and prevent the circulation of hot water throughout the system. It's important to allow the system to cool down before proceeding with the cleaning to avoid any risk of burns or scalding.
-
Isolating Valves: Identify the isolating valves on the central heating system and shut them off. These valves are typically located on the pipes connected to the boiler and radiators. By closing these valves, you can prevent the flow of water through the system, ensuring that it remains inactive during the cleaning process.
-
Electrical Safety: If your central heating system is electrically powered, ensure that the electrical supply to the system is completely disconnected. This additional safety measure is essential to prevent any electrical mishaps while working on the system.
By meticulously following these steps to turn off the central heating system, you can create a safe and controlled environment for the subsequent cleaning procedures. This initial phase sets the stage for the thorough maintenance of the system, allowing you to proceed with confidence and peace of mind.
With the central heating system effectively turned off, you are now ready to progress to the next step in the cleaning process, ensuring that each stage is executed with precision and attention to detail.
Step 2: Drain the system
Draining the central heating system is a critical step in the cleaning process, allowing for the removal of old water, sludge, and debris that may have accumulated within the system. This procedure is essential for preparing the system to receive fresh water and cleaning solutions, ensuring optimal performance and efficiency. Here's a detailed overview of the process:
-
Locate the Drain Valve: Begin by identifying the drain valve, which is typically situated at the lowest point of the system, often near the boiler or at the base of a radiator. The location of the drain valve may vary depending on the specific configuration of your central heating system.
-
Attach a Hose: Once the drain valve is located, attach a hose to the valve to facilitate the controlled discharge of water from the system. The hose should be securely connected to the valve to prevent any leaks or spills during the draining process.
-
Open the Drain Valve: With the hose in place, carefully open the drain valve to initiate the draining process. It's important to position the other end of the hose at a suitable drainage point, such as a floor drain or an outdoor area, to direct the discharged water away from the interior spaces.
-
Release Pressure: Prior to fully opening the drain valve, it may be necessary to release the pressure within the system to facilitate a smooth and efficient drainage process. This can be achieved by venting any excess pressure through the bleed valves on the radiators.
-
Monitor the Drainage: As the water begins to flow out of the system, monitor the drainage process closely to ensure that it proceeds without any issues. Keep a close eye on the hose and the drainage point to prevent any potential water damage or spills.
-
Complete Drainage: Allow the system to drain completely, ensuring that all the old water is expelled from the system. This thorough drainage sets the stage for the subsequent cleaning and maintenance tasks, preparing the system for the next steps in the cleaning process.
By meticulously following these steps to drain the central heating system, you can effectively remove the old water and prepare the system for the subsequent cleaning procedures. This crucial phase sets the foundation for a comprehensive cleaning process, allowing you to proceed with the maintenance tasks with confidence and precision.
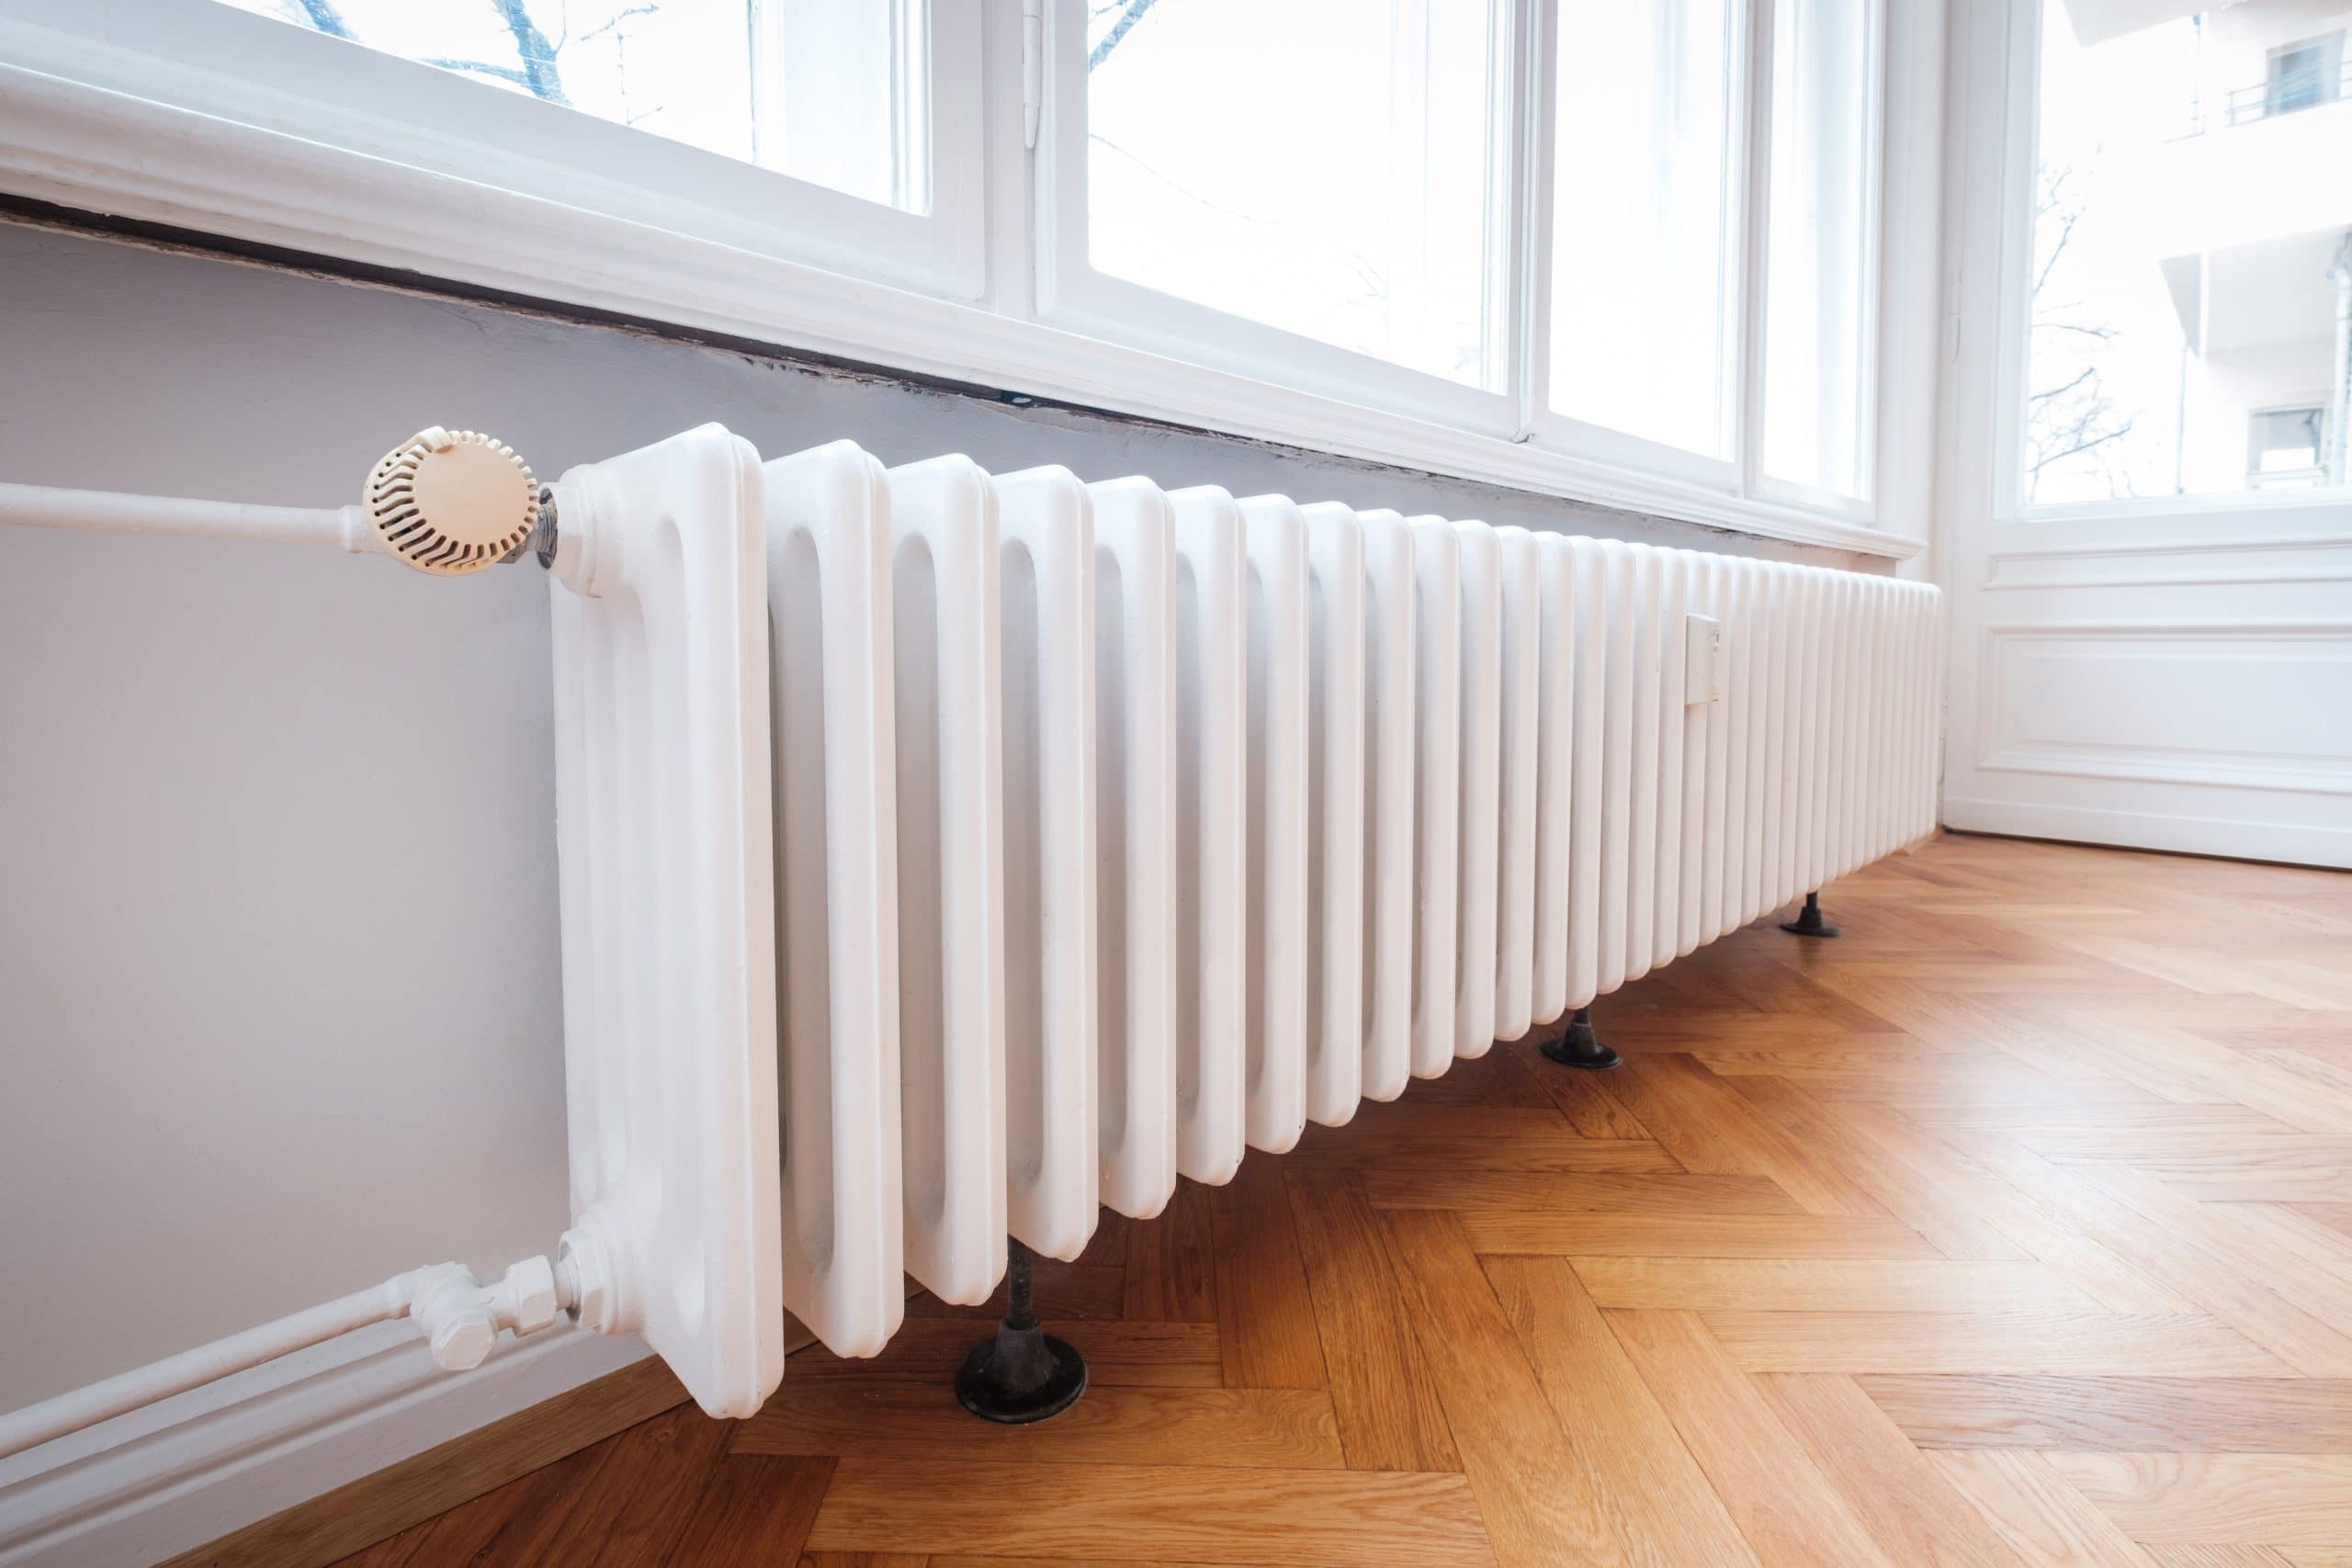
Step 3: Clean the radiators
Cleaning the radiators is a pivotal aspect of maintaining a central heating system, as these components play a crucial role in distributing heat throughout the living spaces. Over time, radiators can accumulate dust, debris, and sludge, which can impede their efficiency and hinder the overall heating performance. By undertaking the task of cleaning the radiators, you can ensure that they operate at their best, providing consistent and efficient heat dispersion. Here's a detailed overview of the process:
-
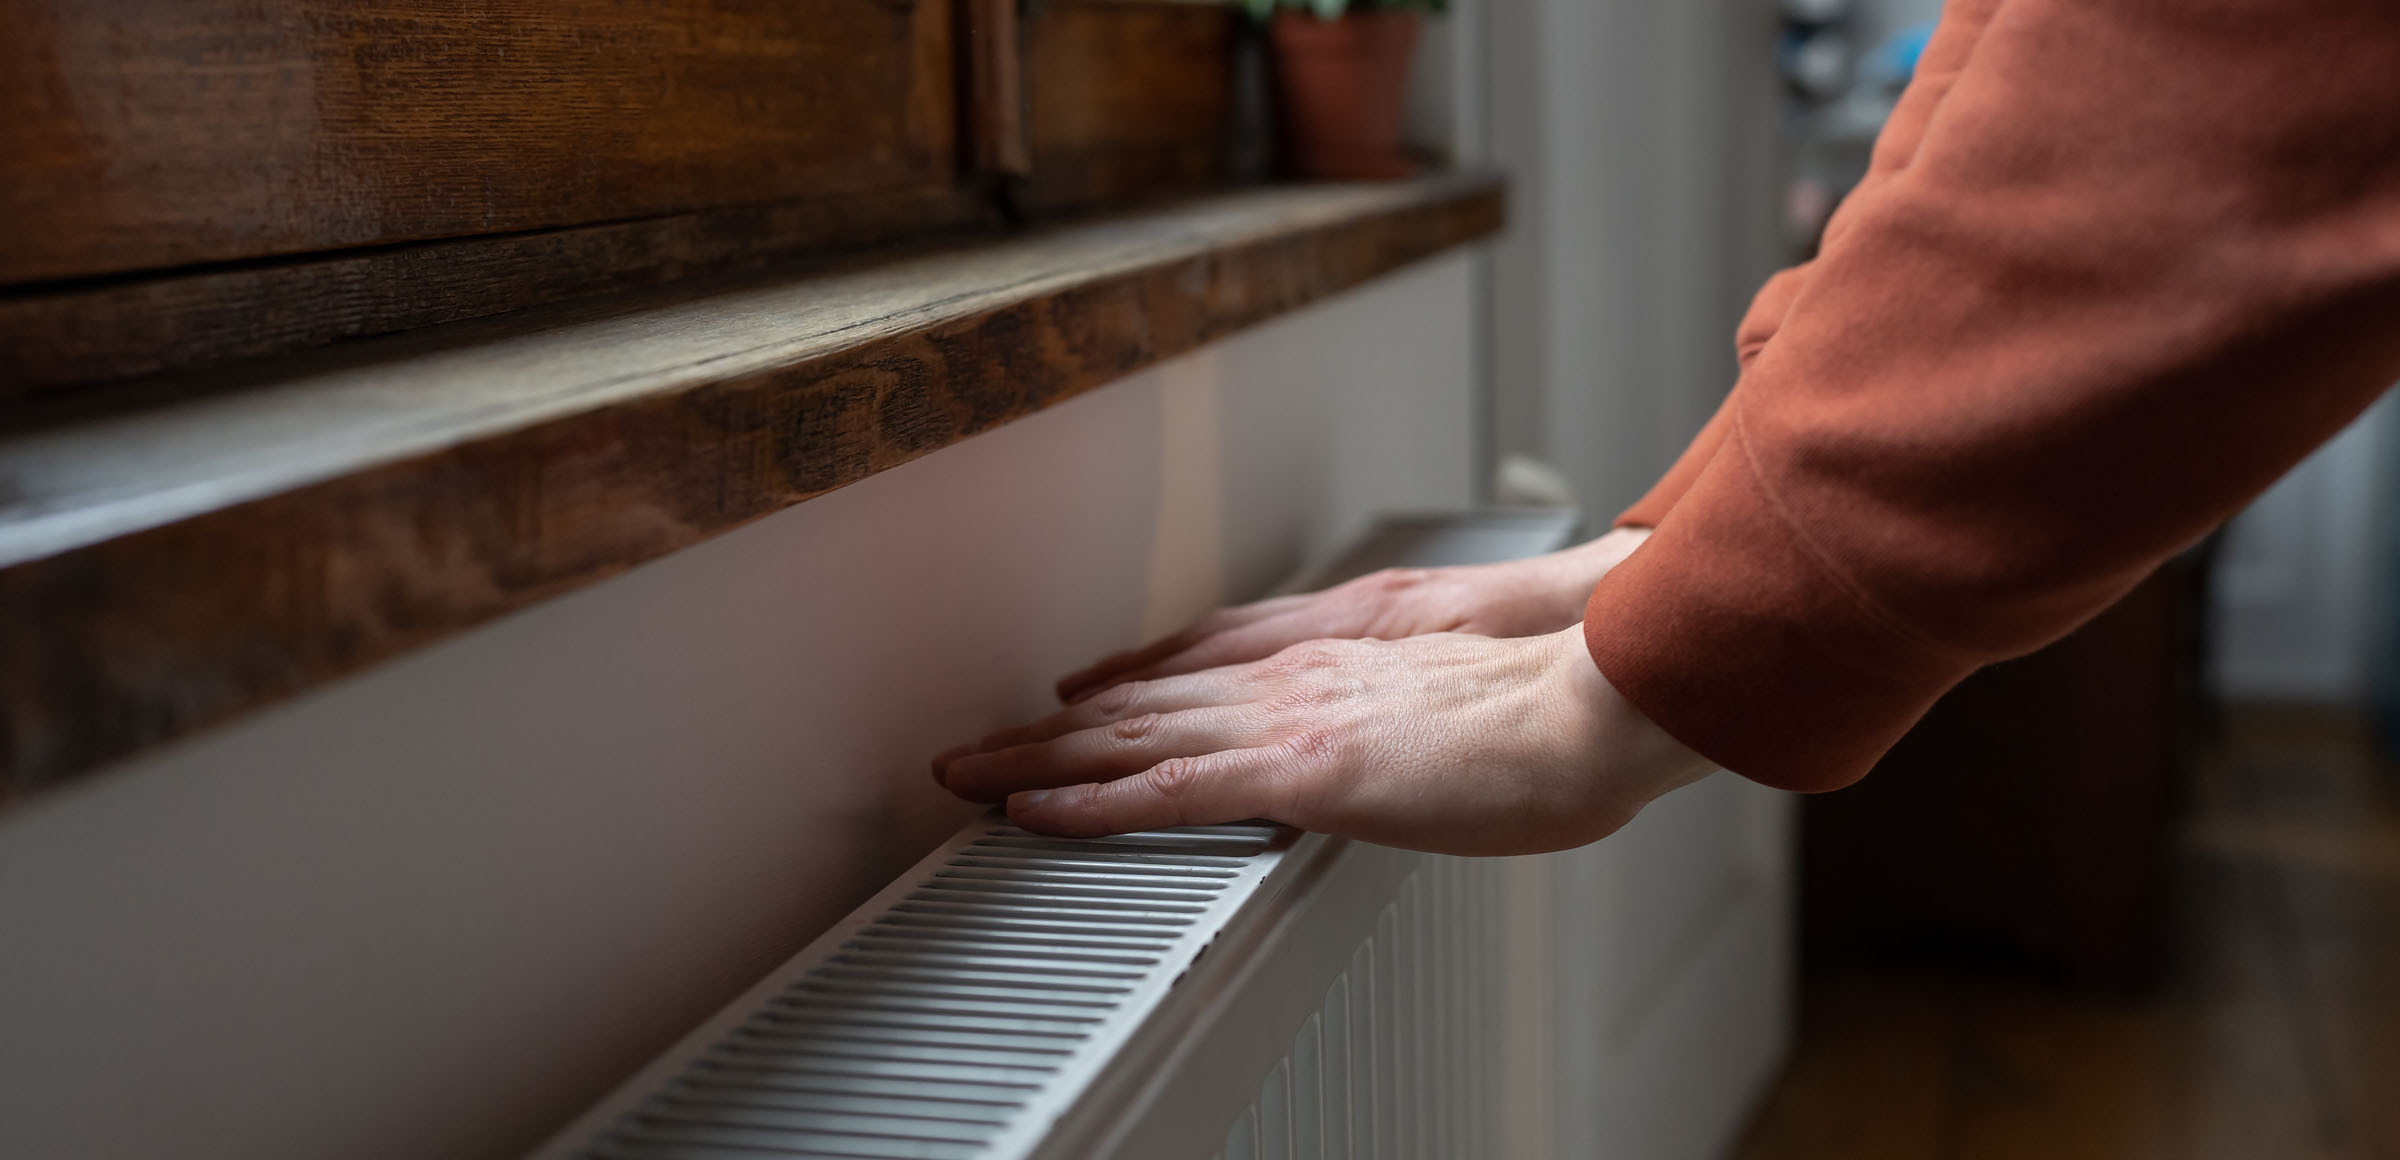
Assessment of Radiator Condition: Begin by visually inspecting each radiator to assess its condition. Look for signs of dust accumulation, corrosion, or any obstructions that may hinder the heat output. Identifying any areas of concern will guide the cleaning process and help address specific issues that may affect the radiator's performance.
-
Bleeding the Radiators: Before initiating the cleaning process, it's essential to bleed the radiators to release any trapped air within the system. This step ensures that the radiators can be cleaned thoroughly and allows for optimal heat circulation once the cleaning is complete.
-
Dust Removal: Using a soft brush or a vacuum cleaner with a brush attachment, carefully remove any dust and debris from the surface and behind the radiator. Pay close attention to the fins and crevices where dust tends to accumulate, ensuring that the radiator is free from any obstructions that may impede heat emission.
-
Cleaning Solutions: For radiators with stubborn grime or mineral deposits, a gentle cleaning solution can be applied to facilitate the removal of built-up residue. A mixture of mild detergent and water can be used to wipe down the radiator surfaces, followed by a thorough rinse to eliminate any residue.
-
Fin Cleaning: If the radiator fins are clogged with debris or dust, a fin comb or brush can be used to carefully straighten and clean the fins. This process helps restore the optimal heat transfer capability of the radiator, ensuring efficient heat dissipation into the surrounding space.
-
Paint Inspection: While cleaning the radiators, take the opportunity to inspect the paint or finish for any signs of wear or corrosion. Addressing any paint damage promptly can prevent rust formation and prolong the lifespan of the radiators.
By meticulously following these steps to clean the radiators, you can enhance the overall efficiency and performance of your central heating system. Clean radiators not only contribute to improved heat distribution but also promote a healthier indoor environment by reducing the circulation of dust and allergens. This essential maintenance task ensures that your home remains comfortably heated while optimizing energy efficiency.
Step 4: Flush the pipes
Flushing the pipes of a central heating system is a crucial maintenance task that helps remove accumulated sludge, debris, and mineral deposits, ensuring optimal performance and efficiency. Over time, the interior of the pipes can become lined with impurities, hindering the smooth flow of water and impeding the overall heating process. By undertaking the process of flushing the pipes, you can effectively clear out these obstructions, allowing for improved water circulation and heat transfer throughout the system.
Read more: How To Flush A Central Heating System
The Flushing Process
-
Preparation: Before initiating the flushing process, it is essential to ensure that the system remains turned off and that the water supply to the central heating system is isolated. This precautionary measure prevents any complications during the flushing procedure and ensures a controlled environment for the maintenance task.
-
Identify Drain Points: Locate the drain points within the central heating system, which are typically situated at strategic locations to facilitate the removal of water from the pipes. These drain points may be found near the boiler, on the pipework, or at the base of radiators, allowing for comprehensive drainage of the system.
-
Attach Hose for Drainage: Similar to the draining process, attach a hose to the drain points to facilitate the controlled discharge of water from the pipes. The secure connection of the hose ensures that the expelled water is directed away from the interior spaces, preventing any potential water damage.
-
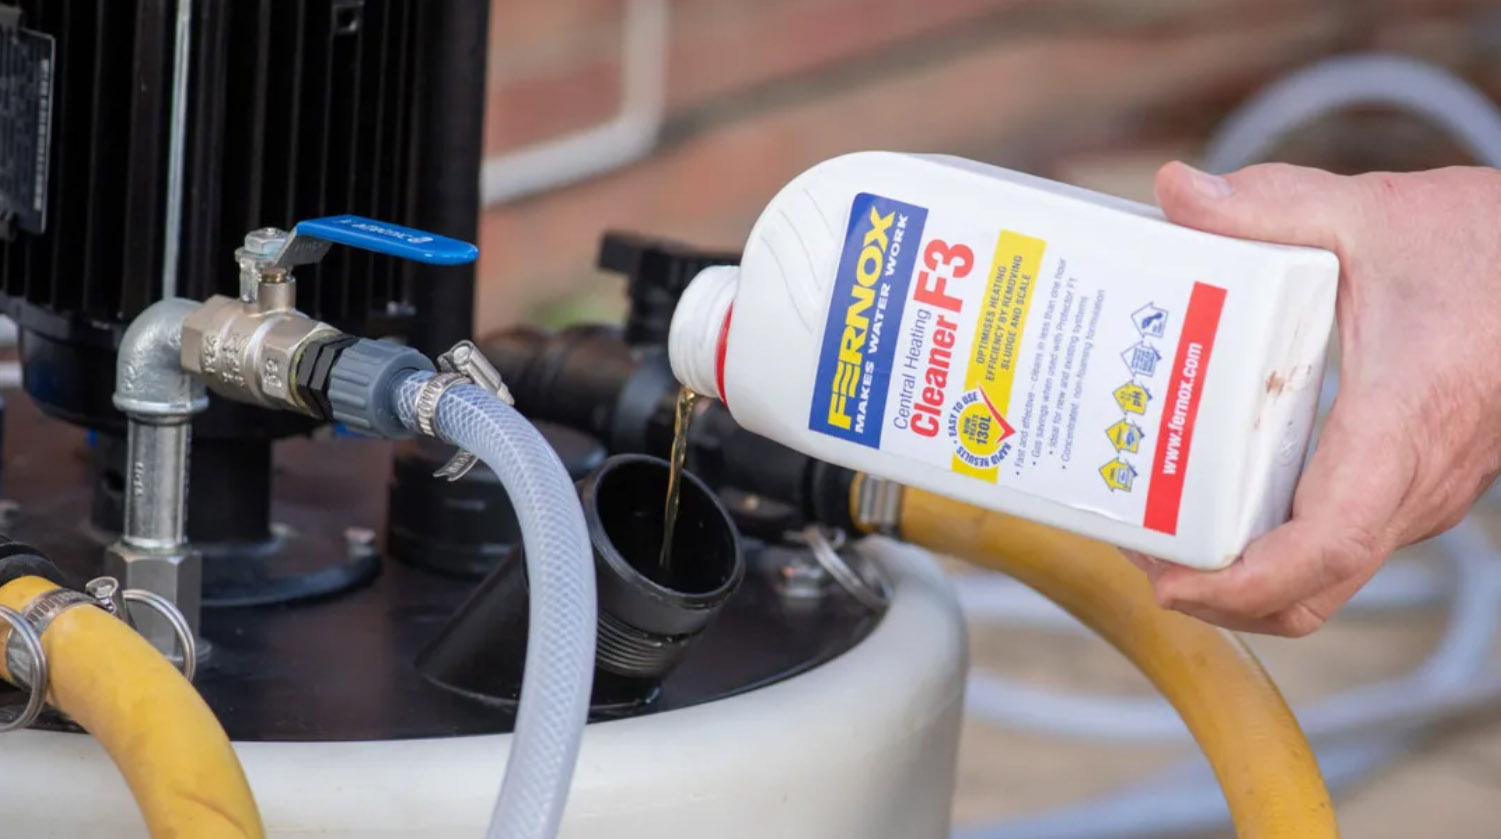
Flushing Solution: Introduce a suitable flushing solution into the system to aid in the removal of sludge and debris from the pipes. The flushing solution is designed to break down and dislodge the accumulated impurities, preparing the pipes for a thorough cleaning process.
-
Initiate Flushing: With the flushing solution introduced into the system, open the drain points to allow the solution and dislodged impurities to flow out of the pipes. The controlled discharge of the solution through the hose ensures that the interior of the pipes is effectively cleansed, promoting improved water flow and heat distribution.
-
Rinse and Repeat: Following the initial flushing, it may be necessary to rinse the system with clean water to remove any residual flushing solution and remaining impurities. This additional step ensures that the pipes are thoroughly cleansed, setting the stage for optimal performance and efficiency.
By meticulously following these steps to flush the pipes of the central heating system, you can effectively remove accumulated impurities and restore the smooth flow of water throughout the system. This essential maintenance task contributes to the overall efficiency and longevity of the central heating system, ensuring that it operates at its best for years to come.
Consider using a chemical cleaner to flush out any debris and sludge from your central heating system. This can help improve its efficiency and prolong its lifespan.
Step 5: Refill the system
Refilling the central heating system is a pivotal step following the cleaning and maintenance procedures, as it involves replenishing the system with fresh water and ensuring the proper reestablishment of water circulation. This essential task is crucial for restoring the functionality of the system and preparing it to resume its primary function of providing efficient and consistent heat to the living spaces.
The process of refilling the central heating system involves several key steps to ensure a thorough and effective replenishment of the water supply. Here's a detailed overview of the procedure:
-
Isolate the Drain Points: Prior to refilling the system, ensure that all the drain points, including those on the boiler and radiators, are securely closed. This precautionary measure prevents any potential leaks or water loss during the refilling process, allowing for a controlled reintroduction of water into the system.
-
Open the Filling Loop: Locate the filling loop, which is a crucial component that allows for the controlled addition of water to the central heating system. Depending on the specific configuration of your system, the filling loop may be integrated into the boiler or exist as a separate attachment. Carefully open the filling loop valves to initiate the water supply to the system.
-
Monitor Pressure: As the system is being refilled, it's important to monitor the pressure gauge to ensure that the water is introduced at the appropriate pressure levels. The recommended pressure for the central heating system is typically indicated in the system's manual or by the manufacturer. Adjust the filling loop valves as needed to maintain the optimal pressure within the system.
-
Bleed Radiators: Once the system is refilled, it's essential to bleed the radiators to release any trapped air that may have entered the system during the refilling process. Venting the air from the radiators ensures that they can operate efficiently and distribute heat evenly throughout the living spaces.
-
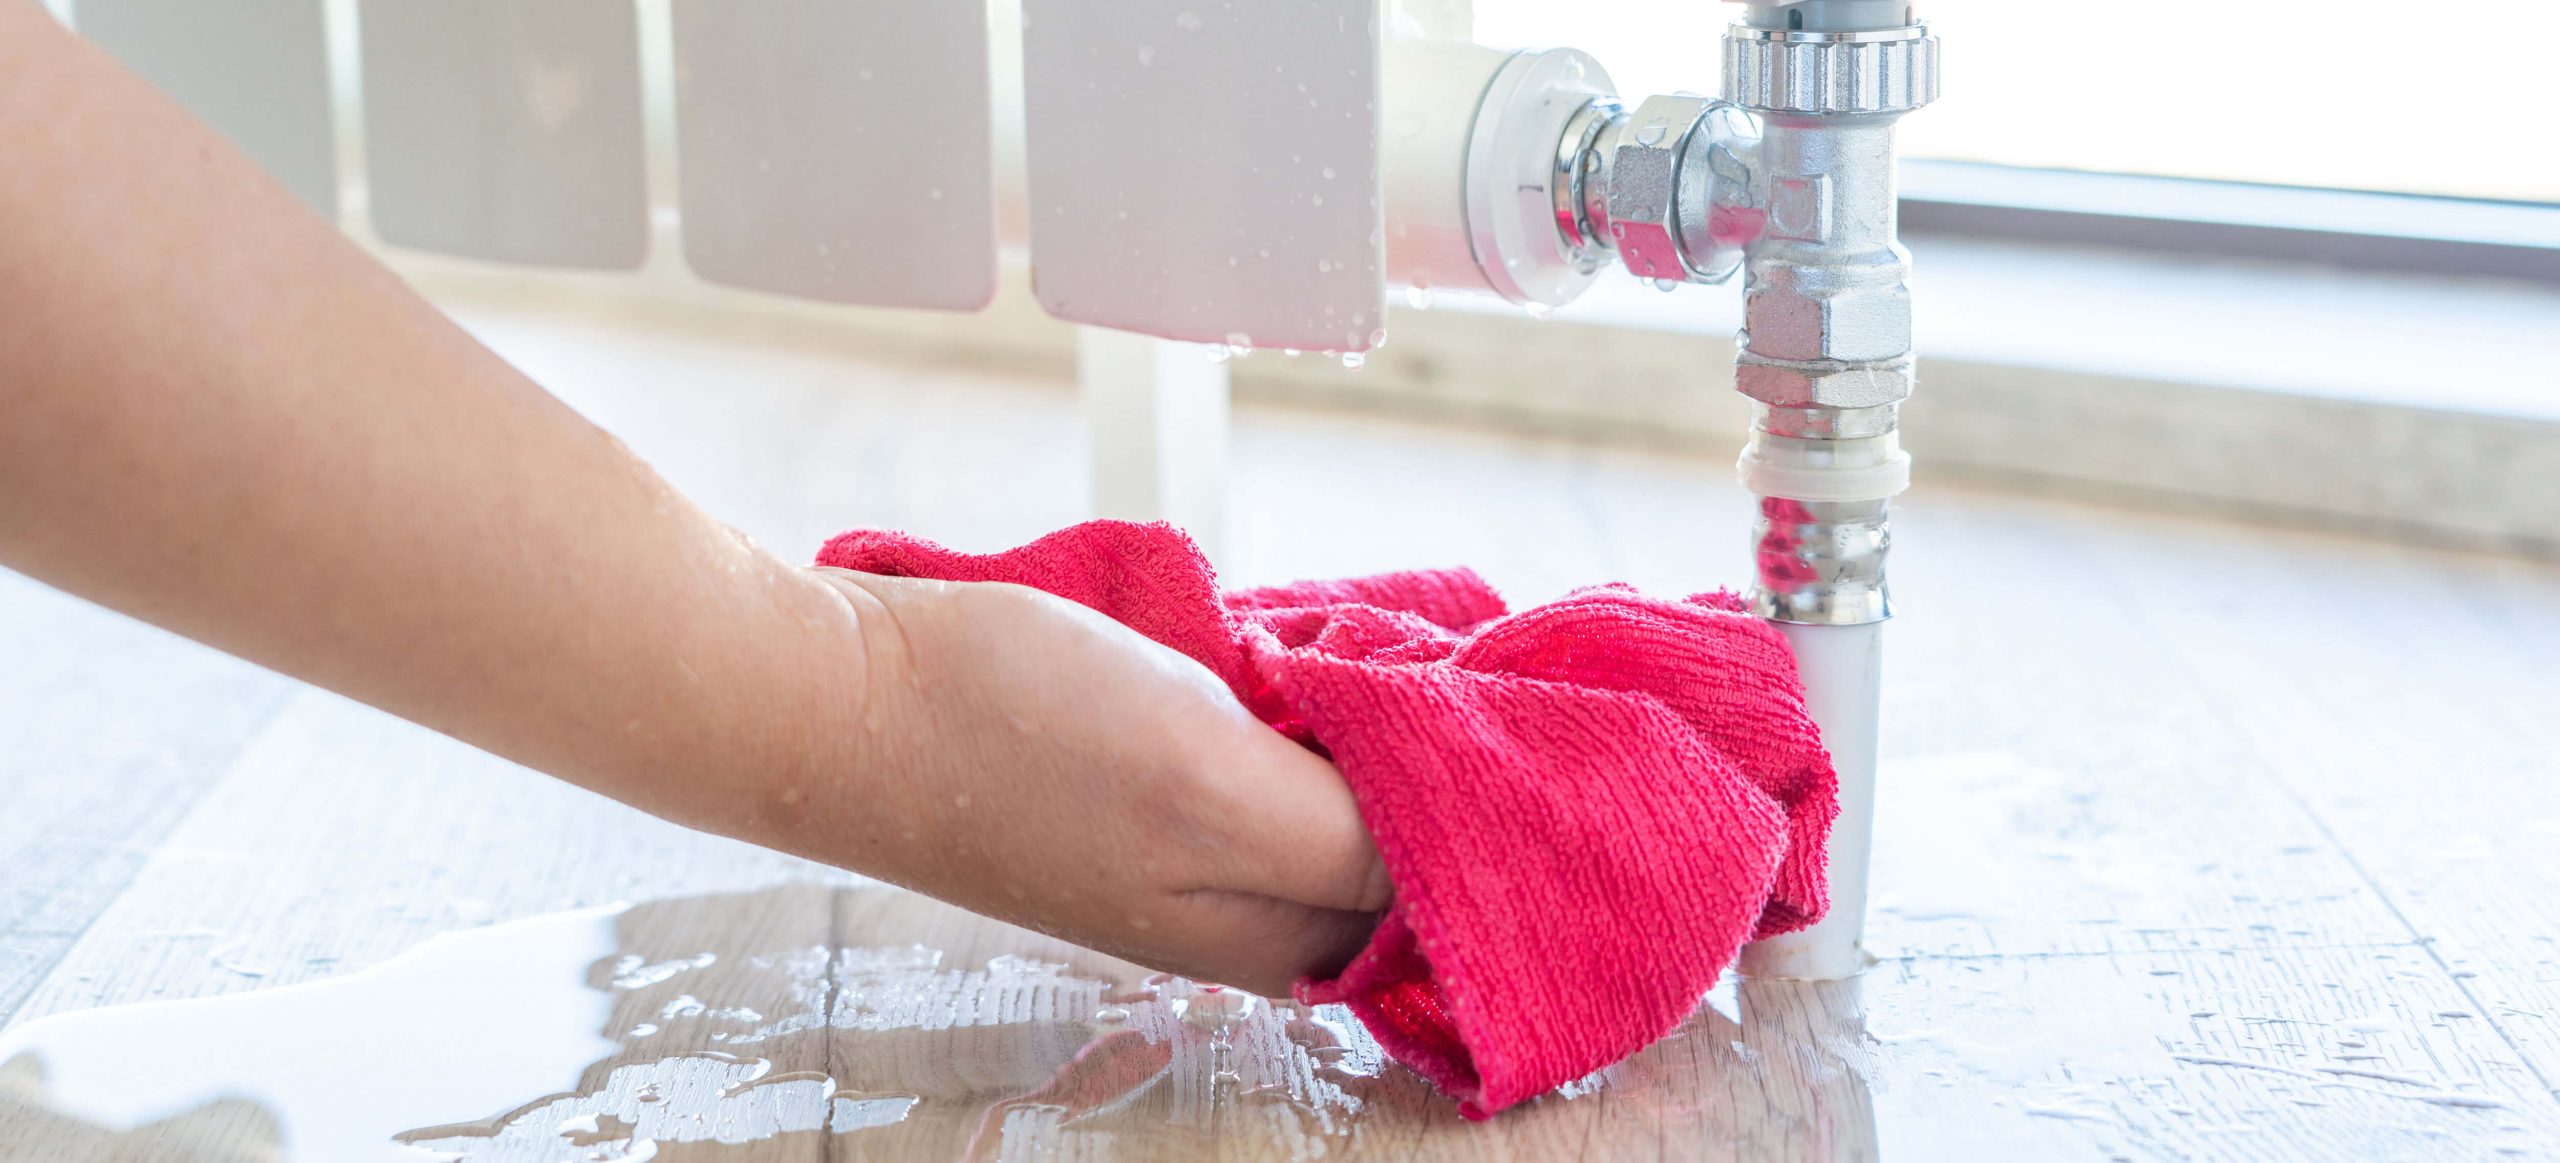
Check for Leaks: After the system has been refilled and the radiators have been bled, carefully inspect the system for any signs of leaks or water seepage. This thorough examination ensures that the system is free from any potential issues that may compromise its functionality.
By meticulously following these steps to refill the central heating system, you can effectively restore the water supply and prepare the system to resume its essential function of providing comfortable and consistent heating. This critical phase of the maintenance process ensures that the system operates at its best, promoting a cozy and welcoming indoor environment for your home.
Step 6: Bleed the radiators
Bleeding the radiators is a crucial step in the process of maintaining a central heating system. Over time, air can become trapped within the radiators, hindering the efficient circulation of hot water and impeding the overall heating performance. Bleeding the radiators involves releasing any trapped air, ensuring that the system can operate at its optimal capacity to provide consistent and effective heat distribution throughout the living spaces.
The process of bleeding the radiators is relatively straightforward and can be accomplished with a few simple steps. Here's a detailed overview of the procedure:
-
Turn Off the Heating System: Before initiating the bleeding process, ensure that the central heating system is turned off. This precautionary measure prevents any hot water from circulating through the system while the bleeding procedure is underway, reducing the risk of burns or scalding.
-
Identify the Bleed Valves: Locate the bleed valves on each radiator within the system. These valves are typically situated at the top of the radiators and may be recognizable by their square-shaped or hexagonal protrusions. The bleed valves allow for the controlled release of air from the radiators.
-
Prepare for Bleeding: Place a suitable container, such as a towel or a small bowl, beneath the bleed valve to catch any water that may be expelled during the bleeding process. This precautionary measure prevents any potential water damage to the surrounding area.
-
Open the Bleed Valve: Using a radiator key or a suitable tool, carefully open the bleed valve in a counterclockwise direction. As the valve is opened, you may hear a hissing sound, indicating the release of trapped air from the radiator. It's important to keep a firm grip on the key to prevent any accidental slippage.
-
Release Trapped Air: As the air is released, you may notice water beginning to trickle out of the bleed valve. This indicates that the trapped air has been successfully expelled, allowing hot water to fill the void within the radiator. Once a steady stream of water emerges from the valve without any sputtering or gurgling sounds, it's time to close the valve.
-
Close the Bleed Valve: With the trapped air released, carefully close the bleed valve by turning it in a clockwise direction. Ensure that the valve is securely closed to prevent any water leakage once the central heating system is operational.
By meticulously following these steps to bleed the radiators, you can effectively remove trapped air from the system, allowing for optimal heat circulation and efficient performance. This essential maintenance task ensures that the radiators can operate at their best, contributing to a cozy and comfortable indoor environment.
Conclusion
In conclusion, the process of cleaning a central heating system is a fundamental aspect of home maintenance that significantly impacts the efficiency, performance, and longevity of the system. By meticulously following the outlined steps, homeowners can ensure that their central heating systems operate at their best, providing consistent and reliable heat to the living spaces while promoting energy efficiency and cost savings.
The comprehensive cleaning process, encompassing the steps of turning off the system, draining, cleaning the radiators, flushing the pipes, refilling the system, and bleeding the radiators, serves as a proactive measure to address the accumulation of sludge, debris, and air pockets within the system. Each stage of the cleaning procedure plays a vital role in preparing the central heating system to function optimally, contributing to a comfortable and welcoming indoor environment.
Furthermore, the benefits of a clean central heating system extend beyond improved performance and efficiency. Regular maintenance and cleaning not only enhance the system's functionality but also contribute to energy savings, reduced environmental impact, and prolonged equipment lifespan. By investing time and effort in the maintenance of the central heating system, homeowners can mitigate potential issues, minimize the risk of costly repairs, and ensure a consistent and cozy heating experience throughout the year.
It is important to emphasize the role of regular maintenance in preserving the integrity of the central heating system. By incorporating the cleaning process into the routine home maintenance schedule, homeowners can proactively address potential issues, maintain optimal performance, and extend the lifespan of their heating infrastructure. Additionally, a clean central heating system promotes a healthier indoor environment by reducing the circulation of dust and allergens, contributing to the well-being of occupants.
In essence, the journey of cleaning a central heating system is a proactive and rewarding endeavor that empowers homeowners to take charge of their home's comfort and efficiency. By embracing the maintenance process and following the outlined steps with diligence, individuals can ensure that their central heating systems remain reliable, efficient, and capable of providing warmth and comfort for years to come.
Frequently Asked Questions about How To Clean A Central Heating System
Was this page helpful?
At Storables.com, we guarantee accurate and reliable information. Our content, validated by Expert Board Contributors, is crafted following stringent Editorial Policies. We're committed to providing you with well-researched, expert-backed insights for all your informational needs.


0 thoughts on “How To Clean A Central Heating System”