Home>Home Appliances>Heating & Cooling>How To Drain The Central Heating System

Heating & Cooling
How To Drain The Central Heating System
Modified: February 18, 2024
Learn how to drain your central heating system with our step-by-step guide. Keep your heating and cooling system running efficiently with these simple tips.
(Many of the links in this article redirect to a specific reviewed product. Your purchase of these products through affiliate links helps to generate commission for Storables.com, at no extra cost. Learn more)
Introduction
Maintaining a well-functioning central heating system is crucial for ensuring a comfortable and cozy home environment. Over time, air and debris can accumulate within the system, leading to reduced efficiency and potential damage. One essential aspect of central heating system maintenance is draining the system, which helps remove built-up impurities and air pockets. This process not only optimizes the system's performance but also prolongs its lifespan, saving you from costly repairs and replacements.
In this comprehensive guide, we will walk you through the step-by-step process of draining your central heating system. By following these instructions, you can effectively remove trapped air and debris, allowing your system to operate at its best. Whether you are a seasoned homeowner or a novice DIY enthusiast, understanding how to drain your central heating system is a valuable skill that can save you time and money in the long run.
So, let's roll up our sleeves and delve into the essential steps required to drain your central heating system effectively. By the end of this guide, you will have the knowledge and confidence to carry out this maintenance task with ease, ensuring that your home remains warm and comfortable throughout the year.
Key Takeaways:
- Safety First!
Before draining your central heating system, always turn off the boiler and allow it to cool down. This ensures a safe and smooth maintenance process, preventing accidents and mishaps. - Keep It Flowing!
Bleeding the radiators and refilling the system are crucial steps after draining. This helps release trapped air and replenish the water, ensuring efficient and consistent heating throughout your home.
Read more: How To Clean A Central Heating System
Step 1: Turn Off the Boiler
Before initiating the process of draining your central heating system, it is crucial to begin by turning off the boiler. This step is essential for ensuring safety and preventing potential mishaps during the maintenance procedure. By shutting down the boiler, you minimize the risk of hot water or steam escaping while you work on the system, thereby safeguarding yourself and the surrounding environment.
To turn off the boiler, locate the main power switch or the emergency shut-off valve, which is typically situated near the boiler unit. Once you have located the switch or valve, proceed to turn it off, effectively cutting the power supply to the boiler. This action will halt the heating process and prevent the circulation of hot water throughout the system.
It is important to allow the boiler to cool down before proceeding with the next steps. This cooling period ensures that the components within the system reach a safe temperature for handling. Depending on the type of boiler and its operating conditions, the cooling process may take some time. Exercise patience and refrain from attempting to drain the system until the boiler has cooled down sufficiently.
By taking the time to turn off the boiler and allowing it to cool, you prioritize safety and set the stage for a smooth and secure draining process. This initial step lays the foundation for the subsequent maintenance tasks, ensuring that you can proceed with confidence and peace of mind.
With the boiler safely turned off and adequately cooled, you are now ready to move on to the next step in the process of draining your central heating system. This proactive approach to system maintenance reflects your commitment to preserving the efficiency and longevity of your heating system, ultimately contributing to a comfortable and well-regulated home environment.
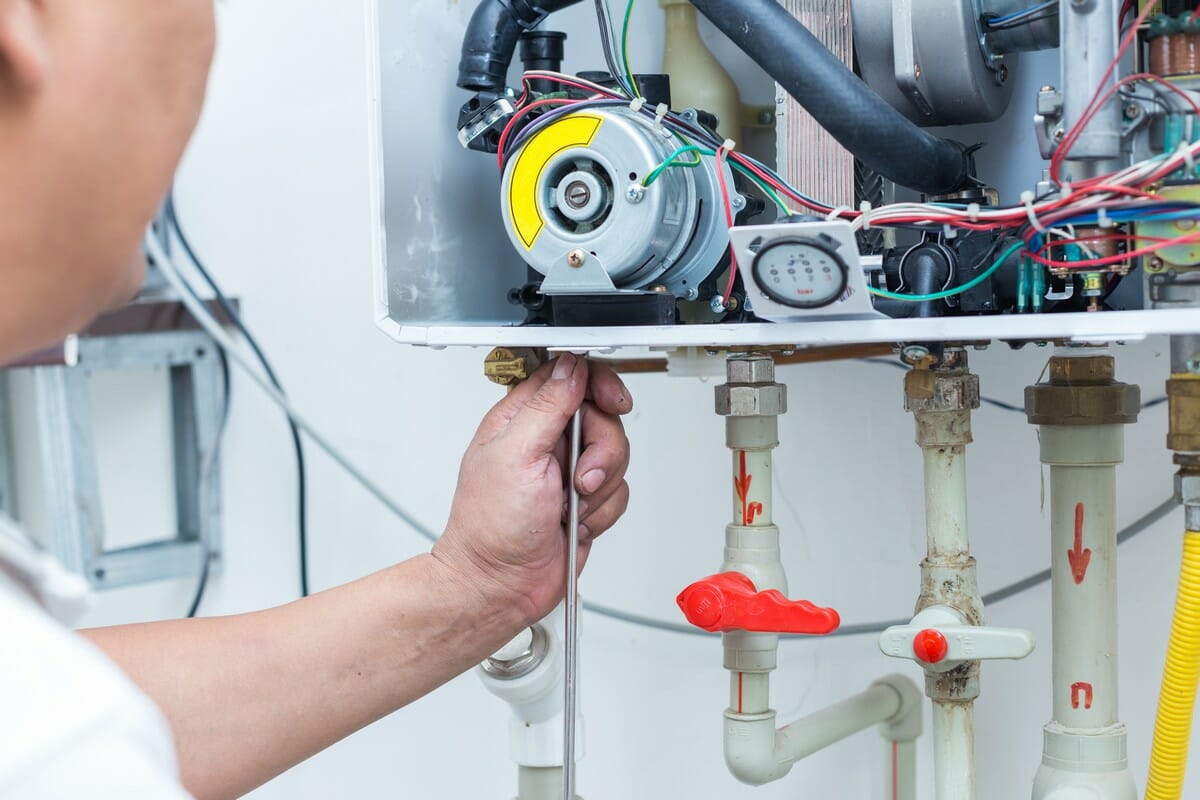
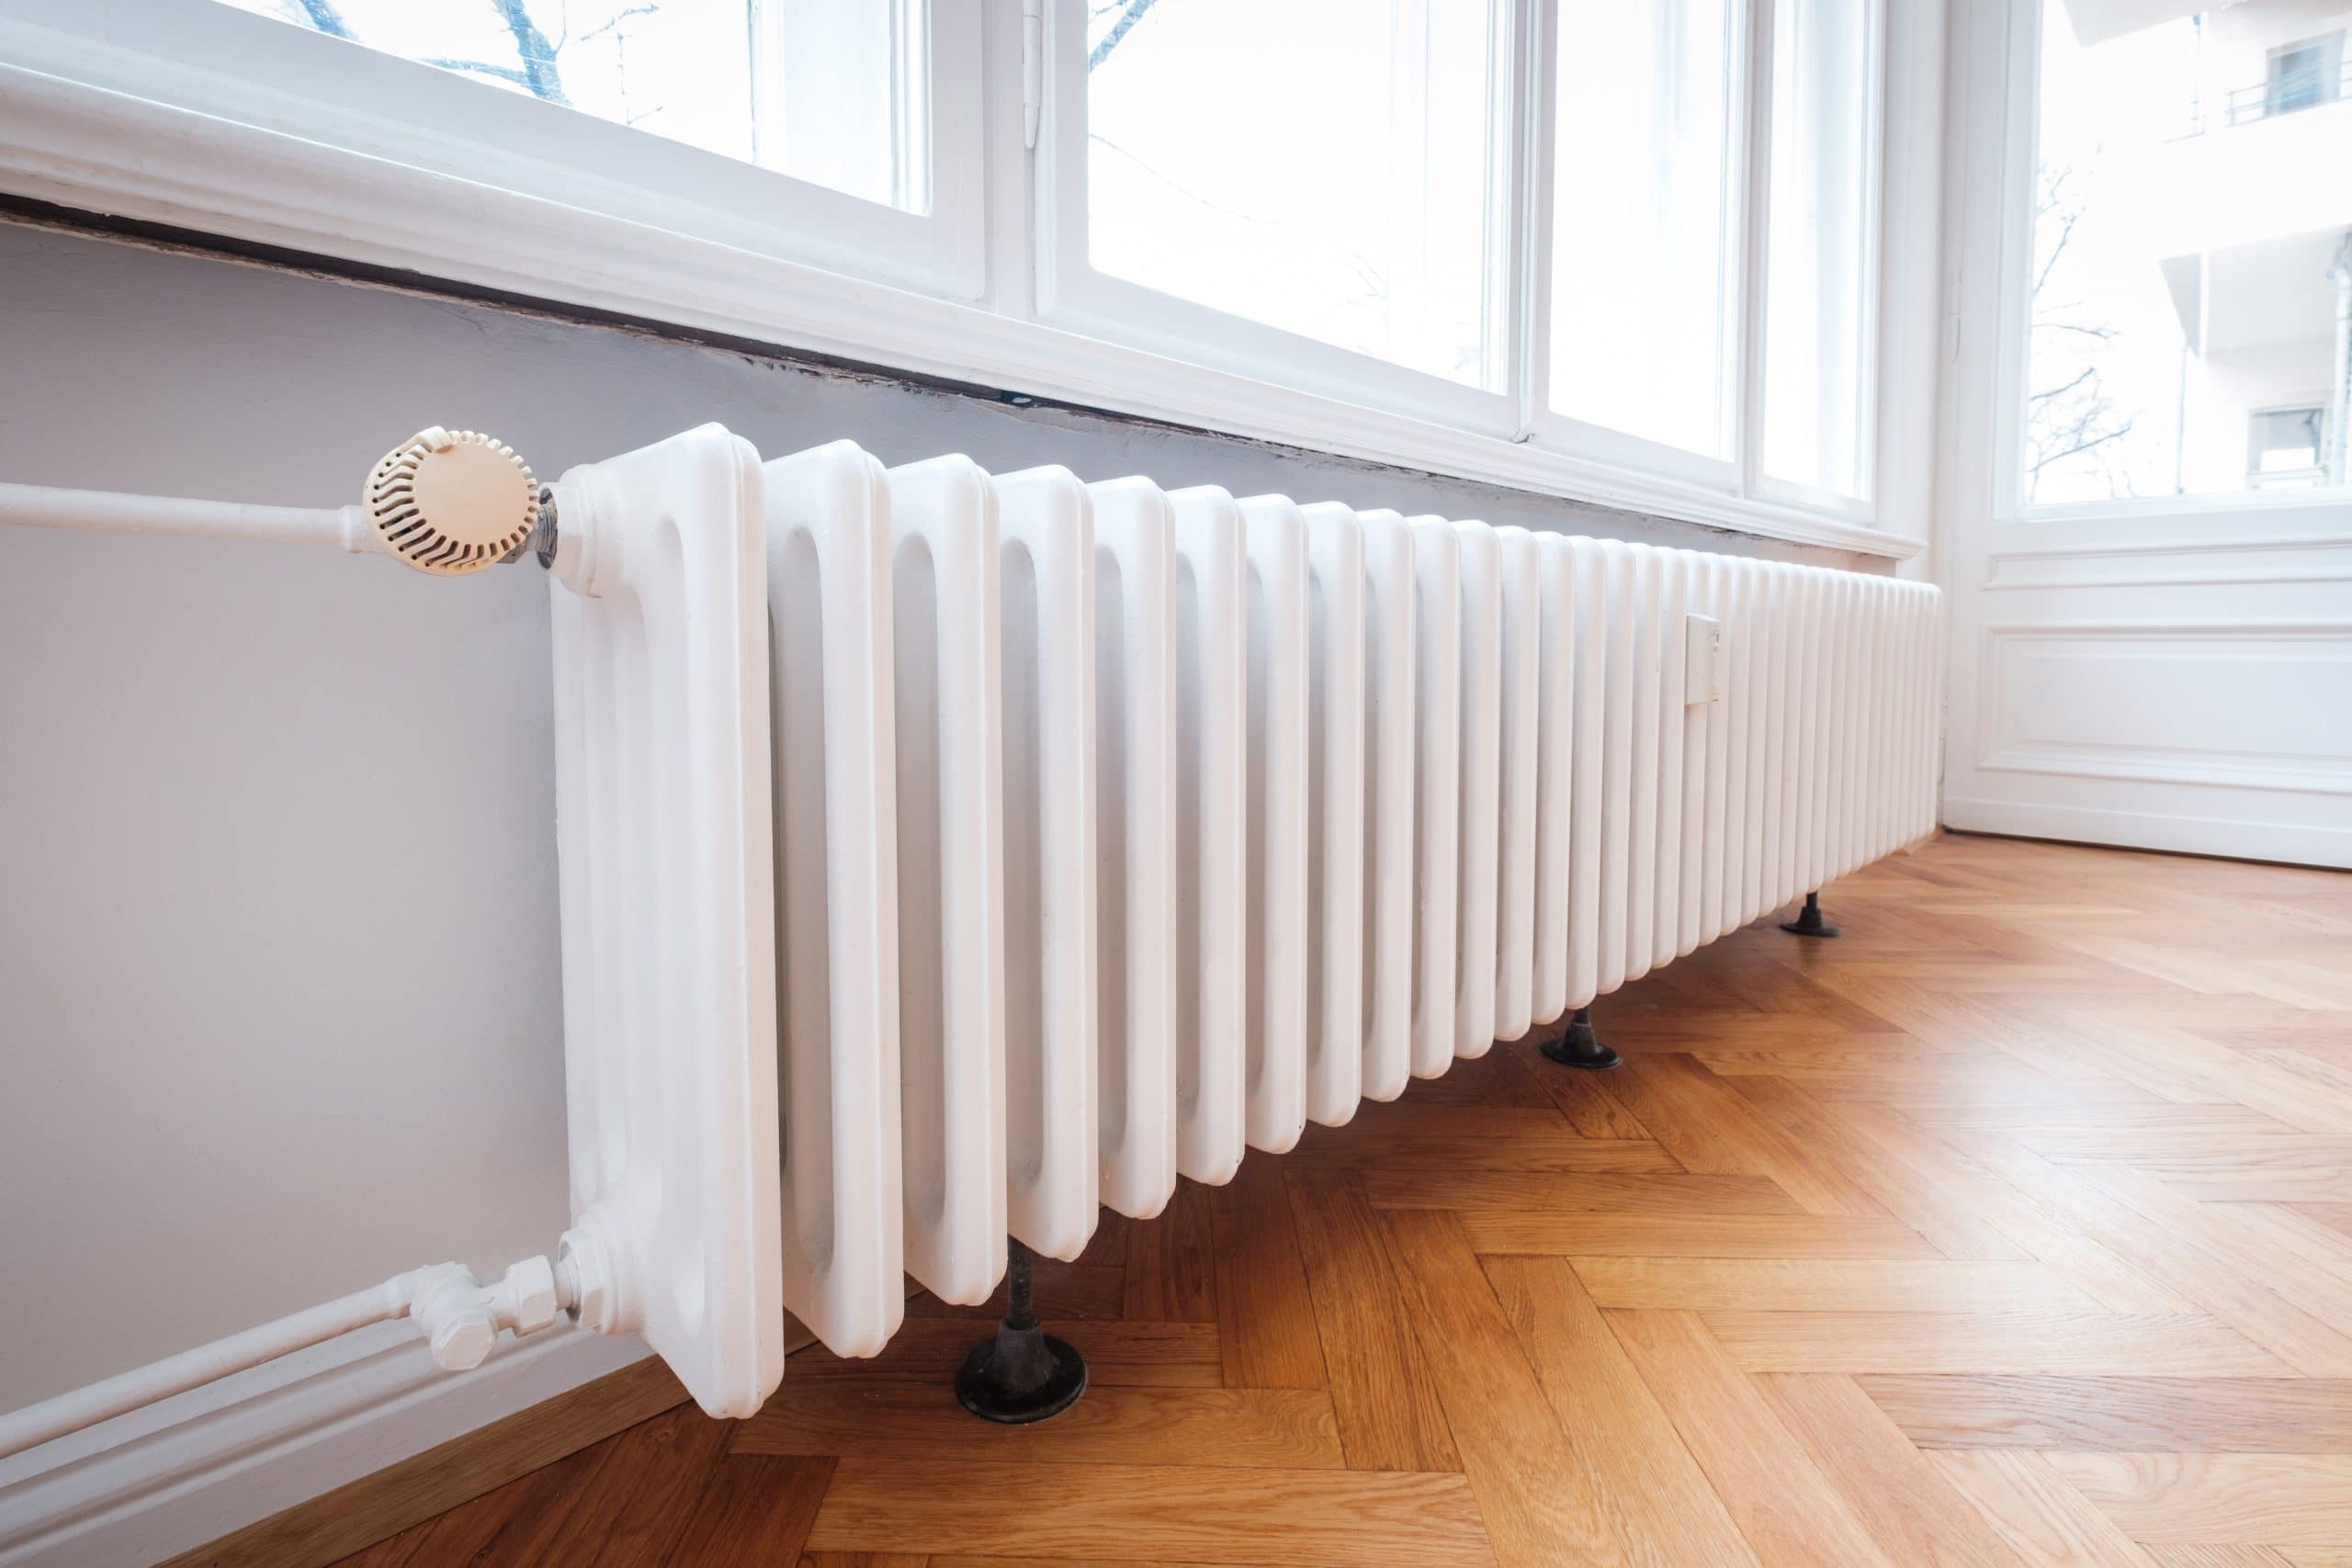
Step 2: Locate the Drain Valve
Once the boiler has been safely turned off and allowed to cool, the next crucial step in the process of draining your central heating system is to locate the drain valve. The drain valve serves as the access point for releasing the water and impurities trapped within the system, facilitating a thorough and effective drainage process.
The drain valve is typically positioned at the lowest point of the central heating system, often near the boiler or in the vicinity of the radiators. It is essential to identify the exact location of the drain valve to ensure easy access and efficient drainage. Depending on the design of your heating system, the drain valve may be a standard lever-operated valve or a specialized key-operated valve.
To locate the drain valve, begin by inspecting the area around the boiler and radiators. Look for a small, protruding valve or a designated drainage outlet. In some cases, the drain valve may be concealed behind a protective cover or panel. If this is the case, carefully remove the cover to reveal the valve, ensuring that you exercise caution and follow any specific instructions provided by the manufacturer.
Once you have located the drain valve, take a moment to familiarize yourself with its operation and configuration. Depending on the type of valve, you may need to prepare a suitable tool for opening and closing it, such as a valve key or a wrench. Additionally, ensure that you have a suitable container or hose ready to collect the discharged water during the drainage process.
By successfully identifying and preparing the drain valve, you set the stage for the subsequent steps in the drainage process. This proactive approach allows you to proceed with confidence and efficiency, ensuring that you can effectively remove accumulated impurities and air pockets from your central heating system.
With the drain valve located and the necessary tools and equipment at hand, you are now ready to move on to the next steps in the process of draining your central heating system. This meticulous and systematic approach to system maintenance reflects your dedication to upholding the optimal performance and longevity of your heating system, ultimately contributing to a comfortable and well-regulated home environment.
Step 3: Attach a Hose
With the drain valve located and the necessary tools at hand, the next crucial step in the process of draining your central heating system is to attach a hose to the drain valve. This step is essential for directing the discharged water safely away from the system, preventing potential water damage and ensuring a controlled drainage process.
Begin by selecting a suitable hose that can effectively channel the discharged water to a designated drainage point. The hose should be long enough to reach the drainage point without causing any obstructions or spillage. Additionally, ensure that the hose is compatible with the drain valve and can be securely attached without any leaks or disconnections.
Carefully connect one end of the hose to the drain valve, ensuring a tight and secure fit to prevent any water from escaping during the drainage process. Depending on the type of drain valve, you may need to use a hose clamp or a similar securing mechanism to fasten the hose in place. Take the time to inspect the connection and make any necessary adjustments to ensure a reliable and watertight seal.
Once the hose is securely attached to the drain valve, carefully position the other end of the hose towards the designated drainage point. This may involve guiding the hose through a nearby floor drain, an outdoor drainage outlet, or a suitable container for collecting the discharged water. Ensure that the hose is positioned to allow for smooth and unobstructed water flow, minimizing the risk of spills or splashes.
By attaching a hose to the drain valve, you establish a controlled pathway for the discharged water, effectively managing the drainage process and safeguarding your surroundings from potential water damage. This proactive approach reflects your commitment to executing the drainage process with precision and care, ensuring that your central heating system maintenance proceeds smoothly and efficiently.
With the hose securely attached and positioned for effective water discharge, you are now prepared to proceed to the subsequent steps in the process of draining your central heating system. This meticulous and attentive approach to system maintenance demonstrates your dedication to upholding the optimal performance and longevity of your heating system, ultimately contributing to a comfortable and well-regulated home environment.
Step 4: Open the Drain Valve
With the hose securely attached and positioned for effective water discharge, the next critical step in the process of draining your central heating system is to open the drain valve. This pivotal action initiates the controlled release of water and impurities from the system, allowing for a thorough and comprehensive drainage process.
Before opening the drain valve, ensure that the hose is correctly positioned to direct the discharged water to the designated drainage point. Double-check the connection between the hose and the drain valve to confirm that it is secure and leak-free. This attention to detail is essential for preventing any potential water spillage or disruptions during the drainage process.
Once you have confirmed the secure attachment of the hose, carefully open the drain valve using the appropriate tool or mechanism. Depending on the type of valve, this may involve turning a lever, using a valve key, or employing a specific opening method as per the manufacturer's instructions. Exercise caution and apply gentle pressure to avoid any sudden or forceful movements that could lead to water splashing or hose disconnection.
As you open the drain valve, observe the discharged water flowing through the hose towards the designated drainage point. Monitor the drainage process closely to ensure that the water is flowing smoothly and steadily, indicating an effective release of impurities and air pockets from the system. This visual confirmation provides assurance that the drainage process is underway and progressing as intended.
Throughout the drainage process, remain attentive and vigilant, keeping a close eye on the discharged water to detect any irregularities or potential issues. If you notice any unexpected leaks, hose disconnections, or unusual water flow patterns, promptly pause the drainage process and address the issue before proceeding further. This proactive approach helps maintain a controlled and efficient drainage process, minimizing the risk of disruptions or complications.
By opening the drain valve with precision and care, you initiate the essential phase of releasing trapped water and impurities from your central heating system. This proactive and meticulous approach reflects your commitment to executing the drainage process with attention to detail and precision, ensuring that your system maintenance proceeds smoothly and efficiently.
With the drain valve open and the drainage process underway, you are now prepared to proceed to the subsequent steps in the process of draining your central heating system. This methodical and attentive approach to system maintenance demonstrates your dedication to upholding the optimal performance and longevity of your heating system, ultimately contributing to a comfortable and well-regulated home environment.
Before draining the central heating system, make sure to turn off the boiler and let it cool down. Open the valves to release the pressure, then use a hose to drain the water into a suitable drainage point. Remember to refill the system with fresh water and bleed the radiators afterwards.
Read more: How To Flush A Central Heating System
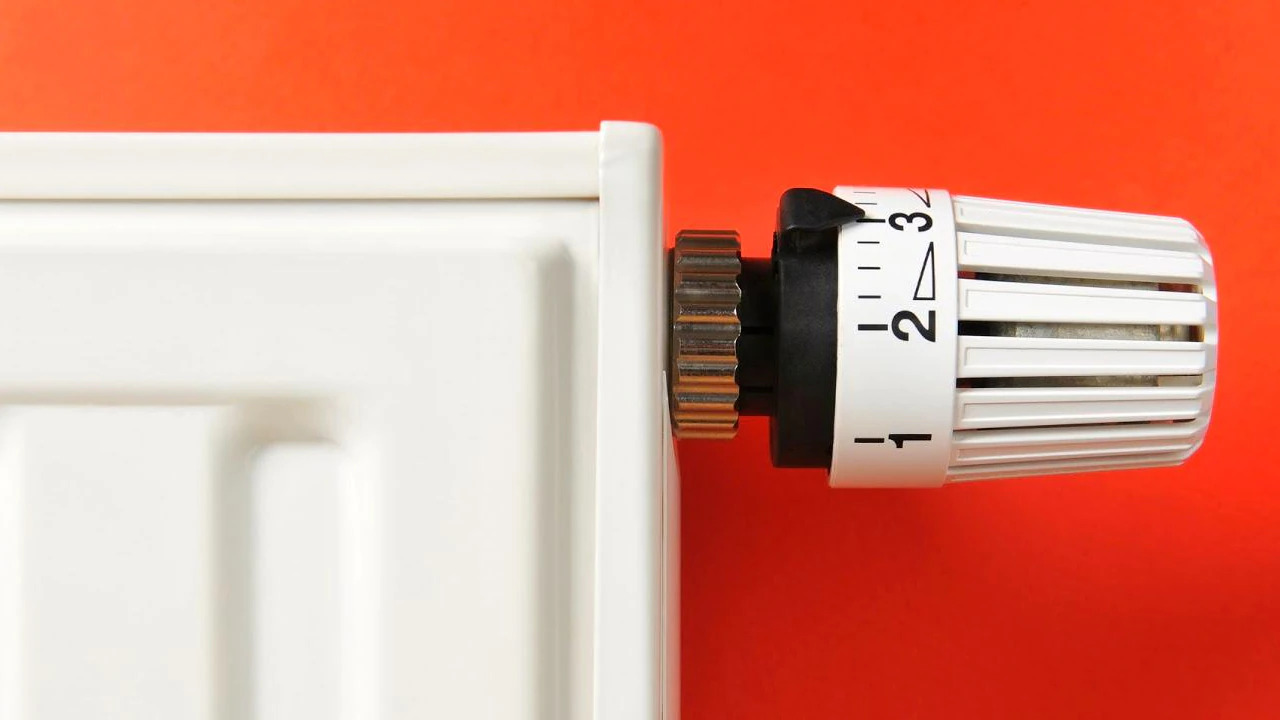
Step 5: Bleed the Radiators
Bleeding the radiators is a crucial step in the process of draining your central heating system. Over time, air can become trapped within the radiators, leading to reduced heating efficiency and uneven distribution of warmth in your home. Bleeding the radiators helps release this trapped air, allowing the system to function optimally and ensuring consistent heating throughout your living spaces.
To begin the bleeding process, it is essential to turn off the central heating system. This precautionary measure prevents hot water from circulating through the system while you work on the radiators, reducing the risk of accidental burns or scalds. Once the system is turned off, allow sufficient time for the radiators to cool down before proceeding with the bleeding process.
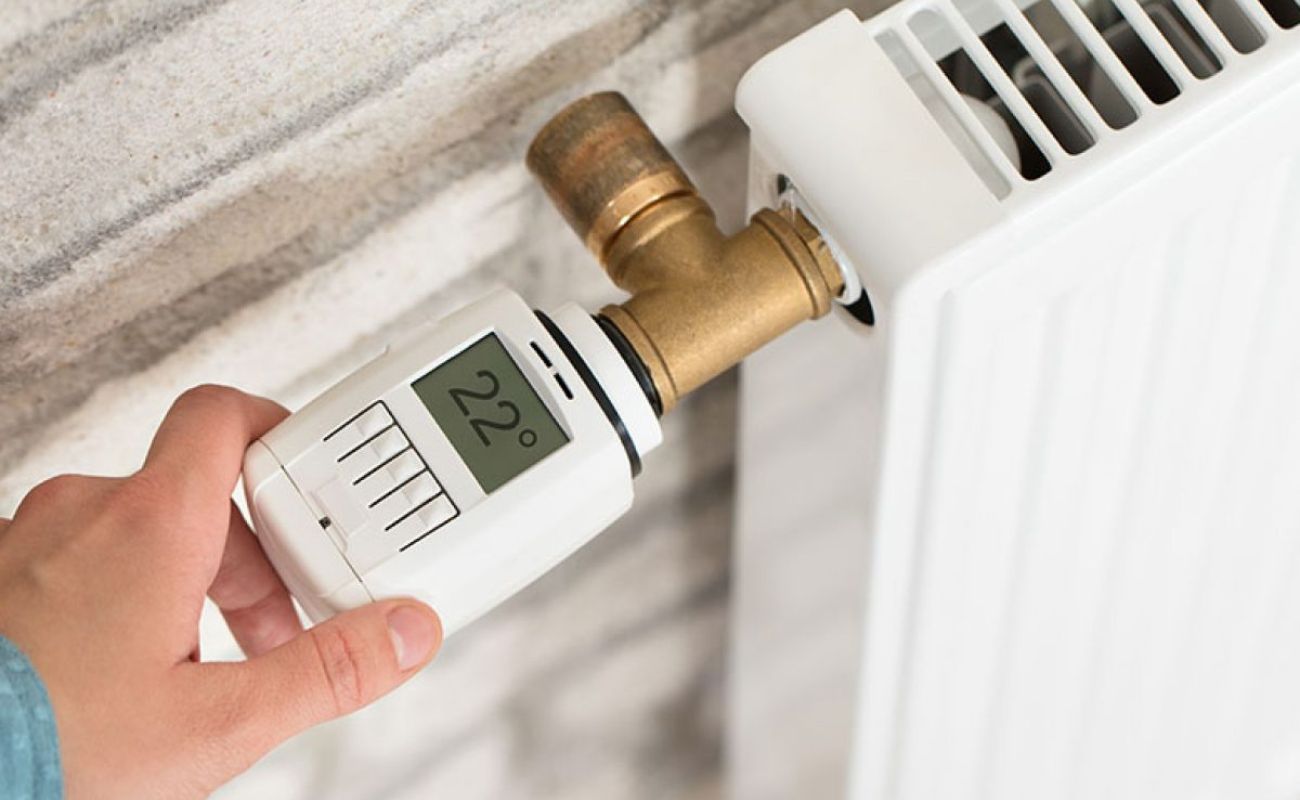
Next, locate the bleed valve on each radiator. The bleed valve is typically situated at the top of the radiator and can be identified as a small, square-shaped fitting. It is essential to have a radiator key or a suitable tool on hand to open the bleed valve securely. Additionally, prepare a cloth or towel to catch any water that may be released during the bleeding process.
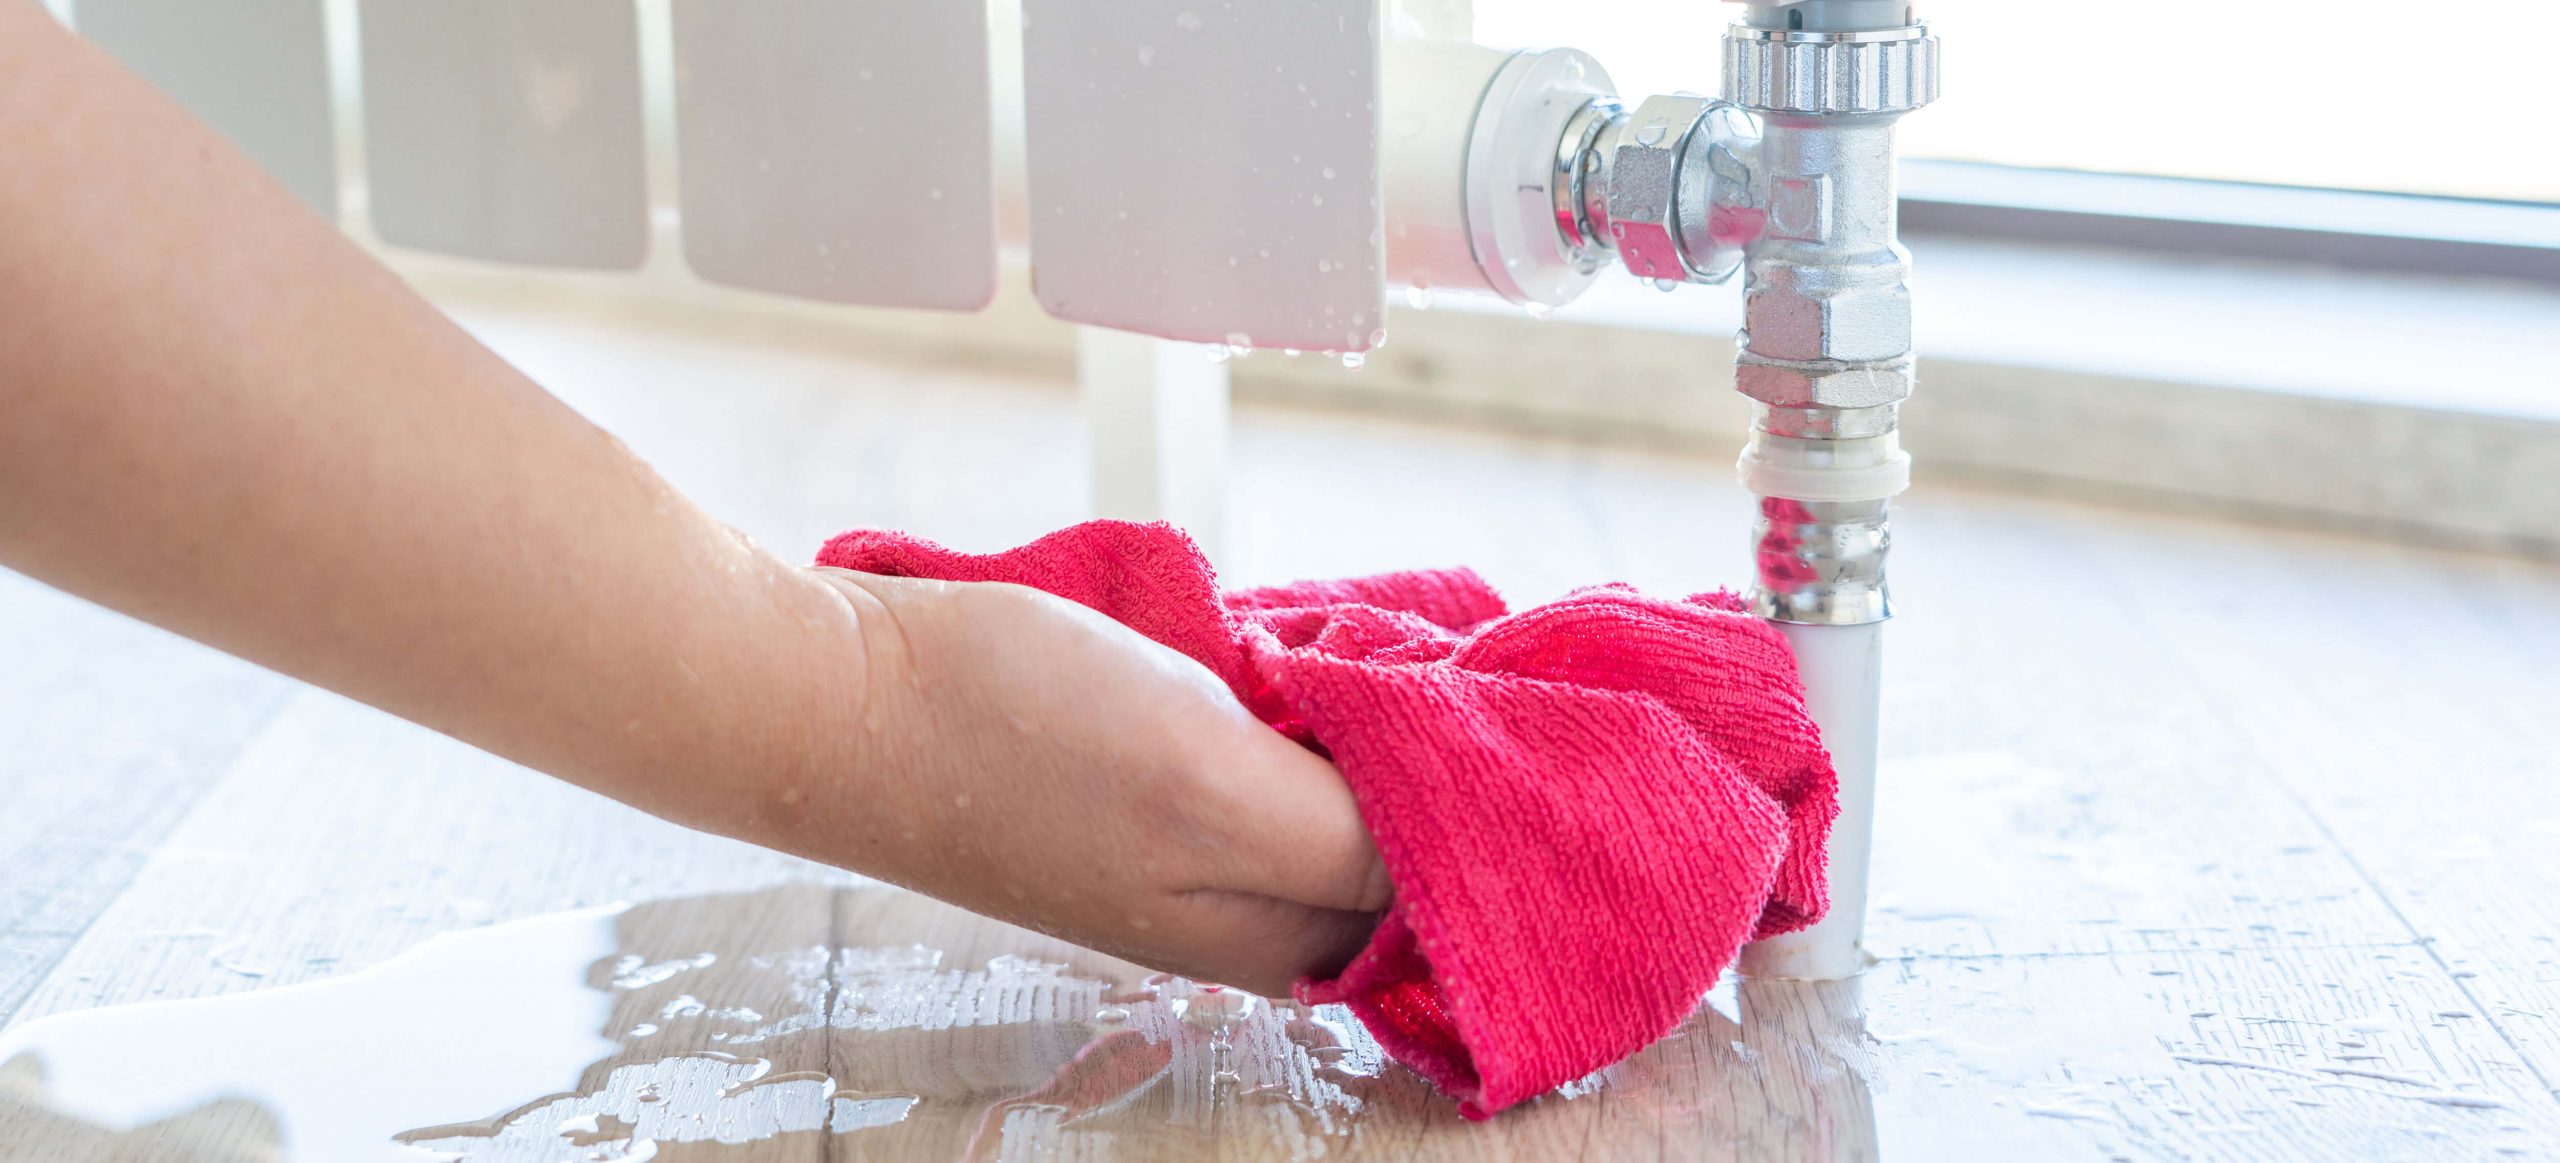
Using the radiator key, carefully turn the bleed valve in an anti-clockwise direction. As you do this, you may hear a hissing sound, indicating the release of trapped air from the radiator. It is important to maintain a firm grip on the radiator key to ensure precise control over the valve. As the air is released, you may notice water beginning to trickle out of the valve. This is a sign that the trapped air has been successfully expelled, allowing the water to flow freely through the radiator.
Once the hissing sound stops and water flows steadily from the bleed valve, promptly close the valve by turning it in a clockwise direction. Use the cloth or towel to wipe away any excess water around the valve, ensuring that the area remains clean and dry. Repeat this process for each radiator in your home, starting from the lowest level and working your way up to the upper floors.
Bleeding the radiators is a simple yet effective maintenance task that can significantly improve the performance of your central heating system. By releasing trapped air from the radiators, you ensure that the system operates efficiently, providing consistent and comfortable heating throughout your home. This proactive approach to radiator maintenance contributes to a well-regulated and cozy living environment, enhancing the overall comfort and well-being of your household.
With the radiators successfully bled, you are now ready to proceed to the next step in the process of draining your central heating system. This systematic and attentive approach to system maintenance reflects your dedication to upholding the optimal performance and longevity of your heating system, ultimately contributing to a comfortable and well-regulated home environment.
Step 6: Refill the System
After successfully draining the central heating system, the next critical step is to refill the system with fresh water to restore its functionality. Refilling the system is essential for replenishing the water that was discharged during the drainage process and ensuring that the heating system operates at its optimal capacity.
To begin the refilling process, locate the filling loop or filling point on your central heating system. The filling loop is typically a flexible hose with a valve at each end, allowing you to connect it to the system and introduce water. If your system does not have a filling loop, the filling point may be a dedicated valve or connection that enables water to be added to the system.
Before proceeding with the refilling process, it is crucial to close the drain valve and disconnect the hose used for drainage. Ensure that the drain valve is securely closed to prevent any water from escaping during the refilling process. Once the drainage equipment has been removed, inspect the area around the drain valve to confirm that it is dry and free from any leaks.
Next, connect the filling loop to the designated filling point on the central heating system. Take care to secure the connections and ensure that the filling loop is firmly attached to prevent any water leaks. Once the filling loop is in place, open the valves at each end to allow water to flow into the system.
As the system begins to refill, monitor the pressure gauge on the boiler or central heating unit. The pressure gauge provides a visual indication of the system's water pressure, allowing you to regulate the filling process effectively. Refer to the manufacturer's guidelines or user manual to determine the recommended water pressure for your specific heating system.
Once the water pressure reaches the optimal level, close the valves on the filling loop to halt the refilling process. Disconnect the filling loop from the system and ensure that the filling point or valve is securely closed. Take a moment to inspect the surrounding area for any signs of water leakage or irregularities.
With the central heating system successfully refilled, you have completed a crucial phase of the maintenance process, ensuring that the system is replenished and ready to resume its heating operations. This proactive approach to system maintenance reflects your commitment to upholding the optimal performance and longevity of your heating system, ultimately contributing to a comfortable and well-regulated home environment.
Now that the system has been refilled, you are ready to proceed to the final step in the process of restoring your central heating system to its full functionality. This meticulous and attentive approach to system maintenance demonstrates your dedication to ensuring that your heating system operates at its best, providing reliable and consistent warmth for your home.
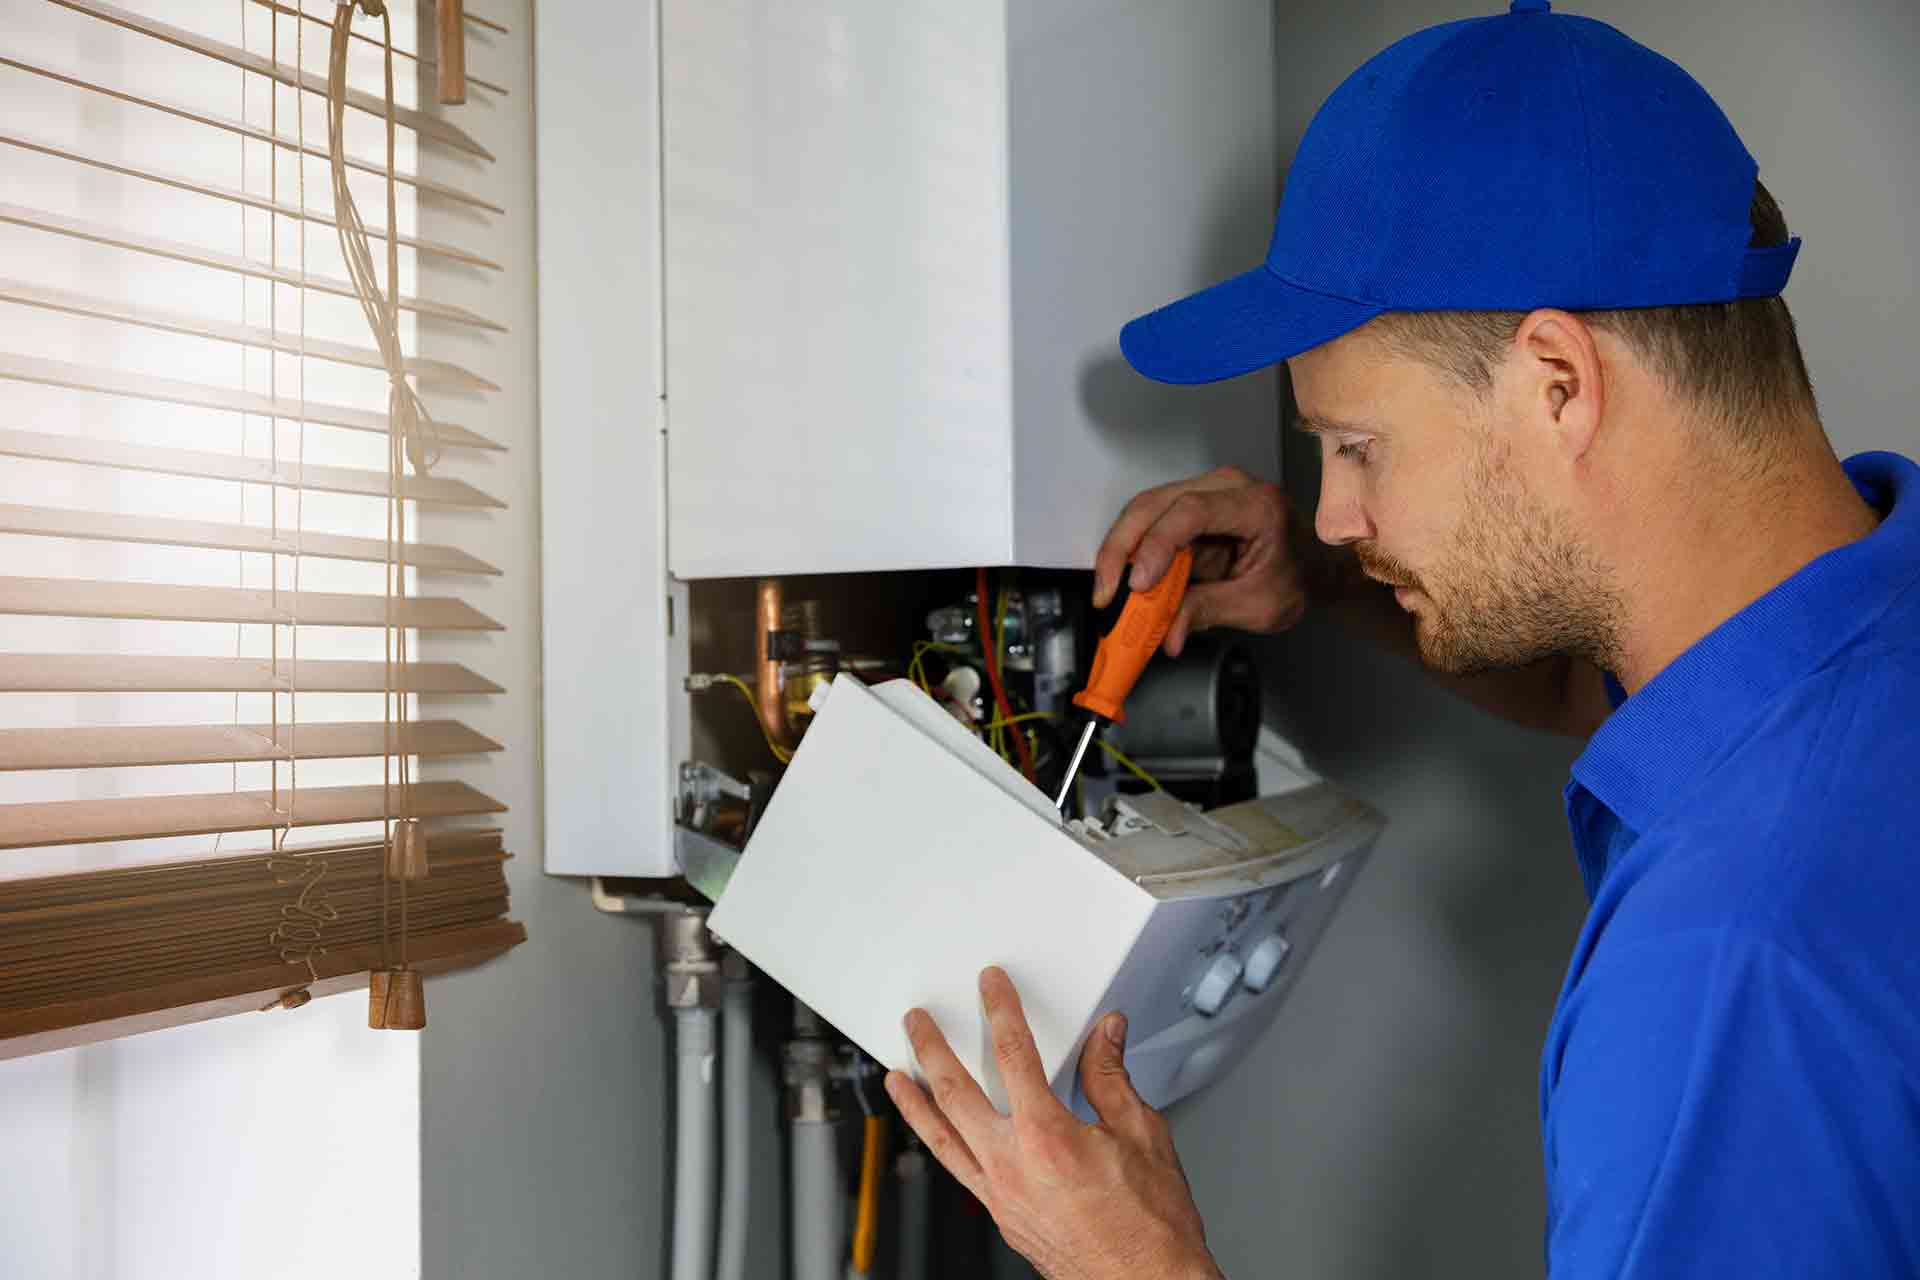
Step 7: Turn the Boiler Back On
With the central heating system successfully drained, refilled, and the radiators bled, the final crucial step is to turn the boiler back on. This pivotal action reinstates the heating system's functionality, allowing it to resume its primary task of providing warmth and comfort to your home. Turning the boiler back on marks the completion of the maintenance process, ensuring that your central heating system is fully operational and ready to regulate the indoor temperature effectively.
To begin, locate the main power switch or the emergency shut-off valve near the boiler unit. With the refilling process completed and the filling loop or filling point securely closed, you can proceed to turn the boiler back on. Exercise caution and attentiveness as you engage the power supply to the boiler, ensuring that the system restarts smoothly and without any issues.
As the boiler powers up, listen for any unusual sounds or vibrations that may indicate potential operational issues. It is essential to monitor the initial startup phase closely, observing the boiler's performance and ensuring that it operates without any irregularities. Additionally, check the pressure gauge on the boiler to confirm that the water pressure is within the recommended range, as specified by the manufacturer's guidelines.
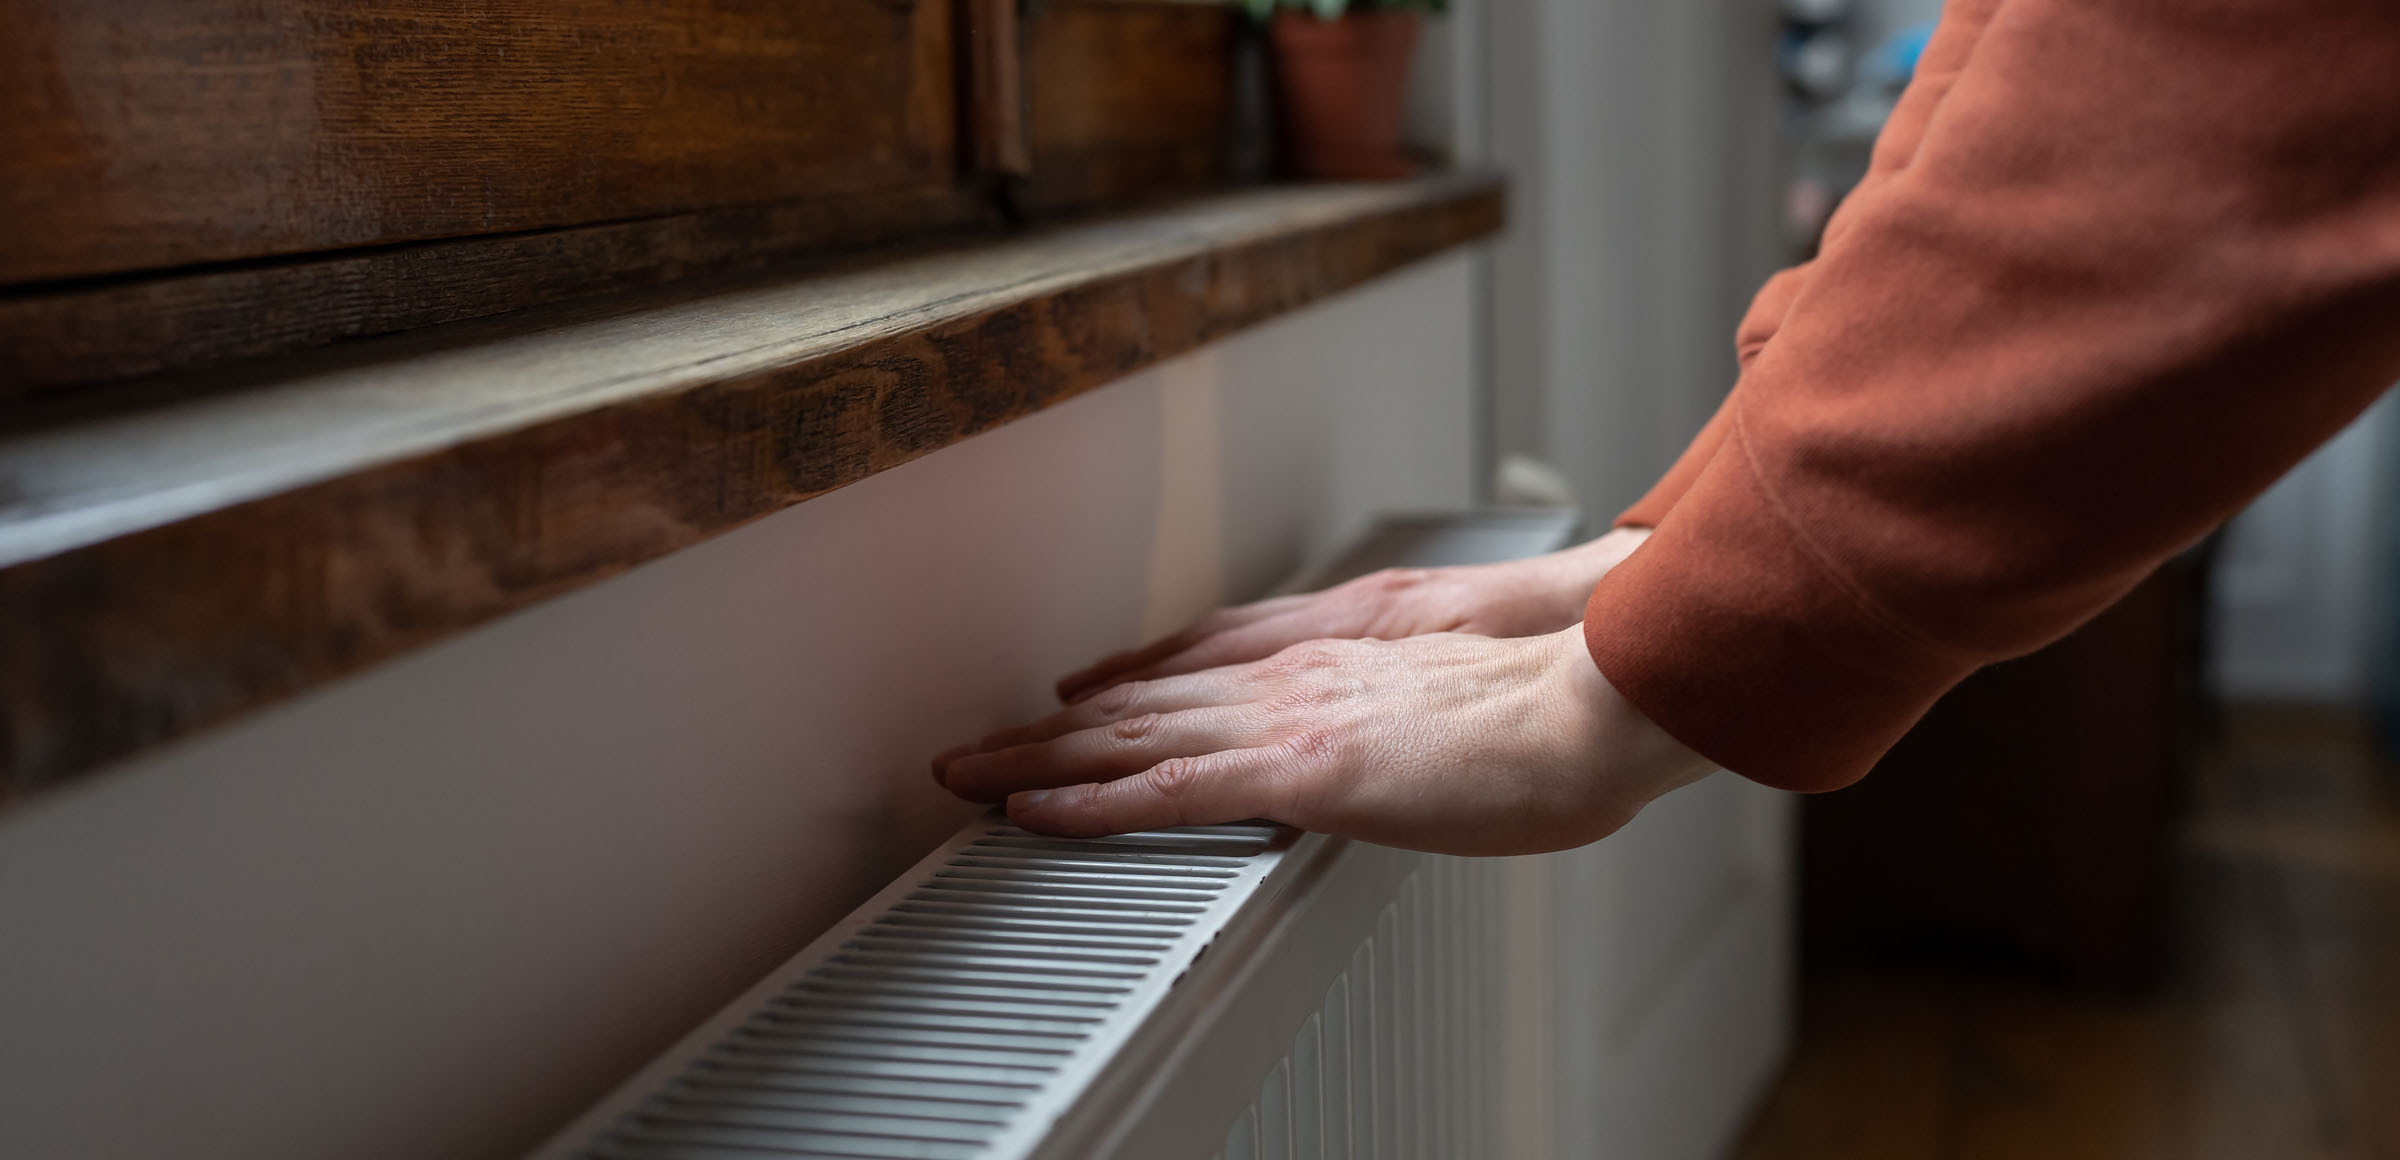
Once the boiler has been successfully restarted and is operating within normal parameters, allow the system to reach the desired temperature for optimal heating performance. This may involve adjusting the thermostat settings to suit your comfort preferences and ensuring that the radiators distribute heat evenly throughout your living spaces.
By turning the boiler back on, you complete the comprehensive maintenance process, ensuring that your central heating system is fully operational and prepared to provide consistent warmth and comfort to your home. This proactive approach to system maintenance reflects your dedication to upholding the optimal performance and longevity of your heating system, ultimately contributing to a comfortable and well-regulated living environment.
With the boiler successfully restarted and the central heating system fully operational, you have concluded the process of draining and maintaining your heating system. This meticulous and attentive approach to system maintenance demonstrates your commitment to ensuring that your home remains warm and inviting, regardless of the external weather conditions.
Conclusion
In conclusion, mastering the process of draining your central heating system is a valuable skill that empowers homeowners to maintain the efficiency and longevity of their heating systems. By following the step-by-step guide outlined in this comprehensive overview, you have gained the knowledge and confidence to execute this essential maintenance task with precision and care.
The meticulous approach to draining your central heating system, from turning off the boiler to refilling the system and restarting the boiler, reflects your commitment to upholding the optimal performance and longevity of your heating system. By proactively addressing trapped air and impurities within the system, you ensure that your home remains warm and comfortable throughout the year, regardless of the external weather conditions.
Furthermore, the process of bleeding the radiators serves as a crucial component of central heating system maintenance, allowing for the release of trapped air and ensuring consistent heating performance across your living spaces. This simple yet effective task significantly contributes to the overall efficiency and functionality of your heating system, enhancing the comfort and well-being of your household.
By embracing the maintenance process outlined in this guide, you have demonstrated a proactive and responsible approach to caring for your central heating system. Your dedication to executing each step with attention to detail and precision reflects your commitment to creating a comfortable and well-regulated home environment for yourself and your loved ones.
As you continue to prioritize the maintenance and care of your central heating system, remember that regular upkeep and proactive measures can significantly extend the lifespan of your system, saving you from costly repairs and replacements in the long run. By integrating these maintenance tasks into your home care routine, you contribute to the overall efficiency and sustainability of your heating system, ensuring that it continues to provide reliable warmth and comfort for years to come.
In essence, the process of draining and maintaining your central heating system is not only a practical endeavor but also a reflection of your dedication to creating a cozy and inviting home environment. Your proactive approach to system maintenance sets the stage for a comfortable and well-regulated living space, where warmth and comfort are constants, regardless of the external climate.
Frequently Asked Questions about How To Drain The Central Heating System
Was this page helpful?
At Storables.com, we guarantee accurate and reliable information. Our content, validated by Expert Board Contributors, is crafted following stringent Editorial Policies. We're committed to providing you with well-researched, expert-backed insights for all your informational needs.


0 thoughts on “How To Drain The Central Heating System”