Home>Home Appliances>Heating & Cooling>How To Flush A Central Heating System

Heating & Cooling
How To Flush A Central Heating System
Modified: February 26, 2024
Learn how to effectively flush your central heating system to improve its efficiency and lifespan. Follow our step-by-step guide for optimal heating and cooling performance.
(Many of the links in this article redirect to a specific reviewed product. Your purchase of these products through affiliate links helps to generate commission for Storables.com, at no extra cost. Learn more)
Introduction
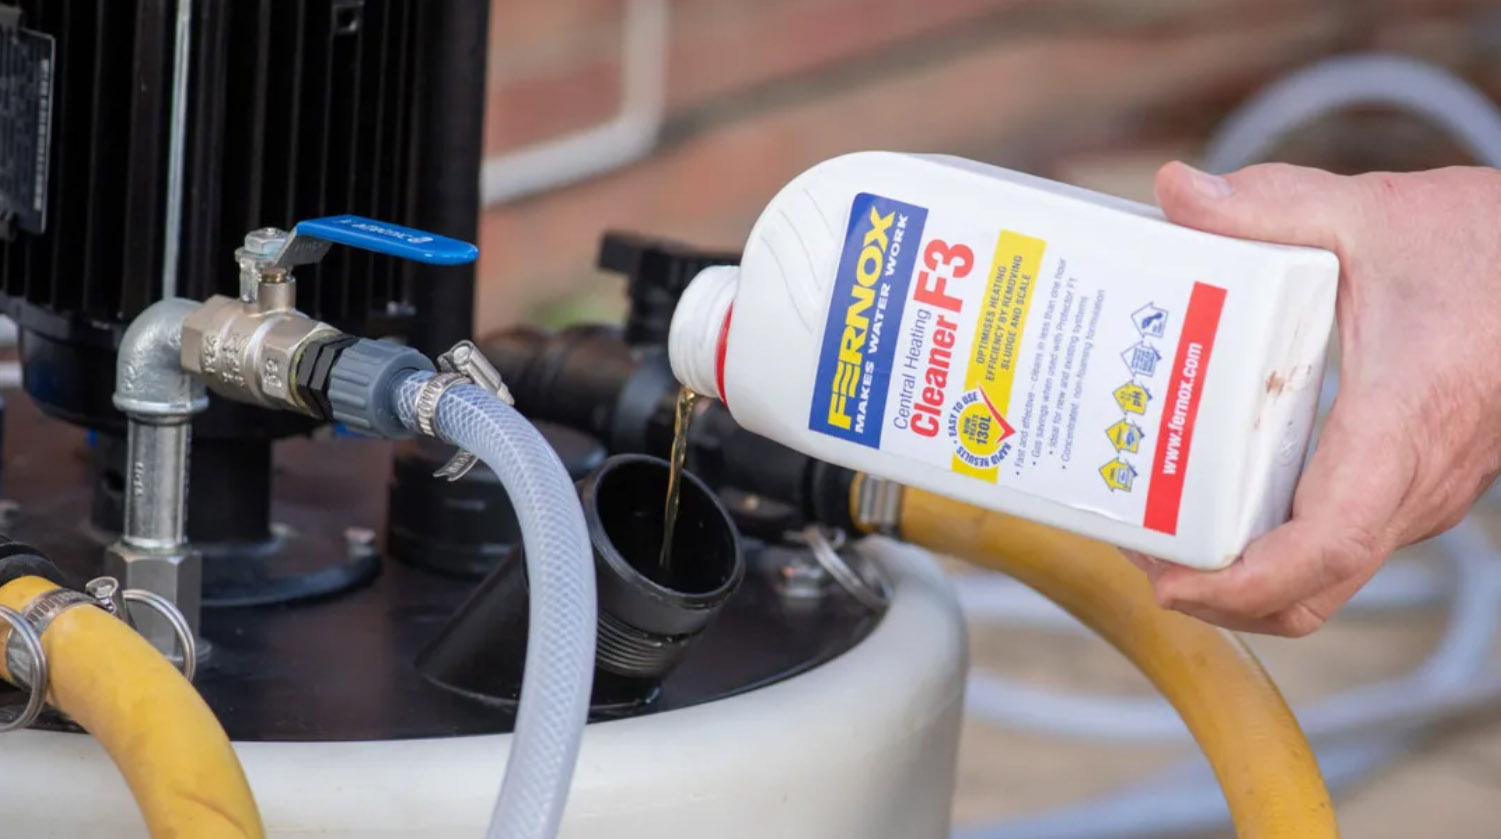
Maintaining a comfortable and efficient heating system is crucial for a cozy home during the colder months. Over time, central heating systems can accumulate sludge, rust, and other debris, leading to reduced performance and potential damage. Flushing the central heating system is a vital maintenance task that helps to remove these impurities, ensuring optimal functionality and longevity.
In this comprehensive guide, we will walk you through the step-by-step process of flushing a central heating system. Whether you are a seasoned homeowner or a new property owner, understanding how to properly flush your heating system can save you time and money in the long run. By following these steps, you can effectively remove the build-up of contaminants and maintain a reliable and efficient heating system for years to come.
Let's dive into the details of each step to ensure that you have the knowledge and confidence to carry out this essential maintenance task. Whether you prefer to handle home maintenance on your own or simply want to understand the process better before consulting a professional, this guide will equip you with the necessary insights to keep your central heating system in top condition.
Key Takeaways:
- Regularly flushing your central heating system removes impurities, ensuring efficient and long-lasting performance. It’s a crucial DIY maintenance task for a cozy home during colder months.
- By turning off, draining, refilling, bleeding, and checking for leaks, you actively contribute to the reliability and efficiency of your central heating system. Regular maintenance saves money and ensures comfort.
Read more: How To Use Central Heating
Step 1: Turn Off the Heating System
Before beginning the process of flushing your central heating system, it is crucial to ensure the system is completely turned off. This step is essential for your safety and the effectiveness of the flushing process.
-
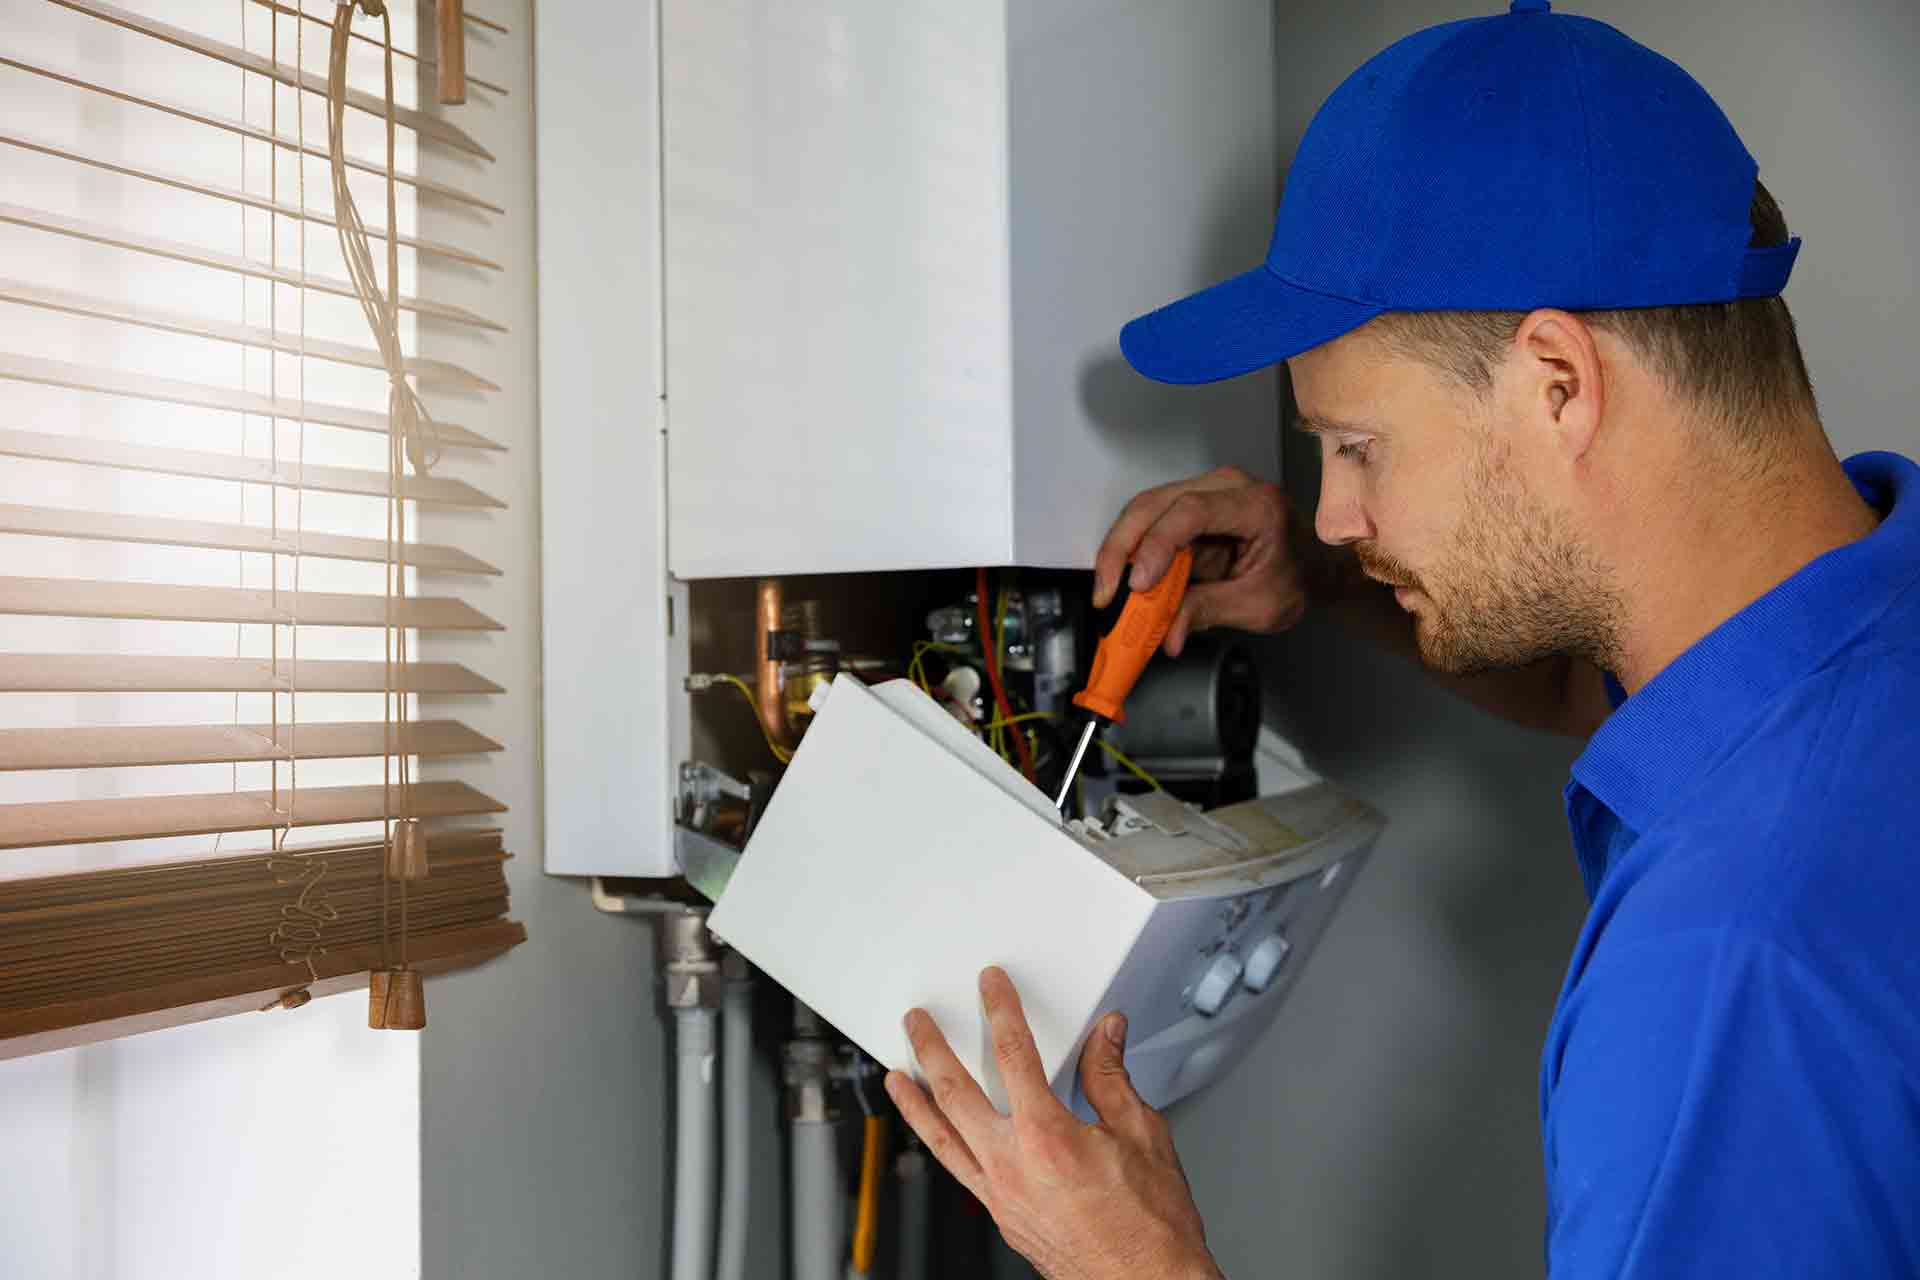
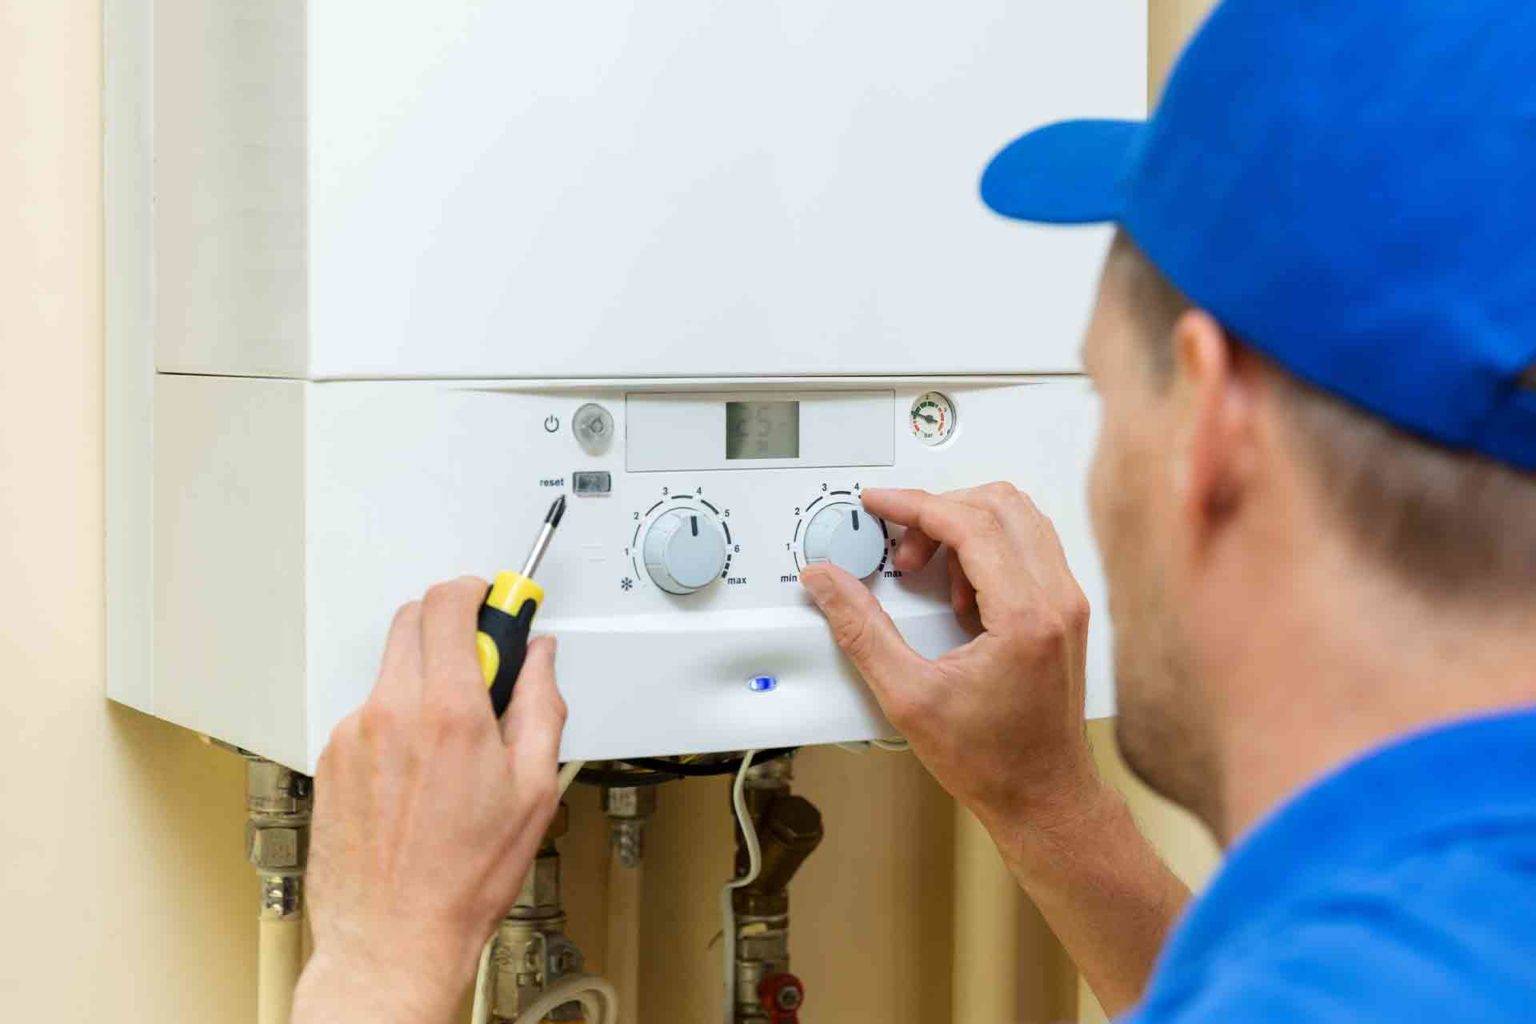
Locate the Boiler or Furnace: The first step is to locate the boiler or furnace, which is the heart of your central heating system. Typically, you will find it in the basement, garage, or a dedicated utility room.
-
Switch Off the Power: Once you have located the boiler or furnace, switch off the power supply to the heating system. This can usually be done by turning off the electrical switch connected to the boiler. In some cases, there may be a dedicated power switch near the unit.
-
Shut Off the Gas Supply: If your heating system is powered by natural gas, it is important to shut off the gas supply to the boiler or furnace. Locate the gas shut-off valve near the unit and turn it to the closed position. This step is crucial for safety and prevents any gas flow during the flushing process.
-
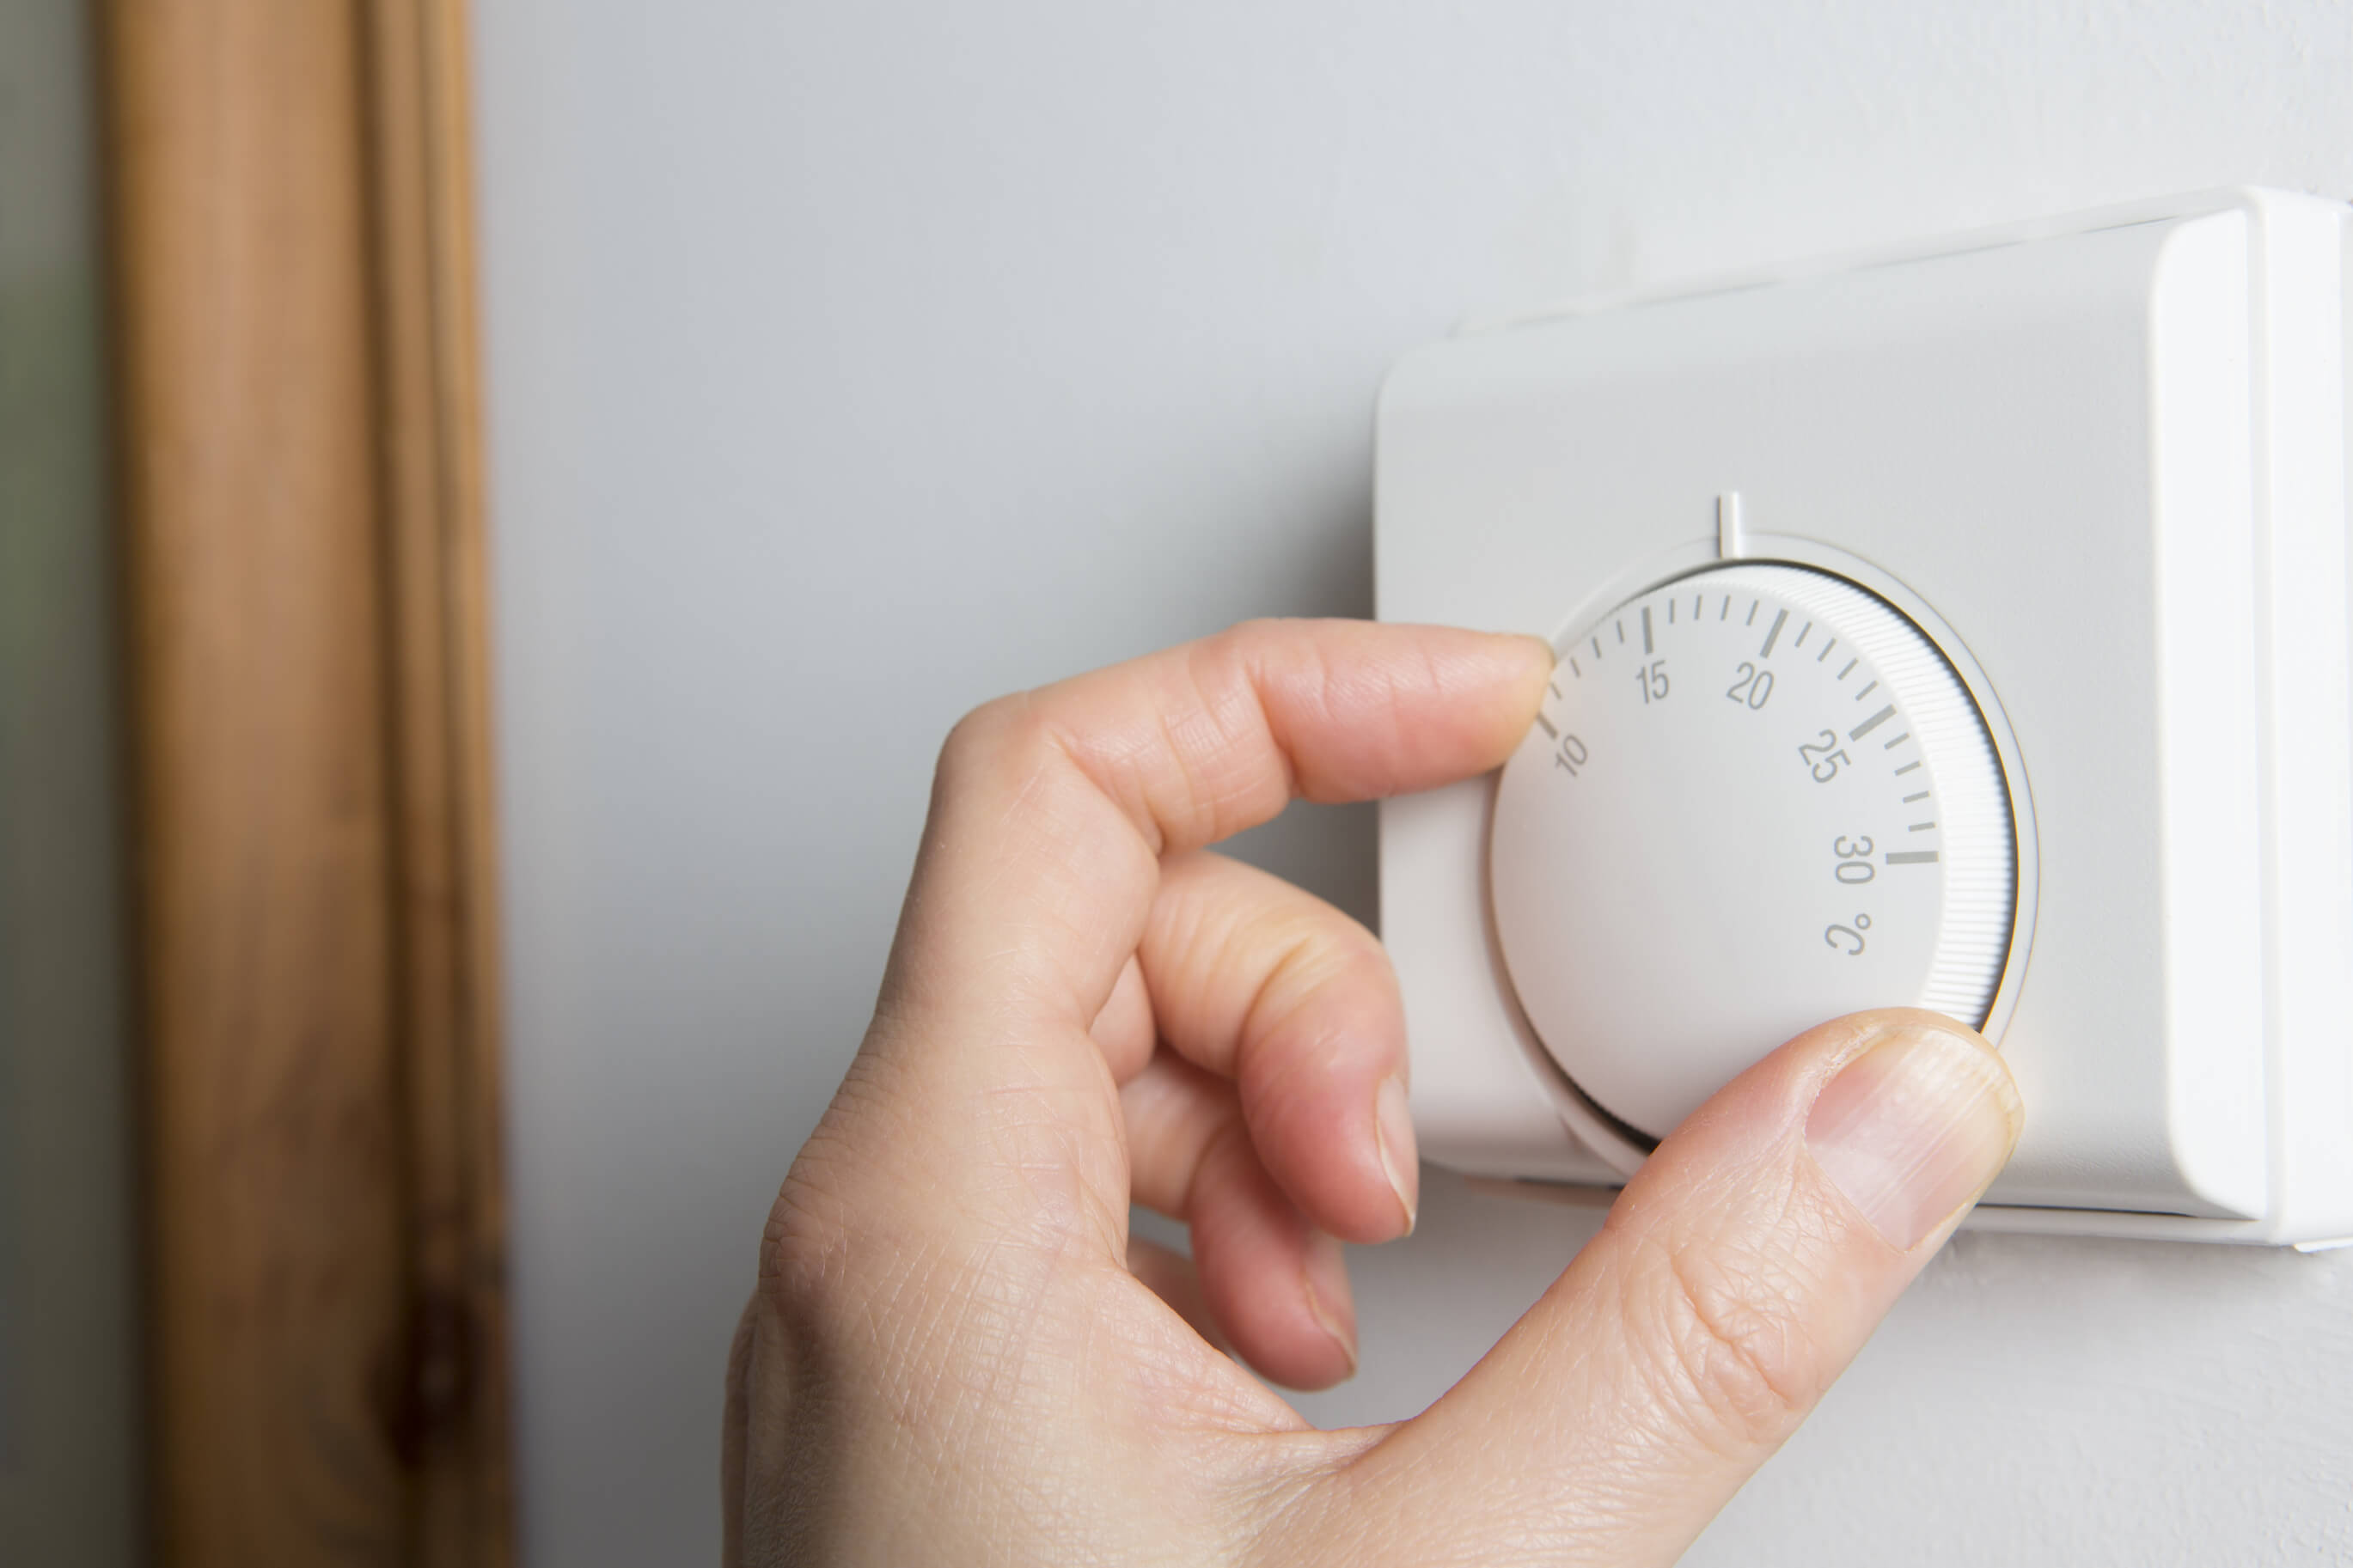
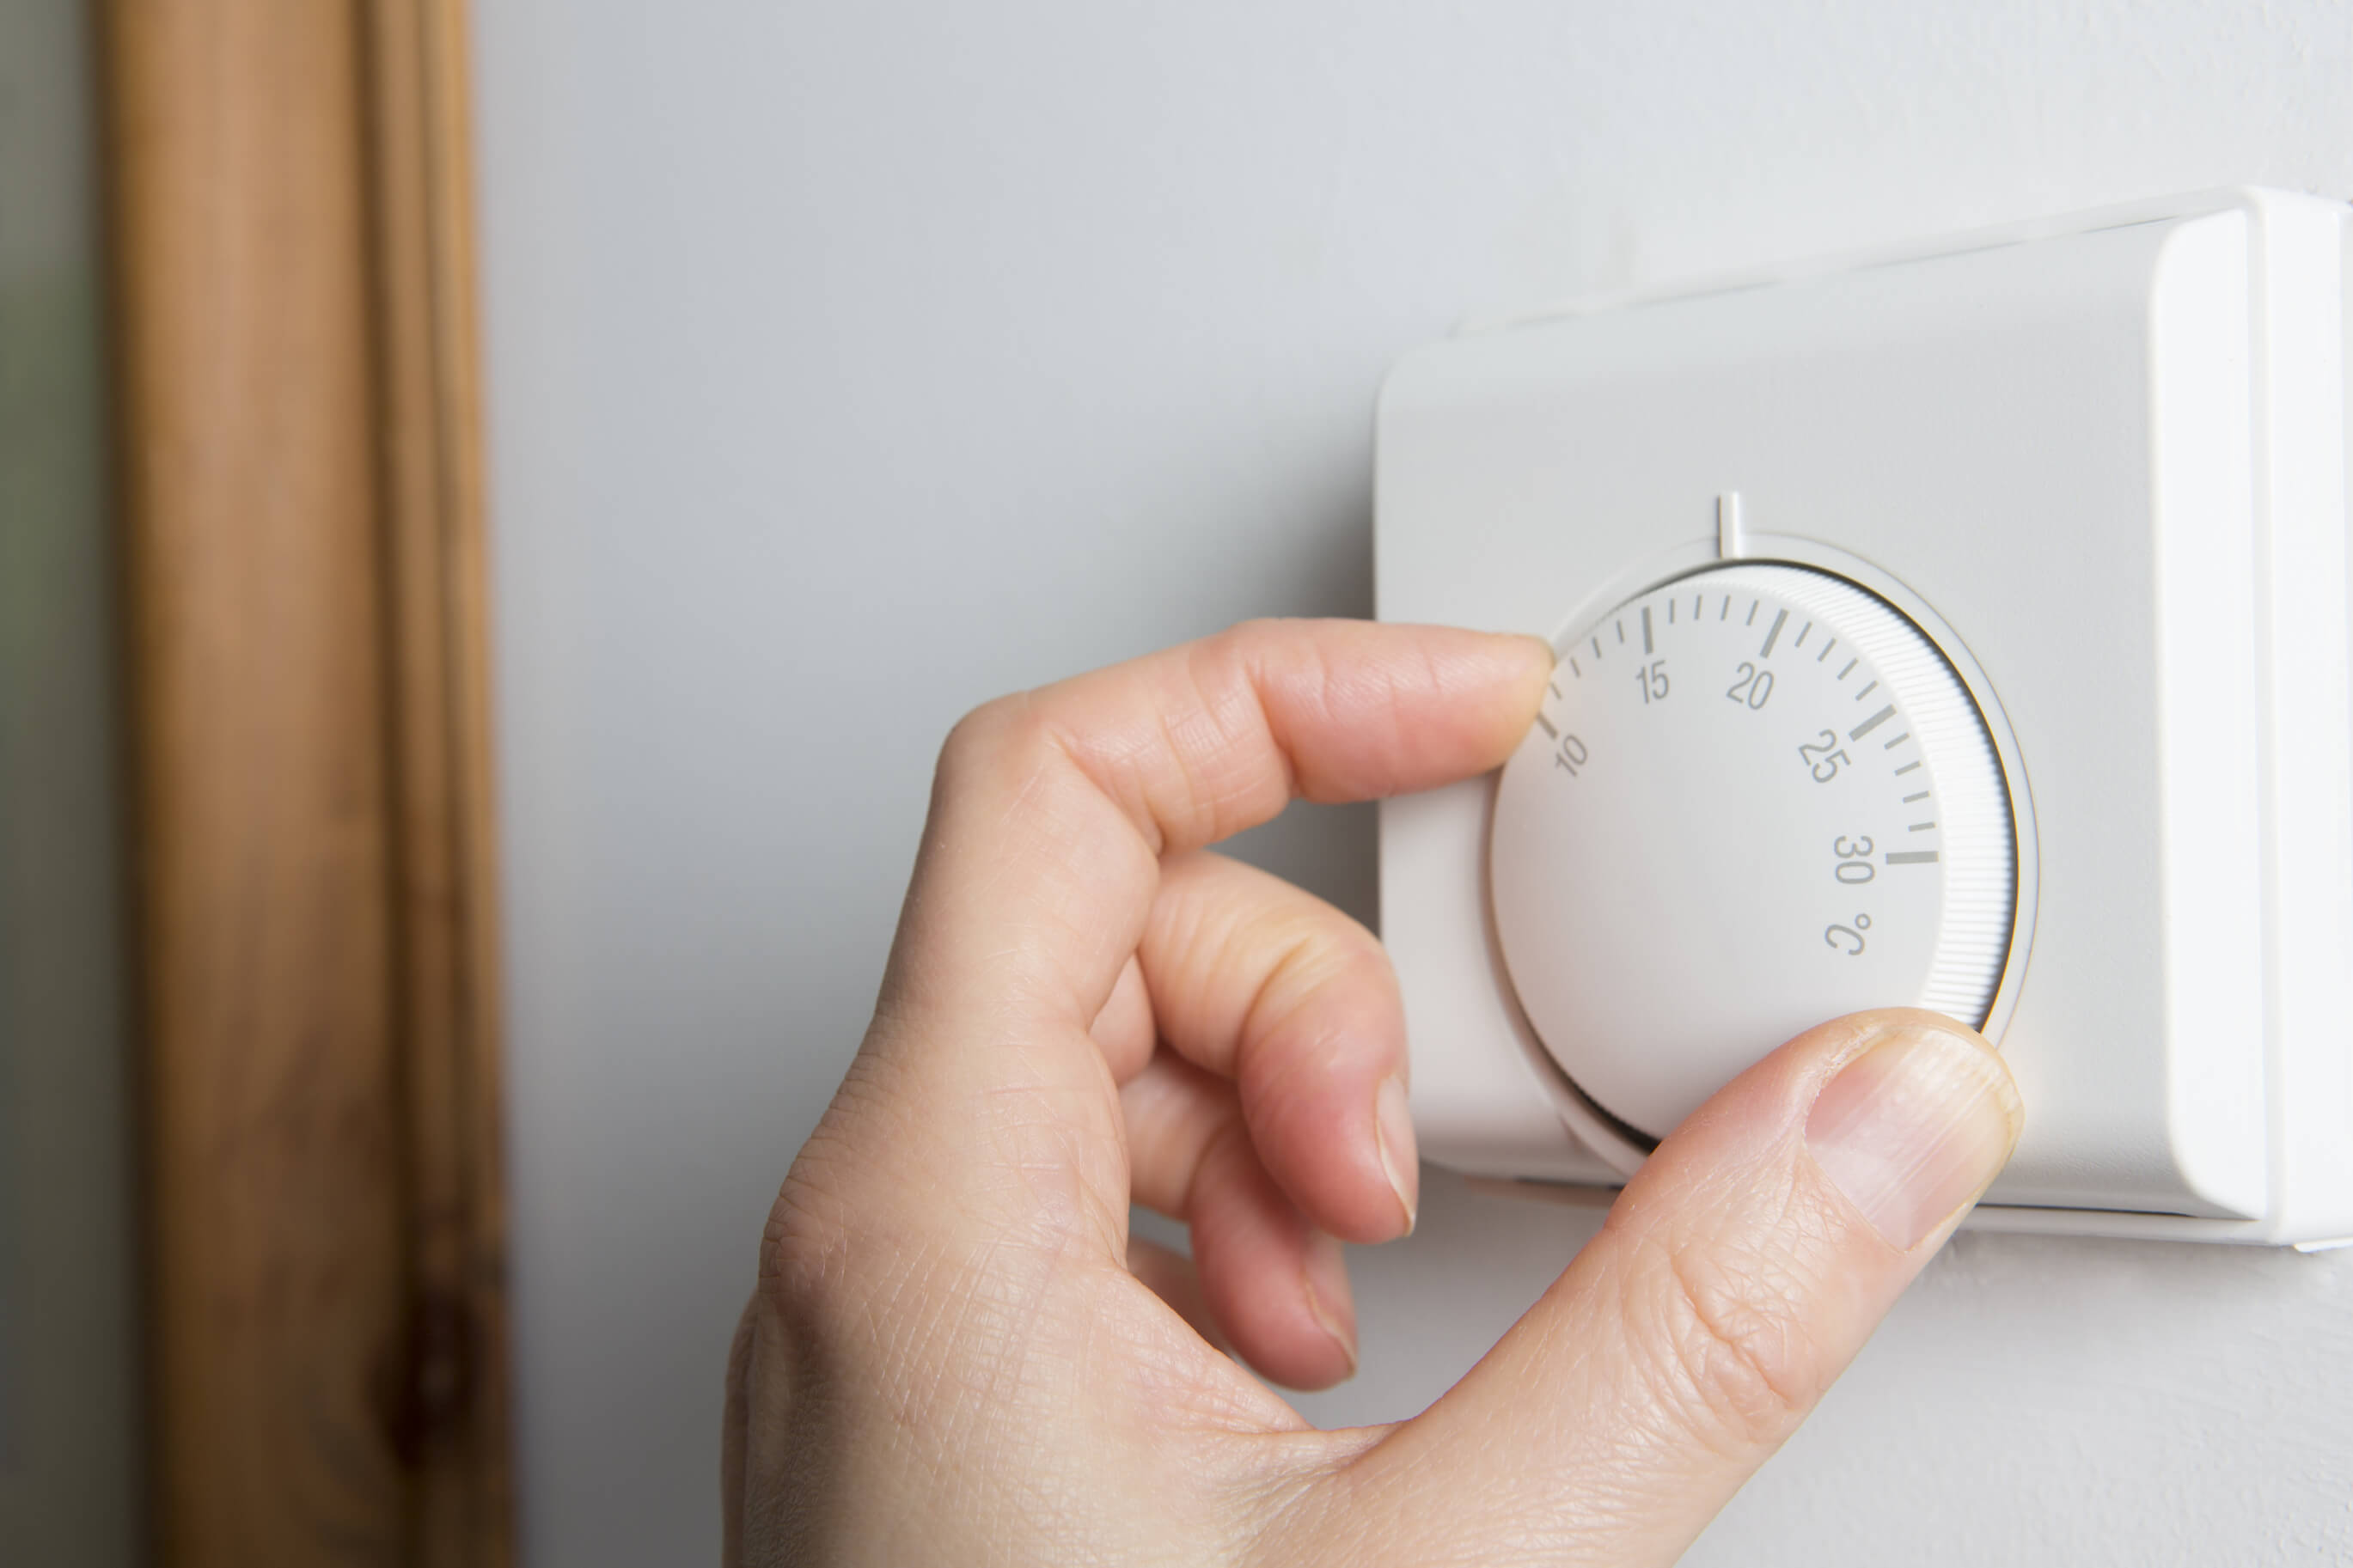
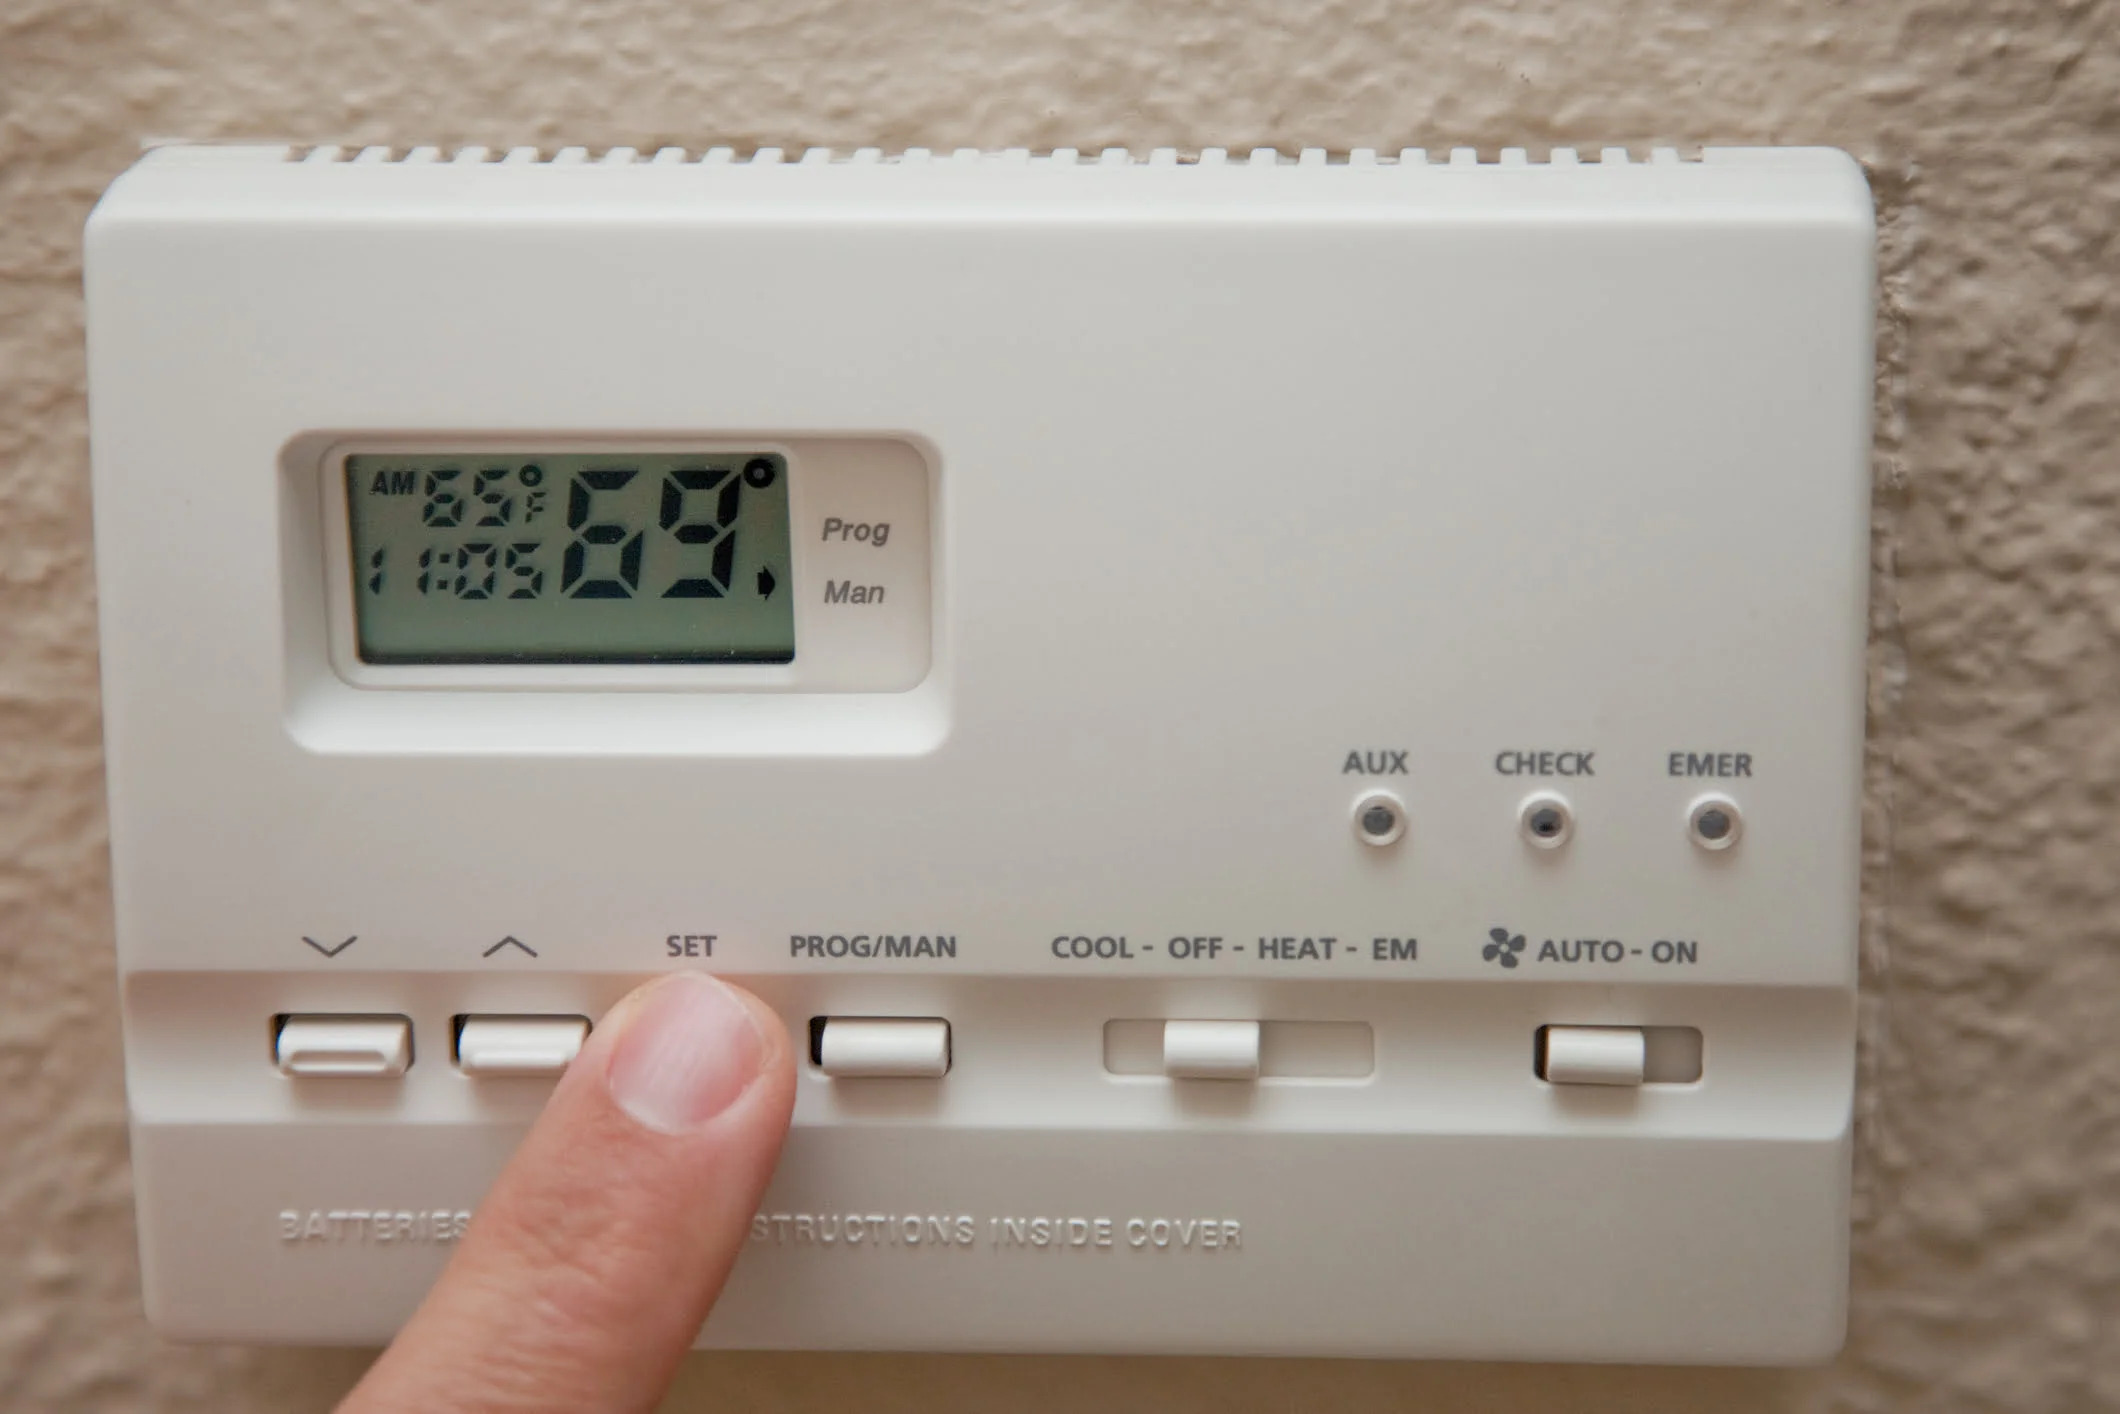
Turn Off the Thermostat: To ensure that the heating system does not inadvertently start during the flushing process, it is important to turn off the thermostat. This will prevent the system from activating while you are working on it.
By following these steps to turn off the heating system, you create a safe and controlled environment for the flushing process. Ensuring that the power, gas supply, and thermostat are all turned off is essential for preventing accidents and allowing the system to cool down before proceeding with the next steps. Once the heating system is safely turned off, you can move on to the next phase of draining the system to begin the flushing process.
Step 2: Drain the System
Draining the central heating system is a critical step in the flushing process, as it allows for the removal of old water and the accumulation of sludge and debris. This step sets the stage for refilling the system with clean water, ensuring optimal performance and longevity.
-
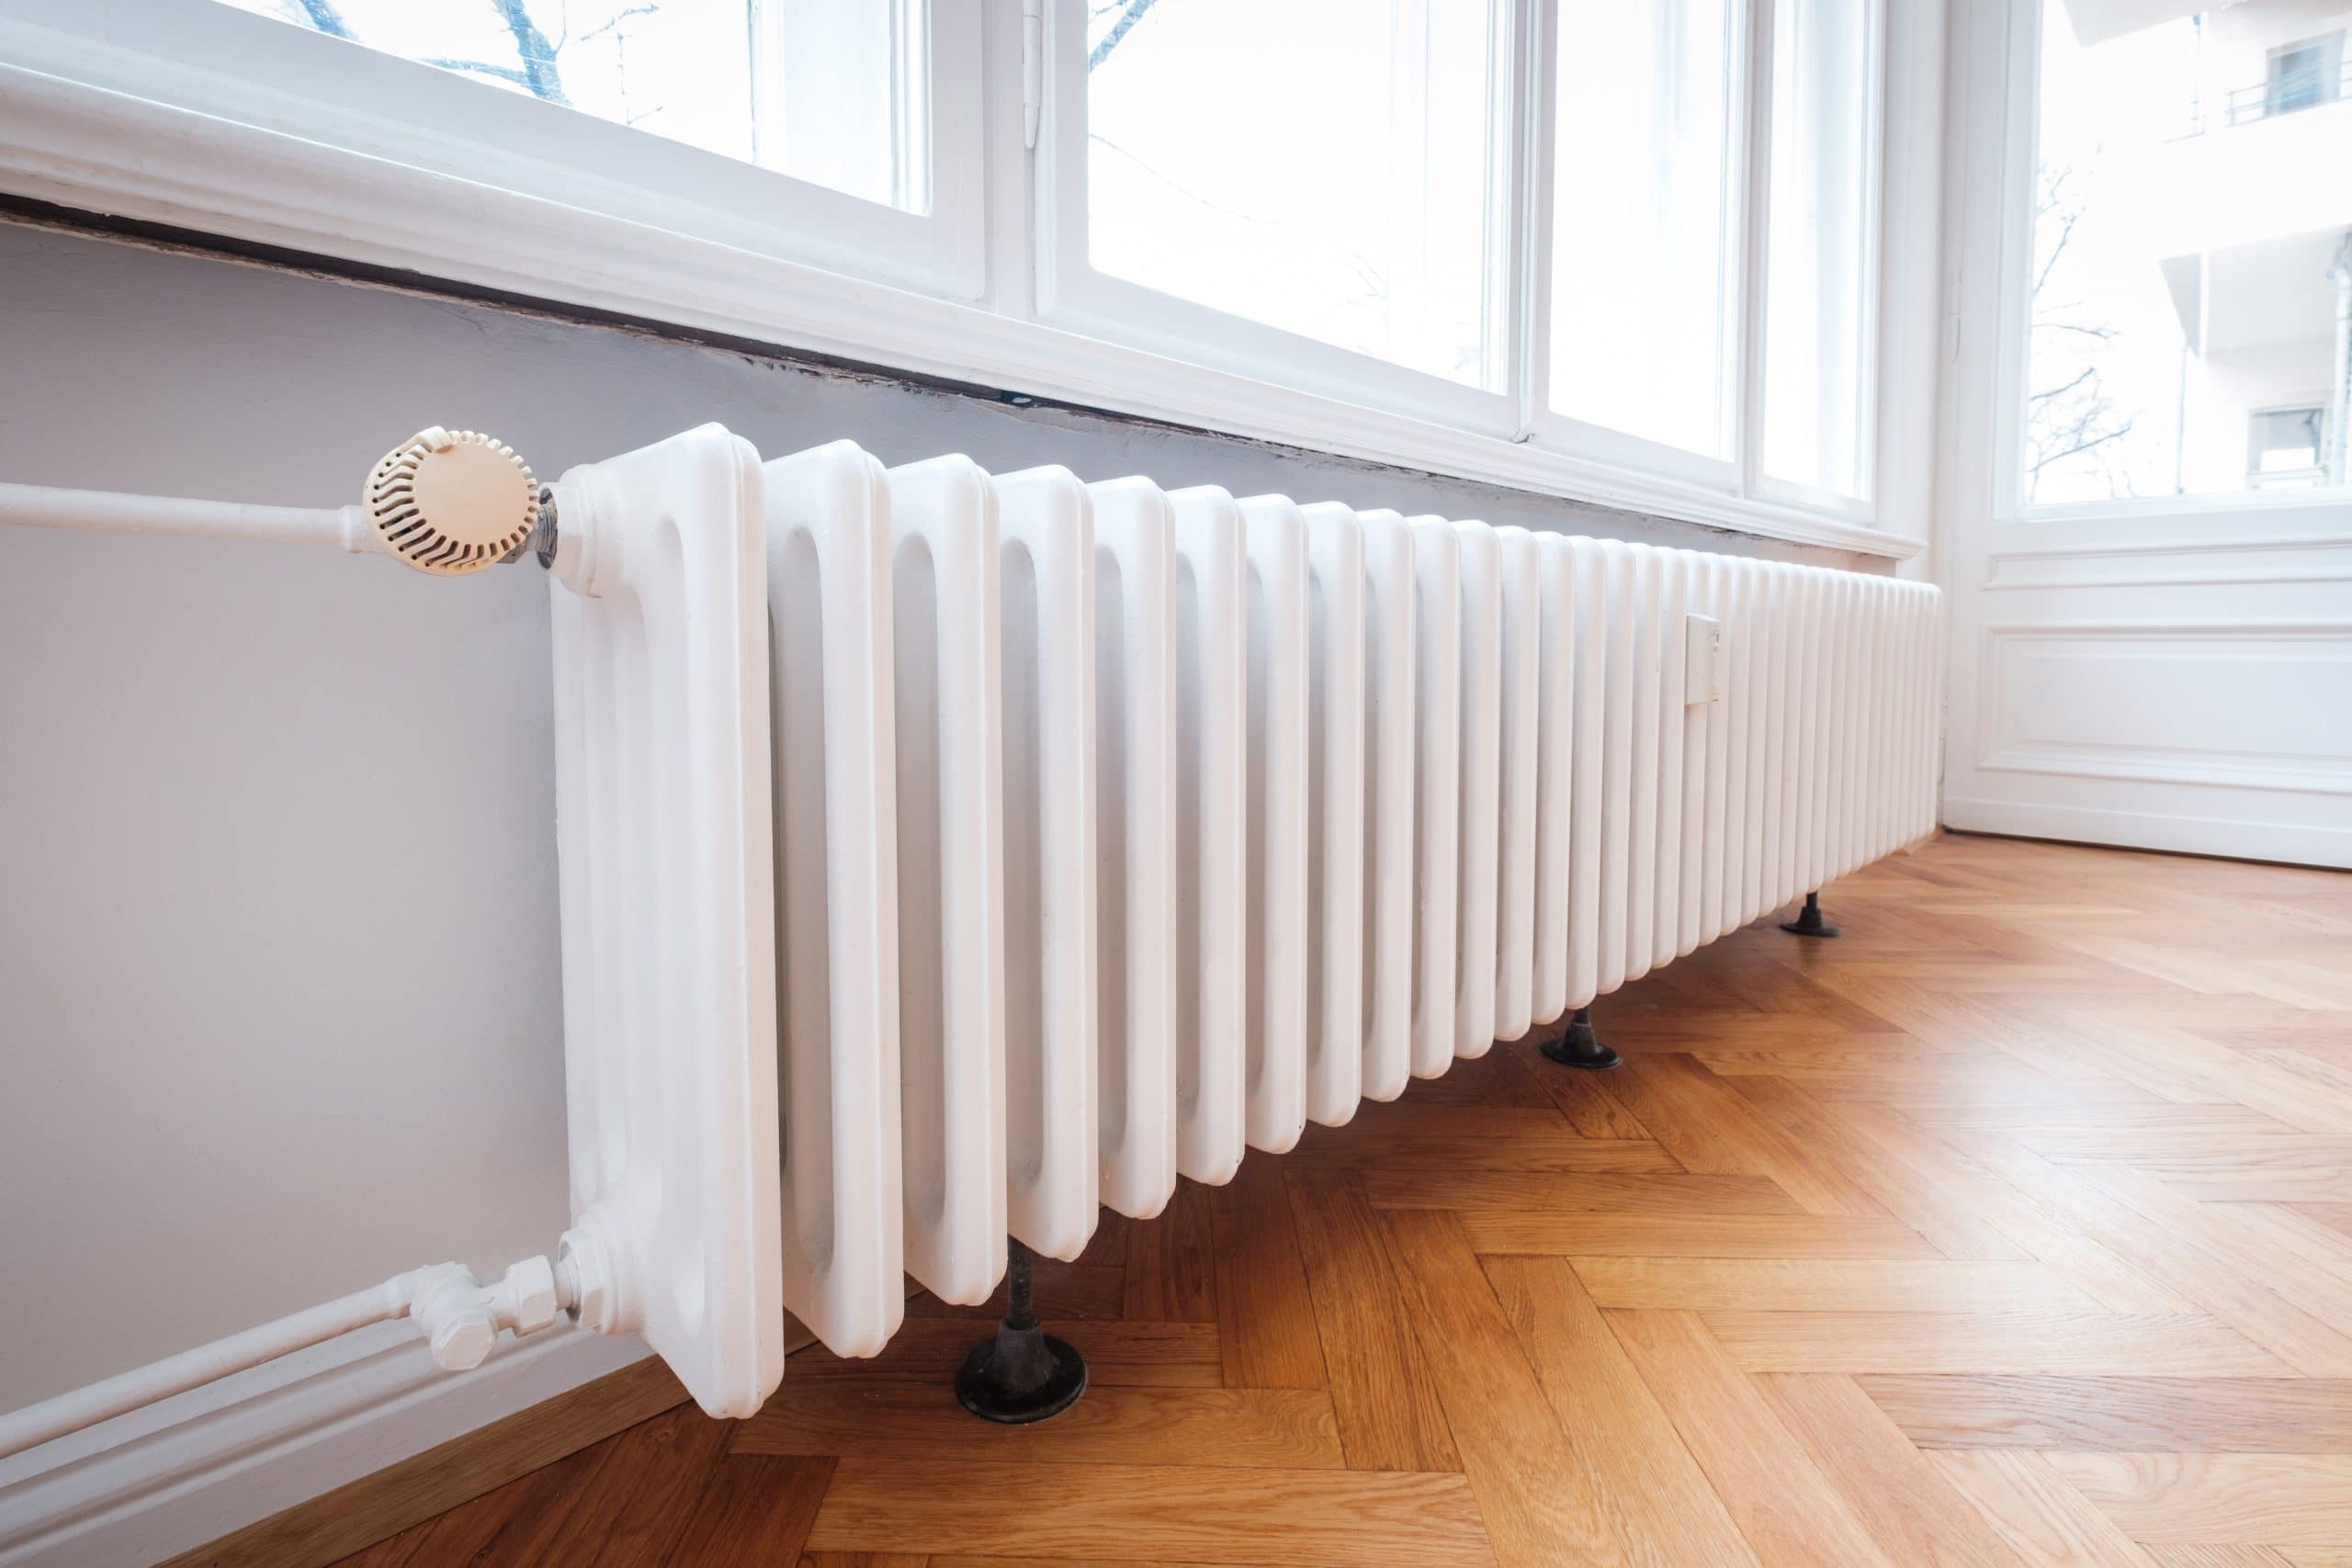
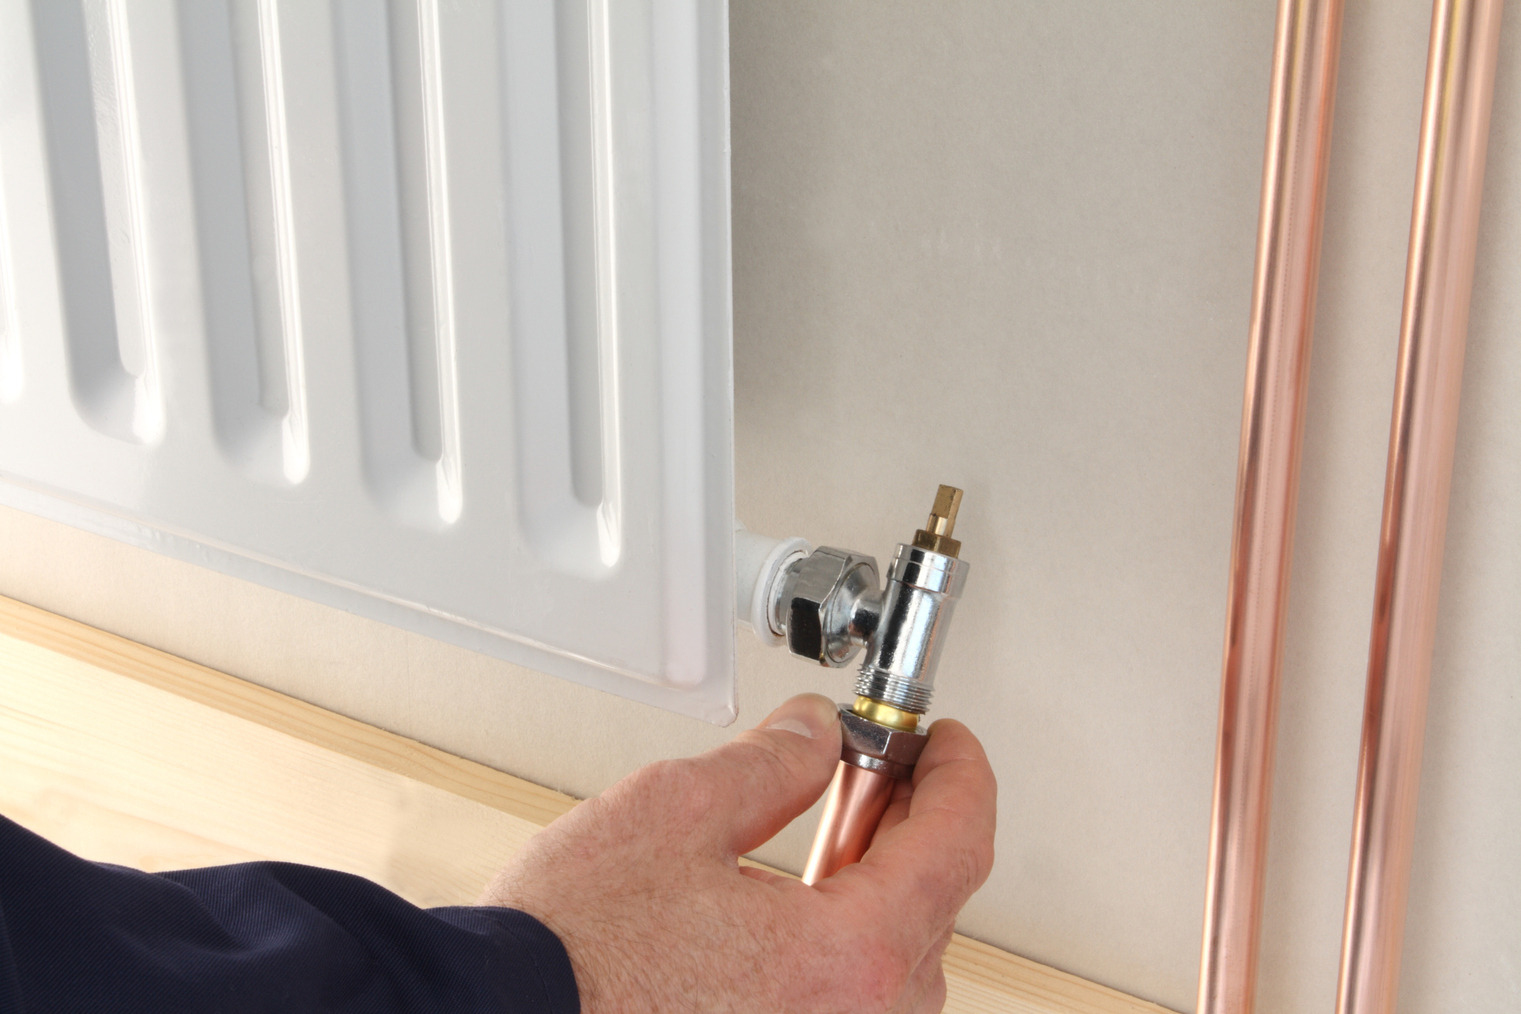
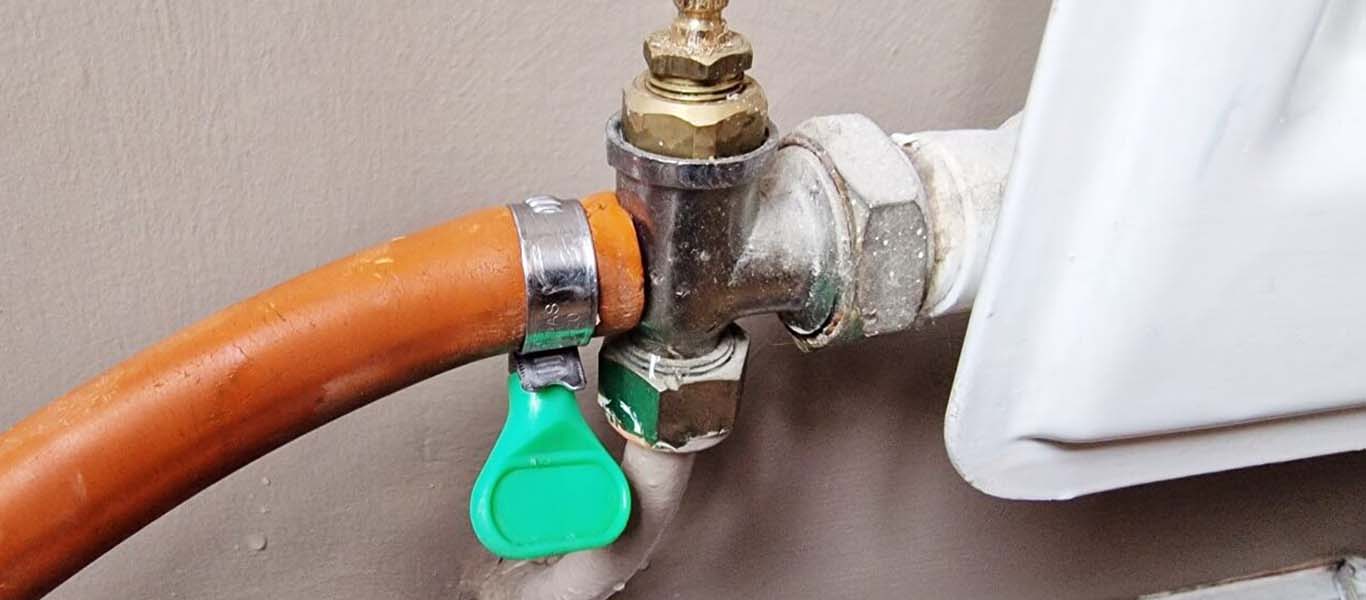
Locate the Drain Valve: Begin by locating the drain valve on your central heating system. This valve is typically located near the bottom of the boiler or on a radiator. It may resemble a faucet or a simple valve that can be turned to release water.
-
Prepare for Drainage: Before opening the drain valve, it's essential to prepare for the drainage process. Place a bucket or a suitable container beneath the valve to catch the water that will be released. Additionally, have towels or rags on hand to clean up any spills and prevent water damage to the surrounding area.
-
Open the Drain Valve: Carefully open the drain valve to allow the water to flow out of the system. It's important to do this slowly and steadily to control the flow and prevent splashing. As the water drains, you may notice sediment and debris being flushed out, which is a positive sign that the process is effectively removing impurities from the system.
-
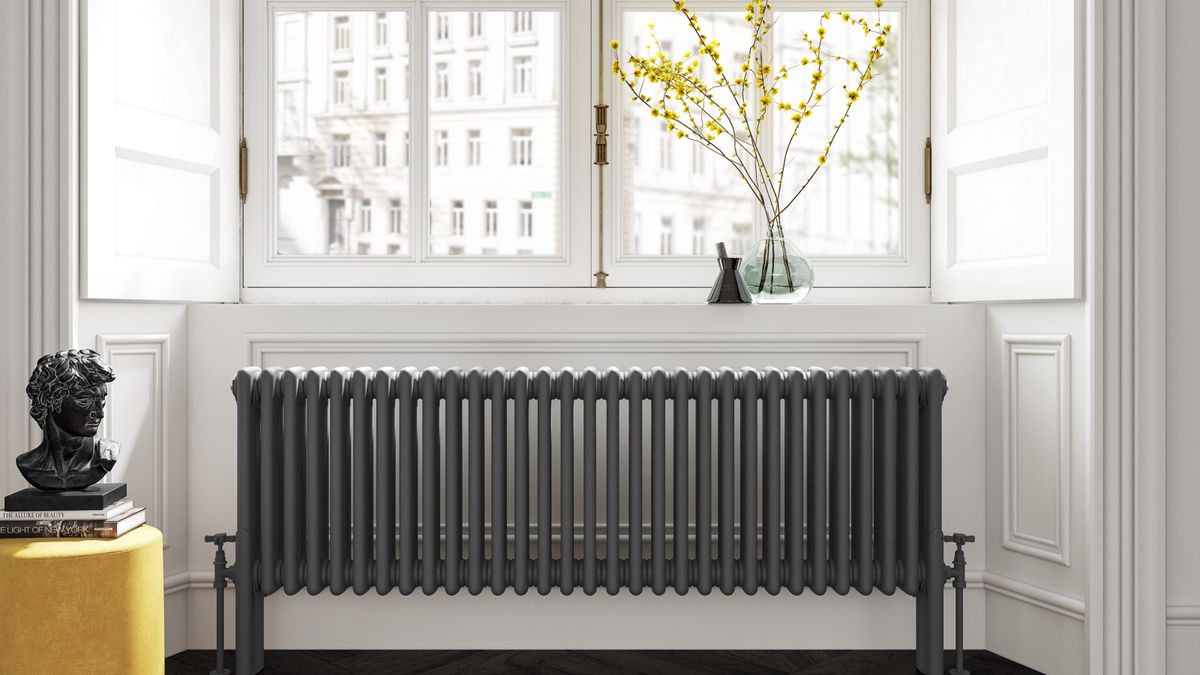
Flush Each Radiator: In addition to draining the main system, it's beneficial to flush each radiator individually. This can be done by opening the bleed valve on each radiator, allowing any trapped air and remaining water to escape. As the water is released, be mindful of the potential for staining, and have a cloth ready to catch any drips.
-
Monitor the Drainage: Keep a close eye on the drainage process to ensure that the water is flowing steadily and without obstruction. If you notice any irregularities or blockages, it may be necessary to address these issues before proceeding further.
By effectively draining the central heating system and flushing out the old water, you are preparing the system for the next crucial steps of refilling and bleeding the radiators. This process sets the stage for a thorough cleansing of the system, ensuring that it is ready to receive clean water and operate at its best.
Step 3: Refill the System
Once the central heating system has been effectively drained, the next step is to refill it with clean water. This crucial phase of the flushing process ensures that the system is replenished with fresh water, free from the impurities that were removed during the drainage phase. Refilling the system sets the stage for restoring optimal functionality and efficiency to your central heating system.
Here's a detailed breakdown of the steps involved in refilling the central heating system:
-
Close the Drain Valve: After the drainage process is complete, carefully close the drain valve to prevent any further water from escaping the system. Ensure that the valve is securely tightened to prevent leaks once the system is refilled.
-
Locate the Filling Loop: The filling loop is a key component that allows for the controlled addition of water to the central heating system. It is typically connected to the boiler and consists of two valves and a flexible hose. Locate the filling loop and familiarize yourself with its components before proceeding.
-
Open the Filling Loop Valves: Slowly and carefully open the valves on the filling loop to allow water to enter the system. It's important to do this gradually to avoid sudden pressure surges. Keep a close eye on the pressure gauge on the boiler to monitor the increasing pressure as the system refills.
-
Monitor the Pressure: As the system refills, monitor the pressure gauge to ensure that the pressure reaches the recommended level as specified in the manufacturer's guidelines. This typically ranges between 1 and 1.5 bar, but it's important to refer to the specific recommendations for your heating system.
-
Close the Filling Loop Valves: Once the pressure reaches the appropriate level, carefully close the valves on the filling loop to stop the flow of water into the system. Ensure that the valves are securely closed to prevent any leaks or pressure fluctuations.
-
Check for Leaks: After refilling the system, carefully inspect the area around the boiler, radiators, and pipes for any signs of leaks. Address any leaks promptly to prevent water damage and ensure the integrity of the system.
By following these steps to refill the central heating system, you are taking a proactive approach to maintaining the efficiency and longevity of your heating system. Refilling the system with clean water sets the stage for the final phase of bleeding the radiators, ensuring that the entire system is free from air pockets and operating at its best.
Before flushing your central heating system, make sure to turn off the power and water supply to the boiler. This will prevent any accidents or damage while you work on the system.
Step 4: Bleed the Radiators
Bleeding the radiators is a crucial step in the process of flushing a central heating system. Over time, air can become trapped within the radiators, leading to reduced efficiency and uneven heating. By bleeding the radiators, you can release any trapped air, allowing hot water to circulate freely and ensuring that each radiator operates at its optimal capacity.
Here's a detailed breakdown of the steps involved in bleeding the radiators:
-
Turn Off the Heating System: Before beginning the bleeding process, ensure that the heating system is turned off. This prevents hot water from circulating while you work on the radiators, reducing the risk of burns and ensuring a safe environment for the task.
-
Identify the Radiators Needing Bleeding: Start by identifying which radiators in your home require bleeding. This can be done by feeling the radiators to identify any cold spots, which indicate trapped air within the system.
-
Prepare for Bleeding: Place a towel or container beneath the radiator's bleed valve to catch any water that may escape during the bleeding process. Having a cloth or rag on hand is also advisable to clean up any spills.
-
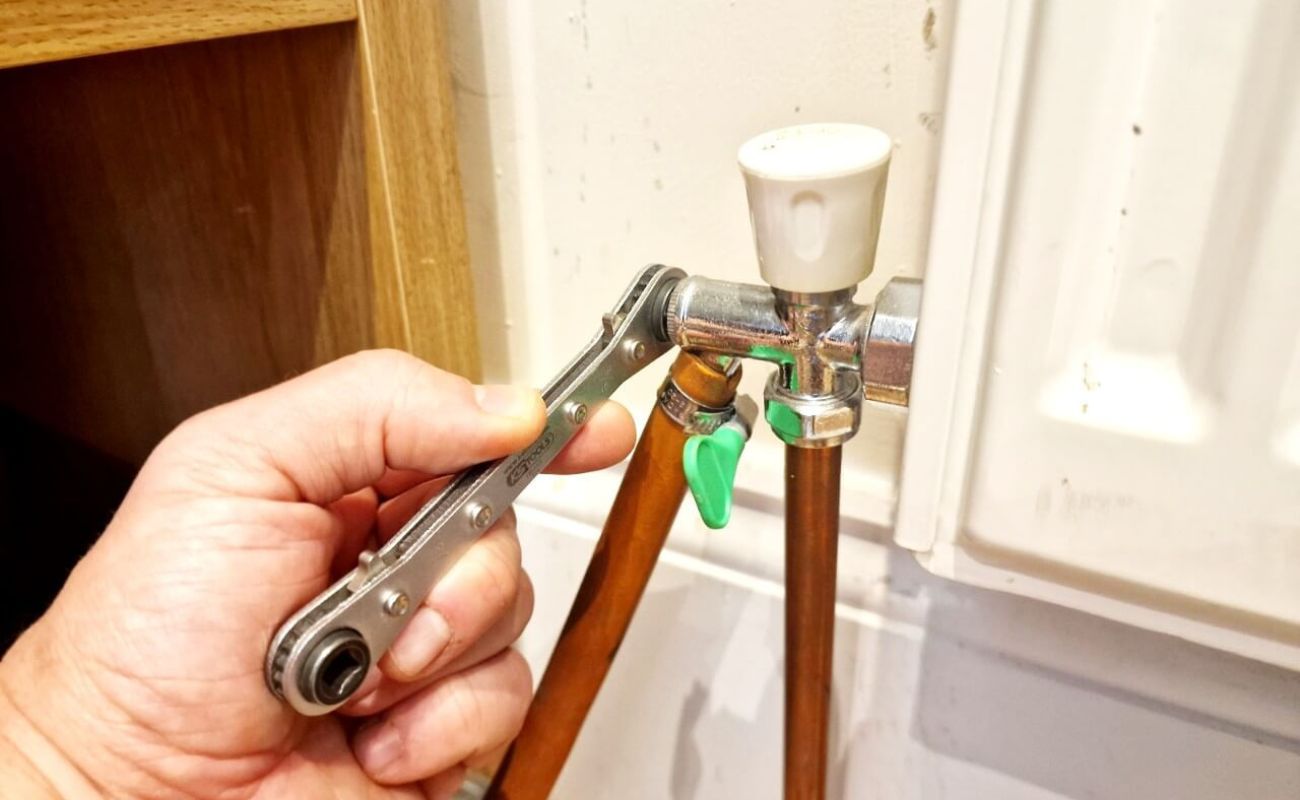
Use a Radiator Key: A radiator key is a specialized tool used to open the bleed valve on the radiator. Insert the radiator key into the bleed valve and slowly turn it in an anti-clockwise direction. As you do this, you will hear a hissing sound as the trapped air escapes from the radiator.
-
Monitor the Water Flow: As the air is released, you may notice water beginning to escape from the bleed valve. It's important to have a cloth ready to catch any water and prevent staining on the surrounding area. Once a steady stream of water flows from the bleed valve without any air, it's time to close the valve.
-
Close the Bleed Valve: Using the radiator key, carefully close the bleed valve by turning it in a clockwise direction. Ensure that the valve is securely closed to prevent any water from leaking out.
-
Repeat the Process: It's important to bleed all the radiators in your home to ensure that trapped air is removed from the entire system. Start with the radiators on the ground floor and work your way up to the upper floors, if applicable.
By effectively bleeding the radiators, you are ensuring that your central heating system operates at its best, providing consistent and efficient warmth throughout your home. This step is essential for maintaining the overall performance and effectiveness of your heating system, contributing to a comfortable and inviting living environment.
Read more: What Is Central Heating
Step 5: Check for Leaks
After completing the essential steps of draining, refilling, and bleeding the radiators, it is crucial to perform a thorough check for any potential leaks within the central heating system. Checking for leaks is a critical aspect of the flushing process, as it ensures the integrity of the system and prevents water damage to your property.
Here's a detailed breakdown of the process for checking for leaks:
-
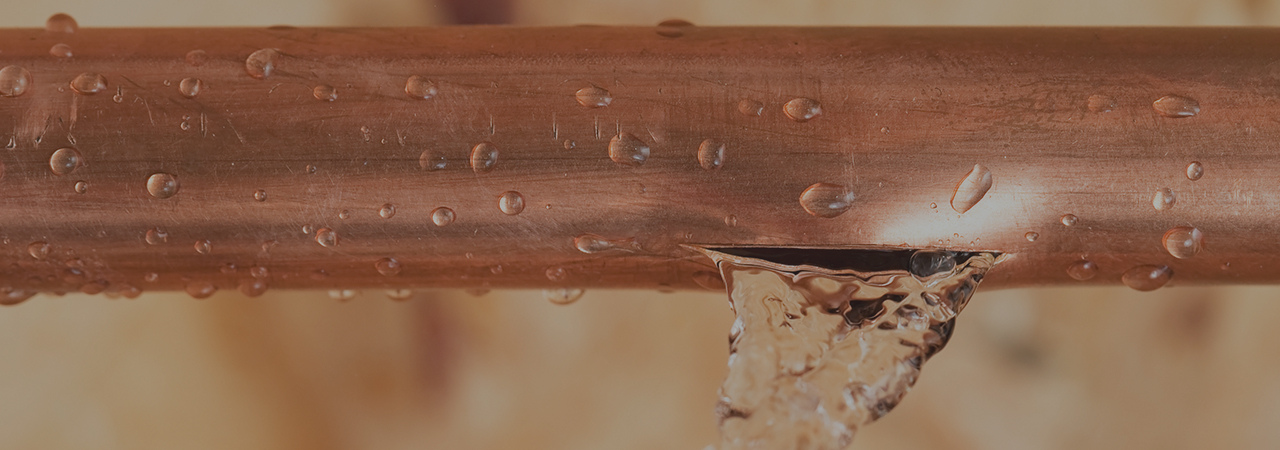
Inspect the Boiler and Pipes: Begin by carefully examining the boiler and the surrounding pipes for any signs of leakage. Look for water accumulation, dampness, or discoloration, as these can indicate potential leaks. Pay close attention to pipe joints, valves, and connections, as these areas are common locations for leaks to occur.
-
Check the Radiators: After bleeding the radiators, inspect each radiator for any signs of leaks. Look for water seepage around the valves, connections, or the base of the radiators. Additionally, check for any unusual staining or dampness on the walls behind the radiators, as this can indicate hidden leaks.
-
Monitor the Pressure: Keep an eye on the pressure gauge on the boiler to ensure that the system maintains a stable pressure after refilling. A sudden drop in pressure can be indicative of a leak within the system. If you notice a significant pressure loss, it's important to investigate the source of the leak promptly.
-
Addressing Leaks: If you discover any leaks during the inspection, it's crucial to address them promptly to prevent further damage. Tighten loose connections, replace damaged valves or fittings, and seal any points of leakage using appropriate materials. It's important to address leaks as soon as they are identified to maintain the efficiency and safety of the central heating system.
-
Recheck After Repairs: After addressing any leaks, it's advisable to recheck the entire system to ensure that the repairs have been effective. Monitor the boiler, pipes, and radiators for any recurrence of leaks, and verify that the system maintains the recommended pressure without any fluctuations.
By diligently checking for leaks and addressing any issues that arise, you are taking proactive measures to safeguard the integrity of your central heating system. This final step in the flushing process ensures that your heating system operates efficiently and reliably, providing consistent warmth and comfort throughout your home. Regular checks for leaks contribute to the long-term maintenance and performance of your central heating system, allowing you to enjoy a cozy and worry-free living environment.
Conclusion
In conclusion, flushing a central heating system is a fundamental maintenance task that plays a pivotal role in ensuring the efficiency, longevity, and safety of your home's heating infrastructure. By following the step-by-step process outlined in this guide, you have gained valuable insights into the essential procedures involved in flushing a central heating system.
The initial step of turning off the heating system sets the stage for a safe and controlled environment, allowing you to proceed with confidence. Draining the system effectively removes old water and accumulated debris, preparing the system for the replenishment of clean water. Refilling the system with fresh water is a critical phase that restores optimal functionality and efficiency to your central heating system. Bleeding the radiators ensures the removal of trapped air, allowing for consistent and efficient warmth throughout your home. Finally, checking for leaks is a crucial aspect that safeguards the integrity of the system and prevents potential water damage.
By diligently carrying out these steps, you are actively contributing to the overall performance and reliability of your central heating system. Regular maintenance, including flushing the system, is essential for preventing issues such as reduced efficiency, uneven heating, and potential damage to the system. Additionally, maintaining a well-functioning heating system can lead to cost savings and a more comfortable living environment.
It's important to note that while the process of flushing a central heating system can be carried out by homeowners, seeking professional assistance is always an option. Consulting a qualified heating engineer or technician can provide additional assurance and expertise, particularly for those who may be less familiar with the intricacies of their heating system.
In essence, by understanding and implementing the process of flushing a central heating system, you are taking proactive steps to ensure the comfort, safety, and efficiency of your home's heating infrastructure. Regular maintenance and care for your central heating system will undoubtedly contribute to a warm and inviting living environment, allowing you to enjoy the comforts of home with peace of mind.
Frequently Asked Questions about How To Flush A Central Heating System
Was this page helpful?
At Storables.com, we guarantee accurate and reliable information. Our content, validated by Expert Board Contributors, is crafted following stringent Editorial Policies. We're committed to providing you with well-researched, expert-backed insights for all your informational needs.


0 thoughts on “How To Flush A Central Heating System”