Home>Home Appliances>Heating & Cooling>How To Wire A Central Heating Room Thermostat
Heating & Cooling
How To Wire A Central Heating Room Thermostat
Modified: March 24, 2024
Learn how to wire a central heating room thermostat for efficient heating and cooling control. Follow our step-by-step guide to ensure proper installation.
(Many of the links in this article redirect to a specific reviewed product. Your purchase of these products through affiliate links helps to generate commission for Storables.com, at no extra cost. Learn more)
Introduction
A central heating room thermostat is a crucial component in maintaining a comfortable and energy-efficient indoor environment. By regulating the temperature of your heating system, it ensures that your living spaces remain cozy during the colder months while helping to reduce energy consumption. Understanding how to wire a central heating room thermostat is essential for homeowners looking to take control of their heating systems and optimize their energy usage.
In this comprehensive guide, we will delve into the intricacies of wiring a central heating room thermostat, providing you with the knowledge and confidence to tackle this task. Whether you're a seasoned DIY enthusiast or a novice homeowner eager to learn, this step-by-step guide will equip you with the essential information needed to successfully wire a central heating room thermostat.
By the end of this article, you will have a clear understanding of the tools and materials required, the wiring process, and how to test and troubleshoot your newly installed thermostat. With this knowledge in hand, you'll be empowered to enhance the efficiency and comfort of your home's heating system. Let's embark on this journey to demystify the wiring of a central heating room thermostat and unlock the potential for a more comfortable and energy-conscious living space.
Key Takeaways:
- Takeaway 1: Wiring a central heating room thermostat empowers homeowners to control indoor comfort and energy efficiency, ensuring a cozy living space while reducing energy consumption.
- Takeaway 2: Understanding thermostat basics, using the right tools, and thorough testing are key to successfully wiring a thermostat, optimizing home heating and creating a comfortable environment.
Read more: What Color Thermostat Wire Controls The Heat
Understanding the Basics of Central Heating Room Thermostat
A central heating room thermostat serves as the control center for your heating system, allowing you to set and maintain the desired temperature within your living spaces. This essential device is designed to monitor the ambient temperature and signal the heating system to turn on or off to achieve the preset comfort level. Understanding the fundamental aspects of a central heating room thermostat is pivotal in comprehending its wiring and functionality.
Thermostat Operation
Central heating room thermostats operate based on the principle of temperature regulation. When the ambient temperature falls below the set level, the thermostat sends a signal to the heating system, prompting it to generate warmth and raise the temperature. Once the desired temperature is reached, the thermostat instructs the heating system to cease operation until the temperature drops again. This cyclical process ensures that your home remains at a comfortable temperature without unnecessary energy consumption.
Types of Thermostats
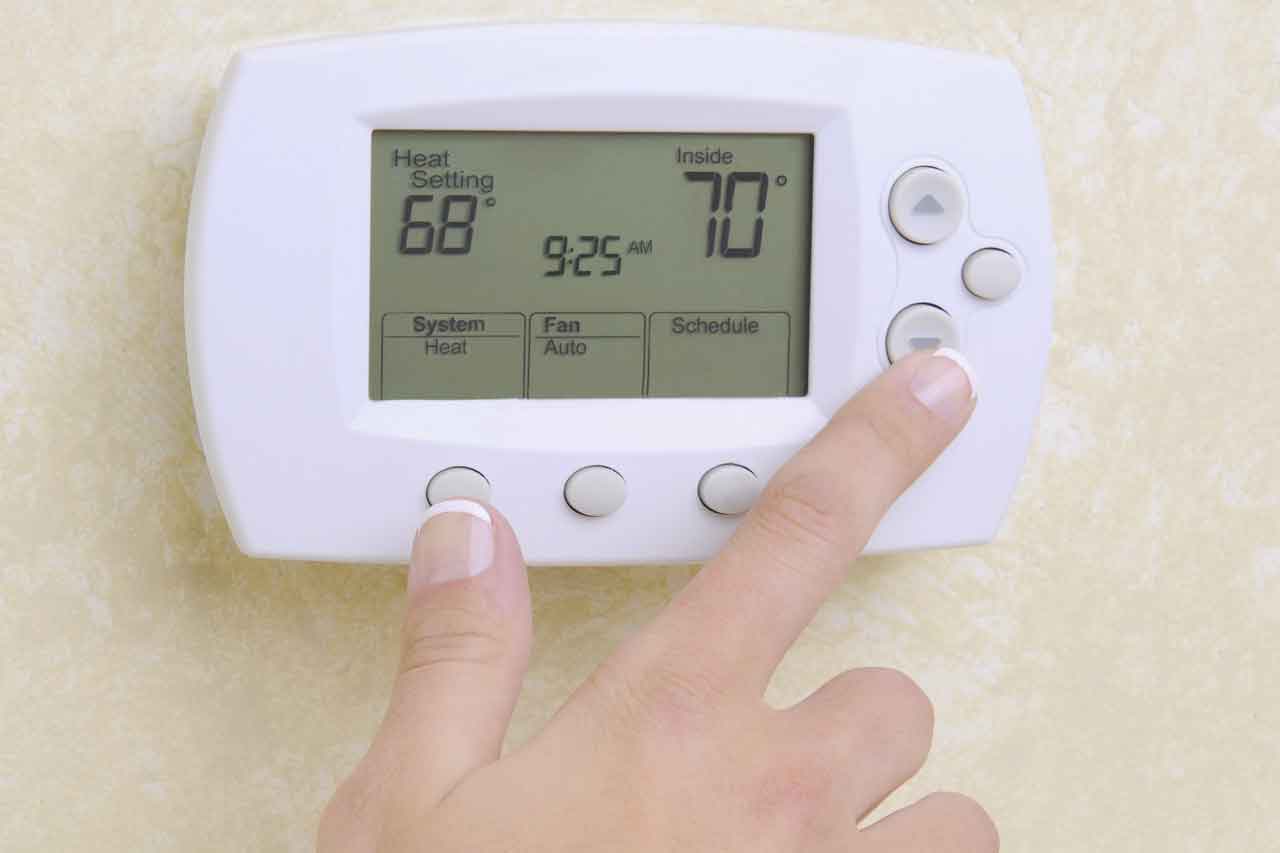
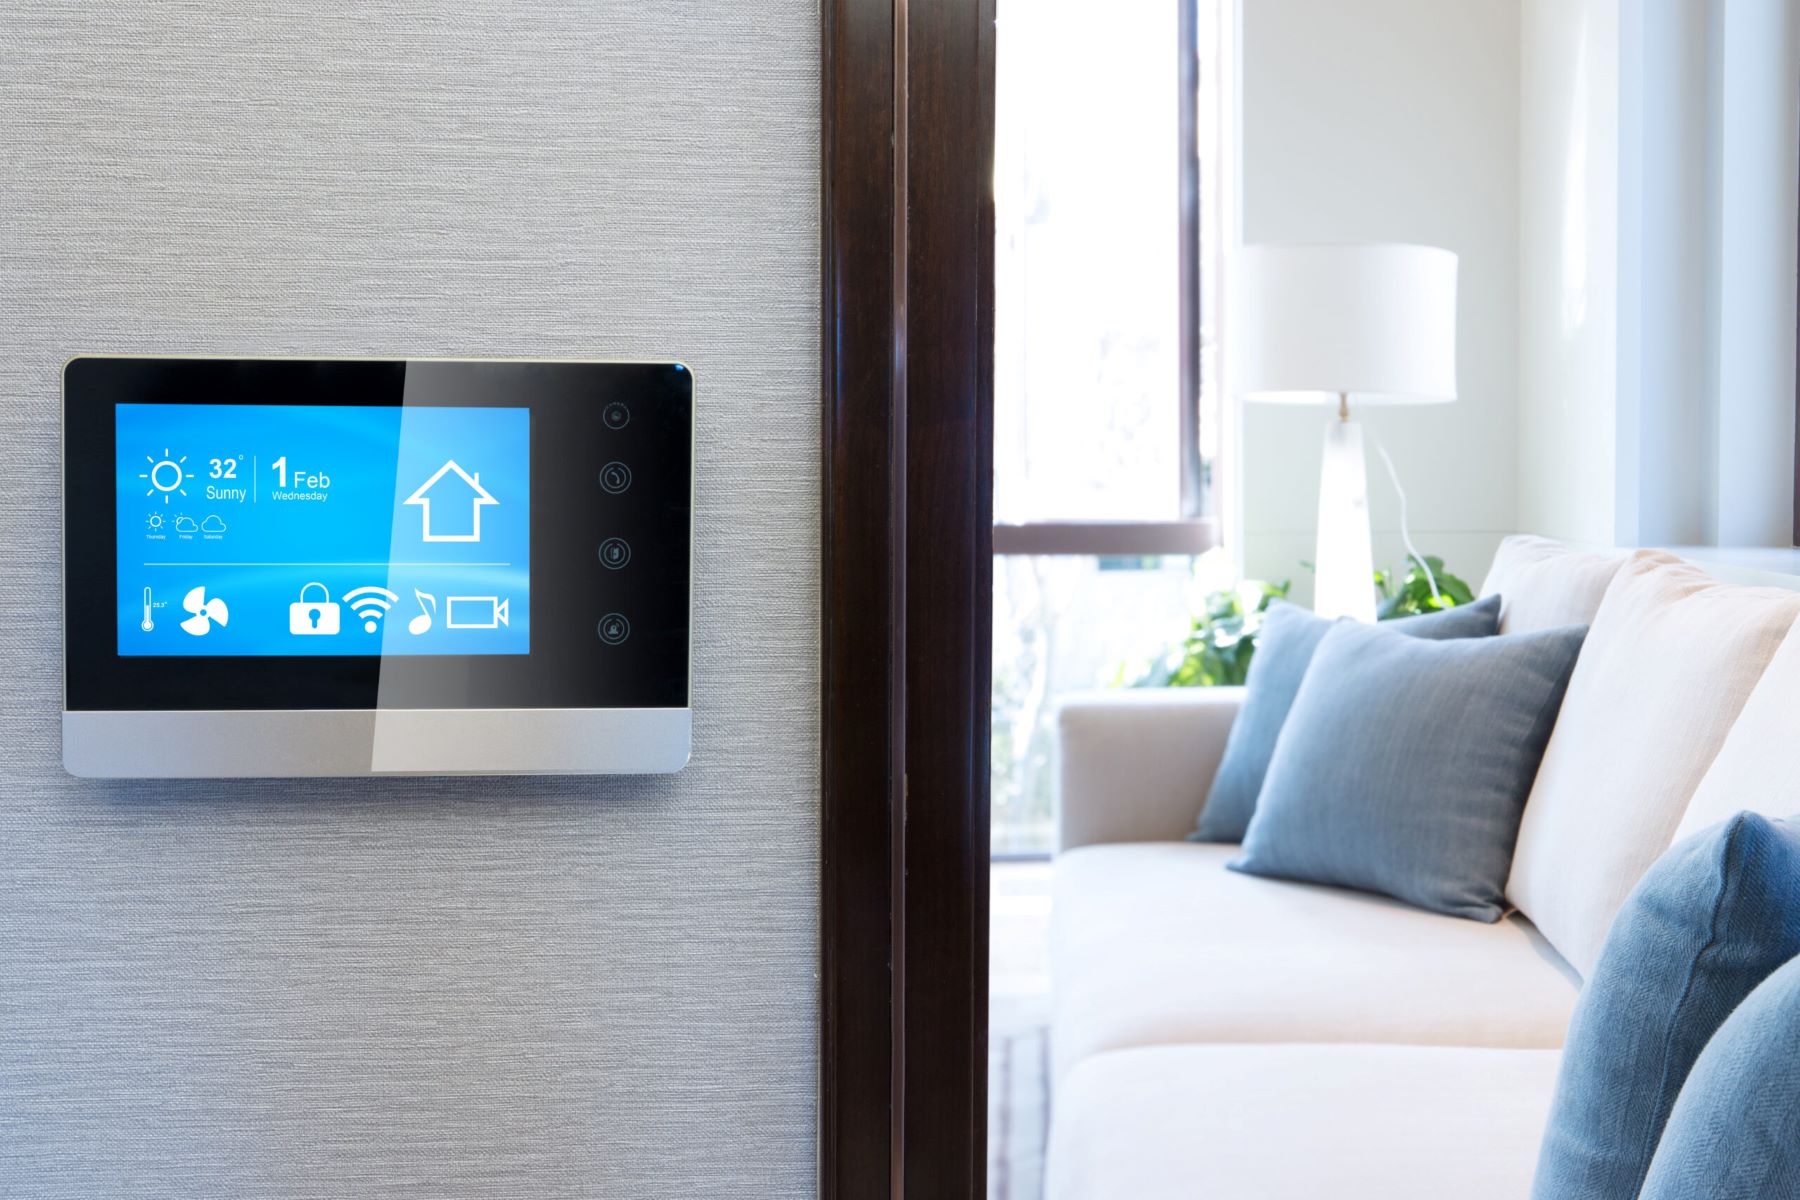
Thermostats come in various types, including traditional mechanical thermostats and modern digital programmable thermostats. Mechanical thermostats utilize a simple bimetallic strip that bends as the temperature changes, triggering the heating system to turn on or off. On the other hand, digital programmable thermostats offer advanced features such as programmable schedules, Wi-Fi connectivity, and precise temperature control, allowing homeowners to optimize their heating system for different times of the day or week.
Importance of Proper Placement
The placement of a central heating room thermostat is critical to its effectiveness. It should be installed in a central location within the home, away from heat sources, direct sunlight, and drafts. Placing the thermostat in an optimal position ensures that it accurately measures the overall temperature of the living space, preventing false readings that could lead to inefficient heating operation.
Read more: What Is Central Heating
Energy Efficiency and Comfort
By maintaining a consistent and optimal temperature, a central heating room thermostat contributes to energy efficiency and cost savings. It prevents the heating system from running excessively, reducing energy consumption and minimizing utility bills. Additionally, it promotes a comfortable indoor environment, allowing occupants to enjoy a cozy atmosphere without experiencing temperature fluctuations.
Understanding these fundamental aspects of a central heating room thermostat lays the groundwork for successfully wiring and utilizing this essential component of your heating system. With this knowledge, you'll be well-equipped to proceed to the next steps of wiring your thermostat and optimizing your home's heating efficiency.
Tools and Materials Required
Before embarking on the process of wiring a central heating room thermostat, it's essential to gather the necessary tools and materials to ensure a smooth and successful installation. Here's a comprehensive list of the items you'll need:
Tools:
- Screwdriver Set: A set of flathead and Phillips screwdrivers will be essential for removing and securing screws during the installation process.
- Wire Strippers: These tools are necessary for safely and accurately stripping the insulation from the thermostat wires, preparing them for connection.
- Drill and Bits: In some cases, you may need to drill holes for mounting the thermostat, making a drill and appropriate bits valuable tools to have on hand.
- Voltage Tester: A voltage tester is crucial for ensuring that the power supply to the heating system is safely disconnected before beginning the wiring process.
- Pliers: A pair of pliers will be useful for bending and securing wires as needed during the installation.
Materials:
- Central Heating Room Thermostat: Select a thermostat that is compatible with your heating system and offers the features and functionality you desire, such as programmable schedules or Wi-Fi connectivity.
- Mounting Screws: Depending on the type of thermostat and the mounting surface, you may need screws to securely attach the thermostat to the wall.
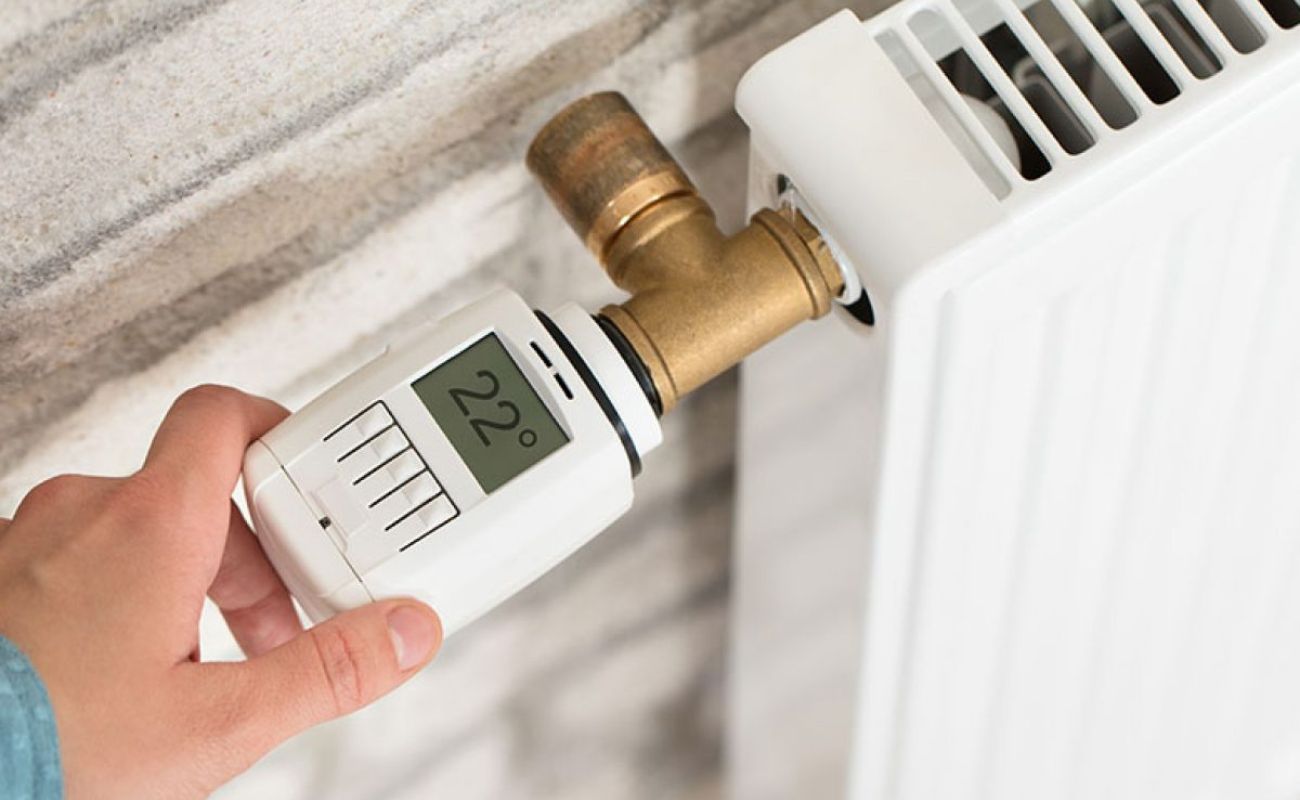
- Thermostat Wire: Ensure you have an adequate length of thermostat wire to connect the thermostat to the heating system. It's advisable to use wire specifically designed for thermostat applications.
- Wall Anchors (if necessary): If you're mounting the thermostat on drywall or a similar surface, wall anchors may be required to provide secure support.
- Labeling Materials: It's helpful to have labels or markers on hand to identify the thermostat wires and their corresponding connections during the wiring process.
- Electrical Tape: Electrical tape will be used to insulate and secure the connections between the thermostat wires and the heating system terminals.
By gathering these tools and materials, you'll be well-prepared to proceed with the wiring of your central heating room thermostat. Having the right equipment at your disposal will streamline the installation process and contribute to a successful outcome, allowing you to optimize the comfort and efficiency of your home's heating system.
Read more: How To Use Central Heating
Step-by-Step Guide to Wiring a Central Heating Room Thermostat
Wiring a central heating room thermostat requires careful attention to detail and adherence to safety protocols. By following this step-by-step guide, you can confidently navigate the wiring process and optimize the functionality of your thermostat.
1. Preparation
Before initiating the wiring process, ensure that the power supply to the heating system is safely disconnected. Use a voltage tester to verify that the electrical circuit is inactive to prevent any potential hazards during the installation.
2. Thermostat Selection
Select a suitable location for the thermostat, considering optimal placement away from heat sources and drafts. Once the location is determined, mark the positions for mounting screws if necessary.
3. Mounting the Thermostat
If the thermostat requires mounting, use a drill and appropriate bits to create holes for the mounting screws. Securely attach the thermostat to the wall, ensuring it is level and stable.
Read more: How To Install Central Heating
4. Wiring Connections
Carefully strip the insulation from the thermostat wires, exposing the conductors. Identify the corresponding terminals on the heating system and connect the wires according to the manufacturer's instructions. It's crucial to match the correct wires to their designated terminals to ensure proper functionality.
5. Labeling and Insulation
After making the wiring connections, label the wires and terminals to facilitate future maintenance or troubleshooting. Use electrical tape to insulate and secure the connections, preventing any accidental contact or short circuits.
6. Power Restoration
Once the wiring is complete and verified for accuracy, restore the power supply to the heating system. Test the thermostat to ensure it accurately controls the heating system based on the set temperature.
7. Programming and Calibration
If your thermostat features programmable schedules or advanced settings, take the time to program it according to your preferences. Additionally, calibrate the thermostat to ensure its temperature readings align with the actual ambient conditions.
By following these step-by-step instructions, you can successfully wire a central heating room thermostat, empowering you to take control of your home's heating system and optimize energy efficiency. This process not only enhances the comfort of your living spaces but also contributes to cost savings and environmental sustainability.
Read more: How To Turn On Central Heating
Testing and Troubleshooting
After completing the wiring process for your central heating room thermostat, it's essential to conduct thorough testing to ensure its proper functionality. Additionally, understanding common troubleshooting techniques can help address any potential issues that may arise during the testing phase.
Testing the Thermostat
-
Temperature Accuracy: Begin by setting the thermostat to a specific temperature and monitoring the heating system's response. Verify that the heating system activates when the temperature falls below the set level and turns off once the desired temperature is reached.
-
Programmable Features: If your thermostat offers programmable schedules or advanced features, test its ability to follow the programmed settings. Create a schedule and observe how the thermostat adjusts the temperature based on the programmed parameters.
-
Temperature Calibration: Use a separate thermometer to compare the thermostat's temperature readings with the actual ambient temperature. This comparison ensures that the thermostat provides accurate temperature measurements, allowing for precise temperature control.
-
User Interface: Familiarize yourself with the thermostat's user interface and test its various functions, such as adjusting the temperature settings, activating manual overrides, and accessing any additional features it may offer.
Troubleshooting Potential Issues
-
Incorrect Wiring: If the thermostat does not function as expected, double-check the wiring connections to ensure that each wire is correctly attached to its designated terminal. Any loose or improperly connected wires can disrupt the thermostat's operation.
-
Power Supply: Verify that the power supply to the heating system is stable and consistent. Fluctuating power can impact the thermostat's performance and lead to erratic heating system behavior.
-
Compatibility: Ensure that the thermostat is compatible with your specific heating system. Incompatibility issues can result in malfunctions or limited functionality.
-
Software Updates: For digital programmable thermostats, check for available software updates or firmware upgrades. Updating the thermostat's software can resolve potential bugs or improve its overall performance.
-
Environmental Factors: Assess the thermostat's placement and surroundings. Ensure it is not exposed to direct sunlight, drafts, or heat sources, as these factors can affect its temperature readings and operation.
By conducting thorough testing and being prepared to troubleshoot potential issues, you can ensure that your newly wired central heating room thermostat operates effectively and optimizes your home's heating system. Regular testing and maintenance will contribute to a comfortable and energy-efficient living environment, providing you with peace of mind and control over your home's heating system.
Conclusion
In conclusion, mastering the art of wiring a central heating room thermostat empowers homeowners to take control of their indoor comfort and energy efficiency. By understanding the fundamental principles of thermostat operation, selecting the appropriate tools and materials, and following a systematic wiring process, individuals can optimize their heating systems and create a more comfortable living environment.
The process begins with a comprehensive understanding of how central heating room thermostats function. These devices play a pivotal role in regulating indoor temperatures, promoting energy efficiency, and ensuring consistent comfort. Whether utilizing traditional mechanical thermostats or modern digital programmable models, homeowners can tailor their heating systems to meet their specific needs and preferences.
Equipped with the necessary tools and materials, individuals can confidently embark on the wiring process. From preparing the thermostat location to making precise wiring connections and conducting thorough testing, each step contributes to the successful installation of the thermostat. The careful labeling of wires, insulation of connections, and adherence to safety protocols are essential elements of this process.
After completing the wiring, thorough testing and potential troubleshooting ensure that the thermostat operates as intended. From verifying temperature accuracy to assessing programmable features and addressing potential issues, homeowners can fine-tune their thermostat's performance and address any challenges that may arise.
Ultimately, the successful wiring of a central heating room thermostat offers numerous benefits. It empowers homeowners to optimize their heating systems, reduce energy consumption, and create a comfortable indoor environment tailored to their preferences. By embracing this DIY endeavor, individuals gain a deeper understanding of their home's heating infrastructure and the factors that contribute to efficient and effective temperature control.
In essence, the journey of wiring a central heating room thermostat is not only a practical endeavor but also an opportunity for homeowners to enhance their living spaces and embrace sustainable energy practices. With the knowledge and confidence gained from this process, individuals can embark on a path toward greater comfort, energy efficiency, and control over their home's heating system.
Frequently Asked Questions about How To Wire A Central Heating Room Thermostat
Was this page helpful?
At Storables.com, we guarantee accurate and reliable information. Our content, validated by Expert Board Contributors, is crafted following stringent Editorial Policies. We're committed to providing you with well-researched, expert-backed insights for all your informational needs.


0 thoughts on “How To Wire A Central Heating Room Thermostat”