Home>Home Appliances>Home Automation Appliances>How Do I Rename An Alexa Device

Home Automation Appliances
How Do I Rename An Alexa Device
Modified: January 14, 2024
Learn how to easily rename your Alexa device for better home automation control. Find step-by-step instructions for renaming home automation appliances.
(Many of the links in this article redirect to a specific reviewed product. Your purchase of these products through affiliate links helps to generate commission for Storables.com, at no extra cost. Learn more)
Introduction
In the era of smart homes, voice-controlled devices have become an integral part of our daily lives. Amazon's Alexa, with its remarkable capabilities, has revolutionized the way we interact with our living spaces. Whether it's turning off the lights, playing music, or setting reminders, Alexa simplifies numerous tasks with just a voice command. However, personalizing the experience by renaming an Alexa device can add a touch of individuality and convenience to your smart home setup.
Renaming an Alexa device is a straightforward process that allows you to assign a custom name to your Echo, Echo Dot, or any other Alexa-enabled gadget. This personalized name not only enhances the interaction with your device but also makes voice commands more intuitive and engaging. Whether you want to distinguish between multiple devices in your home or simply prefer a unique moniker, renaming an Alexa device is a simple yet impactful customization feature.
In this comprehensive guide, we will walk through the step-by-step process of renaming an Alexa device using the Alexa app. By following these instructions, you can effortlessly tailor your Alexa experience to suit your preferences and make interacting with your smart home even more enjoyable. Let's dive into the details and discover how easy it is to give your Alexa device a name that reflects your personality and style.
Key Takeaways:
- Personalize your Alexa device by renaming it through the Alexa app, adding a touch of individuality and convenience to your smart home setup.
- The step-by-step guide empowers you to effortlessly tailor your Alexa experience, infusing your devices with names that reflect your personality and style.
Read more: How Long Do Alexa Devices Last
Step 1: Accessing the Alexa App
Before you embark on the journey of renaming your Alexa device, the first step is to ensure that you have the Alexa app installed on your smartphone or tablet. The Alexa app serves as the central hub for managing your Alexa-enabled devices, settings, and preferences. If you haven’t already installed the app, you can easily download it from the App Store (for iOS devices) or the Google Play Store (for Android devices).
Once the Alexa app is installed, launch the app and sign in using your Amazon account credentials. Upon signing in, you will be greeted by the home screen, which provides access to various features and settings. At the bottom of the screen, you will find the navigation bar, which includes options such as Home, Devices, Play, Communicate, and More.
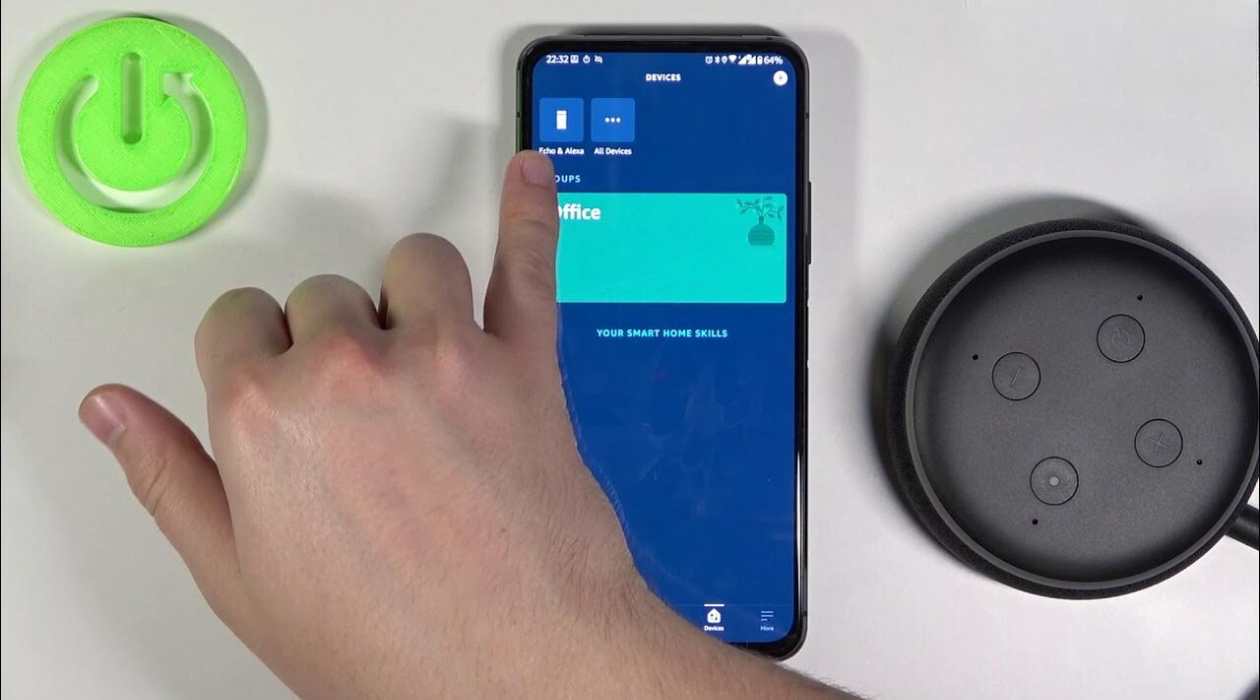
To proceed with renaming your Alexa device, tap on the Devices option in the navigation bar. This will take you to the Devices screen, where you can view a list of all the Alexa-enabled devices associated with your Amazon account. Whether it’s an Echo, Echo Dot, Echo Show, or any other Alexa-compatible gadget, you will find them all listed here.
Once you have accessed the Devices screen, you are ready to move on to the next step of selecting the specific device that you wish to rename. With the Alexa app as your digital command center, the process of customizing your Alexa experience becomes seamless and user-friendly, allowing you to tailor your smart home environment to your liking with just a few taps on your mobile device.
Step 2: Selecting the Device
After accessing the Devices screen within the Alexa app, the next step in the process of renaming your Alexa device is to select the specific device that you want to customize. The list of devices displayed on this screen includes all the Alexa-enabled gadgets associated with your Amazon account, making it convenient to identify the device you wish to rename.
Scroll through the list of devices and locate the one that you want to rename. Once you have identified the device, tap on its name to access its individual settings and customization options. This action will direct you to the device-specific screen, where you can view detailed information about the selected device and explore various settings tailored to its functionality.
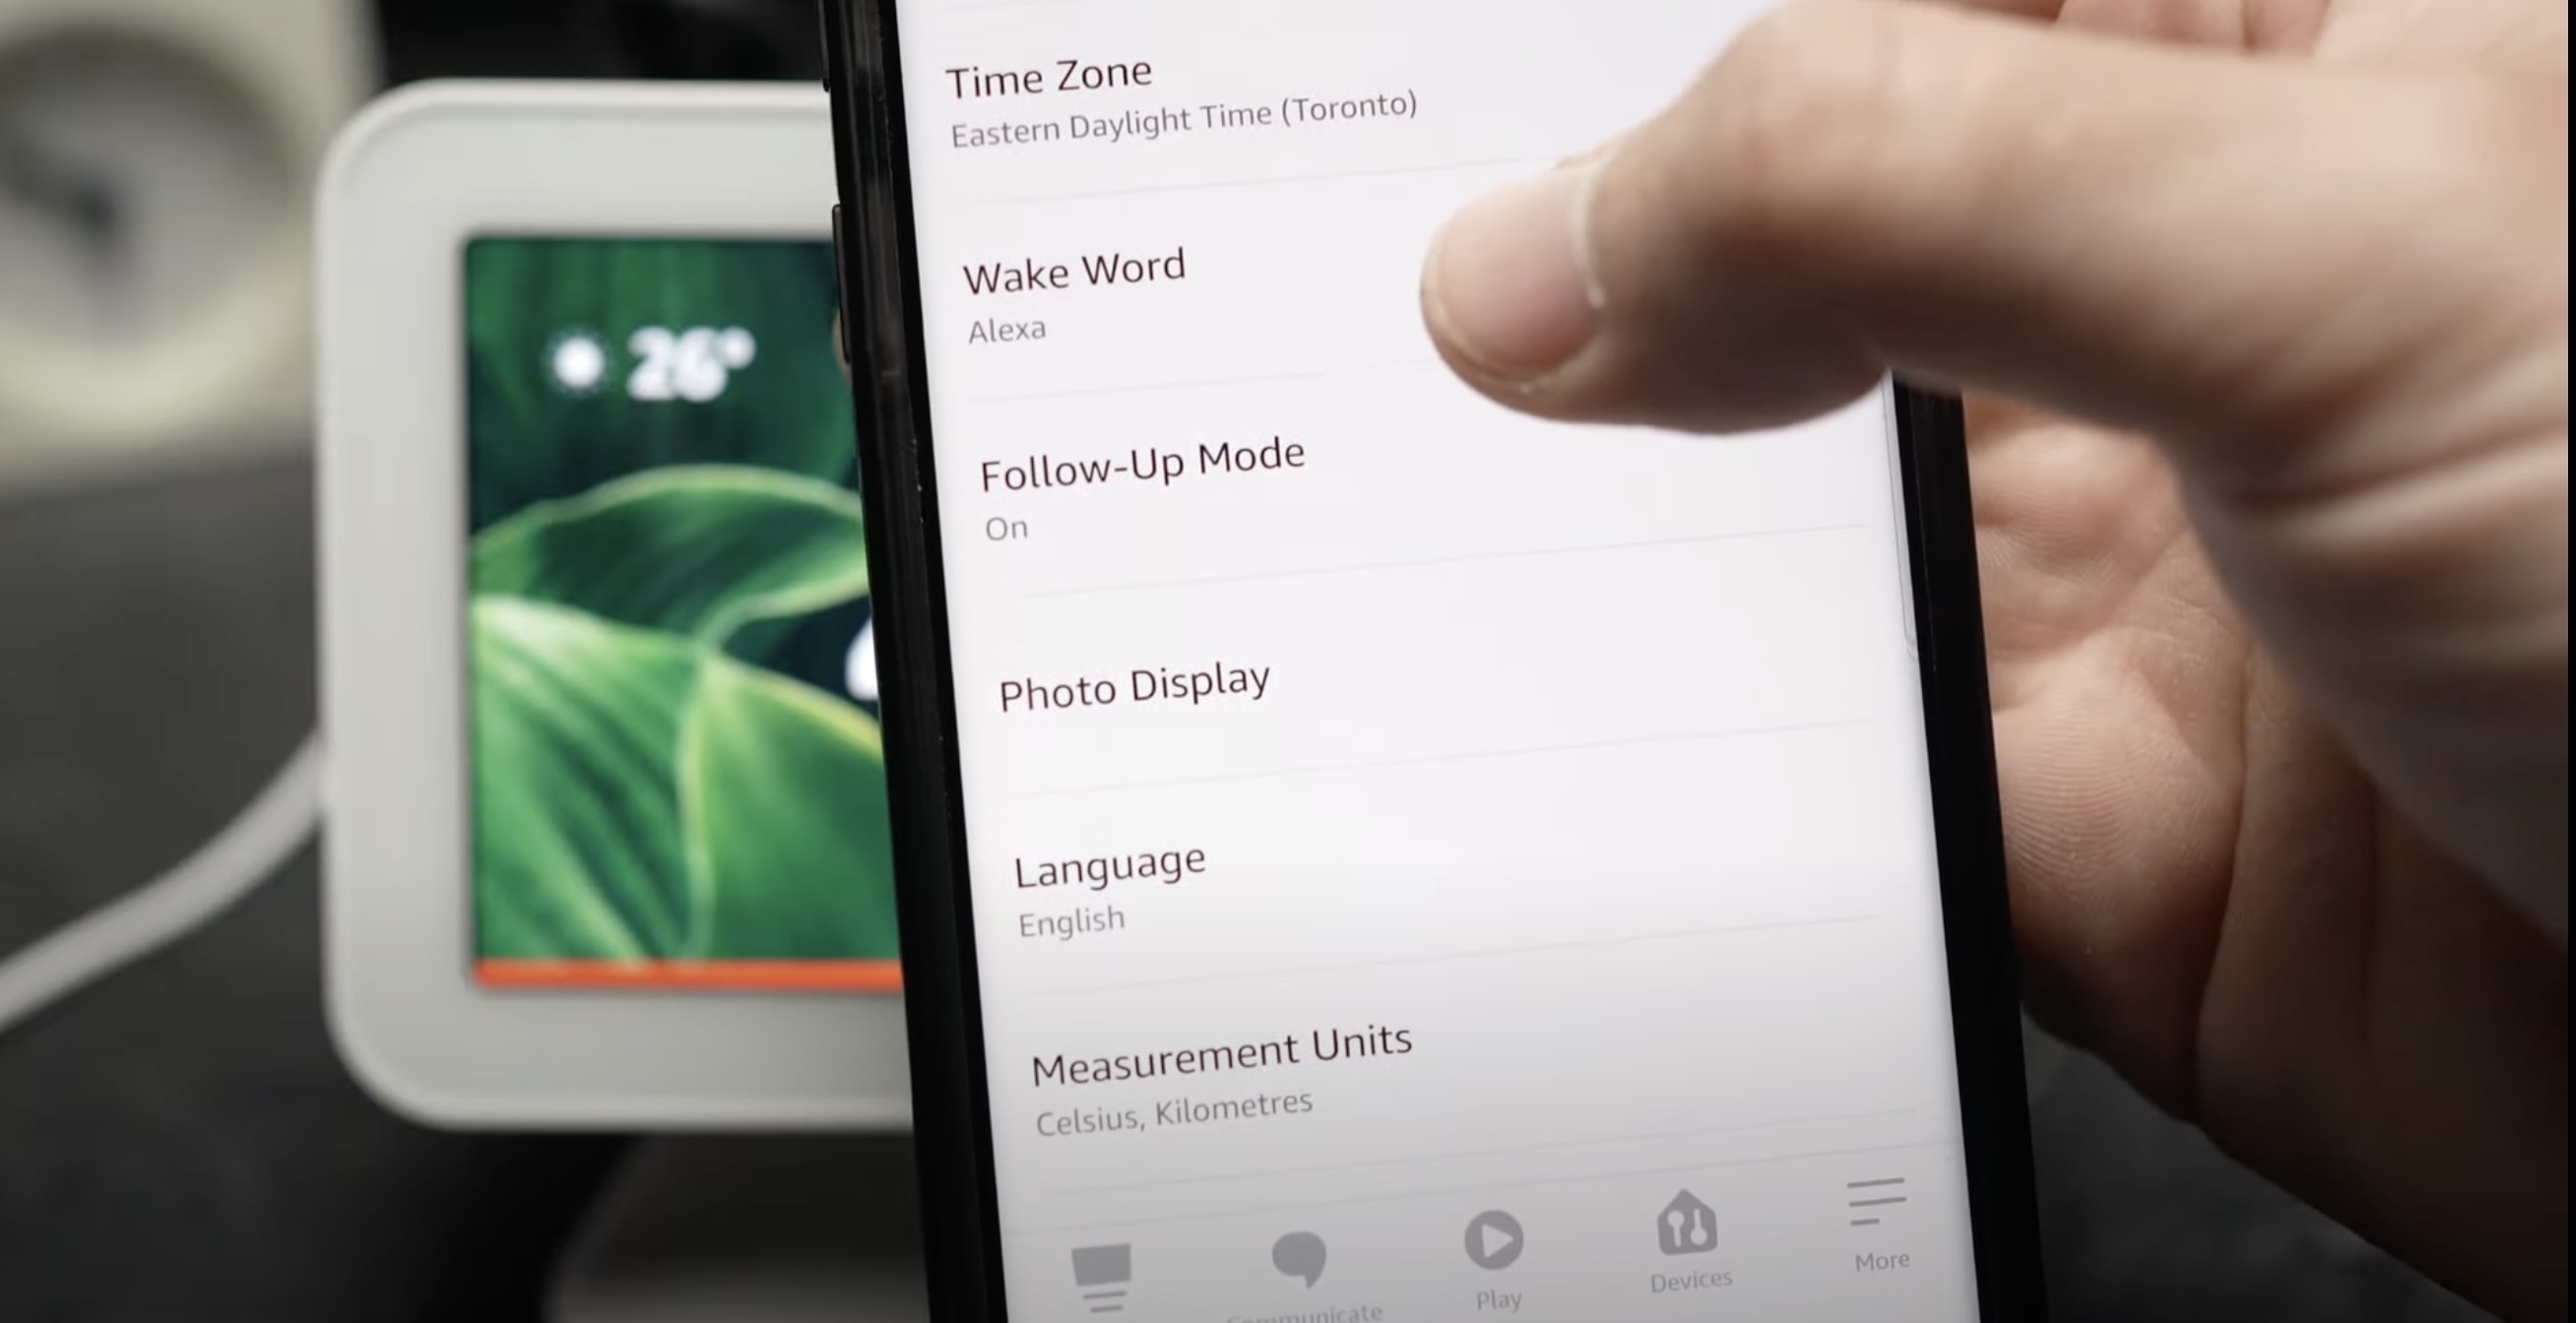
On the device-specific screen, you will find a range of options to manage and personalize the selected Alexa device. These options may include adjusting the device’s volume, configuring its connectivity settings, customizing its audio preferences, and more. However, for the purpose of renaming the device, you will be looking for the option that allows you to edit its name and assign a new, personalized title.
By selecting the device within the Alexa app, you are one step closer to giving it a distinct and meaningful name that resonates with your preferences. The intuitive interface of the Alexa app streamlines the process of customizing your Alexa-enabled devices, empowering you to make personalized modifications effortlessly and efficiently. With the device selected, you are now prepared to proceed to the next step of renaming the device to reflect your individual style and creativity.
To rename an Alexa device, open the Alexa app, go to Devices, select the device you want to rename, tap Edit Name, enter the new name, and then tap Save.
Step 3: Renaming the Device
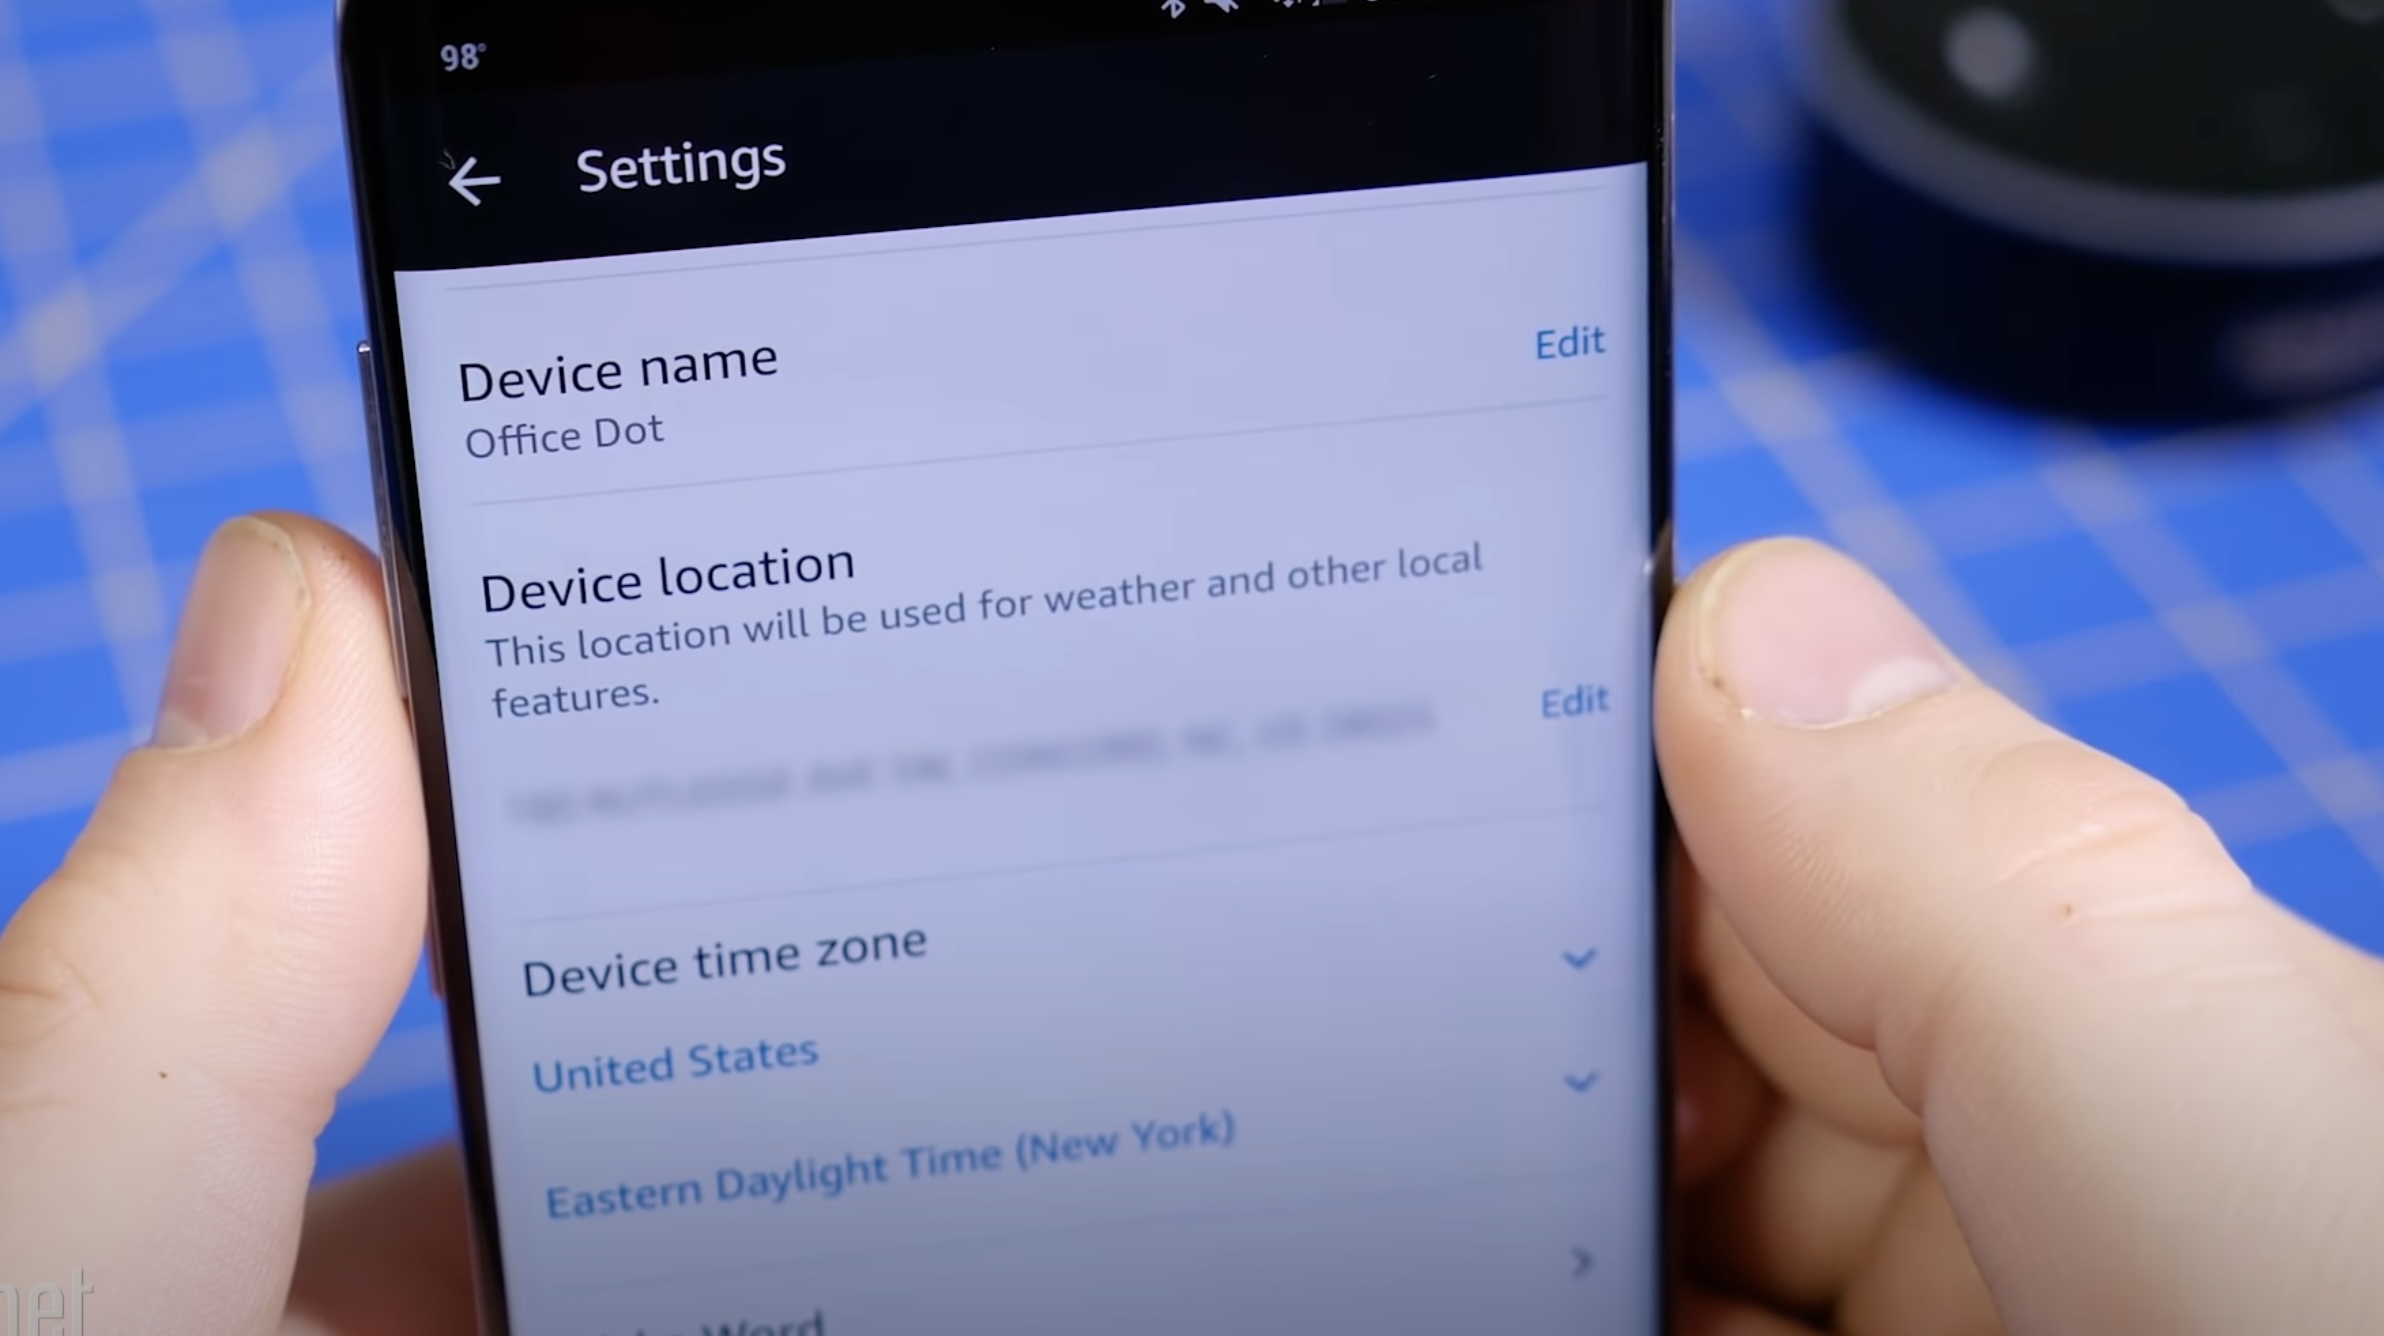
With the specific Alexa device selected within the Alexa app, you are now ready to embark on the exciting process of renaming the device to infuse it with a touch of personalization. To initiate the renaming procedure, look for the option within the device-specific settings that allows you to edit the device’s name. This option is typically represented by an Edit or Rename button, which, when tapped, will enable you to input a new name for the device.
Upon tapping the Edit or Rename button, you will be prompted to enter a new name for the device. This presents an opportunity to unleash your creativity and choose a name that resonates with your preferences, style, or the specific location of the device within your home. Whether it’s “Kitchen Echo,” “Bedroom Dot,” or a custom name that holds personal significance, the flexibility to rename your Alexa device allows you to imbue it with a unique identity.
When entering the new name for your Alexa device, consider selecting a moniker that is easy to pronounce and distinct enough to be recognized effortlessly during voice commands. Additionally, you may opt to include specific details in the name to differentiate the device, especially if you have multiple Alexa-enabled gadgets in your home. This thoughtful approach to naming your devices can enhance the overall user experience and streamline interactions with Alexa throughout your living space.
Once you have entered the new name for the device, review it to ensure that it accurately reflects your intentions and preferences. This step allows you to fine-tune the name before finalizing the renaming process, ensuring that the device will be addressed by the chosen name during voice interactions and within the Alexa app. With the new name entered and reviewed, you are now prepared to proceed to the next step of confirming the changes and applying the personalized name to your Alexa device.
Step 4: Confirming the Changes
After entering the new name for your Alexa device, the final step in the renaming process involves confirming the changes to ensure that the device adopts its personalized identity seamlessly. Once you have reviewed and finalized the new name, look for the option within the Alexa app that allows you to apply the changes and confirm the updated name for the device.
Upon locating the option to confirm the changes, you may encounter a button labeled Save, Apply, or a similar indication that signifies the action of finalizing the device’s new name. Tapping this button will prompt the Alexa app to process the renaming request and apply the customized name to the selected device, ensuring that it is recognized and addressed accordingly within your smart home ecosystem.
As you confirm the changes, take a moment to appreciate the personalized touch that the new name brings to your Alexa device. Whether it’s a playful, descriptive, or meaningful name, the act of customizing the device’s identity adds a delightful layer of personalization to your smart home experience. With the changes confirmed, your Alexa device will now respond to voice commands using its newly assigned name, creating a more engaging and tailored interaction with this innovative technology.
Upon confirming the changes, you can navigate back to the Devices screen within the Alexa app to verify that the device now reflects its updated name. This confirmation serves as a reassuring step to ensure that the renaming process was successful and that the device is ready to respond to voice commands using its personalized name.
With the changes confirmed and the device now bearing its new name, you have successfully personalized your Alexa device, infusing it with a distinct identity that aligns with your preferences and style. The seamless process of renaming an Alexa device through the Alexa app empowers you to tailor your smart home environment effortlessly, enhancing the overall experience of interacting with Alexa and your connected devices.
Read more: How To Rename The First Plug On Alexa
Conclusion
Renaming an Alexa device is a simple yet impactful customization feature that allows you to personalize your smart home experience and infuse your devices with a touch of individuality. Through the intuitive interface of the Alexa app, the process of renaming an Alexa device becomes a seamless and engaging endeavor, empowering you to assign unique names to your Echo, Echo Dot, or any other Alexa-enabled gadget with ease.
By following the step-by-step guide outlined in this comprehensive tutorial, you have gained the knowledge and confidence to rename your Alexa device and tailor it to suit your preferences. From accessing the Alexa app to selecting the specific device, renaming it, and confirming the changes, each step has contributed to enhancing your understanding of customizing your smart home environment.
With the newfound ability to rename your Alexa devices, you can now infuse them with names that resonate with your style, preferences, and the specific locations within your home. Whether it’s assigning descriptive names, playful monikers, or meaningful titles, the flexibility to personalize your Alexa devices adds a delightful layer of customization to your smart home ecosystem.
As you continue to explore the possibilities of voice-controlled interactions and smart home automation, remember that the ability to rename your Alexa devices is just one of the many ways to tailor your experience. Embrace the creative freedom that comes with customizing your devices, and let your personalized Alexa environment reflect your unique personality and lifestyle.
With the knowledge and insights gained from this guide, you are well-equipped to embark on the journey of personalizing your smart home, starting with the simple yet impactful act of renaming your Alexa devices. As you navigate the realms of smart technology and connected living spaces, may your interactions with Alexa be as unique and delightful as the names you bestow upon your devices.
Frequently Asked Questions about How Do I Rename An Alexa Device
Was this page helpful?
At Storables.com, we guarantee accurate and reliable information. Our content, validated by Expert Board Contributors, is crafted following stringent Editorial Policies. We're committed to providing you with well-researched, expert-backed insights for all your informational needs.






0 thoughts on “How Do I Rename An Alexa Device”