Home>Home Appliances>Kitchen Appliances>How To Make Beef Sticks In A Dehydrator

Kitchen Appliances
How To Make Beef Sticks In A Dehydrator
Modified: August 28, 2024
Learn how to make delicious beef sticks in a dehydrator with our easy-to-follow recipe. Discover the best kitchen appliances for this tasty snack!
(Many of the links in this article redirect to a specific reviewed product. Your purchase of these products through affiliate links helps to generate commission for Storables.com, at no extra cost. Learn more)
Introduction
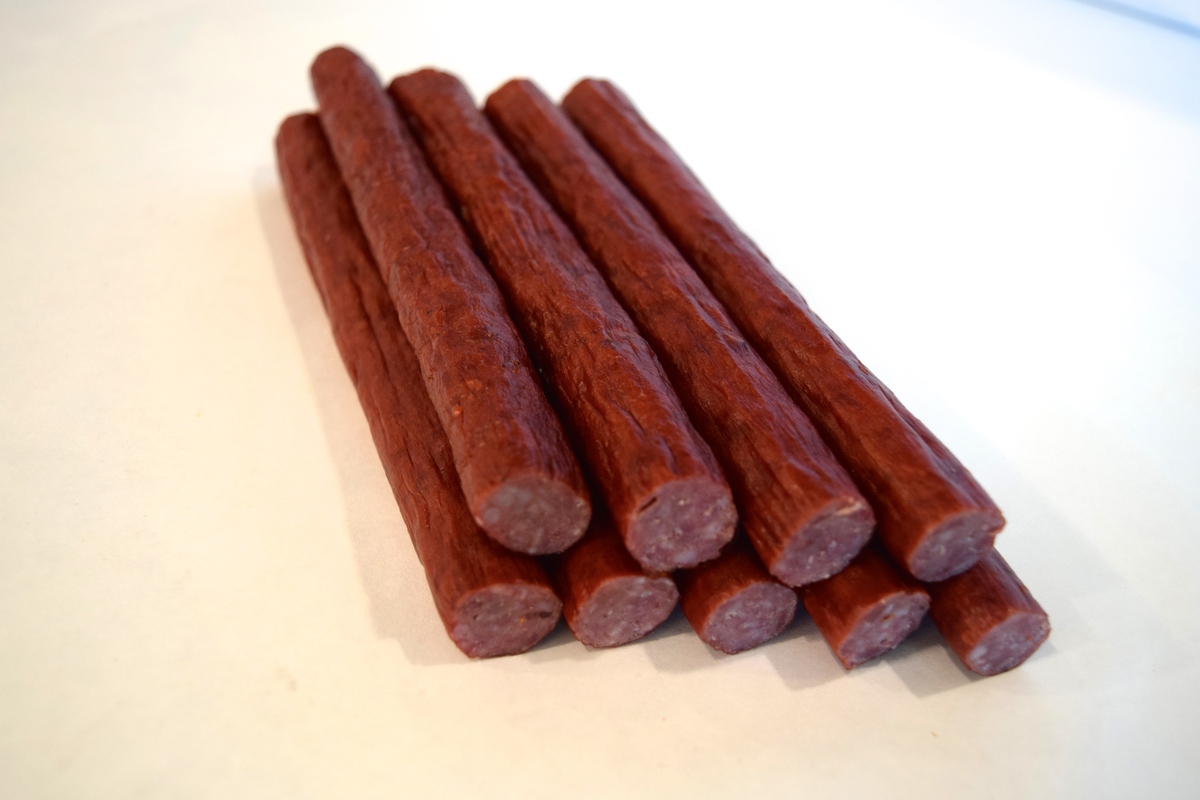
Welcome to the wonderful world of homemade beef sticks! If you're a fan of flavorful, protein-packed snacks, then learning how to make beef sticks in a dehydrator will open up a world of delicious possibilities. Whether you're an outdoor enthusiast looking for portable energy-boosting treats or a health-conscious individual seeking a wholesome alternative to store-bought snacks, crafting your own beef sticks is a rewarding and surprisingly simple endeavor.
In this guide, we'll walk you through the step-by-step process of creating delectable beef sticks using a dehydrator. From selecting the right type of beef and preparing it for seasoning to the actual dehydration process, you'll gain valuable insights into the art of beef stick creation. Additionally, we'll explore various seasoning options, allowing you to customize the flavor profile to suit your preferences.
By the end of this journey, you'll not only have a batch of mouthwatering beef sticks to enjoy but also the knowledge and confidence to continue experimenting with different recipes and techniques. So, roll up your sleeves, sharpen your culinary skills, and let's embark on this flavorful adventure together!
Key Takeaways:
- Homemade beef sticks are a delicious and healthy snack option that can be easily made in a dehydrator. With the right beef, seasoning, and dehydration process, you can create your own flavorful protein-packed treats.
- Properly storing your homemade beef sticks in air-tight containers, using absorbent materials, and labeling them with the preparation date ensures that they remain fresh and enjoyable for an extended period, making them a convenient snack option for any occasion.
Choosing the Right Beef
When it comes to making beef sticks, selecting the right type of beef is crucial for achieving the desired flavor, texture, and overall quality of the end product. Here are some essential factors to consider when choosing beef for your homemade beef sticks:
- Lean Cuts: Opt for lean cuts of beef with minimal marbling. This not only contributes to a healthier snack but also ensures that the beef sticks dehydrate evenly without excessive fat rendering.
- Quality Matters: Choose high-quality beef from a trusted source. Look for fresh, well-marbled cuts that are free from any unpleasant odors or discoloration.
- Beef Varieties: Different beef cuts can be used, such as sirloin, round, or flank steak. Each cut offers its own unique texture and flavor, so feel free to experiment to find your perfect fit.
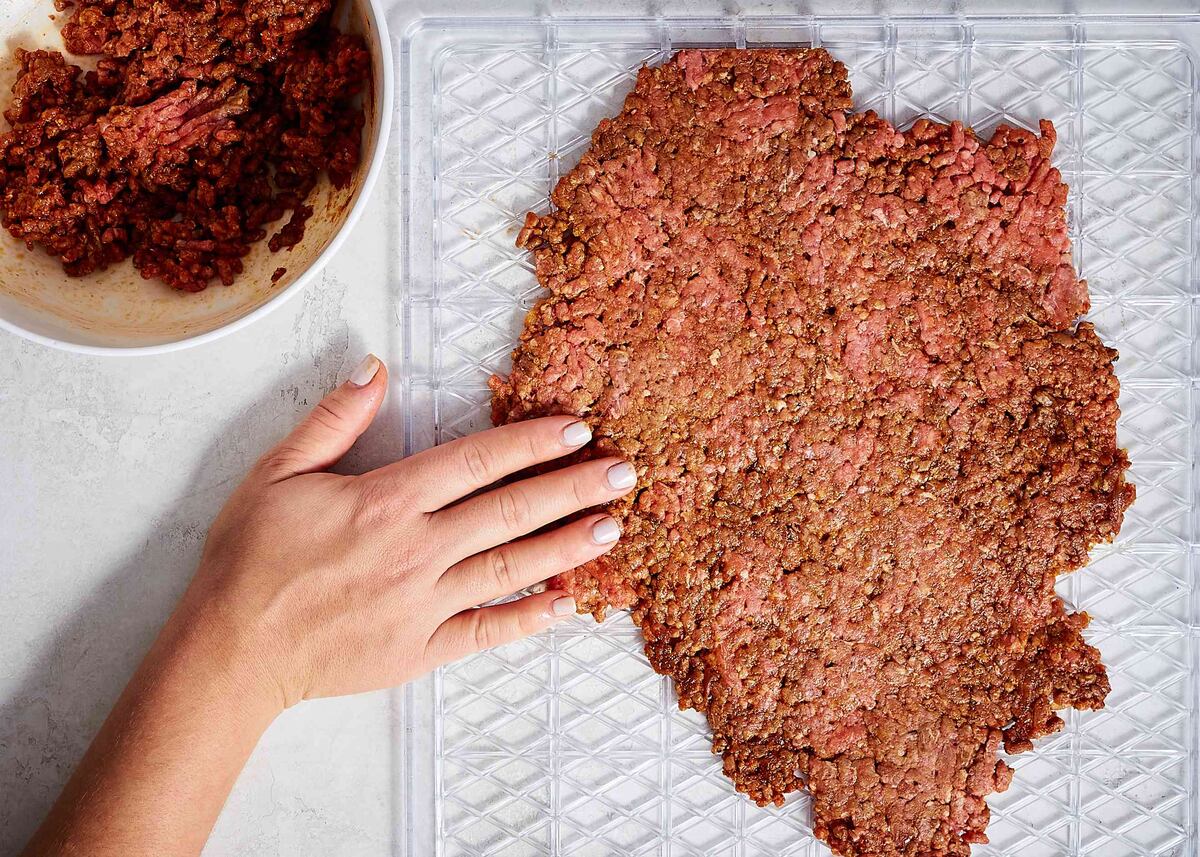
- Consider Ground Beef: If you prefer a more uniform texture in your beef sticks, consider using lean ground beef. This can simplify the preparation process and ensure consistent results.
Once you've chosen the ideal beef for your beef sticks, it's time to move on to the next step: preparing the beef for seasoning and dehydration.
Preparing the Beef
Before diving into the seasoning and dehydrating process, it’s essential to properly prepare the beef to ensure optimal results. Here’s a step-by-step guide to preparing the beef for your homemade beef sticks:
- Trimming: Start by trimming any visible fat from the beef. While a minimal amount of fat can contribute to flavor and moisture, excessive fat may result in uneven dehydration and a greasy texture.
- Slicing: Depending on your preference, slice the beef into strips of uniform thickness. Aim for slices that are approximately ¼ to ⅜ inch thick to promote consistent dehydration and a satisfying chewy texture in the finished beef sticks.
- Tenderizing (Optional): If you desire a softer texture, consider tenderizing the beef strips using a meat mallet or a tenderizing tool. This step can help break down muscle fibers and enhance the overall tenderness of the beef sticks.
- Marinating (Optional): While not essential, marinating the beef strips in a flavorful mixture can infuse them with additional depth and complexity. Common marinade ingredients include soy sauce, Worcestershire sauce, garlic, onion powder, and various herbs and spices. Allow the beef to marinate for at least 30 minutes, or refrigerate it for several hours to overnight for a more pronounced flavor infusion.
By meticulously preparing the beef according to these guidelines, you’ll set the stage for a delectable beef stick creation process. With the beef ready for seasoning, let’s explore the next crucial step: infusing the meat with an enticing blend of flavors.
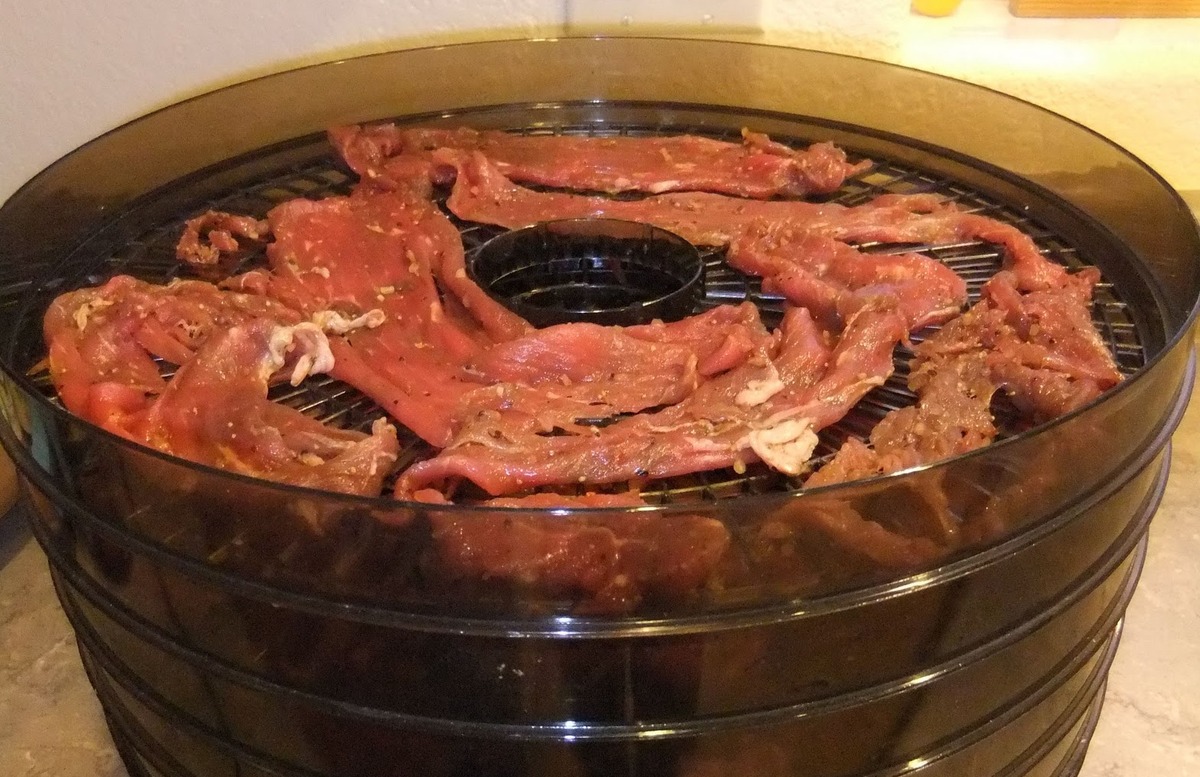
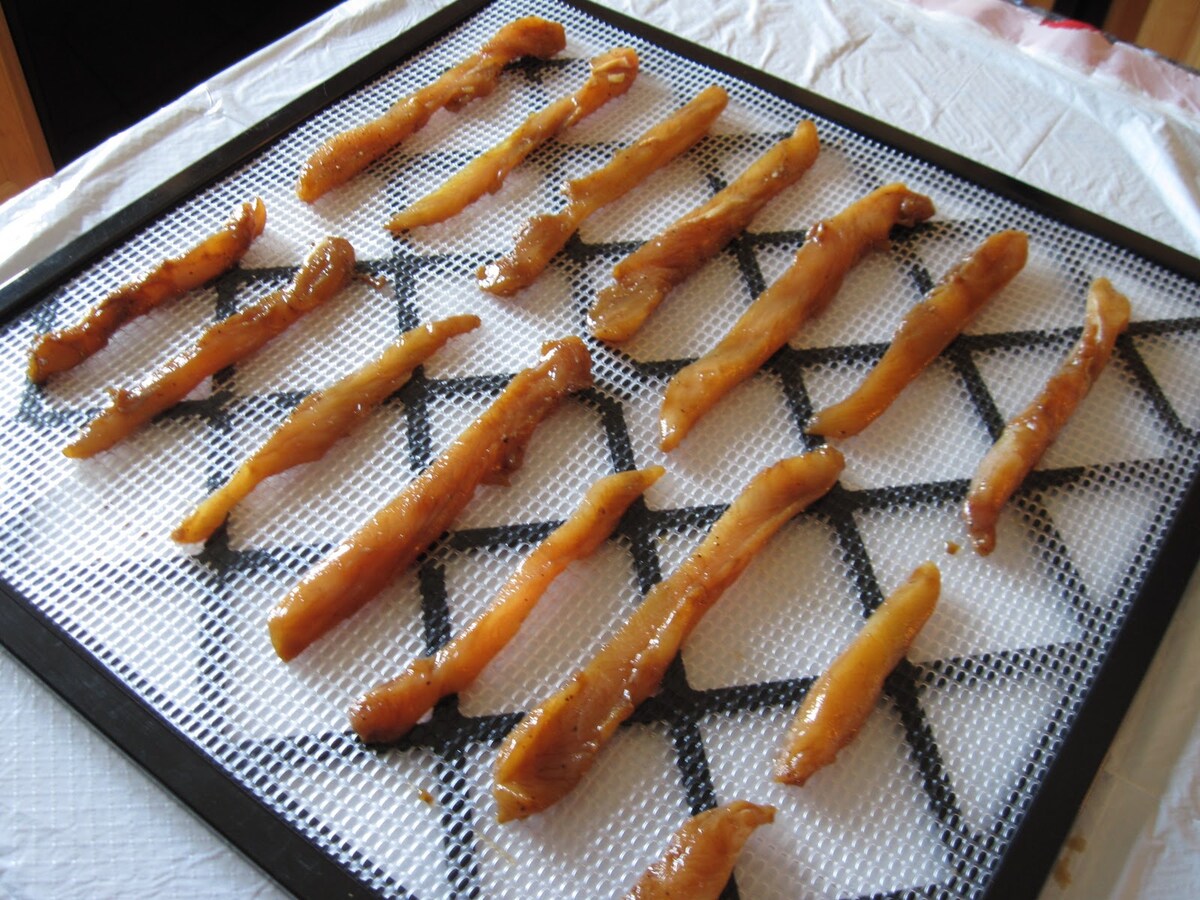
After marinating the beef strips, place them on the dehydrator trays in a single layer for even drying. Rotate the trays halfway through the drying process for uniform results.
Seasoning the Beef
Seasoning is where the magic truly happens in the beef stick-making process. It’s the stage where you can unleash your creativity and tailor the flavor profile to your liking. Here’s a comprehensive guide to seasoning the beef for your homemade beef sticks:
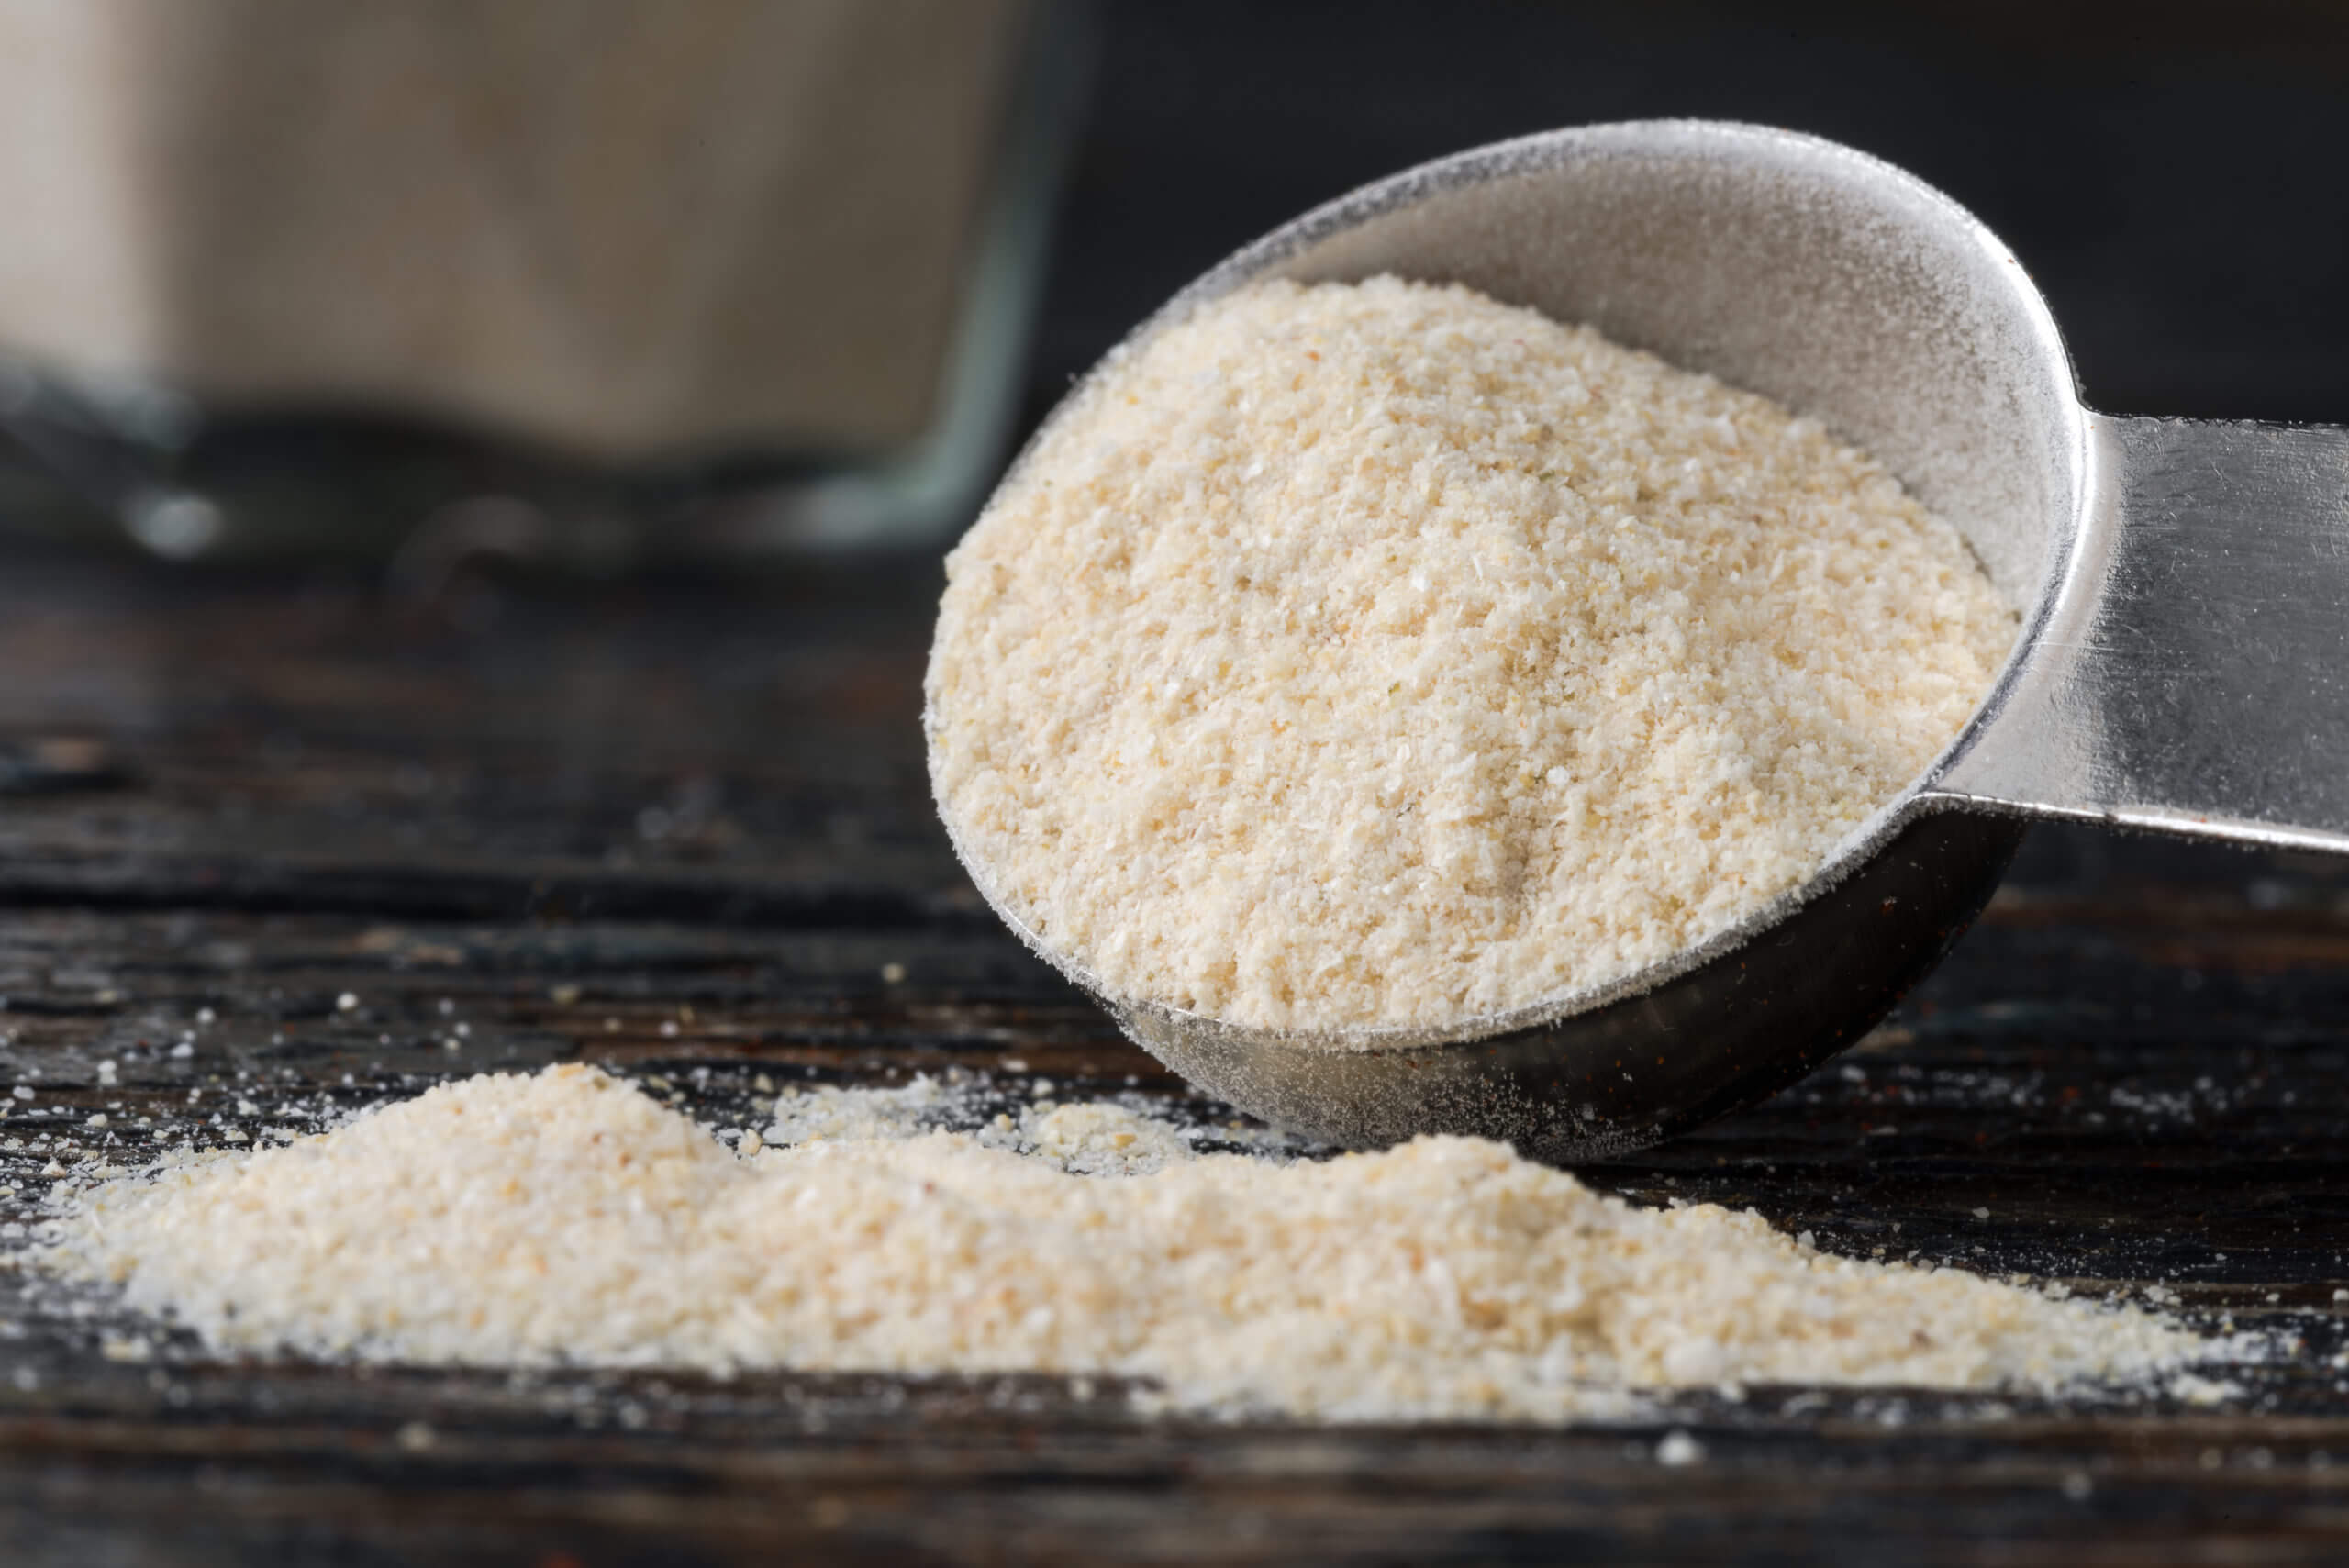
- Basic Seasoning: A simple yet flavorful seasoning blend can consist of garlic powder, onion powder, black pepper, and salt. These foundational spices provide a classic savory taste that complements the natural richness of the beef.
- Custom Blends: Get adventurous by experimenting with custom spice blends. Consider incorporating ingredients such as smoked paprika, cayenne pepper, cumin, coriander, or even a touch of brown sugar for a hint of sweetness. The possibilities are endless, so don’t be afraid to mix and match to create your signature flavor profile.
- Uniform Coating: Ensure that the seasoning is evenly distributed across all the beef strips. Thoroughly coat each strip to guarantee consistent flavor in every bite.
- Air-Drying (Optional): After seasoning, you may opt to let the beef strips air-dry for a brief period. This can help the seasonings adhere more effectively to the meat and form a flavorful crust during the dehydration process.
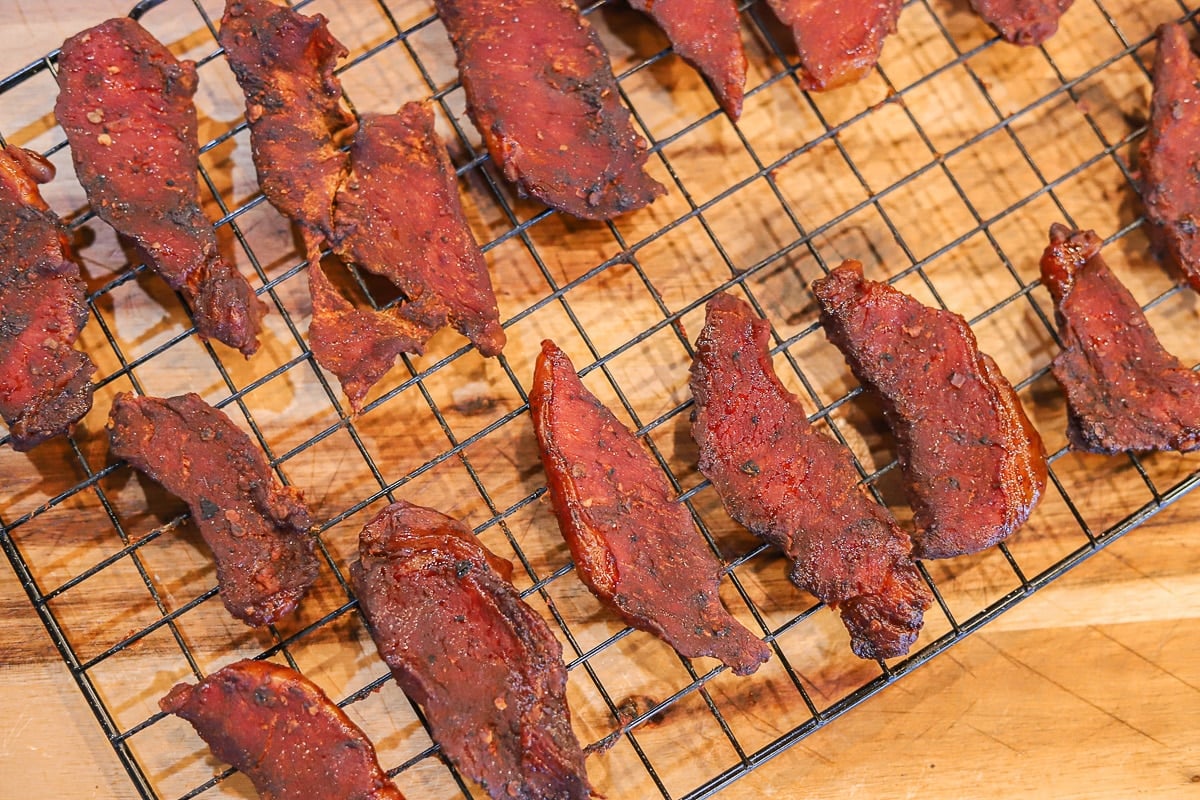
Once the beef is impeccably seasoned, it’s time to introduce it to the dehydrator, where the flavors will intensify, and the meat will transform into delectable beef sticks. Let’s delve into the next stage: harnessing the power of the dehydrator to bring your seasoned beef to savory perfection.
Using the Dehydrator
Now that your beef is expertly seasoned and ready for transformation, it’s time to harness the dehydrator’s prowess to achieve the perfect beef sticks. Follow these steps to ensure a seamless and successful dehydration process:
- Preheat the Dehydrator: If your dehydrator requires preheating, set it to the appropriate temperature as per the manufacturer’s instructions. Typically, beef sticks are dehydrated at temperatures ranging from 130°F to 165°F (54°C to 74°C).
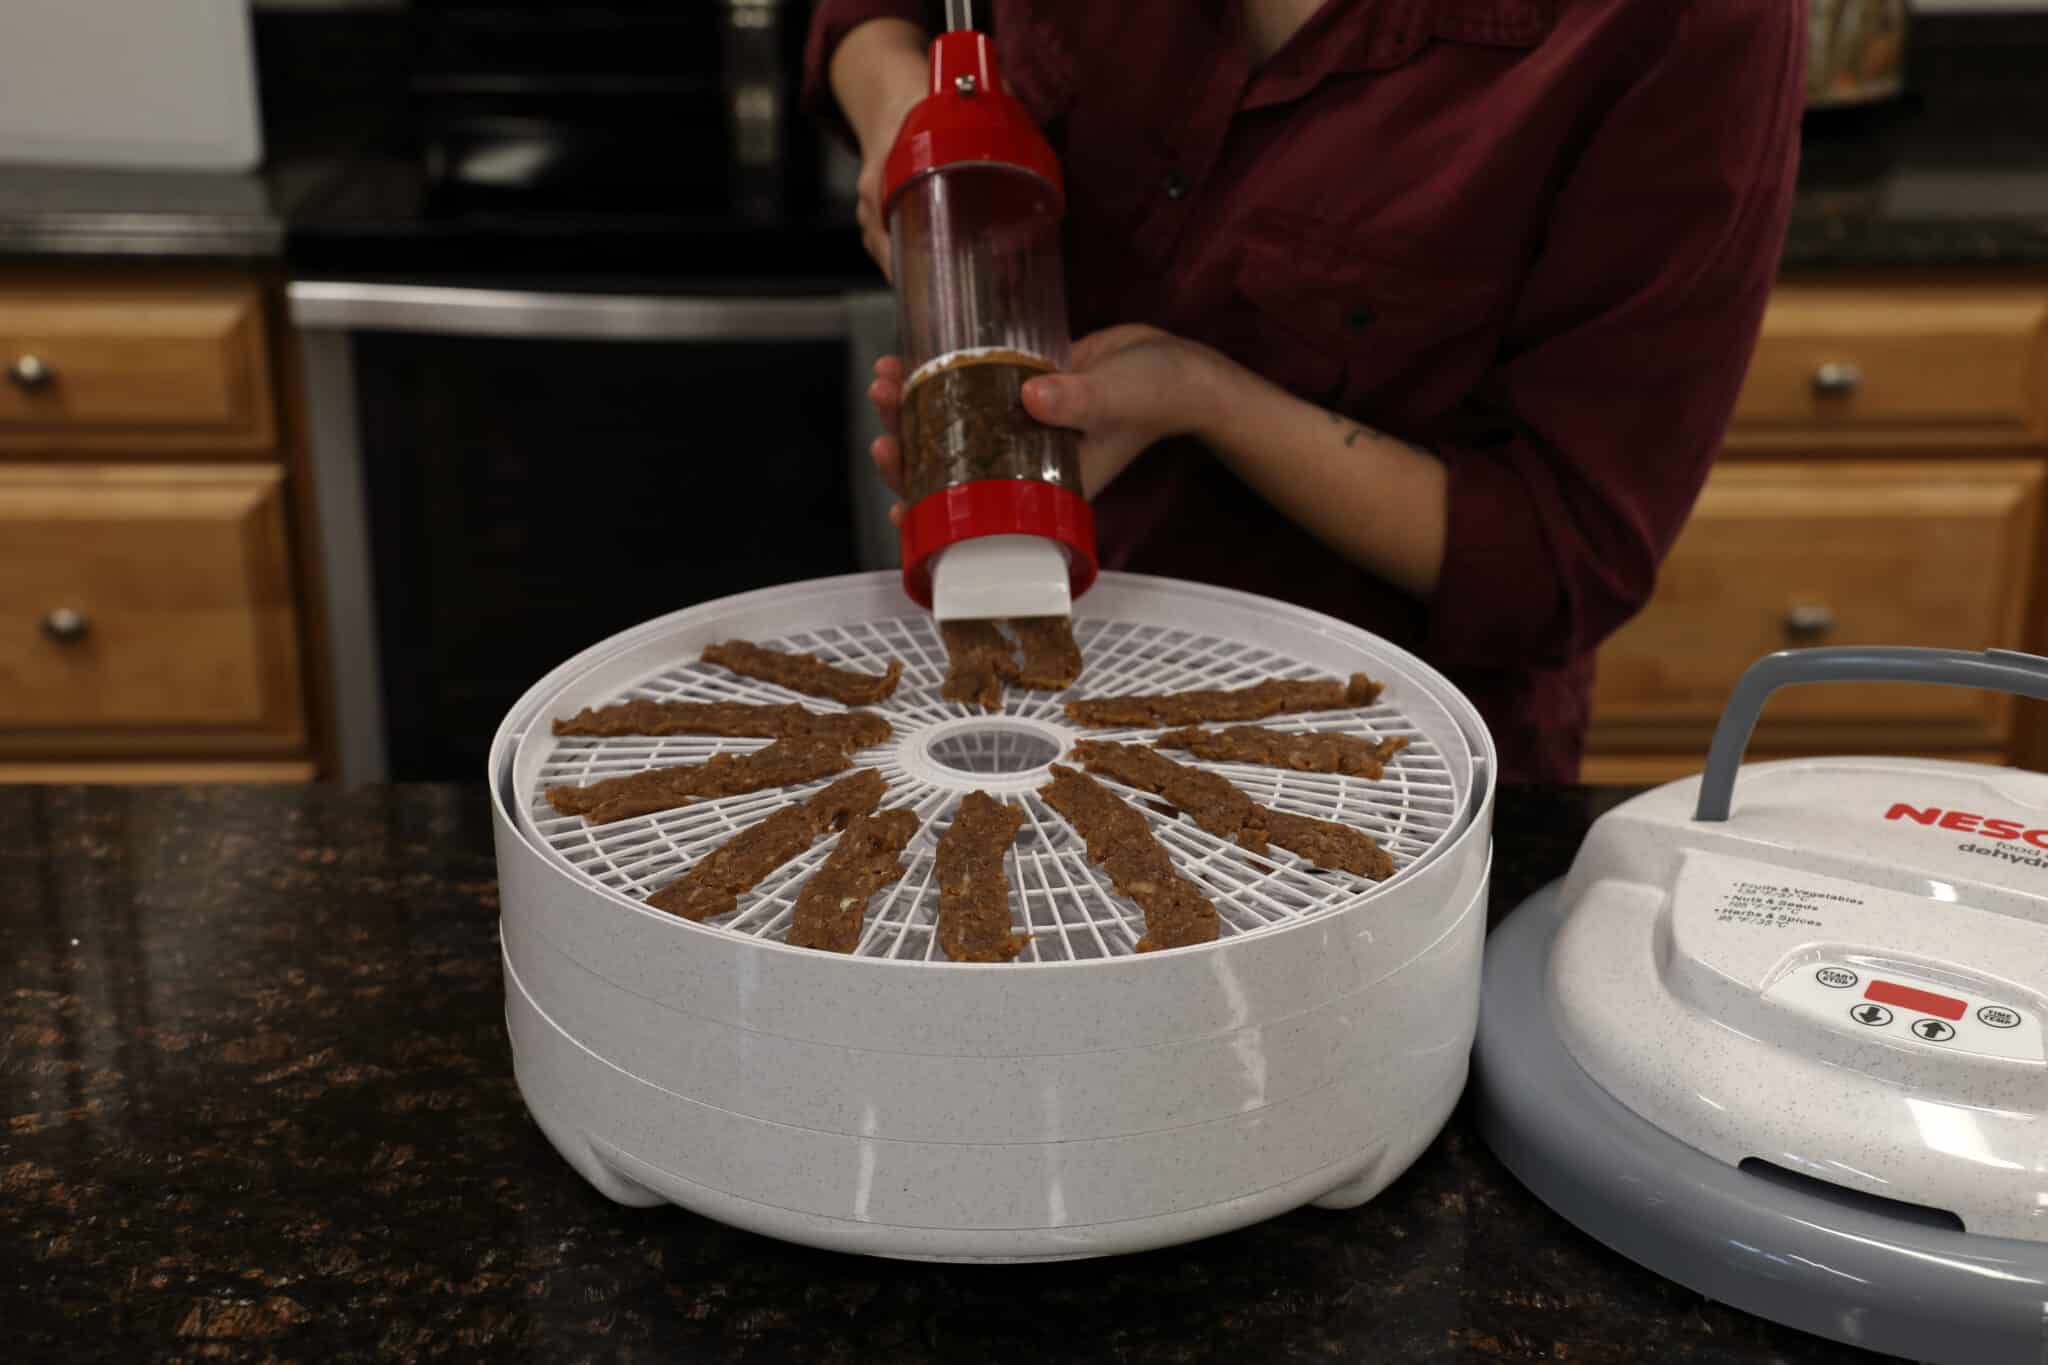
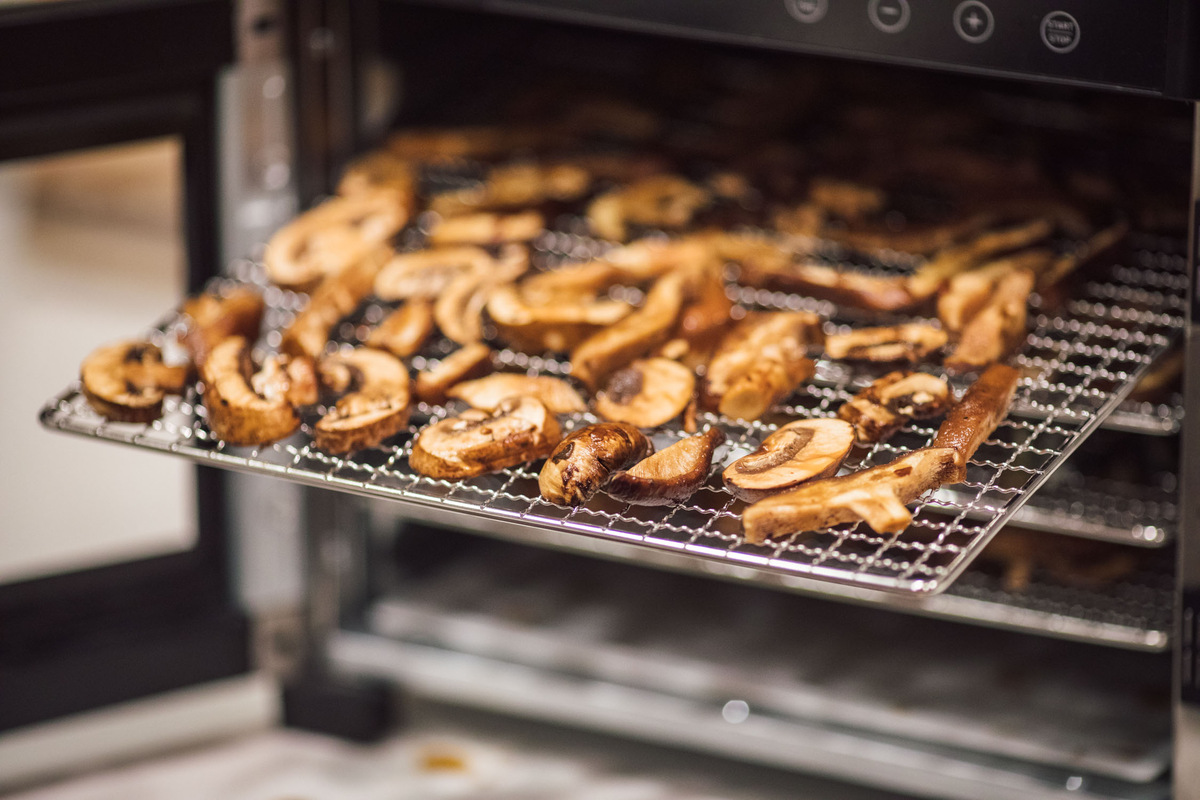
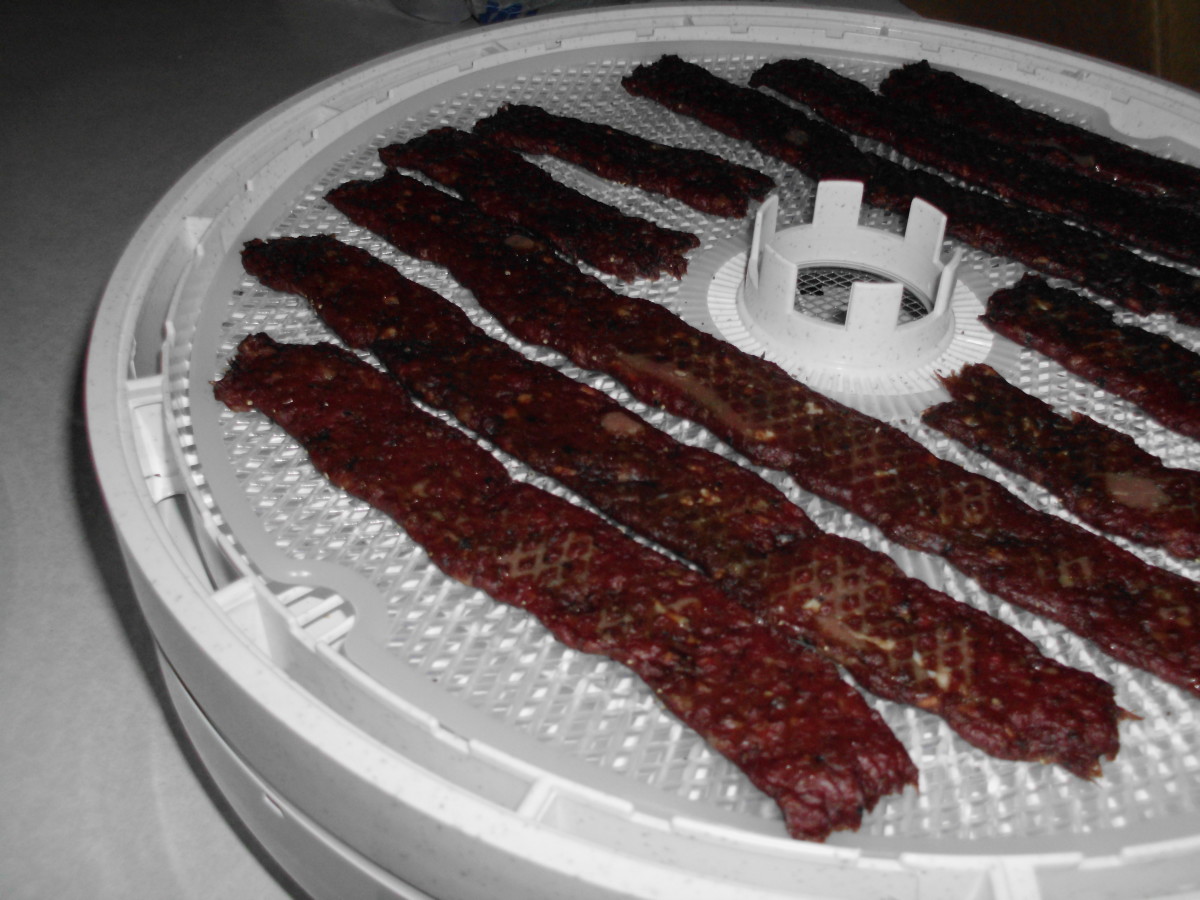
- Arrange the Beef Strips: Place the seasoned beef strips on the dehydrator trays, ensuring that they are spaced apart to allow proper air circulation. Avoid overcrowding the trays, as this can impede the dehydration process and lead to uneven results.
- Monitor the Dehydration: Depending on the thickness of the beef strips and the dehydrator’s specifications, the dehydration process can take anywhere from 4 to 8 hours. Periodically check the beef sticks for doneness, ensuring that they achieve the desired chewy texture without being overly dry or tough.
- Rotate the Trays (Optional): If your dehydrator tends to have variations in heat distribution, consider rotating the trays at intervals to promote uniform dehydration across all the beef strips.
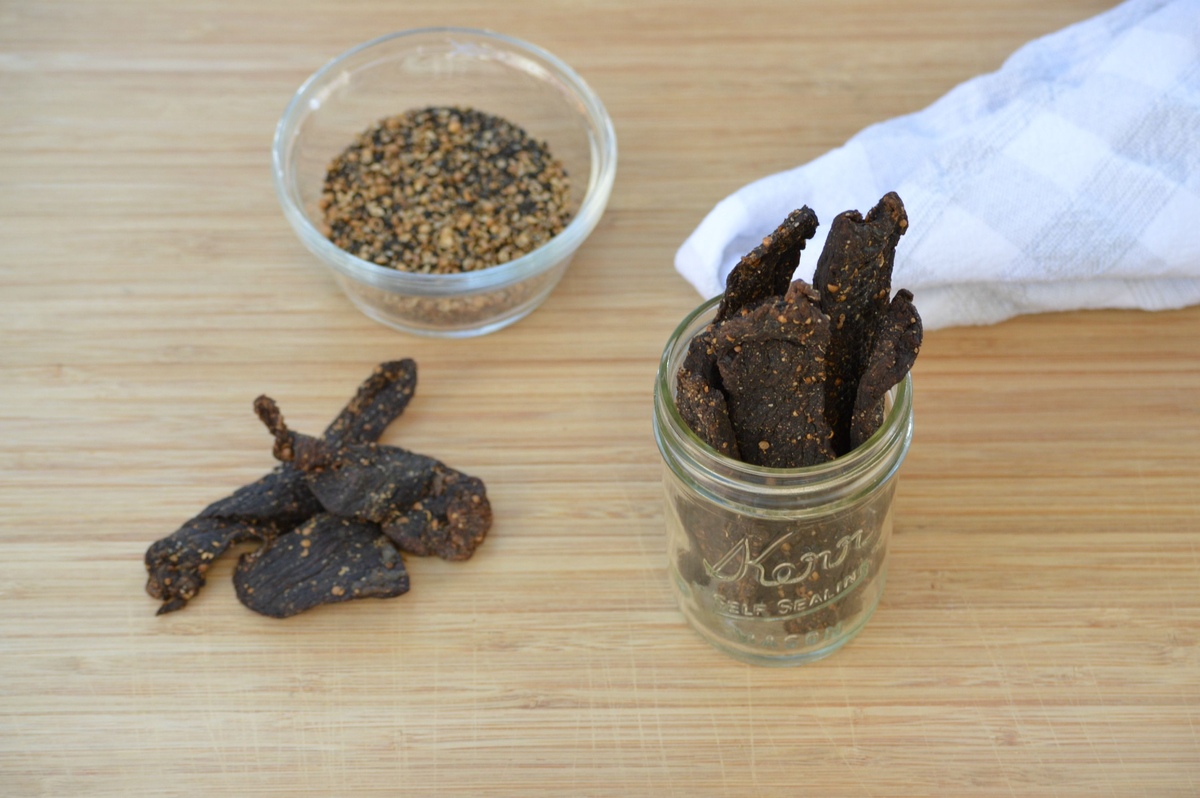
- Cooling and Testing: Once the beef sticks have undergone the dehydration process, allow them to cool completely. Conduct a taste test to ensure that they have reached the desired texture and flavor profile. If needed, adjust your future seasoning or dehydration techniques based on the results.
By following these steps, you’ll be able to harness the dehydrator’s capabilities to transform seasoned beef into delectable beef sticks. Now that your homemade beef sticks are ready, it’s time to explore the final essential aspect: storing them for lasting enjoyment.
Storing the Beef Sticks
Proper storage is crucial for preserving the flavor, texture, and overall quality of your homemade beef sticks. Follow these guidelines to ensure that your flavorful creations remain fresh and enjoyable for an extended period:
- Cooling and Resting: After the dehydration process, allow the beef sticks to cool completely at room temperature. This helps them firm up and ensures that any residual moisture is evenly distributed.
- Air-Tight Containers: Once cooled, transfer the beef sticks to air-tight containers or resealable bags. Ensure that the containers are clean, dry, and free from any lingering odors that could affect the beef sticks’ flavor.
- Absorbent Material: To prevent moisture buildup, consider placing a small packet of food-safe desiccant or a piece of parchment paper in the storage containers. These materials help absorb excess moisture and maintain the beef sticks’ optimal texture.
- Refrigeration (Optional): While properly dehydrated beef sticks have a naturally extended shelf life, storing them in the refrigerator can further prolong their freshness. This is particularly beneficial in warmer climates or if you intend to keep the beef sticks for an extended period.
- Labeling and Dating: To track the freshness of your beef sticks, label the storage containers with the date of preparation. This simple step helps you monitor their shelf life and enjoy them at their peak flavor and texture.
By adhering to these storage practices, you can savor your homemade beef sticks over an extended period, whether you’re enjoying them as a convenient snack on the go or incorporating them into your culinary creations.
With your beef sticks expertly prepared, seasoned, dehydrated, and stored, you’ve mastered the art of creating flavorful, protein-packed snacks that are perfect for any occasion. Embrace the satisfaction of crafting your own delicious beef sticks and delight in the convenience and wholesome goodness they bring to your snacking repertoire.
Now that you've mastered making beef sticks with your dehydrator, you might wonder about the best ways to keep those savory treats fresh. Proper storage is key, and knowing how long meat can last in the refrigerator will ensure your homemade snacks stay delicious and safe to eat. Don't miss our detailed guide on meat preservation techniques to keep your culinary creations in top condition for as long as possible.
Frequently Asked Questions about How To Make Beef Sticks In A Dehydrator
Was this page helpful?
At Storables.com, we guarantee accurate and reliable information. Our content, validated by Expert Board Contributors, is crafted following stringent Editorial Policies. We're committed to providing you with well-researched, expert-backed insights for all your informational needs.


0 thoughts on “How To Make Beef Sticks In A Dehydrator”