Articles
How To Organize An IKea Pantry Cabinet
Modified: February 28, 2024
Learn how to organize your IKEA pantry cabinet and maximize storage space with these helpful articles. Find tips and tricks for optimizing your kitchen storage.
(Many of the links in this article redirect to a specific reviewed product. Your purchase of these products through affiliate links helps to generate commission for Storables.com, at no extra cost. Learn more)
Introduction
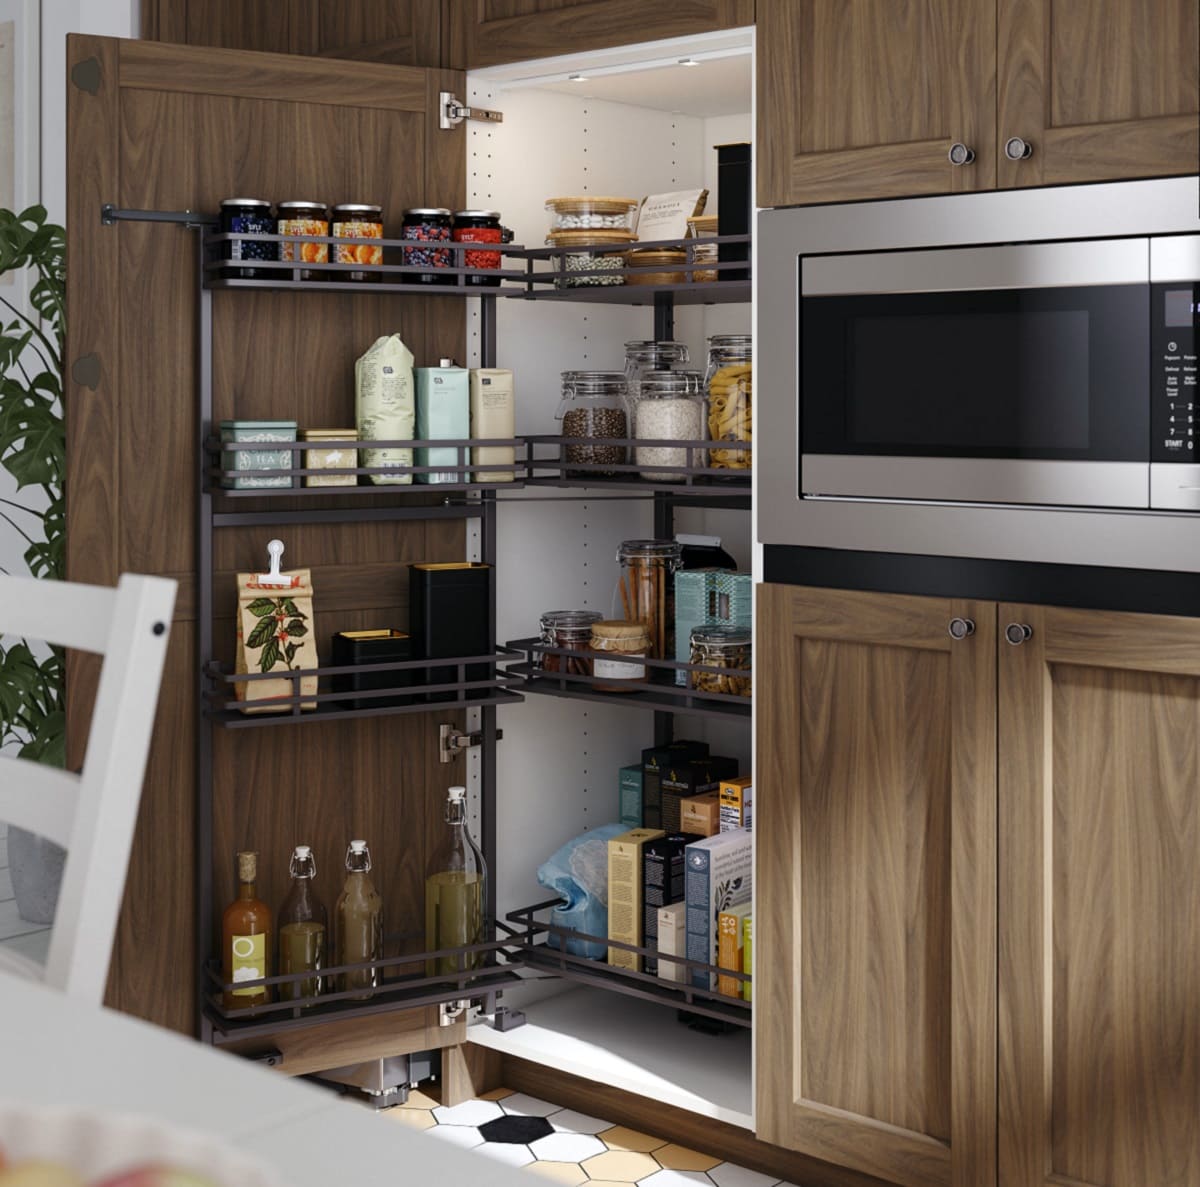
Organizing a pantry cabinet can be a daunting task, especially if it’s filled with a jumble of mismatched containers, expired food items, and cluttered shelves. However, with some planning and a little effort, you can transform your pantry into a well-organized and efficient space that makes meal prep and grocery shopping a breeze.
A well-organized pantry not only saves you time and frustration but also helps reduce food waste and ensures that you have a clear view of what items you have on hand. In this article, we’ll guide you through the process of organizing an IKEA pantry cabinet, offering practical tips and strategies that will elevate your pantry organization game.
Before diving into the steps, it’s important to mention that organizing your pantry is a personal endeavor, and what works for one person may not work for another. Take into consideration your lifestyle, cooking habits, and the space available in your pantry as you embark on this organizational journey.
Now let’s get started and transform your cluttered pantry cabinet into a well-structured and functional space!
Key Takeaways:
- Transform your cluttered IKEA pantry cabinet into an efficient and stress-free space by following the steps outlined in this article. From clearing out and assessing your storage needs to utilizing storage solutions and maintaining organization, you can create a well-structured pantry that enhances your cooking and meal planning experiences.
- Labeling everything, from containers to shelves, is crucial in maintaining the organization of your pantry cabinet. By consistently maintaining your organized pantry through regular decluttering, proper shopping habits, and consistent upkeep, you’ll enjoy the benefits of a functional and stress-free space that makes meal planning, grocery shopping, and cooking a breeze.
Step 1: Clearing out the pantry cabinet
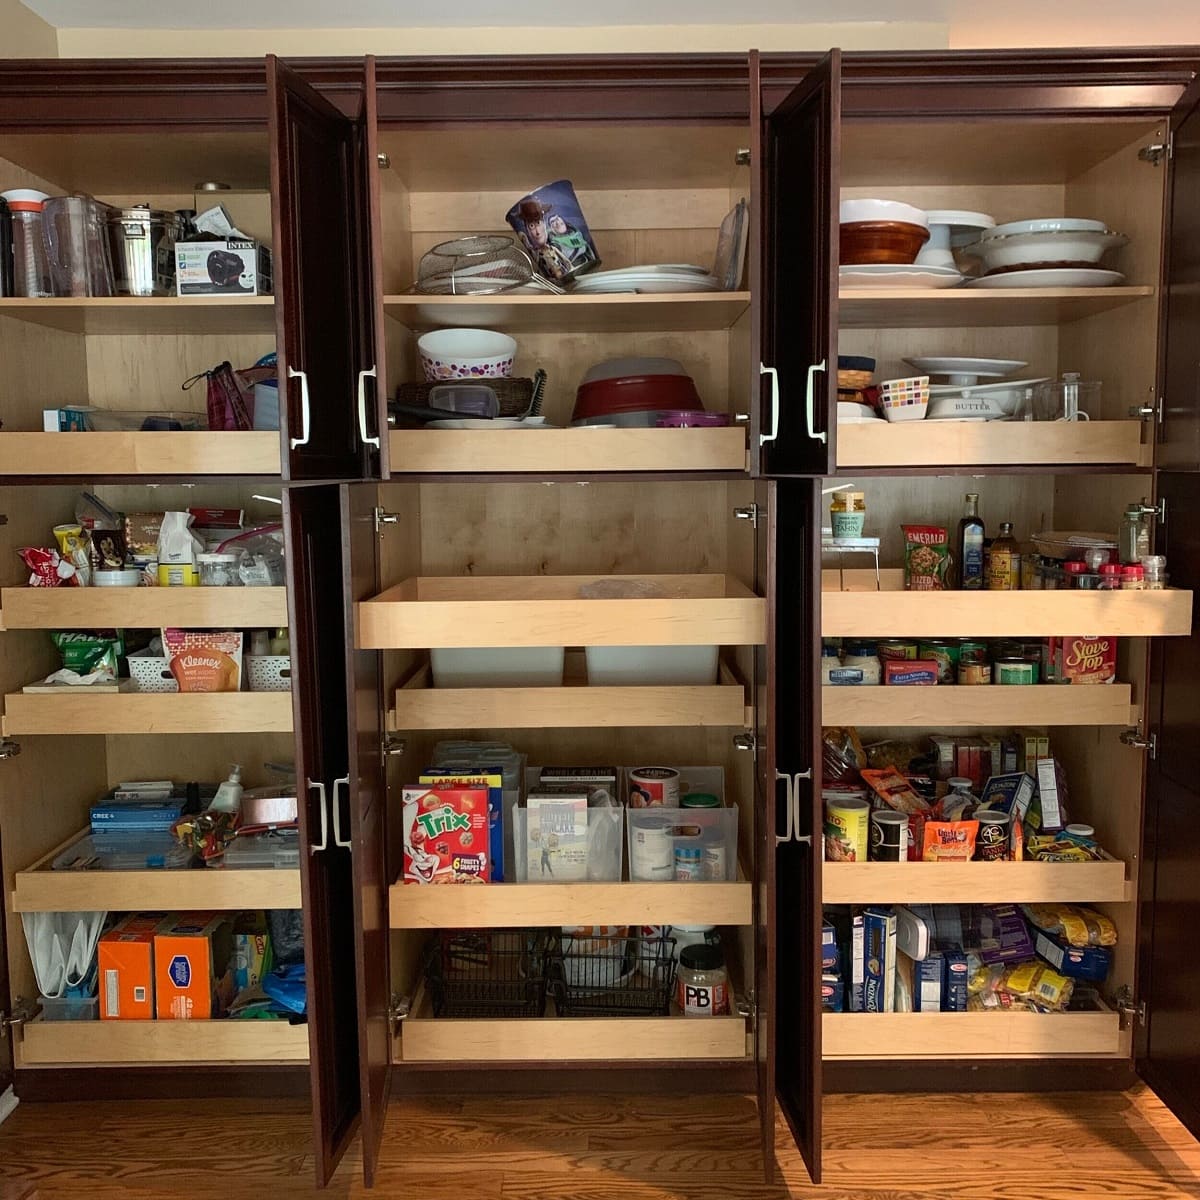
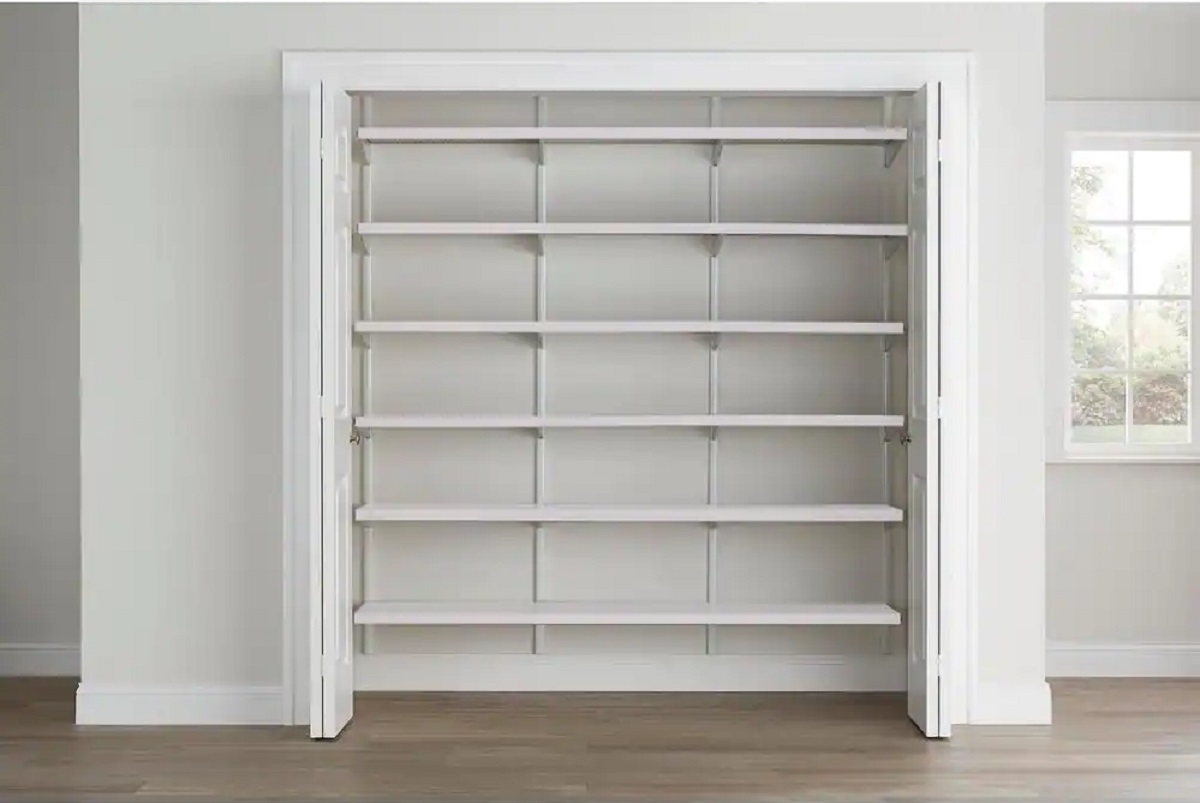
The first step in organizing your IKEA pantry cabinet is to clear out all the items currently stored inside. This allows you to start fresh and assess what you have, while also giving you the opportunity to clean the shelves and surfaces before beginning the organization process.
Start by removing all the items from the pantry and placing them on a nearby countertop or table. As you do this, check for any expired or spoiled food items and discard them. This ensures that you only keep the items that are still usable and avoids cluttering your newly organized pantry with unnecessary items.
Next, take a look at the shelves and surfaces of your pantry cabinet. Wipe them down with a damp cloth or use a gentle cleaning solution to remove any dust, dirt, or spills. This step not only keeps your pantry clean but also creates a fresh and inviting space for your organized items.
Once the pantry cabinet is empty and clean, it’s time to move on to the next step of organizing – assessing your storage needs.
Step 2: Assessing your storage needs
Before you start putting items back into your pantry cabinet, it’s important to take some time to assess your storage needs. Understanding what types of items you plan to store and how much space they require will help you determine the best storage solutions for your pantry.
Begin by categorizing your items into groups. For example, you might have categories like dry goods (such as pasta, rice, and cereal), canned goods (such as soups and vegetables), snacks, baking supplies, spices, and so on. This categorization will give you a clear idea of what items need to be stored together and what type of storage solutions you’ll need.
Next, consider the size and quantity of items in each category. Do you have large boxes of cereal that need to be stored vertically or small spice jars that would benefit from a tiered spice rack? Understanding the dimensions and quantities of your items will help you determine the most efficient storage solutions.
Take measurements of your pantry shelves and note any height restrictions, as this will impact the types of storage containers or bins you can use. Additionally, consider any specific needs you may have, such as a designated area for children’s snacks or a section for meal prep ingredients.
By assessing your storage needs, you can effectively plan your pantry organization and make informed decisions when selecting storage solutions in the next step.
Step 3: Grouping similar items together
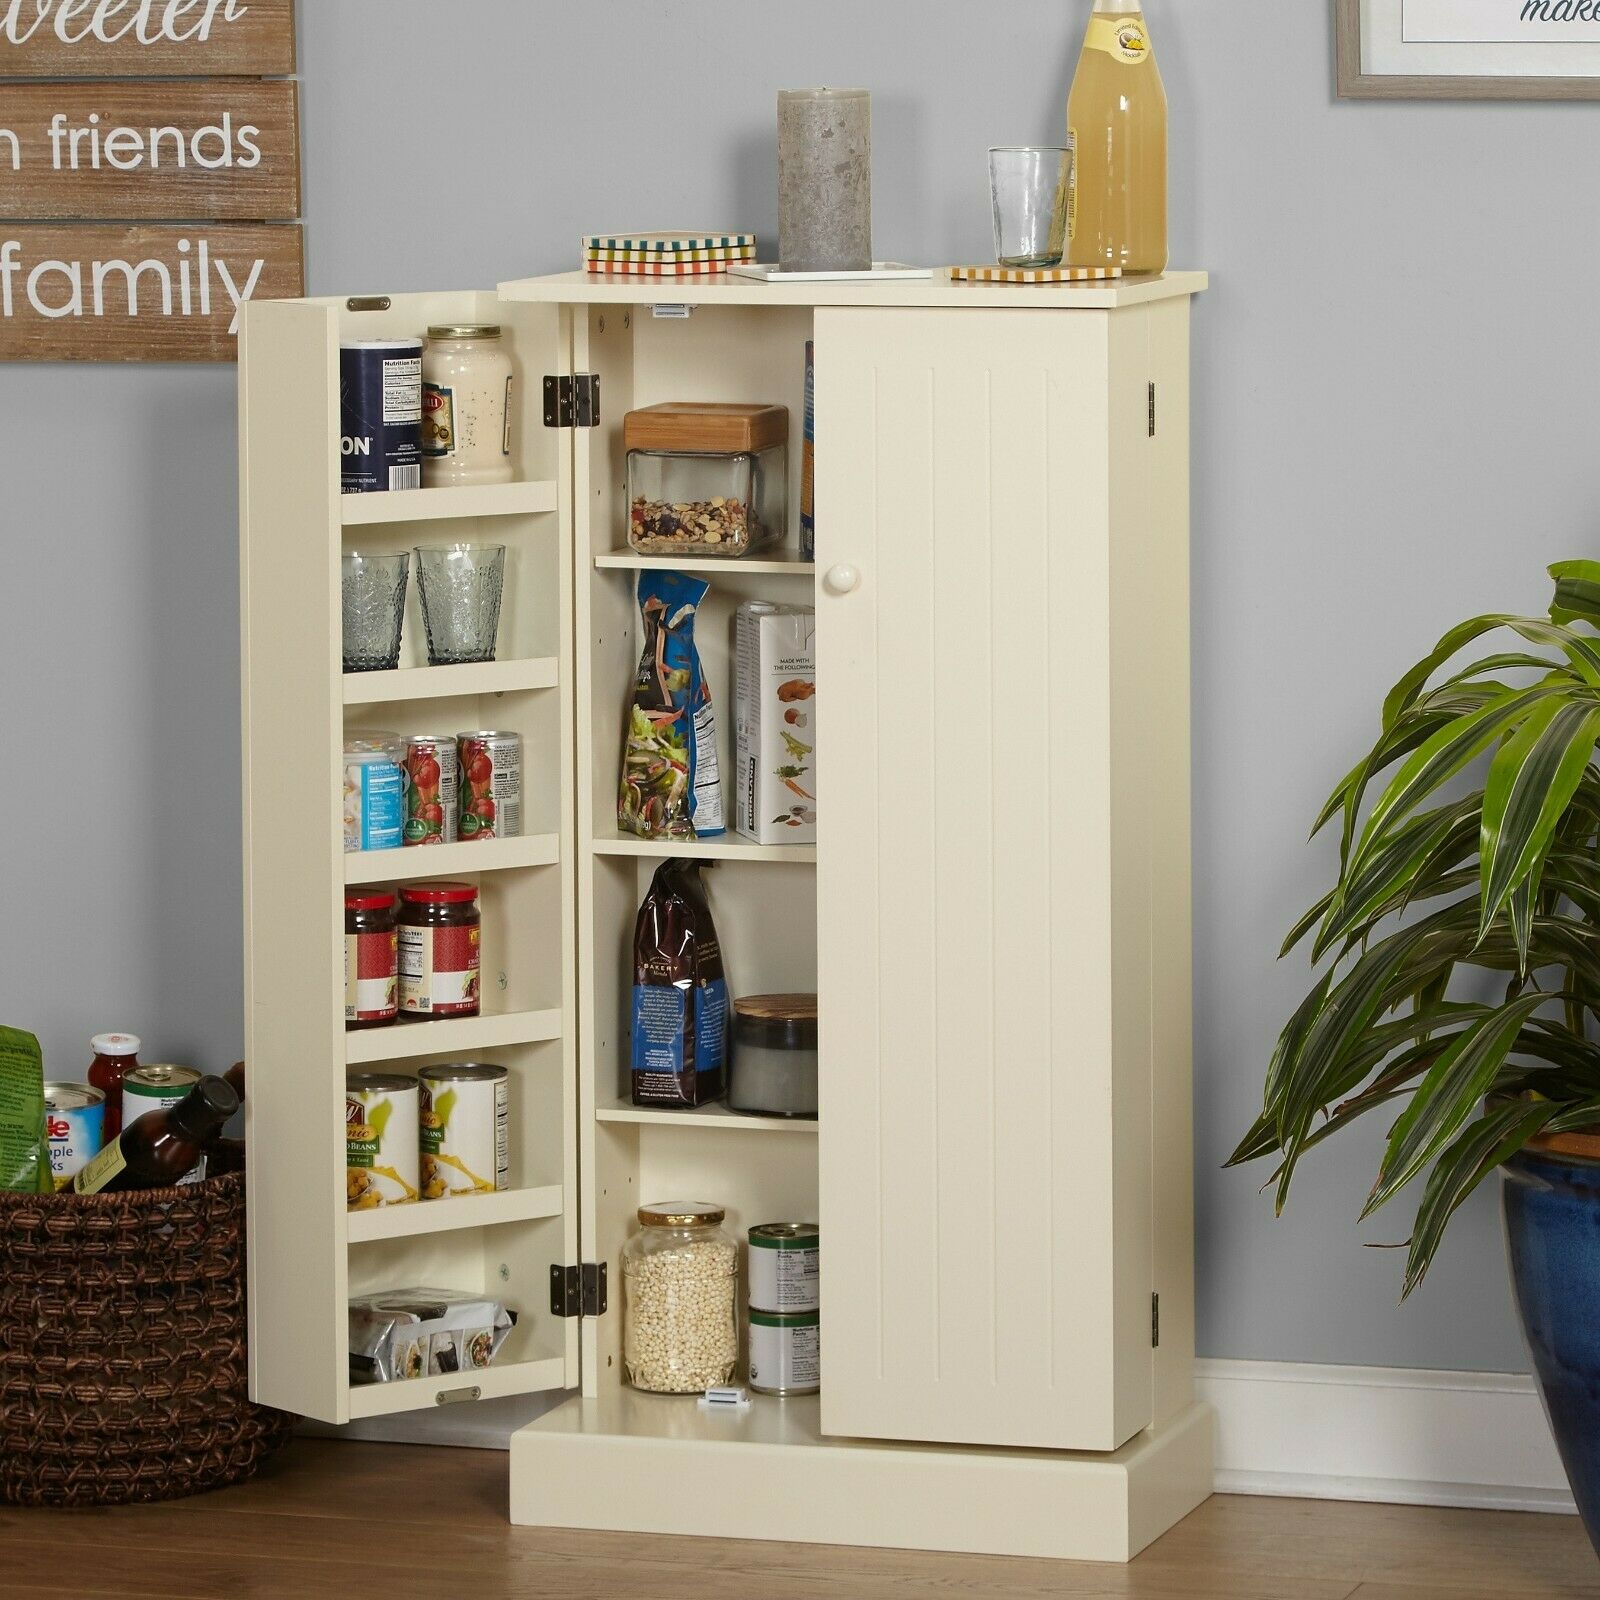
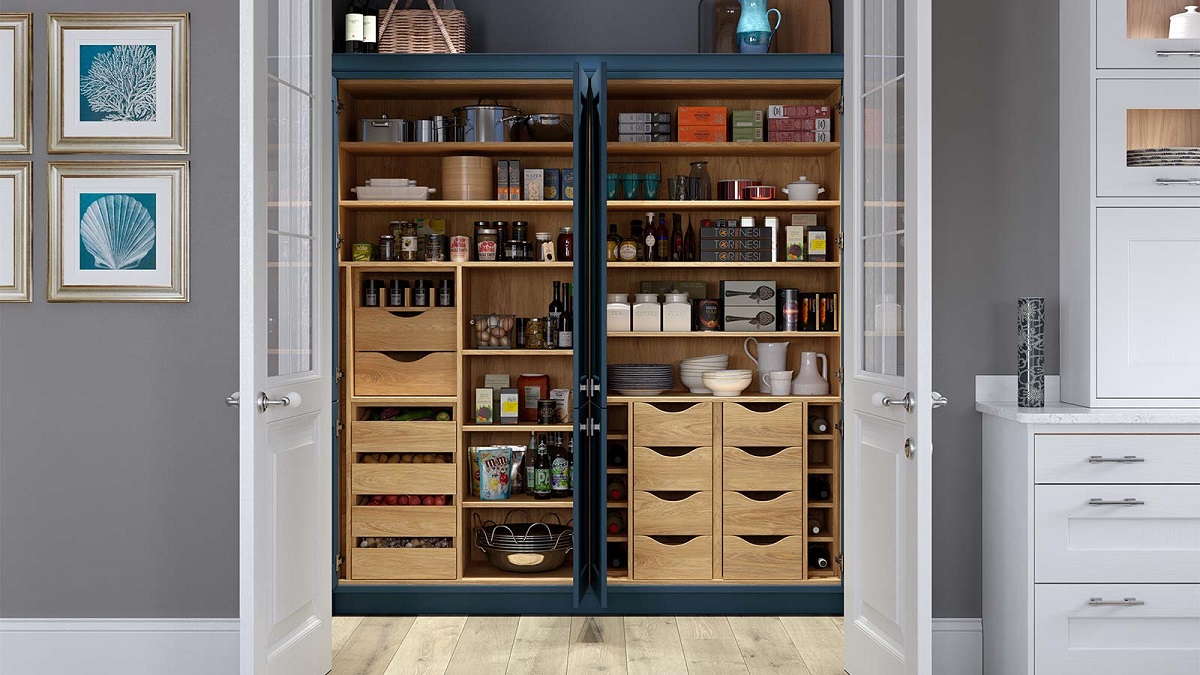
Now that you have assessed your storage needs, it’s time to group similar items together in your IKEA pantry cabinet. Grouping items by category or function not only makes it easier to find what you’re looking for but also maximizes the use of space and promotes efficient organization.
Start by placing items from the same category together. For example, gather all your canned goods and place them in one area of the pantry. Arrange them in a way that allows you to easily see and access each item. Consider using a tiered shelf organizer to make the most of vertical space and prevent cans from being hidden behind each other.
Continue this process with other categories, such as dry goods, baking supplies, snacks, and spices. Keep items that are used together frequently, like pasta and pasta sauce, in close proximity to each other to streamline meal preparation. Consider using clear storage containers or baskets to hold items like snacks or small loose items that can easily get lost on the shelves.
When grouping items together, also take into consideration the frequency of use. Keep everyday essentials within easy reach, while less frequently used items can be placed on higher or lower shelves. This ensures that you can quickly grab what you need without having to dig through the pantry.
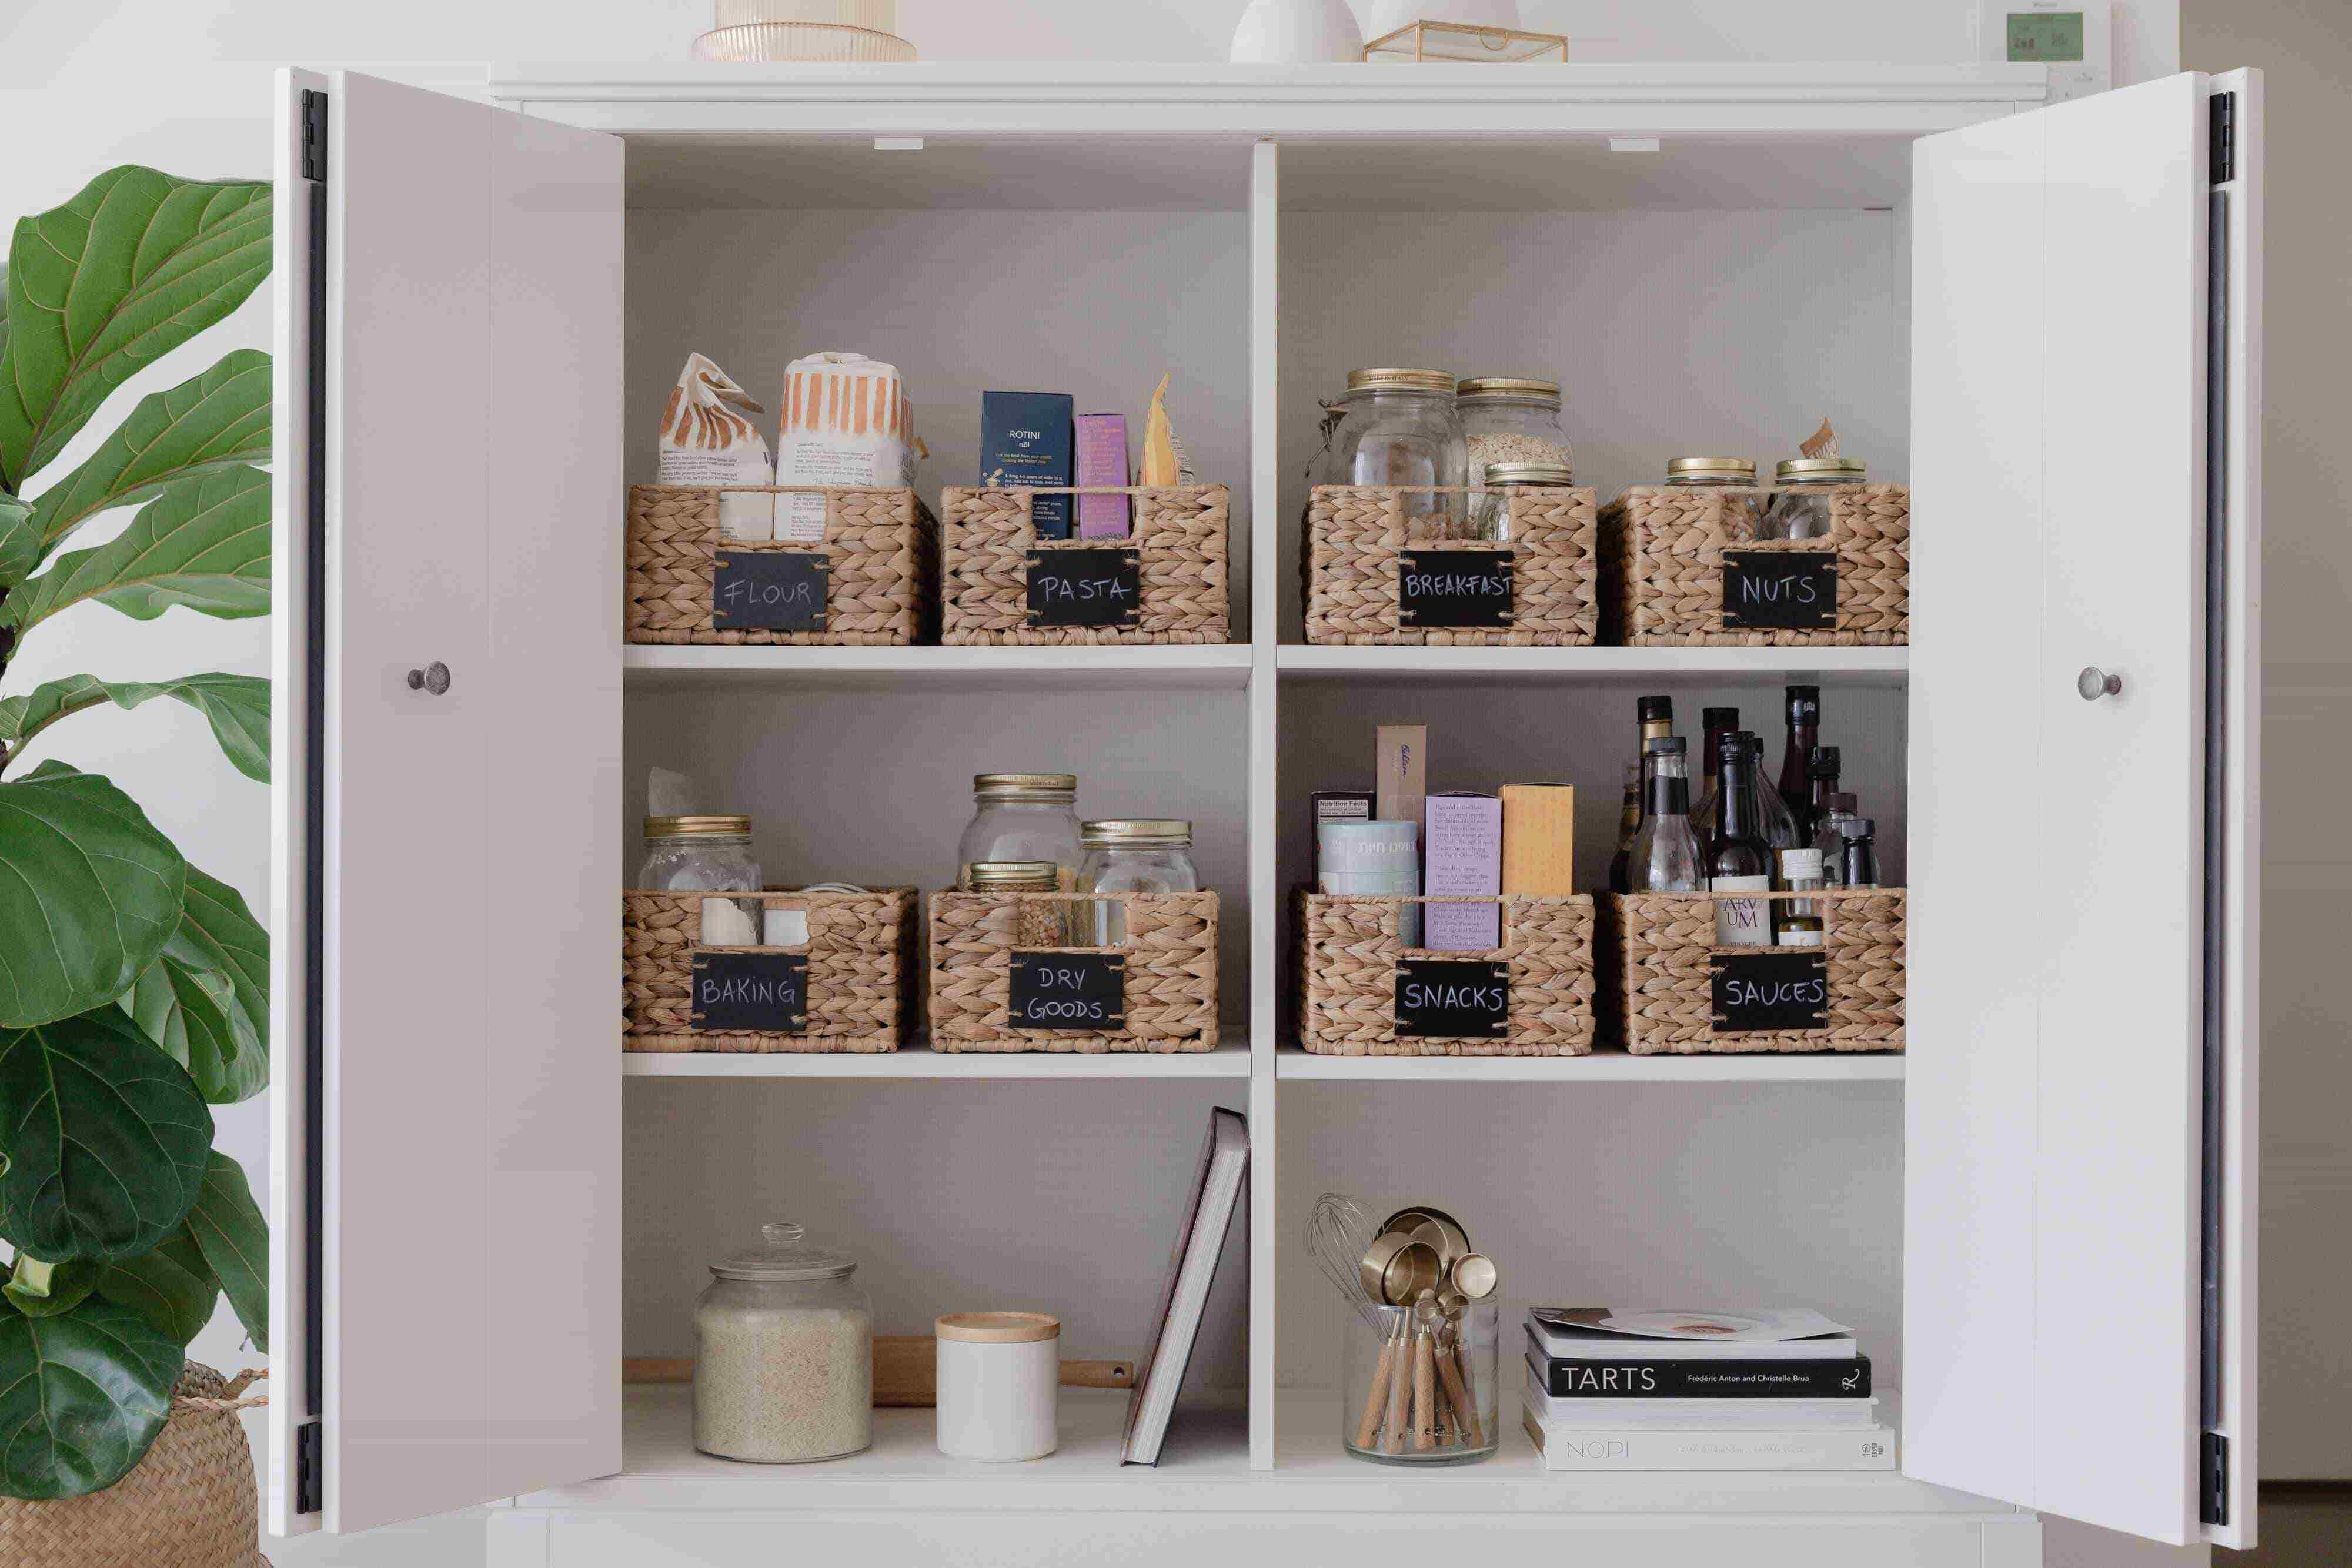
Labeling containers or shelves can be beneficial to maintain the organization and help everyone in the household locate items easily. You can either use a label maker or simply write the labels on sticky notes or adhesive labels.
By grouping similar items together, you create a visually organized and functional pantry cabinet that simplifies meal planning and grocery shopping.
Use clear storage containers to keep items visible and organized in your IKEA pantry cabinet. This will make it easier to find what you need and keep everything tidy.
Step 4: Utilizing storage solutions
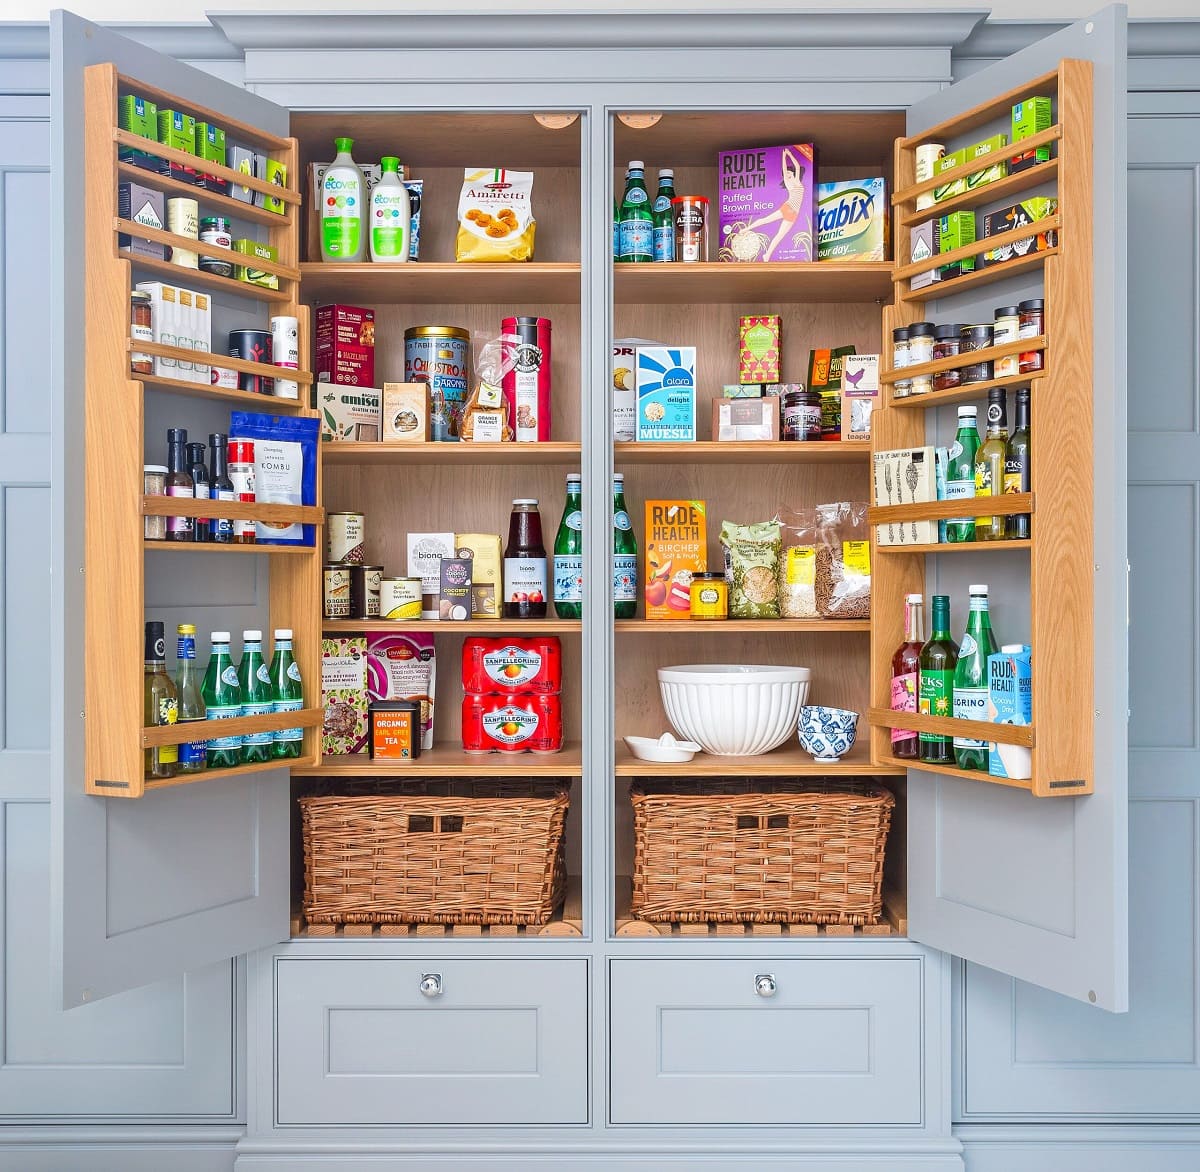
Once you have grouped similar items together in your IKEA pantry cabinet, it’s time to optimize the use of space by utilizing storage solutions. Having the right storage solutions in place will not only keep your pantry organized but also make it easier to maintain that organization in the long run.
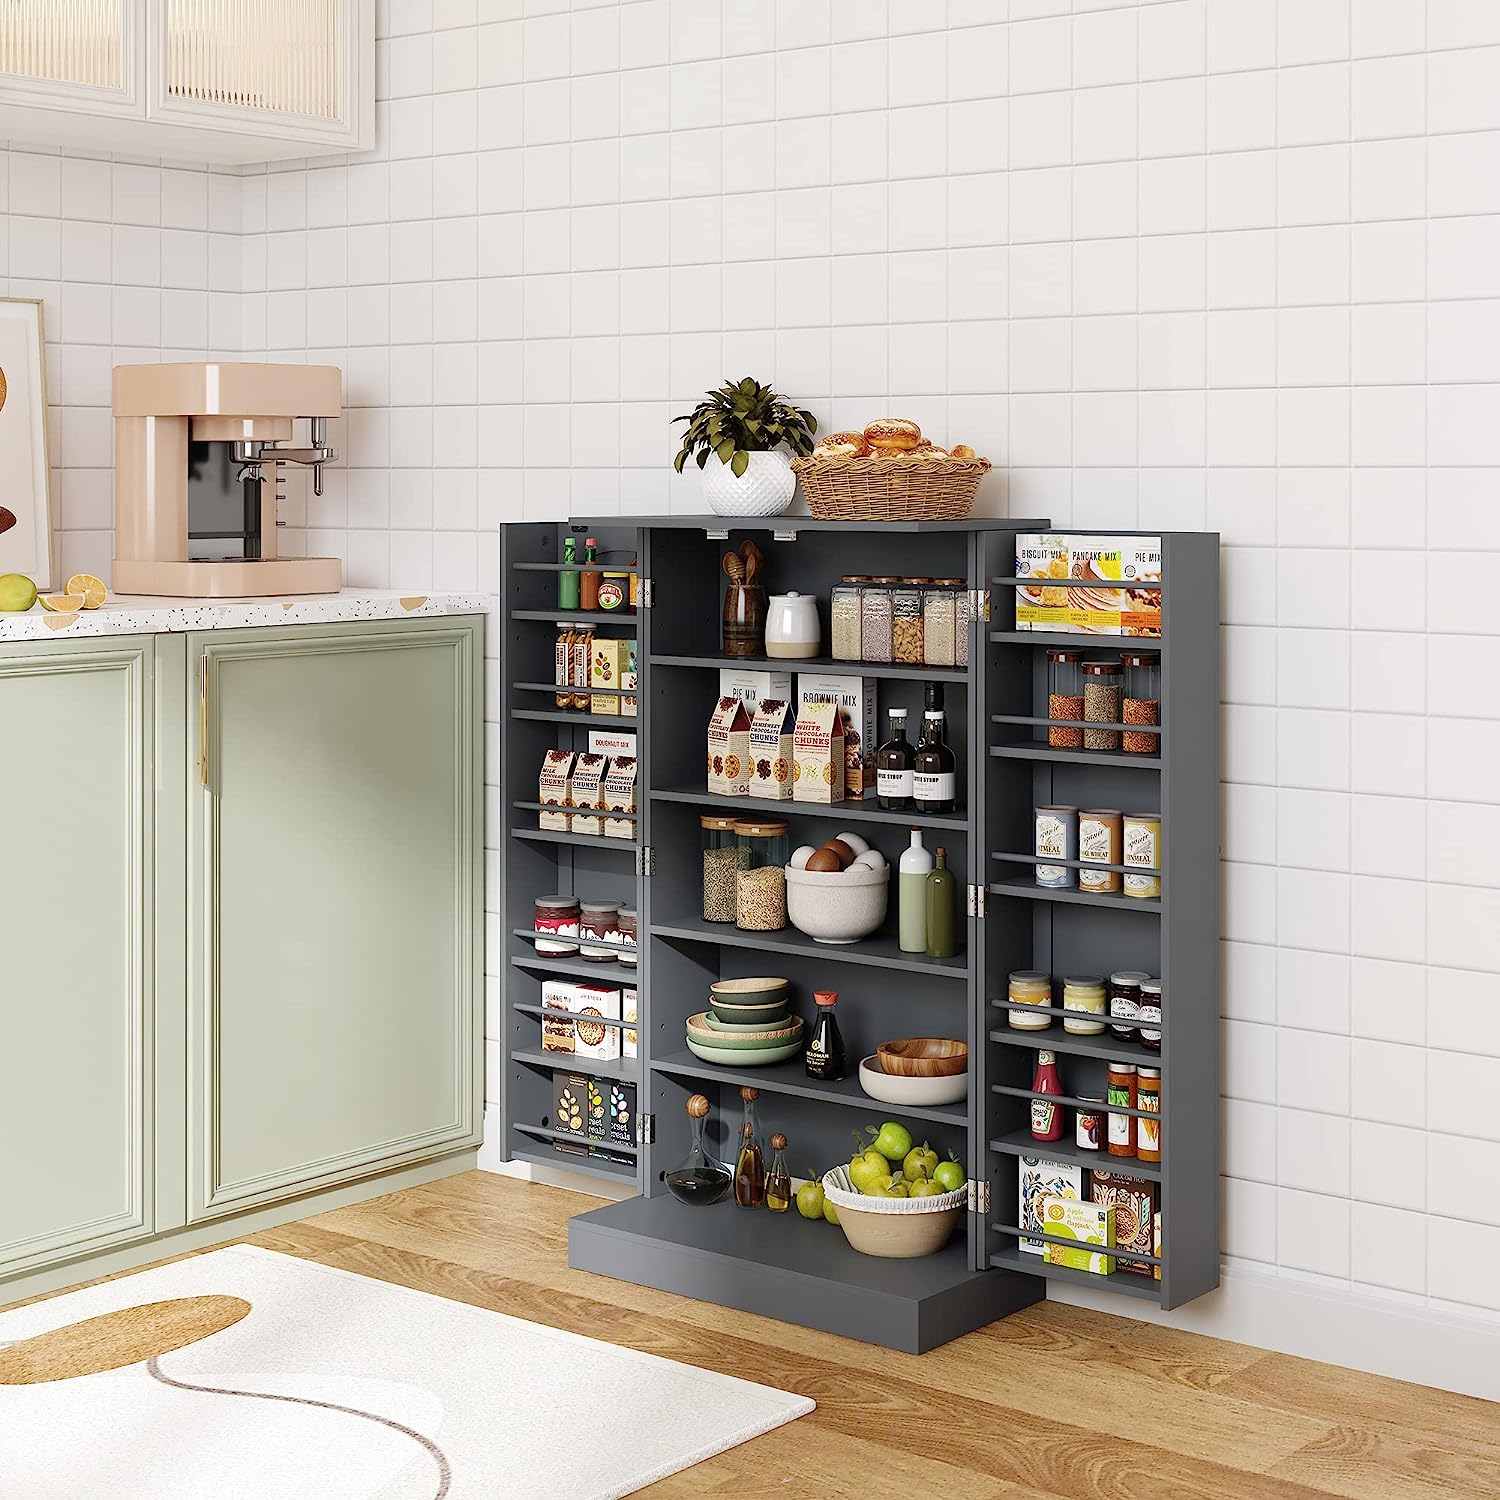
Start by assessing the storage solutions you already have on hand. This could include baskets, bins, jars, or even repurposed containers that can be used to store various items. Clear, stackable containers are particularly helpful for storing dry goods like pasta, rice, and snacks, as they keep items visible and easily accessible.
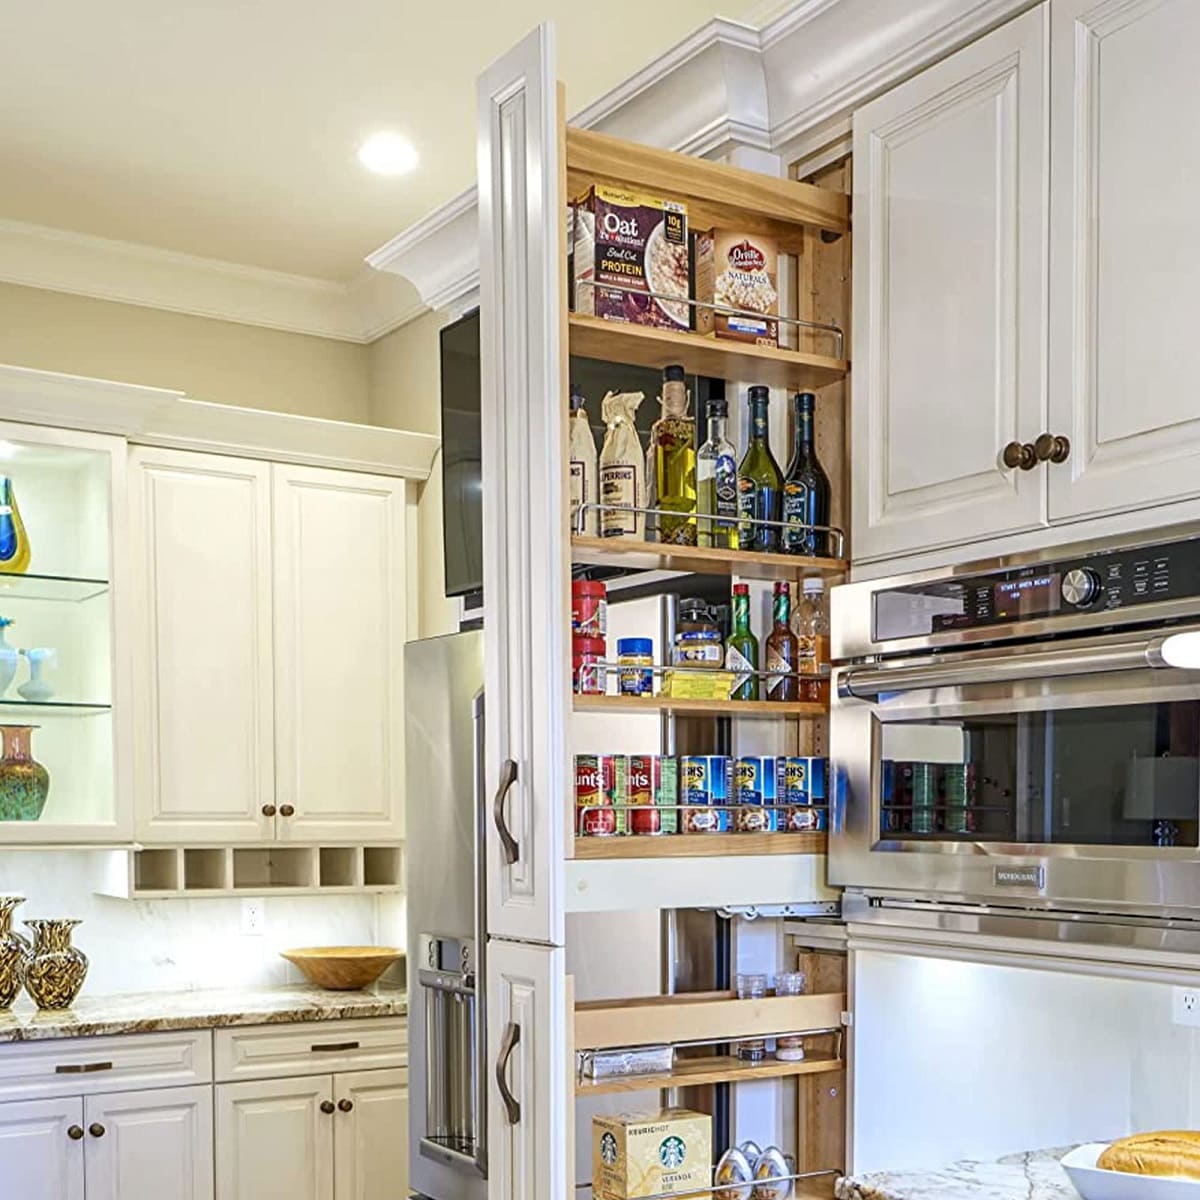
If your pantry cabinet has built-in shelving, consider adding wire or acrylic shelf dividers to create separate sections for different categories of items. These dividers will help keep items upright and prevent them from toppling over or getting mixed up. Adjustable shelving units and drawer organizers can also be valuable additions to customize storage space based on your needs.
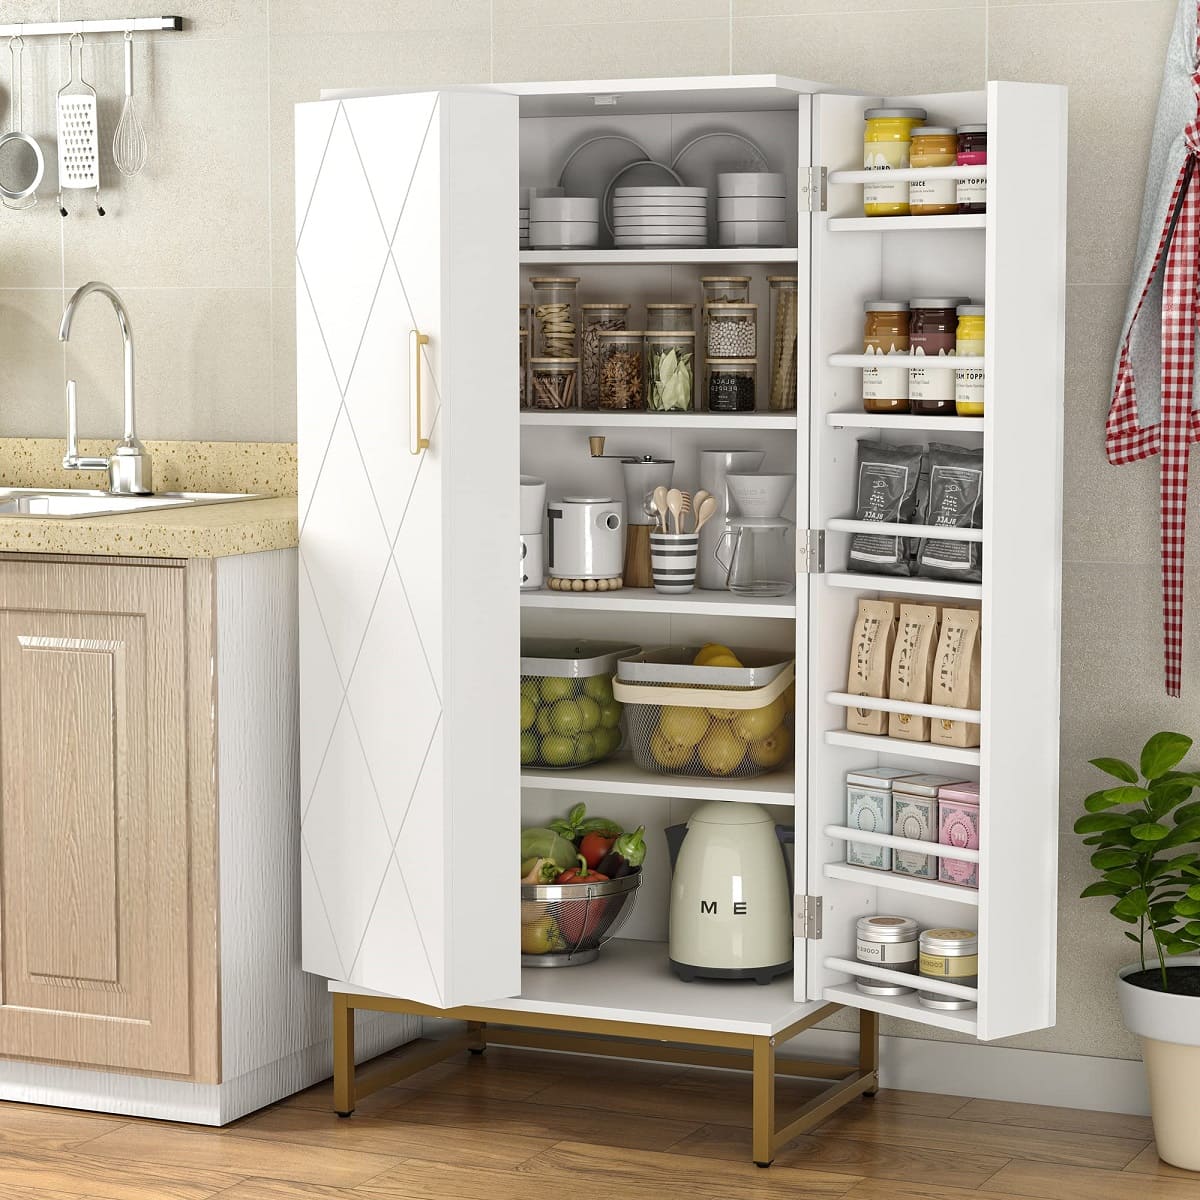
Maximize vertical space by utilizing hooks or adhesive organizer racks on the inside of cabinet doors. These can hold items like measuring cups, cutting boards, or spices, freeing up valuable shelf space. Hanging organizers with pockets can also be used to hold small items like snack packs or individual tea bags.
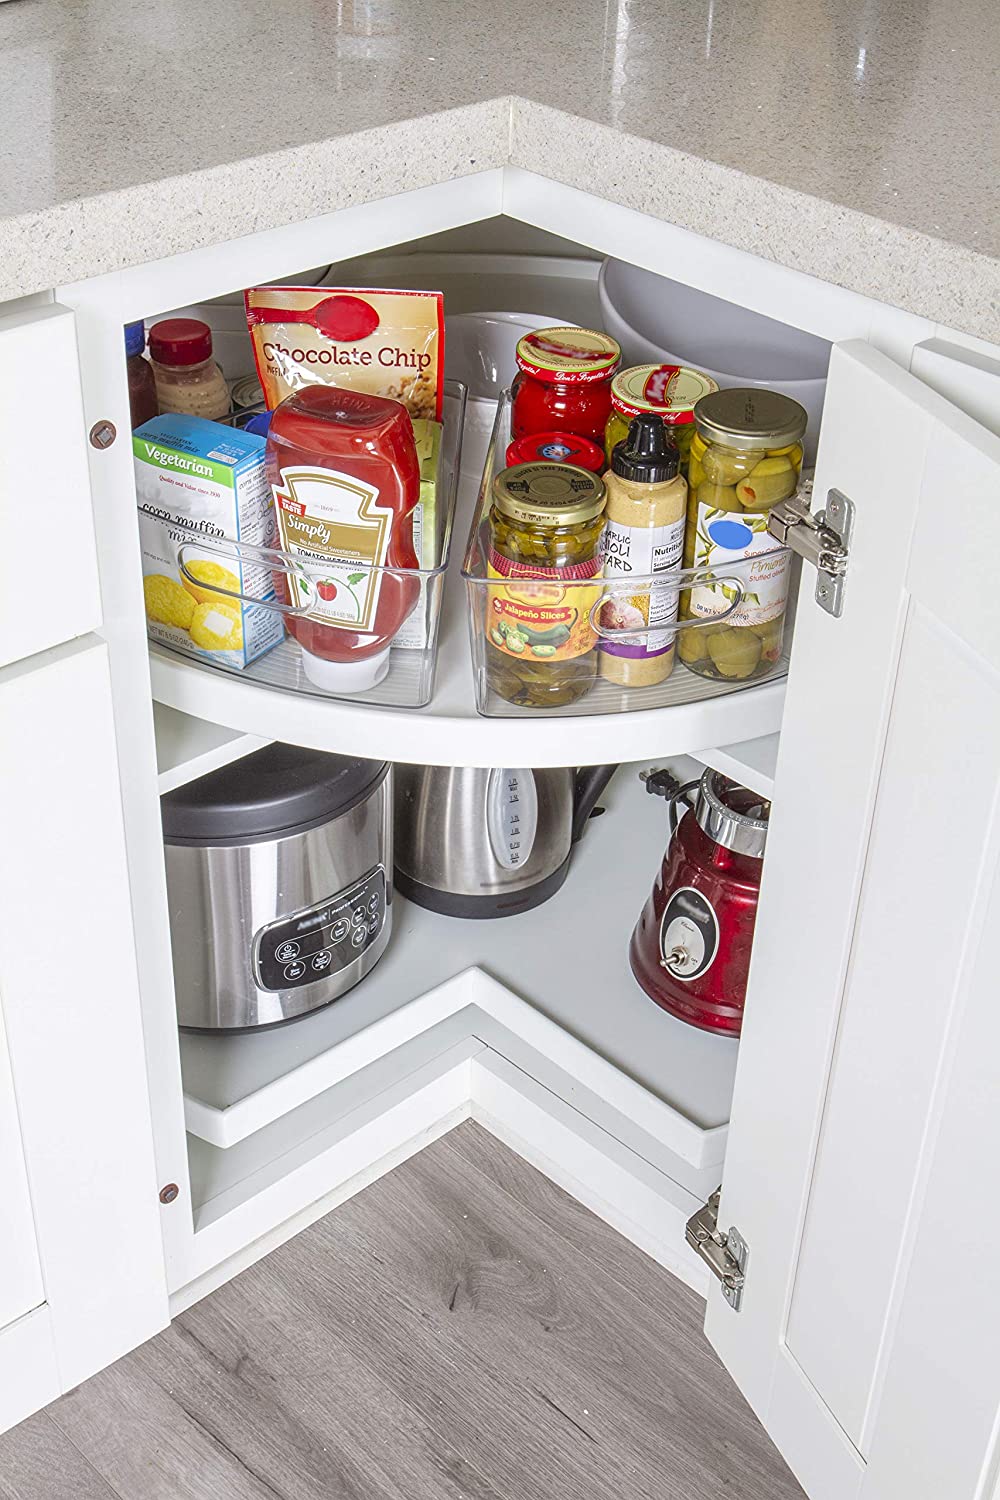
Consider incorporating pantry turntables or lazy susans to easily access items at the back of shelves. These rotating platforms are perfect for storing spices, condiments, or jars, allowing you to effortlessly find what you need without having to reach or rummage through the pantry.
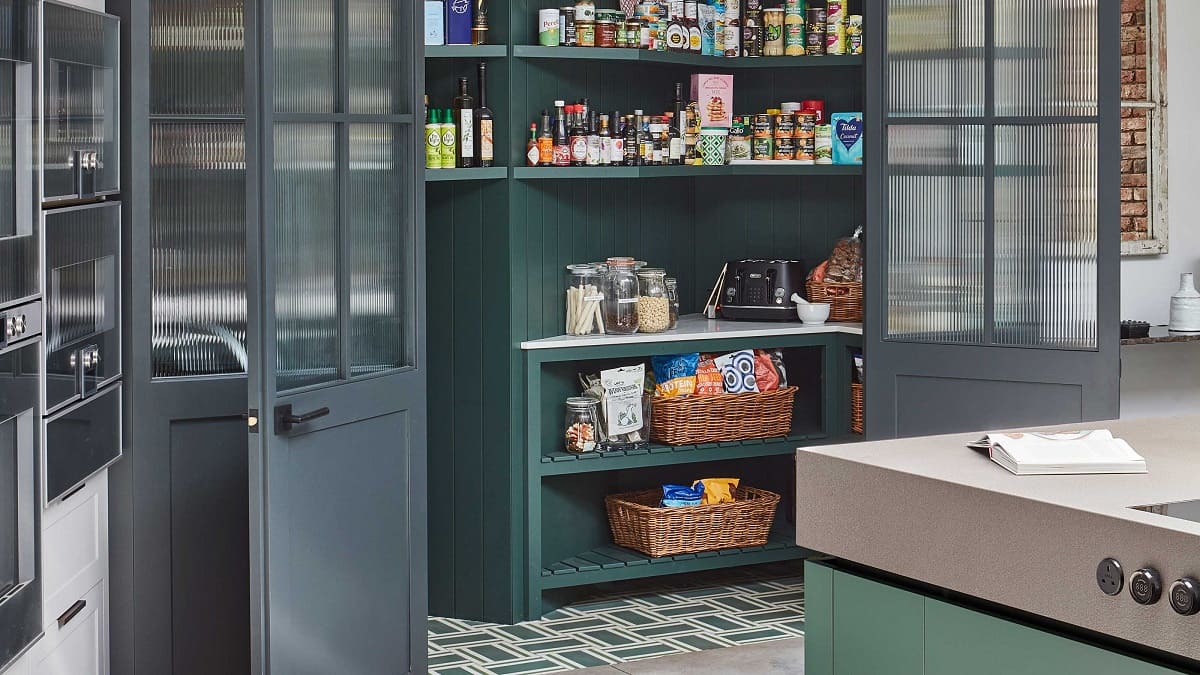
Additionally, don’t forget about using the walls of your pantry cabinet for additional storage. Install hooks or magnetic racks to hang kitchen gadgets or small pots and pans. You can also use adhesive strips to mount plastic or wire baskets, perfect for storing items like onions, potatoes, or small kitchen tools.
Remember, the key is to choose storage solutions that work for your specific pantry needs and available space. With the right solutions in place, you can effectively maximize storage and keep your pantry cabinet well-organized.
Read more: What Is A Pantry Cabinet
Step 5: Labeling everything
Labeling is a crucial step in maintaining the organization of your IKEA pantry cabinet. Clear and visible labels not only help you quickly locate items but also make it easier for others in your household to find what they need without disrupting the organization you’ve established.
Start by deciding how you want to label your pantry items. There are several options, ranging from handwritten labels to printed labels or even using a label maker. Consider the style and aesthetic of your pantry. You can choose labels that match the overall look and feel of your kitchen or opt for a more functional and straightforward approach.
When labeling, be sure to label both the front and top of containers or bins. This allows you to quickly identify items, even if they are stacked or stored in a way that hides the front label. Use clear and legible handwriting or choose a font style that is easy to read. You can also include specific information on the labels, such as expiration dates for perishable items or cooking instructions for certain ingredients.
Consistency is key when it comes to labeling. Choose a labeling system that makes sense and is easy to maintain. For example, you can label items by category (e.g., “Canned Goods,” “Snacks,” “Baking Supplies”) or by specific item names (e.g., “Pasta,” “Flour,” “Oatmeal”). Ensure that everyone in your household understands and follows the labeling system to maintain the organization.
When it comes to labeling shelves or sections of your pantry cabinet, use adhesive labels or sticky notes. Clearly mark each area to indicate what items belong there. For example, you can label one section as “Baking Supplies” and another as “Snacks.” This makes it easy to return items to their designated spots and helps to prevent items from being randomly placed throughout the pantry.
Regularly check and update labels as needed. As you use or restock items, make sure to adjust labels accordingly to maintain accuracy in your pantry organization. This will prevent confusion and make it easier to find what you need.
Labeling everything in your pantry cabinet creates a cohesive and user-friendly system, making it effortless to locate items and maintain a well-organized space.
Step 6: Maintaining organization
After putting in the time and effort to organize your IKEA pantry cabinet, it’s important to establish a system for maintaining that organization in the long term. By following a few simple practices, you can ensure that your pantry remains neat, tidy, and functional.
The key to maintaining organization is regular maintenance. Set aside some time every few weeks to declutter and reevaluate the contents of your pantry. Remove any expired or unwanted items, and make adjustments as needed to keep things organized. This prevents clutter from accumulating and keeps your pantry cabinet efficient.
When grocery shopping, be mindful of what you’re purchasing and where it will fit within your pantry. Avoid buying duplicates of items you already have and try to stick to your categorized system. This will minimize the chances of overcrowding or disorganization.
Encourage everyone in your household to follow the organization system. Educate your family members about how the pantry is organized and where items should be placed. By ensuring that everyone respects and maintains the system, you’ll be able to enjoy a consistently well-organized pantry.
Take advantage of spare moments to tidy up your pantry. A quick five-minute tidy each day can go a long way in keeping your pantry clutter-free. Return items to their designated places, wipe down any spills or messes, and make sure everything is properly labeled. This small effort will save you time and frustration in the long run.
Consider using a pantry inventory system to keep track of what you have and what needs restocking. This can be as simple as maintaining a list on a whiteboard or using a smartphone app specifically designed for pantry inventory management. By having a clear idea of what you need to purchase, you can prevent overstocking and avoid food waste.
Lastly, be open to making adjustments to your organization system as needed. Over time, you may find that certain categories need reevaluating or that certain storage solutions aren’t as effective as you initially thought. Don’t be afraid to make changes and fine-tune your pantry organization to better suit your needs.
By consistently maintaining your organized pantry, you’ll enjoy the benefits of a functional and stress-free space that enhances your cooking and meal planning experiences.
Conclusion
Organizing an IKEA pantry cabinet can be a rewarding process that transforms a cluttered and chaotic space into a well-structured and efficient area. By following the steps outlined in this article, you can create a pantry that not only looks great but also makes meal planning, grocery shopping, and cooking a breeze.
Clearing out the pantry cabinet and assessing your storage needs are crucial initial steps that lay the foundation for a well-organized space. Grouping similar items together helps you easily locate what you need, while utilizing storage solutions optimizes the use of space and keeps items within reach.
Labeling everything, from containers to shelves, ensures that the pantry remains organized and easy to navigate. And finally, maintaining organization through regular decluttering, proper shopping habits, and consistent upkeep will help you sustain the functionality and visual appeal of your pantry cabinet in the long run.
Remember, organizing your pantry is a personal journey, and the strategies mentioned here can be customized to suit your specific needs and preferences. Whether you have a small cabinet or a spacious walk-in pantry, the principles of organization still apply, and the end result will be a more efficient and enjoyable cooking experience.
So why wait? Take the first step today and start turning your cluttered pantry into a well-organized haven. Your future self will thank you every time you open the doors and find exactly what you need, right at your fingertips.
Frequently Asked Questions about How To Organize An IKea Pantry Cabinet
Was this page helpful?
At Storables.com, we guarantee accurate and reliable information. Our content, validated by Expert Board Contributors, is crafted following stringent Editorial Policies. We're committed to providing you with well-researched, expert-backed insights for all your informational needs.

0 thoughts on “How To Organize An IKea Pantry Cabinet”