Home>Home Appliances>Laundry Appliances>How To Get Glitter Out Of A Washing Machine

Laundry Appliances
How To Get Glitter Out Of A Washing Machine
Published: February 22, 2024
Learn how to effectively remove glitter from your washing machine with our expert tips. Keep your laundry appliances sparkling clean with our easy-to-follow guide.
(Many of the links in this article redirect to a specific reviewed product. Your purchase of these products through affiliate links helps to generate commission for Storables.com, at no extra cost. Learn more)
Introduction
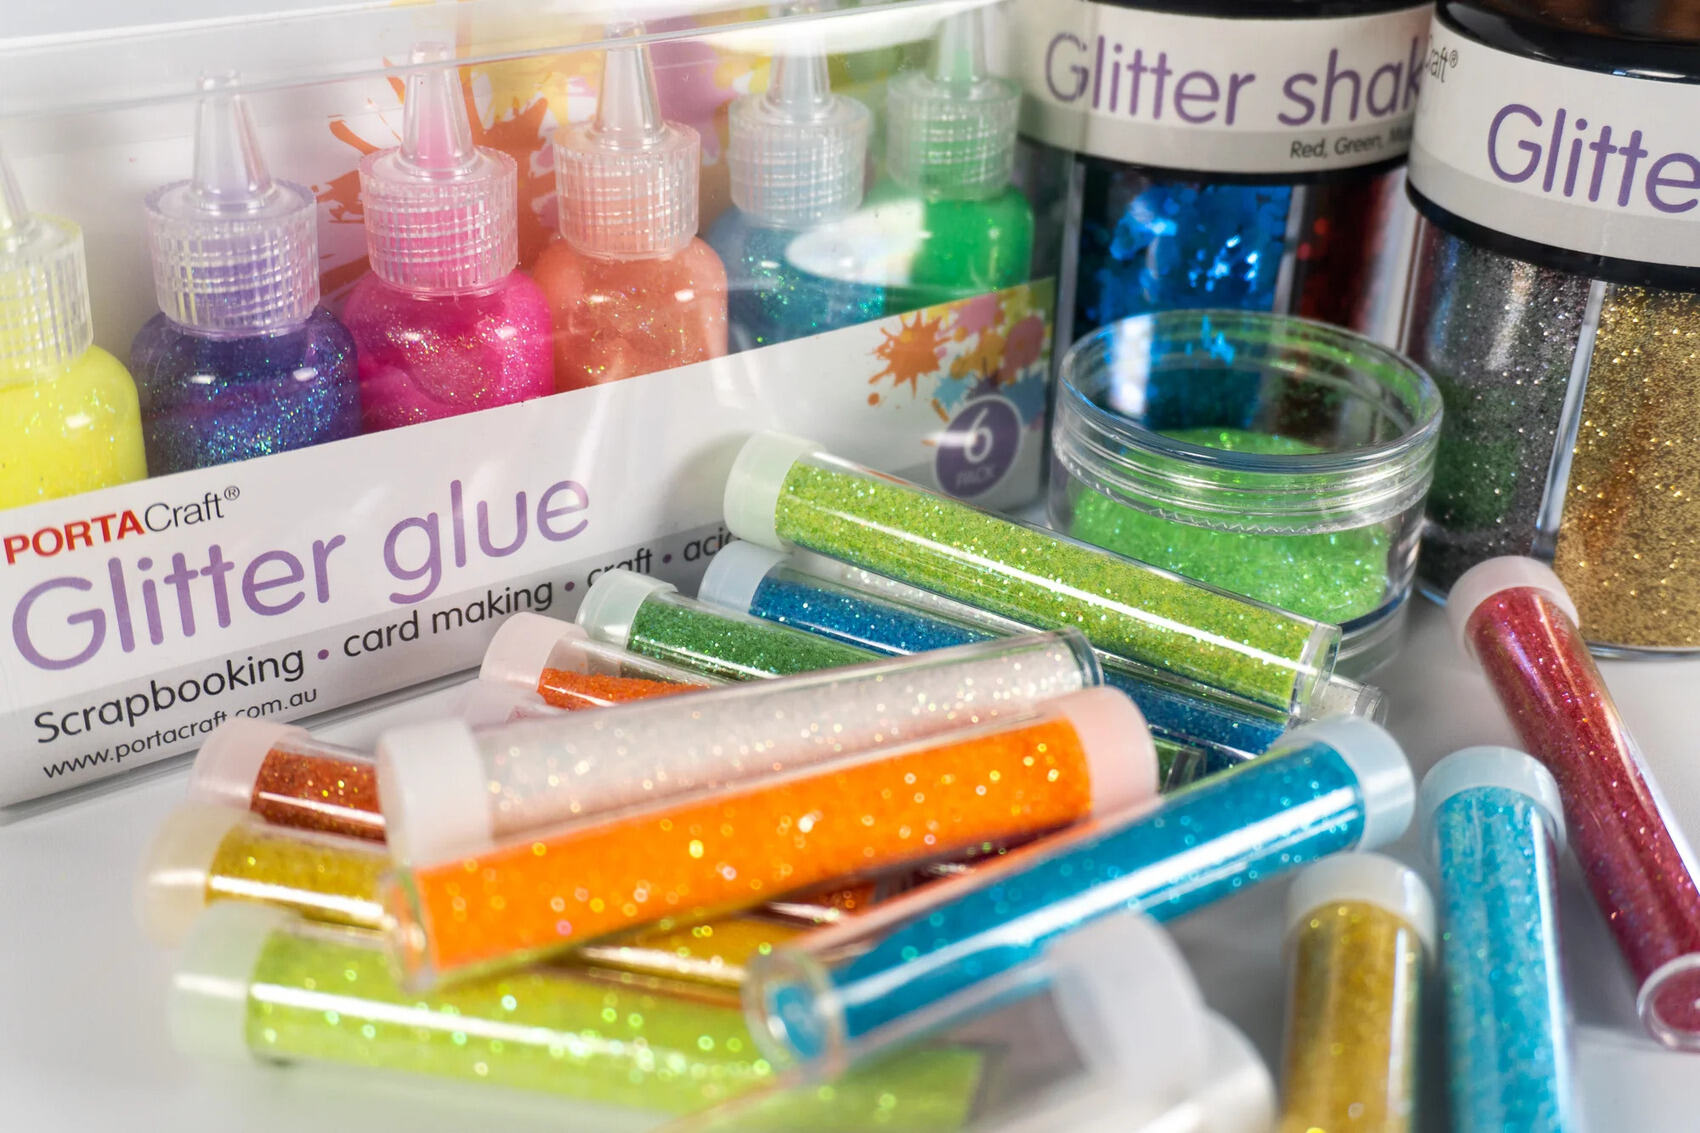
Dealing with glitter in a washing machine can be a frustrating and perplexing issue for many individuals. Whether it's from a child's craft project or a garment adorned with sparkles, the presence of glitter in the washing machine can lead to unwanted sparkles on future loads of laundry. The tiny, reflective particles seem to have a knack for sticking to the drum and other components of the machine, making their removal a challenging task.
In this comprehensive guide, we will delve into the intricacies of removing glitter from a washing machine and preventing its recurrence. By understanding the problem at hand and implementing effective cleaning and maintenance strategies, you can restore your washing machine to its glitter-free state and ensure that future laundry loads emerge without a shimmering surprise. Let's embark on this journey to reclaim the sparkle-free sanctity of your washing machine.
Key Takeaways:
- Say goodbye to glitter in your washing machine by vacuuming, wiping, and running an empty cycle with vinegar. Keep your machine sparkling clean and your laundry glitter-free!
- Prevent glitter build-up by using garment bags, spot-treating, and choosing delicate wash settings. Regular maintenance keeps your washing machine and clothes glitter-free!
Read more: How To Get Sand Out Of A Washing Machine
Understanding the Problem
Glitter, with its mesmerizing sparkle and reflective allure, has a notorious reputation for causing unexpected havoc in the laundry room. The tiny, lightweight particles have a remarkable ability to adhere to various surfaces, including the interior of a washing machine. When garments adorned with glitter are laundered, these minuscule flecks can detach and find their way into the washing machine drum, where they stubbornly cling to the metal surface.
The challenge with glitter in a washing machine lies in its tenacious nature. Unlike typical dirt or lint, glitter possesses a unique ability to resist conventional washing methods. Its diminutive size allows it to evade easy removal, and its reflective properties can make it particularly noticeable on dark or colored clothing. Furthermore, the agitation and water flow within the washing machine can cause the glitter to disperse and settle in hard-to-reach crevices, exacerbating the issue.
The presence of glitter in the washing machine not only poses a cosmetic nuisance but also raises concerns about potential clogs and drainage issues. As the glitter accumulates in the drum and other components, it can impede the smooth operation of the machine and compromise the cleanliness of subsequent laundry loads. Additionally, the glitter may find its way into the filter and drain, leading to blockages and reduced efficiency.
Understanding the persistence and potential consequences of glitter in the washing machine is crucial for devising effective removal and prevention strategies. By acknowledging the unique challenges posed by these shimmering particles, individuals can approach the task of restoring their washing machine with a targeted and informed mindset. With a clear understanding of the problem at hand, it becomes possible to implement tailored solutions that address the specific nuances of dealing with glitter in the laundry appliance.
Removing Glitter from the Washing Machine Drum
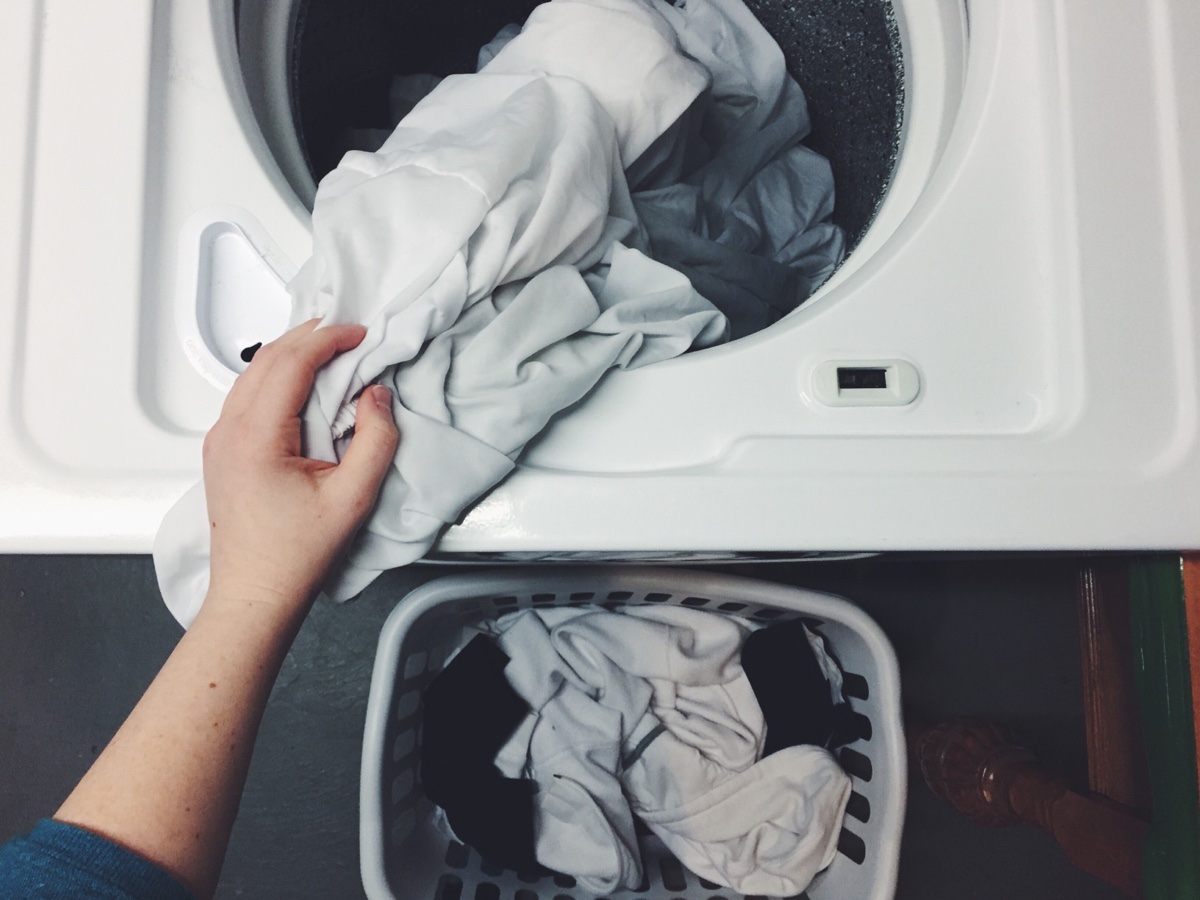
Dealing with glitter residue in the washing machine drum requires a systematic approach to dislodging and eliminating the stubborn particles. Here's a step-by-step guide to effectively remove glitter from the washing machine drum:
-
Inspect the Drum: Begin by visually examining the interior of the washing machine drum. Look for areas where glitter particles are concentrated or where they may have accumulated, such as along the drum's ridges or near the water inlet.
-
Vacuuming: Use a handheld vacuum with a narrow attachment to carefully vacuum the interior of the drum. The suction power of the vacuum can help dislodge and capture loose glitter particles, especially in hard-to-reach areas.
-
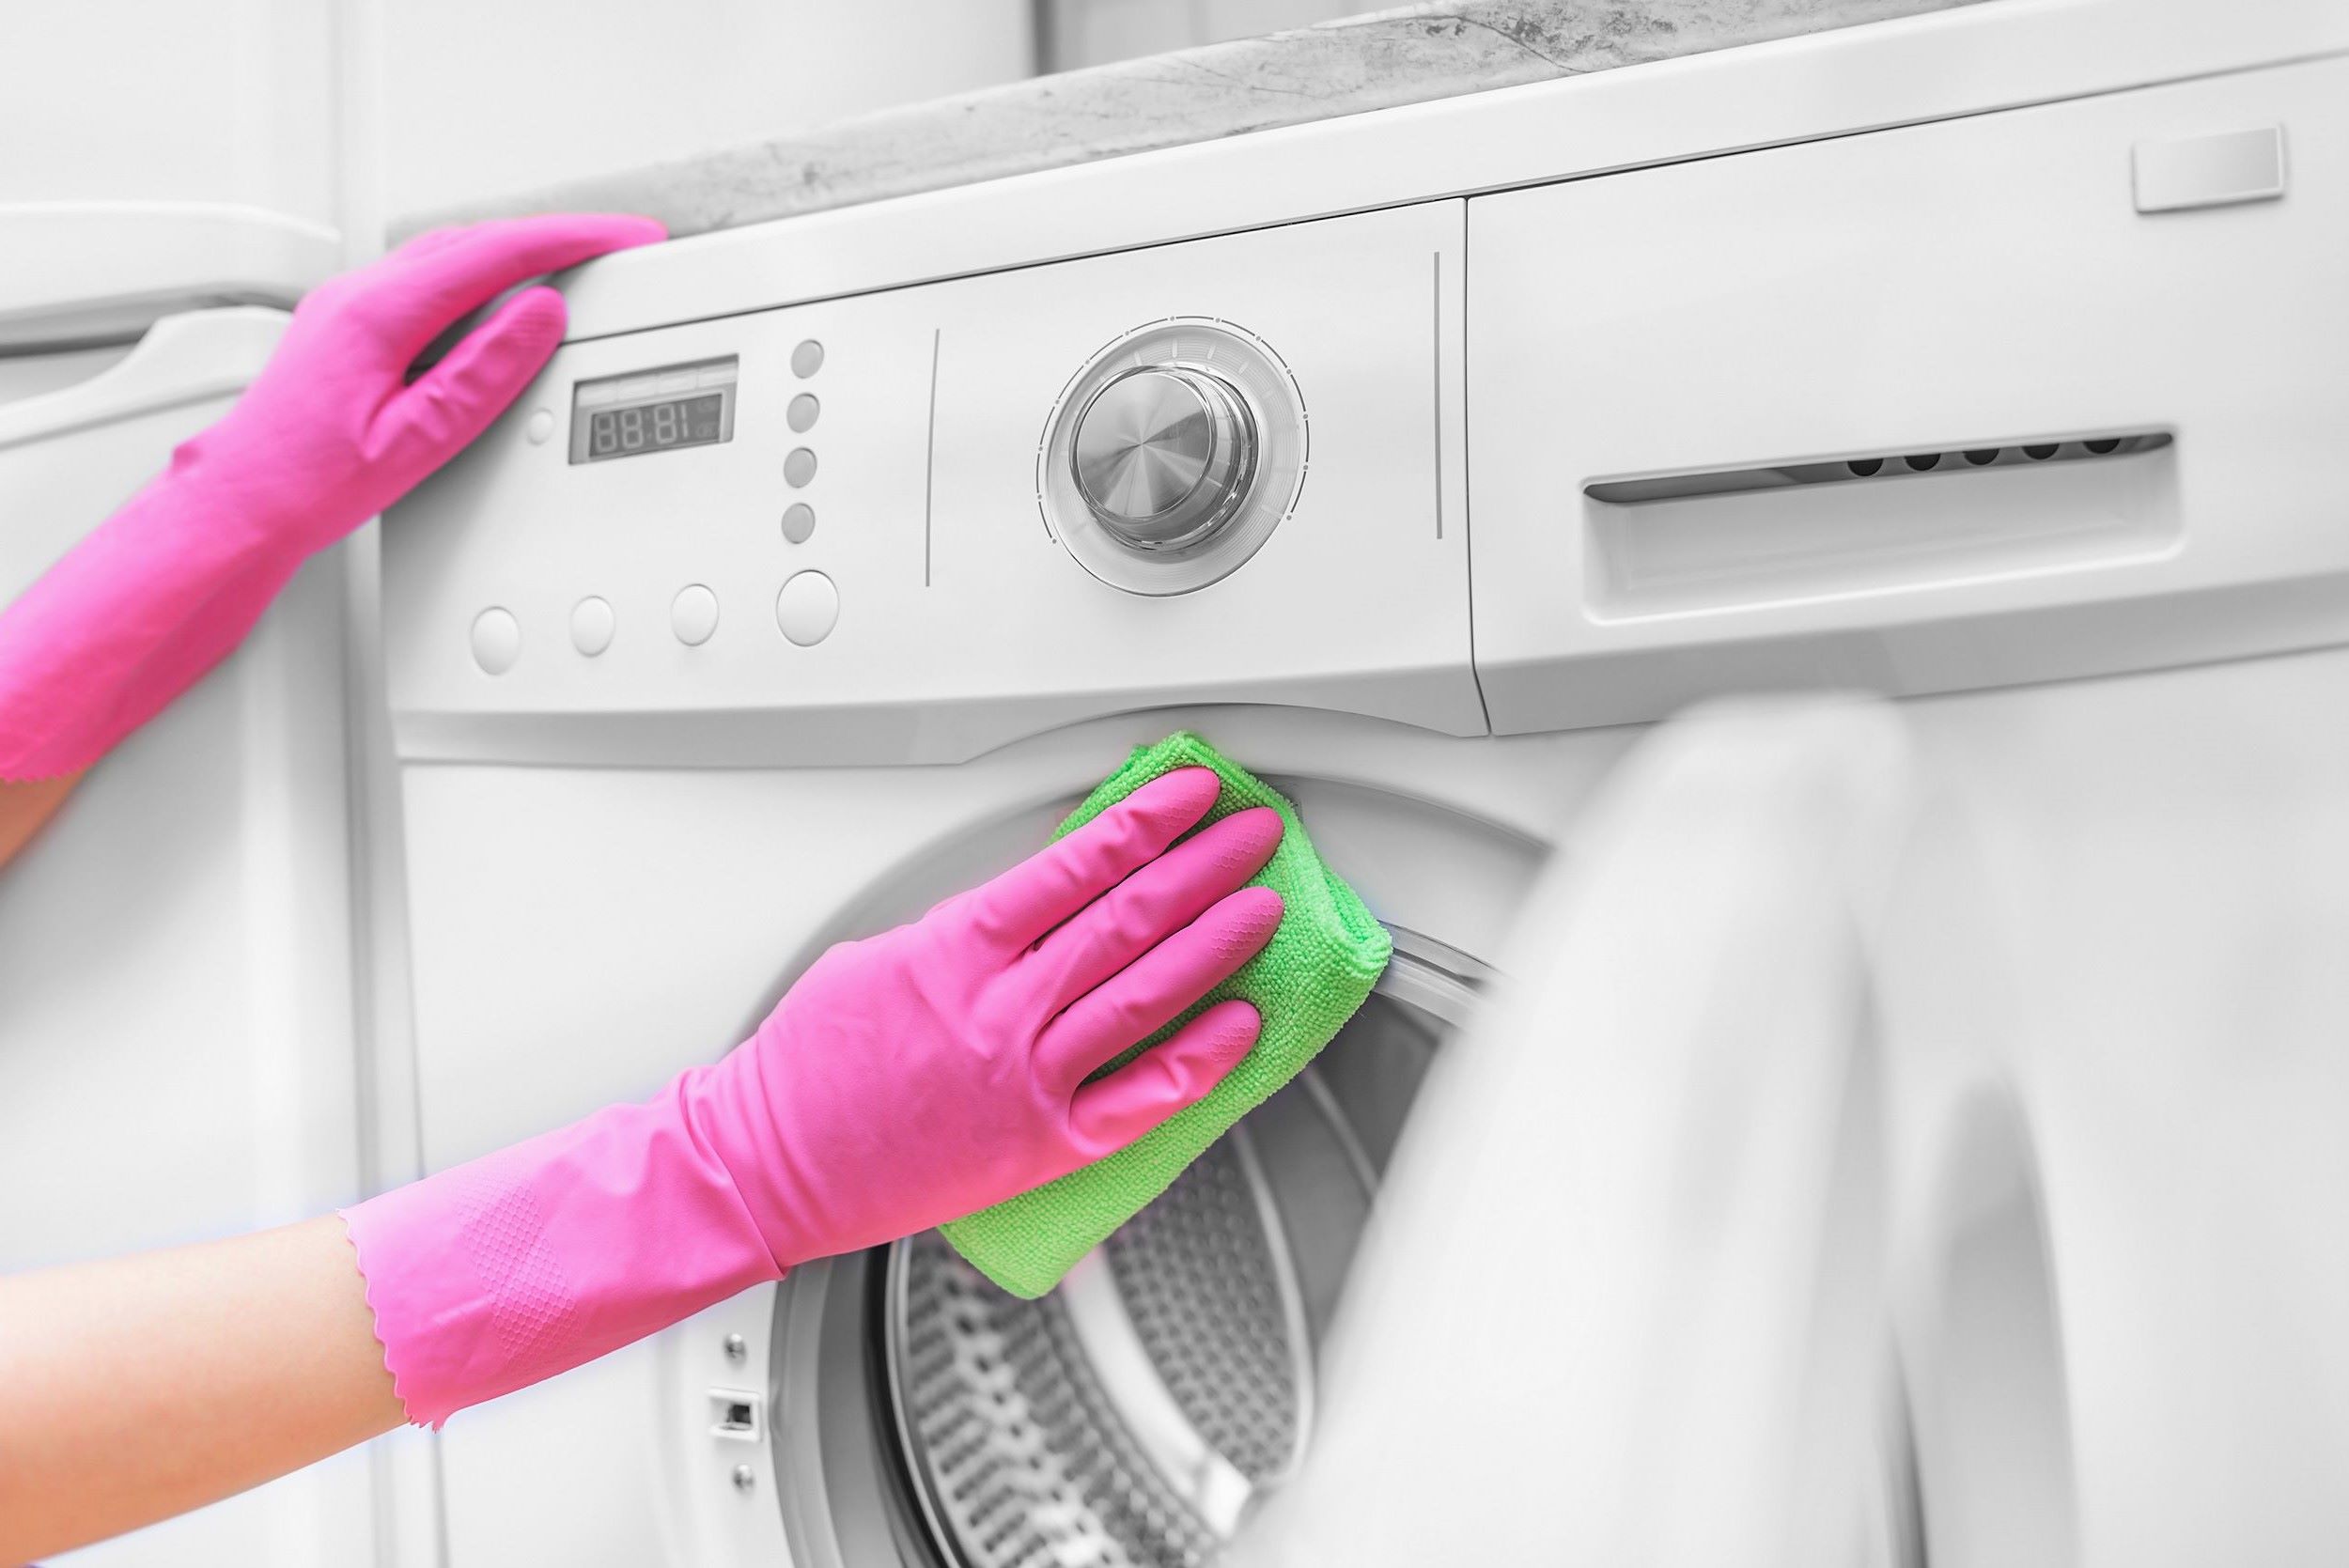
Damp Cloth or Lint Roller: Dampen a microfiber cloth with water or a gentle cleaning solution and wipe down the interior of the drum. Alternatively, use a lint roller to pick up any remaining glitter. This method can effectively capture residual glitter that may have evaded the vacuum.
-
Run an Empty Cycle: To further dislodge and flush out remaining glitter, run an empty wash cycle with hot water and a cup of distilled white vinegar. The heat and agitation can help loosen and remove any lingering glitter particles from the drum.
-
Visual Inspection: After the cycle is complete, visually inspect the drum again to ensure that the glitter has been successfully removed. Repeat the vacuuming and wiping process if necessary to achieve a glitter-free interior.
By following these steps, you can effectively remove glitter from the washing machine drum, restoring it to a pristine condition and preventing the transfer of glitter onto future laundry loads. This meticulous approach targets the specific challenges posed by glitter residue, ensuring a thorough and effective cleaning process.
Cleaning the Filter and Drain
Cleaning the filter and drain of a washing machine is a crucial step in addressing the presence of glitter and preventing potential drainage issues. Over time, glitter particles, along with lint, debris, and other residues, can accumulate in the filter and drain, impeding water flow and compromising the machine's efficiency. To ensure the optimal performance of your washing machine and prevent glitter-related complications, it's essential to prioritize the thorough cleaning of the filter and drain.
Steps to Clean the Filter and Drain:
-
Locate the Filter: The filter is typically situated near the bottom front of the washing machine. Refer to the manufacturer's manual to identify the specific location of the filter in your machine.
-
Prepare for Cleaning: Before proceeding, unplug the washing machine to ensure safety. Have a shallow container and towels ready to catch any water that may spill during the cleaning process.
-
Remove the Filter: Carefully open the filter access panel and remove the filter. Be prepared for residual water to drain out, so position the container and towels accordingly.
-
Clean the Filter: Thoroughly rinse the filter under running water to dislodge and remove any trapped debris, including glitter particles. Use a soft brush or cloth to gently scrub the filter, ensuring that it is free from any stubborn residues.
-
Inspect the Drain Pump: While the filter is removed, take the opportunity to inspect the drain pump for any visible debris or obstructions. Clear any blockages or foreign objects that may impede the pump's function.
-
Clear the Drain: After cleaning the filter, check the opening where the filter is housed for any remaining debris. Use a flashlight to inspect the area and remove any accumulated residues, ensuring that the drain is clear and unobstructed.
-
Reassemble and Test: Once the filter and drain areas are thoroughly cleaned, reinsert the filter, secure the access panel, and plug in the washing machine. Run a brief rinse cycle to confirm that the filter and drain are functioning properly.
By diligently cleaning the filter and drain of your washing machine, you can effectively remove glitter and other residues that may compromise its performance. This proactive maintenance not only addresses the immediate issue of glitter accumulation but also contributes to the overall longevity and efficiency of the appliance. Regularly incorporating this cleaning process into your laundry appliance maintenance routine can help prevent future glitter-related challenges and ensure the smooth operation of your washing machine.
Read more: How To Get Water Out Of A Washing Machine
Preventing Glitter Build-Up in the Future
Preventing glitter build-up in the future requires a proactive approach to minimize the introduction of glitter into the washing machine and mitigate its potential impact on subsequent laundry cycles. By implementing preventive measures and adopting mindful laundry practices, individuals can significantly reduce the likelihood of encountering glitter-related issues in their washing machines.
Mindful Garment Selection
When purchasing or handling garments adorned with glitter or sequins, exercise caution to minimize the shedding of these decorative elements. Opt for clothing items with securely attached glitter embellishments and handle them gently to reduce the likelihood of glitter detachment during wear or laundering.
Containment Strategies
Consider utilizing garment bags or mesh laundry pouches for items with glitter accents. These protective enclosures can help contain loose glitter particles and prevent them from dispersing within the washing machine. Additionally, segregating glitter-adorned garments from other laundry items can minimize the risk of cross-contamination.
Pre-Treatment and Inspection
Prior to laundering glitter-infused garments, consider spot-treating any visible glitter residues or employing gentle brushing to dislodge loose particles. This pre-treatment approach can help minimize the introduction of glitter into the washing machine, reducing the likelihood of subsequent build-up.
Read more: How To Get Rust Out Of A Washing Machine
Delicate Wash Settings
When laundering garments with glitter embellishments, opt for gentle or delicate wash cycles to minimize the agitation and friction that can dislodge glitter particles. Lower spin speeds and reduced mechanical action can help preserve the integrity of glitter-adorned items while minimizing glitter dispersion within the washing machine.
Regular Maintenance
Incorporate routine inspection and maintenance of the washing machine filter and drum into your household maintenance regimen. By proactively addressing any residual glitter and conducting periodic cleanings, you can prevent the accumulation of glitter within the appliance and maintain its optimal performance.
By embracing these preventive strategies and integrating them into your laundry routine, you can effectively minimize the occurrence of glitter build-up in the washing machine. These proactive measures not only safeguard the appliance from glitter-related challenges but also contribute to the preservation of clothing items adorned with glitter, ensuring that they retain their sparkle without causing unintended disruptions in the laundry process.
Frequently Asked Questions about How To Get Glitter Out Of A Washing Machine
Was this page helpful?
At Storables.com, we guarantee accurate and reliable information. Our content, validated by Expert Board Contributors, is crafted following stringent Editorial Policies. We're committed to providing you with well-researched, expert-backed insights for all your informational needs.


0 thoughts on “How To Get Glitter Out Of A Washing Machine”