Articles
How To Clean Out Washer Drain
Modified: October 20, 2024
Learn the step-by-step process for cleaning out your washer drain in this informative article. Prevent clogs and keep your washing machine running smoothly.
(Many of the links in this article redirect to a specific reviewed product. Your purchase of these products through affiliate links helps to generate commission for Storables.com, at no extra cost. Learn more)
Introduction
Keeping your washer drain clean is important for the proper functioning of your washing machine and to prevent clogs that can lead to costly repairs. Over time, dirt, lint, soap residue, and other debris can accumulate in the drain, causing it to become blocked or slow draining. In this article, we will guide you through the process of cleaning out your washer drain to ensure optimal performance and extend the lifespan of your machine.
Regular maintenance of your washer drain is essential to prevent unpleasant odors, mold growth, and drainage issues. If you notice that your washer is not draining properly, or if there is water pooling in the drum after a cycle, it may be a sign that the drain needs cleaning.
Before we proceed with the steps to clean out your washer drain, it is important to emphasize the importance of safety. Always ensure that the power source of the washing machine is disconnected before attempting any maintenance or cleaning procedures.
In the following sections, we will guide you through a step-by-step process to effectively clean out your washer drain. By following these steps, you can ensure that your washing machine operates efficiently and avoids potential issues caused by a clogged drain.
Key Takeaways:
- Regularly cleaning your washer drain is essential to prevent clogs, maintain optimal performance, and extend the lifespan of your washing machine. It also helps prevent unpleasant odors and mold growth.
- By following the step-by-step guide to clean out your washer drain, you can ensure proper drainage, avoid costly repairs, and enjoy the efficient performance of your washing machine.
Read more: How To Clean Out Your Washer
Step 1: Gather Necessary Supplies
Before you begin the process of cleaning out your washer drain, it’s important to gather all the necessary supplies. Having everything ready and easily accessible will help streamline the process and ensure that you have everything you need.
Here are the supplies you’ll need:
- Rubber gloves: These will protect your hands from any dirt or debris you may encounter during the cleaning process.
- Screwdriver: Depending on the type of washer you have, you may need a screwdriver to remove the drain cover.
- Drain snake or wire hanger: This will be used to help remove any clogs or obstructions in the drain.
- Bucket or towels: These will be handy for catching any water that may spill out during the cleaning process.
- Hot water: You’ll need access to hot water to flush the drain and remove any remaining debris.
- Cleaning solution (optional): If you notice any buildup of residue or mold in the drain, you may want to use a mild cleaning solution to help sanitize the area.
Ensure that you have gathered all the supplies mentioned above before proceeding to the next step. Having everything ready will make the cleaning process more efficient and less stressful.
Step 2: Disconnect the Power Source
Before you start cleaning your washer drain, it’s crucial to ensure the safety of the procedure by disconnecting the power source. This step will help to avoid any potential accidents or electrical hazards during the cleaning process.
Here’s how to disconnect the power source:
- Unplug the power cord: Locate the power cord of your washing machine and unplug it from the electrical outlet. This will completely cut off the power supply to the machine.
- Turn off the circuit breaker: For added safety, you can also turn off the circuit breaker that supplies electricity to the washer. Locate the corresponding breaker and switch it off to ensure that no power is flowing to the machine.
By disconnecting the power source, you are taking the necessary precautions to eliminate the risk of electrical shock or other accidents while working on your washer drain.
Note: It’s important to mention that some washers may have different power sources or configurations. If you’re unsure about how to disconnect the power source, refer to the user manual or seek assistance from a professional technician.
Once you have ensured that the power source is safely disconnected, you can proceed with the next steps to clean out your washer drain.
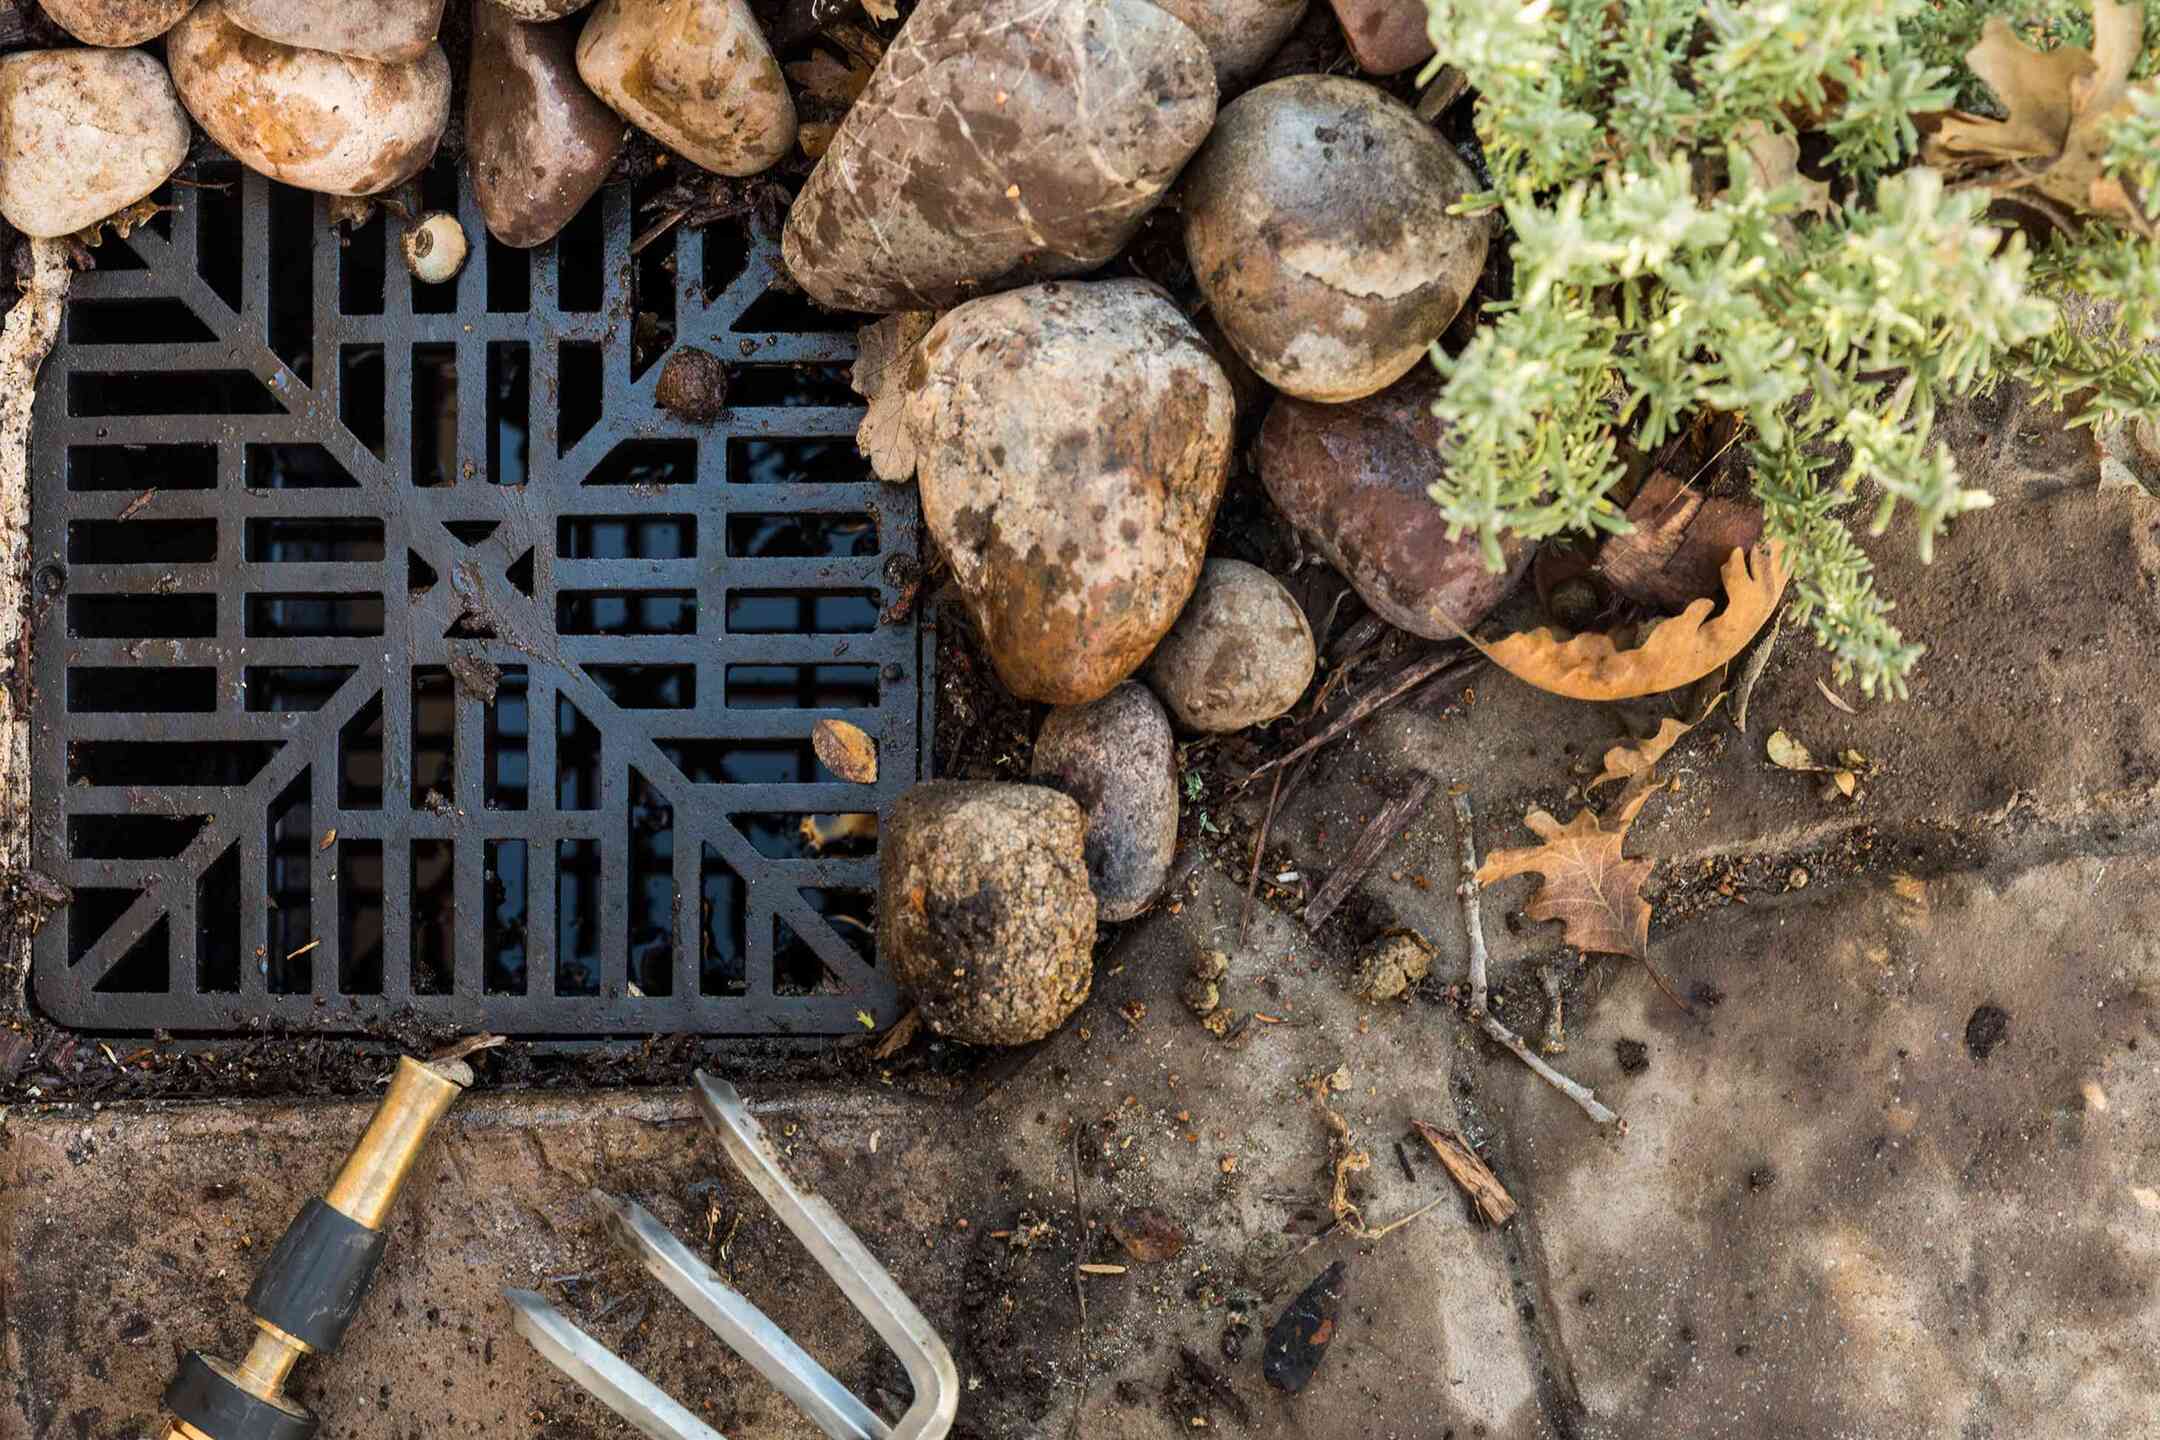
Step 3: Locate the Washer Drain
Locating the drain of your washing machine is crucial to effectively clean it out. The drain is typically located at the back of the machine, either behind a small panel or under a removable cover.
Follow these steps to locate the washer drain:
- Move your washing machine away from the wall: Gently pull your washing machine a few inches away from the wall to allow easy access to the back.
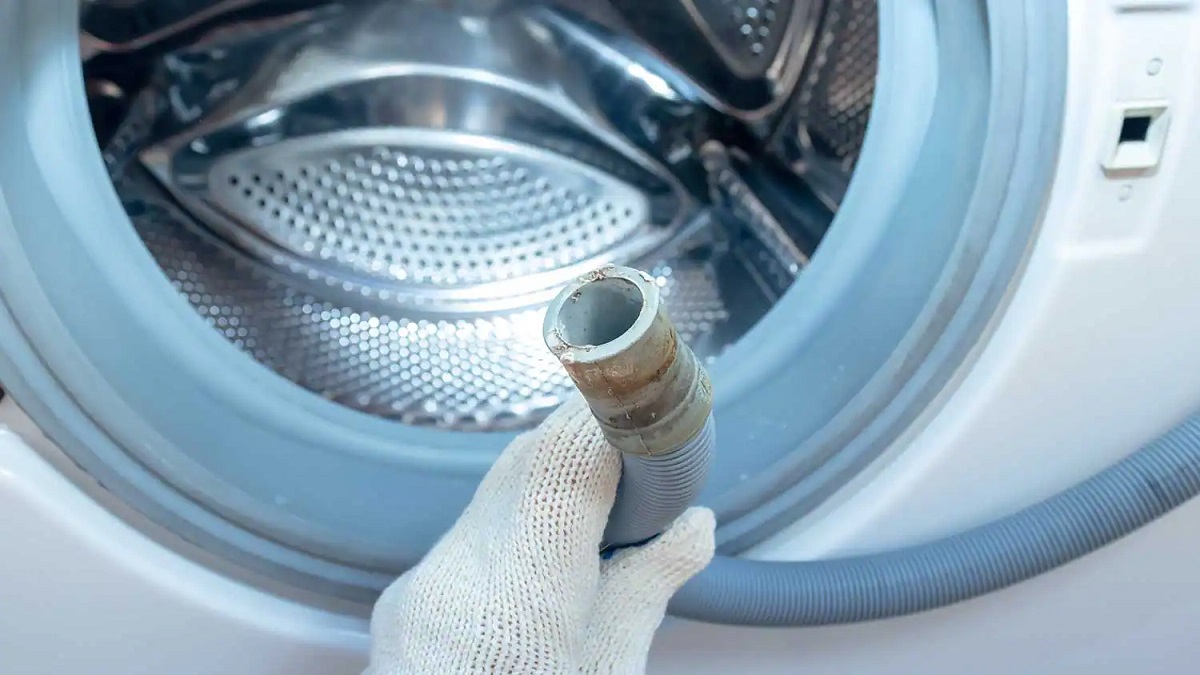
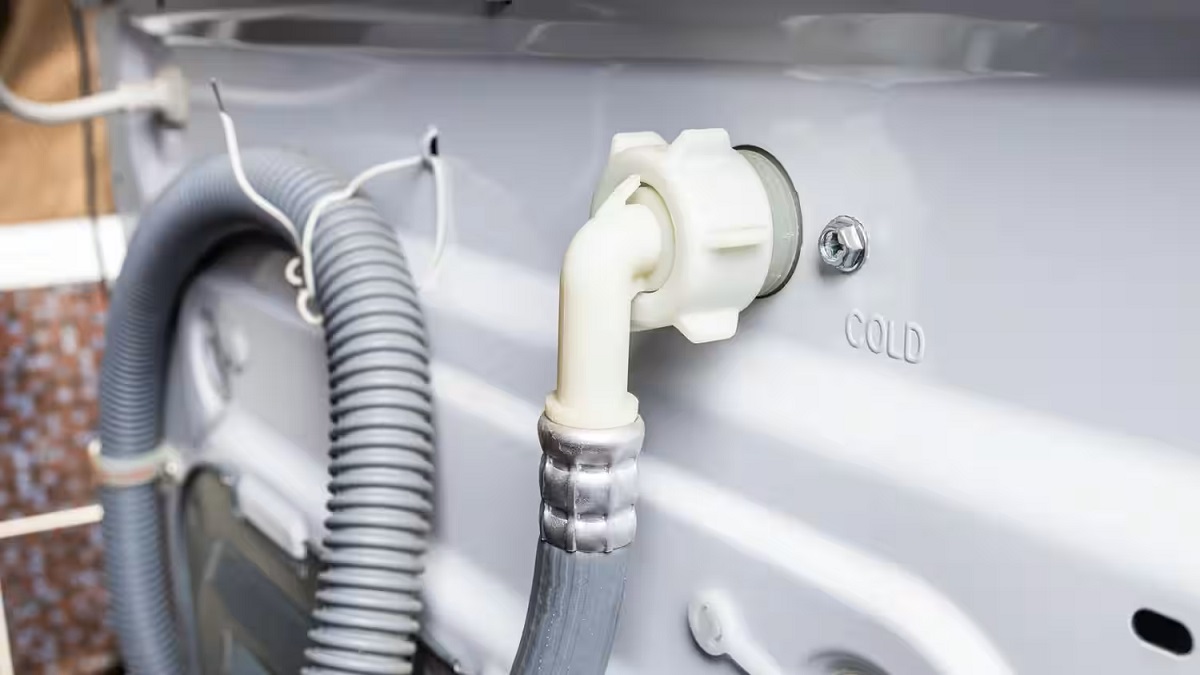
- Look for the drain hose: The drain hose is a thick tube that connects to the back of your washing machine. It is usually made of flexible plastic or rubber and can vary in length.
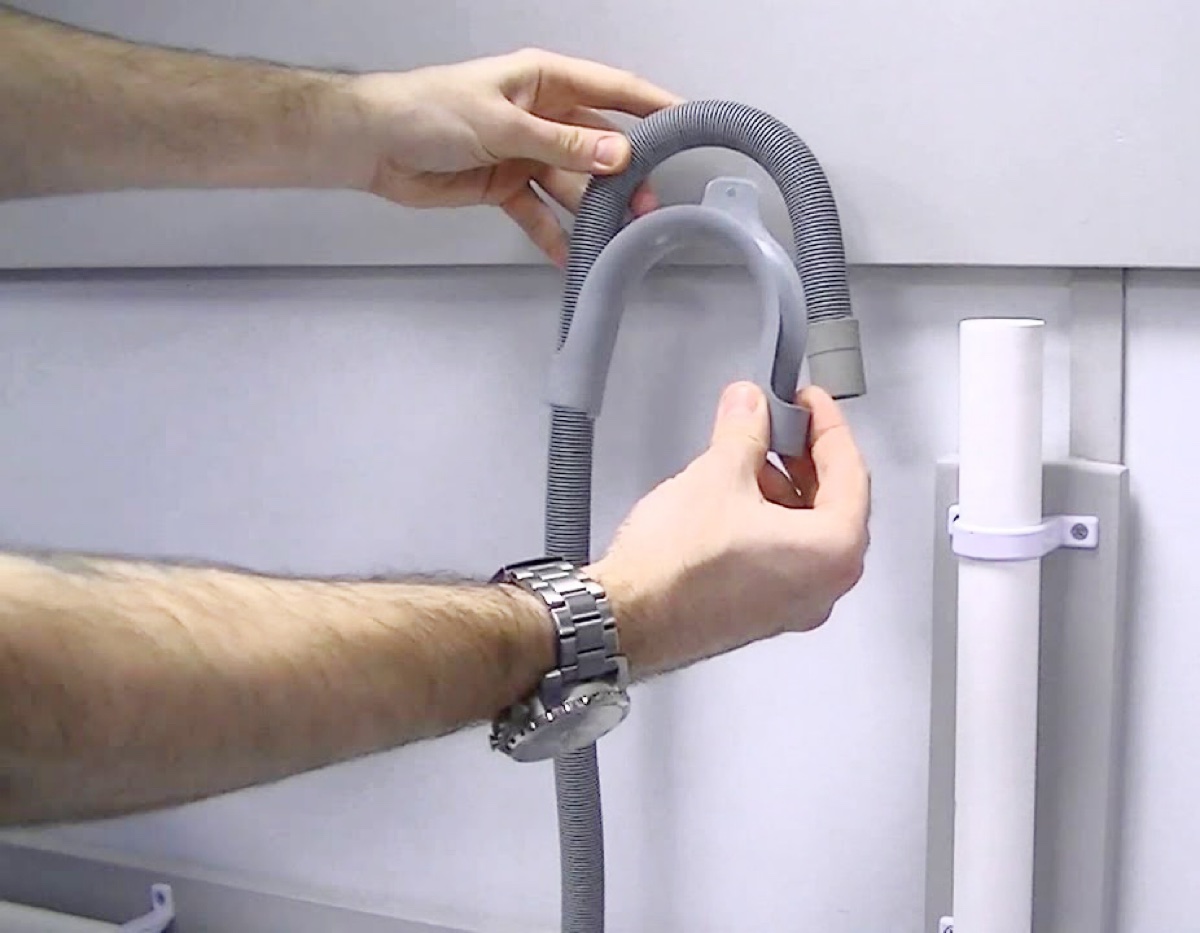
- Identify the drain pipe or standpipe: The drain hose usually empties into a drain pipe or a standpipe. The drain pipe is a plumbing pipe connected to your home’s plumbing system specifically for wastewater disposal. The standpipe is a vertical pipe that extends from the floor or wall, designed to receive the washer’s drainage.
Once you have located the drain hose and identified the drain pipe or standpipe, you are ready to move on to the next step of cleaning out your washer drain.
Note: If you’re having trouble locating the drain or if your washing machine has a different drainage system, refer to the user manual or consult a professional for guidance.
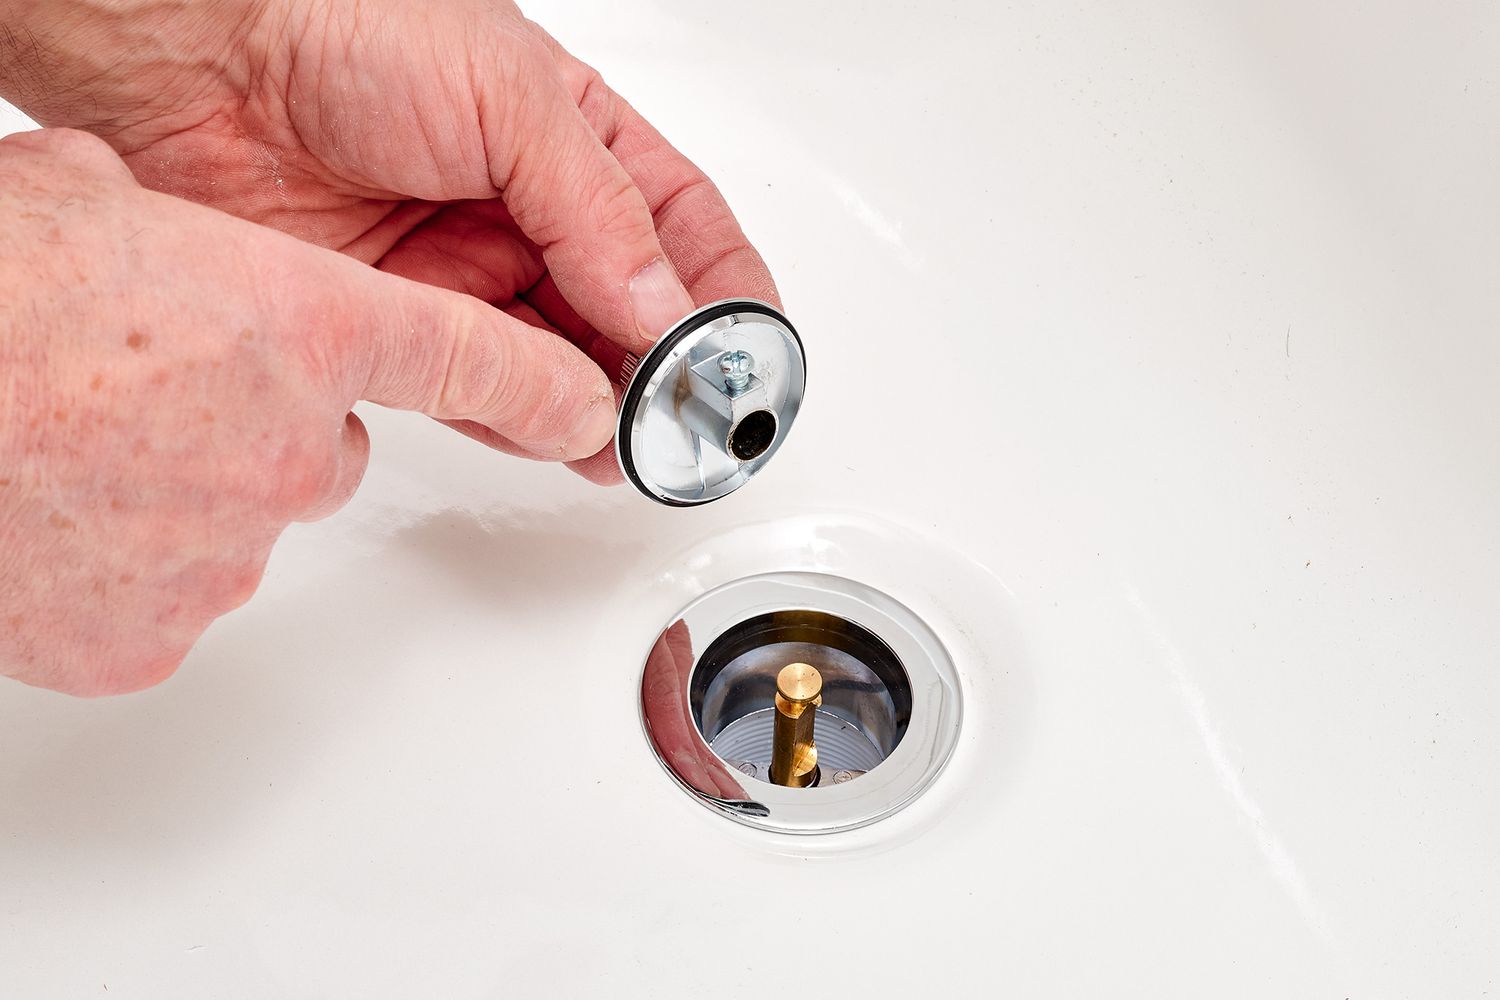
Step 4: Remove the Drain Cover
Once you have located the washer drain, the next step is to remove the drain cover. The drain cover is designed to prevent debris from entering the drain and causing clogs. Removing the drain cover will allow you to access and clean out any buildup or obstructions inside the drain.
Follow these steps to remove the drain cover:
- Put on rubber gloves: It’s important to protect your hands during this step, as the drain cover may be dirty or have sharp edges.
- Inspect the drain cover: Look for any visible screws or fasteners holding the drain cover in place. Depending on your washer model, you may need a screwdriver or other tools to remove them.
- Remove the screws/fasteners: If there are screws or fasteners, use the appropriate tool to loosen and remove them. Set them aside in a safe place to avoid misplacing them.
- Detach the drain cover: Once the screws or fasteners are removed, carefully lift or slide the drain cover off. Be cautious of any residual water or debris that may be trapped underneath.
After removing the drain cover, take a moment to inspect it for any signs of damage or excessive buildup. If needed, clean the drain cover using warm, soapy water and a brush or sponge to remove any grime or residue.
With the drain cover removed, you can now move on to the next step of cleaning out your washer drain and removing any visible debris.
Read more: How To Drain Washer
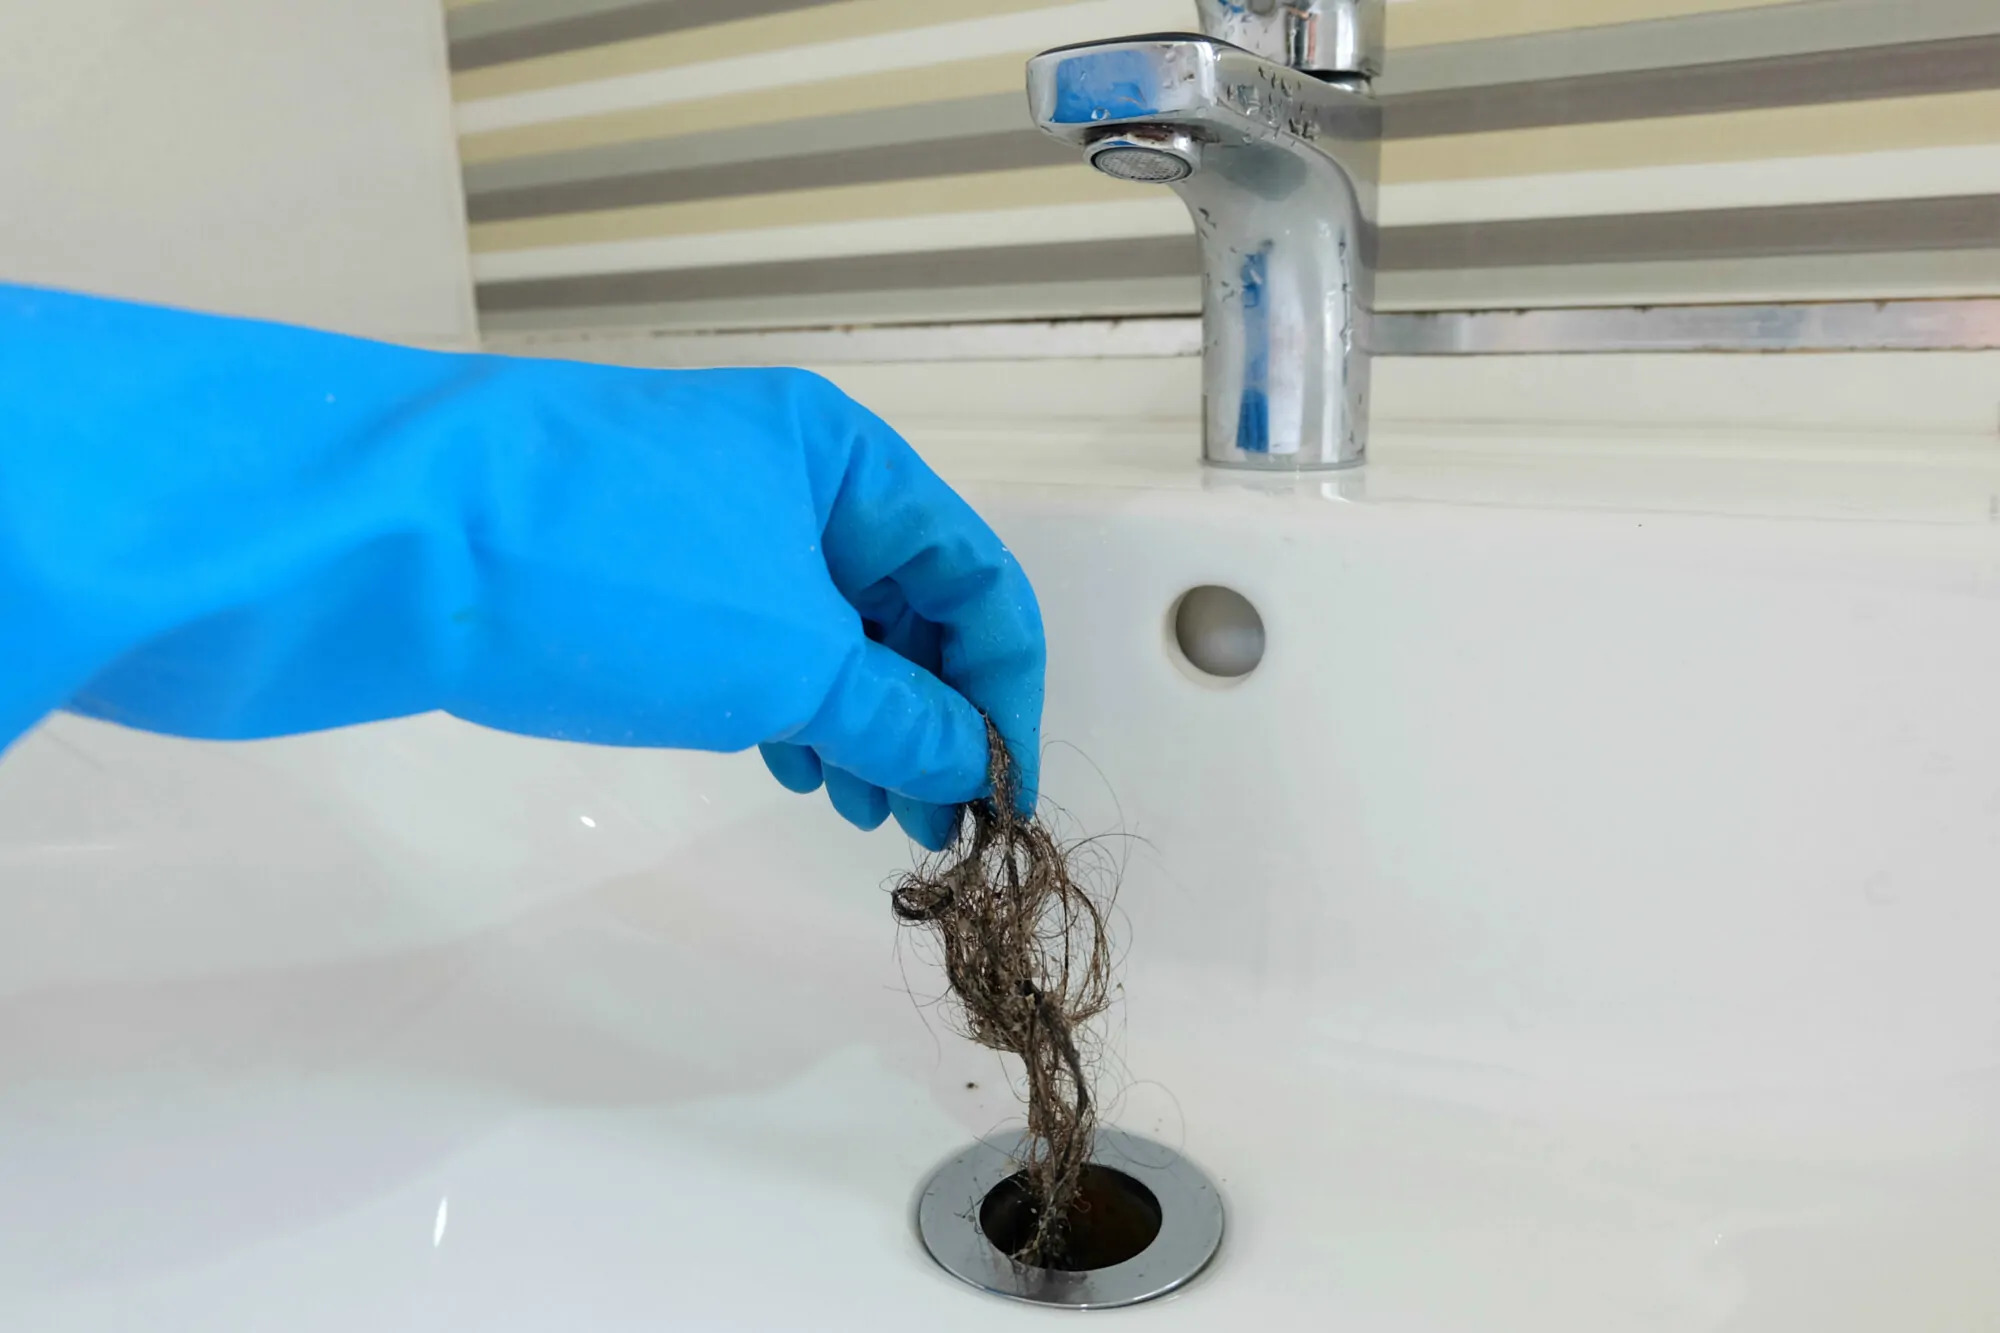
Step 5: Clear any Visible Debris
Now that you have removed the drain cover, it’s time to clear any visible debris that may be blocking the drain. Over time, lint, hair, soap residue, and other small particles can accumulate and create clogs in the drain, leading to poor draining performance.
Follow these steps to clear any visible debris from the washer drain:
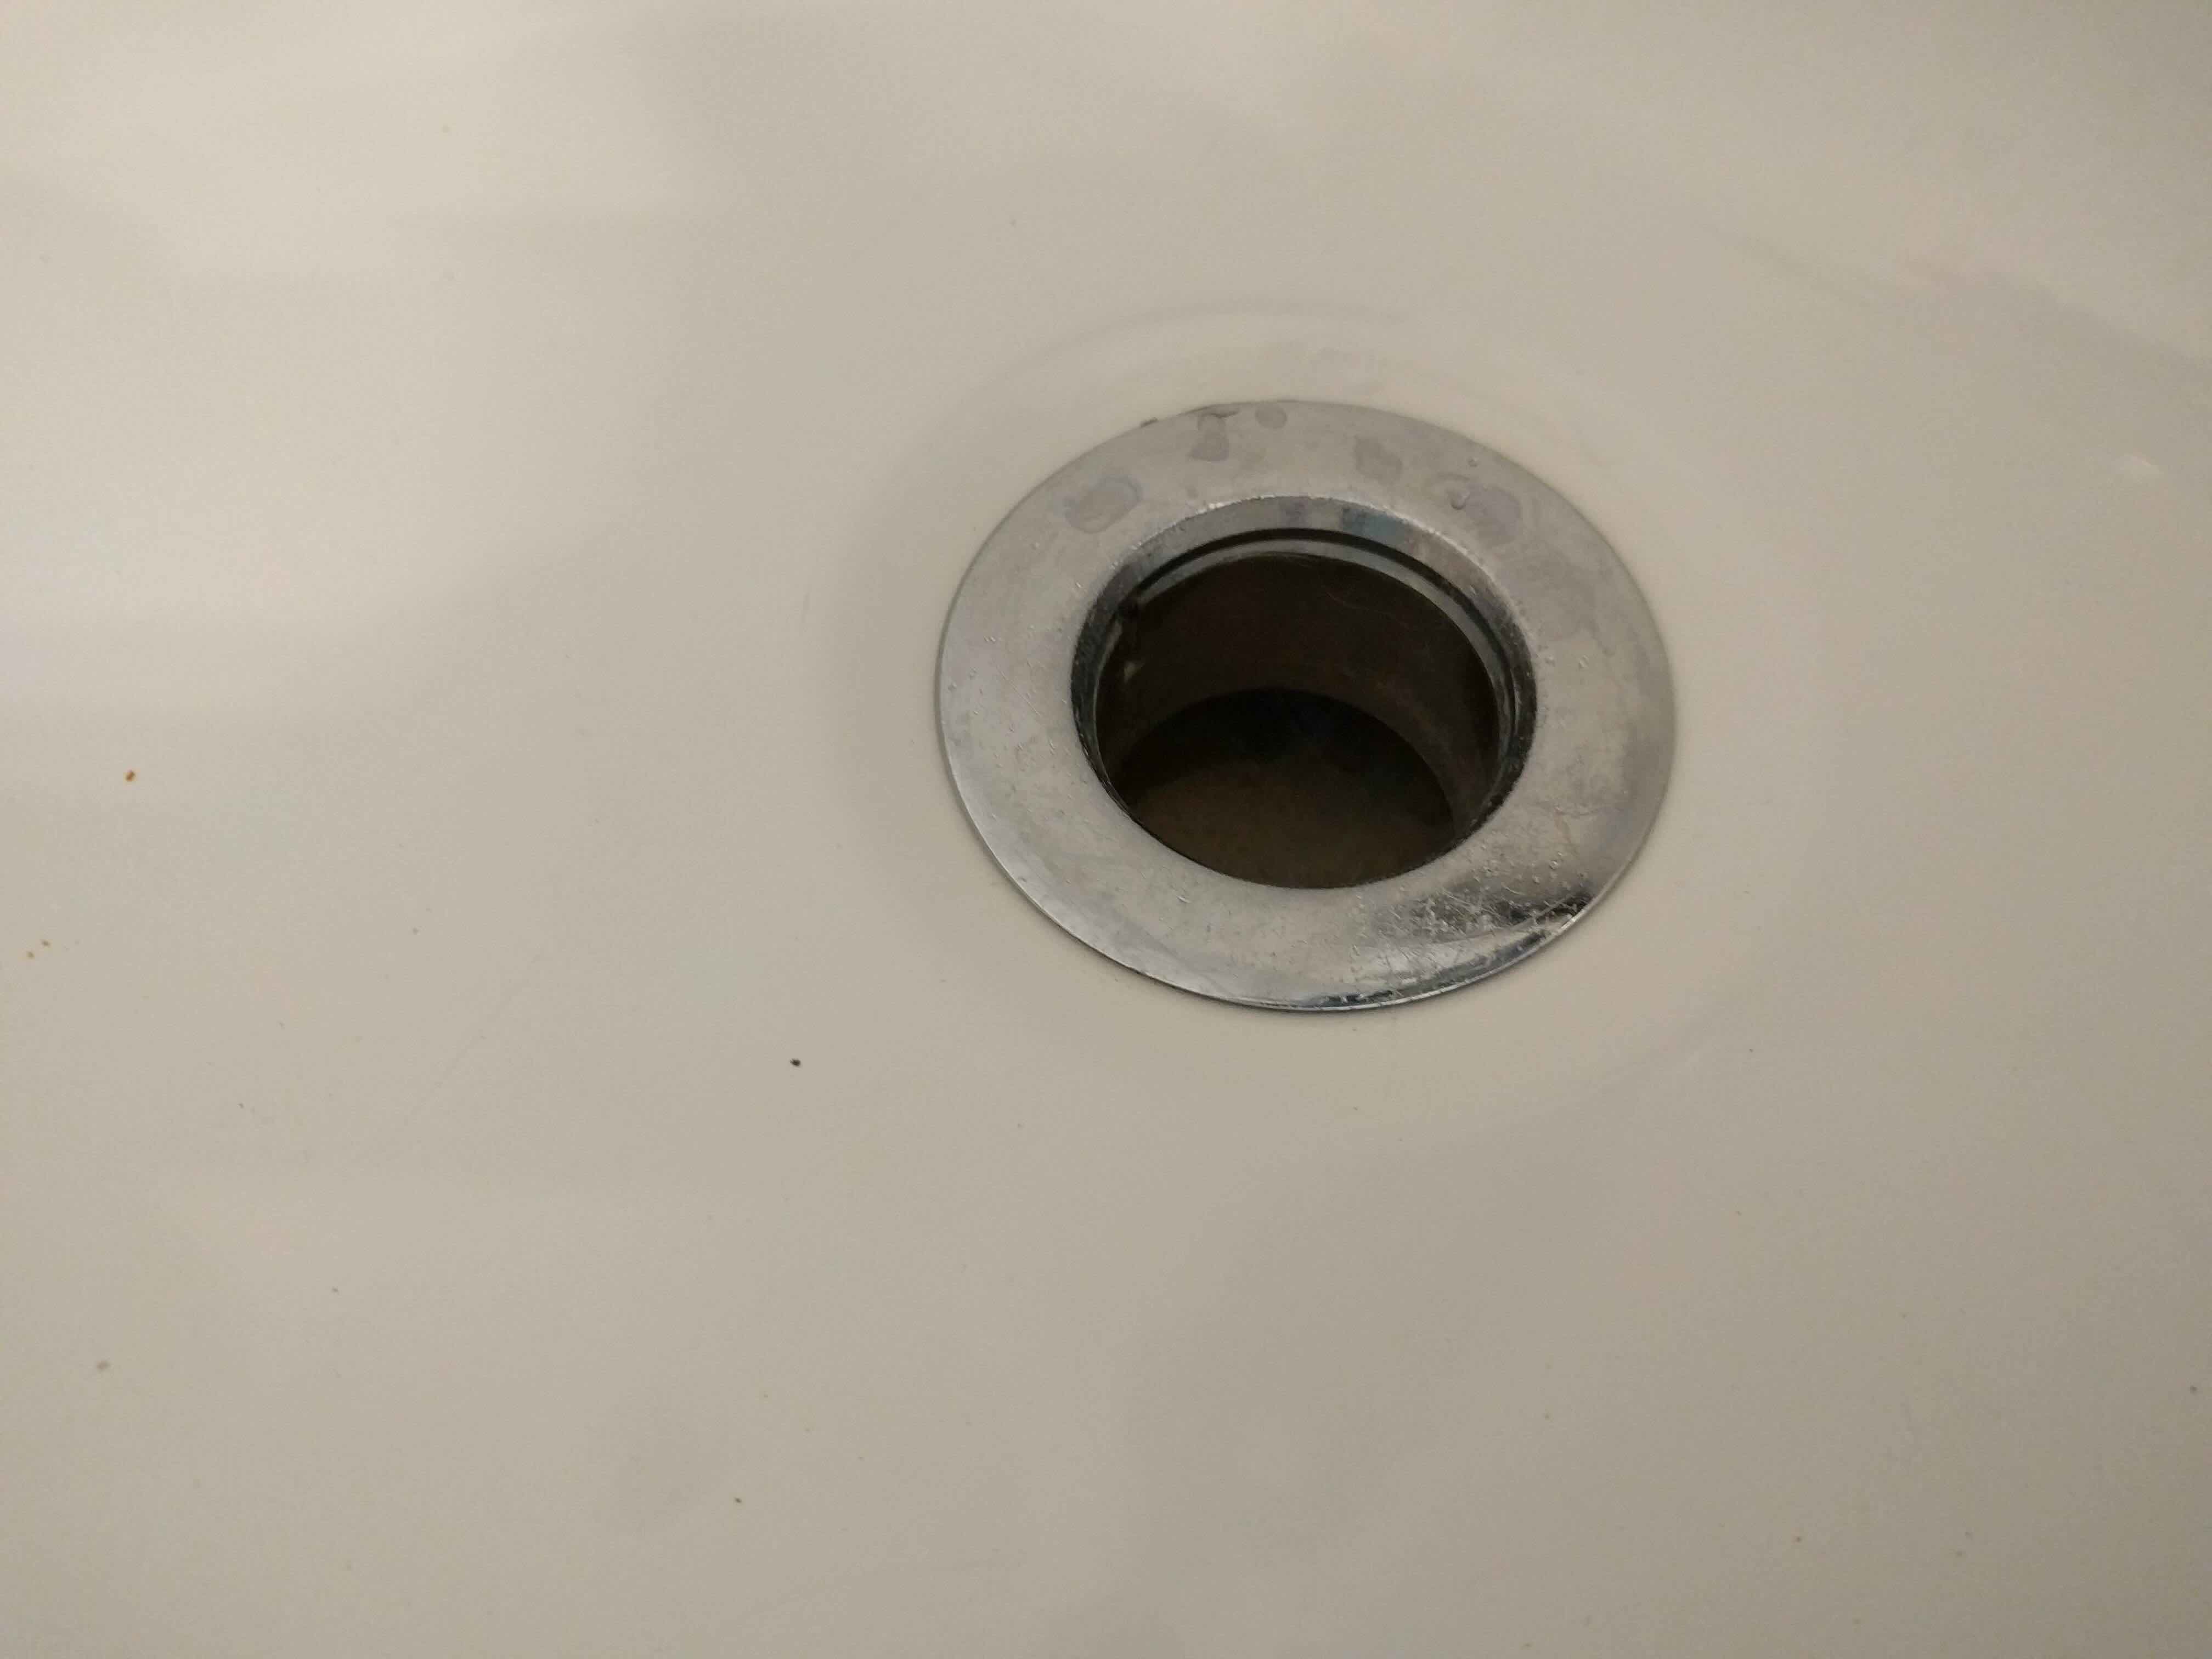
- Inspect the drain area: Take a close look inside the drain opening to identify any visible debris or obstructions that may be blocking the flow.
- Use a flashlight: Shine a flashlight into the drain to get a better view of the inside. This will help you identify any buildup or clogs that need to be cleared.
- Remove debris with your hands: If there are any loose debris or objects that you can easily reach, use your gloved hands to remove them. Be cautious and careful not to push the debris further into the drain.
- Wipe the drain area: Use a damp cloth or paper towel to wipe away any remaining dirt, grime, or residue from the drain opening.
By clearing away visible debris, you are improving the drain’s ability to function properly. However, keep in mind that there may still be hidden or deeper clogs that require further attention.
If you encounter stubborn debris or notice that the drain is still not flowing freely, you may need to use a drain snake or wire to remove deeper clogs. We will cover this step in the next section.
Once you have cleared any visible debris, you can proceed to the next step of using a drain snake or wire to remove stubborn clogs in the washer drain.
Use a mixture of hot water, vinegar, and baking soda to clean out your washer drain. Pour the mixture down the drain and let it sit for 30 minutes before flushing with hot water. Repeat monthly to prevent buildup.
Step 6: Use a Drain Snake or Wire to Remove Clogs
If you have cleared any visible debris but are still experiencing drainage issues, it’s time to use a drain snake or wire to tackle deeper clogs in the washer drain. These tools are designed to reach and dislodge stubborn obstructions that may be causing blockages.
Follow these steps to use a drain snake or wire to remove clogs:
- Insert the drain snake or wire: Gently insert the tip of the drain snake or wire into the drain opening. Slowly push it in until you encounter resistance.
- Rotate and maneuver the snake or wire: Once you feel resistance, gently rotate and maneuver the drain snake or wire to break up any clogs or obstructions. Avoid using excessive force, as it may damage the drain pipe.
- Move the drain snake or wire back and forth: If you encounter a particularly stubborn clog, move the drain snake or wire back and forth to dislodge it. This motion will help break up the clog and allow it to flow through the drain.
- Continue until the drain is clear: Slowly retract the drain snake or wire while rotating it to ensure that all clogs are cleared. If necessary, repeat the process multiple times until the drain is free from obstructions.
By using a drain snake or wire, you can effectively remove deep-seated clogs and restore proper drainage in your washer. However, it’s important to note that if you encounter excessive resistance or are unsure of how to proceed, it’s best to consult a professional plumber for assistance.
Once you have used the drain snake or wire to remove clogs, you can move on to the next step of flushing the drain with hot water to further cleanse the system.
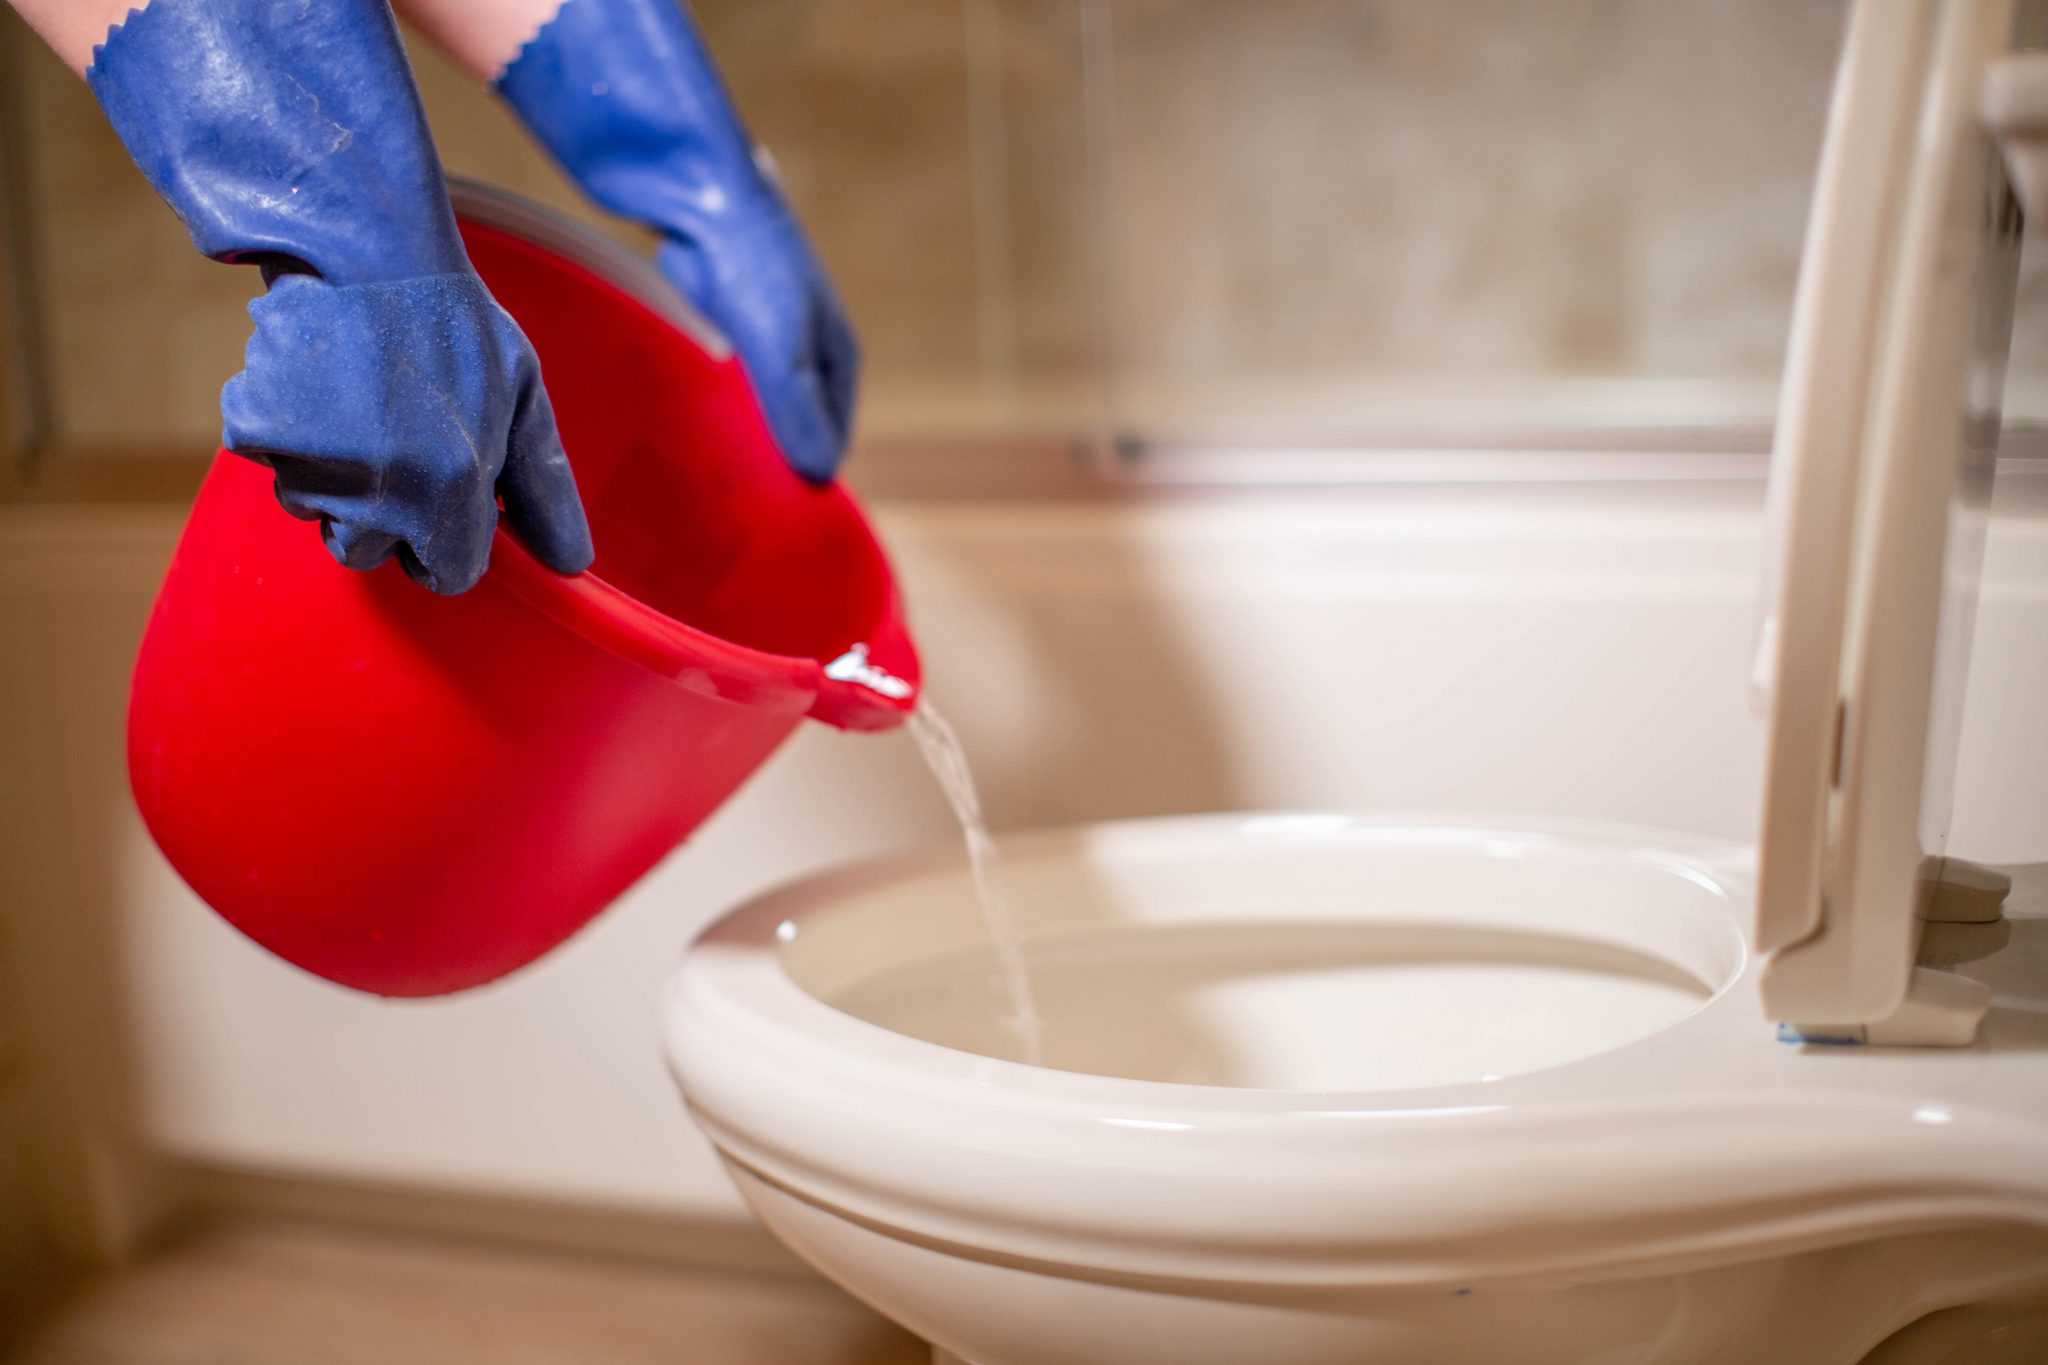
Step 7: Flush the Drain with Hot Water
After removing visible debris and clearing any clogs, it’s crucial to flush the drain with hot water to thoroughly clean the system and ensure proper drainage. Flushing the drain will help to eliminate any remaining residue or buildup that may be clinging to the drain walls.
Follow these steps to flush the drain with hot water:
- Position a bucket or towels: Place a bucket or lay down towels underneath the drain opening to catch any water that may come out during the flushing process.
- Turn on the hot water: Make sure the hot water supply is turned on and available before starting the flushing process.
- Pour hot water into the drain: Slowly pour a large amount of hot water into the drain opening. Aim to fill the drain to the brim to allow the hot water to thoroughly cleanse the inside.
- Let the hot water sit: Allow the hot water to sit in the drain for a few minutes to break up any remaining residue or debris.
- Release the hot water: Quickly remove the bucket or towels and open the drainpipe or standpipe to release the hot water and rinse away any loosened debris.
By flushing the drain with hot water, you are effectively removing any remaining dirt, soap residue, or buildup that may be hindering proper drainage. This step will help ensure a clean and clear drain, improving the overall performance of your washer.
Now that you have flushed the drain with hot water, you can move on to the next step of cleaning the drain cover and reinstalling it.
Step 8: Clean the Drain Cover and Reinstall
After flushing the drain and ensuring proper drainage, it’s important to clean the drain cover and reinstall it. The drain cover plays a crucial role in preventing debris from entering the drain and causing clogs, so it’s essential to keep it clean and in good condition.
Follow these steps to clean the drain cover and reinstall it:
- Remove any debris or residue: Thoroughly clean the drain cover using warm, soapy water and a brush or sponge. Remove any remaining debris, grime, or residue that may have accumulated on the cover.
- Rinse the drain cover: Rinse the drain cover with clean water to ensure that all soap and dirt are removed. Wipe it dry with a clean cloth or allow it to air dry.
- Inspect the drain cover: Take a moment to inspect the drain cover for any damage, cracks, or signs of wear. If it’s damaged, it may not provide adequate protection, and you may need to replace it.
- Place the drain cover back: Line up the drain cover with the opening and carefully place it back in position. Ensure that it sits securely and covers the drain opening completely.
- Secure the drain cover: If your drain cover requires screws or fasteners to secure it in place, use the appropriate tool to tighten them. Make sure they are snug but not overly tightened.
By cleaning the drain cover and reinstalling it properly, you are ensuring that it effectively blocks debris from entering the drain, preventing future clogs and maintaining optimal performance of your washing machine.
With the drain cover cleaned and properly secured, you are ready to move on to the final step of reconnecting the power source to your washing machine.
Read more: How To Drain A Maytag Washer
Step 9: Reconnect the Power Source
Now that you have completed the cleaning process for your washer drain, it’s time to reconnect the power source to your washing machine and prepare it for use.
Follow these steps to reconnect the power source:
- Locate the power cord: Find the power cord of your washing machine.
- Plug in the power cord: Insert the power cord into the electrical outlet. Ensure that it is securely plugged in and making a proper connection.
- Turn on the circuit breaker: If you had turned off the circuit breaker during the cleaning process, switch it back on to restore the power supply to the washing machine.
- Test the machine: Once the power source is reconnected, run a test cycle on your washing machine to ensure that it is working properly and draining efficiently.
By reconnecting the power source, you are bringing your washing machine back to its normal operating state. Now, you can enjoy its efficient performance and confident that the drain is clean and free from clogs.
It’s important to note that regular maintenance, including periodic cleaning of your washer drain, is essential to prevent future clogs and maintain the longevity of your washing machine.
With the power source reconnected and your washer ready for use, you have completed the process of cleaning out your washer drain. By following these steps, you have ensured optimal performance and extended the lifespan of your washing machine.
Conclusion
Cleaning out your washer drain is an important maintenance task that should not be overlooked. By following the steps outlined in this guide, you can effectively remove debris, clear clogs, and ensure proper drainage in your washing machine.
Regularly cleaning your washer drain not only improves the performance and efficiency of your machine, but it also helps to prevent unpleasant odors, mold growth, and potential damage that can result from clogged drains.
Remember to gather all the necessary supplies before starting the cleaning process, disconnect the power source to ensure safety, and locate the washer drain. By removing the drain cover, clearing visible debris, using a drain snake or wire to tackle deeper clogs, flushing the drain with hot water, cleaning the drain cover, and reconnecting the power source, you can maintain a clean and functional washer drain.
It’s important to note that if you encounter persistent or severe drainage problems, it may be best to consult a professional plumber for assistance. They have the expertise and specialized equipment to resolve more complex drain issues.
By incorporating regular cleaning of your washer drain into your maintenance routine, you can prolong the lifespan of your washing machine, ensure optimal performance, and avoid costly repairs down the line. Taking the time to clean your washer drain is a worthwhile investment in the longevity and efficiency of your appliance.
So, don’t neglect this vital task! Set aside some time to clean out your washer drain and enjoy the benefits of a clean and efficiently running washing machine.
Frequently Asked Questions about How To Clean Out Washer Drain
Was this page helpful?
At Storables.com, we guarantee accurate and reliable information. Our content, validated by Expert Board Contributors, is crafted following stringent Editorial Policies. We're committed to providing you with well-researched, expert-backed insights for all your informational needs.


0 thoughts on “How To Clean Out Washer Drain”