Articles
How To Clean Out Your Washer
Modified: August 30, 2024
Learn how to properly clean out your washer with our informative articles that provide step-by-step instructions and helpful tips. Keep your machine running smoothly and your clothes fresh!
(Many of the links in this article redirect to a specific reviewed product. Your purchase of these products through affiliate links helps to generate commission for Storables.com, at no extra cost. Learn more)
Introduction
Welcome to this guide on how to clean out your washer. Over time, your washing machine can accumulate dirt, grime, and even mold, which can affect the cleanliness of your laundry and the efficiency of your machine. Regularly cleaning your washer can help ensure that it continues to perform at its best and keeps your clothes smelling fresh.
In this article, we will walk you through a step-by-step process of cleaning out your washer, from gathering the necessary supplies to preventive maintenance tips. By following these guidelines, you can extend the lifespan of your washing machine and maintain the cleanliness of your laundry.
So, put on your cleaning gloves and let’s get started!
Key Takeaways:
- Regularly cleaning your washer with simple supplies like vinegar and baking soda can extend its lifespan, maintain cleanliness, and ensure fresh-smelling laundry.
- Practicing preventive maintenance tips, such as leaving the door open and using the right detergent, is crucial for optimal washer performance and longevity.
Read more: How To Clean Out Washer Drain
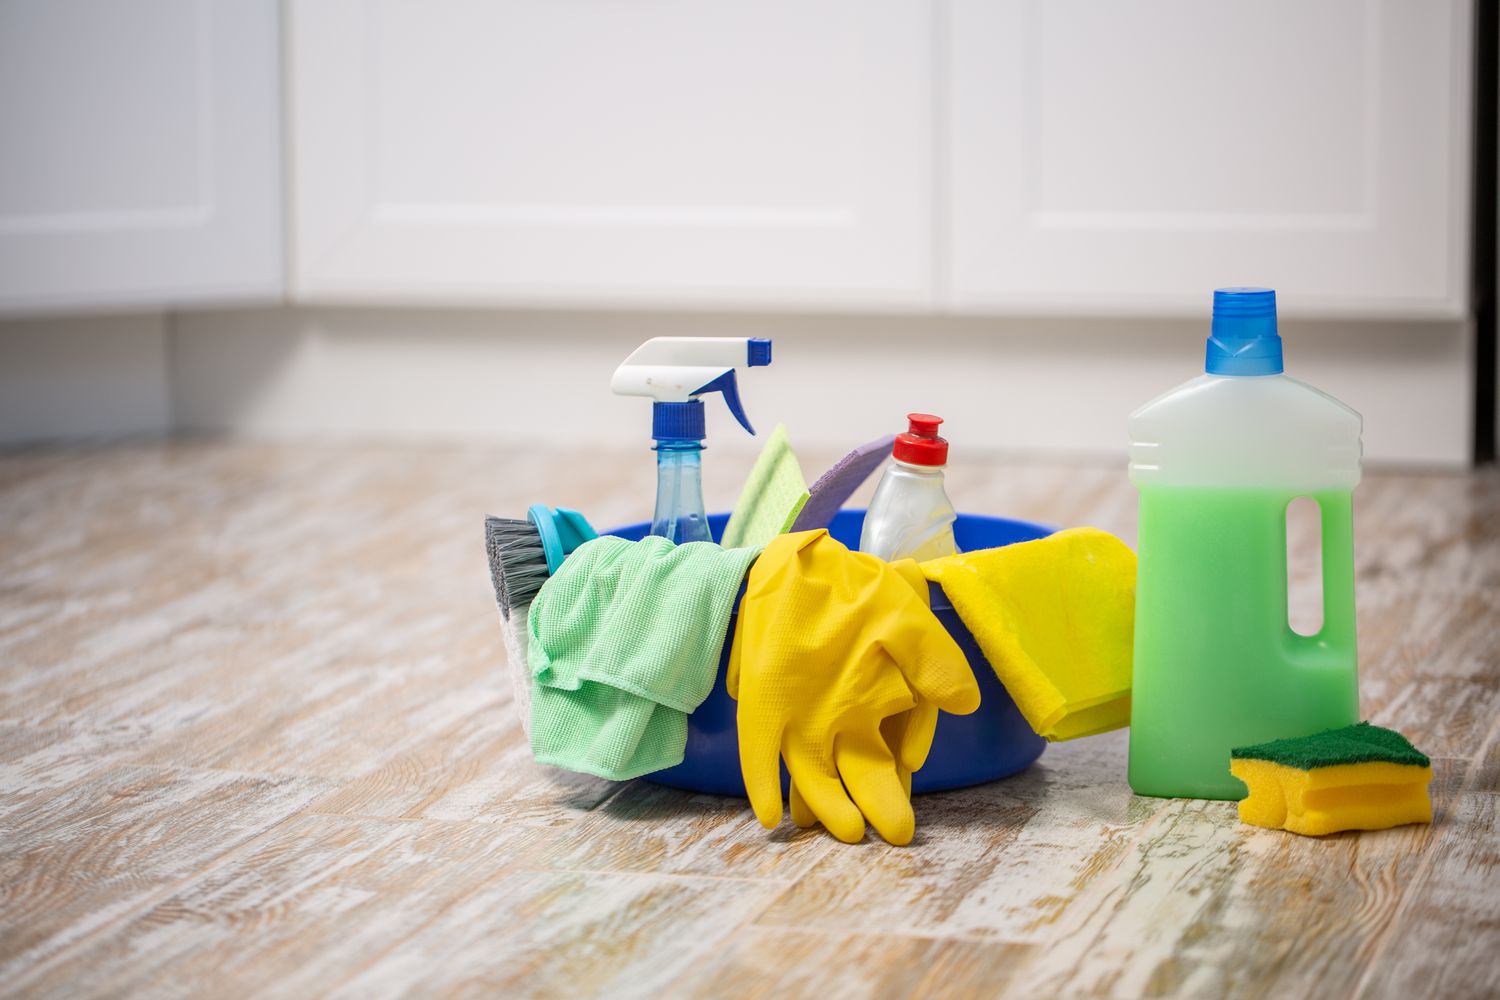
Step 1: Gathering the Necessary Supplies
Before you begin cleaning your washer, it’s important to gather all the necessary supplies. Having everything on hand will make the cleaning process more efficient and convenient. Here are the supplies you will need:
- Vinegar: Vinegar is a natural and effective cleaning agent that helps remove dirt, soap residue, and mildew.
- Baking Soda: Baking soda is another powerful cleaning agent that helps eliminate odors and stains.
- Mild Detergent: Use a mild detergent to clean the exterior and interior surfaces of your washer.
- A Soft Cloth or Sponge: Use a soft cloth or sponge to wipe down the surfaces of the washer.
- An Old Toothbrush: An old toothbrush is excellent for cleaning hard-to-reach areas, such as the detergent dispenser.
- Microfiber Cloth: Use a microfiber cloth to polish and dry the surfaces of the washer.
- Water: You will need water to rinse the surfaces of the washer.
It’s important to note that different washers may have specific cleaning requirements, so refer to your manufacturer’s guidelines before proceeding. Once you have gathered all the necessary supplies, you’re ready to move on to the next step.
Step 2: Cleaning the Exterior of the Washer
Now that you have gathered all the necessary supplies, it’s time to start cleaning the exterior of your washer. Follow these steps:
- Unplug the Washer: Safety should always be the top priority. Before you begin cleaning, make sure your washer is unplugged to avoid any accidents.
- Wipe Down the Exterior Surfaces: Use a damp cloth or sponge with mild detergent to wipe down the exterior surfaces of the washer. Pay attention to areas that are prone to collecting dirt and dust such as the control panel, knobs, and door handle.
- Rinse with Water: Once you’ve wiped down the surfaces, rinse them thoroughly with water to remove any soapy residue.
- Dry with a Microfiber Cloth: Finally, use a microfiber cloth to dry and polish the exterior of the washer. This will help prevent water spots and leave your washer looking shiny and clean.
Remember, it’s important to avoid using abrasive cleaners or harsh chemicals, as they can damage the surfaces of your washer. Stick to mild detergents and gentle cleaning techniques for the best results.
With the exterior of your washer looking fresh and clean, it’s time to move on to the next step: cleaning the detergent dispenser.
Step 3: Cleaning the Detergent Dispenser
The detergent dispenser in your washer can accumulate residue and become a breeding ground for mold and bacteria. Cleaning it regularly is essential to maintain the hygiene of your laundry. Follow these steps to clean the detergent dispenser:
- Remove the Dispenser: Check your washer’s manual to determine how to remove the detergent dispenser. In most cases, it can be easily removed by pulling it out or pressing a release button.
- Soak in Warm Water: Fill a basin or sink with warm water and add a small amount of mild detergent. Submerge the detergent dispenser in the soapy water and let it soak for about 15-20 minutes. This will help loosen any buildup and make it easier to clean.
- Scrub with an Old Toothbrush: After soaking, use an old toothbrush to scrub the detergent dispenser, focusing on the compartments and any hard-to-reach areas. Pay special attention to any stubborn stains or residue that may be present.
- Rinse Thoroughly: Once you’ve scrubbed the detergent dispenser, rinse it under running water to remove any soap or residue. Make sure to rinse all the compartments thoroughly to ensure they are clean.
- Allow to Dry: After rinsing, place the detergent dispenser on a clean towel or drying rack and allow it to air dry completely. This will help prevent any moisture buildup and avoid the growth of mold or mildew.
Once the detergent dispenser is completely dry, you can reattach it to your washer. With the detergent dispenser clean, it’s time to move on to step 4: cleaning the drum and door seal.
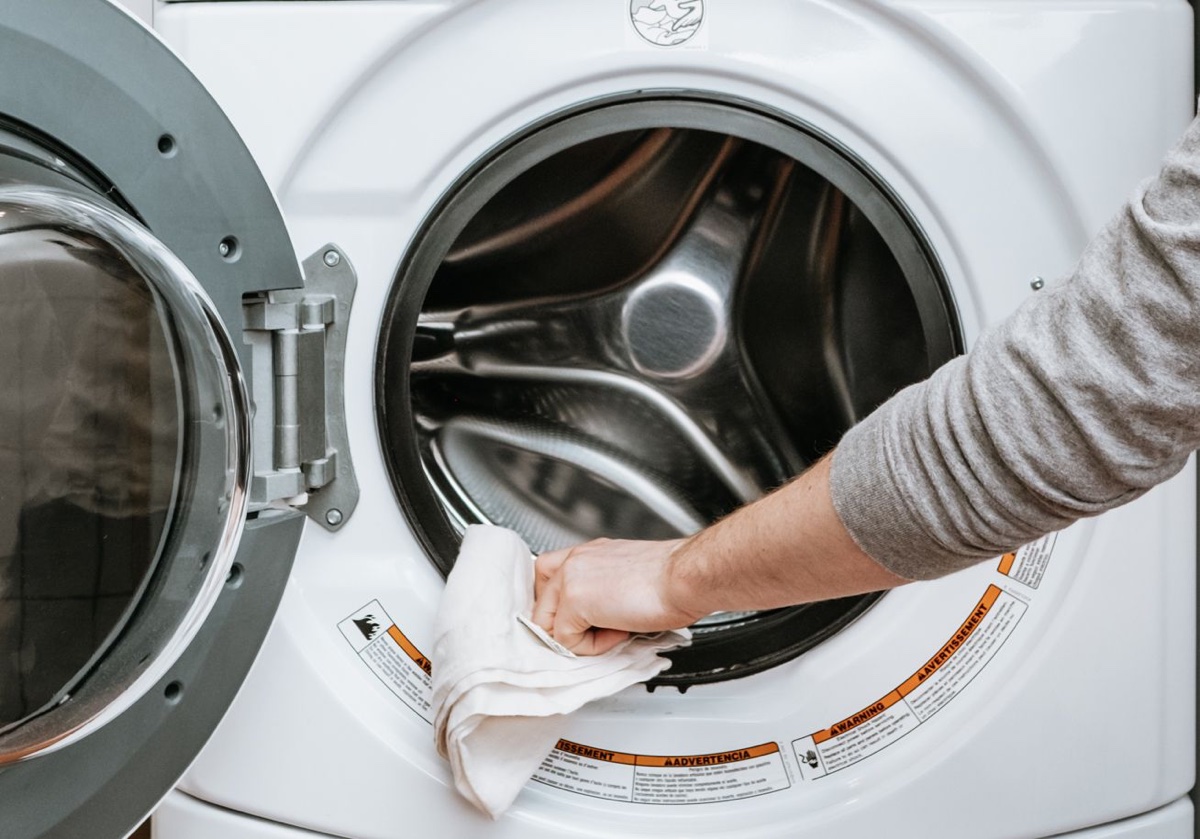
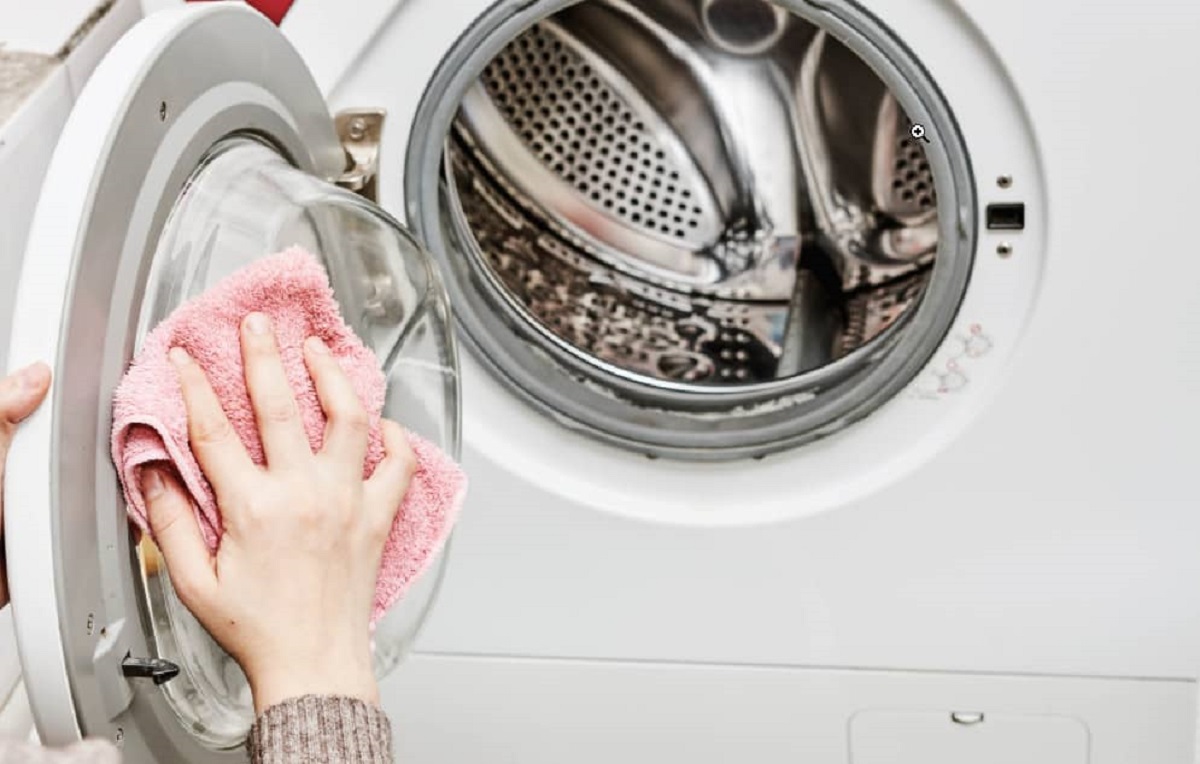
Step 4: Cleaning the Drum and Door Seal
The drum and door seal of your washer can harbor dirt, lint, and mold if not cleaned regularly. Cleaning these areas will not only improve the efficiency of your washer but also help prevent musty odors. Here’s how to clean the drum and door seal:
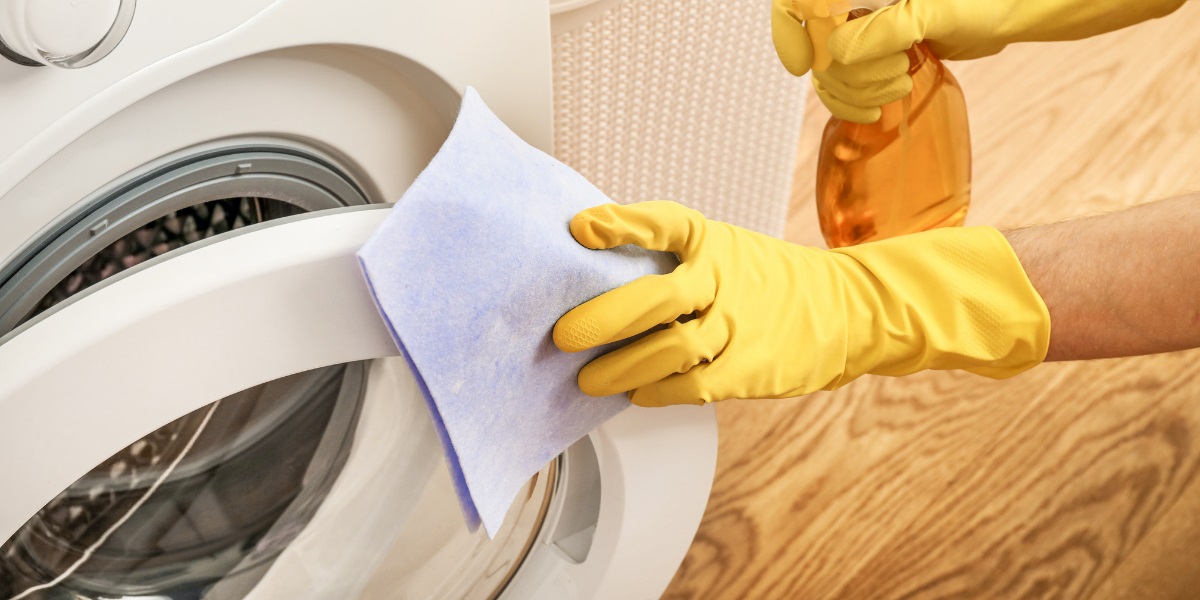
- Create a Vinegar Solution: Mix equal parts of water and distilled white vinegar in a spray bottle. Vinegar is a natural disinfectant and will help remove mold and mildew.
- Spray the Solution: Open the door of your washer and spray the vinegar solution generously on the drum and door seal. Pay close attention to any visible stains or areas of buildup.
- Let it Sit: Allow the vinegar solution to sit on the drum and door seal for about 10-15 minutes. This will give it time to break down any grime or mold.
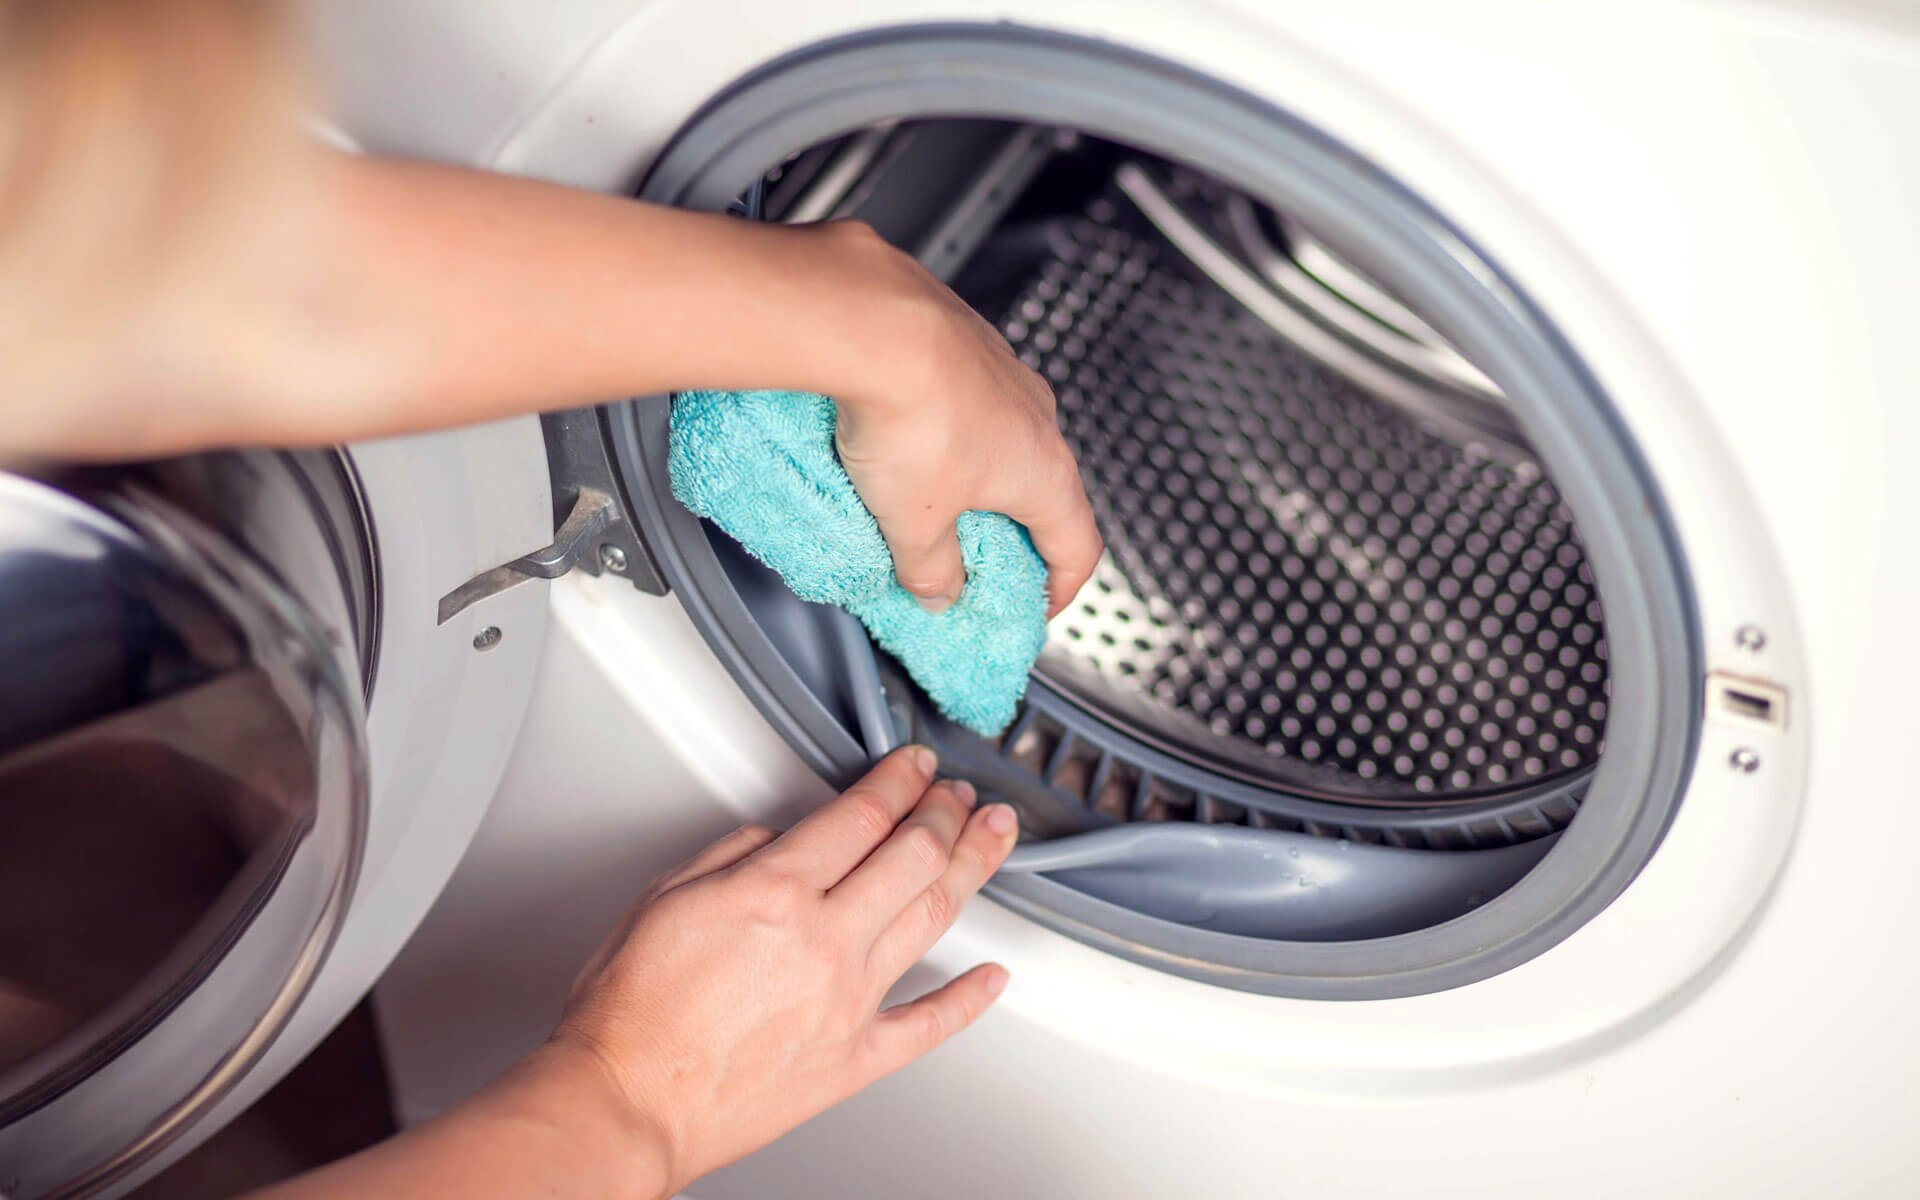
- Scrub with a Soft Cloth: After the vinegar solution has had time to work, use a soft cloth or sponge to scrub the drum and door seal. Focus on areas with stubborn stains or mold, and make sure to reach all the nooks and crannies.
- Rinse with Water: Once you’ve scrubbed the drum and door seal thoroughly, rinse them with water to remove any remaining vinegar solution. Use a clean cloth or sponge to wipe away any excess moisture.
- Leave the Door Open: To allow the drum and door seal to dry completely and prevent mold from developing, leave the door of your washer open for a few hours or overnight.
Cleaning the drum and door seal on a regular basis will help maintain the cleanliness of your washer and ensure fresh, odor-free laundry. With step 4 complete, let’s move on to step 5: removing lint and debris from the filter.
Run a hot water cycle with vinegar to clean out your washer. Add 2 cups of vinegar to the detergent dispenser and run a hot water cycle without any clothes. This will help remove any built-up residue and odors.
Read more: How To Clean Out Your Trash Can
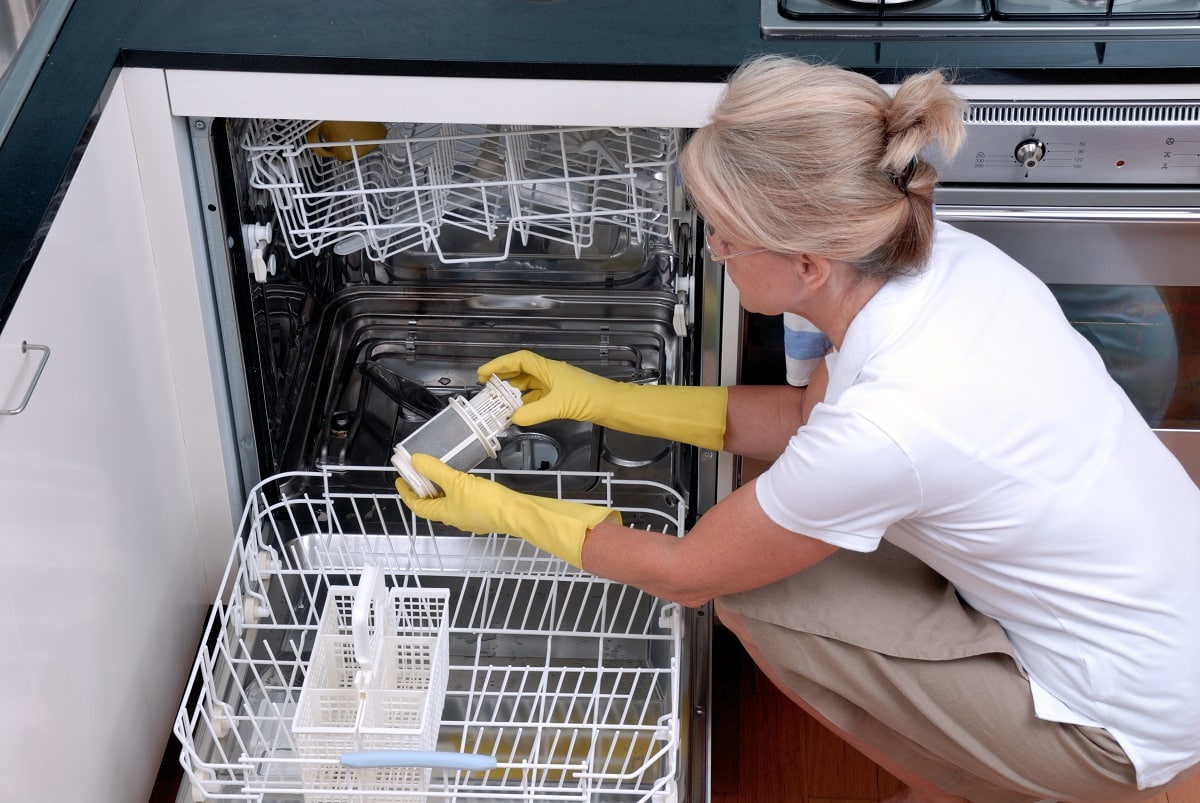
Step 5: Removing Lint and Debris from the Filter
The filter in your washer plays an important role in trapping lint and debris from your laundry. Over time, a clogged or dirty filter can impair the performance of your washer and lead to drainage issues. Follow these steps to remove lint and debris from the filter:
- Locate the Filter: Check your washer’s manual or manufacturer’s instructions to find the location of the filter. In most cases, it can be found at the bottom front of the washer.
- Prepare the Area: To prevent any water from spilling onto the floor, place a towel or bucket underneath the filter to catch any excess water that may come out during the cleaning process.
- Remove the Filter: Using caution, carefully unscrew or pull out the filter from its housing. Be prepared for some water to trickle out as you remove the filter.
- Clean the Filter: Take the filter to your sink or a basin and rinse it under running water. Use your fingers or a soft brush to dislodge any lint or debris that may be trapped on the surface or in the filter’s mesh.
- Rinse and Reinstall: After cleaning the filter, rinse it thoroughly to make sure it’s free from any residue. Once it’s clean and dry, reinsert it back into its housing and securely tighten it.
Removing lint and debris from the filter should be done regularly, ideally once a month or as recommended by your washer’s manufacturer. Failure to clean the filter can result in decreased performance and potential drainage issues. With step 5 complete, let’s move on to step 6: running a clean cycle.
Step 6: Running a Clean Cycle
To thoroughly clean the inside of your washer and remove any remaining residue or odor, running a clean cycle is essential. Follow these steps to run a clean cycle:
- Empty the Washer: Make sure your washer is completely empty before starting the clean cycle. Remove any clothes, towels, or other items that may be inside.
- Select the Right Settings: Depending on your washer model, look for a “Clean” or “Tub Clean” cycle option on the control panel. If there isn’t a specific clean cycle, choose a hot water cycle with the highest water level setting.
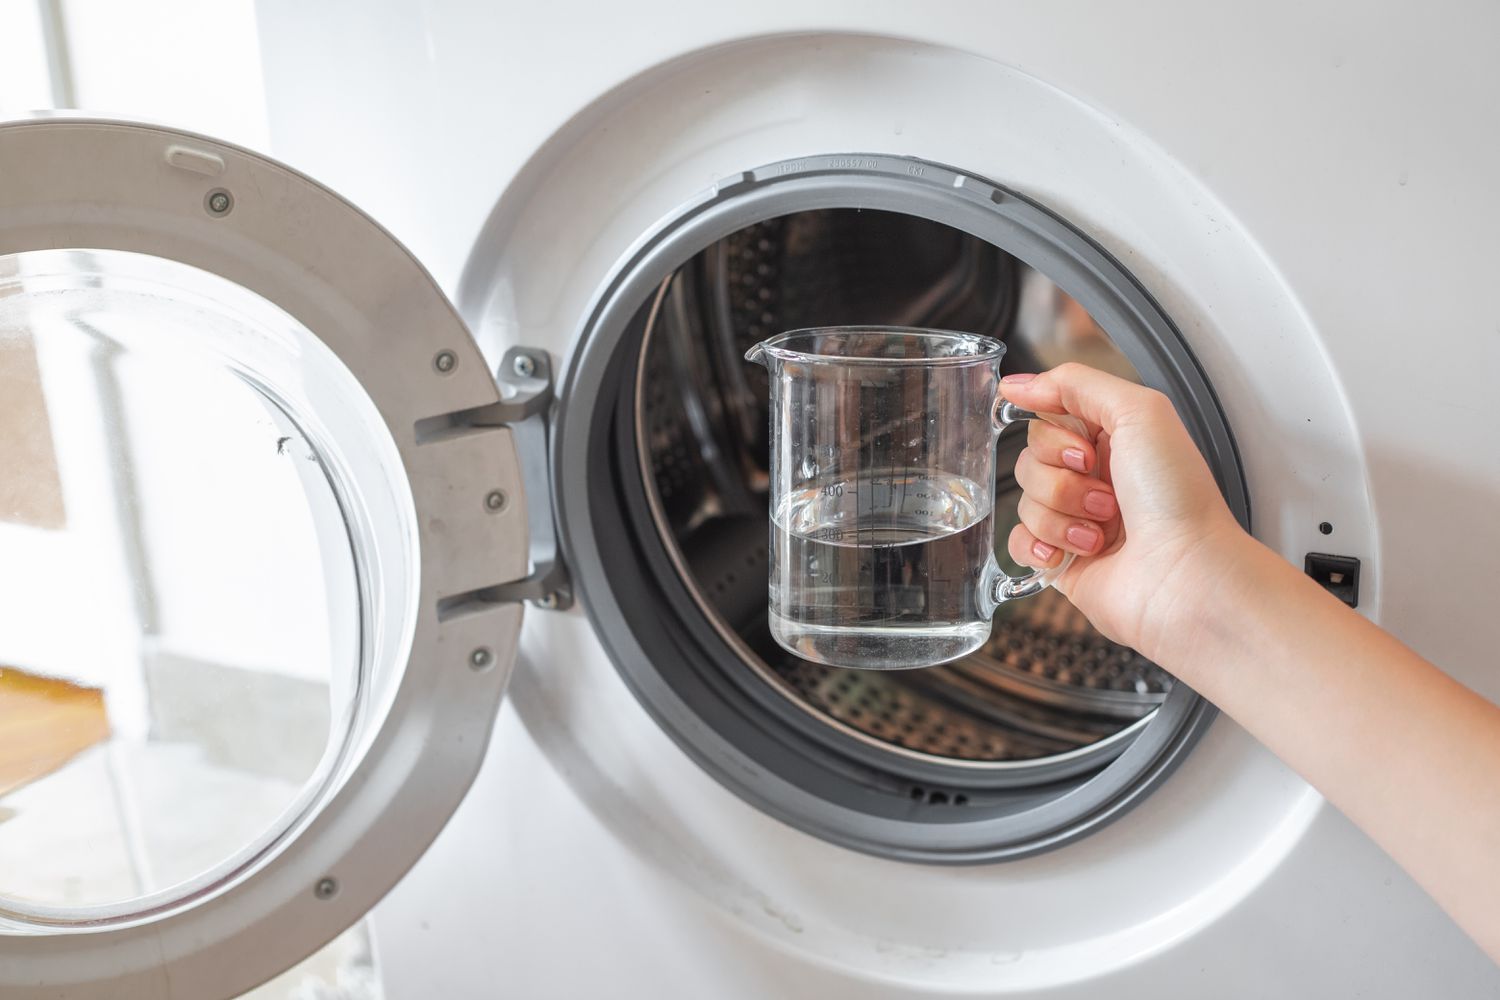
- Add Cleaning Agents: To enhance the cleaning process, add either 1 cup of distilled white vinegar or a washing machine cleaner to the detergent dispenser. These agents will help eliminate any remaining residue, mold, or odor.
- Run the Clean Cycle: Start the clean cycle and allow it to run from start to finish. This cycle may take longer than a regular wash cycle, typically around 1-2 hours.
- Wipe Down the Inside: Once the clean cycle is complete, open the door of your washer and use a damp cloth to wipe down the inside surfaces. This will help remove any loosened debris or residue.
- Leave the Door Open: To allow the moisture inside the washer to evaporate and prevent the growth of mold or mildew, leave the door open for a few hours or overnight.
Running a clean cycle on a regular basis, approximately once a month, will help keep your washer fresh and odor-free. By following these steps, you ensure that your washer continues to perform at its best and deliver clean and fresh laundry. With step 6 complete, let’s move on to step 7: wiping down the interior and exterior.
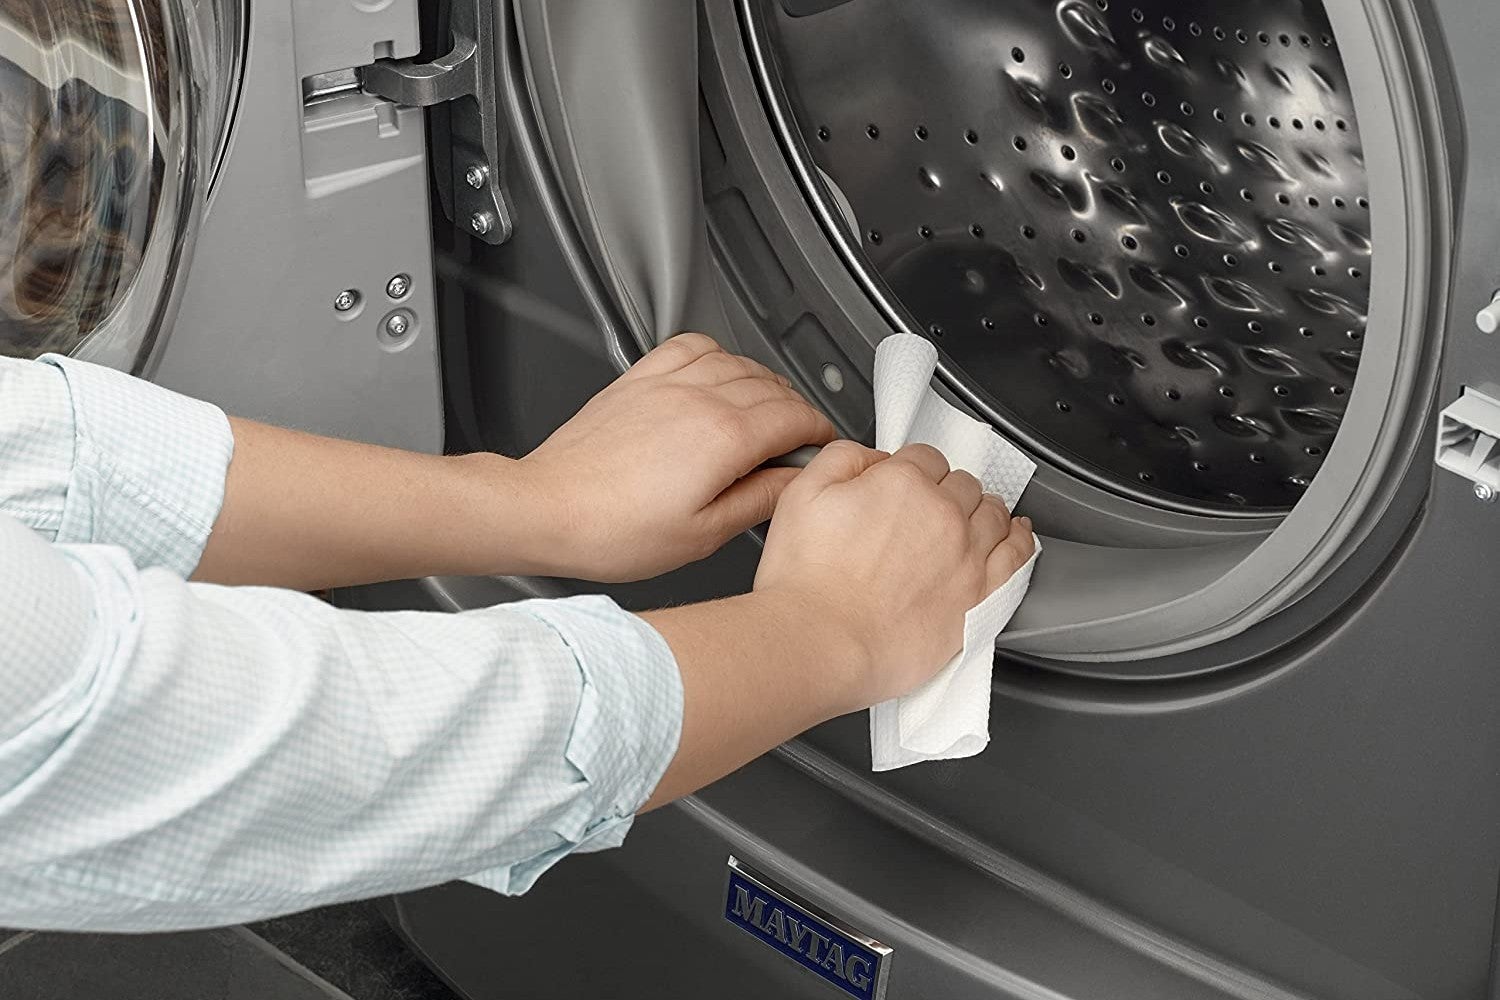
Step 7: Wiping Down the Interior and Exterior
After running a clean cycle, it’s important to give the interior and exterior of your washer a final wipe-down to ensure it’s clean and ready for use. Follow these steps to properly wipe down the interior and exterior:
- Prepare a Cleaning Solution: Mix a solution of warm water and mild detergent in a bucket or basin. This gentle cleaning solution will help remove any remaining residue and leave your washer sparkling.
- Wipe Down the Interior: Dip a soft cloth or sponge into the cleaning solution, wringing out any excess liquid. Use this cloth to wipe down the interior surfaces of your washer, paying attention to any areas that may still have noticeable grime or residue.
- Clean the Rubber Gasket: The rubber gasket around the door seal is prone to collecting dirt and mold. Use a toothbrush or a cloth dipped in the cleaning solution to scrub and clean this area thoroughly.
- Wipe Down the Exterior: Dip the cloth or sponge into the cleaning solution again, making sure it’s not too wet. Wipe down the exterior surfaces of your washer, including the control panel, knobs, and any other visible areas.
- Dry with a Clean Cloth: After you’ve wiped down the interior and exterior, use a clean and dry cloth to thoroughly dry all surfaces. This will prevent any moisture buildup and leave your washer looking clean and shiny.
By regularly wiping down the interior and exterior of your washer, you not only maintain its cleanliness but also ensure that it stays in optimum condition for years to come. With step 7 complete, let’s move on to step 8: preventive maintenance tips.
Step 8: Preventive Maintenance Tips
To keep your washer running smoothly and prevent the buildup of dirt and grime, it’s important to follow these preventive maintenance tips:
- Leave the Door Open: After each use, make it a habit to leave the door of your washer open. This allows air to circulate and helps prevent the growth of mold and mildew.
- Clean the Detergent Drawer: Regularly remove and clean the detergent drawer to prevent any buildup of detergent or fabric softener residue.
- Check and Clean the Drain Pump Filter: Periodically check and clean the drain pump filter to remove any lint or debris that may have accumulated. Refer to your washer’s manual for instructions on how to locate and clean the filter.
- Inspect Hoses and Connections: Routinely inspect the hoses and connections of your washer for any signs of wear or leaks. If you notice any issues, repair or replace them immediately to prevent water damage or flooding.
- Use the Right Detergent: Always use the recommended amount and type of detergent for your washer. Using too much detergent can lead to excess residue buildup, while using the wrong type can cause damage to your machine.
- Run Empty Cycles: Occasionally run empty cycles with hot water and vinegar to help remove any lingering odors and keep your washer clean and fresh.
- Keep the Washer Level: Ensure that your washer is level to prevent excessive vibrations and potential damage. Use a level tool and adjust the washer’s feet if necessary.
- Don’t Overload: Avoid overloading your washer, as this can put strain on the motor and affect the overall performance of the machine. Follow the manufacturer’s guidelines for recommended load sizes.
By following these preventive maintenance tips, you can extend the lifespan of your washer, maintain its efficiency, and ensure you always have clean and fresh laundry. Now that you have completed all the steps and preventive maintenance tips, your washer is ready to tackle any laundry challenge!
Remember, regularly cleaning and maintaining your washer is essential for optimal performance and longevity. So, make it a part of your cleaning routine and enjoy the benefits of a clean and efficient washing machine.
Read more: How To Clean Out A Steamer
Conclusion
Cleaning out your washer is a vital maintenance task that should not be overlooked. By following the step-by-step process outlined in this guide, you can ensure that your washer remains clean, efficient, and odor-free, allowing your laundry to come out fresh and smelling great every time.
From gathering the necessary supplies to running a clean cycle and practicing preventive maintenance, each step plays an important role in maintaining the cleanliness and performance of your washer.
Remember to regularly clean the exterior, detergent dispenser, drum and door seal, and filter to remove dirt, grime, and any potential mold or mildew buildup. Running a clean cycle with vinegar or a washing machine cleaner is also crucial in eliminating residue and odor from the machine’s interior.
Additionally, incorporating preventive maintenance tips such as leaving the door open, cleaning the detergent drawer, inspecting hoses and connections, and using the right detergent will help keep your washer in optimal condition for years to come.
By taking the time and effort to clean out your washer on a regular basis, you can ensure that it operates efficiently, extends its lifespan, and provides you with clean and fresh laundry every time.
So, don’t delay — grab your supplies and start giving your washer the TLC it deserves. Your clothes and your washer will thank you!
Frequently Asked Questions about How To Clean Out Your Washer
Was this page helpful?
At Storables.com, we guarantee accurate and reliable information. Our content, validated by Expert Board Contributors, is crafted following stringent Editorial Policies. We're committed to providing you with well-researched, expert-backed insights for all your informational needs.


0 thoughts on “How To Clean Out Your Washer”