Home>Home Appliances>Laundry Appliances>How To Take The Drum Out Of A Washing Machine
Laundry Appliances
How To Take The Drum Out Of A Washing Machine
Published: February 22, 2024
Learn how to safely remove the drum from your washing machine with our step-by-step guide. Keep your laundry appliances running smoothly with our expert tips.
(Many of the links in this article redirect to a specific reviewed product. Your purchase of these products through affiliate links helps to generate commission for Storables.com, at no extra cost. Learn more)
Safety Precautions
When it comes to working with washing machines, safety should always be the top priority. Before attempting to remove the drum from a washing machine, it's crucial to take the necessary precautions to prevent accidents and injuries. Here are some essential safety measures to keep in mind:
-
Unplug the Washing Machine: Before starting any work on the washing machine, ensure that it is completely disconnected from the power source. Unplugging the machine will prevent the risk of electric shock during the disassembly process.
-
Turn Off the Water Supply: To avoid water spillage and potential flooding, turn off the water supply to the washing machine. This will prevent any leaks or water-related mishaps while working on the appliance.
-
Wear Protective Gear: It's advisable to wear appropriate protective gear, such as gloves and safety goggles, to shield yourself from sharp edges, dust, and debris. Additionally, wearing closed-toe shoes can provide protection from heavy parts and potential hazards.
-
Secure the Work Area: Clear the surrounding area to create a safe and spacious workspace. Remove any obstacles or tripping hazards to minimize the risk of accidents while handling the washing machine components.
-
Seek Assistance for Heavy Lifting: Removing the drum from a washing machine may involve heavy lifting. If the drum is particularly heavy or cumbersome, enlist the help of a friend or family member to assist with the lifting process. This can prevent strain or injury caused by lifting heavy objects alone.
-
Follow Manufacturer's Guidelines: Refer to the manufacturer's manual for specific safety instructions and guidelines related to your washing machine model. Adhering to the manufacturer's recommendations can help ensure a safe and efficient disassembly process.
By adhering to these safety precautions, you can create a secure environment for working on your washing machine. Prioritizing safety not only minimizes the risk of accidents but also promotes a smooth and hassle-free disassembly process. Remember, taking the time to implement these safety measures is a proactive step towards a successful drum removal and maintenance procedure.
Key Takeaways:
- Prioritize safety by unplugging the machine, wearing protective gear, and securing the work area. Following these precautions ensures a smooth and accident-free drum removal process.
- Gather essential tools and materials such as screwdrivers, safety gloves, and cleaning supplies before removing the drum. Having the right equipment makes the disassembly process efficient and hassle-free.
Read more: What Is A Washer Drum
Tools and Materials Needed
Before embarking on the task of removing the drum from a washing machine, it's essential to gather the necessary tools and materials to ensure a smooth and efficient disassembly process. Having the right equipment at your disposal can streamline the task and help you tackle any challenges that may arise during the procedure. Here's a comprehensive list of tools and materials needed for this undertaking:
Tools:
- Screwdriver Set: A set of screwdrivers with various head types, including Phillips and flathead, will be indispensable for removing screws and fasteners securing the washing machine panels and components.
- Adjustable Wrench: An adjustable wrench is essential for loosening and tightening nuts, bolts, and hose connections during the disassembly process.
- Pliers: Both regular and needle-nose pliers will come in handy for gripping, twisting, and maneuvering small components, such as wire connectors and clamps.
- Socket and Ratchet Set: This set will facilitate the removal of bolts and nuts of different sizes, providing flexibility and ease of use.
- Rubber Mallet: A rubber mallet can be used to gently tap and dislodge stubborn components without causing damage to the washing machine's structure.
- Putty Knife: A putty knife or a similar flat, sturdy tool can assist in prying apart panels and releasing clips without marring the surfaces.
- Flashlight: A reliable flashlight will aid in illuminating hard-to-reach areas within the washing machine, allowing for better visibility during the disassembly process.
Materials:
- Safety Gloves: Durable, well-fitting safety gloves will protect your hands from sharp edges, hot surfaces, and potential contaminants while handling the washing machine components.
- Safety Goggles: Safety goggles or protective eyewear are essential for shielding your eyes from debris, dust, and any unexpected particles that may be dislodged during the disassembly.
- Cleaning Supplies: Have a supply of cleaning materials on hand, including a mild detergent, clean cloths, and a brush, to clean the interior of the washing machine and the drum during the maintenance process.
- Replacement Parts (if necessary): Depending on the condition of the washing machine and the drum, it may be prudent to have replacement parts on standby, such as belts, seals, or bearings, in case any components need to be replaced during the maintenance.
By ensuring that you have these tools and materials readily available, you can approach the task of removing the drum from the washing machine with confidence and preparedness. Having the right equipment at your disposal will not only facilitate a successful disassembly process but also contribute to a safer and more efficient maintenance endeavor.
Steps to Disconnect the Drum
-
Unplug the Washing Machine: Begin by unplugging the washing machine from the power source to eliminate the risk of electric shock during the disassembly process. Ensure that the power cord is fully disconnected and safely set aside.
-
Turn Off the Water Supply: Locate the water supply valves connected to the washing machine and shut them off to prevent any water leakage or spillage during the disconnection of the drum.
-
Remove the Access Panel: Using a screwdriver, carefully remove the access panel located at the back of the washing machine. This panel provides access to the internal components, including the drum and drive belt.
-
Release the Drive Belt: Loosen the tension or release the drive belt from the motor and drum pulleys. This can typically be done by adjusting the tensioner or motor mounting to create slack in the belt, allowing for easy removal.
-
Disconnect the Motor: Identify the motor assembly connected to the drum and disconnect any electrical connectors, wires, or mounting bolts securing the motor in place. Keep track of the connections to ensure proper reassembly later.
-
Detach the Drum from the Tub: Depending on the washing machine model, the drum may be secured to the tub with bolts, clamps, or fasteners. Use the appropriate tools to carefully remove these attachments, ensuring that the drum is free from any remaining connections to the tub.
-
Secure the Drum for Removal: With the drum disconnected from the tub and motor, secure it to prevent any unexpected movement or damage. Gently lift the drum, ensuring that it is well-supported and stabilized to prevent tipping or imbalance.
By following these step-by-step instructions, you can effectively disconnect the drum from the washing machine in preparation for maintenance, repair, or replacement. Each stage of the process is crucial for ensuring a safe and systematic disconnection, setting the stage for the subsequent maintenance and reassembly of the washing machine.
Read more: How To Balance A Washing Machine Drum
Removing the Drum from the Washing Machine
Removing the drum from a washing machine is a pivotal step in conducting maintenance, repairs, or replacements. This process requires precision, care, and attention to detail to ensure the successful extraction of the drum from the appliance. Here's a comprehensive guide on how to effectively remove the drum from the washing machine:
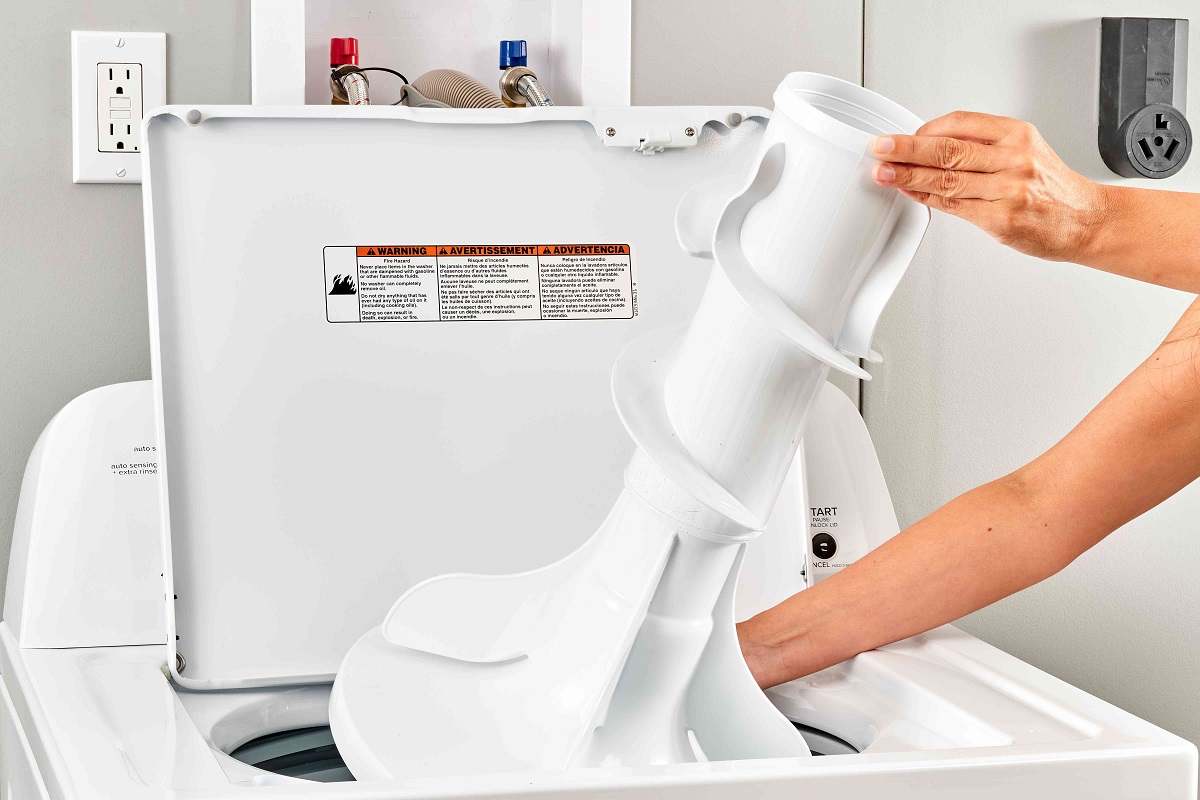
1. Accessing the Drum Compartment
Begin by gaining access to the drum compartment of the washing machine. This typically involves disassembling the outer panels and components to reveal the inner workings of the appliance. Using a screwdriver, carefully remove the outer casing, control panel, and any additional covers to expose the drum and its surrounding components.
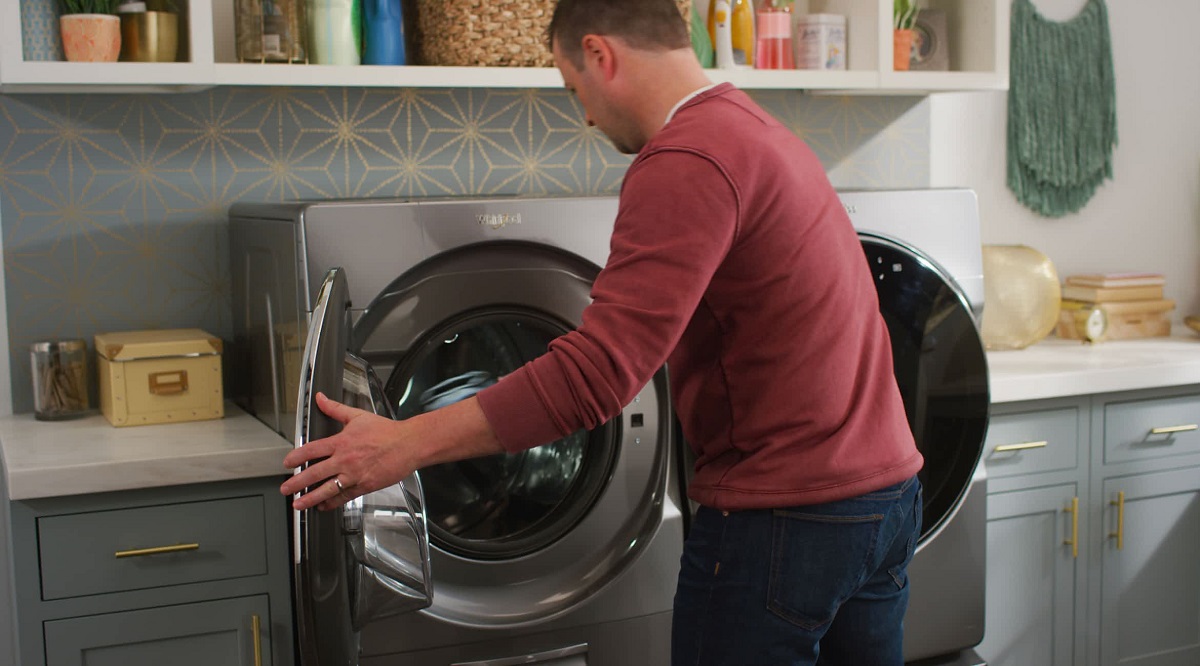
2. Disconnecting the Drum Components
Once the drum compartment is accessible, identify and disconnect the components attached to the drum. This may include the door seal, shock absorbers, springs, and any other fixtures that secure the drum within the washing machine. Pay close attention to the arrangement and positioning of these components to facilitate reassembly later.
3. Loosening the Drum Fastenings
Inspect the drum to identify the fastenings that secure it to the washing machine's frame or tub. Depending on the model, these fastenings may consist of bolts, clamps, or locking mechanisms. Utilize the appropriate tools to carefully loosen and remove these fastenings, ensuring that the drum is gradually released from its housing.
Read more: How To Clean The Drum Of A Washing Machine
4. Maneuvering the Drum
With the fastenings removed, the drum should be ready for extraction. Carefully maneuver the drum out of its compartment, ensuring that it is guided out smoothly and without any undue force. Take note of any electrical or drainage connections that may still be attached to the drum and disconnect them as necessary.
5. Securing the Removed Drum
Once the drum is successfully removed from the washing machine, place it in a secure and stable location. Avoid placing the drum in a position that may cause damage or distortion to its structure. Additionally, take this opportunity to inspect the drum for any signs of wear, damage, or debris accumulation that may require attention during the maintenance process.
By following these detailed steps, you can effectively remove the drum from the washing machine, setting the stage for thorough maintenance, repairs, or potential replacement. Each stage of the process contributes to a systematic and careful extraction, ensuring that the drum is handled with the utmost care and attention to detail.
Cleaning and Maintenance Tips
After successfully removing the drum from the washing machine, it's essential to focus on cleaning and maintenance to ensure optimal performance and longevity of the appliance. Here are valuable tips to guide you through this crucial phase of the maintenance process:
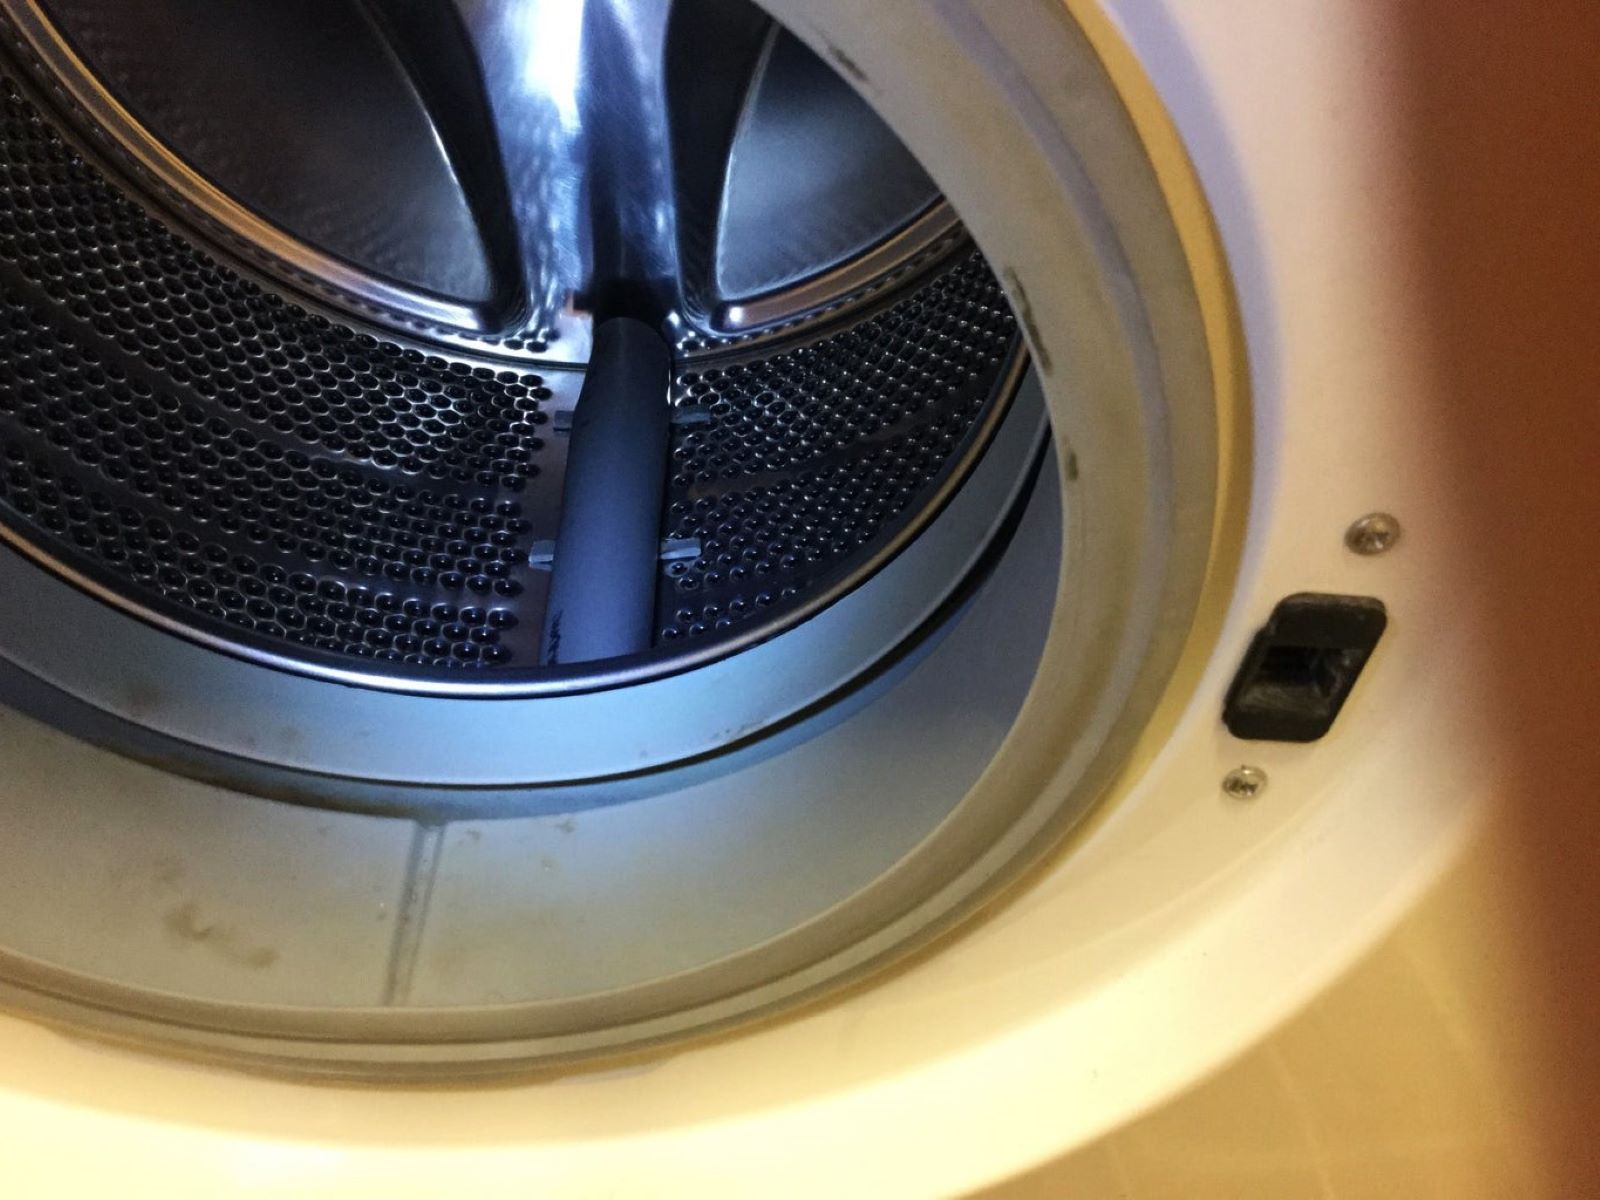
1. Drum Inspection and Cleaning
Begin by thoroughly inspecting the removed drum for any signs of wear, damage, or debris accumulation. Check for worn-out seals, damaged bearings, or any foreign objects that may have become lodged in the drum. Once the inspection is complete, proceed to clean the drum using a mild detergent and a clean cloth. Pay special attention to removing any built-up residue, soap scum, or mold that may have accumulated over time.
Read more: What Is The Drum Of A Washing Machine
2. Tub and Interior Cleaning
While the drum is removed, take the opportunity to clean the interior of the washing machine's tub. Use a suitable cleaning solution to remove any dirt, grime, or detergent buildup. Additionally, inspect the tub for any signs of corrosion or damage, addressing any issues as necessary to maintain the structural integrity of the appliance.
3. Component Maintenance
Inspect the components that were disconnected from the drum during the removal process. This includes the door seal, shock absorbers, springs, and any other fixtures. Clean these components thoroughly and check for signs of wear or damage. Lubricate moving parts as needed to ensure smooth operation and longevity.
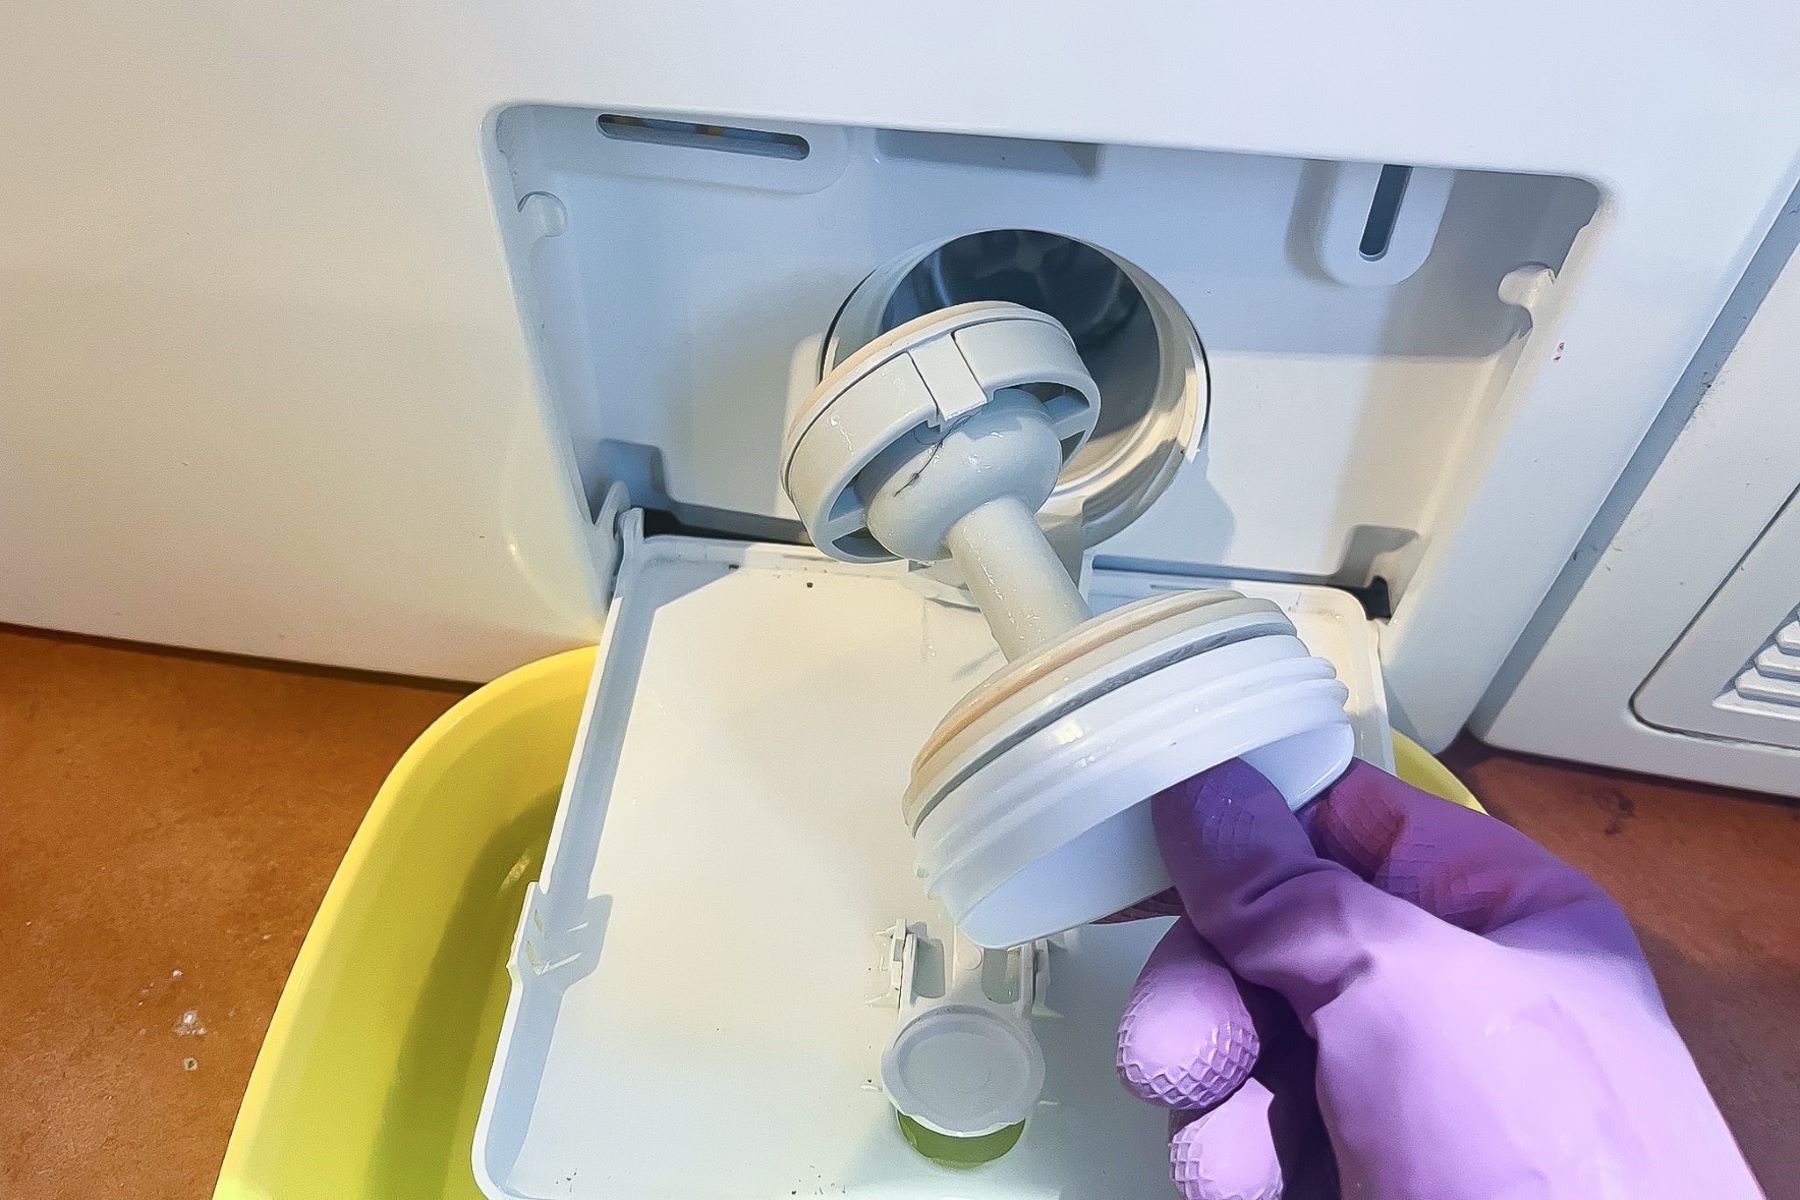
4. Bearing and Seal Examination
Carefully examine the bearings and seals associated with the drum. Worn-out bearings or damaged seals can lead to excessive noise and vibration during operation. If any issues are detected, consider replacing these components to prevent potential malfunctions and ensure quiet, efficient performance.
5. Drive Belt and Motor Inspection
Assess the condition of the drive belt and the motor assembly. Look for signs of wear, fraying, or misalignment in the drive belt. Inspect the motor for any unusual noises or excessive wear. Address any issues promptly to maintain the proper functioning of these critical components.
Read more: How To Fix A Loose Drum In A Washing Machine
6. Reassembly Preparation
As the cleaning and maintenance tasks are completed, prepare for the reassembly of the washing machine. Ensure that all components are thoroughly cleaned, lubricated, and in optimal condition before proceeding with the reinstallation of the drum.
By adhering to these cleaning and maintenance tips, you can effectively preserve the functionality and durability of your washing machine. Regular maintenance and thorough cleaning not only extend the lifespan of the appliance but also contribute to efficient and trouble-free laundry cycles. With a well-maintained washing machine, you can enjoy consistently clean and fresh laundry while minimizing the risk of unexpected malfunctions.
Reassembling the Washing Machine
Reassembling the washing machine after the maintenance or repair of the drum is a critical phase that demands precision and attention to detail. Proper reassembly ensures that the appliance operates smoothly and efficiently, delivering optimal laundry results. Here's a comprehensive guide to effectively reassembling the washing machine:
-
Component Organization: Begin by organizing the components that were removed during the disassembly process. Lay out the parts in a systematic manner, ensuring that small items such as screws, nuts, and bolts are carefully arranged and accounted for. This approach streamlines the reassembly process and minimizes the risk of overlooking essential components.
-
Drum Placement: Position the cleaned and inspected drum at the designated location within the washing machine. Take care to align the drum properly, ensuring that it fits securely and snugly into the designated space. Pay attention to any markings or indicators that guide the correct orientation of the drum.
-
Reconnecting Drum Components: Reattach the components that were disconnected from the drum during the removal process. This includes securing the door seal, reattaching shock absorbers, springs, and any other fixtures that contribute to the stability and functionality of the drum within the washing machine.
-
Fastening the Drum: Carefully fasten the drum to the washing machine's frame or tub using the appropriate bolts, clamps, or locking mechanisms. Ensure that the fastenings are tightened securely to prevent any unnecessary movement or imbalance during operation.
-
Reconnecting Electrical and Drainage Connections: If any electrical or drainage connections were detached from the drum, carefully reconnect them to their respective terminals or outlets. Verify that the connections are secure and properly insulated to prevent any electrical or water-related issues.
-
Reinstalling Outer Panels and Covers: Once the drum and its associated components are securely in place, proceed to reinstall the outer panels, control panel, and any additional covers that were removed to access the drum compartment. Use the appropriate tools to fasten these components, ensuring a snug and secure fit.
-
Testing the Reassembled Washing Machine: With the reassembly complete, plug the washing machine back into the power source and turn on the water supply. Conduct a brief test cycle to verify that the appliance operates smoothly and without any unusual noises or malfunctions.
By following these detailed steps, you can effectively reassemble the washing machine after removing the drum for maintenance, repairs, or replacements. Each stage of the reassembly process contributes to the overall functionality and reliability of the appliance, ensuring that it is restored to optimal working condition for consistent and efficient laundry care.
Frequently Asked Questions about How To Take The Drum Out Of A Washing Machine
Was this page helpful?
At Storables.com, we guarantee accurate and reliable information. Our content, validated by Expert Board Contributors, is crafted following stringent Editorial Policies. We're committed to providing you with well-researched, expert-backed insights for all your informational needs.


0 thoughts on “How To Take The Drum Out Of A Washing Machine”