Home>Home Appliances>Laundry Appliances>How To Reset A Whirlpool Front Loader Washing Machine

Laundry Appliances
How To Reset A Whirlpool Front Loader Washing Machine
Modified: August 17, 2024
Learn how to reset your Whirlpool front loader washing machine with our step-by-step guide. Keep your laundry appliances running smoothly.
(Many of the links in this article redirect to a specific reviewed product. Your purchase of these products through affiliate links helps to generate commission for Storables.com, at no extra cost. Learn more)
Introduction
Resetting a Whirlpool front loader washing machine can help resolve various issues, such as error codes, malfunctioning cycles, or unresponsive controls. Whether you're encountering technical glitches or simply want to restore the machine to its default settings, knowing how to perform a reset can be invaluable. This comprehensive guide will walk you through the step-by-step process of resetting your Whirlpool front loader washing machine, ensuring that you can tackle common problems with confidence.
By following the instructions provided in this article, you'll be equipped to troubleshoot and reset your washing machine without the need for professional assistance. Whether you're a seasoned DIY enthusiast or a first-time homeowner, understanding the inner workings of your appliance can empower you to maintain its optimal performance. With the right approach and a willingness to learn, you can effectively reset your Whirlpool front loader washing machine and restore its functionality.
Understanding the importance of proper maintenance and troubleshooting can save you time and money in the long run. By taking the initiative to reset your washing machine, you can potentially avoid costly repairs and ensure that your appliance continues to serve you reliably. So, let's delve into the essential steps for resetting your Whirlpool front loader washing machine and regaining control over its operation.
Key Takeaways:
- Safety first! Before resetting your Whirlpool front loader washing machine, always unplug it, drain any remaining water, and ensure it’s on a stable surface. This helps prevent accidents and protects both you and the appliance.
- Testing is crucial! After resetting, test your washing machine by running a standard cycle with a small load of laundry. Check for any unusual noises, leaks, or detergent residue to ensure the reset was successful.
Safety Precautions
Before embarking on the process of resetting your Whirlpool front loader washing machine, it's crucial to prioritize safety. By adhering to the following precautions, you can safeguard yourself and prevent potential damage to the appliance.
-
Power Disconnection: Always start by disconnecting the washing machine from the power source. Unplugging the appliance ensures that there is no risk of electric shock during the reset process.
-
Water Drainage: If the washing machine has been in use prior to the reset, ensure that all water has been drained from the drum. This can be done by running a drain cycle or manually draining the water, depending on the model of the washing machine.
-
Stable Surface: Confirm that the washing machine is placed on a stable and level surface. This prevents the appliance from tipping or moving during the reset procedure, reducing the risk of accidents.
-
Protective Gear: While not always necessary, wearing gloves can provide an extra layer of protection, especially if you need to handle any sharp edges or components within the washing machine.
-
Understanding the Process: Familiarize yourself with the reset procedure outlined in the appliance's manual. This ensures that you follow the manufacturer's recommendations and avoid any unnecessary risks.
By prioritizing safety and adhering to these precautions, you can approach the process of resetting your Whirlpool front loader washing machine with confidence and peace of mind. Taking the time to ensure a safe environment and procedure not only protects you and your appliance but also sets the stage for a successful reset.
Remember, safety should always be the foremost consideration when dealing with any appliance maintenance or troubleshooting. With these precautions in place, you can proceed to gather the necessary tools and prepare for the reset process.
Gather Necessary Tools
Before initiating the reset process for your Whirlpool front loader washing machine, it's essential to gather the necessary tools to ensure a smooth and efficient procedure. Having the right tools at your disposal can streamline the reset process and help you address any potential issues that may arise. Here's a comprehensive list of tools and materials you'll need:
-
Owner's Manual: The owner's manual for your Whirlpool front loader washing machine is an invaluable resource. It provides specific instructions for resetting the appliance and offers insights into troubleshooting common issues. If you've misplaced the physical manual, you can often find a digital version on the manufacturer's website.
-
Work Gloves: While not always mandatory, wearing work gloves can protect your hands from sharp edges or components within the washing machine. This precaution is especially important if you need to access internal parts during the reset process.
-
Flashlight: A reliable flashlight can be indispensable for illuminating the interior of the washing machine, particularly if you need to inspect or manipulate components in low-light conditions.
-
Screwdriver Set: Depending on the model of your Whirlpool front loader washing machine, you may need a screwdriver to access the control panel or other components. A set of Phillips and flathead screwdrivers in various sizes can accommodate different screw types.
-
Clean Cloth or Towel: Keeping a clean cloth or towel handy can help you wipe away any dust or debris that may have accumulated during the reset process. It's essential to maintain a clean working environment to prevent contaminants from interfering with the appliance's functionality.
-
Pen and Paper: Having a pen and paper nearby allows you to jot down any error codes, observations, or steps taken during the reset process. This documentation can be valuable if you need to seek further assistance or reference the details at a later time.
By ensuring that you have these tools and materials readily available, you can approach the reset process with confidence and preparedness. With the necessary tools at hand, you're ready to proceed to the next steps of unplugging the washing machine and accessing the control panel to initiate the reset.
Unplug the Washing Machine
The first crucial step in resetting a Whirlpool front loader washing machine is to disconnect it from the power source. Unplugging the appliance is essential to ensure the safety of the individual performing the reset and to prevent any electrical mishaps during the process.
To begin, locate the power cord of the washing machine. It is typically situated at the rear of the appliance, near the top. Carefully pull the plug from the electrical outlet, ensuring a firm grip on the plug itself rather than tugging on the cord. This precaution helps prevent any damage to the power cord and ensures a safe disconnection from the power source.
Once the washing machine is unplugged, it's advisable to confirm that the power cord is free from any damage or wear. Inspecting the cord for fraying, cuts, or exposed wires is essential to prevent potential electrical hazards. If any damage is detected, it's imperative to address it before proceeding with the reset.
After unplugging the washing machine, allow a few minutes for any residual electrical charge to dissipate. This waiting period helps ensure that the appliance is completely disconnected from the power source, minimizing the risk of electric shock during the reset process.
It's important to note that unplugging the washing machine serves as a fundamental safety measure and is a prerequisite for accessing the control panel and initiating the reset. By adhering to this crucial step, you create a safe environment for the subsequent actions, setting the stage for a successful reset of your Whirlpool front loader washing machine.
With the washing machine safely unplugged, you're now ready to proceed to the next step of opening the door and draining any remaining water from the appliance. This sequential approach ensures a systematic and thorough reset process, allowing you to address potential issues with confidence and precision.
Open the Door and Drain Any Remaining Water
After ensuring that the Whirlpool front loader washing machine is safely unplugged, the next step in the reset process involves opening the door and draining any remaining water from the appliance. This step is crucial, especially if the washing machine was in use prior to the reset, as it prevents water from causing potential leaks or spills during the subsequent procedures.
To open the door, gently pull the handle or depress the release button, depending on the specific model of the washing machine. Once the door is ajar, visually inspect the interior to ensure that no clothing or items are obstructing the drainage area. Clearing any potential obstructions ensures a smooth and efficient water drainage process.
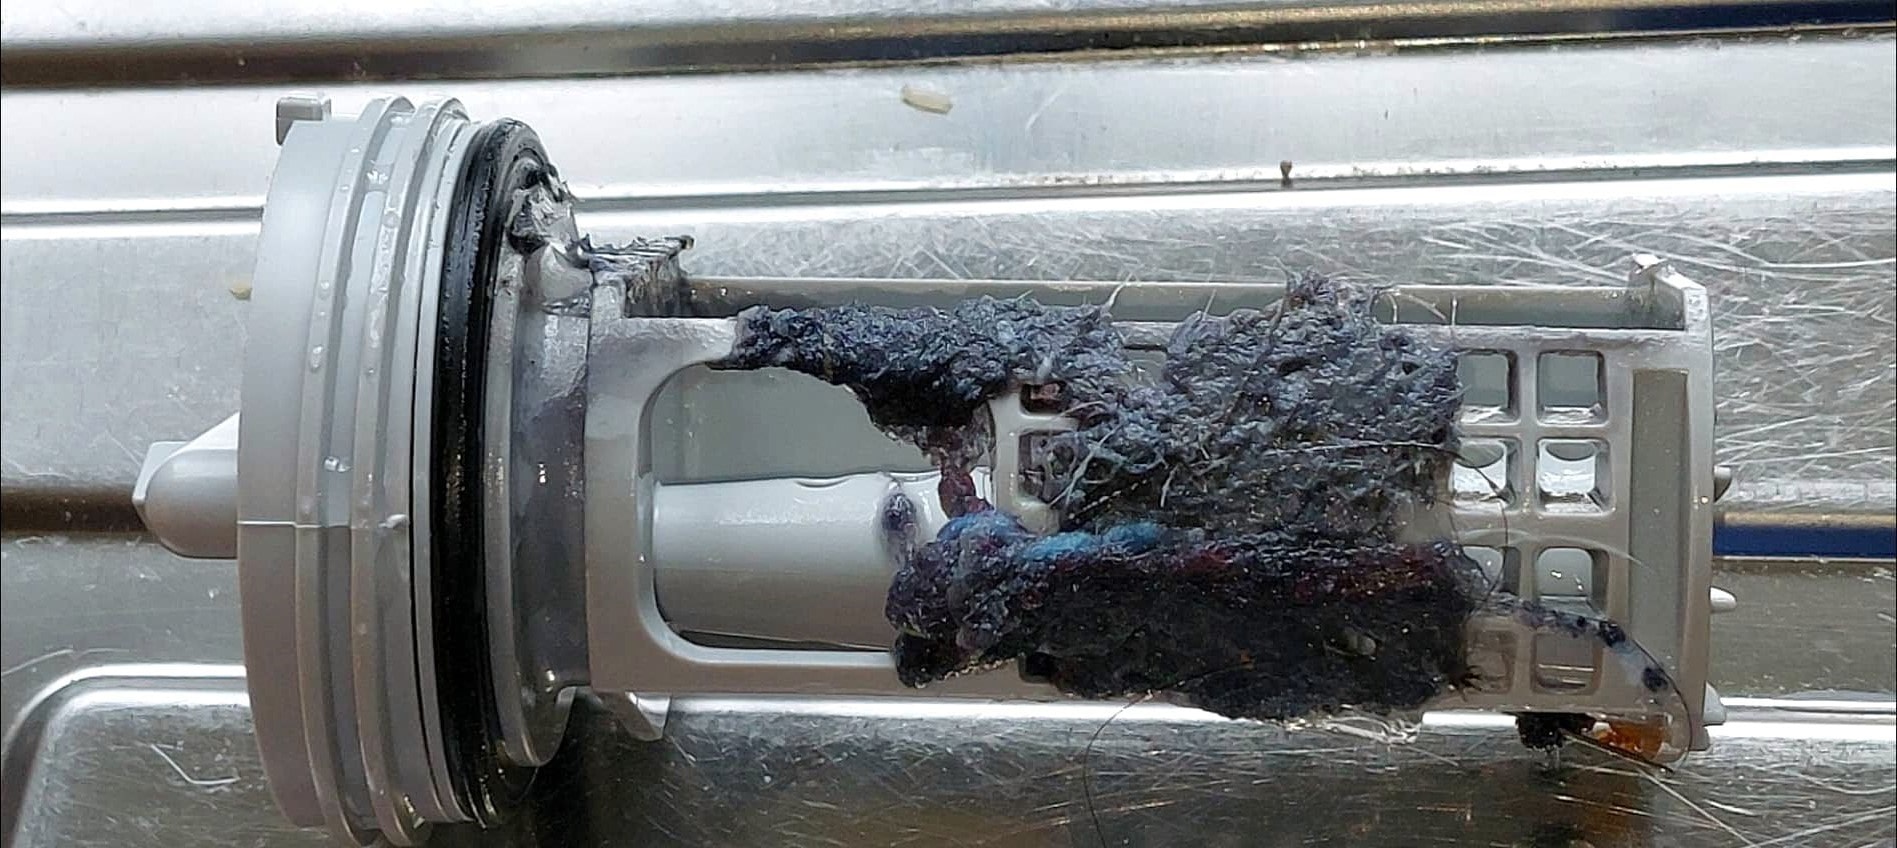
To drain the remaining water, locate the drainage filter or pump access panel, typically situated at the front of the washing machine near the floor. Place a shallow container or towel beneath the access panel to catch any water that may spill during the drainage process.
Carefully open the drainage filter or pump access panel, being prepared for the release of water. Depending on the model, you may encounter a drainage tube or a filter cap that requires loosening to initiate the water drainage. Slowly and steadily release the water, allowing it to flow into the container or be absorbed by the towel.
Once the water has been drained, inspect the drainage area for any debris or foreign objects that may have contributed to the water retention. Clearing any obstructions from the drainage filter or pump ensures optimal water flow during future washing cycles and prevents potential issues with water accumulation.
After completing the water drainage process, securely close the drainage filter or pump access panel. Ensure that the closure is tight to prevent any leaks or spills during the subsequent steps of the reset process.
By opening the door and draining any remaining water from the washing machine, you've effectively prepared the appliance for the next critical steps of accessing the control panel and initiating the reset. This systematic approach ensures that potential issues related to water retention are addressed, setting the stage for a successful reset of your Whirlpool front loader washing machine.
To reset a Whirlpool front loader washing machine, unplug the machine for 1 minute, then plug it back in. Press and hold the “Start” button for 3 seconds to reset the machine.
Read more: How To Reset A Whirlpool Washing Machine
Access the Control Panel
With the Whirlpool front loader washing machine unplugged and any remaining water drained, the next pivotal step in the reset process involves accessing the control panel. The control panel serves as the interface through which the reset procedure is initiated, allowing you to restore the appliance to its default settings and address any underlying issues.
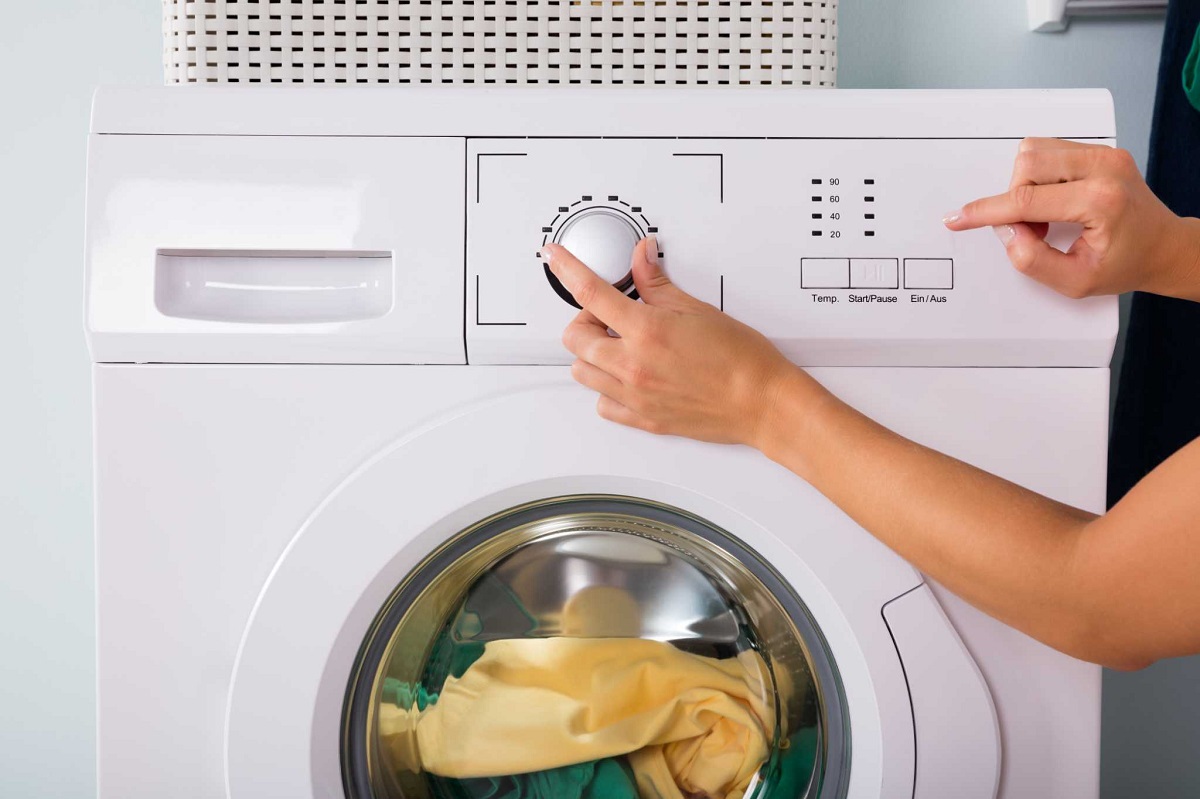
To access the control panel, start by identifying its location on the washing machine. In most Whirlpool front loader models, the control panel is situated at the top of the appliance, often beneath a hinged lid or a protective cover. Depending on the specific design of your washing machine, you may need to remove screws or release latches to gain access to the control panel.
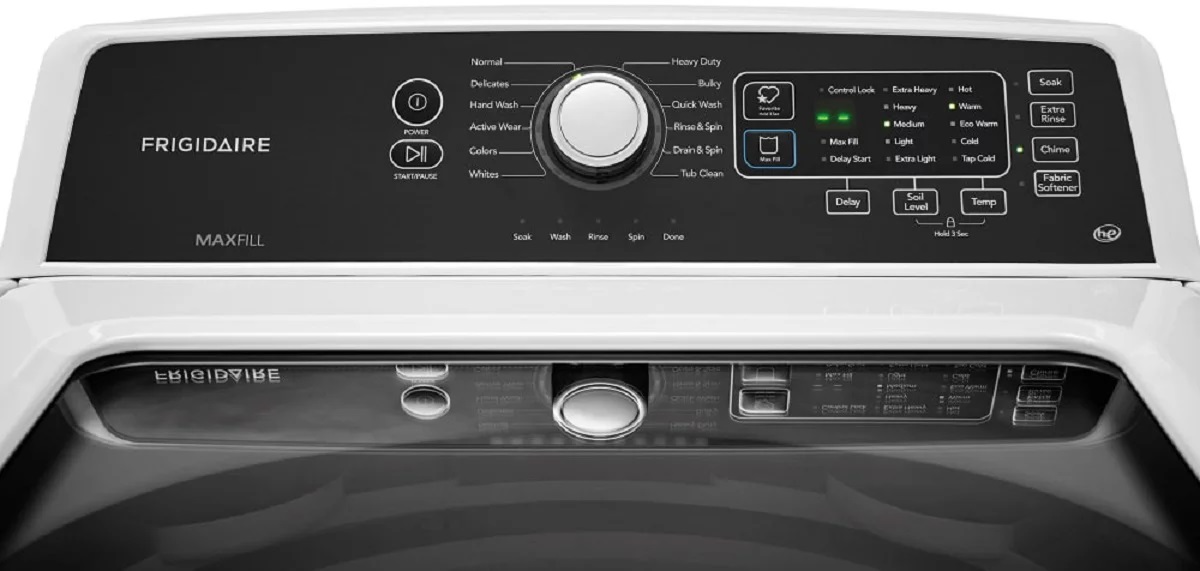
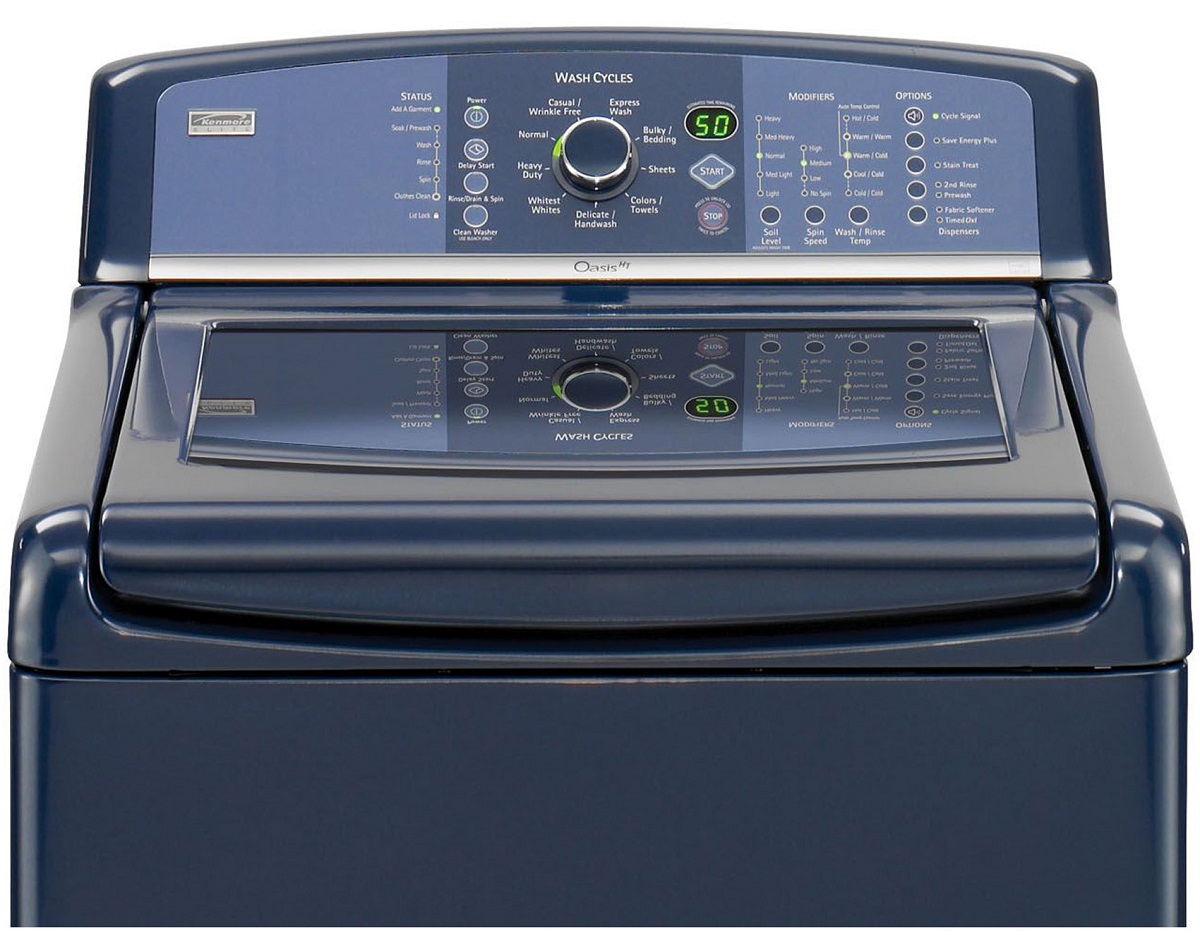
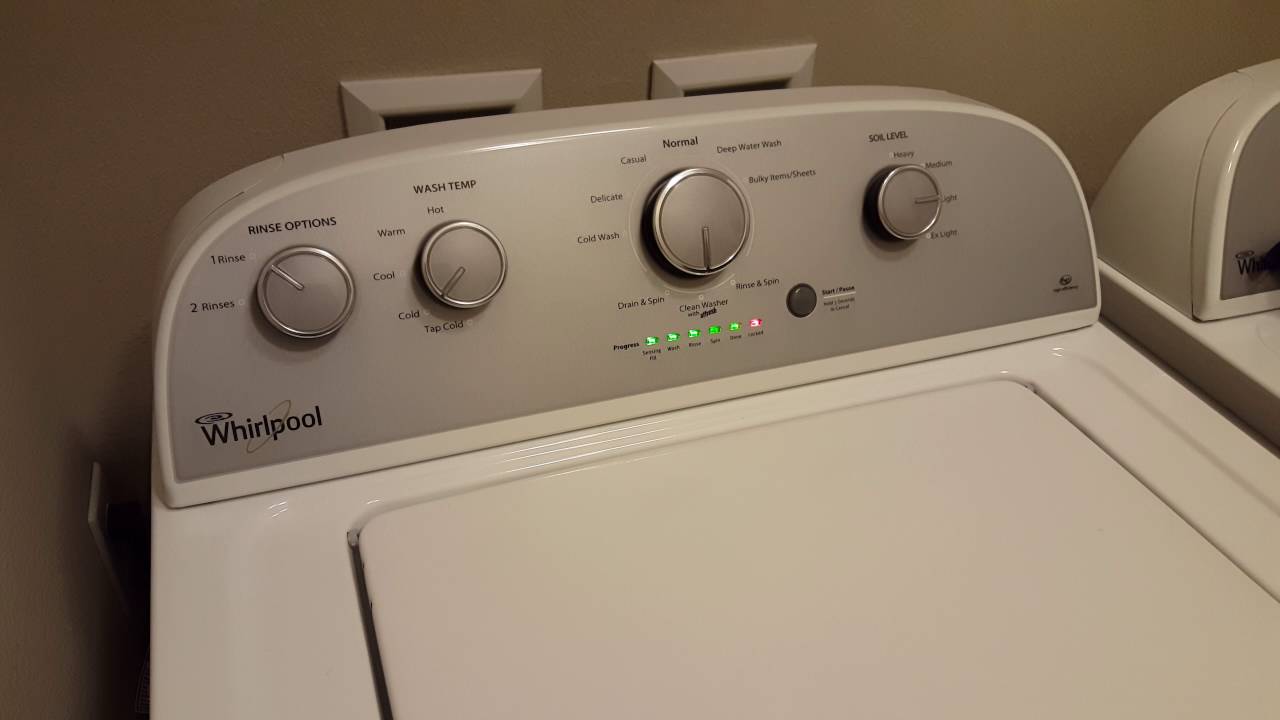
Once you've exposed the control panel, take a moment to inspect the interface and familiarize yourself with the various buttons, dials, and digital displays. Understanding the layout of the control panel is essential for navigating the reset process and ensuring that the correct procedures are followed.
If your Whirlpool front loader washing machine features a digital display, take note of any error codes or indicators that may be present. Error codes can provide valuable insights into the underlying issues affecting the appliance and guide the reset process. Refer to the owner's manual or the manufacturer's website to interpret any error codes displayed on the control panel.
In some cases, the control panel may have a dedicated reset button or a specific sequence of buttons that need to be pressed to initiate the reset procedure. Consult the owner's manual or online resources to identify the precise steps for resetting your particular model of Whirlpool front loader washing machine.
As you prepare to initiate the reset, it's essential to approach the control panel with care and precision. Avoid applying excessive force or using sharp objects that may damage the buttons or the digital display. Gentle and deliberate actions ensure that the control panel remains intact and fully functional throughout the reset process.
By accessing the control panel and familiarizing yourself with its layout and functionality, you're poised to proceed with the critical steps of resetting the Whirlpool front loader washing machine. This deliberate approach sets the stage for a successful reset, allowing you to address any technical issues and restore the appliance to optimal performance.
With the control panel accessed and the necessary preparations in place, you're ready to proceed to the next pivotal step of initiating the reset procedure for your Whirlpool front loader washing machine.
Reset the Washing Machine
After accessing the control panel and familiarizing yourself with its layout, you're now ready to initiate the reset procedure for your Whirlpool front loader washing machine. The specific steps for resetting the appliance may vary based on the model and features of your washing machine, so it's essential to refer to the owner's manual or the manufacturer's guidelines for precise instructions.
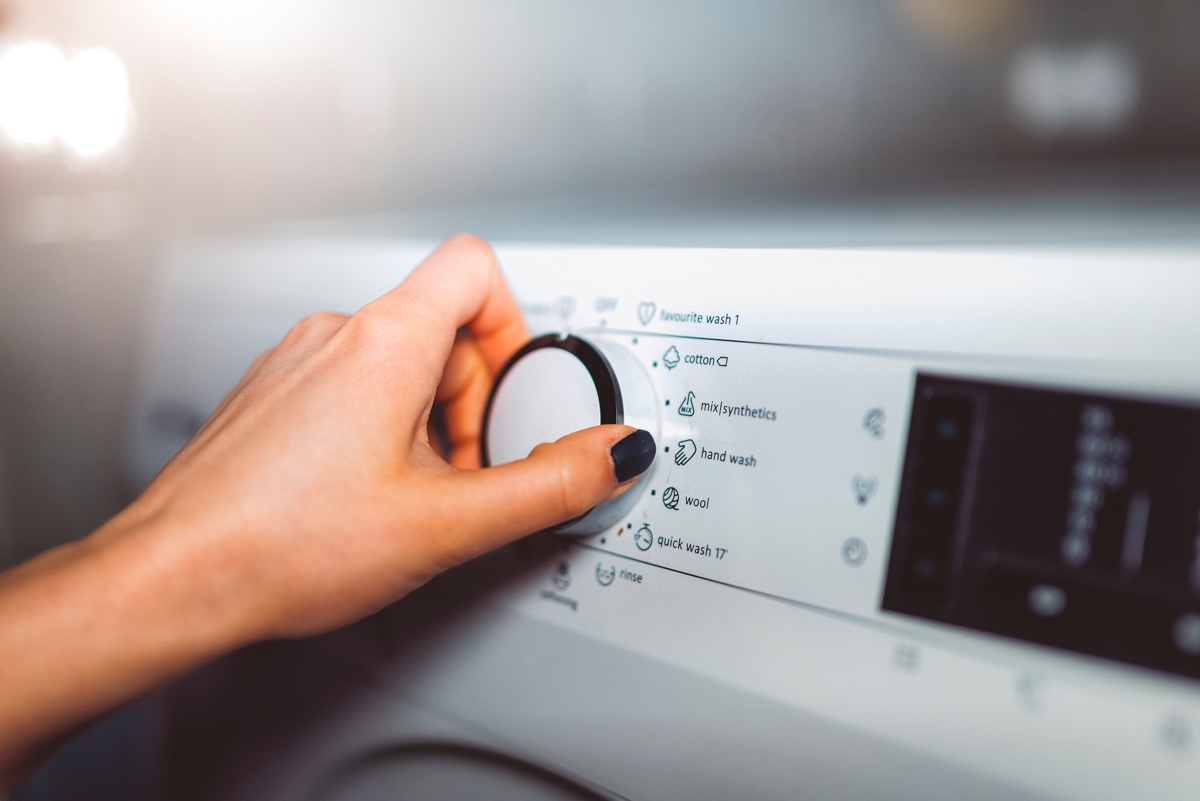
If your washing machine has a dedicated reset button, locate it on the control panel. Press and hold the reset button for a few seconds to trigger the reset process. Alternatively, some models may require a specific button sequence to be followed to initiate the reset. Refer to the documentation for your appliance to identify the correct sequence of buttons to press.
In the absence of a dedicated reset button or specific button sequence, the reset process may involve powering off the washing machine and then powering it back on after a brief interval. This action effectively resets the appliance to its default settings and can help resolve certain operational issues.
As you initiate the reset, observe the control panel for any indicators or feedback from the washing machine. Depending on the model, you may encounter visual cues or audible signals that confirm the reset process has been successfully initiated. Pay attention to any changes in the display or the behavior of the control panel to ensure that the reset is underway.
During the reset process, it's important to allow the washing machine sufficient time to complete the reset sequence. This may involve waiting for a specific duration as indicated in the owner's manual or observing the control panel for signals that the reset has been finalized. Patience and attentiveness are key as you monitor the appliance's response to the reset procedure.
Once the reset process is complete, the washing machine should return to its default settings, effectively clearing any error codes or resolving operational issues. At this stage, you can proceed to power on the appliance and test its functionality to confirm that the reset has been successful.
By following the prescribed reset procedure and paying close attention to the appliance's response, you can effectively reset your Whirlpool front loader washing machine and address common issues that may have affected its performance. With the reset completed, you're now ready to test the washing machine and ensure that it operates as intended.
With the washing machine successfully reset, the next crucial step is to test its functionality and confirm that the reset has resolved any previous issues. This testing phase allows you to validate the effectiveness of the reset and ensures that the appliance is ready to resume its regular operation.
Test the Washing Machine
After successfully resetting your Whirlpool front loader washing machine, it's imperative to conduct a comprehensive testing phase to verify its functionality and ensure that the reset has effectively addressed any previous issues. The testing process allows you to observe the appliance in action, confirming that it operates as intended and that any error codes or malfunctions have been resolved.
To begin the testing phase, plug the washing machine back into the power source, ensuring a secure connection to the electrical outlet. Once the appliance is powered on, take a moment to inspect the control panel for any remaining error codes or indicators. A clear display without error codes signifies that the reset has been successful and that the washing machine is ready for testing.
Next, select a standard washing cycle on the control panel and load the drum with a small load of laundry. It's advisable to start with a modest load to gauge the appliance's performance without placing undue strain on it. Ensure that the detergent and fabric softener compartments are filled according to the manufacturer's recommendations.
Initiate the selected washing cycle and observe the washing machine as it progresses through the various stages, including filling, washing, rinsing, and spinning. Pay close attention to the appliance's operation, listening for any unusual noises and monitoring the drum's movement for smooth and balanced rotation.
As the washing cycle nears completion, assess the quality of the cleaning process and the overall condition of the laundry. The clothes should emerge clean, adequately rinsed, and free from any detergent residue. Additionally, observe the appliance for any signs of leakage or unusual vibrations, which could indicate underlying issues that require further attention.
Upon completion of the washing cycle, open the door and inspect the laundry to ensure that it has been effectively cleaned and rinsed. If the results meet your expectations and the washing machine has operated without any discernible issues, it indicates that the reset has been successful in restoring the appliance's functionality.
In the event that you encounter any persistent issues or irregularities during the testing phase, it's advisable to consult the owner's manual for troubleshooting guidance or seek professional assistance. Document any observations or concerns that arise during the testing process, as this information can be valuable when seeking support or further maintenance.
By thoroughly testing the washing machine after the reset, you can gain confidence in its restored functionality and ensure that it is ready to resume its essential role in your household. The testing phase serves as a critical validation of the reset's effectiveness, allowing you to rely on your Whirlpool front loader washing machine with assurance and peace of mind.
Conclusion
In conclusion, mastering the art of resetting a Whirlpool front loader washing machine empowers you to take control of its maintenance and functionality. By following the systematic steps outlined in this guide, you've gained the knowledge and confidence to address common issues and restore your appliance to optimal performance.
Prioritizing safety precautions, gathering the necessary tools, and meticulously unplugging the washing machine and draining any remaining water set the stage for a successful reset. Accessing the control panel with care and precision allowed you to navigate the reset process effectively, ensuring that the appliance returned to its default settings.
Initiating the reset procedure and conducting a thorough testing phase enabled you to validate the effectiveness of the reset and confirm that the washing machine operates as intended. By observing the appliance's performance and assessing the quality of the laundry after the reset, you've established a reliable foundation for its continued use.
With the reset completed and the washing machine successfully tested, you can now rely on its restored functionality to meet your household's laundry needs. Whether it's addressing error codes, resolving operational glitches, or simply maintaining the appliance's performance, the ability to reset your Whirlpool front loader washing machine is a valuable skill that enhances your ownership experience.
By taking a proactive approach to appliance maintenance and troubleshooting, you've not only saved time and potential repair costs but also gained a deeper understanding of your washing machine's inner workings. This knowledge equips you to address future challenges with confidence and ensures that your appliance continues to serve you reliably.
In essence, the process of resetting a Whirlpool front loader washing machine transcends mere technicality – it embodies a proactive mindset and a commitment to maintaining the efficiency and longevity of your household appliances. With the insights gained from this guide, you're well-prepared to tackle any future maintenance tasks and uphold the optimal performance of your Whirlpool front loader washing machine.
Frequently Asked Questions about How To Reset A Whirlpool Front Loader Washing Machine
Was this page helpful?
At Storables.com, we guarantee accurate and reliable information. Our content, validated by Expert Board Contributors, is crafted following stringent Editorial Policies. We're committed to providing you with well-researched, expert-backed insights for all your informational needs.

0 thoughts on “How To Reset A Whirlpool Front Loader Washing Machine”