Articles
How To Calibrate Whirlpool Washer
Modified: January 5, 2024
Learn how to calibrate your Whirlpool washer with these informative articles. Get expert tips and tricks to ensure optimal performance.
(Many of the links in this article redirect to a specific reviewed product. Your purchase of these products through affiliate links helps to generate commission for Storables.com, at no extra cost. Learn more)
Introduction
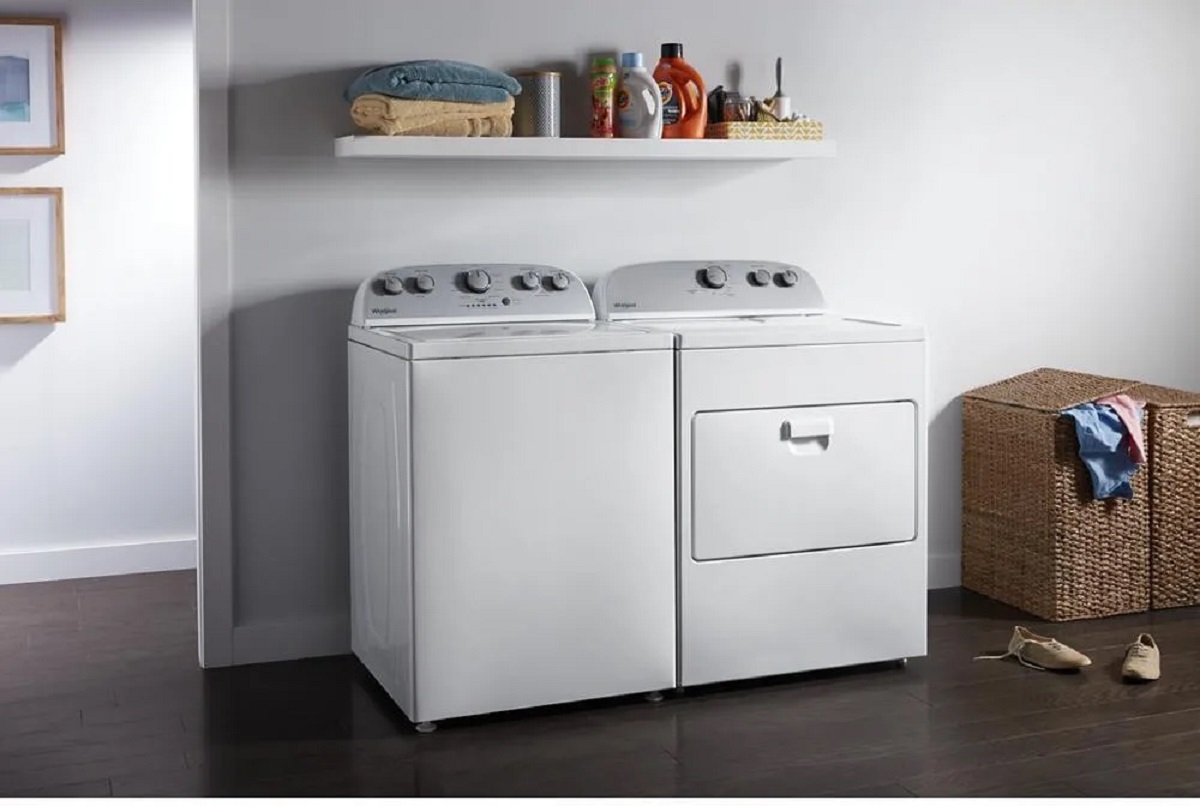
Welcome to our comprehensive guide on how to calibrate your Whirlpool washer. With regular use, washers can sometimes lose their optimal performance and efficiency. Calibrating your washer can help restore its functioning, ensuring clean and properly washed clothes.
Calibrating your Whirlpool washer involves several steps that we will guide you through in this article. By following these steps, you can ensure that your washer performs at its best, providing you with cleaner clothes and a more efficient laundry experience.
Before we dive into the calibration process, it’s important to note that while these steps are specifically tailored for Whirlpool washers, some of the general principles may apply to other washer brands as well. So, let’s get started and bring your Whirlpool washer back to peak performance!
Key Takeaways:
- Calibrating your Whirlpool washer involves checking water level, leveling the washer, adjusting feet, balancing the load, checking spin speed, and running a calibration cycle. These steps ensure optimal performance and cleaner clothes.
- Regular calibration of your Whirlpool washer prevents issues like inadequate cleaning, excessive vibrations, and unbalanced loads. It also prolongs the lifespan of the appliance, ensuring a more efficient laundry experience.
Read more: How To Calibrate A Samsung Washer
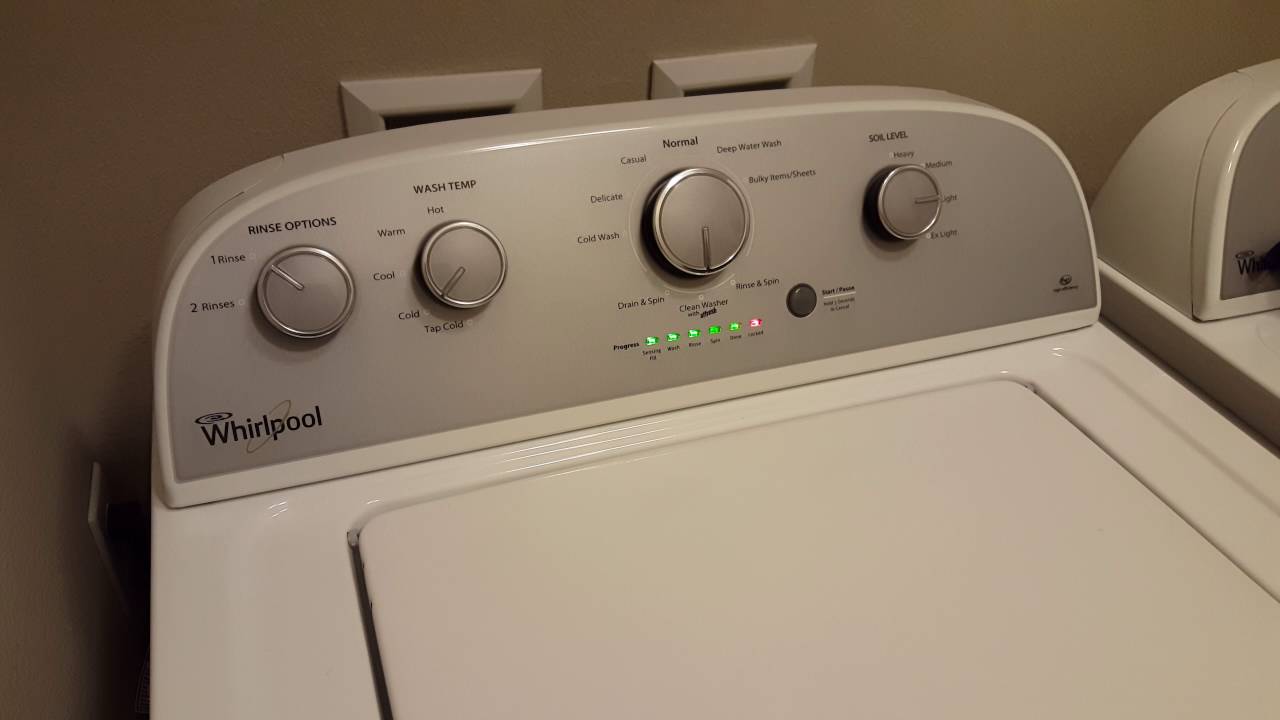
Step 1: Check Water Level
The first step in calibrating your Whirlpool washer is to check the water level. An incorrect water level can affect the overall performance of your washer and lead to issues such as inadequate cleaning or excessive load imbalance.
To check the water level, start by selecting a wash cycle and allowing the washer to fill with water. Once the tub is filled, observe the water level. It should be at or just below the top of the agitator.
If the water level is too low or too high, you can adjust it using the water level switch. This switch is usually located on the control panel of your washer and allows you to manually adjust the water level based on your needs.
If the water level is too low, you can increase it by turning the water level switch clockwise. Conversely, if the water level is too high, turn the switch counterclockwise to lower it. Make sure to make gradual adjustments and recheck the water level after each adjustment until it reaches the desired level.
It’s important to note that the proper water level may vary depending on the size of the load and the type of fabric being washed. Refer to your washer’s user manual for specific guidelines on water level settings for different types of loads.
By ensuring that the water level is set correctly, you can improve the cleaning performance of your washer and prevent potential issues caused by incorrect water levels.
Step 2: Level the Washer
Having a level washer is crucial for its optimal performance and longevity. If your Whirlpool washer is not level, it can lead to excessive vibrations, noise, and even damage to the machine. Therefore, it’s essential to ensure that your washer is level before proceeding with the calibration process.
To level your washer, follow these steps:
- Start by unplugging the washer from the power source to ensure your safety.
- Using a spirit level, place it on top of the washer’s front edge to check the level. The spirit level should be placed in both the left-to-right and front-to-back directions.
- If the washer is not level, adjust the leveling feet located at the bottom corners of the washer. Rotate the feet clockwise to raise them and counterclockwise to lower them. Make small adjustments and recheck the level after each adjustment.
- Continue making adjustments until the washer is level both horizontally and vertically.
It’s important to note that a washer that is not properly leveled can cause excessive vibrations and movement during the spin cycle, which can result in damaged floors or even premature washer failure. By taking the time to level your washer, you can prevent these issues and ensure a smooth and quiet operation.
Once you have successfully leveled your Whirlpool washer, you can proceed to the next step in the calibration process.
Step 3: Adjust Feet
In addition to leveling the washer, adjusting the feet of your Whirlpool washer is another important step in the calibration process. The feet of the washer help stabilize it and prevent excessive vibrations and movement during operation.
Follow these steps to adjust the feet of your washer:
- Locate the adjustable feet at the bottom corners of the washer. These feet are usually adjustable by twisting them.
- Using your hand or a wrench, carefully twist the feet to adjust their height. Rotate them clockwise to raise the feet and counterclockwise to lower the feet.
- Make small adjustments to each foot, if needed, to ensure that the washer is stable and does not wobble during operation.
- Once you have adjusted all the feet and the washer feels stable, check the level of the washer again to ensure it is still properly leveled. If necessary, make additional adjustments to both the feet and leveling, as needed.
By correctly adjusting the feet of your Whirlpool washer, you can minimize vibrations and movement during the wash cycle, leading to a quieter and more efficient operation. This step is especially important if you have a washer located on an uneven surface or if you frequently experience excessive vibrations during use.
Once you have successfully adjusted the feet of your washer, you are ready to proceed to the next step in the calibration process.
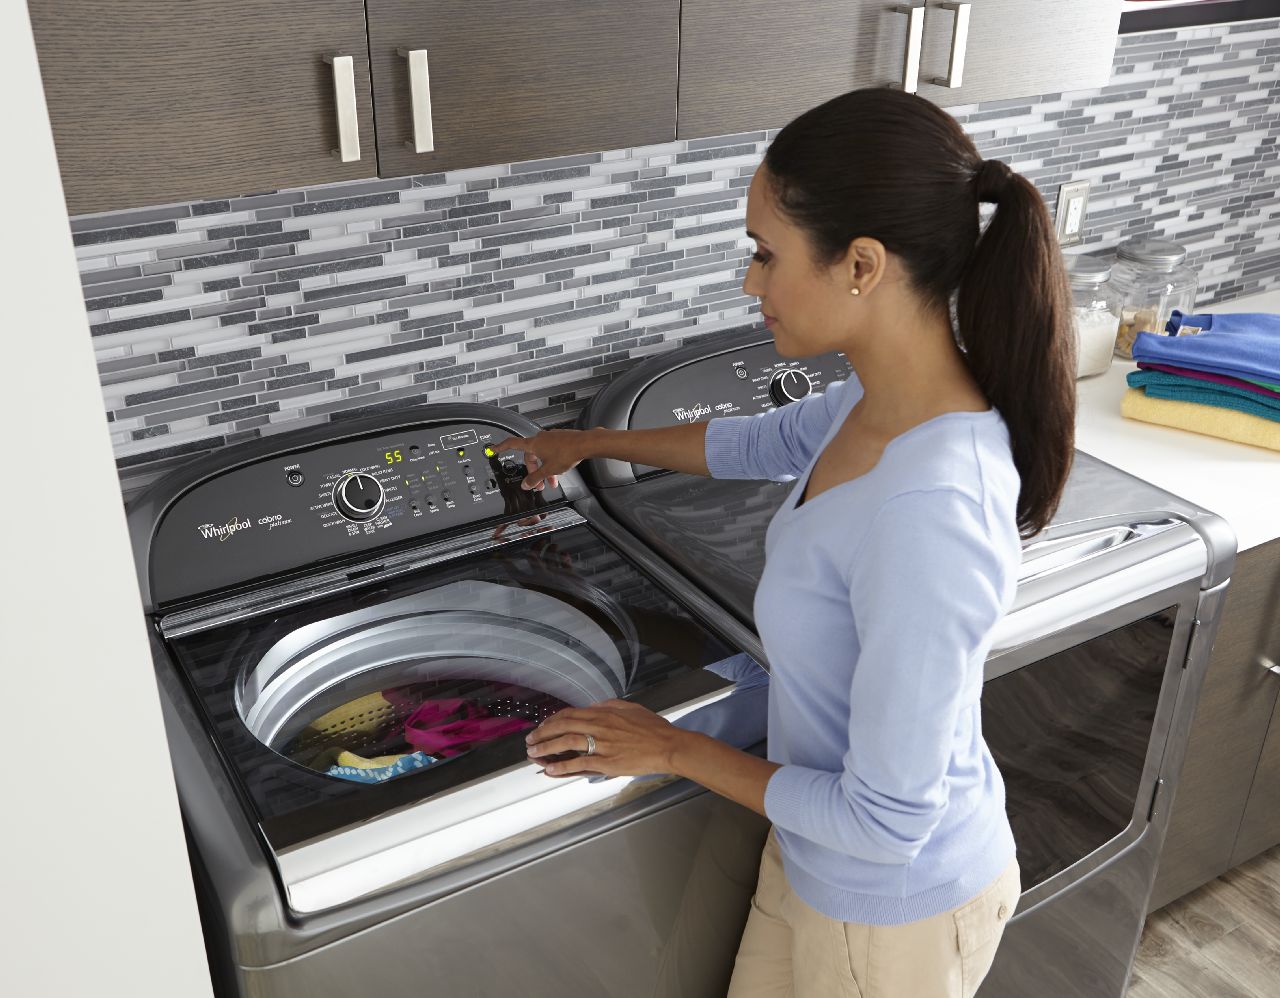
When calibrating a Whirlpool washer, make sure to follow the specific instructions provided in the user manual. This typically involves pressing certain buttons in a specific sequence to initiate the calibration process.
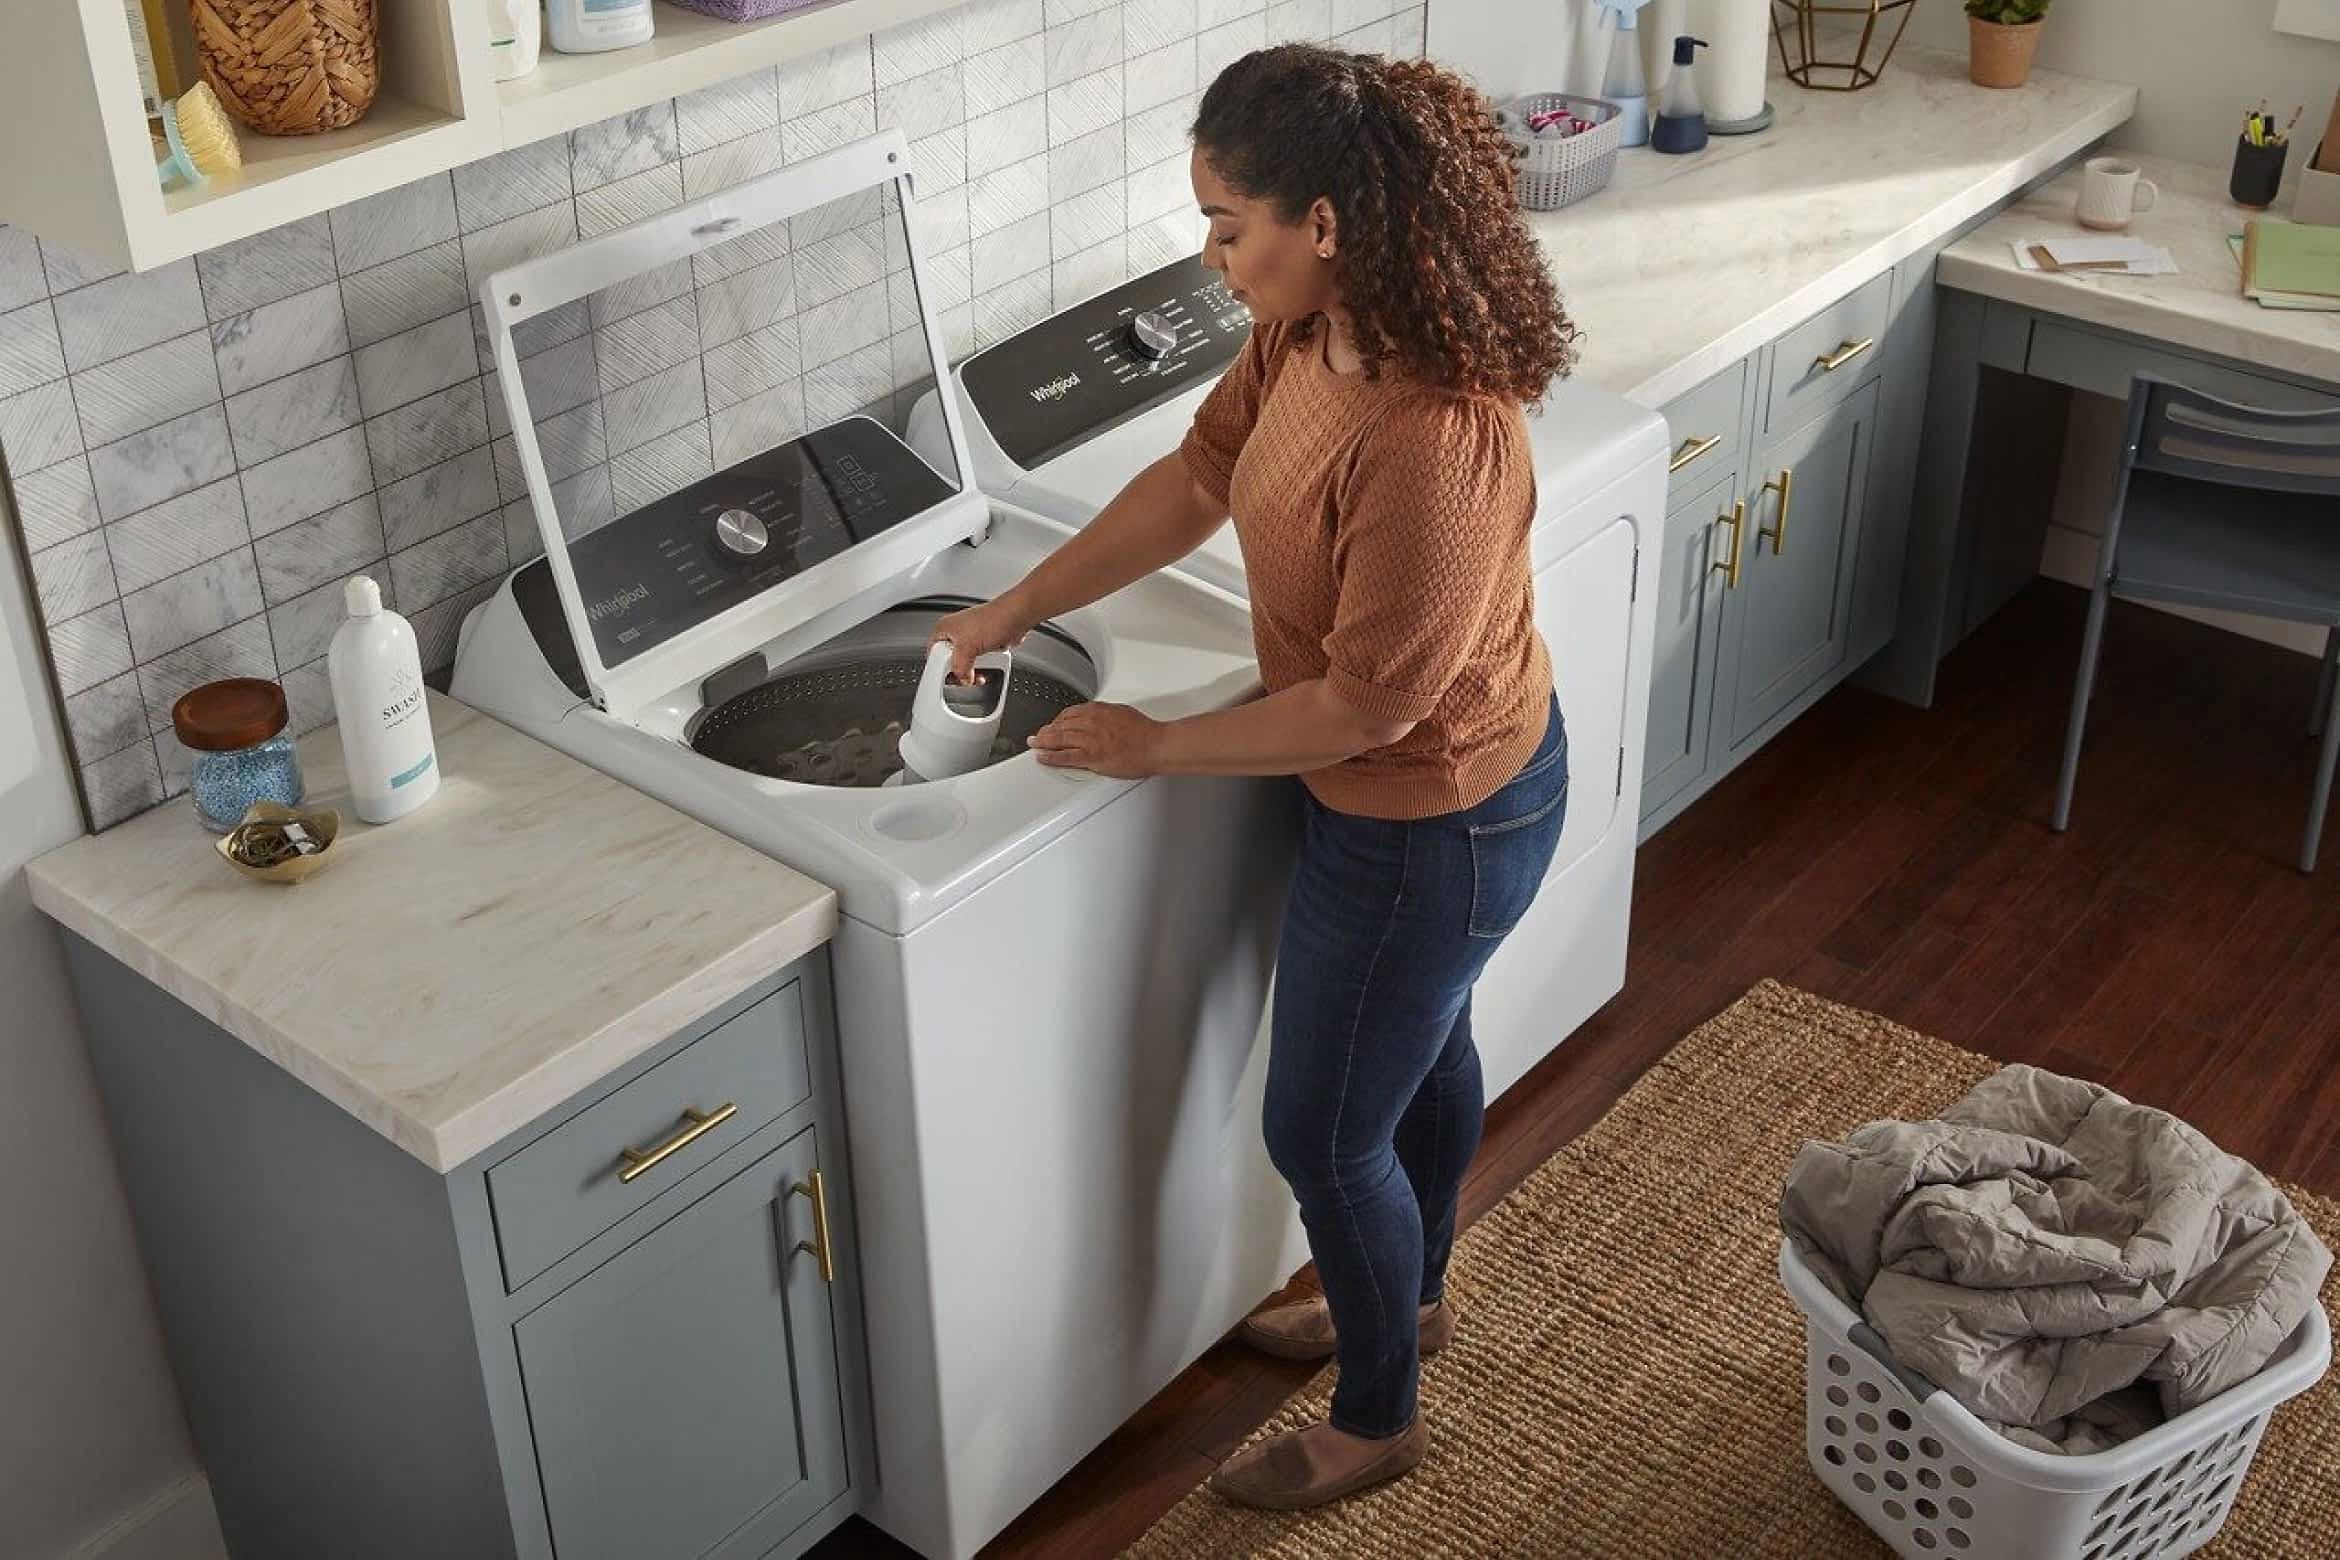
Step 4: Balance the Load
Properly balancing the load in your Whirlpool washer is essential for efficient and effective cleaning. An unbalanced load can lead to excessive vibrations, noise, and even potential damage to the washer. By ensuring that the load is balanced, you can prevent these issues and improve the overall performance of your washer.
Follow these steps to balance the load in your washer:
- Start by sorting your laundry into similar items and weights. It’s important to distribute the weight evenly to prevent one side of the washer from becoming heavier than the other.
- Open the washer door and evenly distribute the clothes around the agitator or drum, making sure that the load is not leaning towards one side.
- If you are washing a large or bulky item, such as a comforter or a blanket, try adding some smaller items to balance the load. This will help distribute the weight more evenly and prevent the washer from becoming unbalanced.
- Make sure to avoid overloading the washer. Overloading can lead to an unbalanced load and prevent the washer from functioning properly. Follow the manufacturer’s guidelines for the maximum load capacity of your specific washer model.
Once you have successfully balanced the load, close the washer door and ensure that it is securely shut. An improperly closed door can also cause imbalance and affect the performance of the washer.
By taking the time to balance the load in your Whirlpool washer, you can prevent excessive vibrations, reduce noise, and ensure a more effective cleaning process. This step is particularly important for maintaining the longevity of your washer and avoiding unnecessary wear and tear.
With a balanced load, you are now ready to move on to the next step in the calibration process.
Step 5: Check Spin Speed
The spin speed of your Whirlpool washer plays a crucial role in removing water from the clothes during the spin cycle. Checking and adjusting the spin speed can help ensure that your clothes are properly dried and reduce the need for additional drying time.
To check and adjust the spin speed of your washer, follow these steps:
- Start by selecting a wash cycle, and allow the washer to fill with water.
- Once the washer is filled, observe the spin speed options available on the control panel.
- Whirlpool washers typically offer multiple spin speed settings, such as low, medium, and high. Adjust the spin speed setting based on the fabric type and the moisture level of the load.
- In general, higher spin speeds are suitable for sturdy and thicker fabrics, such as towels or jeans, as they require more moisture to be removed. On the other hand, delicate fabrics, like silk or lingerie, should be set to a lower spin speed to prevent damage.
- Select the appropriate spin speed setting for your specific load, taking into consideration the fabric type, size, and desired drying level.
By choosing the right spin speed for your load, you can ensure that excess water is effectively removed, reducing the drying time and improving overall laundry efficiency. However, it’s important to note that higher spin speeds may cause more noise and vibration, so be mindful of the balance and stability of the washer.
Once you have adjusted the spin speed, you are ready to proceed to the next step in the calibration process and run a calibration cycle.
Step 6: Run a Calibration Cycle
Running a calibration cycle is the final step in the process of calibrating your Whirlpool washer. This step helps the washer adjust and optimize its performance based on the load and settings that you have selected.
To run a calibration cycle on your Whirlpool washer, follow these steps:
- Make sure that the washer is empty and that no clothes or items are inside.
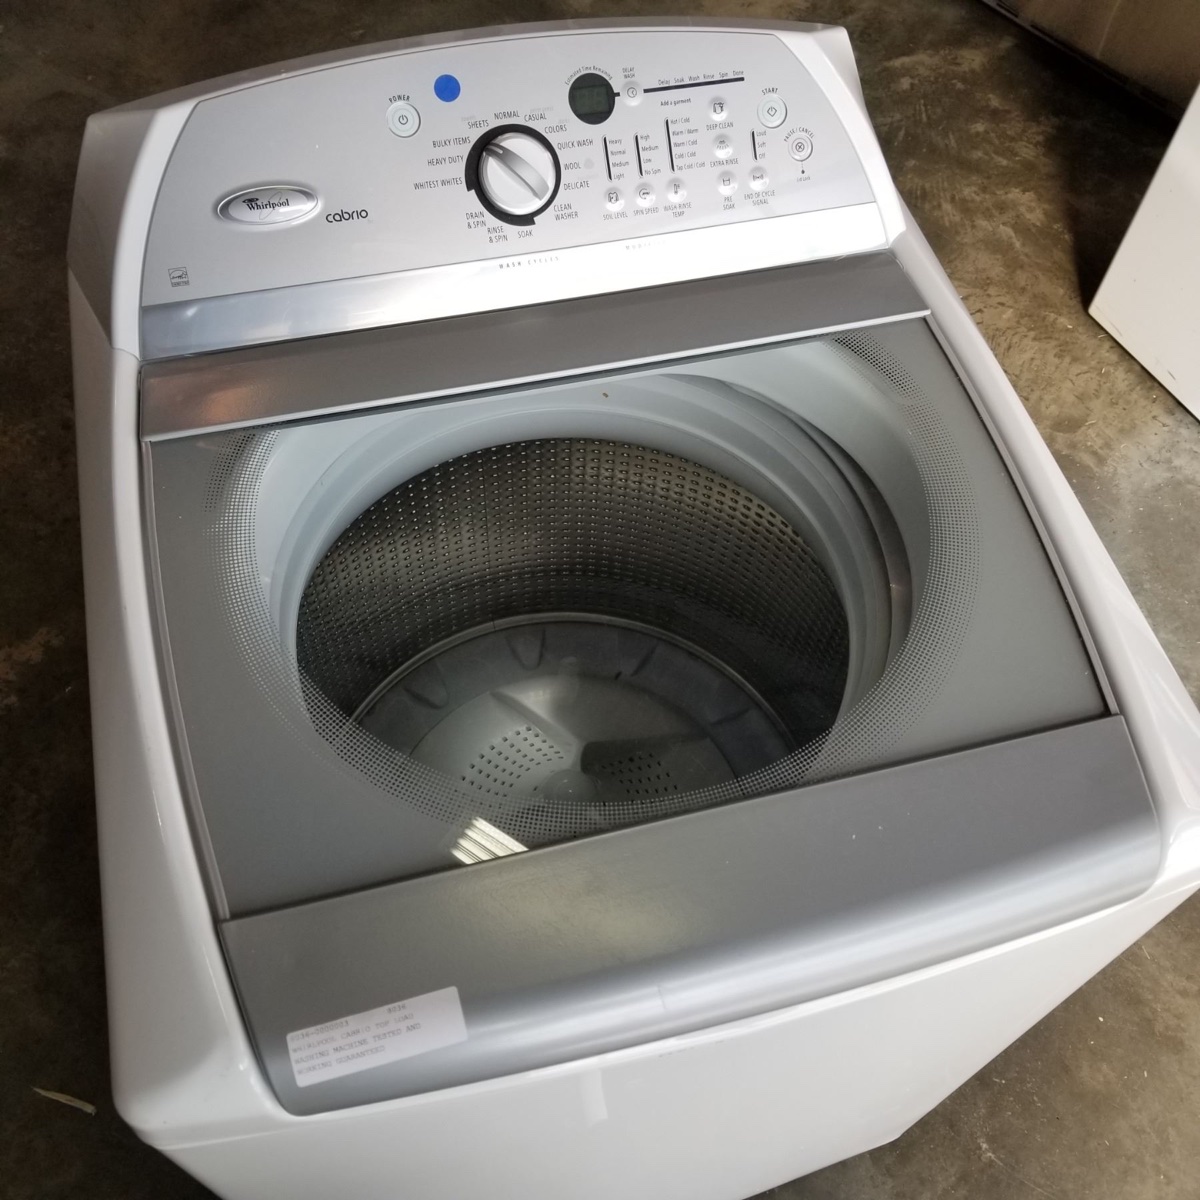
- Select the “Calibration” or “Clean Washer” cycle on the control panel. Refer to your washer’s user manual for the specific location and name of the calibration cycle option.
- Adjust any additional settings, such as temperature or soil level, according to your preference.
- Start the calibration cycle by pressing the “Start” or “Run” button on the control panel.
- Allow the calibration cycle to complete its full cycle. This usually takes about an hour, but the duration may vary depending on your specific washer model.
- Once the calibration cycle is complete, your Whirlpool washer is now optimized and calibrated for efficient and effective performance.
Running a calibration cycle periodically is beneficial to maintain the optimal functioning of your washer. It helps ensure accurate water levels, balanced loads, and proper spin speeds, all of which contribute to cleaner and better-laundered clothes.
By following these simple steps and running a calibration cycle, you can keep your Whirlpool washer operating at its best, maximizing its performance and longevity.
Congratulations! You have successfully completed the calibration process for your Whirlpool washer. Enjoy the improved performance and cleaner clothes!
Conclusion
Calibrating your Whirlpool washer is an essential step to maintain its optimal performance and ensure that your clothes are thoroughly cleaned. By following the steps outlined in this comprehensive guide, you can easily calibrate your washer and enjoy the benefits of a more efficient and effective laundry experience.
During the calibration process, we covered important steps such as checking the water level, leveling the washer, adjusting the feet, balancing the load, checking the spin speed, and running a calibration cycle. Each of these steps contributes to the overall performance and longevity of your washer.
Remember that while these steps are specifically designed for Whirlpool washers, many of the principles can be applied to other washer brands as well. Always refer to your washer’s user manual for specific instructions and guidelines.
By calibrating your washer, you can prevent issues like inadequate cleaning, excessive vibrations, and unbalanced loads. This not only ensures cleaner clothes but also helps reduce the risk of damage to your washer and prolong its lifespan.
So, take the time to regularly calibrate your Whirlpool washer and enjoy the benefits of a well-maintained and efficient laundry appliance. Your clothes will thank you for the extra care!
Frequently Asked Questions about How To Calibrate Whirlpool Washer
Was this page helpful?
At Storables.com, we guarantee accurate and reliable information. Our content, validated by Expert Board Contributors, is crafted following stringent Editorial Policies. We're committed to providing you with well-researched, expert-backed insights for all your informational needs.


0 thoughts on “How To Calibrate Whirlpool Washer”