Home>Home Appliances>Laundry Appliances>How To Use A GE Washing Machine
Laundry Appliances
How To Use A GE Washing Machine
Modified: August 27, 2024
Learn how to use a GE washing machine for efficient laundry care. Discover tips and tricks for maximizing the performance of your laundry appliances.
(Many of the links in this article redirect to a specific reviewed product. Your purchase of these products through affiliate links helps to generate commission for Storables.com, at no extra cost. Learn more)
Introduction
Welcome to the world of laundry care with GE washing machines! Whether you're a first-time user or a seasoned laundry expert, understanding how to use a GE washing machine effectively can make a significant difference in the cleanliness and longevity of your clothes. In this comprehensive guide, we will walk you through the step-by-step process of using a GE washing machine, from preparing the machine to removing and drying your freshly cleaned laundry.
GE washing machines are designed with user-friendly features and advanced technology to simplify the laundry process while delivering exceptional cleaning results. By following the instructions outlined in this guide, you can harness the full potential of your GE washing machine and achieve optimal performance with every wash.
As we delve into the intricacies of using a GE washing machine, you'll discover valuable tips and insights that will elevate your laundry experience. From selecting the appropriate wash cycle for different fabric types to understanding the significance of adding detergent and fabric softener, this guide will equip you with the knowledge to make informed decisions throughout the laundry process.
Whether you're tackling a mountain of soiled clothes or simply refreshing a few delicate garments, your GE washing machine is equipped to handle a wide range of laundry needs. By familiarizing yourself with the features and functions of your specific model, you can customize each wash cycle to suit the unique requirements of your garments, ensuring that they emerge from the machine impeccably clean and cared for.
So, without further ado, let's embark on this journey through the realm of GE washing machines, where convenience, efficiency, and exceptional cleaning performance converge to simplify and elevate your laundry routine. Get ready to unlock the full potential of your GE washing machine and achieve laundry perfection with every load!
Key Takeaways:
- Prepare your GE washing machine by inspecting, leveling, and selecting wash options. This ensures optimal performance and sets the stage for a successful and efficient laundry experience.
- Load your laundry carefully, sort by color and fabric type, and distribute evenly in the machine. This maximizes cleaning efficiency and ensures fresh, clean laundry after each wash cycle.
Read more: Kenmore Washer How To Use
Preparing the Washing Machine
Before diving into the laundry process, it's essential to ensure that your GE washing machine is properly prepared to deliver optimal cleaning results. This initial step sets the stage for a seamless and efficient laundry experience. Here's a detailed guide on preparing your GE washing machine for a successful wash cycle:
-
Inspecting the Interior: Begin by opening the door or lid of the washing machine. Take a moment to inspect the interior drum for any foreign objects, such as coins, buttons, or small items of clothing that may have been inadvertently left behind. Removing these items will prevent potential damage to the machine and ensure a thorough wash for your garments.
-
Checking the Detergent Dispenser: Next, check the detergent dispenser compartment to ensure that it is clean and free from any residual detergent or fabric softener. If any buildup is present, gently wipe the dispenser with a damp cloth to remove any lingering traces of previous products. This step helps prevent cross-contamination of detergents and ensures the effectiveness of the cleaning agents used in the current wash cycle.
-
Verifying the Power Supply: Confirm that the washing machine is securely plugged into a power source and that the power cord is in good condition. Additionally, ensure that the water supply valves connected to the machine are fully open and functioning correctly. Adequate power and water supply are essential for the washing machine to operate efficiently and complete the wash cycle without interruptions.
-
Leveling the Machine: Check that the washing machine is level and stable on the floor. If the machine is not level, it may produce excessive vibrations during the spin cycle, potentially causing noise and movement. Adjust the leveling feet at the base of the machine as needed to ensure that it sits firmly and evenly on the floor.
-
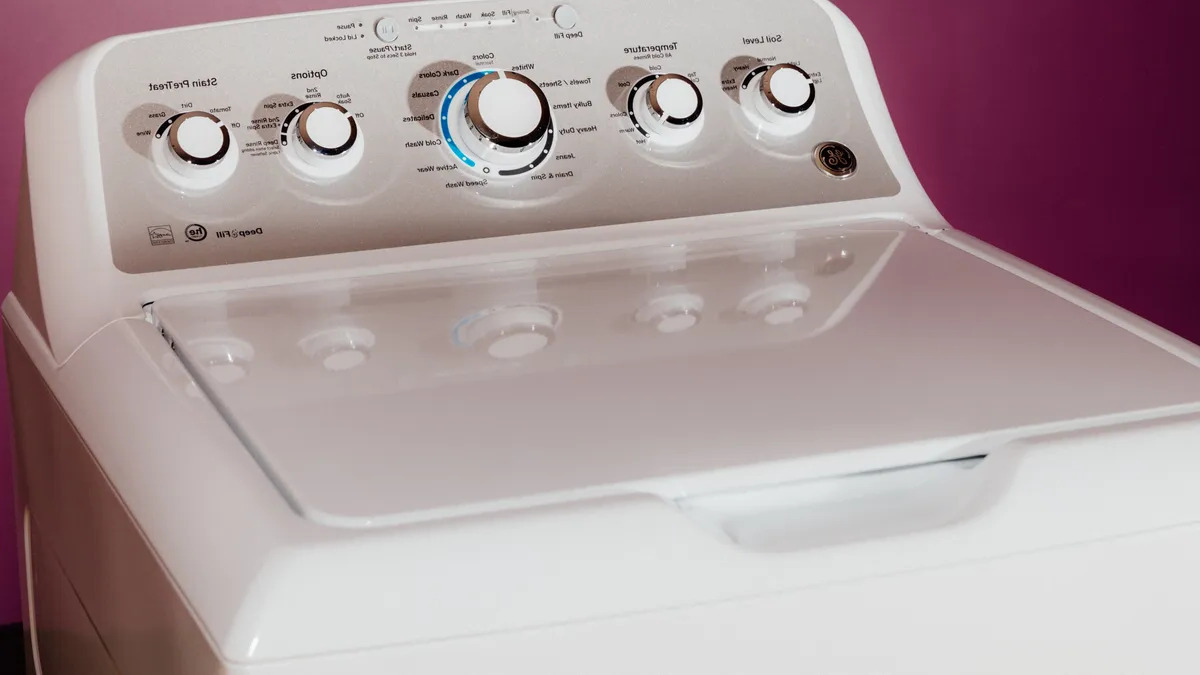
Selecting Wash Options: Depending on your specific model of GE washing machine, you may have the option to customize certain settings, such as water temperature, spin speed, and additional wash cycle features. Take a moment to review and select the desired wash options based on the fabric care labels of the items you intend to wash.
By meticulously preparing your GE washing machine before each use, you can optimize its performance and create an ideal environment for achieving immaculately clean and fresh-smelling laundry. This proactive approach sets the stage for a successful wash cycle, ensuring that your garments receive the care and attention they deserve throughout the cleaning process.
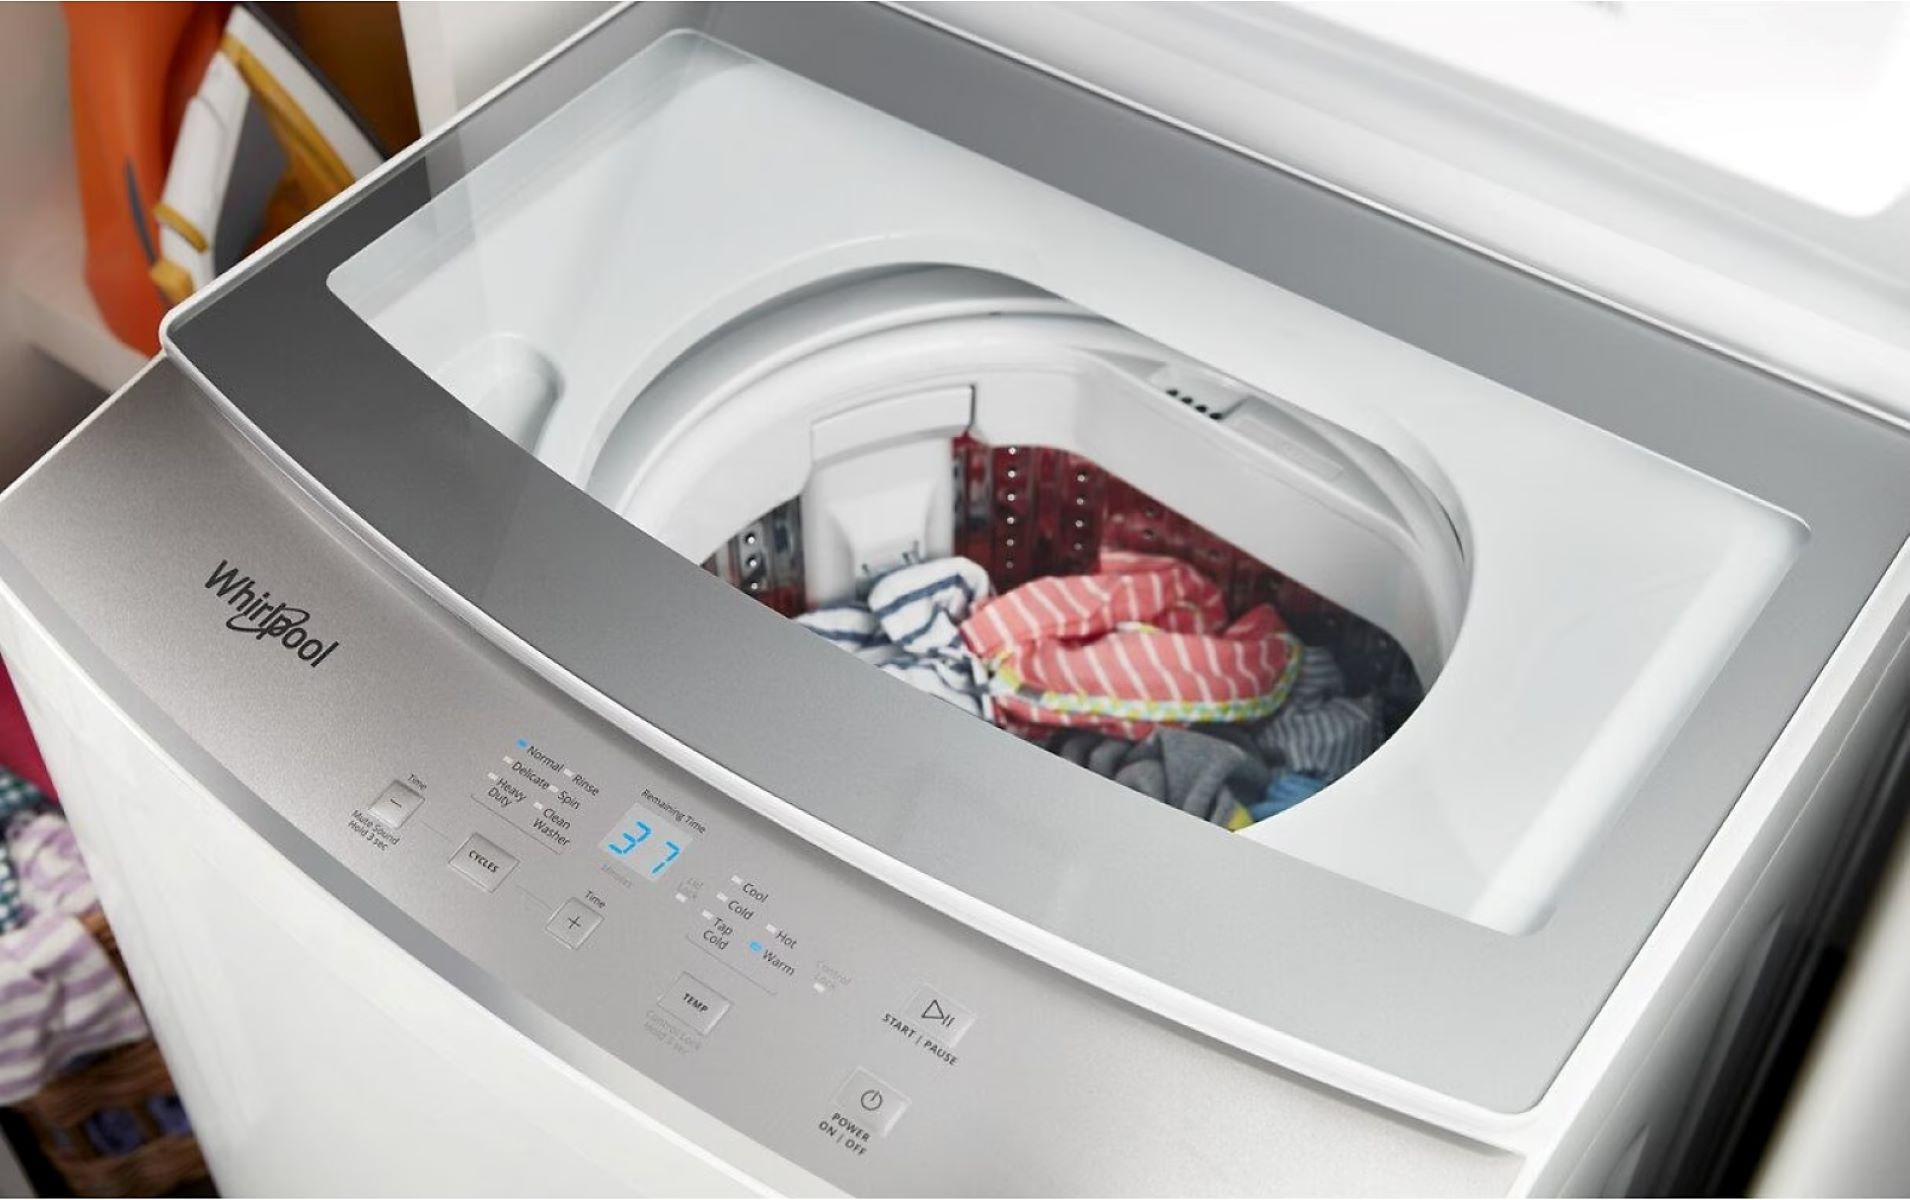
Loading the Laundry
Loading the laundry into your GE washing machine is a crucial step that directly impacts the cleanliness and care of your garments. By following the proper loading techniques, you can optimize the washing machine's capacity and ensure thorough cleaning for each item. Here's a detailed guide on how to load your laundry into the GE washing machine:
-
Sorting the Laundry: Before loading the garments, it's essential to sort them based on their colors, fabric types, and soil levels. This preliminary step allows you to group similar items together, preventing color bleeding and ensuring that delicate fabrics are not subjected to harsh washing conditions.
-
Checking for Stains: Inspect each garment for stains or heavily soiled areas. Pre-treating these stains with a suitable stain remover or detergent can significantly improve the chances of complete stain removal during the wash cycle.
-
Loading Capacity: Refer to the manufacturer's guidelines to determine the recommended loading capacity for your specific model of GE washing machine. Overloading the machine can compromise the cleaning effectiveness, while underloading may lead to inefficient water and energy usage.
-
Distributing the Load: Evenly distribute the garments around the interior drum of the washing machine. Avoid overstuffing the machine, as this can impede the tumbling action and hinder the thorough cleaning of the items.
-
Balancing the Load: For optimal performance during the spin cycle, it's important to balance the load by mixing large and small items. This helps prevent the washing machine from vibrating excessively and ensures a more stable operation.
-
Closing the Door or Lid: Once the laundry is loaded, securely close the door or lid of the washing machine. Ensure that no items are caught in the door seal, as this can lead to water leakage during the wash cycle.
By meticulously following these steps when loading your laundry into the GE washing machine, you can maximize the cleaning efficiency and garment care, resulting in fresh, clean laundry after each wash cycle. This attention to detail sets the stage for a successful washing process, allowing your garments to emerge from the machine revitalized and ready for the next stage of the laundry journey.
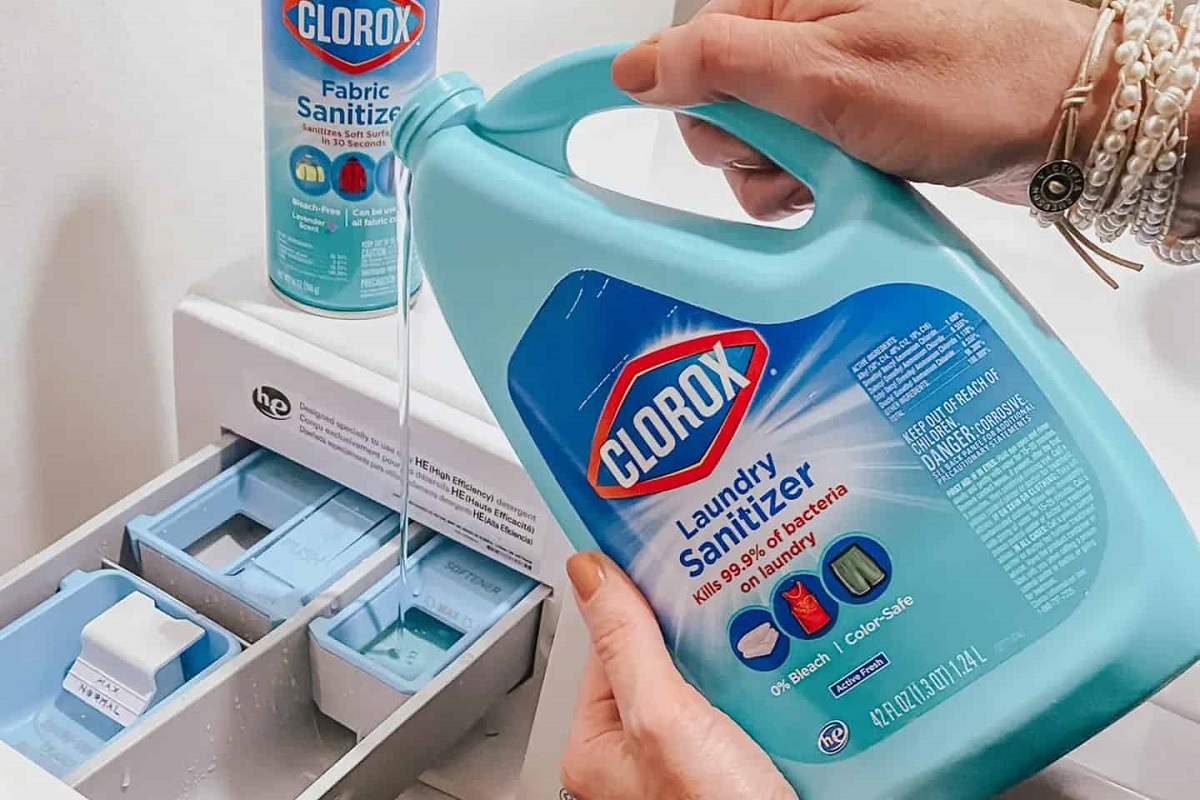
Adding Detergent and Fabric Softener
The process of adding detergent and fabric softener to your GE washing machine is a pivotal step that directly influences the cleanliness, freshness, and softness of your laundry. By carefully selecting and dispensing the appropriate cleaning agents, you can enhance the overall washing experience and ensure that your garments receive the care they deserve. Here's a comprehensive guide on how to add detergent and fabric softener to your GE washing machine:
-
Selecting the Right Detergent: Begin by choosing a high-quality laundry detergent that is suitable for the fabric types and soil levels of the garments being washed. For heavily soiled items, opt for a detergent with powerful stain-fighting properties, while delicate fabrics may require a gentler, mild detergent. It's important to refer to the manufacturer's recommendations for the appropriate detergent type and quantity based on the specific model of your GE washing machine.
-
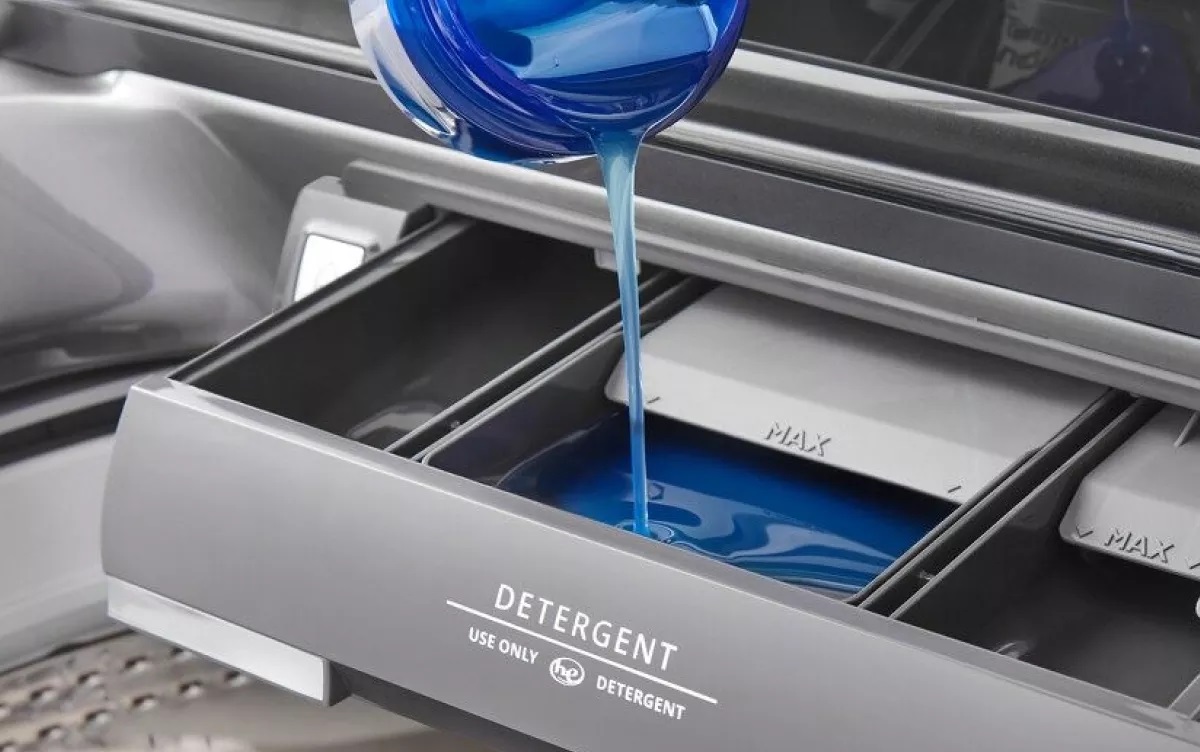
Measuring the Detergent: Use the measuring cap or dispenser that accompanies your detergent to accurately measure the recommended amount for the load size and soil level. Avoid overpouring detergent, as this can lead to excessive sudsing and may require additional rinse cycles to remove the soap residue from the garments.
-
Adding the Detergent: Open the detergent dispenser compartment on your GE washing machine and pour the measured detergent into the appropriate section. Some models may feature separate compartments for pre-wash and main wash detergents, allowing you to customize the cleaning process based on the specific needs of your laundry.
-
Incorporating Fabric Softener: If desired, add fabric softener to the designated compartment in the washing machine. Fabric softener helps reduce static cling, impart a fresh scent to the laundry, and enhance the softness of the garments. Similar to the detergent, carefully measure the recommended amount of fabric softener based on the load size and the manufacturer's guidelines.
-
Closing the Dispenser: Once the detergent and fabric softener are added, securely close the dispenser compartment to prevent any spillage or interference during the wash cycle. Ensure that the dispenser is free from any residual products to prevent cross-contamination and maintain the effectiveness of the cleaning agents.
By meticulously following these steps when adding detergent and fabric softener to your GE washing machine, you can optimize the cleaning process and elevate the overall laundry experience. The careful selection and dispensing of these cleaning agents contribute to the exceptional cleanliness, freshness, and softness of your garments, ensuring that they emerge from the wash cycle revitalized and ready for the next stage of the laundry journey.
Make sure to properly distribute the clothes evenly in the washing machine to ensure a balanced load. This will help prevent the machine from vibrating excessively during the wash cycle.
Selecting the Wash Cycle
The process of selecting the appropriate wash cycle on your GE washing machine is a pivotal decision that directly influences the cleaning efficacy and fabric care of your laundry. With a diverse range of wash cycles tailored to specific fabric types, soil levels, and garment care requirements, your GE washing machine offers a versatile array of options to accommodate various laundry needs.
When embarking on the task of selecting the wash cycle, it's essential to consider the unique characteristics of the garments being washed, including their fabric composition, colorfastness, and soiling conditions. By aligning the wash cycle with the specific needs of the laundry load, you can optimize the cleaning process and ensure that each item receives the appropriate care and attention.
GE washing machines typically feature an array of wash cycle options, including but not limited to:
-
Normal Wash Cycle: Ideal for everyday laundry needs, the normal wash cycle provides a balanced combination of agitation and soaking to effectively clean moderately soiled garments without compromising fabric integrity.
-
Delicate Wash Cycle: Designed for fragile and lightweight fabrics such as silk, lace, and lingerie, the delicate wash cycle employs gentle agitation and reduced spin speeds to minimize the risk of damage to delicate items.
-
Heavy-Duty Wash Cycle: Suited for heavily soiled items such as workwear, sports attire, and linens, the heavy-duty wash cycle delivers robust agitation and extended wash times to tackle stubborn stains and deep-seated dirt.
-
Quick Wash Cycle: When time is of the essence, the quick wash cycle offers a rapid yet efficient cleaning process for lightly soiled garments, providing a convenient solution for refreshing clothes in a shorter time frame.
-
Whites Cycle: Tailored for white or colorfast garments, the whites cycle incorporates hot water and robust agitation to lift tough stains and brighten white fabrics, ensuring a pristine appearance after each wash.
-
Colors Cycle: Specifically formulated to safeguard the vibrancy and integrity of colored garments, the colors cycle utilizes gentle agitation and cool water to prevent color bleeding and preserve the brilliance of colored fabrics.
-
Rinse and Spin Cycle: An essential option for situations where additional rinsing or spinning is required, the rinse and spin cycle efficiently removes residual detergent and enhances the moisture extraction from the laundry load.
By carefully evaluating the unique characteristics of your laundry load and selecting the most suitable wash cycle on your GE washing machine, you can tailor the cleaning process to meet the specific needs of your garments. This thoughtful approach ensures that each item receives the optimal care and treatment, resulting in impeccably clean and well-maintained laundry after every wash cycle.
Read more: How To Use A Portable Washing Machine
Starting the Washing Machine
Once you have meticulously prepared the washing machine, loaded the laundry, and added the appropriate detergent and fabric softener, it's time to initiate the wash cycle and set the cleaning process in motion. The process of starting the washing machine marks the transition from preparation to action, signaling the commencement of the meticulous cleaning journey for your garments.
To initiate the wash cycle on your GE washing machine, follow these simple yet crucial steps:
-
Selecting the Wash Cycle: Refer to the comprehensive guide on selecting the appropriate wash cycle for your specific laundry load. Choose the wash cycle that best aligns with the fabric types, soil levels, and care requirements of the garments being washed. Ensure that the selected wash cycle optimally addresses the unique characteristics of the laundry load, setting the stage for a thorough and effective cleaning process.
-
Adjusting Additional Settings: Depending on the specific features of your GE washing machine, you may have the option to customize additional settings such as water temperature, spin speed, and extra rinse cycles. Take a moment to review and adjust these settings based on the fabric care labels and specific needs of the laundry load. By fine-tuning these settings, you can further enhance the cleaning process and ensure that each garment receives tailored care during the wash cycle.
-
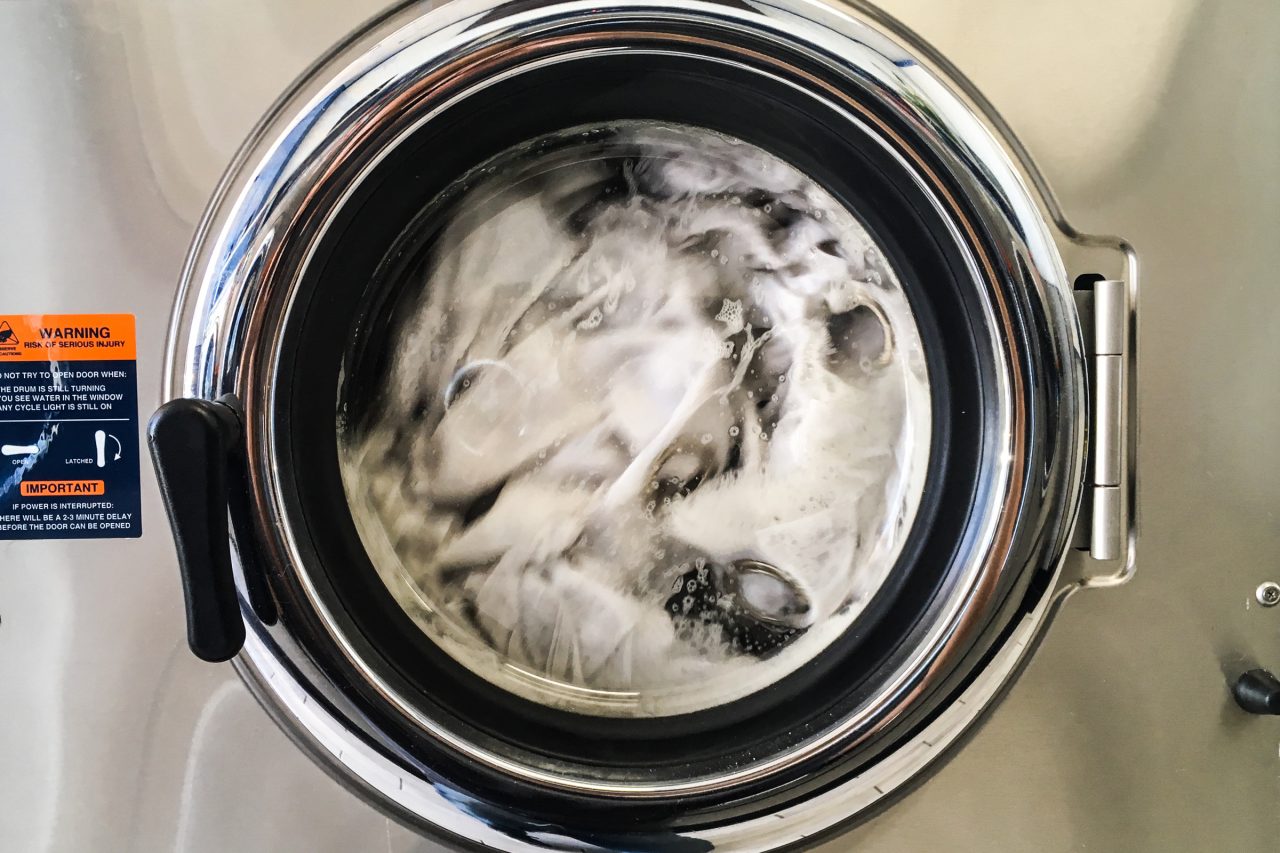
Initiating the Wash Cycle: Once the wash cycle and additional settings are selected, it's time to initiate the wash cycle by pressing the designated start button or activating the wash cycle through the control panel. Confirm that the washing machine responds to the input and begins the water filling process, signaling the commencement of the cleaning journey for your garments.
-
Monitoring the Wash Cycle: Throughout the wash cycle, take the opportunity to monitor the machine's operation and ensure that it progresses smoothly through each phase. Observe the water filling, agitation, soaking, and draining processes to verify that the washing machine is functioning as intended. This proactive approach allows you to address any irregularities or issues promptly, ensuring a seamless and efficient cleaning process.
By following these steps when starting the washing machine, you can initiate a meticulously tailored wash cycle that addresses the specific needs of your laundry load. This proactive approach sets the stage for a successful cleaning journey, allowing your garments to undergo a thorough and effective cleaning process that revitalizes and refreshes them, ensuring that they emerge from the wash cycle impeccably clean and ready for the next stage of the laundry journey.
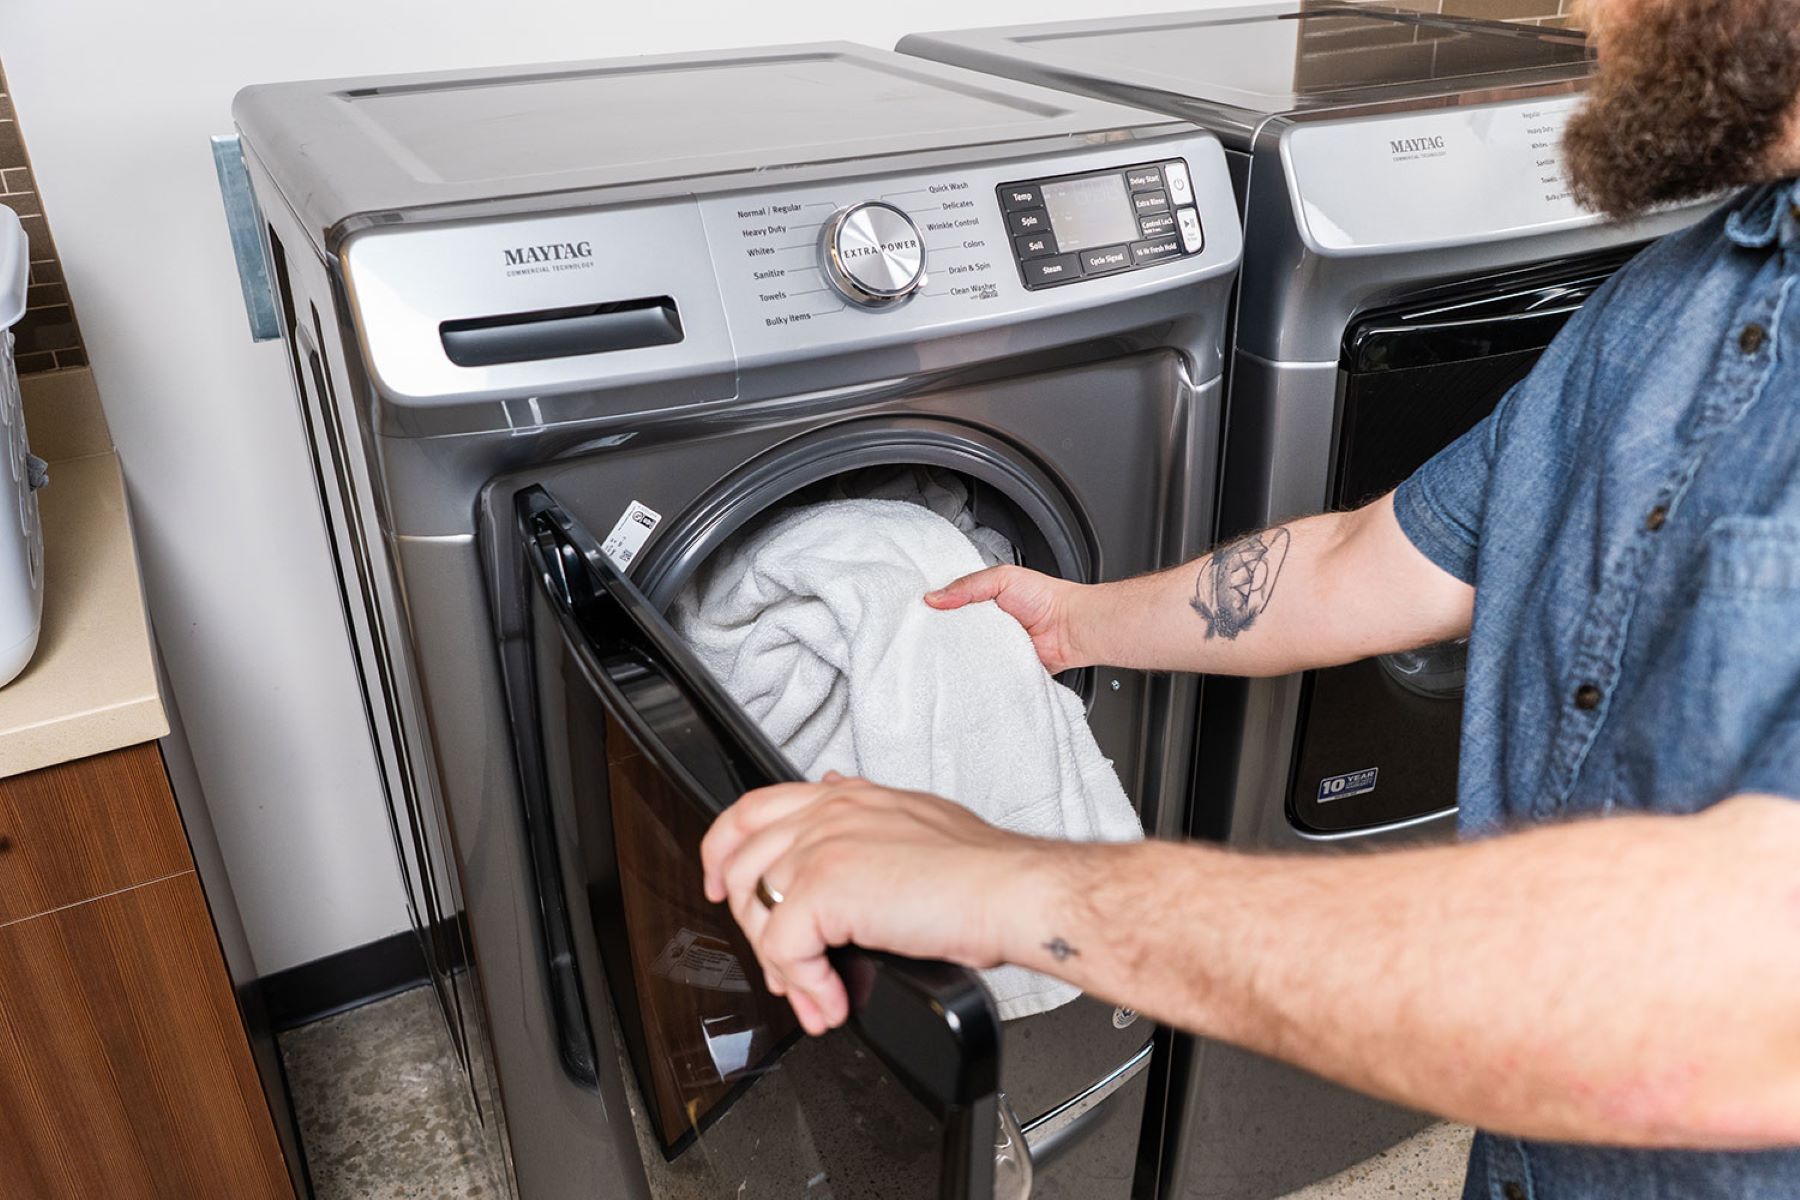
Removing and Drying the Laundry
As the wash cycle on your GE washing machine draws to a close, the next crucial step in the laundry journey involves removing the freshly cleaned garments and preparing them for the drying process. This pivotal phase marks the culmination of the meticulous cleaning journey, setting the stage for the garments to emerge revitalized and ready for the subsequent stages of the laundry routine.
Upon completion of the wash cycle, the washing machine typically signals its readiness through audible alerts or visual indicators. Once the cycle has concluded, follow these essential steps to remove and prepare the laundry for drying:
-
Opening the Door or Lid: Carefully open the door or lid of the washing machine, ensuring that the garments are easily accessible for removal. Exercise caution when handling the freshly washed items to prevent any accidental contact with residual moisture or detergent.
-
Removing the Laundry: Gently remove the garments from the washing machine, paying attention to any delicate or lightweight items that may require special handling. Avoid excessive wringing or twisting of the fabrics to prevent damage and maintain their original shape and texture.
-
Inspecting for Residual Stains: Before proceeding to the drying phase, take a moment to inspect the garments for any residual stains or soiling. If any stains persist, consider treating them with a suitable stain remover before proceeding with the drying process to maximize the chances of complete stain removal.
-
Selecting the Drying Method: Depending on your preference and the specific fabric care requirements, choose the most suitable drying method for the freshly cleaned laundry. Options may include air-drying on a clothesline, utilizing a tumble dryer, or laying the garments flat to dry, each offering distinct benefits for different fabric types.
-
Sorting and Hanging: Sort the garments based on their fabric types and drying requirements, ensuring that delicate items are separated from heavier fabrics to prevent potential damage during the drying process. Hang the garments on a clothesline or drying rack, allowing adequate air circulation to facilitate efficient drying.
-
Ensuring Proper Ventilation: If utilizing a tumble dryer, ensure that the appliance is properly ventilated to allow the moisture to escape effectively. Clean the lint trap before each use to maintain optimal drying performance and reduce the risk of lint buildup within the dryer.
By meticulously following these steps when removing and preparing the laundry for drying, you can ensure that the freshly cleaned garments receive the care and attention they deserve, setting the stage for a seamless transition to the drying phase. This proactive approach ensures that the garments emerge from the wash cycle revitalized and ready for the subsequent stages of the laundry journey, maintaining their pristine condition and cleanliness.
Frequently Asked Questions about How To Use A GE Washing Machine
Was this page helpful?
At Storables.com, we guarantee accurate and reliable information. Our content, validated by Expert Board Contributors, is crafted following stringent Editorial Policies. We're committed to providing you with well-researched, expert-backed insights for all your informational needs.


0 thoughts on “How To Use A GE Washing Machine”