Home>Home Appliances>Laundry Appliances>How To Use A Maytag Washing Machine
Laundry Appliances
How To Use A Maytag Washing Machine
Modified: October 20, 2024
Learn how to use a Maytag washing machine for efficient laundry care. Discover tips and tricks for maximizing the performance of your laundry appliances.
(Many of the links in this article redirect to a specific reviewed product. Your purchase of these products through affiliate links helps to generate commission for Storables.com, at no extra cost. Learn more)
Introduction
Welcome to the world of Maytag washing machines! Whether you're a new owner or considering purchasing one, understanding how to use this essential appliance can make laundry day a breeze. Maytag washing machines are renowned for their durability, efficiency, and advanced features designed to simplify the laundry process. In this comprehensive guide, we'll walk you through the step-by-step process of using a Maytag washing machine, from setting it up to achieving spotless, fresh-smelling laundry.
Maytag washing machines are equipped with innovative technologies that cater to various laundry needs, from delicate fabrics to heavily soiled garments. With intuitive controls and a range of customizable settings, these machines offer a seamless laundry experience for users of all levels of expertise. Whether you're tackling a small load of delicates or a large load of heavily soiled items, your Maytag washing machine is up to the task.
By following the instructions in this guide, you'll gain a deeper understanding of how to maximize the performance of your Maytag washing machine, ensuring that your clothes come out clean and fresh every time. From selecting the appropriate cycle to adding the right amount of detergent, we'll cover all the essential steps to help you achieve outstanding laundry results with ease.
So, if you're ready to elevate your laundry game and make the most of your Maytag washing machine, let's dive into the details of setting up, operating, and optimizing this essential household appliance. Get ready to say goodbye to laundry-related stress and hello to a more efficient, enjoyable laundry routine with your Maytag washing machine!
Key Takeaways:
- Set up your Maytag washing machine by ensuring proper placement, leveling, and connections. Familiarize yourself with the manual for a seamless laundry experience and outstanding performance.
- When using your Maytag washing machine, sort laundry carefully, select the right cycle, and add detergent and fabric softener correctly. Start the machine and handle the freshly cleaned clothes with care for optimal results.
Read more: Maytag Commercial Washer How To Use
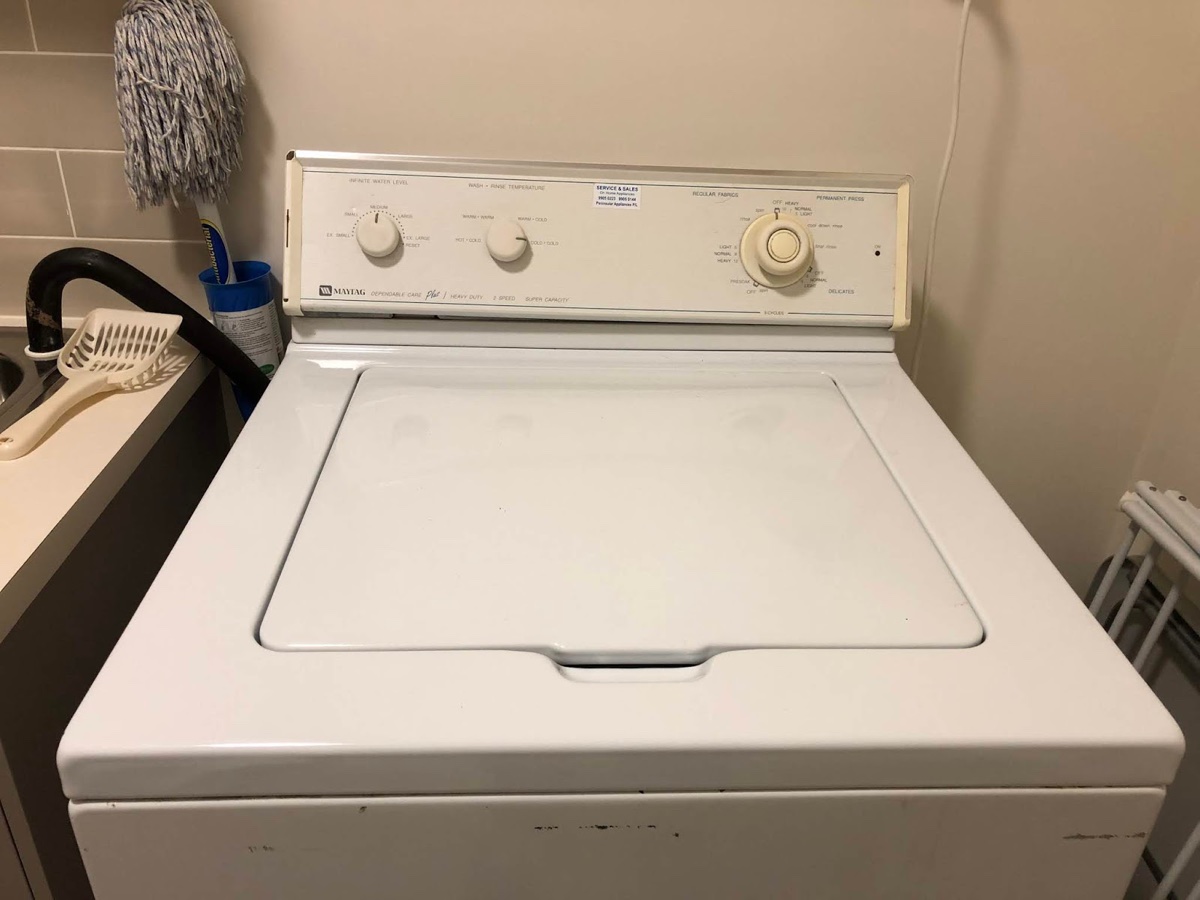
Setting Up the Washing Machine
Setting up your Maytag washing machine is the crucial first step toward achieving exceptional laundry results. Before you start using the machine, it's essential to ensure that it is properly installed and ready for operation. Here's a detailed guide to help you set up your Maytag washing machine with ease:
-
Placement: Select a sturdy and level surface for your washing machine. Ensure that the area is well-ventilated and has access to the necessary water supply and drainage. It's important to leave some space around the machine to allow for proper airflow and easy access for maintenance.
-
Leveling: Use a bubble level to check if the washing machine is level from side to side and front to back. Adjust the leveling legs as needed to ensure stability and minimize vibration during operation.
-
Water Connections: Connect the hot and cold water supply hoses to the corresponding water inlets on the back of the machine. Ensure that the connections are secure to prevent leaks.
-
Drain Hose: Properly position the drain hose to ensure that it reaches the drainage outlet without kinks or obstructions. Securing the hose in place will prevent it from moving during the wash cycle.
-
Electrical Connection: Plug the washing machine into a grounded electrical outlet that meets the specified voltage and amperage requirements. Avoid using extension cords and ensure that the power cord is not damaged.
-
Initial Inspection: Before using the washing machine, perform a quick visual inspection to ensure that all connections are secure, and there are no visible signs of damage or defects.
-
Read the Manual: Take the time to review the user manual provided by Maytag. Familiarize yourself with the control panel, settings, and any special features unique to your model.
By following these steps, you can set up your Maytag washing machine with confidence, knowing that it is properly installed and ready to deliver exceptional performance. Once the setup is complete, you can proceed to the next steps of loading the machine and selecting the appropriate wash cycle for your laundry needs. With your Maytag washing machine set up and ready to go, you're one step closer to enjoying the convenience and efficiency it brings to your laundry routine.
Loading the Washing Machine
Loading your Maytag washing machine with precision and care is essential to ensure optimal cleaning results and prevent potential issues during the wash cycle. Here's a detailed guide on how to load your washing machine effectively:
Sorting the Laundry
Before loading the washing machine, it's important to sort your laundry based on color, fabric type, and level of soiling. This step helps prevent color bleeding, protects delicate fabrics, and ensures that heavily soiled items receive the appropriate treatment.
Checking Pockets and Fastenings
Inspect each garment for items left in pockets, such as coins, keys, or tissues, as these can cause damage to both the clothes and the washing machine. Additionally, fasten zippers, buttons, and hooks to prevent them from snagging or causing damage during the wash cycle.
Read more: How To Drain A Maytag Washer
Distributing the Load
Evenly distribute the laundry around the agitator or within the drum, ensuring a balanced load. Overloading the washing machine can lead to inefficient cleaning and potential strain on the machine's components. Conversely, underloading the machine may result in imbalance during the spin cycle.
Loading Delicate Items
For delicate or small items, consider placing them in a mesh laundry bag to prevent tangling and potential damage. This extra precaution helps maintain the quality of delicate garments and ensures they receive gentle treatment during the wash cycle.
Adding Large Items
When loading large items such as bedding or towels, fold them loosely to allow for proper water circulation and effective cleaning. Avoid stuffing the machine with oversized items, as this can hinder the washing process and lead to unsatisfactory results.
Closing the Door or Lid
Once the laundry is loaded, securely close the washing machine's door or lid. Ensure that no items are caught in the seal, as this can lead to leaks or improper sealing during the wash cycle.
By following these steps, you can load your Maytag washing machine with precision and care, setting the stage for exceptional cleaning results and prolonging the lifespan of your garments and the washing machine itself. With the laundry loaded and ready for the next steps, you're well on your way to achieving outstanding results with your Maytag washing machine.
Read more: How To Start A Maytag Washer
Choosing the Right Cycle
Selecting the appropriate wash cycle on your Maytag washing machine is a pivotal step in ensuring that your laundry receives the optimal treatment for cleanliness and garment care. Maytag washing machines offer a range of cycles tailored to different fabric types, soil levels, and laundry needs. Understanding the available cycles and their specific functions empowers you to make informed choices that align with your laundry requirements. Here's a detailed overview of the key cycles commonly found on Maytag washing machines:
-
Normal Wash: This versatile cycle is suitable for a wide range of fabrics and soil levels. It provides thorough cleaning while being gentle on most garments, making it a go-to option for everyday laundry needs.
-
Heavy Duty: Designed to tackle heavily soiled items such as workwear, sports uniforms, and linens, the Heavy Duty cycle delivers robust cleaning power to remove tough stains and grime effectively.
-
Delicates: For delicate fabrics such as silk, lace, and lingerie, the Delicates cycle offers a gentle yet thorough cleaning process, minimizing the risk of damage while ensuring that delicate items emerge fresh and clean.
-
Quick Wash: When time is of the essence, the Quick Wash cycle provides a rapid yet efficient cleaning option for lightly soiled garments, allowing you to refresh your clothes in a fraction of the time.
-
Bedding: Specifically tailored for bedding items such as sheets, comforters, and duvet covers, the Bedding cycle optimizes water levels and agitation to ensure thorough cleaning without compromising the integrity of larger items.
-
Whites: This cycle is designed to brighten and refresh white garments, utilizing powerful cleaning agents and extended wash times to combat stains and discoloration, restoring the vibrancy of white fabrics.
-
Colors: To preserve the brilliance of colored garments while effectively removing stains, the Colors cycle employs gentle agitation and precise water temperatures to safeguard the integrity of vibrant fabrics.
-
Rinse and Spin: Ideal for items that require an additional rinse or for quickly refreshing lightly soiled garments, the Rinse and Spin cycle efficiently removes residual detergent and ensures thorough rinsing.
By familiarizing yourself with the available wash cycles and their specific functions, you can confidently select the most suitable cycle for each load, optimizing cleaning performance and garment care. Whether you're dealing with delicate fabrics, heavily soiled items, or a mix of laundry types, the diverse range of cycles on your Maytag washing machine empowers you to achieve exceptional cleaning results tailored to your unique laundry needs.
Adding Detergent and Fabric Softener
Properly adding detergent and fabric softener to your Maytag washing machine is a crucial step in achieving clean, fresh-smelling laundry. By following the recommended guidelines and using the right products, you can optimize the cleaning process and ensure that your garments emerge from the wash cycle in pristine condition.
Detergent Selection
Selecting the appropriate detergent for your laundry needs is essential to achieve effective cleaning results. For standard loads, a high-quality liquid or powder detergent designed for use in automatic washing machines is recommended. It's important to follow the manufacturer's instructions regarding the recommended amount of detergent based on the load size and soil level. Additionally, for heavily soiled items or larger loads, consider using a specially formulated detergent with enhanced stain-fighting properties to tackle tough stains and grime effectively.
Fabric Softener Usage
Fabric softener can be a valuable addition to your laundry routine, especially for items that benefit from a touch of softness and a pleasant fragrance. When using a liquid fabric softener, follow the guidelines provided by the manufacturer to determine the appropriate amount based on the load size. It's important to add fabric softener during the designated stage of the wash cycle to ensure that it is dispensed and distributed effectively, enhancing the softness and fragrance of your garments.
Read more: How To Open The Top Of A Maytag Washer
Dispensing Detergent and Fabric Softener
Most Maytag washing machines are equipped with dedicated compartments for adding detergent and fabric softener. These compartments are typically labeled to indicate where each product should be placed. When adding detergent, carefully measure the recommended amount and pour it into the appropriate detergent compartment. Similarly, when using fabric softener, pour the specified amount into the designated fabric softener compartment, ensuring that it is dispensed at the optimal time during the wash cycle.
Precautions and Considerations
To prevent potential issues such as detergent residue or fabric softener stains, it's important to avoid overfilling the detergent and fabric softener compartments. Using excessive amounts of detergent or fabric softener can lead to inefficient rinsing and may impact the overall cleanliness and feel of the laundry. Additionally, be mindful of any specific instructions provided by the detergent and fabric softener manufacturers, as certain products may require unique handling or application methods for optimal results.
By following these guidelines and best practices for adding detergent and fabric softener to your Maytag washing machine, you can ensure that your laundry receives the precise treatment it needs for exceptional cleaning and garment care. With the right products and proper dispensing techniques, you're well-equipped to elevate the quality of your laundry results and enjoy fresh, clean clothes with every wash.
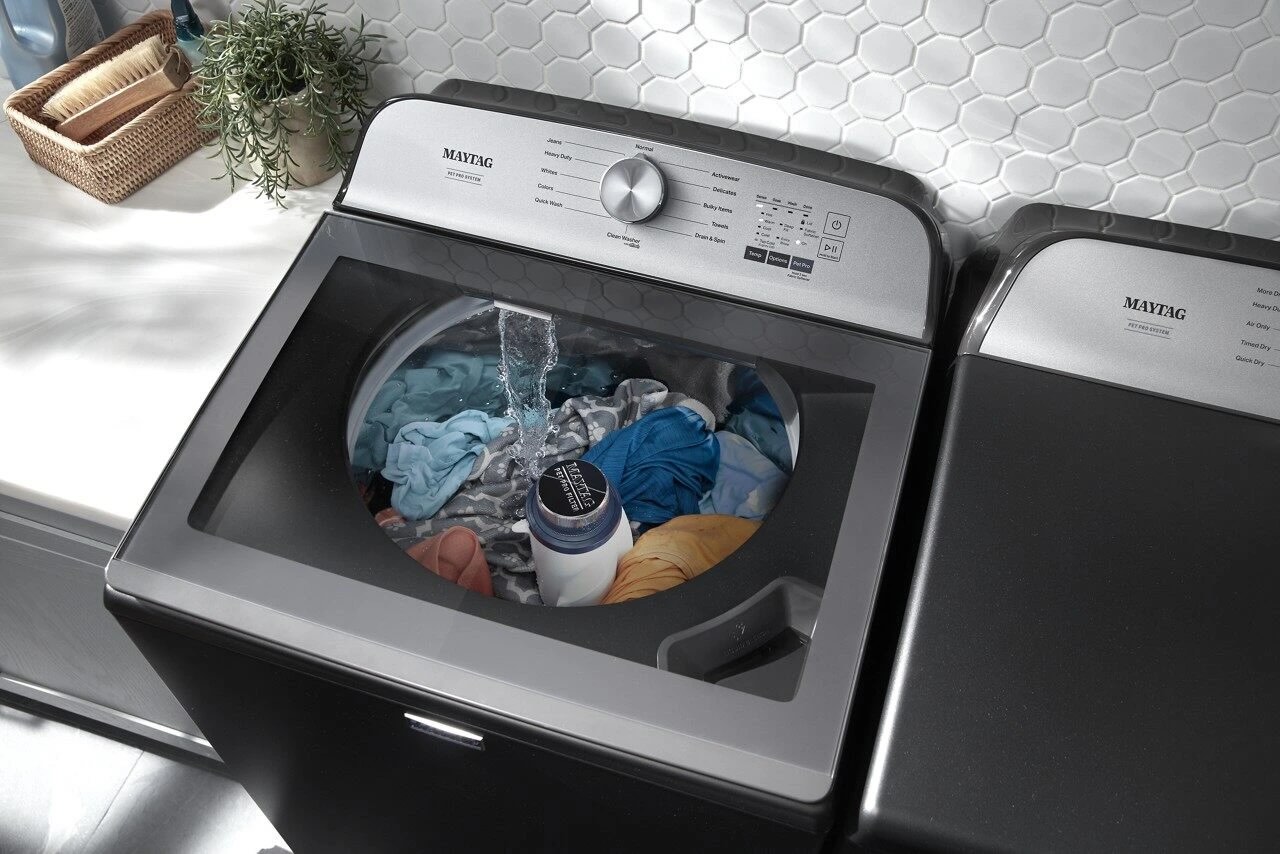
Starting the Washing Machine
Once you've set up your Maytag washing machine, loaded the laundry, selected the appropriate wash cycle, and added detergent and fabric softener, it's time to initiate the wash cycle and set the cleaning process in motion. Starting the washing machine is a straightforward yet pivotal step in the laundry routine, and understanding the proper procedure ensures that your garments receive the optimal treatment for cleanliness and care.
To start the washing machine, follow these simple steps:
-
Close the Door or Lid: Ensure that the washing machine's door or lid is securely closed. This step is essential to prevent water leakage and maintain the appropriate operating conditions throughout the wash cycle.
-
Select the Wash Cycle: Confirm that you have chosen the desired wash cycle that best suits the laundry load's fabric type, soil level, and specific cleaning requirements. Double-check the cycle selection to ensure that it aligns with your laundry needs.
-
Adjust Additional Settings (If Applicable): If your Maytag washing machine offers customizable options such as water temperature, spin speed, or additional rinse cycles, make any necessary adjustments based on the specific requirements of the load. These settings allow you to fine-tune the cleaning process to achieve optimal results.
-
Press the Start Button: Once you've confirmed the cycle selection and any additional settings, press the designated start button to initiate the wash cycle. Depending on the model of your Maytag washing machine, the start button may be labeled or indicated by a symbol representing the start function.
-
Monitor the Operation: As the washing machine begins the cycle, take a moment to ensure that it initiates the filling, agitation, and draining processes as expected. Pay attention to any unusual sounds or vibrations, which may indicate an imbalance or potential issues that require attention.
-
Wait for Completion: Allow the washing machine to complete the selected cycle, taking note of the estimated cycle duration provided by the machine's display or control panel. During this time, you can attend to other tasks or simply relax while the machine handles the cleaning process.
By following these steps, you can confidently start your Maytag washing machine and set the cleaning process in motion, knowing that your laundry is in good hands. With the cycle underway, you can look forward to exceptional cleaning results and the satisfaction of knowing that your garments are receiving the precise treatment they need to emerge fresh, clean, and ready for the next steps in the laundry routine.
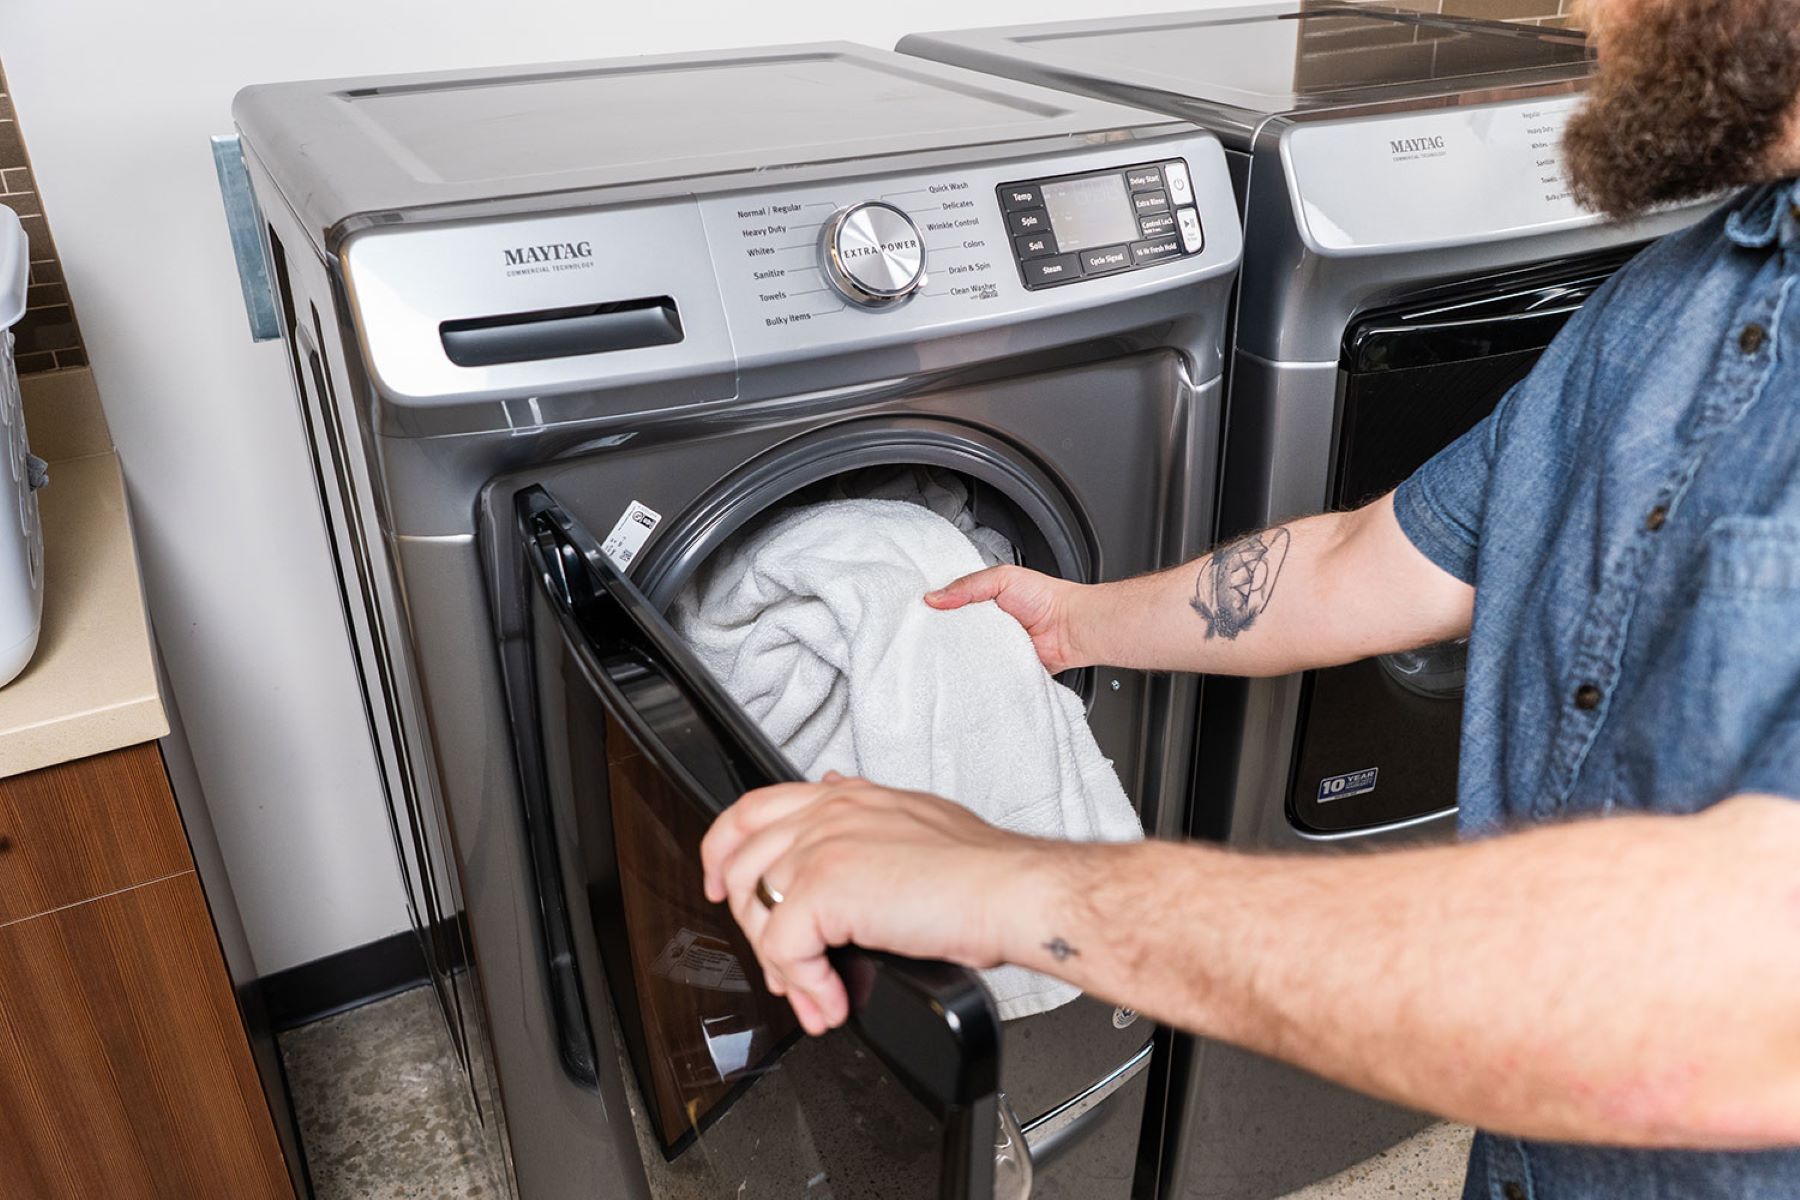
Removing and Drying the Clothes
Once the wash cycle is complete, the next crucial step in the laundry process is removing the freshly cleaned clothes from the Maytag washing machine and preparing them for drying. This phase requires attention to detail to ensure that the garments are handled properly and dried effectively, preserving their quality and cleanliness. Here's a comprehensive guide on how to remove and dry your clothes after they've been through the wash cycle:
Read more: Maytag Washer How To Remove Agitator
Unloading the Laundry
-
Prompt Removal: As soon as the wash cycle concludes, promptly remove the clothes from the washing machine to prevent wrinkles and musty odors from developing.
-
Check Pockets and Fastenings: Before unloading the laundry, carefully inspect each garment to ensure that no items are left in pockets, and fasten zippers, buttons, and hooks to prevent potential damage during the drying process.
-
Handle Delicate Items with Care: If the load includes delicate or lightweight items, gently remove them from the washing machine to prevent stretching or damage.
Preparing for Drying
-
Shake Out Garments: Lightly shake out each garment to minimize wrinkles and aid in the drying process. This step is particularly beneficial for items such as shirts, dresses, and pants.
-
Sort for Drying: Separate the laundry based on fabric type and drying requirements. Items that require low heat or delicate drying settings should be grouped together for optimal results.
-
Inspect for Stains: Before proceeding with drying, check for any lingering stains or spots that may require additional treatment before the garments are subjected to heat.
Choosing the Right Drying Method
-
Utilize the Correct Settings: If using a Maytag dryer, select the appropriate drying cycle based on the fabric type and desired level of dryness. Options such as low heat, medium heat, and air fluff provide flexibility to accommodate various garment types.
-
Consider Air Drying: For certain items, such as delicate lingerie or wool garments, air drying on a flat surface or using a drying rack may be the preferred method to maintain the integrity of the fabrics.
-
Avoid Overloading the Dryer: When using a dryer, ensure that the load is not overcrowded, as this can impede airflow and prolong the drying process.
Finalizing the Drying Process
-
Remove Items Promptly: Once the drying cycle is complete, promptly remove the garments from the dryer to prevent wrinkles and minimize the need for ironing.
-
Fold or Hang Immediately: Fold or hang the dried clothes promptly to maintain their freshness and prevent wrinkles from setting in.
-
Inspect for Dryness: Before storing or wearing the garments, ensure that they are thoroughly dry, especially for items with multiple layers or thick fabrics.
By following these detailed steps for removing and drying your clothes after the wash cycle, you can ensure that your garments emerge from the laundry process clean, fresh, and ready to be worn or stored. This meticulous approach to handling and drying clothes contributes to maintaining their quality and appearance, allowing you to enjoy the rewards of a well-executed laundry routine.
Frequently Asked Questions about How To Use A Maytag Washing Machine
Was this page helpful?
At Storables.com, we guarantee accurate and reliable information. Our content, validated by Expert Board Contributors, is crafted following stringent Editorial Policies. We're committed to providing you with well-researched, expert-backed insights for all your informational needs.


0 thoughts on “How To Use A Maytag Washing Machine”