Home>Home Appliances>Laundry Appliances>How To Fix A Ge Washing Machine
Laundry Appliances
How To Fix A Ge Washing Machine
Modified: August 27, 2024
Learn how to troubleshoot and repair your GE washing machine with our expert tips and advice. Keep your laundry appliances running smoothly with our comprehensive guide.
(Many of the links in this article redirect to a specific reviewed product. Your purchase of these products through affiliate links helps to generate commission for Storables.com, at no extra cost. Learn more)
Common Issues with GE Washing Machines
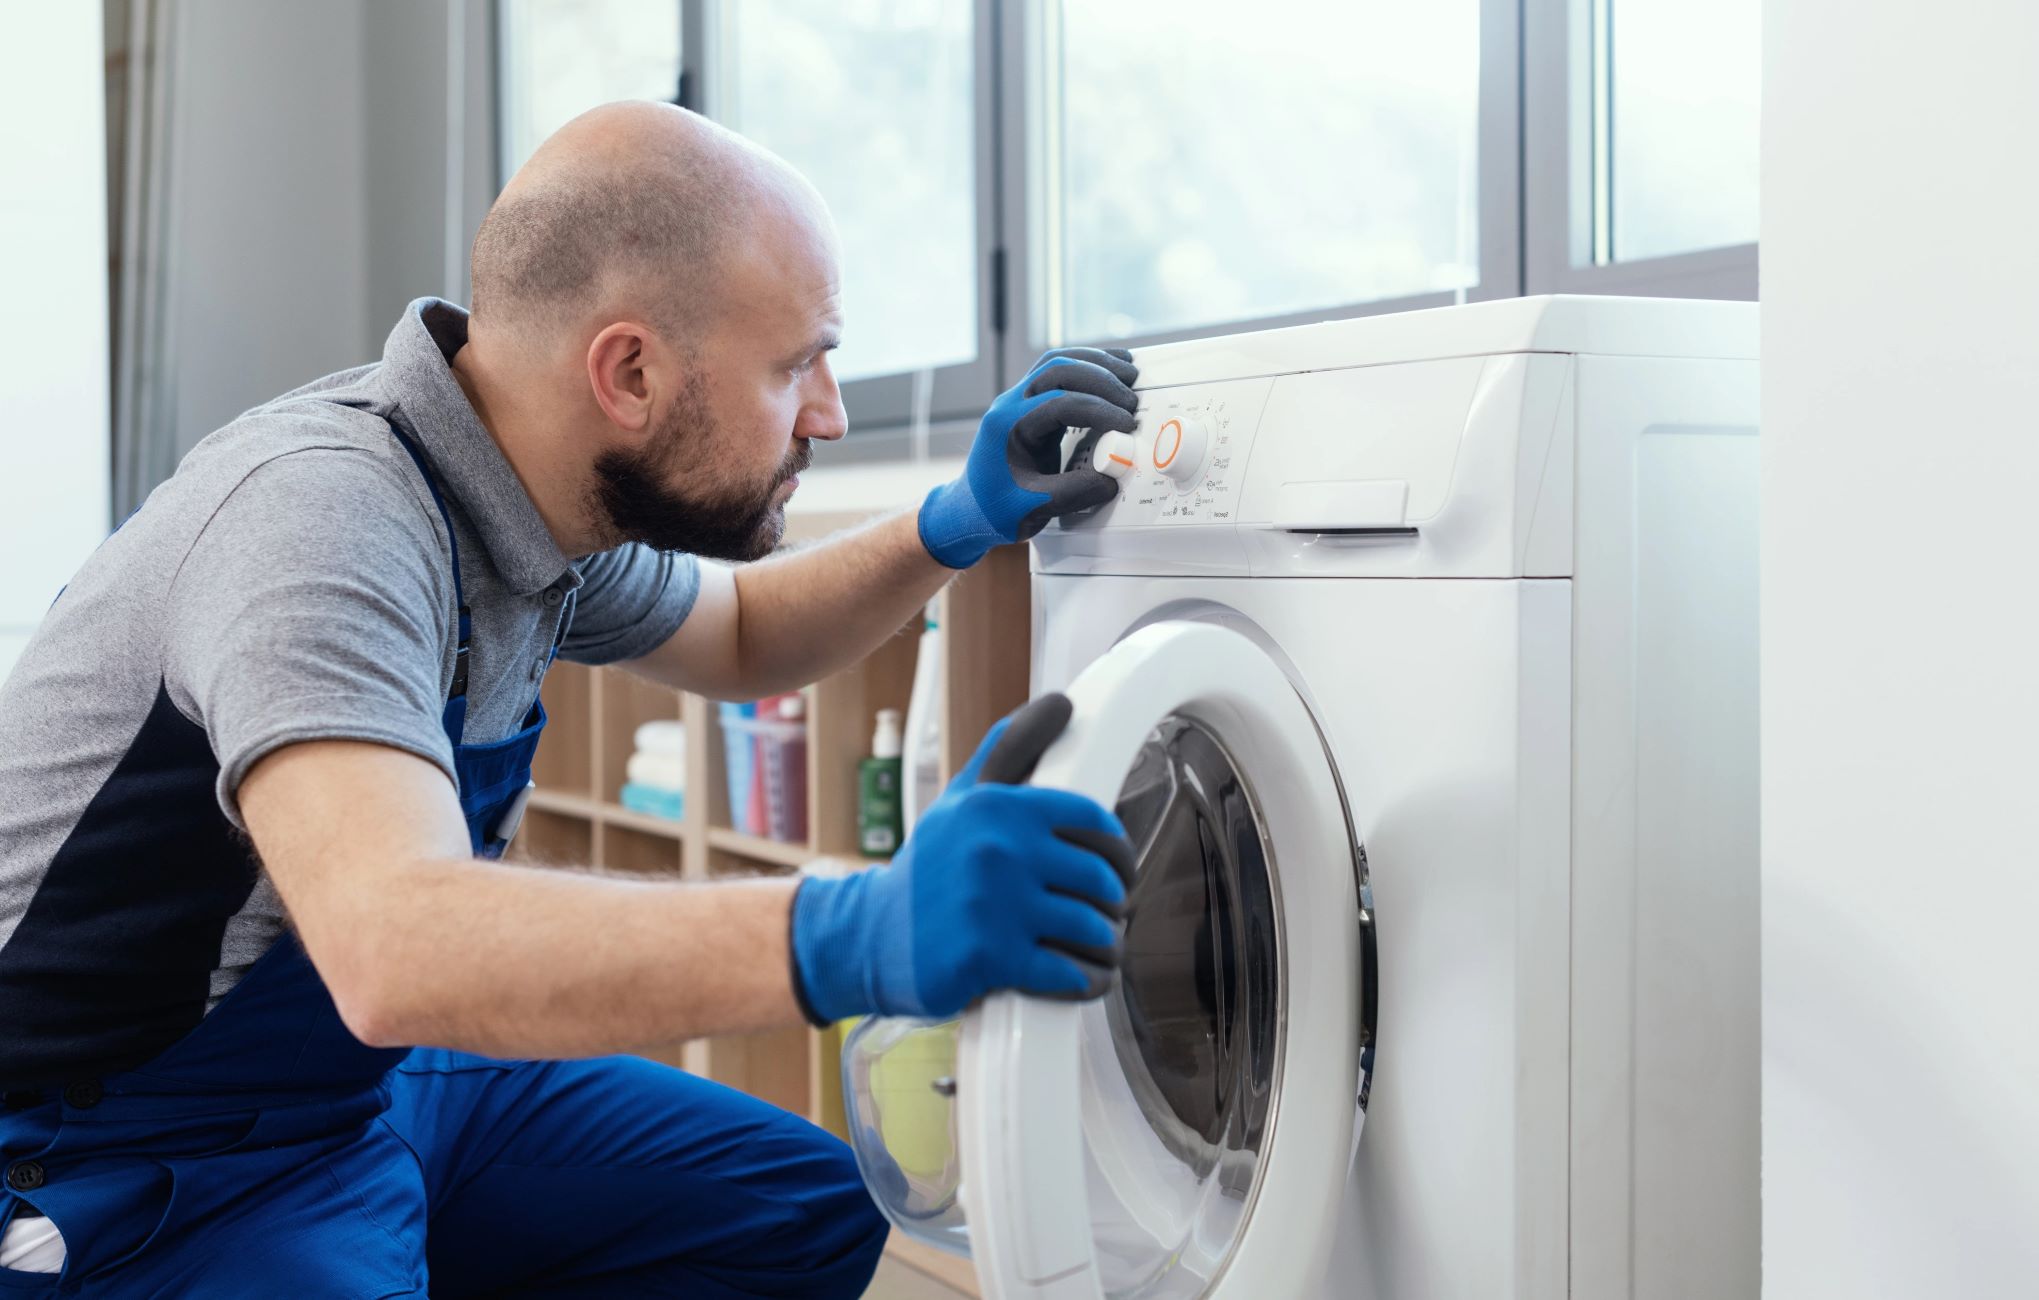
GE washing machines are known for their reliability and efficiency, but like any appliance, they can experience issues over time. Understanding the common problems that may arise with GE washing machines can help you troubleshoot and address them promptly. Here are some of the most prevalent issues you may encounter:
-
Leaking: One of the most common issues with GE washing machines is leaking. This can be caused by a variety of factors, such as a damaged door seal, a clogged drain pump, or a cracked hose. If you notice water pooling around your washing machine, it's essential to inspect the door seal and hoses for any signs of wear or damage.
-
Unusual Noise: If your GE washing machine is making unusual noises during the wash or spin cycle, it could indicate a problem with the motor, belt, or bearings. Squealing, grinding, or banging sounds may signal the need for a thorough inspection to identify and address the source of the noise.
-
Failure to Spin: A GE washing machine that fails to spin properly can leave clothes soaking wet at the end of the cycle. This issue may be attributed to a malfunctioning lid switch, a worn drive belt, or a faulty motor coupling. Troubleshooting the spin cycle can help pinpoint the underlying cause of the problem.
-
Drainage Problems: If your GE washing machine is not draining water effectively, it may be due to a clogged drain hose, a malfunctioning drain pump, or a blocked filter. Regularly cleaning the drain pump filter and ensuring that the drain hose is free from obstructions can help prevent drainage issues.
-
Overfilling or Underfilling: Inconsistent water levels during the wash cycle can be indicative of a faulty water inlet valve or a malfunctioning pressure switch. This can lead to inadequate cleaning or water overflow, impacting the washing machine's performance.
-
Electronic Control Board Malfunctions: Issues with the electronic control board can result in erratic behavior, such as the washing machine not starting, stopping mid-cycle, or displaying error codes. Troubleshooting the control board and ensuring proper electrical connections is crucial for resolving these issues.
By familiarizing yourself with these common issues, you can take proactive measures to maintain your GE washing machine's optimal performance. In the following sections, we will delve into the tools needed for repairing a GE washing machine and the steps to troubleshoot and address these prevalent issues effectively.
Key Takeaways:
- Keep an eye out for common issues like leaking, unusual noise, and drainage problems in your GE washing machine. Regular maintenance and troubleshooting can help maintain its performance and longevity.
- Having the right tools, such as screwdriver set, pliers, and multimeter, can make repairing your GE washing machine easier and more efficient. Troubleshooting steps like checking power supply and inspecting components can help identify and address issues effectively.
Read more: How To Fix A Leaking Washer
Tools Needed for Repairing a GE Washing Machine
When it comes to repairing a GE washing machine, having the right tools at your disposal is essential for efficiently diagnosing and addressing issues. Whether you're dealing with a leaking washer, a malfunctioning spin cycle, or electronic control board malfunctions, having the appropriate tools can streamline the repair process. Here's a comprehensive list of tools that can aid in repairing a GE washing machine:
-
Screwdriver Set: A versatile screwdriver set with both flathead and Phillips head screwdrivers is indispensable for accessing various components of the washing machine, such as the control panel, cabinet, and internal parts.
-
Adjustable Wrench: An adjustable wrench is crucial for loosening and tightening nuts, bolts, and hose fittings during repairs or maintenance tasks. It provides a secure grip and allows for precise adjustments, particularly when working with water supply connections and fasteners.
-
Pliers: Both needle-nose and channel-lock pliers are valuable for gripping, twisting, and maneuvering small components, hoses, and clamps within the washing machine. They are essential for tasks such as removing hose clamps, securing wires, and accessing hard-to-reach areas.
-
Socket and Ratchet Set: This set is indispensable for handling nuts, bolts, and fasteners of varying sizes within the washing machine. It provides a secure and efficient means of disassembling and reassembling components during repairs or part replacements.
-
Multimeter: A multimeter is a vital diagnostic tool for troubleshooting electrical components and circuits within the washing machine. It enables you to measure voltage, resistance, and continuity, aiding in the identification of electrical issues and faulty components.
-
Flashlight: A reliable flashlight is essential for illuminating the internal components and areas within the washing machine, especially when conducting inspections or repairs in low-light conditions. It facilitates clear visibility and precision during the repair process.
-
Bucket and Towel: Having a bucket and towel on hand is practical for containing water and minimizing potential messes when dealing with drainage issues, such as unclogging the drain pump or inspecting the drain hose.
-
Safety Gloves and Goggles: Prioritizing safety, wearing protective gloves and goggles is crucial when working on a washing machine. These items safeguard your hands and eyes from potential hazards, such as sharp edges, electrical components, and cleaning agents.
By ensuring that these essential tools are readily available, you can approach the repair and maintenance of your GE washing machine with confidence and efficiency. With the right tools at your disposal, you can effectively address a wide range of issues, restore functionality, and prolong the lifespan of your washing machine.
Steps to Troubleshoot a GE Washing Machine
Troubleshooting a GE washing machine is a systematic process that involves identifying and addressing potential issues affecting its performance. By following these steps, you can effectively diagnose problems and take appropriate measures to restore your washing machine's functionality.
-
Check Power Supply: Begin by ensuring that the washing machine is properly connected to a power source and that the power cord is not damaged. Verify that the circuit breaker or fuse governing the washing machine's electrical supply is intact. A faulty power connection can lead to operational issues, so confirming a stable power supply is crucial.
-
Inspect Water Supply: Verify that the water inlet hoses are securely connected to the water supply valves and that there are no kinks or obstructions. Turn on the water supply and check for adequate water flow into the washing machine. Insufficient water supply can impact the wash cycle and result in incomplete cleaning.
-
Examine Drainage System: Inspect the drain hose for any kinks, clogs, or damage that may impede proper drainage. Ensure that the drain hose is positioned correctly and that the drain pump is functioning effectively. Addressing drainage issues is essential for preventing water accumulation and potential leaks.
-
Evaluate Load Balance: Unevenly distributed laundry can cause the washing machine to vibrate excessively or produce loud noises during the spin cycle. Adjust the load to achieve a balanced distribution within the drum, minimizing strain on the appliance and promoting smooth operation.
-
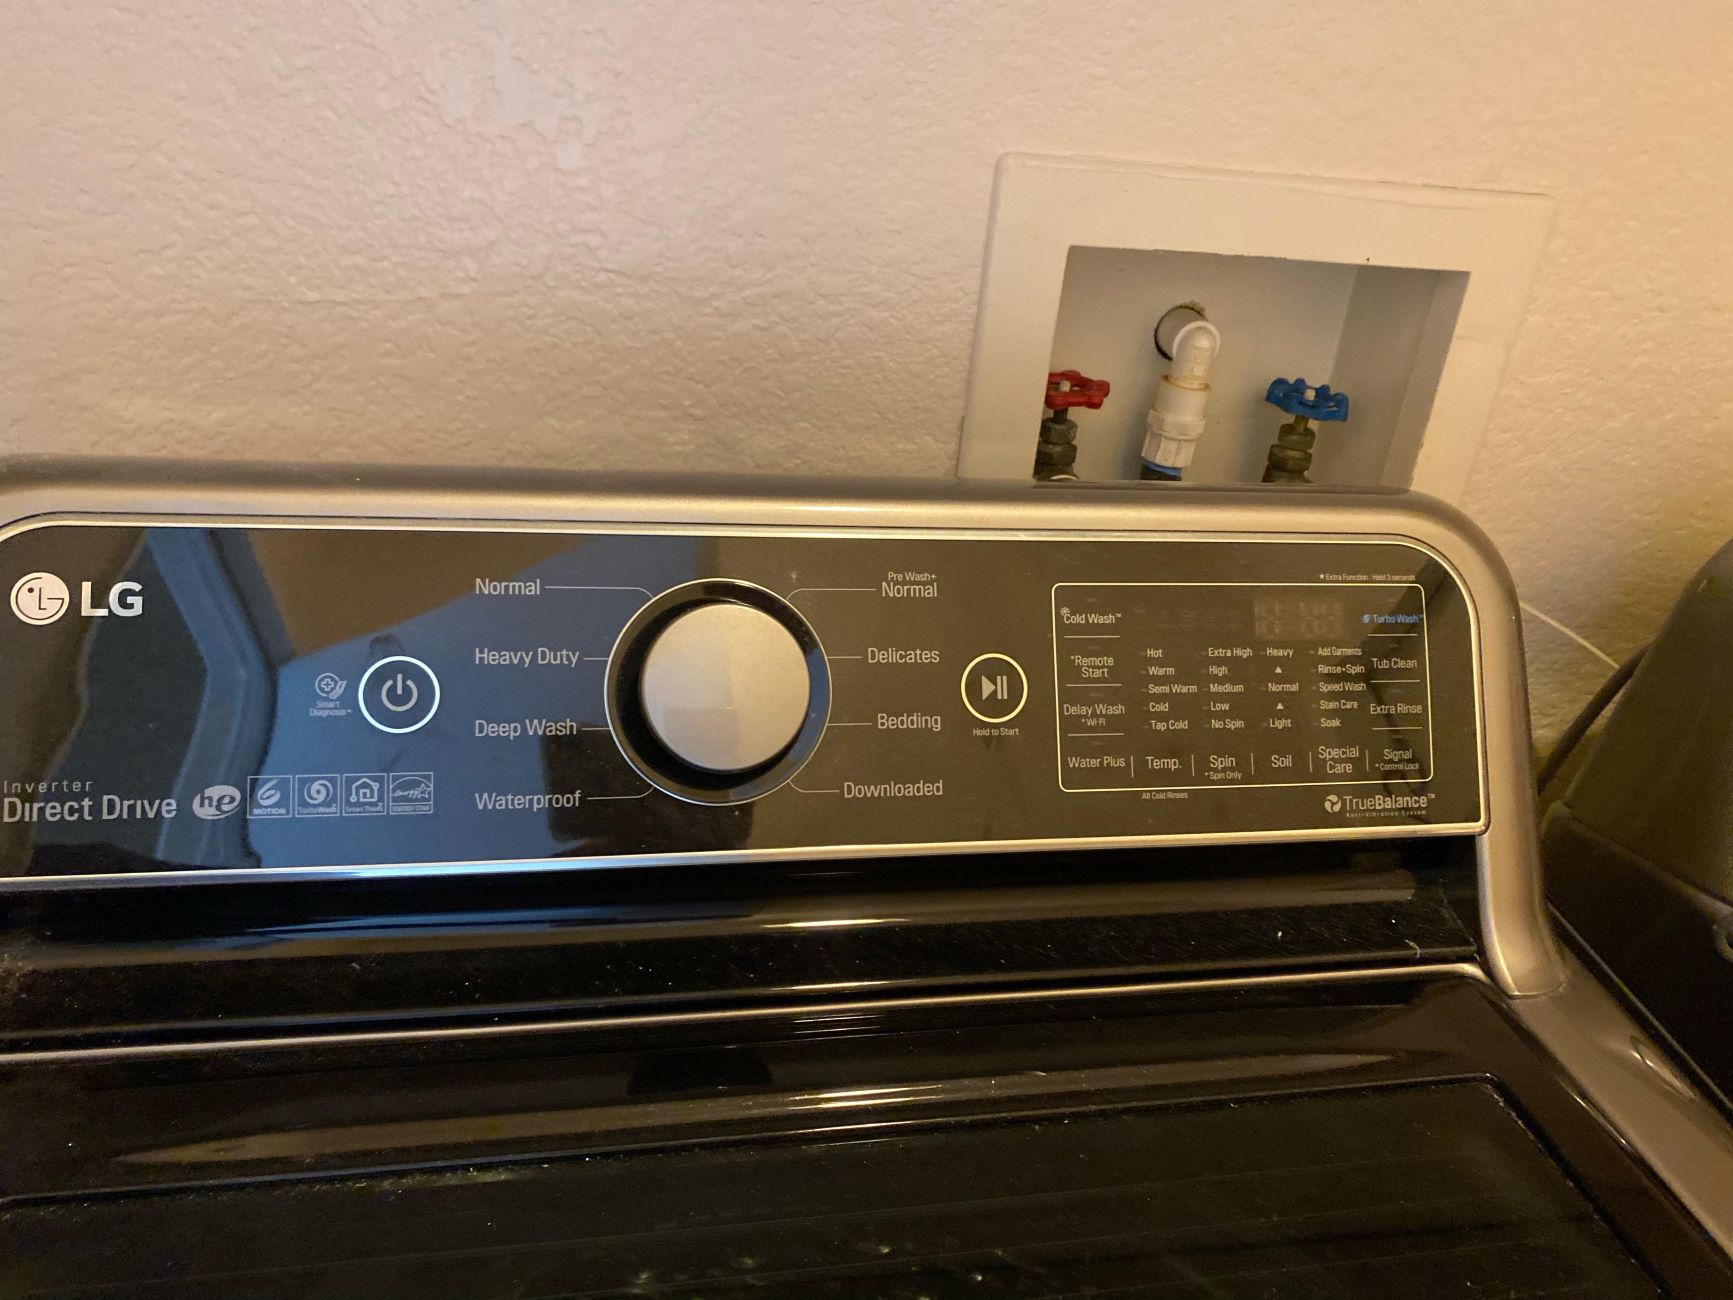
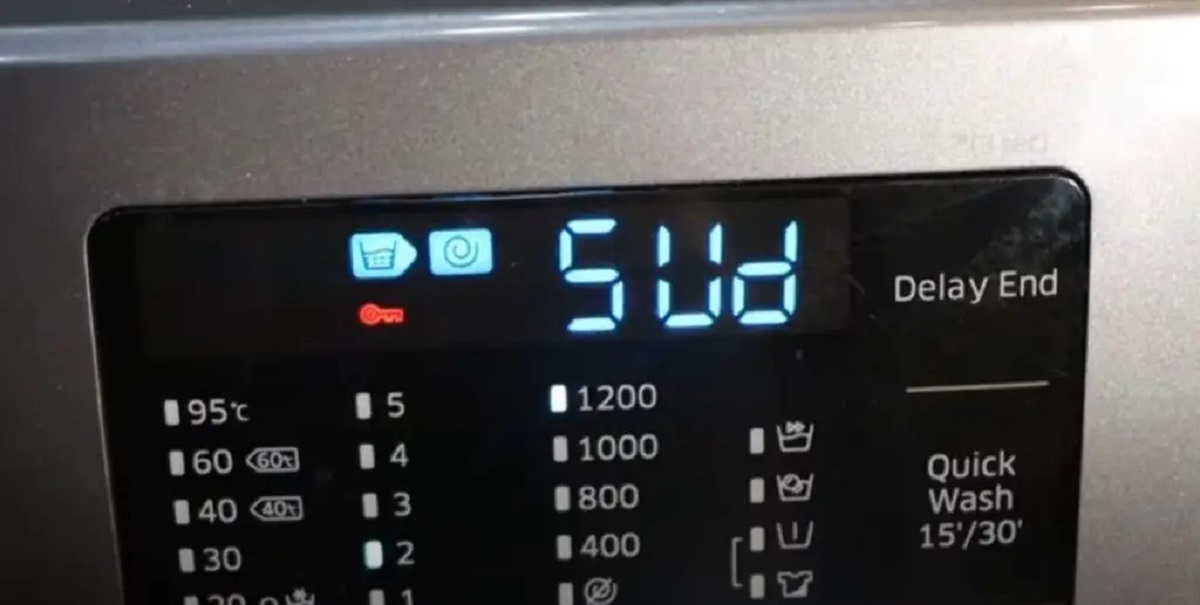
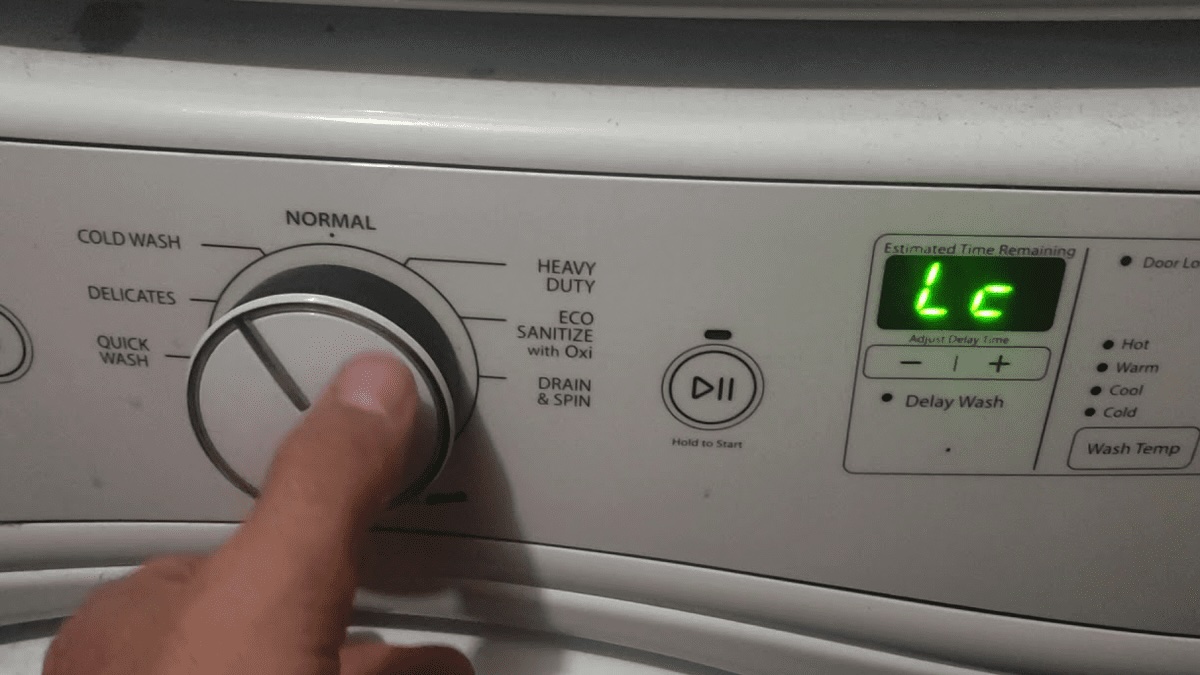
Check for Error Codes: If your GE washing machine displays error codes on the control panel, refer to the user manual to interpret the codes and identify the corresponding issues. Error codes provide valuable insights into specific malfunctions, guiding your troubleshooting efforts effectively.
-
Inspect Components for Wear: Thoroughly examine the door seal, agitator, drive belt, and motor for signs of wear, damage, or obstruction. Addressing worn or faulty components promptly can prevent further complications and ensure the washing machine's optimal performance.
-
Test the Lid Switch: The lid switch is a safety feature that prevents the washing machine from operating when the lid is open. Test the lid switch to verify that it engages properly when the lid is closed, allowing the washing machine to function as intended.
-
Run Diagnostic Tests: Many GE washing machines are equipped with diagnostic modes that can help identify specific issues. Refer to the user manual to initiate diagnostic tests and interpret the results to pinpoint underlying problems accurately.
By methodically following these troubleshooting steps, you can identify and address a wide range of issues that may affect your GE washing machine. Taking proactive measures to maintain and troubleshoot your washing machine can contribute to its longevity and sustained performance, ensuring that it continues to meet your laundry needs effectively.
How to Replace the Agitator in a GE Washing Machine
Replacing the agitator in a GE washing machine is a straightforward process that can significantly improve the appliance's washing performance. The agitator plays a crucial role in creating the necessary agitation to effectively clean laundry during the wash cycle. Over time, the agitator may wear out or develop issues, necessitating its replacement. Here's a detailed guide on how to replace the agitator in a GE washing machine:
Step 1: Preparation
Before beginning the replacement process, ensure that the washing machine is unplugged from the power source to prevent any electrical hazards. Clear the area around the washing machine to allow ample space for maneuvering during the replacement procedure.
Read more: How To Fix A Washer Machine
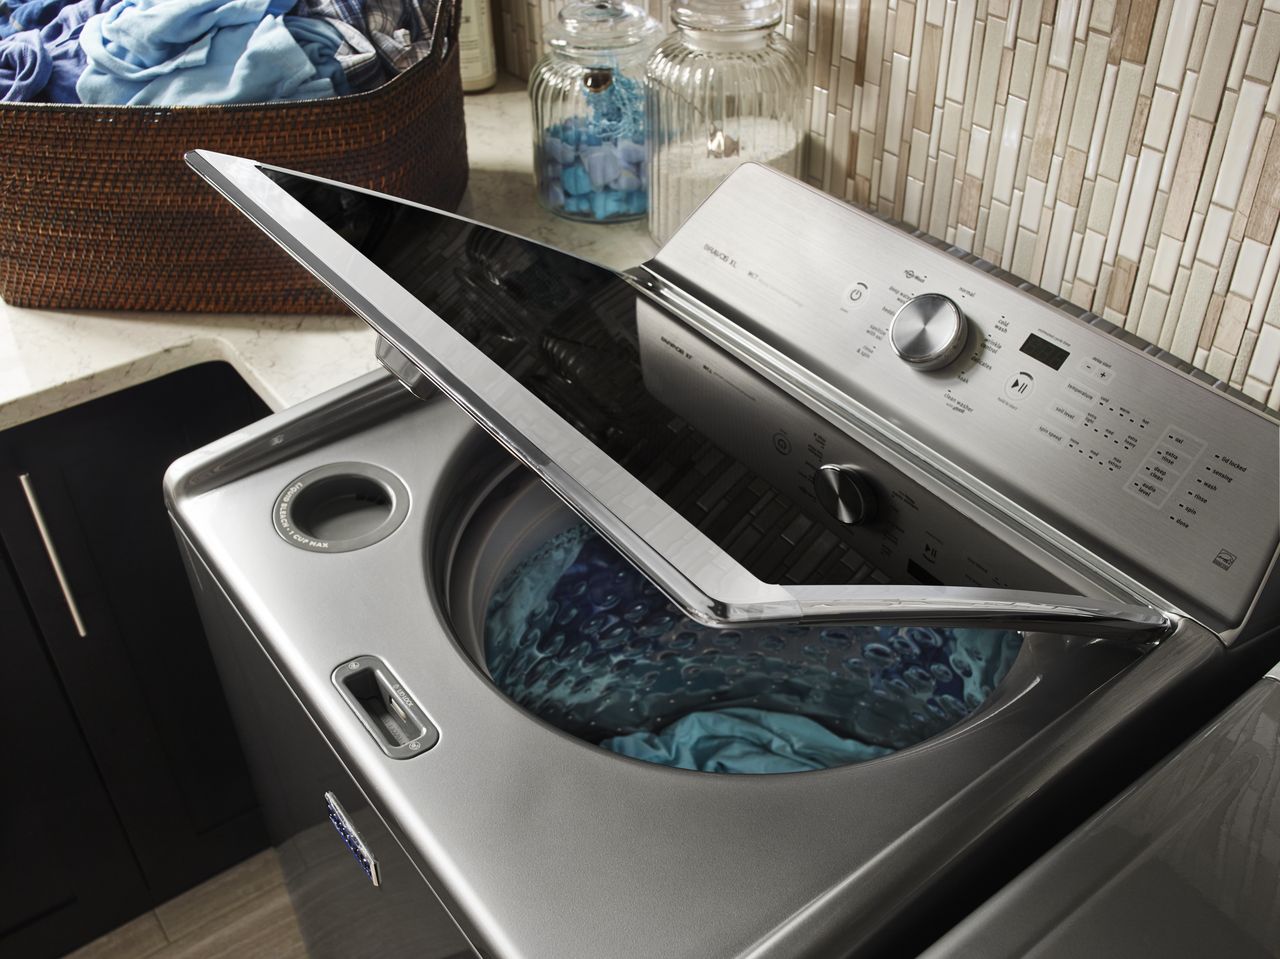
Step 2: Accessing the Agitator
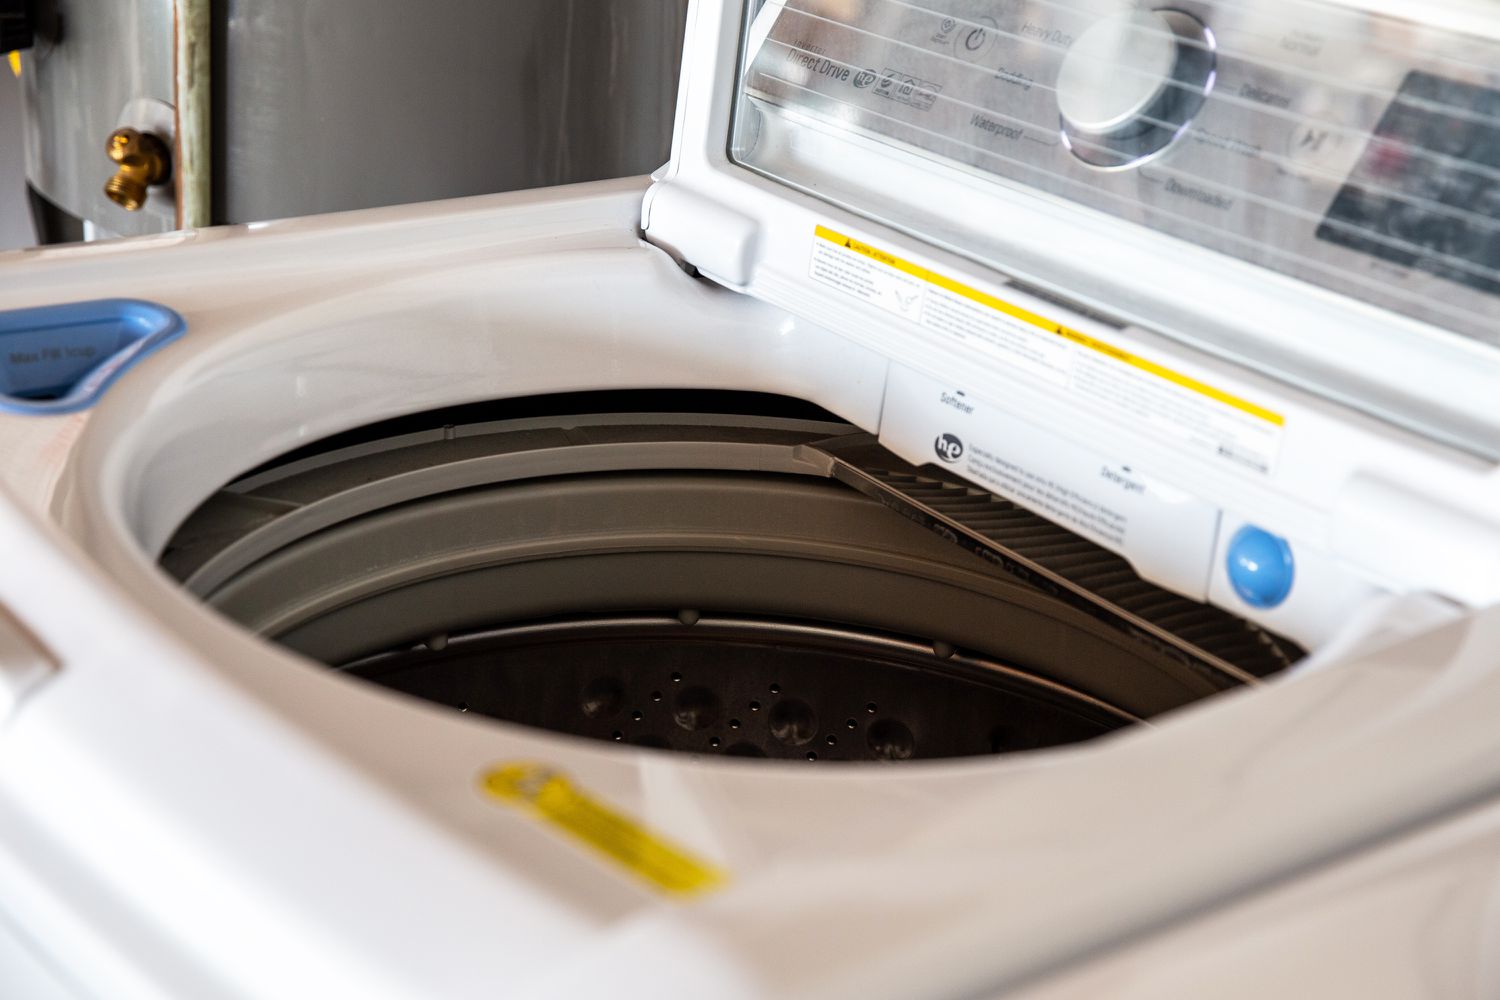
To access the agitator, start by opening the washing machine's lid or door, depending on the model. In some GE washing machines, the agitator is secured with a fabric softener dispenser or a cap that needs to be removed to reveal the agitator's retaining bolt.
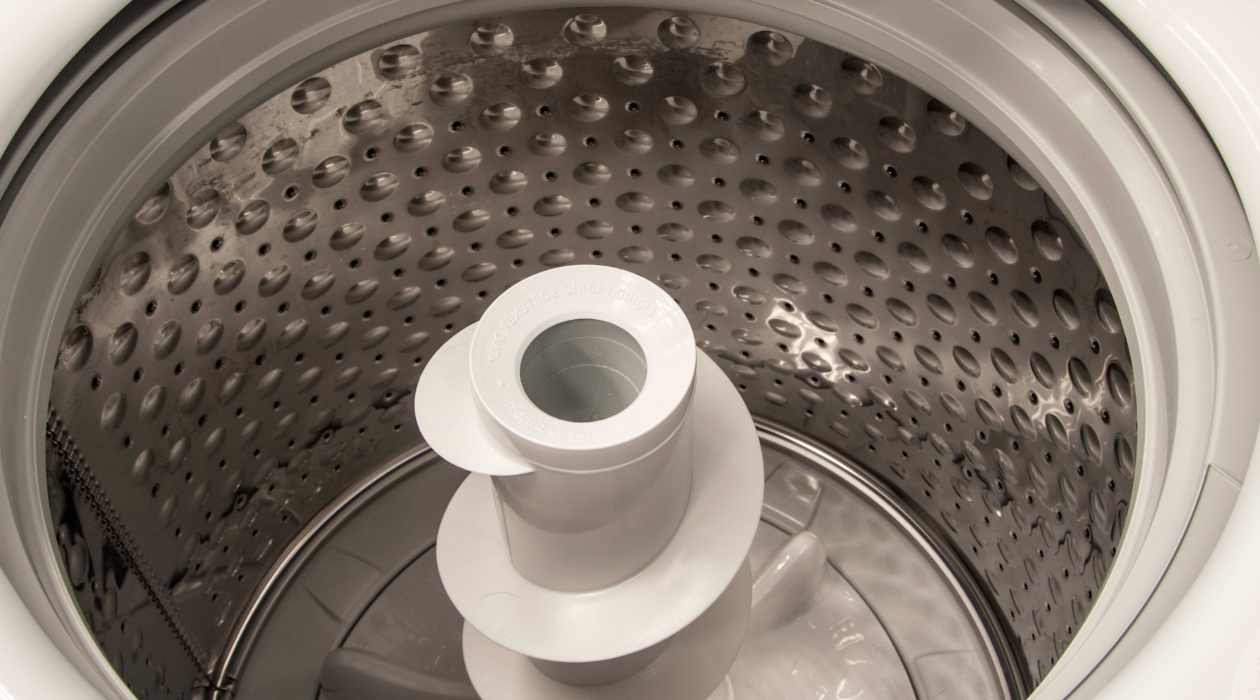
Step 3: Removing the Agitator
Once the agitator's retaining bolt or cap is exposed, use a socket wrench or an appropriate tool to loosen and remove the bolt. With the retaining bolt removed, lift the agitator out of the washing machine's tub. In some cases, the agitator may be tightly secured and require gentle rocking or back-and-forth motion to release it from the agitator coupler.
Step 4: Inspecting and Cleaning
Upon removing the agitator, inspect it for any signs of damage, wear, or accumulation of debris. Additionally, check the agitator coupler and the area surrounding it for any obstructions or residues that may impede the installation of the new agitator. Thoroughly clean the agitator cavity to ensure a smooth and secure fit for the replacement agitator.
Step 5: Installing the New Agitator
Carefully position the new agitator into the agitator coupler, ensuring that it aligns properly with the agitator shaft. Once in place, secure the agitator by reattaching the retaining bolt and tightening it securely. If the agitator is designed with a fabric softener dispenser or cap, reattach it to complete the installation.
Read more: How To Fix A Kenmore Washer
Step 6: Testing
After replacing the agitator, plug in the washing machine and run a test cycle to ensure that the new agitator functions smoothly and effectively agitates the laundry. Monitor the wash cycle to verify that the agitator operates without unusual noises or issues.
By following these steps, you can successfully replace the agitator in a GE washing machine, enhancing its washing performance and prolonging its usability. Regular maintenance and timely replacement of components such as the agitator contribute to the optimal functionality of the washing machine, ensuring efficient and thorough cleaning of your laundry.
Cleaning and Maintaining a GE Washing Machine
Proper cleaning and maintenance are essential for preserving the performance and longevity of a GE washing machine. By incorporating regular cleaning routines and preventive maintenance measures, you can ensure that your washing machine operates efficiently and delivers consistently clean laundry. Here's a comprehensive guide on cleaning and maintaining a GE washing machine:
Exterior Cleaning
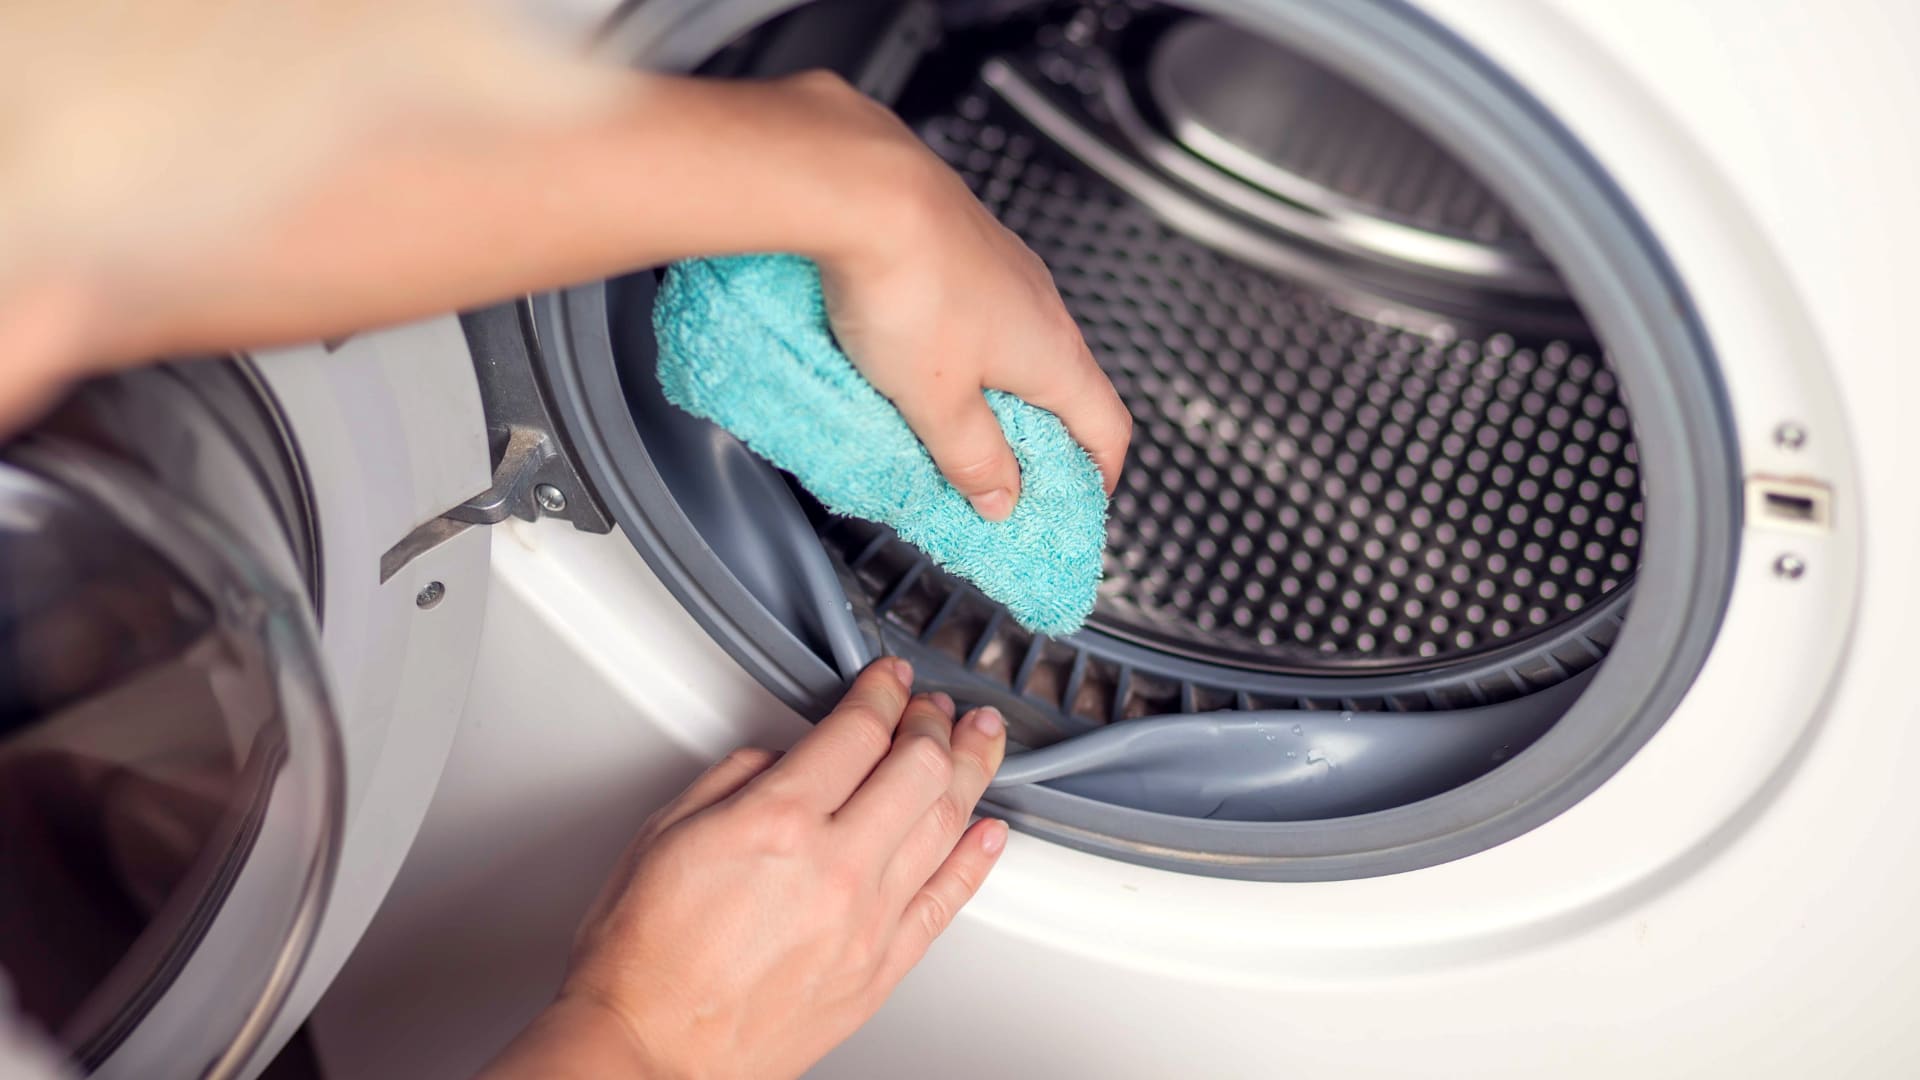
Start by wiping down the exterior of the washing machine with a damp cloth and a mild detergent to remove dust, stains, and spills. Pay attention to the control panel, knobs, and door seal, ensuring that they are thoroughly cleaned and dried to maintain a pristine appearance and prevent the accumulation of grime.
Drum and Gasket Maintenance
Regularly inspect the drum and gasket for any residues, lint, or foreign objects that may have accumulated during the wash cycles. Use a damp cloth or sponge to clean the interior of the drum, focusing on removing any detergent or fabric softener buildup. Additionally, wipe the rubber gasket around the door to prevent mold and mildew growth, ensuring a hygienic environment within the washing machine.
Read more: How To Fix The Washing Machine
Dispenser Drawer Care
Remove the detergent, bleach, and fabric softener dispenser drawer from the washing machine and clean it thoroughly with warm, soapy water. Pay attention to any clogs or residues that may hinder proper dispensing during the wash cycles. Once cleaned, ensure that the dispenser drawer is completely dry before reinserting it into the washing machine.
Filter and Drain Pump Inspection
Periodically inspect the filter and drain pump for debris, lint, or foreign objects that may impede drainage and affect the washing machine's performance. Remove any obstructions and clean the filter to maintain optimal water drainage during the wash and spin cycles. This preventive measure helps prevent potential drainage issues and ensures efficient water removal from the drum.
Maintenance of Water Inlet Hoses
Inspect the water inlet hoses for signs of wear, cracks, or leaks, and replace them if necessary to prevent water damage and leaks. Additionally, consider replacing the hoses every few years to maintain the integrity of the water supply connections and minimize the risk of water-related issues.
Odor Prevention
To prevent unpleasant odors from developing within the washing machine, run a cleaning cycle with a washing machine cleaner or a mixture of vinegar and baking soda. This helps eliminate mold, mildew, and detergent residues, keeping the interior of the washing machine fresh and odor-free.
Read more: How To Fix A Washing Machine Timer
Regular Calibration and Leveling
Periodically check the washing machine's leveling and calibration to ensure that it remains stable and balanced during operation. Adjust the leveling feet as needed to minimize vibrations and noise, promoting smooth and efficient performance during the wash and spin cycles.
By incorporating these cleaning and maintenance practices into your routine, you can uphold the optimal functionality and cleanliness of your GE washing machine. Regular attention to these areas not only enhances the appliance's performance but also contributes to a more hygienic and efficient laundry experience.
Frequently Asked Questions about How To Fix A Ge Washing Machine
Was this page helpful?
At Storables.com, we guarantee accurate and reliable information. Our content, validated by Expert Board Contributors, is crafted following stringent Editorial Policies. We're committed to providing you with well-researched, expert-backed insights for all your informational needs.


0 thoughts on “How To Fix A Ge Washing Machine”