Articles
Maytag Commercial Washer How To Use
Modified: August 24, 2024
Learn how to use a Maytag commercial washer with these informative articles, covering everything from setup to troubleshooting.
(Many of the links in this article redirect to a specific reviewed product. Your purchase of these products through affiliate links helps to generate commission for Storables.com, at no extra cost. Learn more)
Introduction
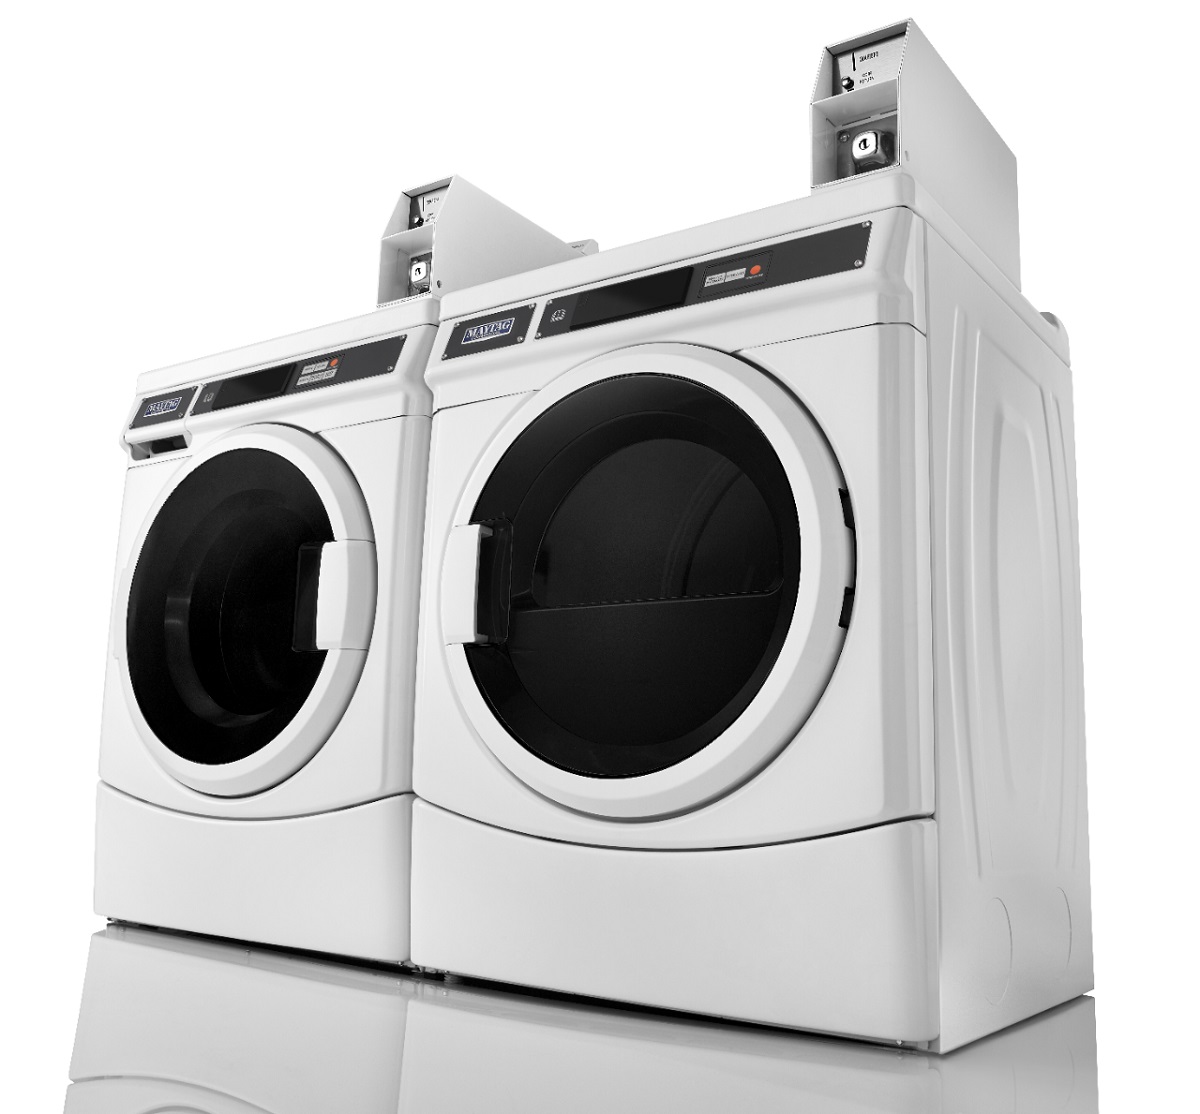
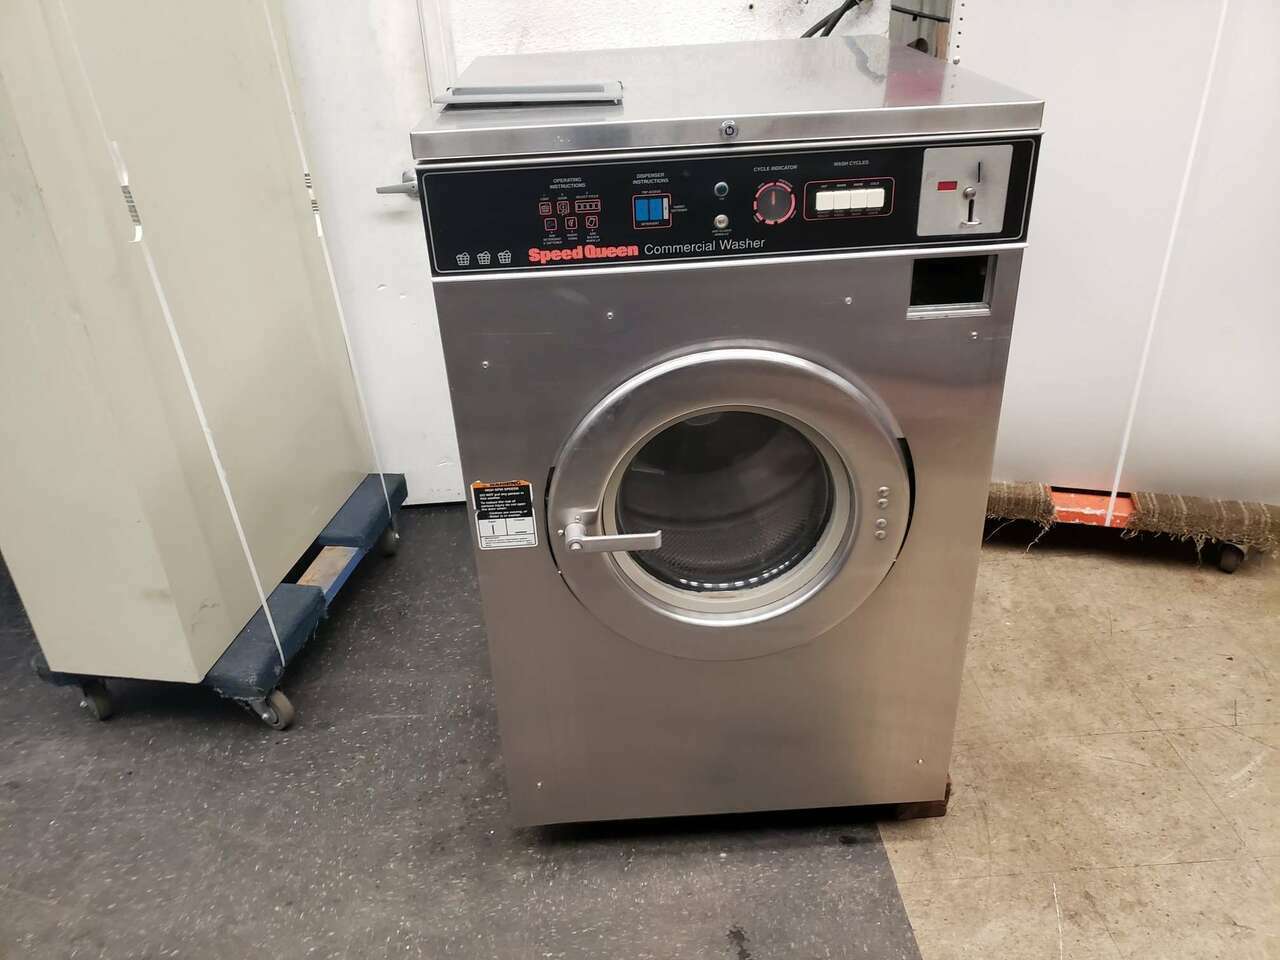
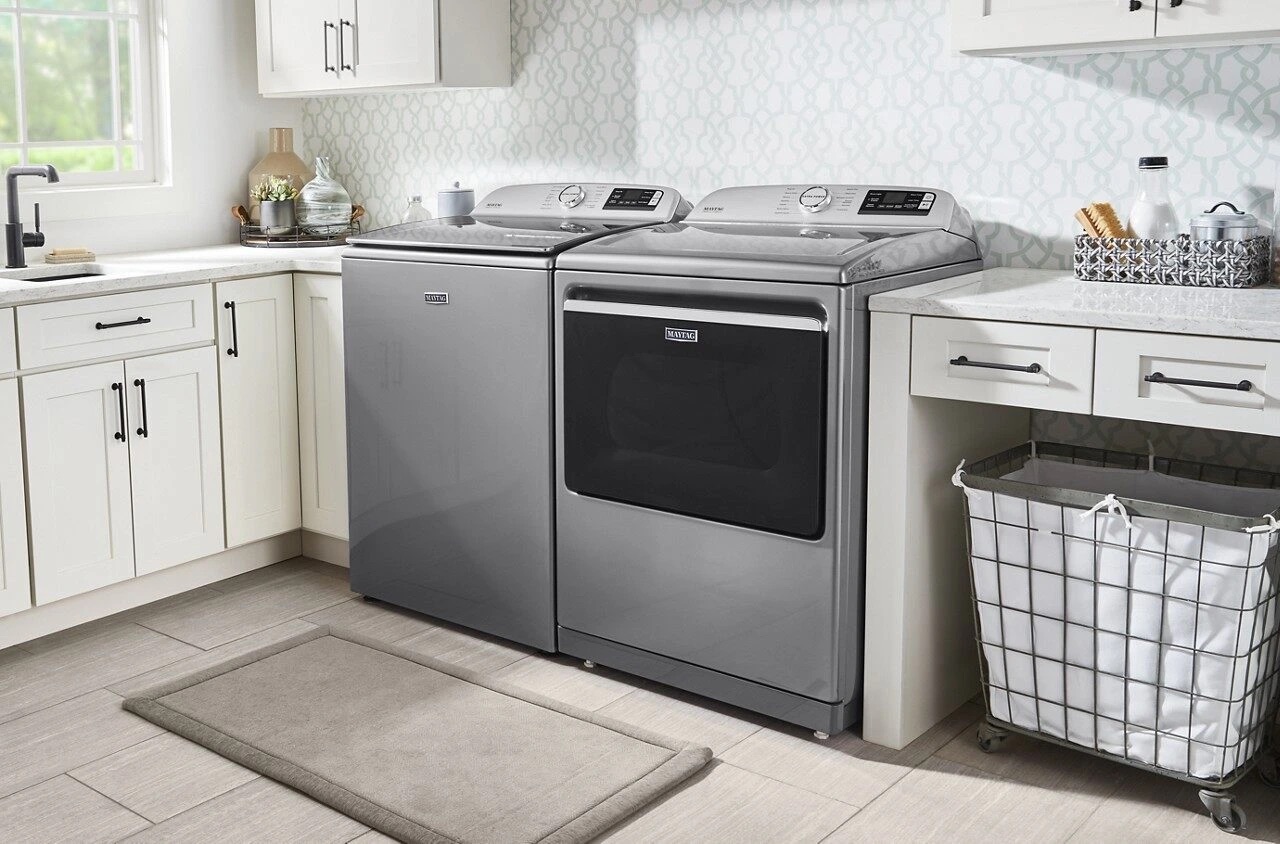
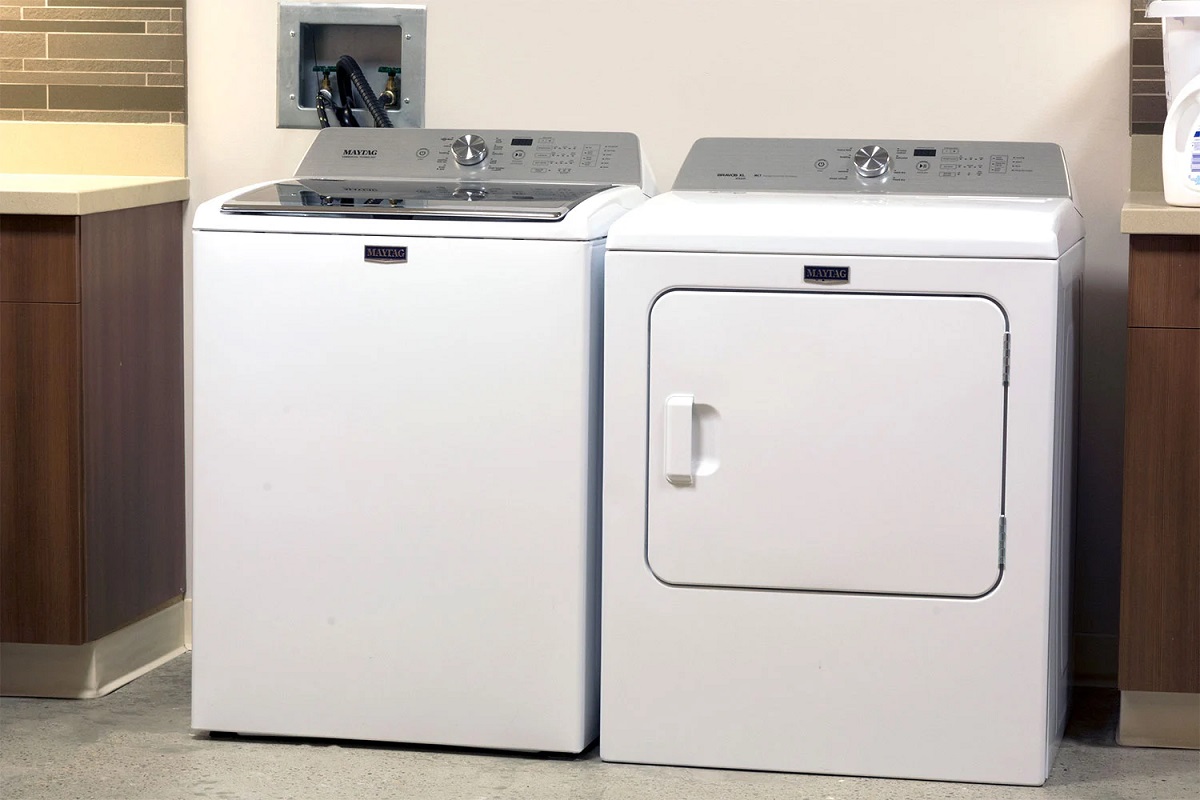
Welcome to the world of Maytag Commercial Washers! If you’ve recently acquired a Maytag Commercial Washer or are considering purchasing one, you’re in for a treat. These washers are known for their durability, reliability, and efficient performance. Whether you own a laundromat, run a hotel, or simply want a high-quality washer for your business or home, knowing how to use your Maytag Commercial Washer properly is essential to get the best results.
In this article, we will provide you with a comprehensive guide on how to use your Maytag Commercial Washer effectively. From loading and preparing the washer to adjusting temperature and spin speed, adding detergent and fabric softener, starting and monitoring the wash cycle, troubleshooting common issues, and maintaining your washer, we’ll cover it all. By the end of this guide, you’ll have a solid understanding of how to make the most out of your Maytag Commercial Washer.
Before we dive into the specifics, it’s worth mentioning that Maytag Commercial Washers come in various models and sizes, each with its unique features and controls. While the basic principles of using these washers remain the same, we recommend referring to your specific model’s user manual for any model-specific instructions or settings.
Now, let’s get started and explore the ins and outs of using your Maytag Commercial Washer!
Key Takeaways:
- Properly loading and preparing your Maytag Commercial Washer, selecting the right wash cycle, and adjusting temperature and spin speed are crucial steps to ensure optimal cleaning results and efficient performance.
- Regular maintenance, careful monitoring, and timely troubleshooting of your Maytag Commercial Washer can help extend its lifespan and ensure reliable, high-quality laundry care for years to come.
Read more: How To Drain A Maytag Washer
General Overview
Before we delve into the details of using your Maytag Commercial Washer, let’s take a moment to understand its key features and functions. Maytag Commercial Washers are designed to handle heavy-duty laundry loads, making them ideal for commercial use or households with large amounts of laundry. These washers are built to withstand constant use and provide reliable washing performance.
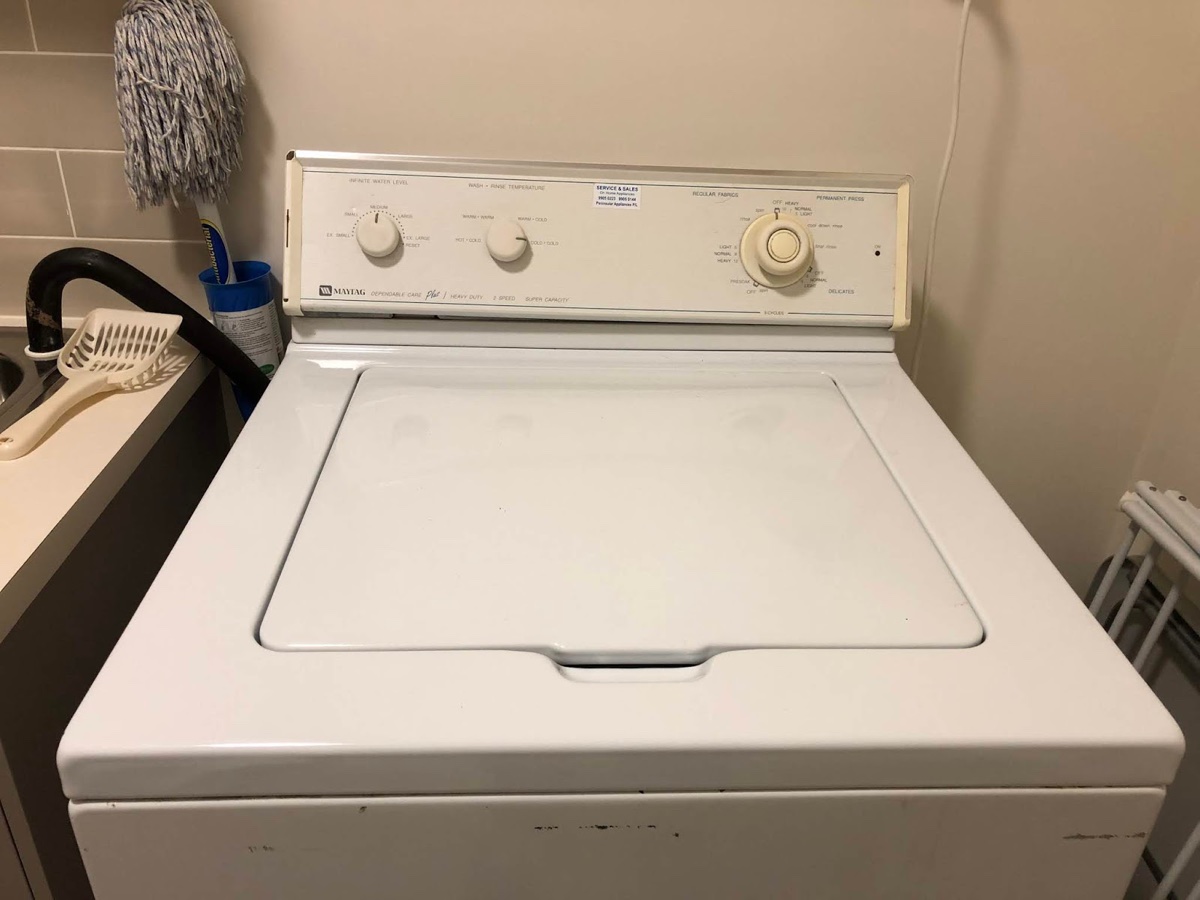
The control panel of the Maytag Commercial Washer is user-friendly and intuitive. It typically features a digital display that allows you to select various wash cycles, adjust settings such as temperature and spin speed, and monitor the progress of the wash cycle.
The washer drum is spacious, allowing you to accommodate bulky items and large laundry loads easily. It incorporates advanced technologies to ensure thorough and efficient washing. The drum agitates the clothes or spins them in a gentle motion, depending on the selected wash cycle, to remove dirt and stains effectively.
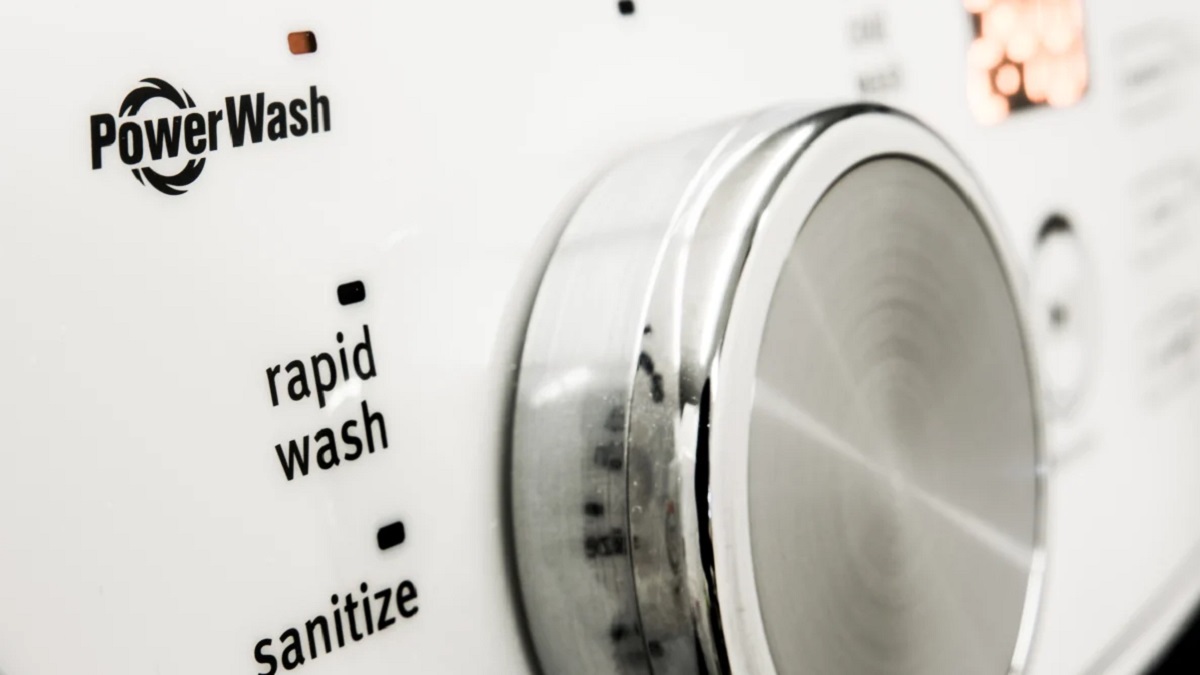
Maytag Commercial Washers offer a range of wash cycles to suit different fabric types and cleaning needs. These cycles may include options for delicate fabrics, heavy-duty cleaning, and energy-saving modes. The washer also provides options to adjust the water temperature and spin speed, allowing you to customize the washing process according to your preferences.
Additionally, Maytag Commercial Washers are designed to conserve water and energy, making them environmentally-friendly choices. With their high-efficiency operation, these washers can effectively clean your laundry while minimizing water and energy consumption.
Overall, Maytag Commercial Washers are reliable, efficient, and user-friendly appliances that deliver outstanding washing performance. Now that we have a general understanding of these washers, let’s move on to the step-by-step guide on how to use your Maytag Commercial Washer.
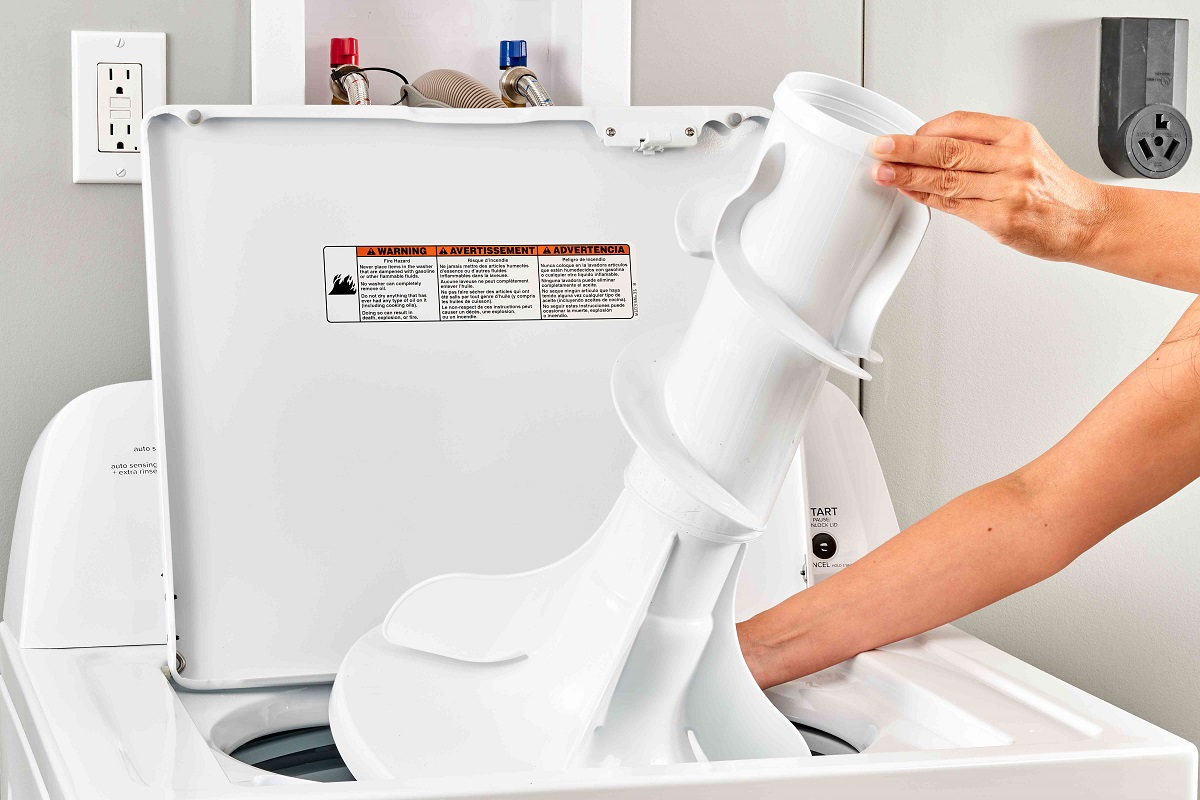
Loading and Preparing the Washer
Properly loading and preparing your Maytag Commercial Washer is the first step to ensure optimal washing results. Follow these steps to get started:
- Sort your laundry: Before loading the washer, sort your laundry by color, fabric type, and level of dirtiness. This step will help prevent color bleeding and ensure that each fabric receives the appropriate wash cycle.
- Check pockets: Before adding clothes to the washer, check all pockets for any items like coins, keys, or tissues. Removing these items will prevent damage to the washer or your clothes.
- Open the washer lid or door: Depending on the model, lift the lid or open the door of the washing machine. Make sure it remains open while loading the laundry.
- Add the laundry: Place the sorted laundry items into the washer drum, being mindful not to overload it. Overloading can affect wash results and put strain on the washer. Leave enough space for the clothes to move freely during the wash cycle.
- Close the lid or door: Once all the laundry is loaded, securely close the lid or door of the washer. Ensure that it is properly locked or latched.
By following these steps, you’ve successfully loaded and prepared your Maytag Commercial Washer for the next phase of the washing process. Now, let’s move on to selecting the appropriate wash cycle.
Selecting the Wash Cycle
Maytag Commercial Washers offer a variety of wash cycles to accommodate different fabric types and cleaning needs. Selecting the appropriate wash cycle ensures that your laundry is treated gently and effectively. Here’s how to choose the right wash cycle:
- Refer to the control panel: Look at the control panel of your Maytag Commercial Washer for the available wash cycle options. The panel will typically display icons or labels representing different cycles.
- Read the user manual: If you’re unsure about the specific settings and options for each wash cycle, consult the user manual that came with your Maytag Commercial Washer. It provides detailed instructions and information on which cycle is best suited for different types of laundry.
- Select the desired cycle: Once you have an understanding of the available wash cycles, choose the one that matches your laundry requirements. For example, you might select a gentle cycle for delicate fabrics or a heavy-duty cycle for heavily soiled items.
- Customize settings (optional): Depending on your preferences, you may have the option to customize certain settings within the chosen wash cycle. For instance, you can adjust the water temperature, soil level, or cycle time.
- Confirm selection: After selecting the desired wash cycle and customizing the settings, press the appropriate button on the control panel to confirm your selection. The display may show a confirmation message or display the remaining time for the chosen cycle.
It’s important to note that the wash cycle options and available settings may vary depending on your specific Maytag Commercial Washer model. Always refer to the user manual for accurate and detailed instructions for your washer.
Now that you’ve chosen the wash cycle, let’s move on to adjusting the temperature and spin speed.
Adjusting Temperature and Spin Speed
When using your Maytag Commercial Washer, you have the flexibility to adjust the temperature and spin speed settings to best suit your laundry needs. Here’s how to make these adjustments:
- Temperature settings: Depending on the model, your Maytag Commercial Washer may offer different temperature options, such as hot, warm, cold, or a combination of these. Consider the fabric care label on your clothing to determine the appropriate temperature. For example, delicate fabrics may require a cooler temperature, while heavily soiled items may benefit from a warmer wash.
- Spin speed settings: The spin speed determines how fast the washer drum rotates during the wash and spin cycles. Higher spin speeds remove more water from the laundry, resulting in shorter drying times. You may have the option to select various spin speeds, such as low, medium, or high. Delicate fabrics generally require a lower spin speed, while sturdier items can withstand a higher spin speed.
- Adjust the settings: Locate the temperature and spin speed buttons on the control panel. Press the appropriate buttons to adjust the settings based on your laundry requirements. The display will show your selections.
- Confirm the changes: Once you have adjusted the temperature and spin speed settings to your desired values, press the confirmation button on the control panel. The washer is now programmed to wash with the selected settings.
Remember to refer to the user manual for your specific Maytag Commercial Washer model, as the available temperature and spin speed settings may vary. It’s important to select the settings that are suitable for your fabrics to ensure optimal cleaning and care.
With the temperature and spin speed adjusted, it’s time to move on to adding detergent and fabric softener.
Read more: How To Start A Maytag Washer
Adding Detergent and Fabric Softener
To achieve clean and fresh-smelling laundry, it’s important to use the right amount of detergent and fabric softener. Here’s how to properly add them to your Maytag Commercial Washer:
- Detergent selection: Choose a detergent that is suitable for your laundry needs. Consider factors such as fabric type, soil level, and personal preferences. Follow the manufacturer’s instructions on the detergent packaging for the recommended amount to use.
- Detergent dispenser: Maytag Commercial Washers typically feature a detergent dispenser located near the top of the washer. This dispenser is designed to hold both liquid and powdered detergents.
- Measuring the detergent: Use a measuring cup or follow the dosage recommendations on the detergent package to measure the appropriate amount of detergent. Avoid overloading the dispenser with excessive detergent, as this can lead to residue buildup or inefficient cleaning.
- Adding detergent: Open the detergent dispenser and pour the measured detergent into the appropriate compartment. If using a liquid detergent, make sure to place the cup or dispenser directly above the dispenser compartment to avoid spills.
- Fabric softener compartment: If you wish to use fabric softener, your Maytag Commercial Washer will have a separate compartment for it. This compartment is usually located near the detergent dispenser. Check your user manual to locate the specific fabric softener compartment.
- Adding fabric softener: Measure the recommended amount of fabric softener and pour it into the fabric softener compartment. Be careful not to exceed the maximum fill line, as this can cause overflow during the wash cycle.
Once you have added the detergent and fabric softener, close the detergent and fabric softener compartments securely. Your Maytag Commercial Washer is now ready to start the wash cycle.
Next, we will explore how to start the wash cycle and ensure smooth operation.
To use a Maytag Commercial Washer, load the machine with the appropriate amount of laundry, add detergent, select the desired wash cycle, and press start. Always follow the manufacturer’s instructions for best results.
Starting the Wash Cycle
Now that you have loaded the laundry, selected the appropriate wash cycle, adjusted the temperature and spin speed, and added the detergent and fabric softener, it’s time to start the wash cycle on your Maytag Commercial Washer. Follow these steps to begin:
- Close the washer lid or door: Ensure that the lid or door is securely closed before starting the wash cycle. The washer will not operate if the lid is open.
- Select any additional options (if available): Depending on your specific model, your Maytag Commercial Washer may offer additional options such as pre-soak or extra rinse. If desired, choose these options now.
- Press the “Start” button: Locate the “Start” button on the control panel and press it to initiate the wash cycle. The washer will begin filling with water, and you will hear the motor and other operational noises.
- Monitor the wash cycle: Your Maytag Commercial Washer’s display may provide real-time updates on the progress of the cycle. Some models even have a countdown timer to indicate the remaining time until the wash cycle is complete.
- Avoid opening the washer during the cycle: It’s important to resist the temptation to open the washer door during the wash cycle. Opening the door can interrupt the cycle and may pose a safety risk. Wait until the wash cycle is complete before accessing your laundry.
During the wash cycle, your Maytag Commercial Washer will perform a series of actions such as agitating or tumbling the laundry, rinsing, and draining water. The specific operations will depend on the selected wash cycle and the settings you have chosen.
Now that the wash cycle is in progress, it’s time to monitor the washer and troubleshoot any potential issues that may arise.
Monitoring and Troubleshooting
While your Maytag Commercial Washer is running, it’s important to keep an eye on its operation to ensure everything is functioning smoothly. Here are some tips for monitoring and troubleshooting:
- Listen for abnormal sounds: Pay attention to any unusual or loud noises coming from the washer. Clanking, scraping, or grinding sounds may indicate a mechanical issue. If you notice any unusual noises, it’s best to stop the washer and consult the user manual or contact Maytag customer support for assistance.
- Check for leaks: Periodically check around the washer for any water leaks. If you notice water pooling on the floor, it could be a sign of a leak from the washer or the water supply hoses. In such cases, immediately turn off the washer and address the issue before continuing to use it.
- Observe the wash cycle progress: Monitor the display or timer on your Maytag Commercial Washer to track the progress of the wash cycle. This will give you an idea of how much time is remaining until the cycle is complete.
- Address error codes: In case your washer displays an error code on the control panel, consult the user manual for the specific meaning of the code and recommended troubleshooting steps. Error codes can indicate issues with the washer’s sensors, water supply, or other components.
- Adjust settings if necessary: If you observe any issues during the wash cycle, such as excessive vibration or imbalanced load, you may need to adjust the settings or redistribute the load inside the washer drum. Follow the instructions provided in the user manual to address such issues.
Remember, proper maintenance and timely troubleshooting can help keep your Maytag Commercial Washer in optimal condition and extend its lifespan. If you encounter persistent issues or are uncertain about a problem, it’s recommended to seek assistance from a qualified technician or the manufacturer’s customer support.
Now that you’ve monitored the wash cycle and addressed any troubleshooting needs, let’s move on to completing the wash cycle.
Completing the Wash Cycle
As the wash cycle on your Maytag Commercial Washer nears its end, it’s important to follow these steps to complete the process and ensure the best results:
- Wait for the cycle to finish: Allow the washer to complete the entire wash cycle. You may hear a chime or receive a notification on the control panel to indicate that the cycle has ended.
- Open the washer lid or door: Once the cycle is complete, safely open the lid or door of the washer. Take caution as the drum and clothes may still be damp.
- Remove the laundry promptly: Take out the freshly washed laundry from the washer drum. This will help prevent wrinkles and unpleasant odors from developing in the damp clothes.
- Inspect the laundry: Before transferring the laundry to the dryer or hanging them to air dry, inspect each item for stains or residue. If you notice any remaining stains, it’s best to treat them before drying to improve the chances of successful stain removal.
- Leave the washer door open: To prevent the growth of mold or mildew, it’s recommended to leave the washer door open after each use. This allows the interior to dry out and helps maintain a fresh environment.
By following these steps, you’ll ensure that your laundry is properly washed and ready for the next stage of the laundry process.
Now that the wash cycle is complete, let’s explore some maintenance and care tips to keep your Maytag Commercial Washer in excellent condition.
Read more: How To Fix Maytag Washer
Maintenance and Care Tips
To keep your Maytag Commercial Washer running smoothly and extend its lifespan, it’s important to perform regular maintenance and follow these care tips:
- Clean the washer regularly: Periodically clean the drum, detergent dispenser, and other accessible parts of the washer to remove any buildup of detergent residue, lint, or debris. Refer to the user manual for specific cleaning instructions and recommended cleaning products.
- Check and clean the filter: Many Maytag Commercial Washers have a filter that traps debris and lint. Regularly inspect and clean the filter to maintain optimal performance.
- Inspect and clean the water inlet hoses: Check the water inlet hoses periodically for signs of wear or damage. Replace them if necessary. Additionally, clean the hoses’ screens to remove any mineral deposits or sediment that may affect water flow.
- Balance the load: Improperly balanced loads can cause excessive vibration and potential damage to the washer. Take care to distribute the laundry evenly inside the drum to minimize imbalance issues.
- Avoid overloading: Overloading the washer can strain the machine and affect the quality of the wash. Follow the recommended load capacity guidelines provided in the user manual.
- Perform routine maintenance checks: Regularly inspect the washer for any loose or damaged parts. If you notice any signs of wear or malfunction, contact a qualified technician for repair or maintenance.
- Follow detergent guidelines: Use the appropriate amount of detergent as recommended by the manufacturer. Using excessive detergent can lead to residue buildup and affect wash performance.
- Protect the washer from extreme temperatures: Avoid exposing the washer to extreme cold or hot temperatures, as this can affect its performance and potentially damage internal components.
By following these maintenance and care tips, you’ll help ensure that your Maytag Commercial Washer continues to deliver reliable and efficient performance for years to come.
Finally, let’s wrap up our guide on using your Maytag Commercial Washer.
Conclusion
Congratulations! You are now equipped with the knowledge and understanding of how to effectively use your Maytag Commercial Washer. By following the step-by-step guide provided in this article, you can achieve optimal cleaning results for your laundry and maintain the longevity of your washer.
We covered essential topics such as loading and preparing the washer, selecting the appropriate wash cycle, adjusting temperature and spin speed, adding detergent and fabric softener, starting the wash cycle, monitoring and troubleshooting, completing the wash cycle, and maintenance and care tips.
Remember to consult the user manual specific to your Maytag Commercial Washer model for any model-specific instructions or settings. If you encounter any issues or have concerns, don’t hesitate to reach out to Maytag customer support or consult a qualified technician for assistance.
By properly maintaining your Maytag Commercial Washer and following the care tips outlined in this guide, you can enjoy reliable performance, efficient cleaning, and fresh laundry for years to come. Happy washing!
Thank you for choosing Maytag Commercial Washer, and we hope this guide has been informative and helpful to you.
Frequently Asked Questions about Maytag Commercial Washer How To Use
Was this page helpful?
At Storables.com, we guarantee accurate and reliable information. Our content, validated by Expert Board Contributors, is crafted following stringent Editorial Policies. We're committed to providing you with well-researched, expert-backed insights for all your informational needs.


0 thoughts on “Maytag Commercial Washer How To Use”