Home>Home Maintenance>2012 BMW 550i XDrive: How To Turn On The Ventilation System

Home Maintenance
2012 BMW 550i XDrive: How To Turn On The Ventilation System
Modified: March 6, 2024
Learn how to turn on the ventilation system in your 2012 BMW 550i xDrive for optimal home-maintenance and comfort.
(Many of the links in this article redirect to a specific reviewed product. Your purchase of these products through affiliate links helps to generate commission for Storables.com, at no extra cost. Learn more)
Introduction
Welcome to the world of home maintenance! Whether you’re a seasoned DIY enthusiast or just embarking on your first home improvement project, having the right knowledge and tools at your disposal is crucial. In this comprehensive guide, we will explore various aspects of home maintenance to help you keep your living space in top condition.
From basic repairs to preventive maintenance, we will cover it all. So, whether you’re looking to fix a leaky faucet, repaint your walls, or clean out your gutters, this guide will provide you with expert tips and step-by-step instructions.
But it’s not just about fixing things. Home maintenance is also about enhancing the comfort and functionality of your space. We will delve into topics such as energy efficiency, home automation, and interior design, so you can create a living environment that not only looks great but also meets your unique needs.
Throughout this article, we will also highlight the importance of regular maintenance. By staying on top of minor repairs and upkeep tasks, you can prevent major problems down the line. Plus, maintaining your home will help preserve its value and ensure a safe and healthy living environment for you and your family.
So, whether you’re a proud homeowner ready to take on any maintenance task or simply looking to expand your knowledge, let’s dive in and discover the world of home maintenance!
Key Takeaways:
- Keep your home well-ventilated by locating and turning on the ventilation system using controls like thermostats, wall panels, or dedicated units. Adjust settings and choose the right mode for a comfortable living environment.
- Regularly maintain your ventilation system by checking filters, inspecting ducts, monitoring humidity, and considering supplemental ventilation options. This ensures clean and fresh air for a safe and comfortable home.
Step 1: Locate the Ventilation Controls
Before you can turn on the ventilation system in your home, it’s important to know where to find the ventilation controls. The location of these controls may vary depending on the type of ventilation system you have, but here are a few common places to look:
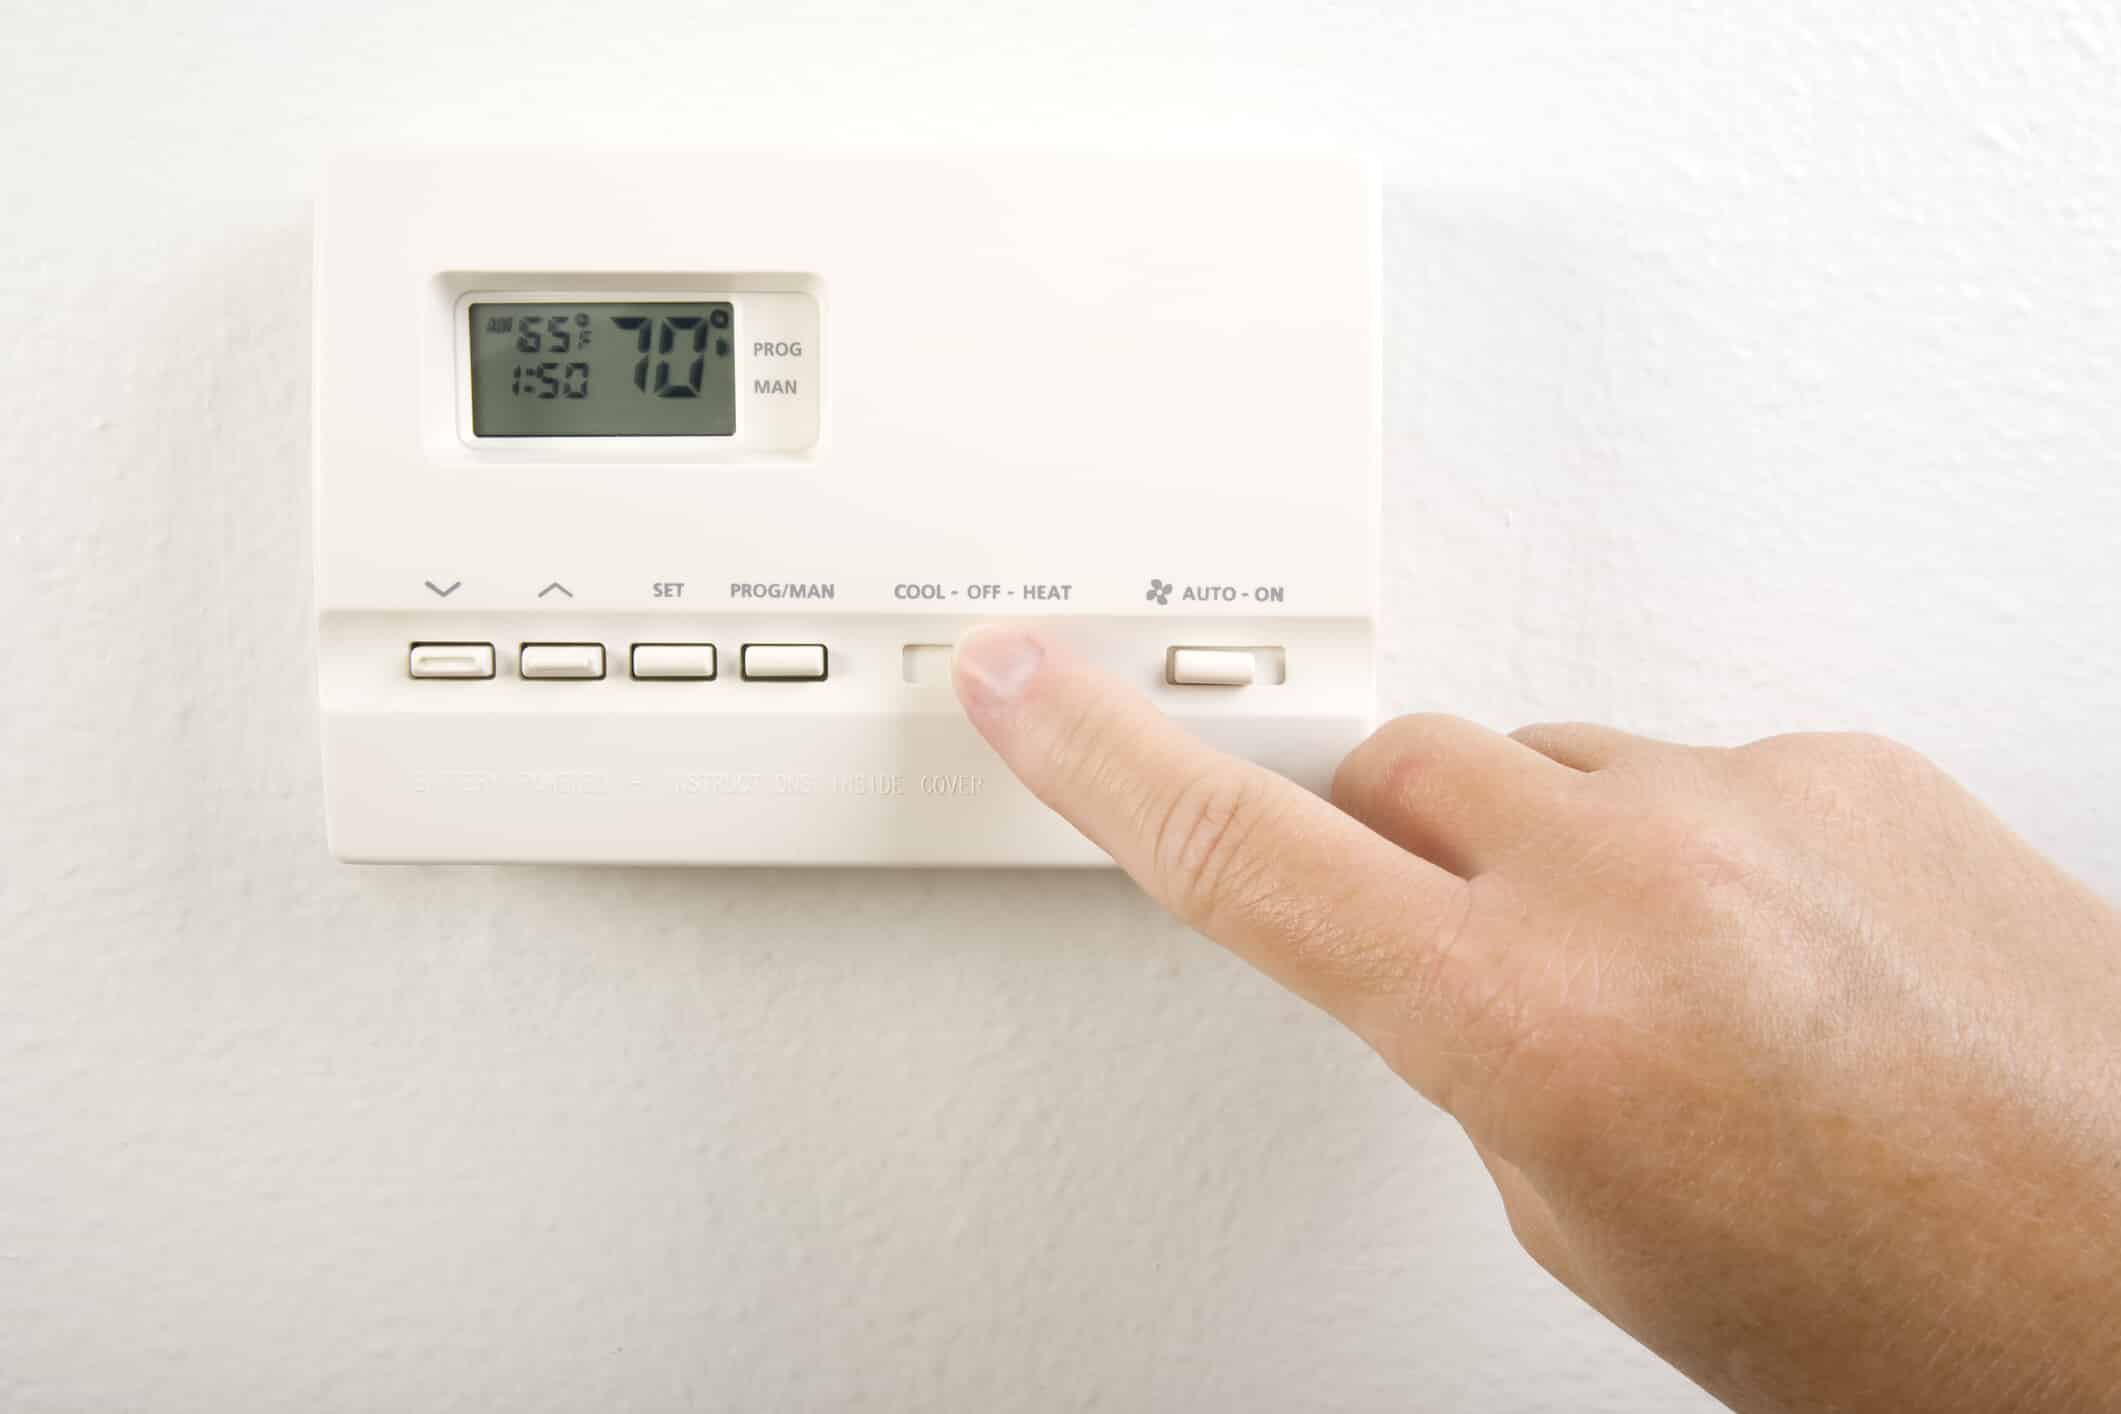
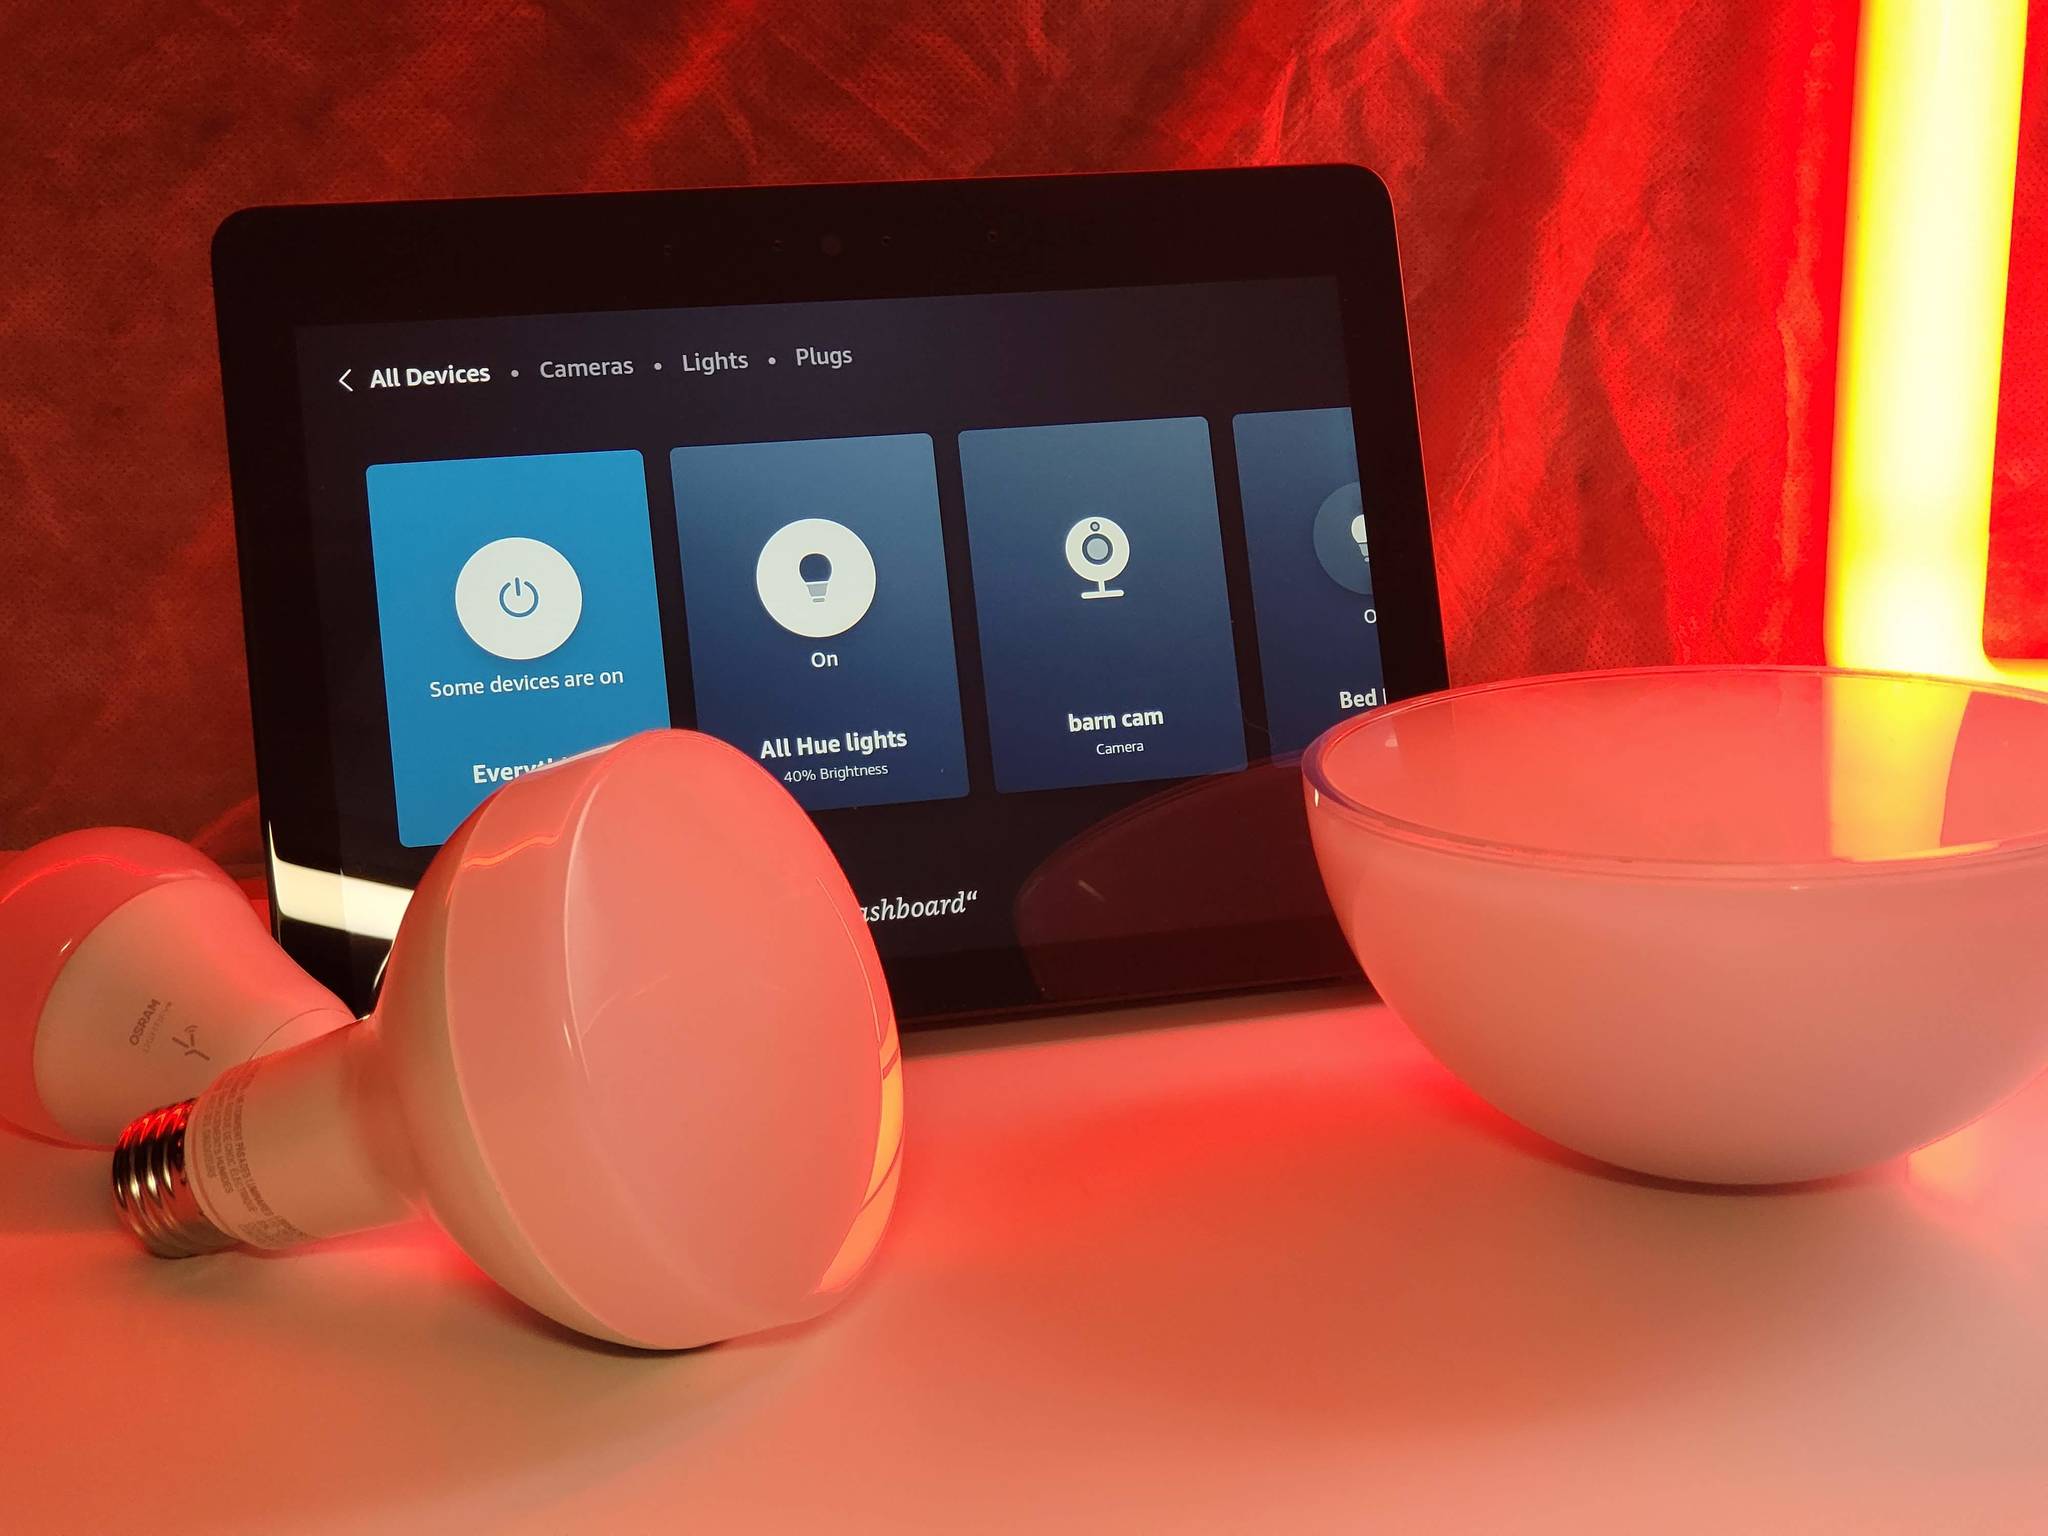
- Thermostat: Many modern homes have integrated ventilation controls within their thermostat. In this case, look for a dedicated button or menu option that allows you to control the ventilation system.
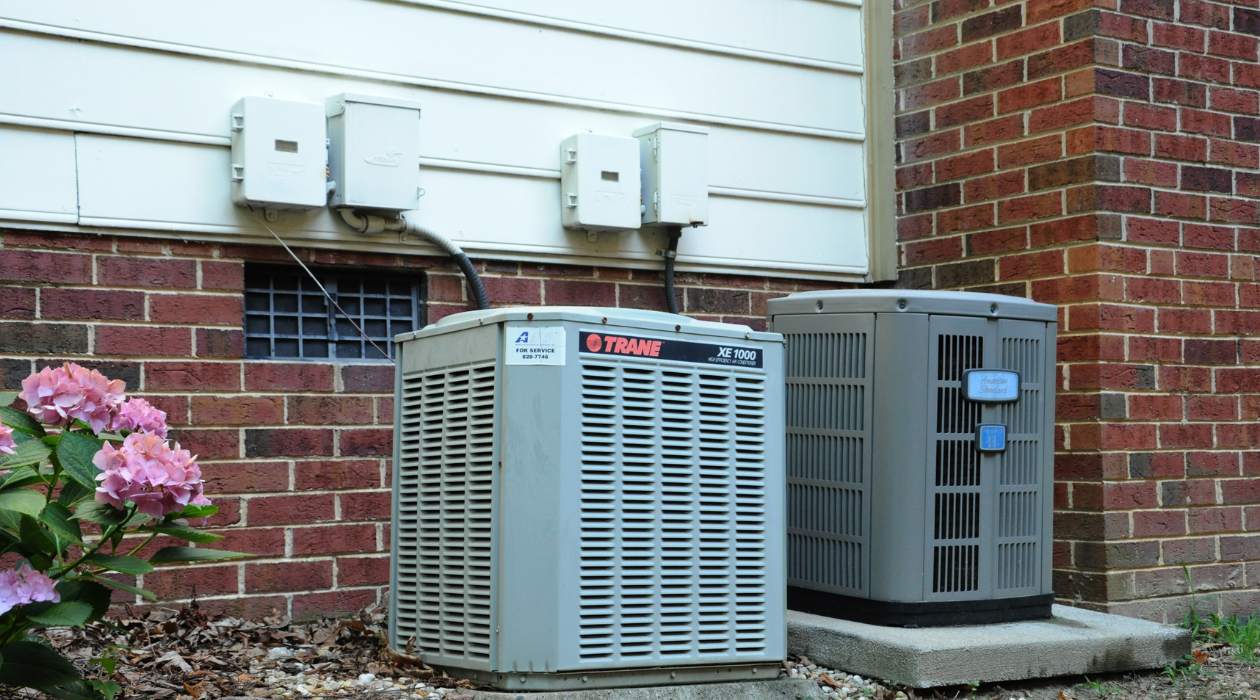
- Ventilation Unit: If you have a stand-alone ventilation system, such as a whole-house fan or an air exchanger, the controls may be located directly on the unit itself. Check for buttons, switches, or dials that allow you to adjust the settings.
- Wall Control Panels: Some homes have dedicated wall control panels for their ventilation systems. These panels are usually installed in a central location, such as the hallway or utility room. Look for labeled buttons or switches that correspond to the ventilation system.
- Remote Control: If you have a more advanced ventilation system, it may come with a remote control. Check the user manual to find out how to operate the ventilation system using the remote control.
If you’re still unsure about the location of the ventilation controls in your home, consult your user manual or contact the manufacturer for guidance.
Once you have located the ventilation controls, you’re ready to move on to the next step: turning on the ventilation system.
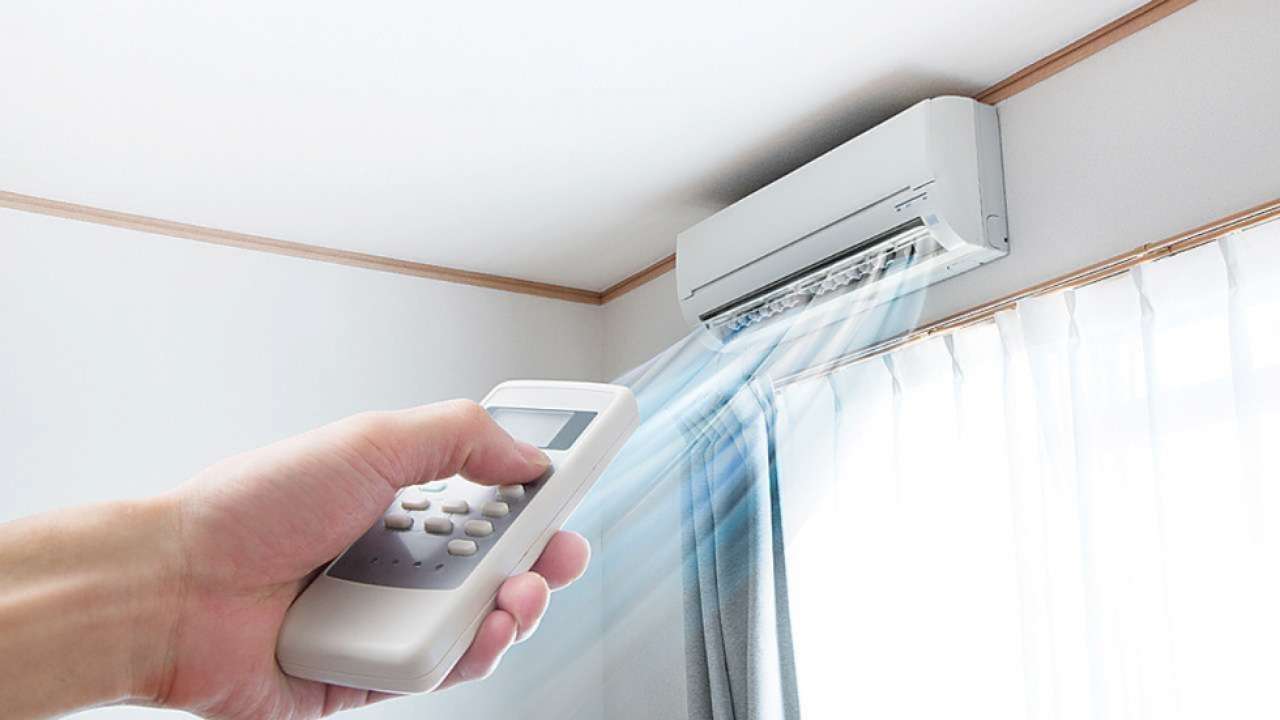
Step 2: Turn On the Ventilation System
Now that you have located the ventilation controls, it’s time to turn on the ventilation system. The exact method may vary depending on the type of system you have, but here are some general steps to follow:
- Check the Power: Ensure that the ventilation system is properly connected to a power source. This could be a power outlet, a dedicated circuit, or even a battery pack. If the system requires electricity, make sure it is plugged in or the battery is charged.
- Switch On: Look for an on/off switch or button on the ventilation controls. In many cases, there may be a dedicated button or a toggle switch labeled with the power symbol (a circle with a vertical line). Press the button or switch to turn on the ventilation system.
- Wait for Activation: Depending on your system, there may be a slight delay before the ventilation system kicks into action. Give it a few moments to activate and start circulating air throughout your home.
If you’re unsure about the specific steps for your particular ventilation system, refer to the user manual or consult with a professional who can provide guidance.
Once you have successfully turned on the ventilation system, you’re ready to move on to the next step: adjusting the ventilation settings.
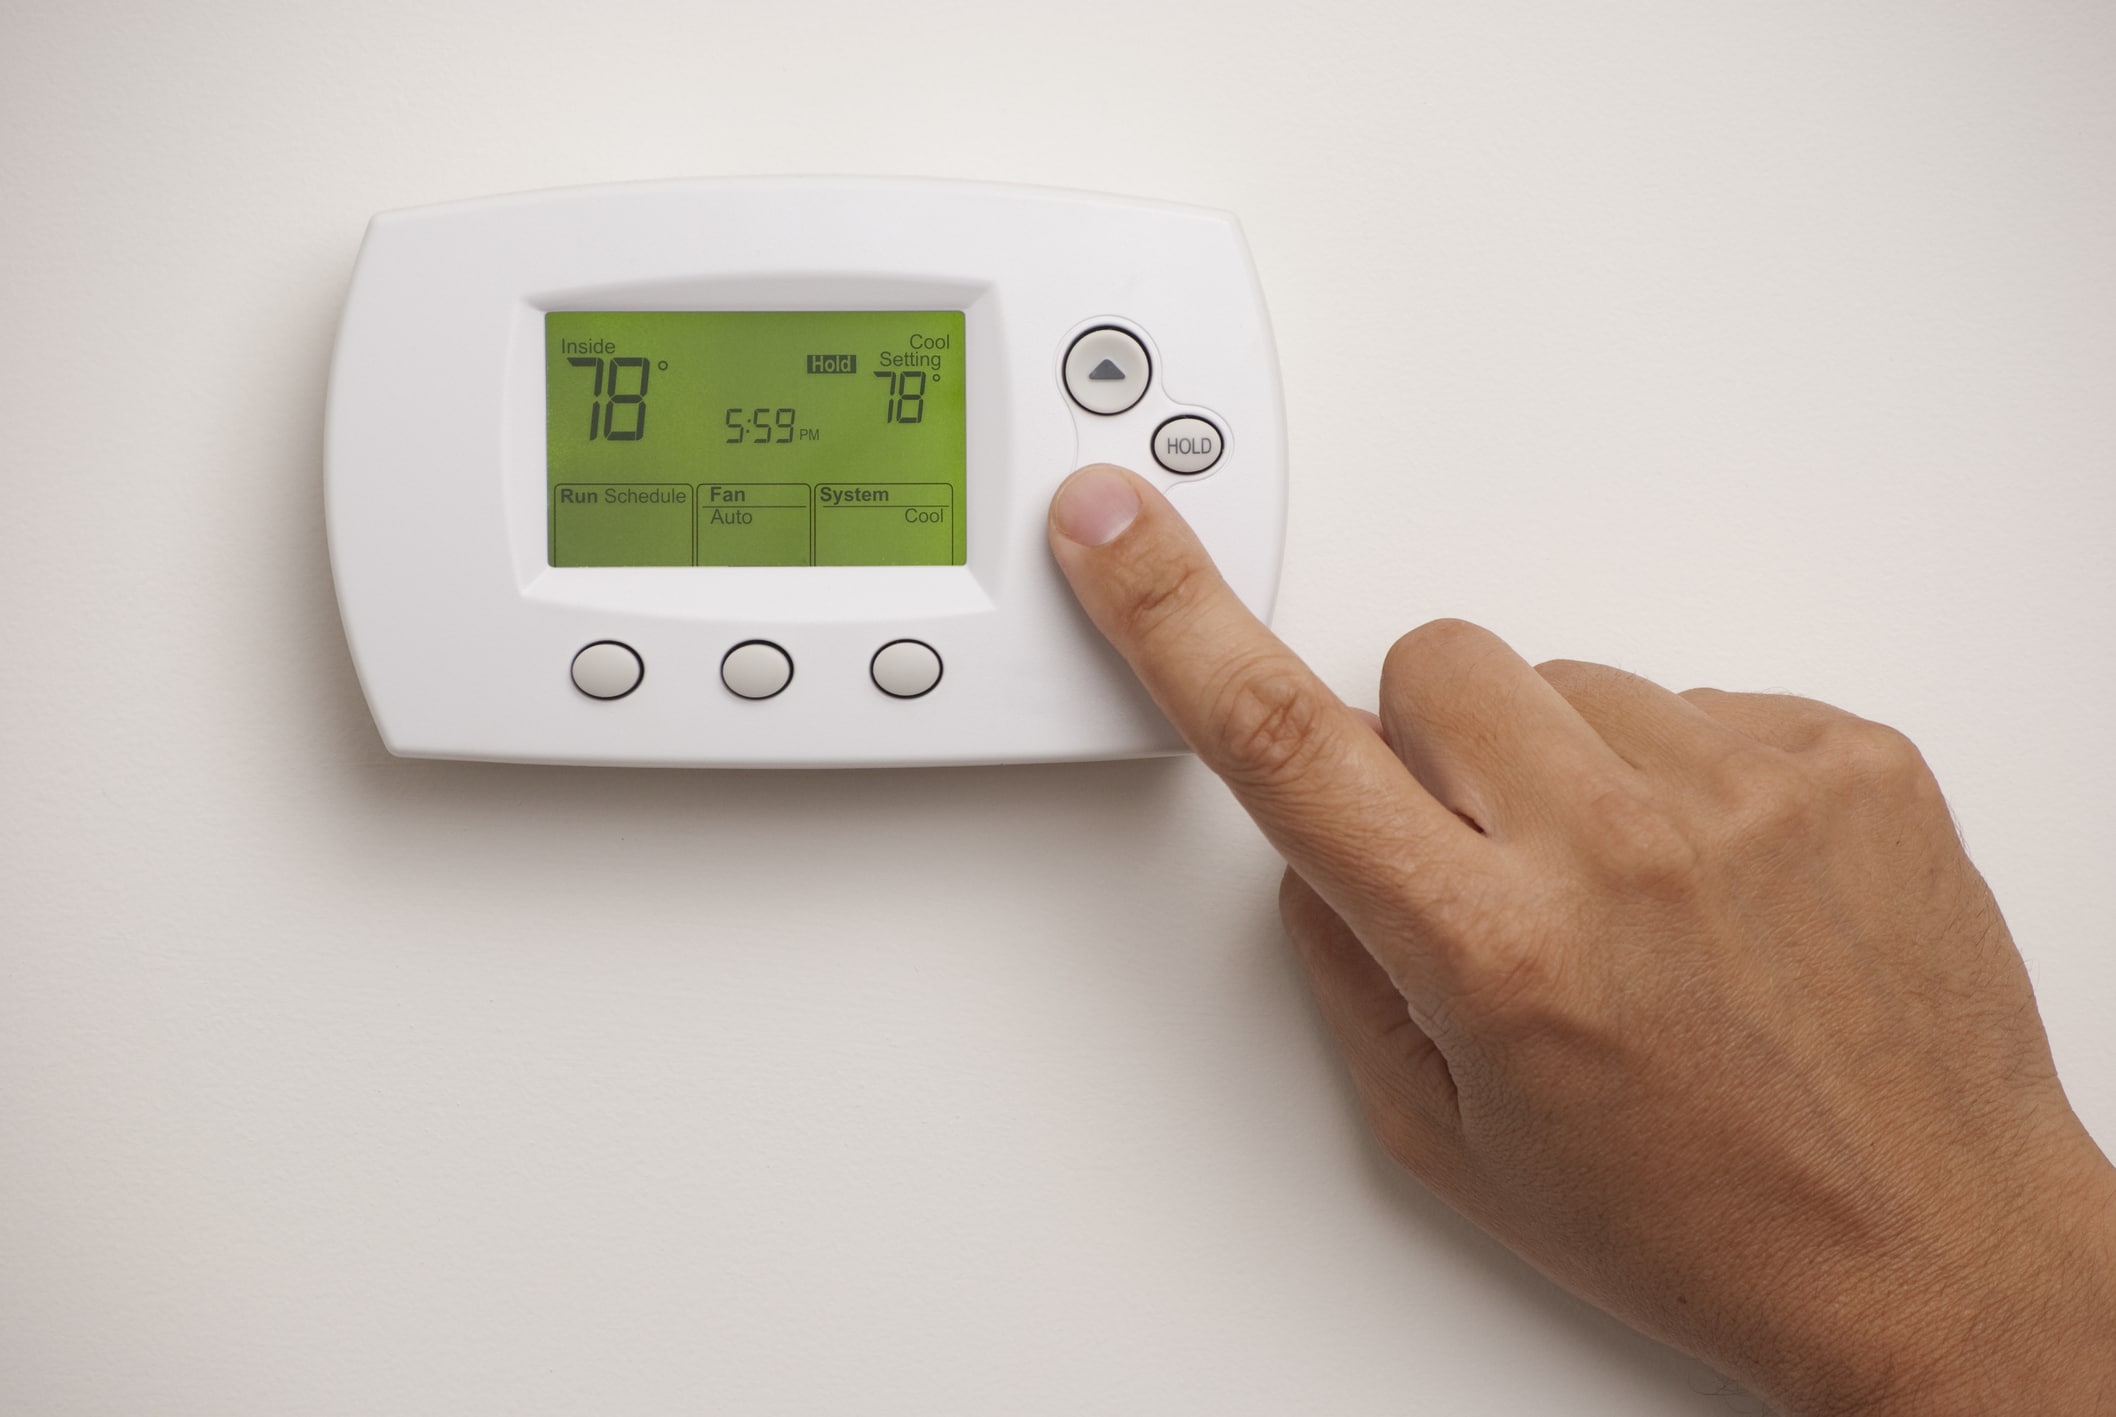
Step 3: Adjust the Ventilation Settings
Now that you have turned on the ventilation system, it’s time to fine-tune the settings to meet your specific needs. Here are some common ventilation settings that you may be able to adjust:
- Fan Speed: Depending on your ventilation system, you may have the option to adjust the fan speed. This allows you to control the airflow and the intensity of ventilation. Look for buttons or switches labeled with speed settings (low, medium, high) and select the desired level.
- Timer Settings: Some ventilation systems come with built-in timers that allow you to schedule when the system should operate. This can be particularly useful if you want the ventilation system to run only during specific times of the day or night. Refer to the user manual to learn how to set the timer.
- Humidity Control: If your ventilation system is equipped with a humidity control feature, you may be able to adjust the desired humidity level. This is especially beneficial in areas where high humidity can lead to mold or mildew growth. Use the controls to set the preferred humidity level.
- Temperature Control: Certain ventilation systems may offer temperature control options, allowing you to set the desired temperature for your home. This is particularly useful in climates where temperature regulation is crucial. Look for temperature adjustment buttons or switches on the controls and select the desired temperature.
It’s important to note that not all ventilation systems have these settings. The capabilities of your specific system may vary. Refer to the user manual or consult with a professional to determine the available options for adjusting the ventilation settings in your home.
Once you have adjusted the ventilation settings to your liking, you’re ready to move on to the next step: choosing the ventilation mode.
To turn on the ventilation system in a 2012 BMW 550i xDrive, press the “AUTO” button on the climate control panel to activate the automatic ventilation system. Adjust the temperature and fan speed as needed.
Step 4: Choose the Ventilation Mode
After adjusting the ventilation settings, it’s time to select the ventilation mode that best suits your needs. The ventilation mode determines how the system circulates and filters the air in your home. Here are some common ventilation modes you may come across:
- Recirculation Mode: In this mode, the ventilation system recirculates the air within your home without bringing in fresh air from outside. This mode is useful for maintaining a consistent temperature and reducing energy consumption, particularly during extreme weather conditions.
- Fresh Air Mode: As the name suggests, this mode brings in fresh air from outside to improve indoor air quality. It helps remove stale air, odors, and pollutants from your home. Fresh air mode is especially beneficial when you want to ventilate the space and replenish the air supply.
- Auto Mode: Some ventilation systems offer an automatic mode that intelligently adjusts the ventilation settings based on factors such as humidity, temperature, and air quality. This mode provides optimal ventilation without requiring manual adjustments.
- Night Mode: This mode is designed to operate the ventilation system at lower speeds or with reduced noise levels during nighttime hours. It ensures a comfortable sleeping environment while maintaining proper ventilation.
Consult the user manual or contact the manufacturer to determine which ventilation modes are available for your specific system and how to select them. The controls may include buttons, switches, or menu options that allow you to choose the desired mode.
Once you have selected the appropriate ventilation mode, you’re ready to move on to the final step: fine-tuning the ventilation system for optimal performance.
Read more: How To Turn On HVAC System
Step 5: Fine-tune the Ventilation System
Now that you have chosen the ventilation mode, it’s time to fine-tune the ventilation system for optimal performance. Here are some additional steps you can take to ensure your system operates efficiently:
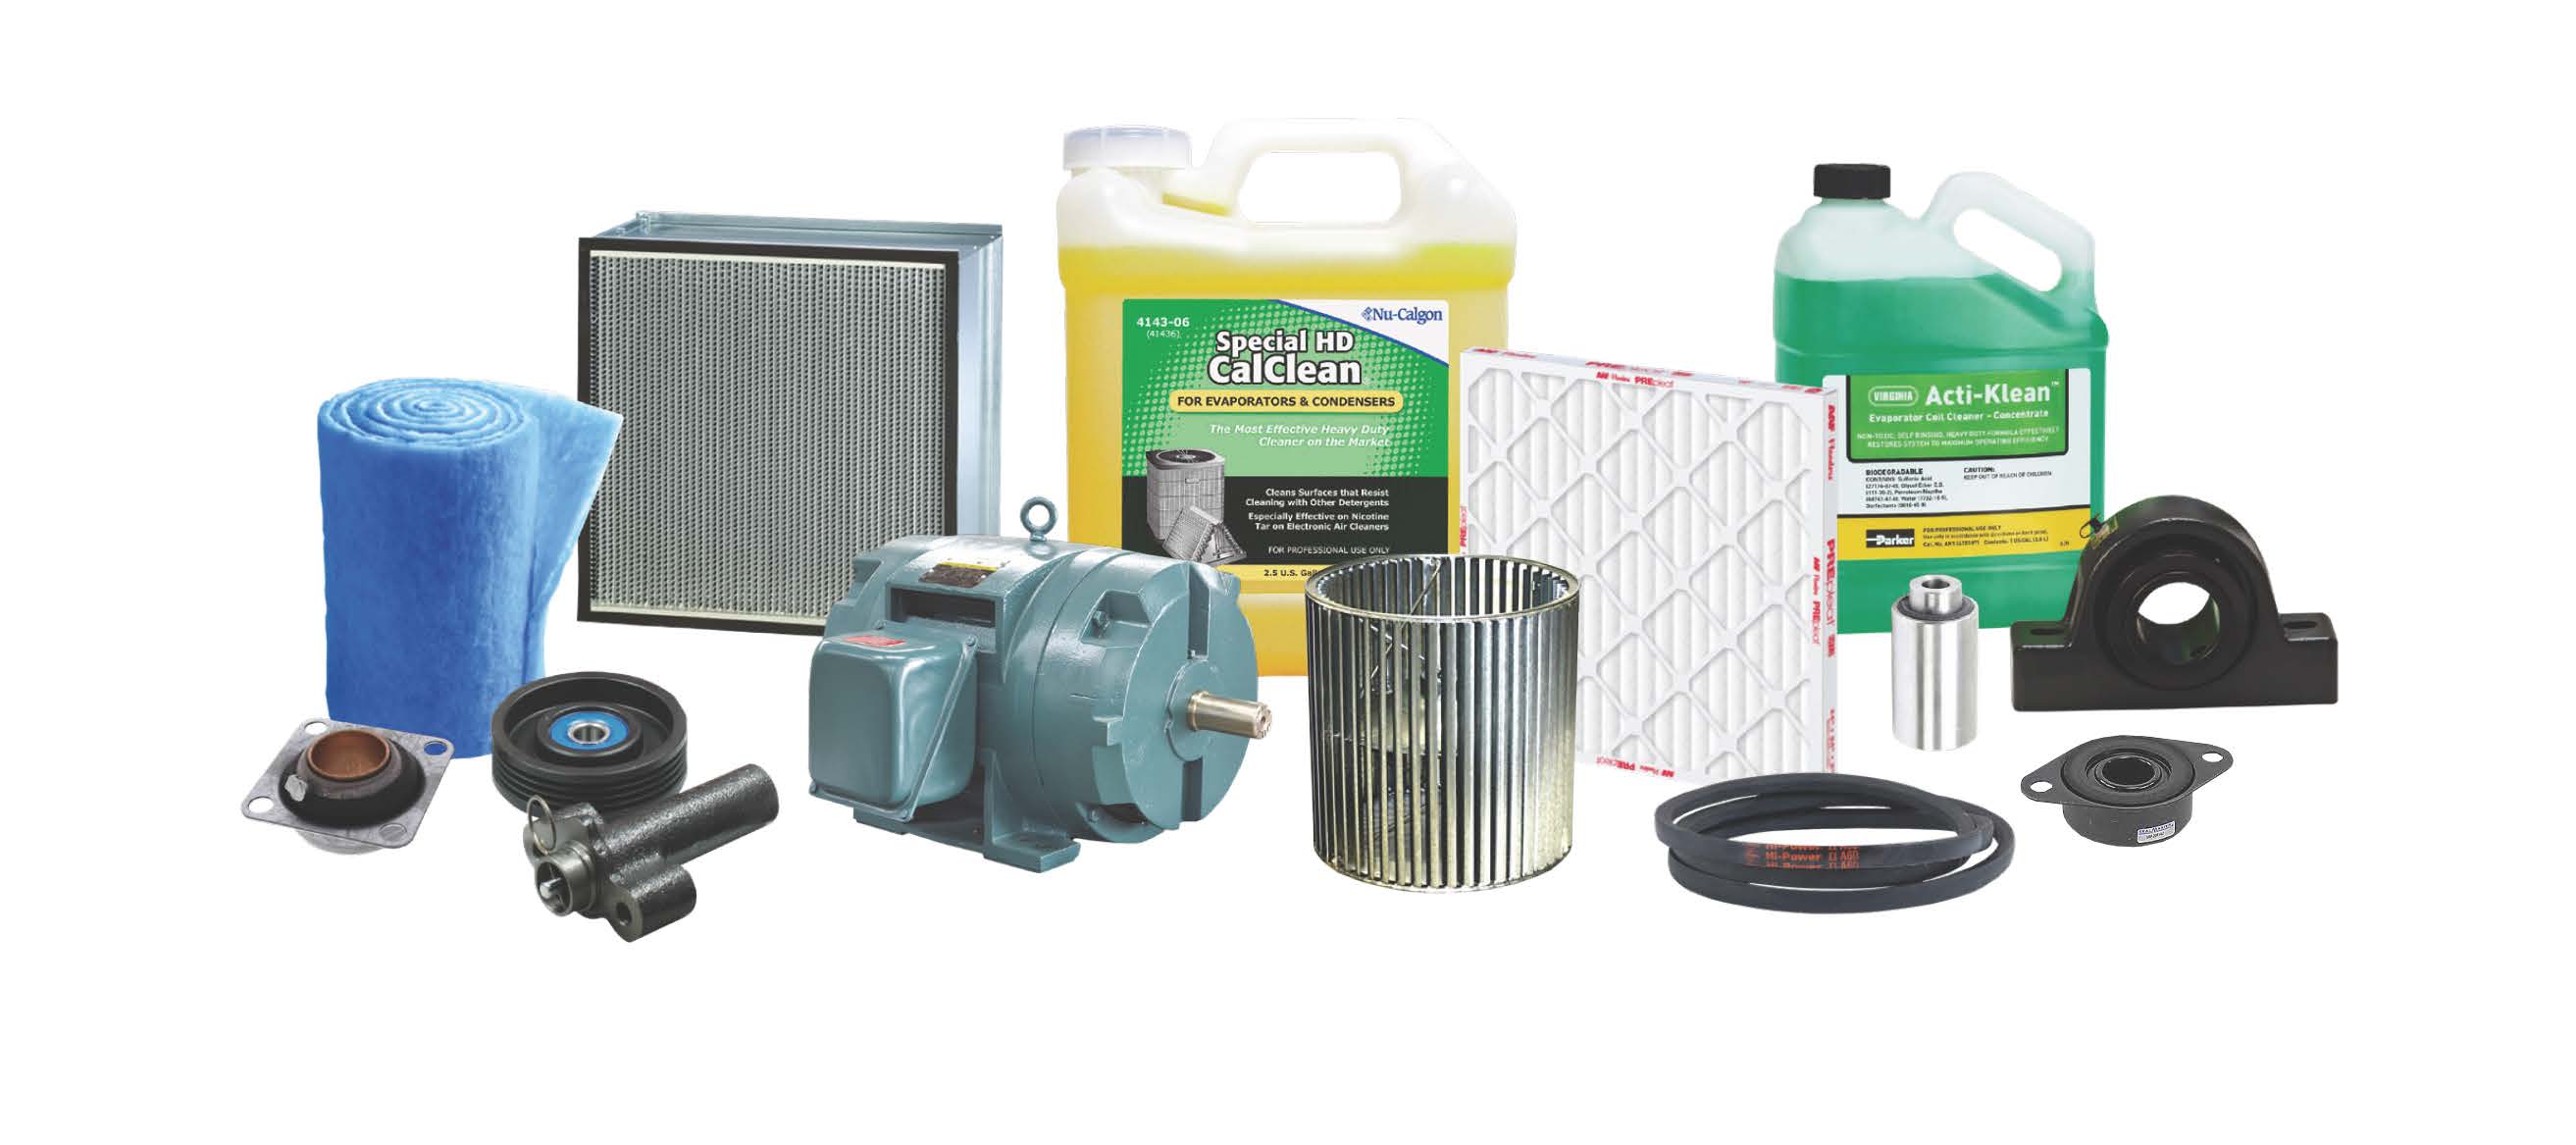
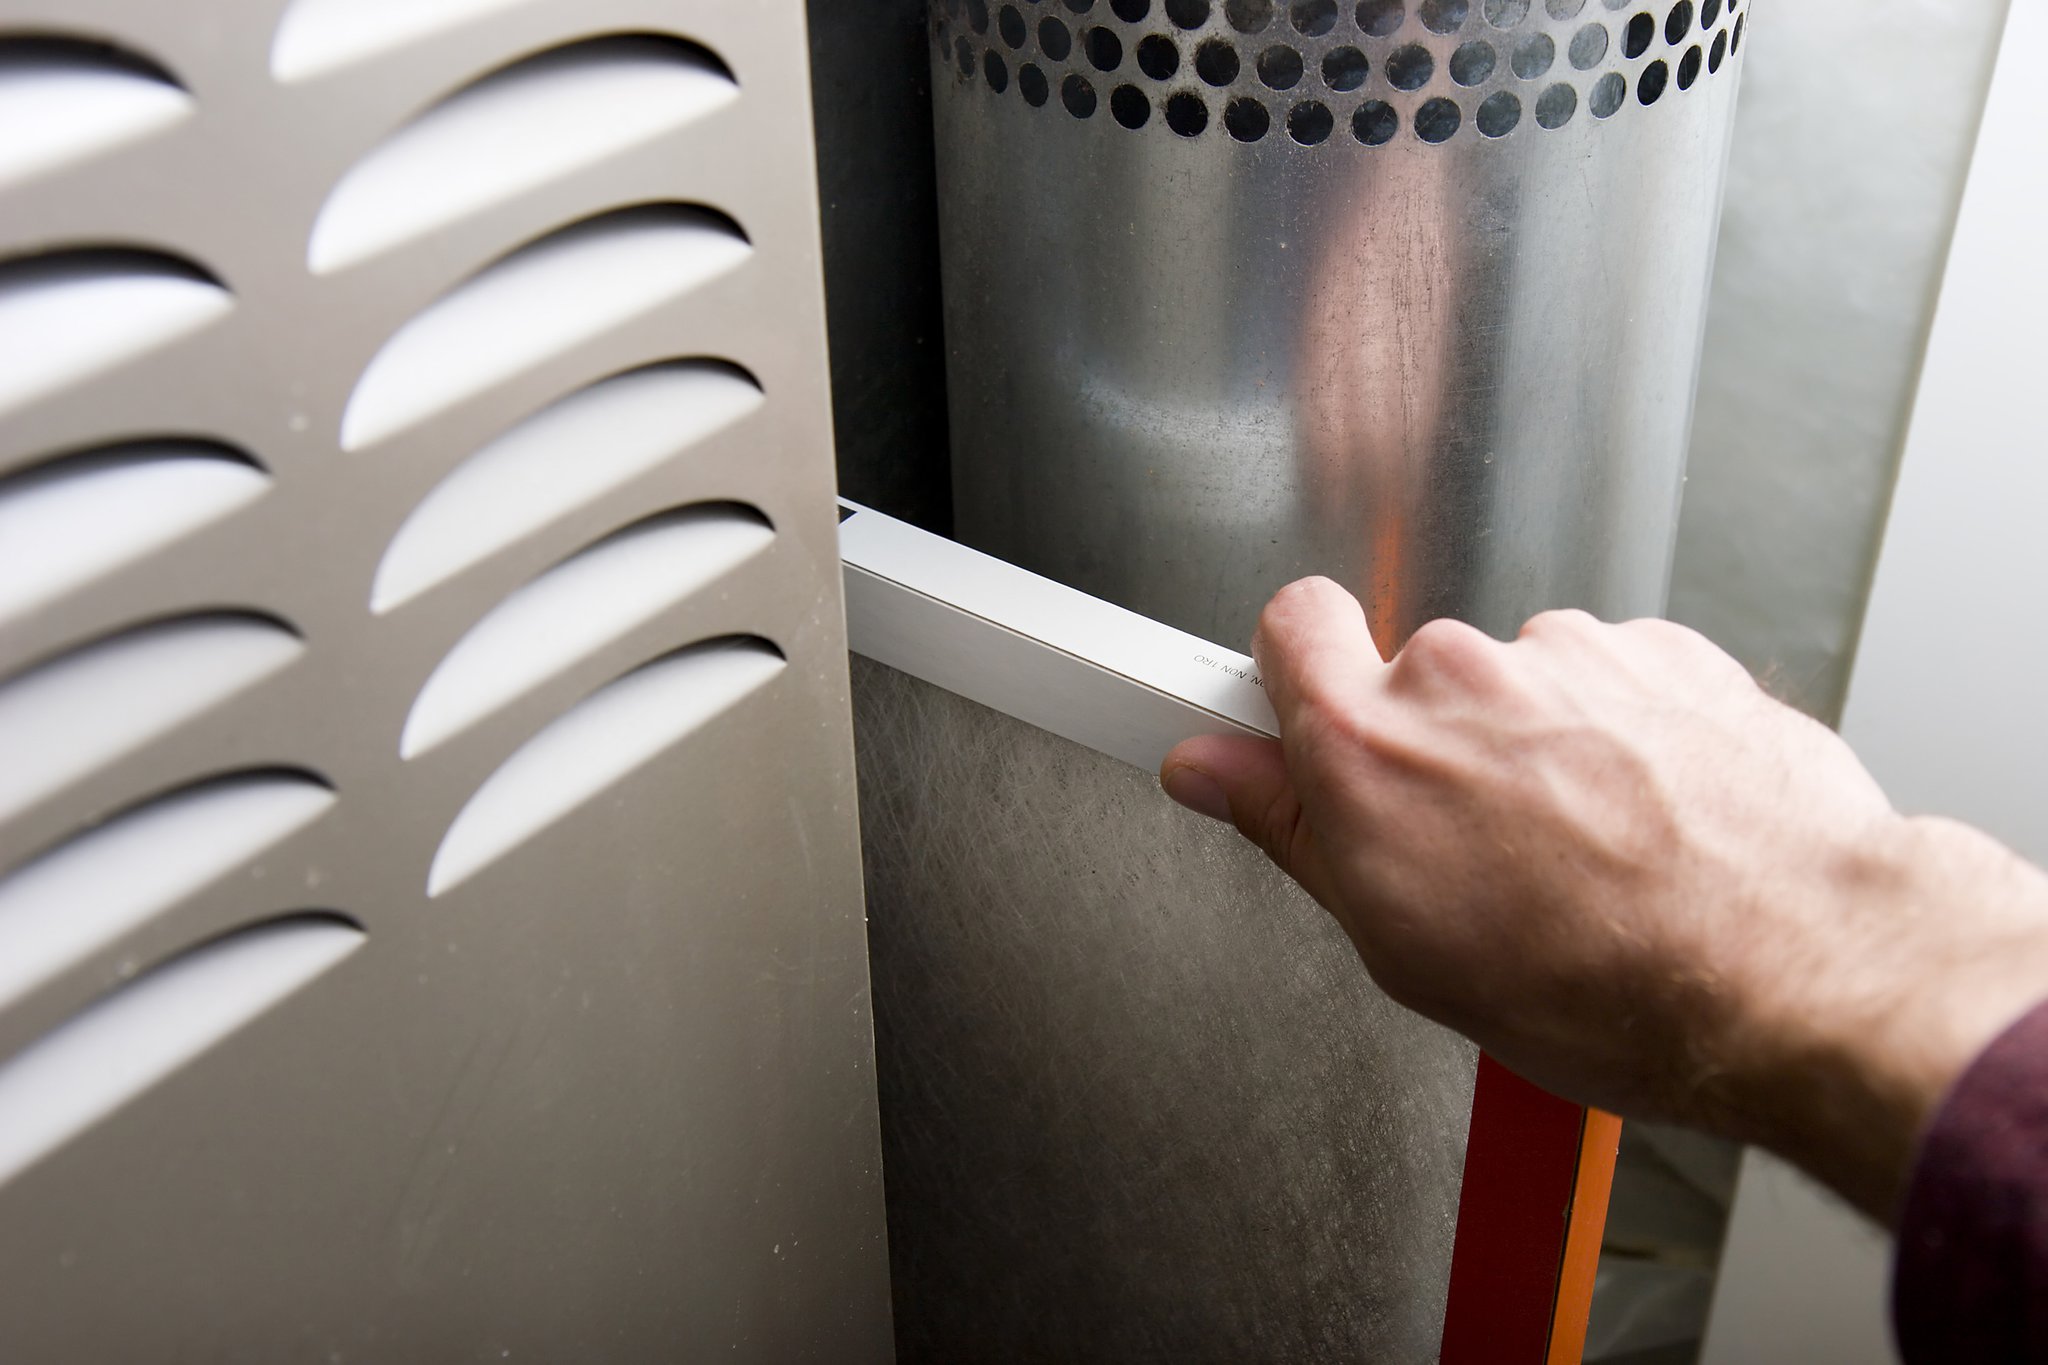
- Check Air Filters: Regularly check and clean or replace the air filters in your ventilation system. Clogged or dirty filters can restrict airflow and reduce the system’s effectiveness. Follow the manufacturer’s instructions for proper filter maintenance.
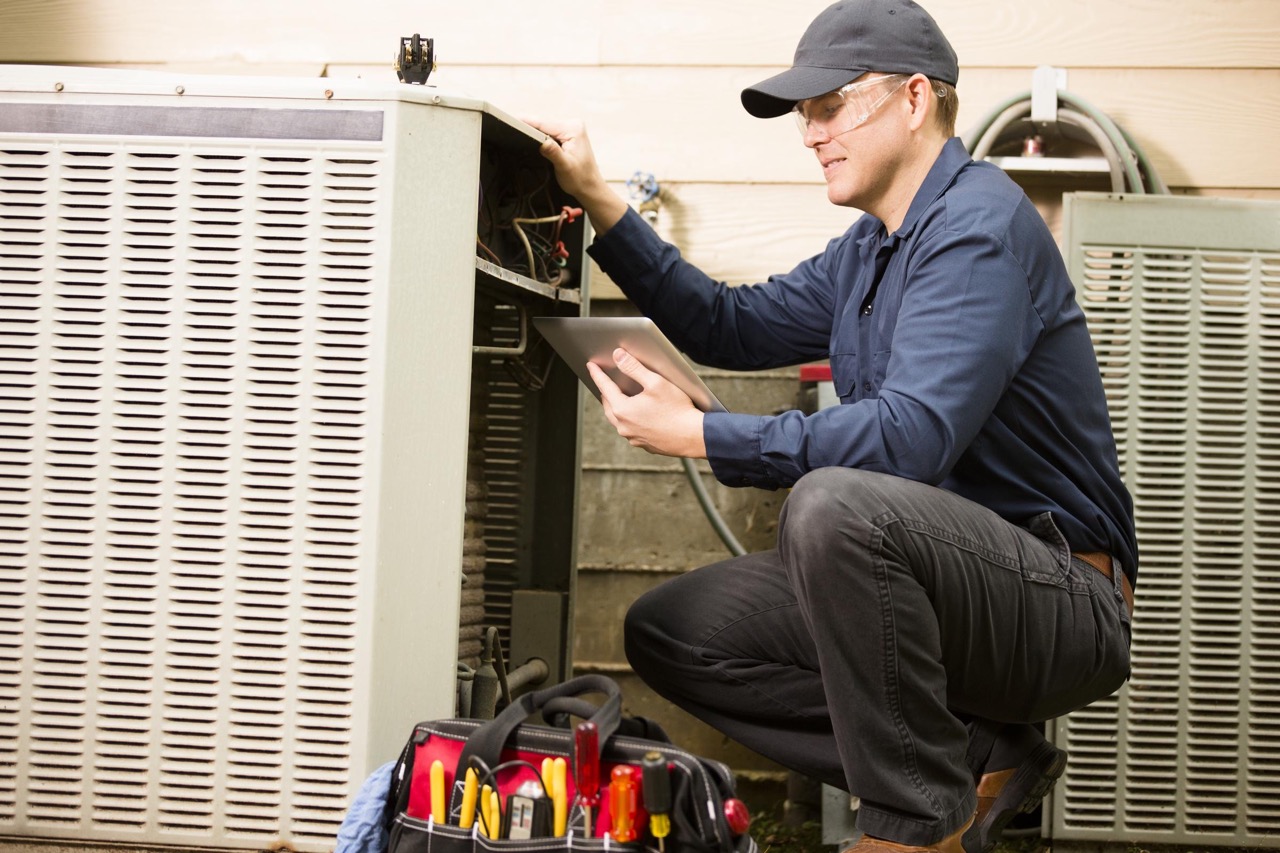
- Inspect Ventilation Ducts: Periodically inspect the ventilation ducts to ensure they are clear of debris, obstructions, or leaks. Any blockages or leaks can hinder the efficiency of the system and compromise indoor air quality. If you notice any issues, consult a professional for repair or cleaning.
- Monitor Indoor Humidity: Keep an eye on the indoor humidity levels, especially in areas prone to excess moisture. If you notice high humidity levels, consider using dehumidifiers in conjunction with your ventilation system to maintain a comfortable and healthy environment.
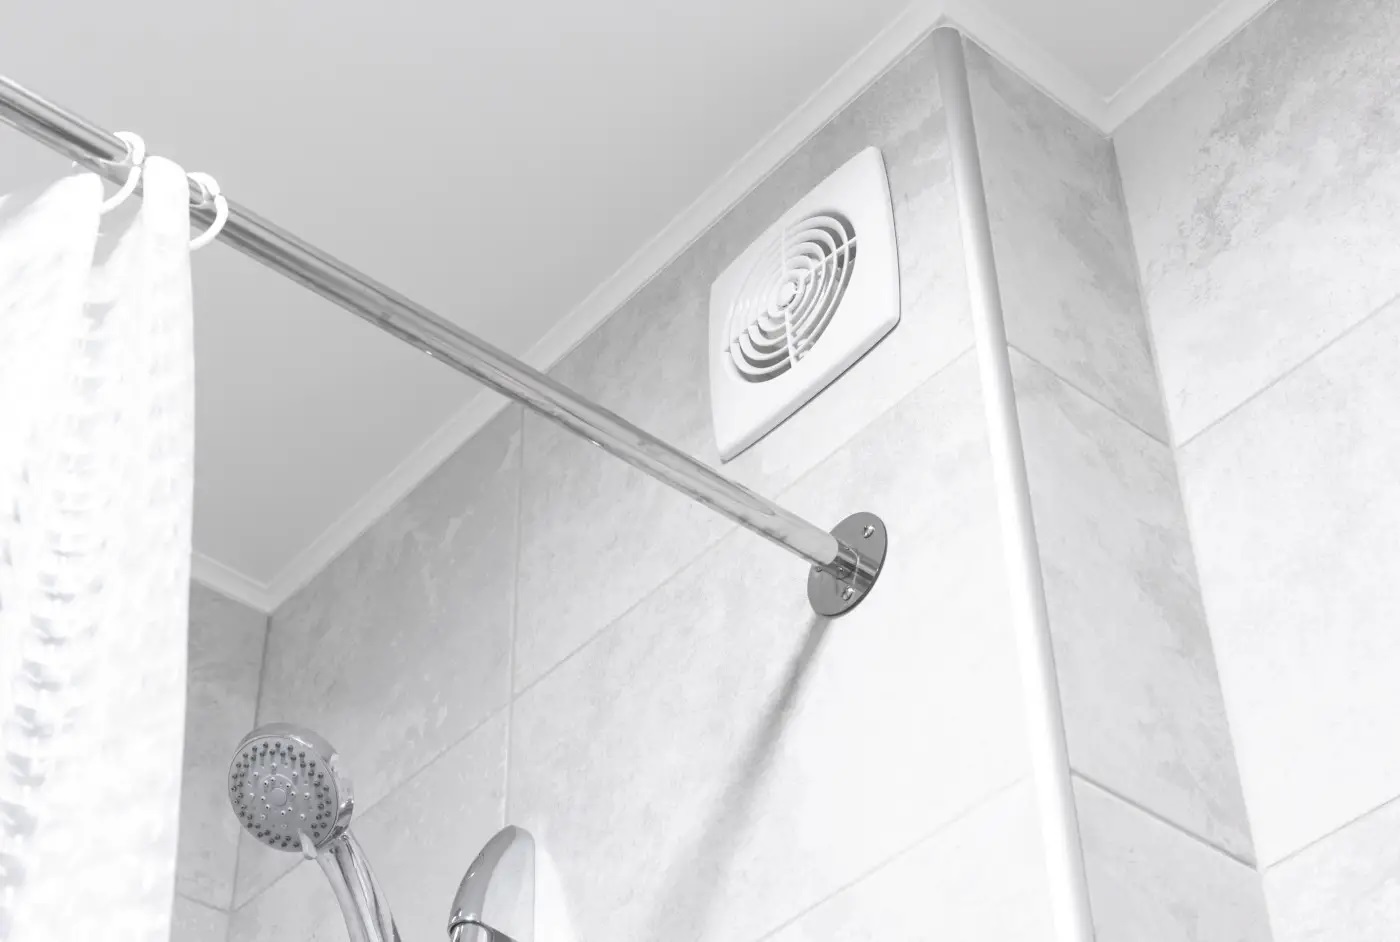
- Consider Supplemental Ventilation: Depending on your specific needs, you may benefit from supplemental ventilation options such as bathroom fans, range hood fans, or attic fans. These devices can help remove excess moisture, odors, and pollutants from specific areas of your home.
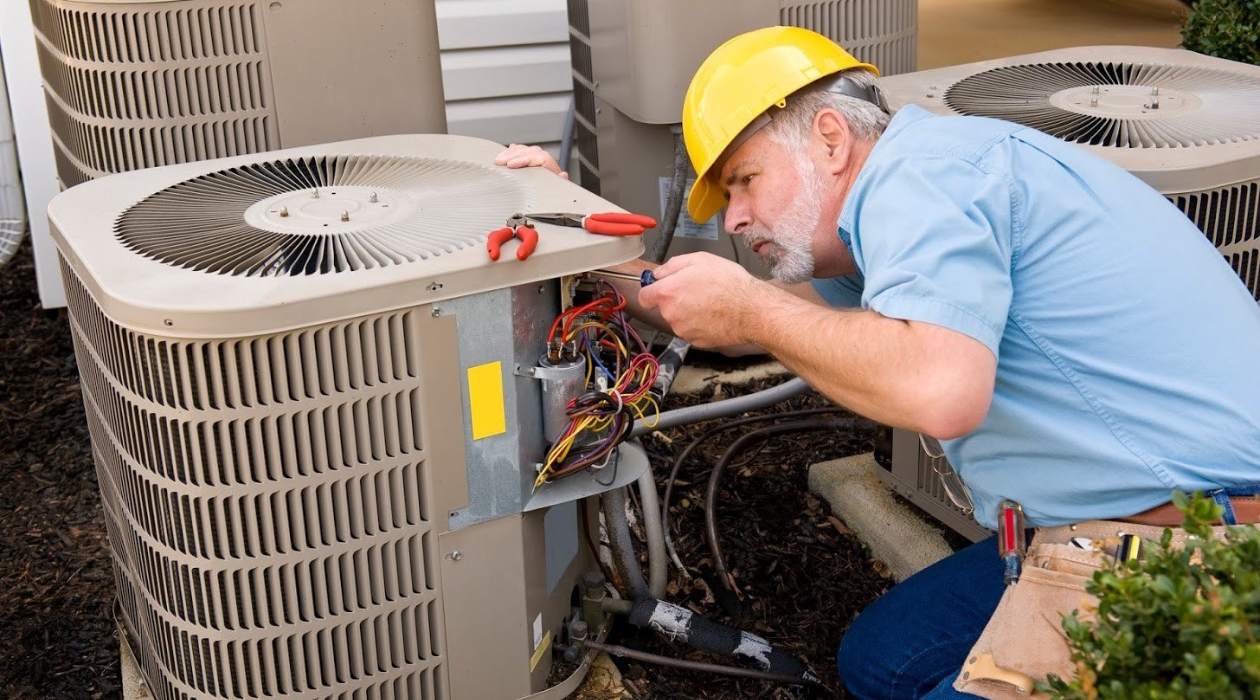
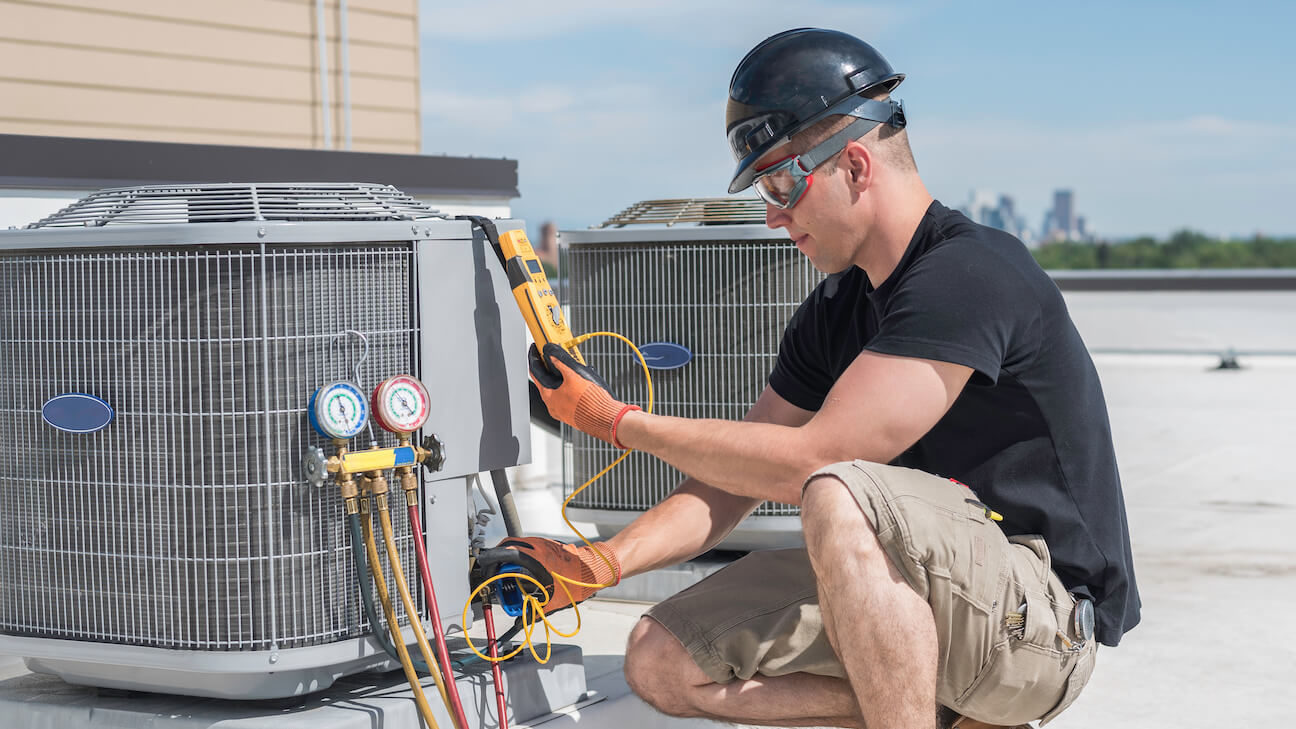
- Schedule Regular Maintenance: To ensure the longevity and efficiency of your ventilation system, schedule regular maintenance with a qualified technician. They can perform checks, cleanings, and tune-ups to optimize the performance of the system and address any potential issues.
By following these fine-tuning steps, you can help maximize the effectiveness and lifespan of your ventilation system, ensuring that your home remains comfortable and healthy.
Congratulations! You have successfully learned how to turn on and adjust the ventilation system in your home. Regularly maintain and monitor your ventilation system to enjoy clean and fresh air all year round!
Conclusion
Home maintenance is an essential aspect of owning a house. By taking the time to properly maintain and care for your home, you can ensure its longevity, enhance its functionality, and create a safe and comfortable living environment. In this comprehensive guide, we have covered the basics of home maintenance and provided step-by-step instructions for turning on and adjusting the ventilation system in your home.
Locating the ventilation controls is the first step toward a well-ventilated home. Whether it’s through the thermostat, wall control panels, or dedicated ventilation unit, knowing where to find the controls is crucial. Once you have located the controls, you can proceed with turning on the ventilation system, adjusting the settings, and choosing the appropriate ventilation mode.
But our journey doesn’t stop there. Fine-tuning the ventilation system and performing regular maintenance are equally important. Checking and cleaning filters, inspecting ducts, monitoring indoor humidity, and considering supplemental ventilation options are all key steps in maintaining optimal airflow and air quality within your home.
Remember, home maintenance is an ongoing process. It requires your attention, time, and effort. By incorporating these practices into your routine, you can ensure the longevity and efficiency of your ventilation system and, ultimately, your entire home.
So, whether you’re a seasoned DIY enthusiast or a homeowner looking to expand your knowledge, we hope this guide has provided you with valuable insight into the world of home maintenance. Keep learning, exploring, and caring for your home, and you will reap the rewards of a safe, comfortable, and well-maintained living space.
Frequently Asked Questions about 2012 BMW 550i XDrive: How To Turn On The Ventilation System
Was this page helpful?
At Storables.com, we guarantee accurate and reliable information. Our content, validated by Expert Board Contributors, is crafted following stringent Editorial Policies. We're committed to providing you with well-researched, expert-backed insights for all your informational needs.


0 thoughts on “2012 BMW 550i XDrive: How To Turn On The Ventilation System”