Articles
How To Turn On HVAC System
Modified: February 23, 2024
Learn how to turn on your HVAC system with these informative articles. Discover tips and tricks to ensure your home stays comfortable all year round.
(Many of the links in this article redirect to a specific reviewed product. Your purchase of these products through affiliate links helps to generate commission for Storables.com, at no extra cost. Learn more)
Introduction
Welcome to this article on how to turn on an HVAC system. HVAC, which stands for Heating, Ventilation, and Air Conditioning, is an essential component of any modern home or building. It ensures a comfortable indoor environment by regulating temperature, humidity, and air quality. However, if you’re new to using an HVAC system or have recently installed one, you may be unsure of how to turn it on or get it up and running.
In this article, we will guide you through the process of turning on your HVAC system, step by step. Whether you’re using a central air conditioning unit, a ductless mini-split system, or a heat pump, the instructions provided here will help you power it on and start enjoying the benefits of a well-controlled indoor climate.
Before we dive into the steps, it’s worth mentioning that HVAC systems can vary in terms of configuration and functionality. Therefore, the specific instructions in this article may not apply to every system. If you’re uncertain about any aspect of your HVAC system or if you encounter any issues while attempting to turn it on, it’s always best to consult the manufacturer’s instructions or contact a professional HVAC technician for assistance.
Now, let’s get started on turning on your HVAC system so you can experience the comfort it provides.
Key Takeaways:
- Master the art of turning on your HVAC system by locating its components, ensuring a reliable power supply, setting the thermostat to “ON,” adjusting temperature settings, and monitoring for proper functioning. Enjoy a well-regulated indoor environment!
- Regularly checking and maintaining your HVAC system’s air filters is crucial for efficient operation and good indoor air quality. Stay vigilant, address any issues promptly, and enjoy a comfortable and healthy indoor environment all year round!
Read more: How To Turn Off HVAC System
Step 1: Locate the HVAC System
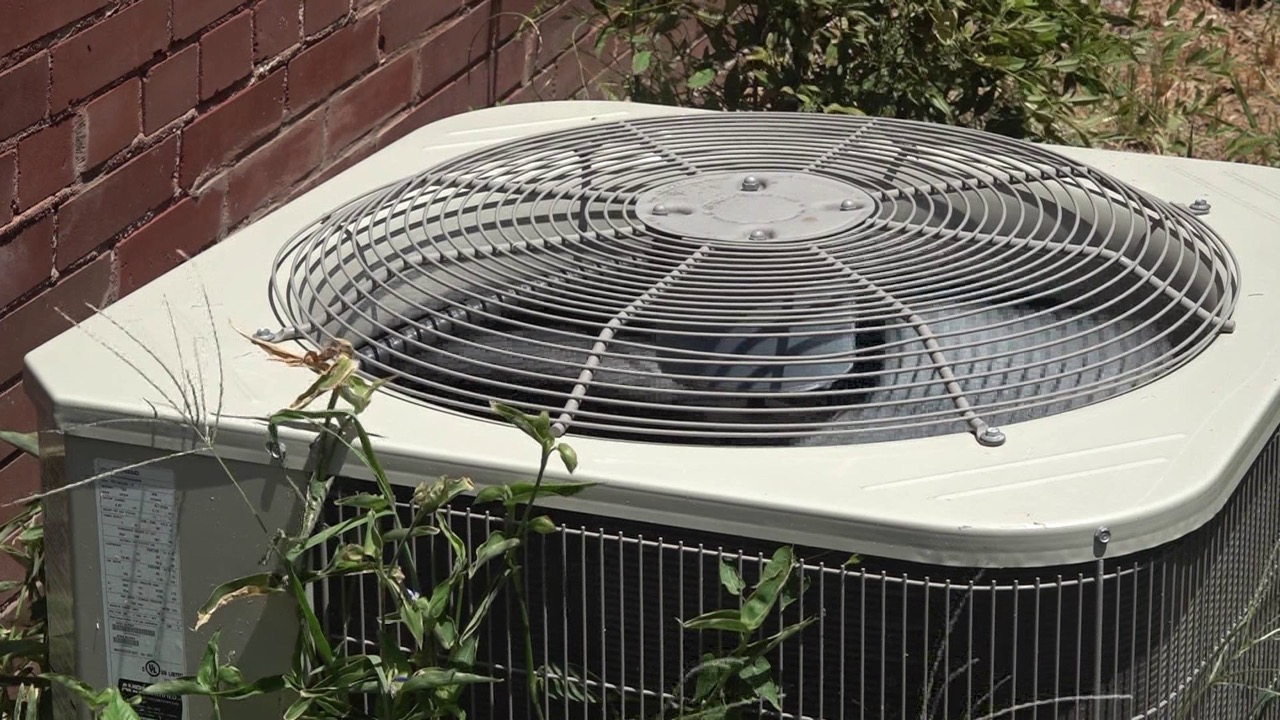
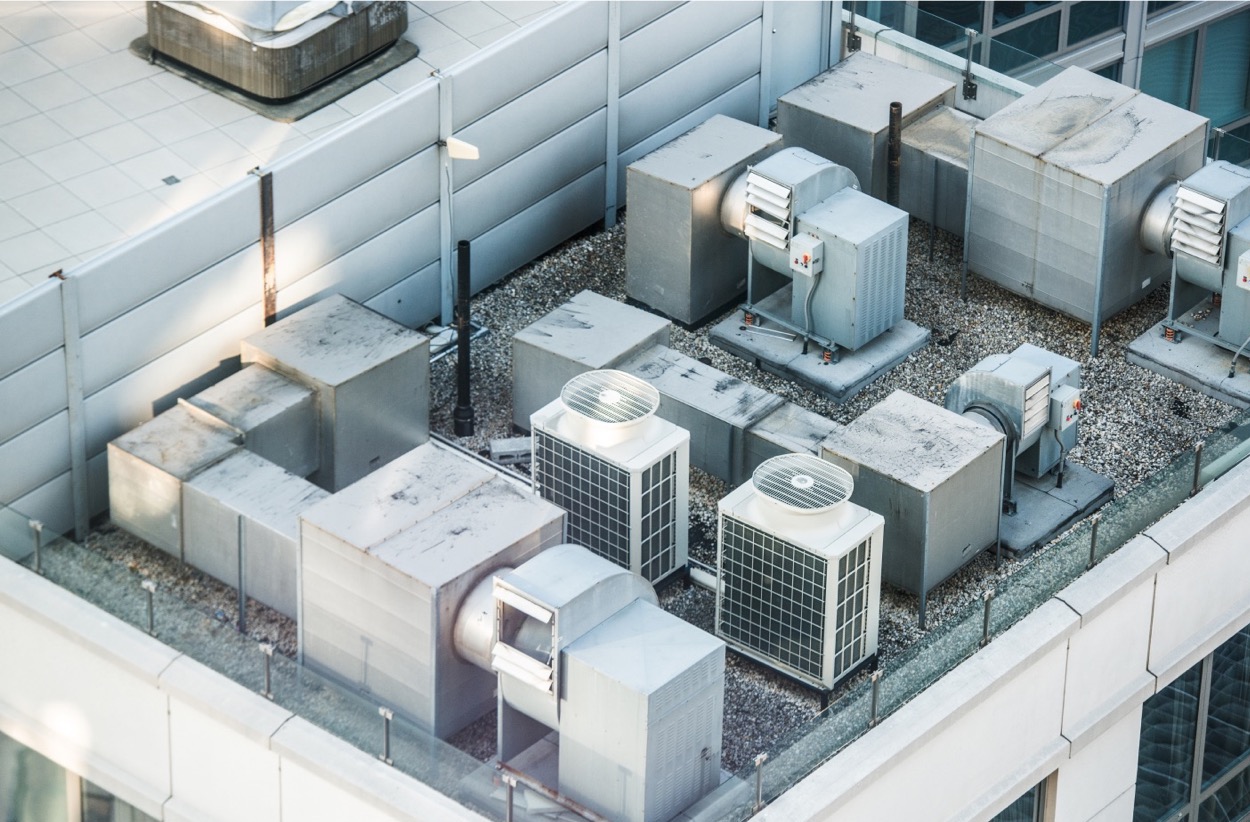
The first step in turning on your HVAC system is to locate its main components. Depending on the type of system you have, this may involve finding the central unit, the outdoor compressor, or the indoor fancoil unit.
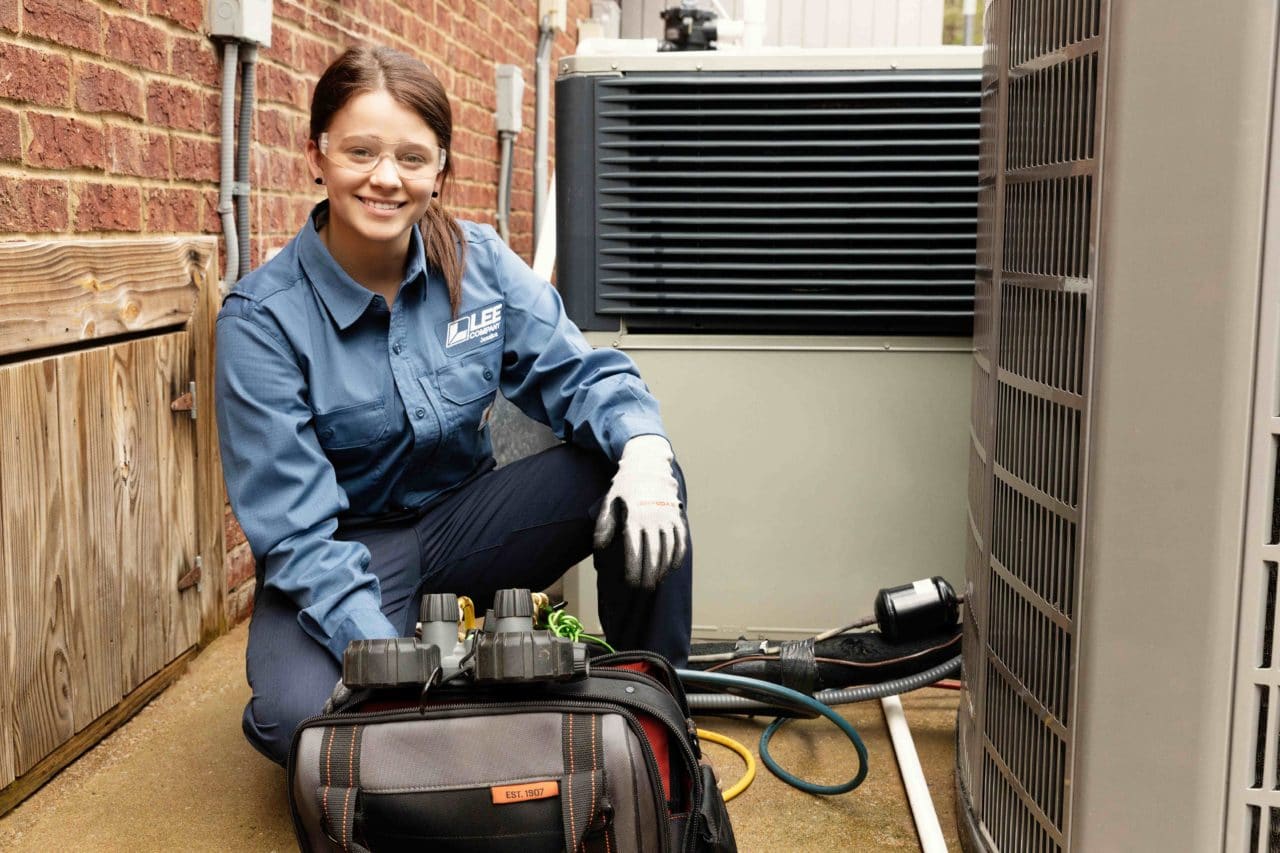
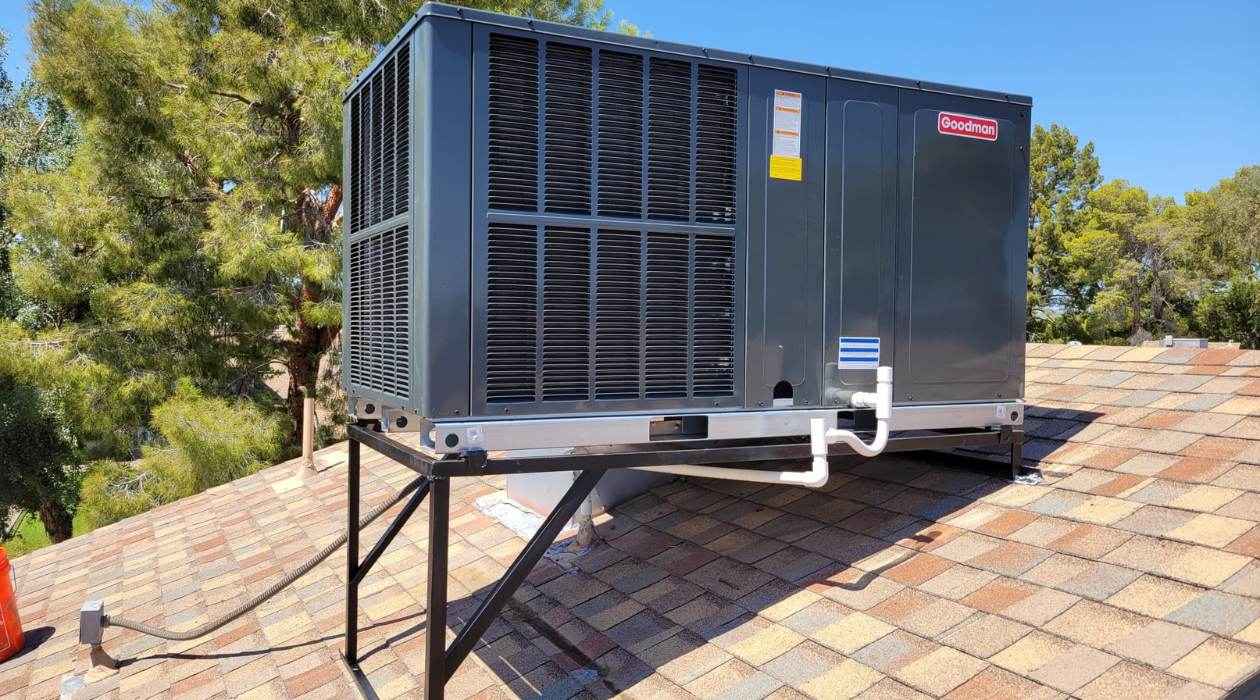
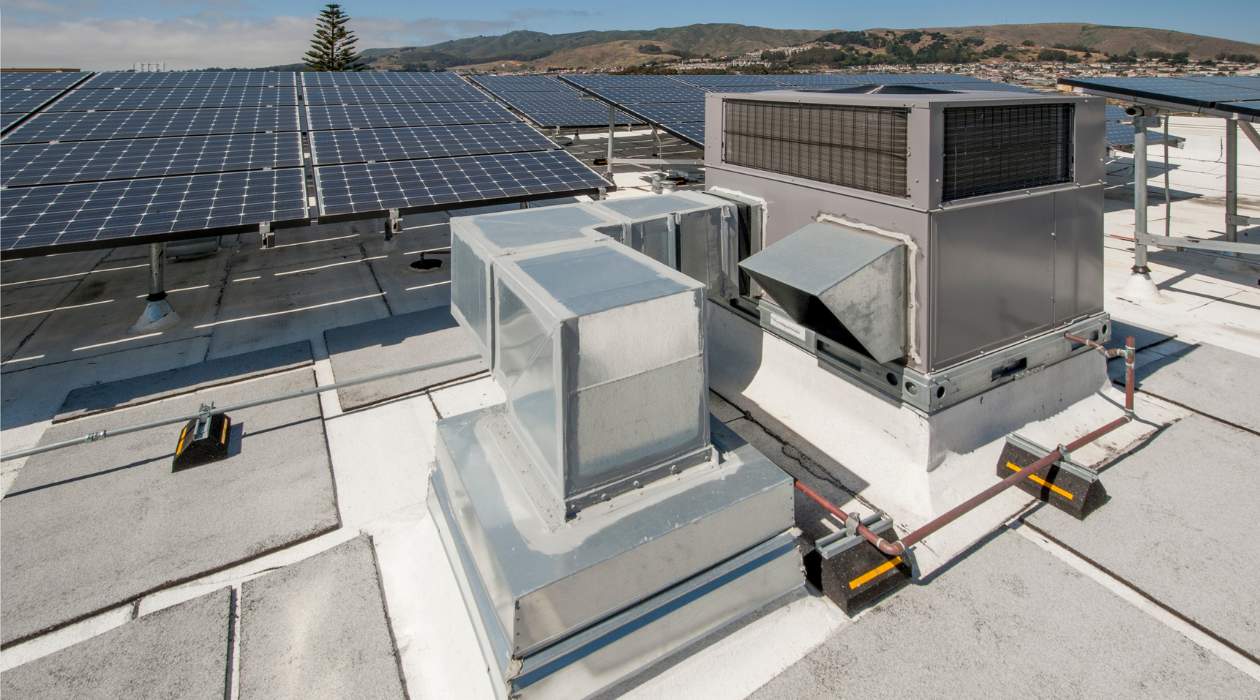
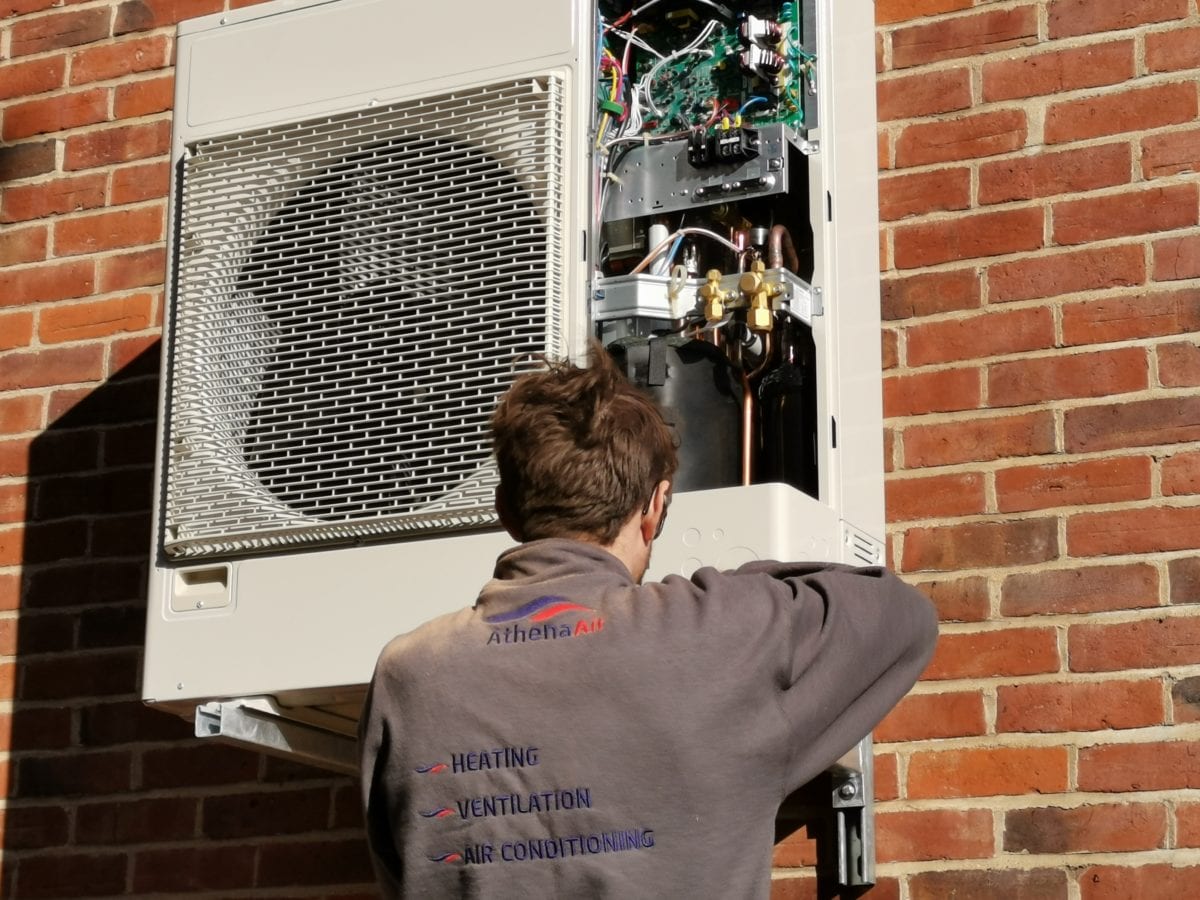
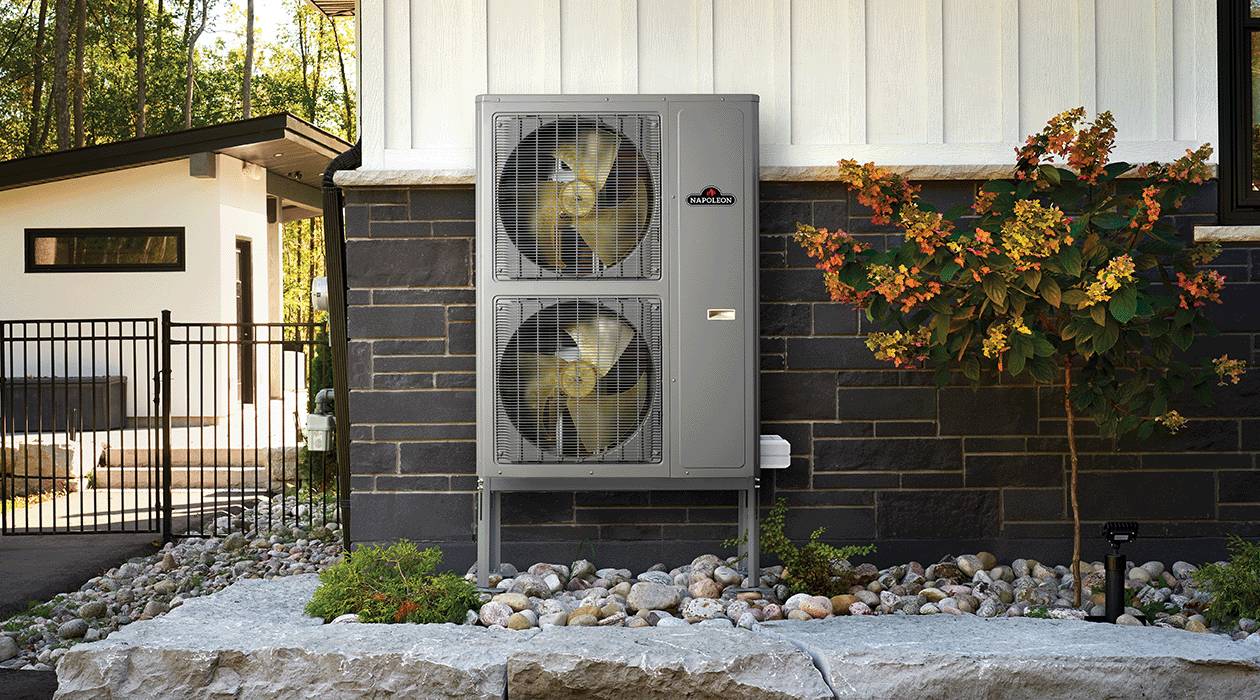
If you have a central air conditioning system or a heat pump, the main unit is typically located outside of your home. It is a large metal box that houses the compressor, condenser coil, and other essential components. Take a walk around the exterior of your home and look for this unit. It is usually positioned near the foundation or the side of the house.
For those with a ductless mini-split system, the indoor unit, also known as the fancoil unit, will be located inside your home. It is typically mounted on a wall or ceiling and contains the evaporator coil and fan. Take a survey of your rooms to find the fancoil unit in each area where you want to control the temperature.
Once you have successfully located the HVAC system and its components, you’re ready to move on to the next step.
Step 2: Ensure Power Supply
Before turning on your HVAC system, it’s crucial to ensure that it has a reliable power supply. Without power, the system won’t be able to operate and provide the desired heating or cooling.
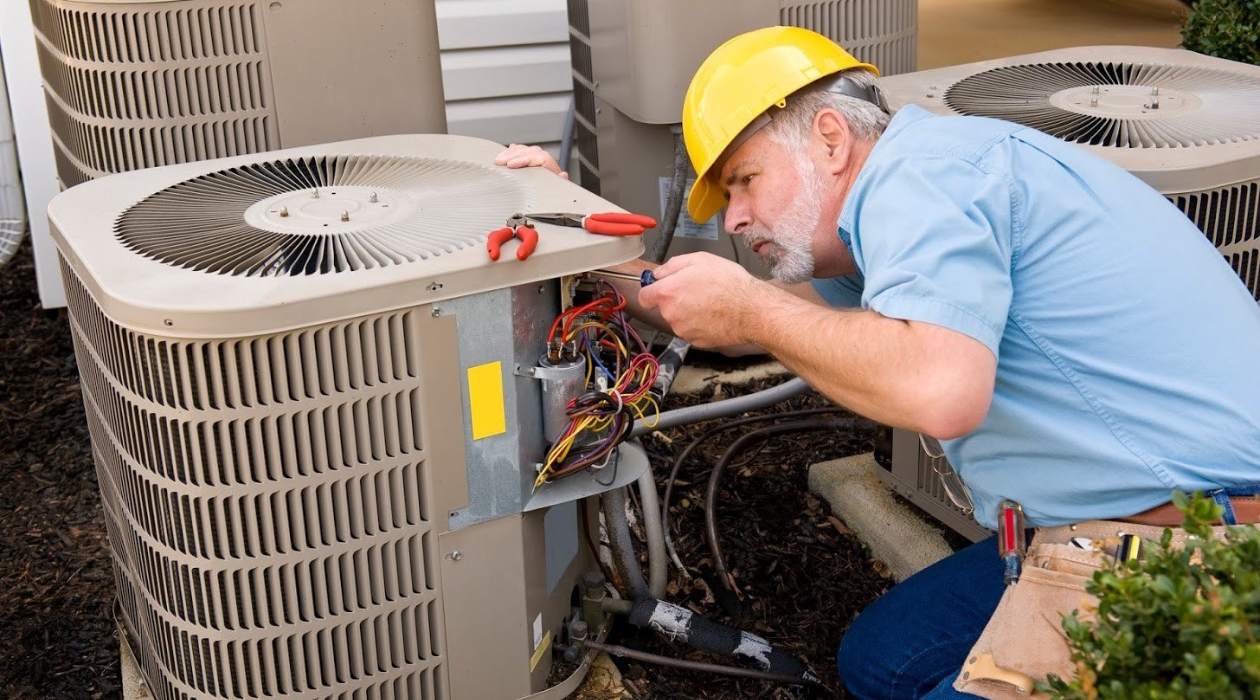
If you have a central air conditioning or heat pump system, you’ll typically find a disconnect box or switch near the outdoor unit. Open the box and check if the switch is in the “ON” position. If it’s in the “OFF” position, flip it to “ON” to restore power to the system.
For ductless mini-split systems, there is usually a power supply cable that connects the indoor unit to the outdoor compressor. Ensure that this cable is securely plugged into both units and that the power is turned on at the electrical panel.
In addition to checking the power supply, it’s essential to make sure that the circuit breaker or fuse for the HVAC system is in the “ON” position and hasn’t tripped. If the breaker has tripped or the fuse has blown, reset the breaker or replace the fuse with a new one of the same rating.
Always remember to prioritize your safety when dealing with electrical components. If you’re uncertain about any aspect of ensuring the power supply for your HVAC system, consult a certified electrician or HVAC technician for assistance.
Once you have confirmed that the power supply is secure, you’re ready to proceed with turning on your HVAC system.
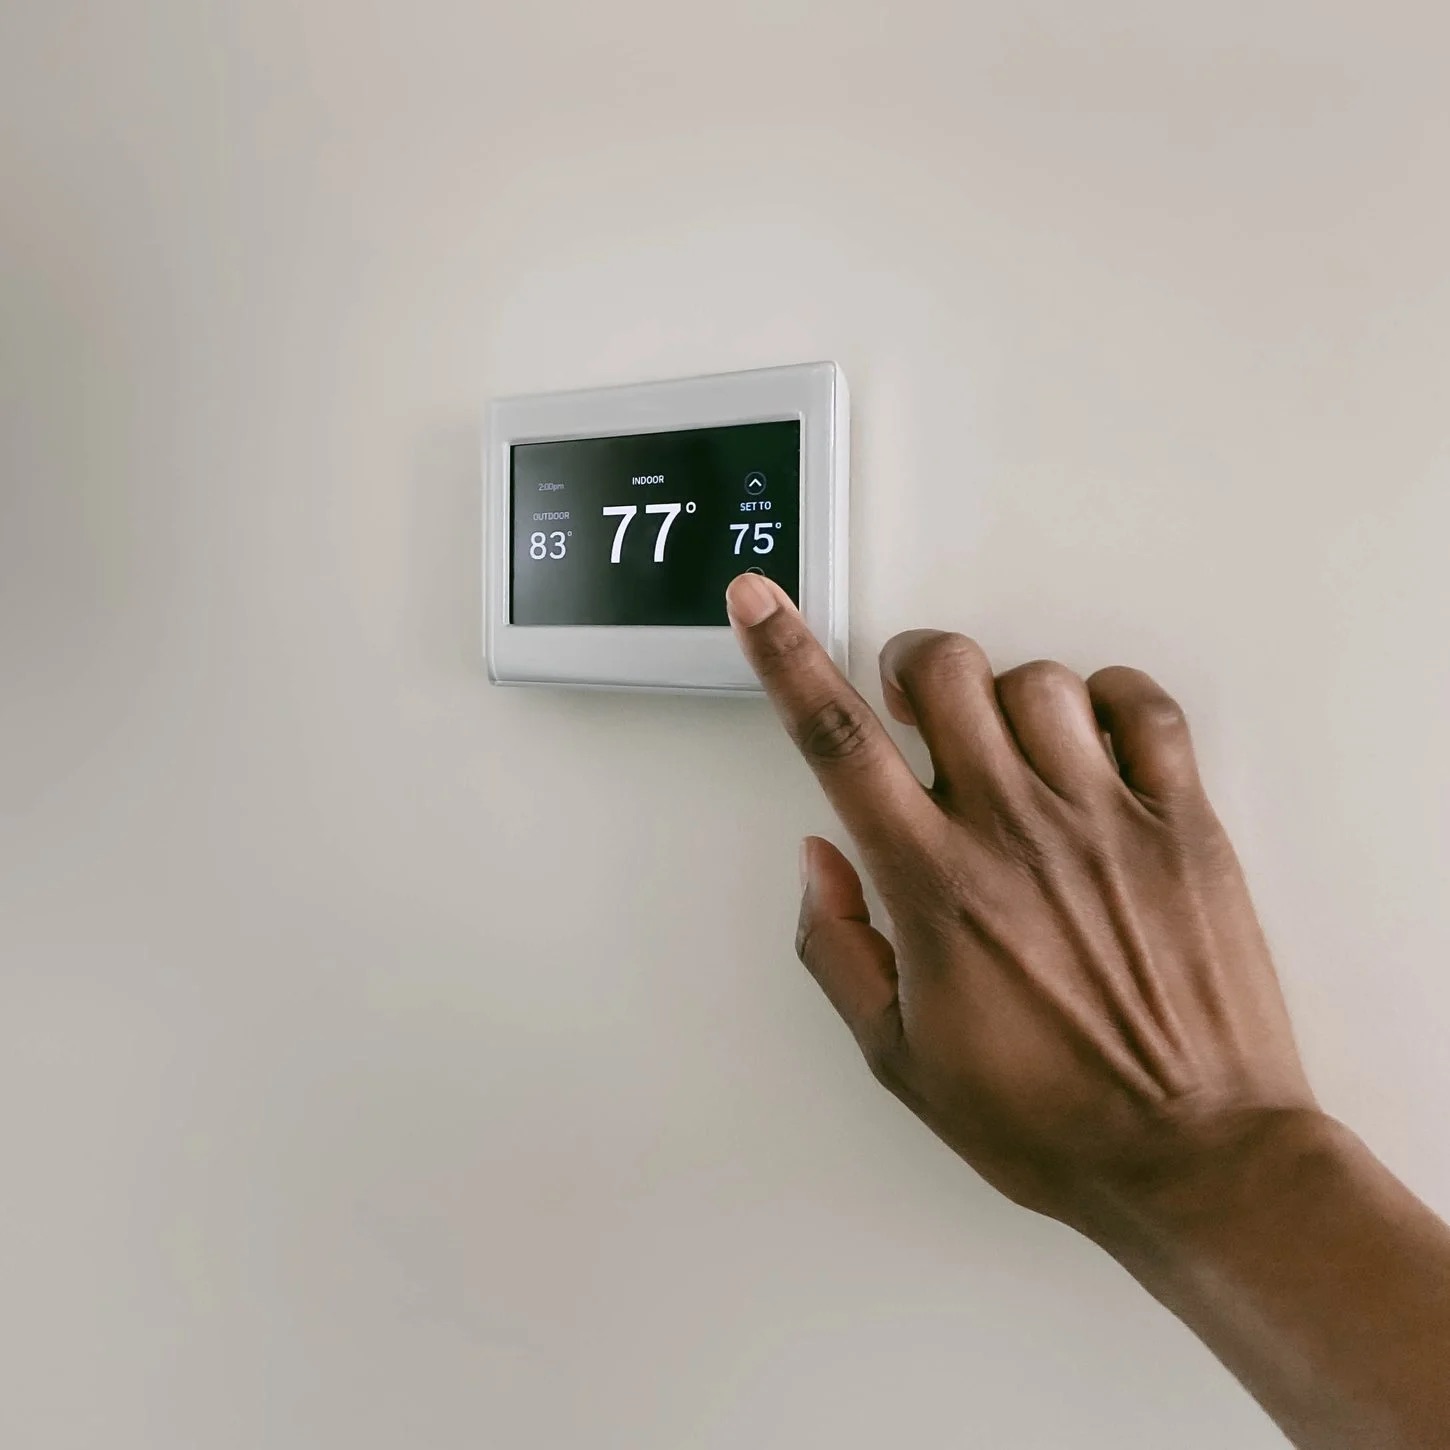
Step 3: Set the Thermostat to “ON”
Now that you’ve located your HVAC system and ensured a proper power supply, it’s time to set the thermostat to the “ON” position. The thermostat is a vital component that controls the operation and temperature settings of your HVAC system.
Most thermostats have a switch or button that allows you to toggle between different modes, such as “OFF,” “HEAT,” “COOL,” and “ON.” Locate this switch or button on your thermostat and set it to the “ON” position.
Setting the thermostat to “ON” will activate the fan or blower motor inside your HVAC system, providing continuous airflow even when heating or cooling is not needed. This helps to circulate the air in your home and maintain a consistent temperature throughout.
Keep in mind that some thermostats may have additional settings or features, such as fan speed control or programmable scheduling. Familiarize yourself with the controls and options specific to your thermostat, as this will allow you to optimize your HVAC system’s performance and energy efficiency.
If you’re unsure how to set your thermostat to “ON” or if you encounter any difficulties with the settings, consult the manufacturer’s instructions or seek assistance from an HVAC professional.
Once you have successfully set the thermostat to “ON,” you’re ready to move on to the next step and adjust the temperature settings.
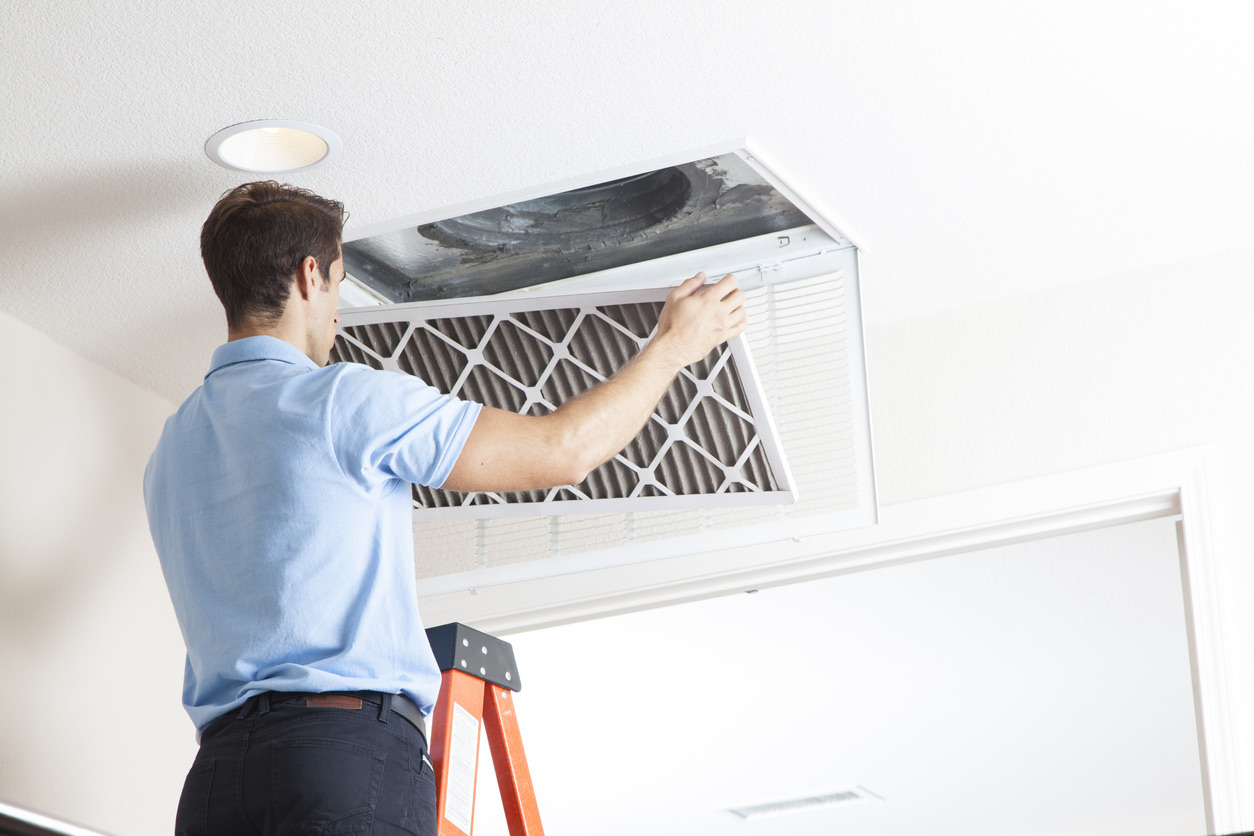
Before turning on your HVAC system, make sure to check and replace the air filters if necessary. This will ensure proper airflow and efficiency.
Step 4: Adjust Temperature Settings
After setting the thermostat to the “ON” position, the next step is to adjust the temperature settings according to your comfort preferences. The thermostat allows you to control the desired temperature to maintain a comfortable indoor environment.
On most thermostats, you’ll find buttons or a digital interface that allows you to increase or decrease the temperature. Simply press the up or down buttons to set your desired temperature. Some thermostats may also have a separate button for switching between heating and cooling modes.
When adjusting the temperature settings, it’s important to consider energy efficiency and cost savings. Setting the temperature a few degrees lower in the winter or higher in the summer can help reduce energy consumption and lower your utility bills.
Additionally, many thermostats nowadays come with programmable features that allow you to set different temperature levels for various times of the day. Take advantage of these features to create a customized schedule that aligns with your daily routine and saves energy when you’re away from home.
Remember that it may take some time for your HVAC system to reach the desired temperature, especially if there’s a significant difference between the set temperature and the current room temperature. Be patient and allow the system to work its way towards your preferred comfort level.
If you’re uncertain about how to adjust the temperature settings or if you have a smart thermostat that requires specific programming, refer to the manufacturer’s instructions or consult an HVAC technician for guidance.
Once you have set the temperature to your liking, you’re ready to move on to the next step and ensure the proper functioning of your HVAC system.
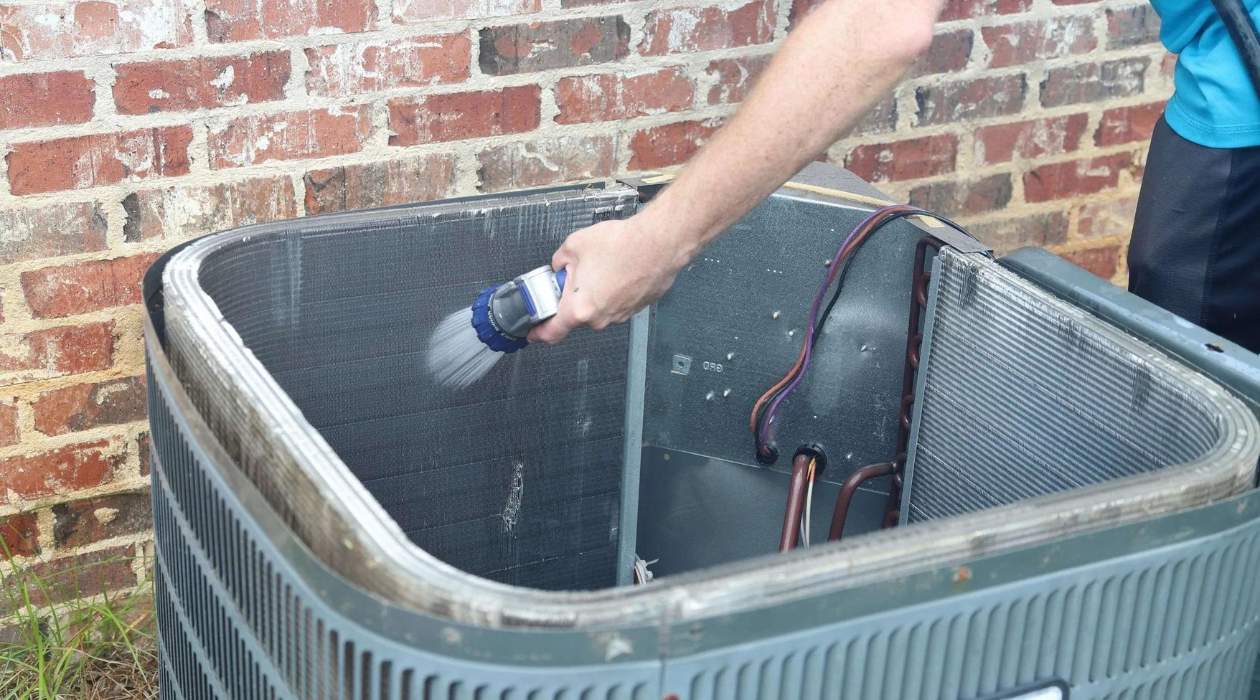
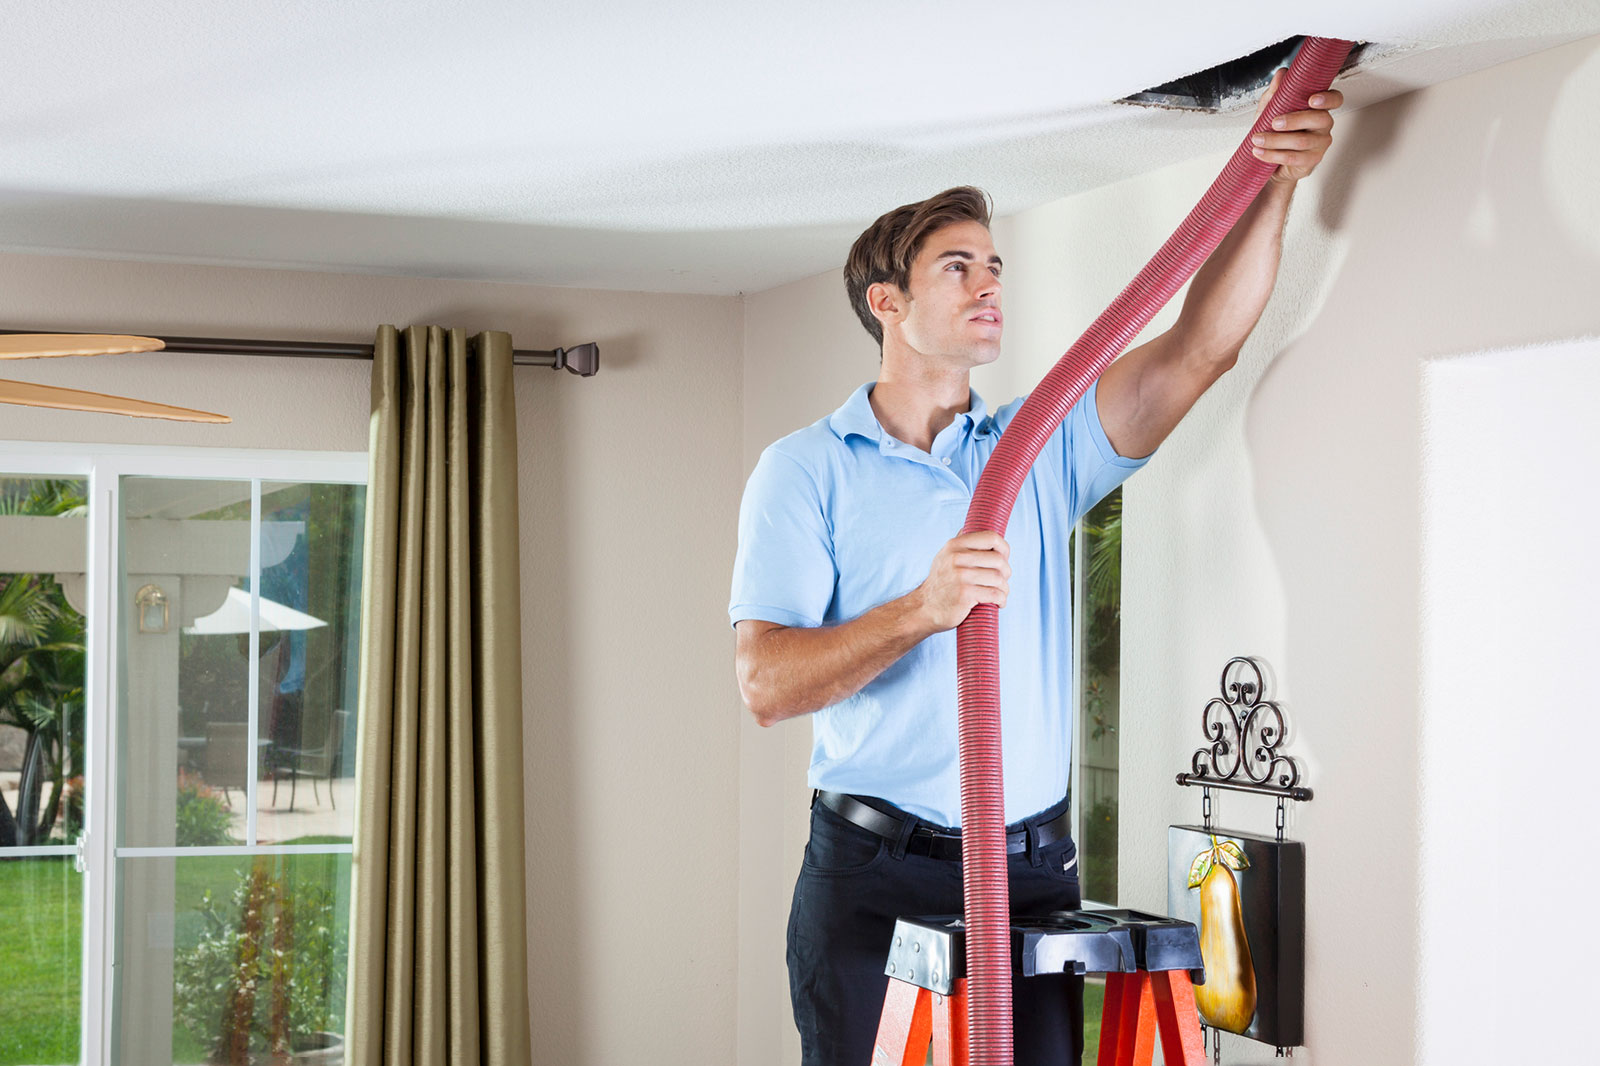
Step 5: Check Air Filters
Checking and maintaining the air filters of your HVAC system is essential for ensuring efficient operation and good indoor air quality. Over time, air filters can become clogged with dust, dirt, and other airborne particles, reducing the system’s airflow and potentially causing problems.
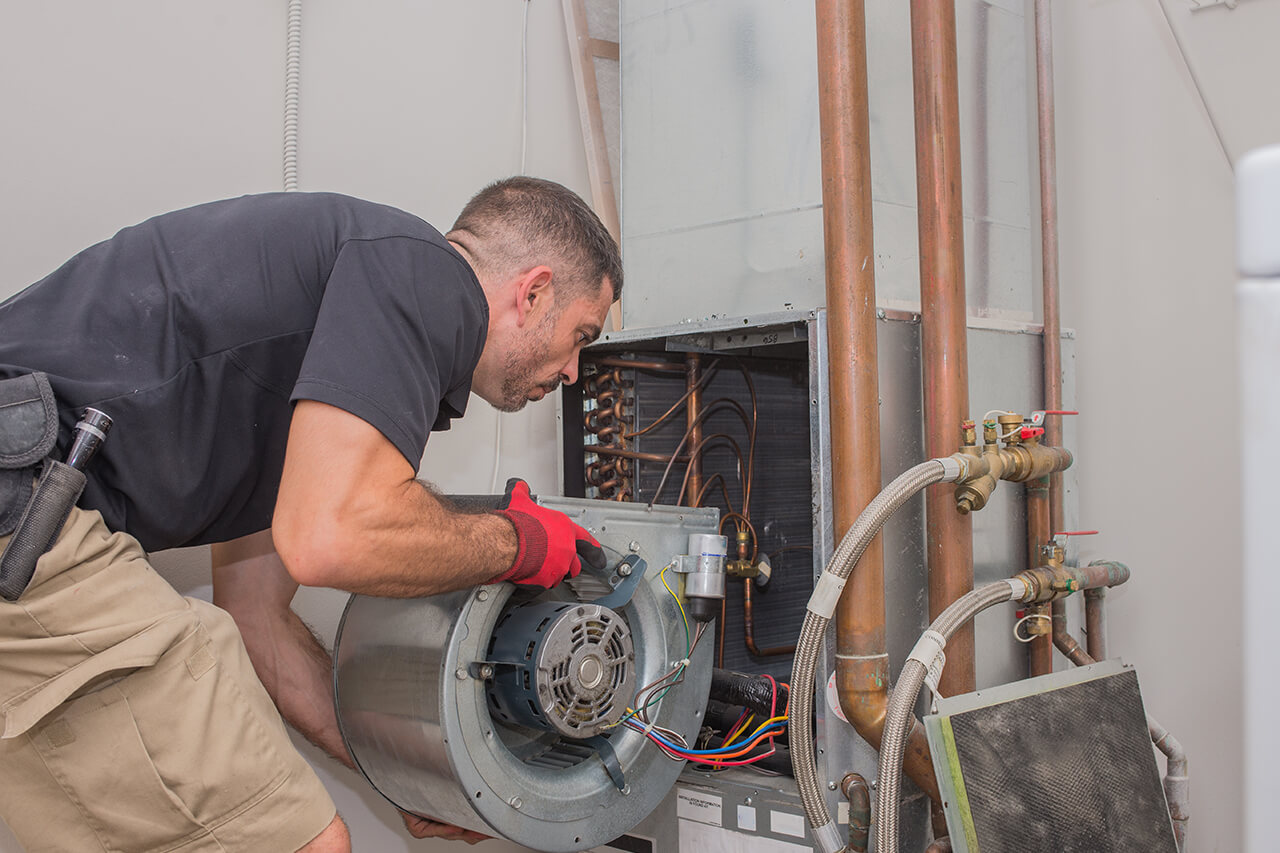
Locate the air filters in your HVAC system. For central air conditioning and heating systems, the filters are usually found near the air handler unit, typically in a slot or a compartment. In the case of ductless mini-split systems, the filters are often located behind a cover on the indoor unit.
Inspect the air filters and assess their condition. If the filters are visibly dirty or dusty, it’s time to clean or replace them. Cleaning methods vary depending on the type of filter. Disposable filters need to be replaced with new ones, while reusable filters can be vacuumed or washed, following the manufacturer’s instructions.
Regularly cleaning or replacing the air filters not only improves the system’s efficiency but also helps maintain better indoor air quality. Clean filters allow the system to operate smoothly and prevent dust and allergens from circulating throughout your home.
It’s recommended to check the air filters every one to three months, depending on usage and air quality. However, it’s a good idea to visually inspect the filters more frequently, especially during times of heavy use or if you have pets or allergies.
Remember that maintaining clean air filters is crucial for the longevity and performance of your HVAC system. Neglecting to clean or replace the filters can lead to decreased efficiency, increased energy consumption, and potential damage to the system.
Once you have checked and cleaned or replaced the air filters, you’re ready to move on to the final step of ensuring proper functioning.
Step 6: Monitor for Proper Functioning
After you have followed the previous steps to turn on your HVAC system and ensure its basic functionality, it’s important to monitor it regularly to ensure that it’s functioning properly. This will help you identify any potential issues early on and take appropriate action to maintain the system’s efficiency and performance.
Once your HVAC system is turned on, pay attention to the airflow coming from the vents. It should feel consistent and strong. If there’s weak airflow, it could indicate a blockage or a problem with the system that needs to be addressed.
Listen for any unusual noises that may be coming from the HVAC system. Hissing sounds or banging noises could be a sign of a malfunction or loose components. If you notice any unusual sounds, it’s best to contact an HVAC professional to diagnose and resolve the issue.
Monitor the temperature in your home or specific spaces regulated by the HVAC system. Ensure that the temperature remains consistent and matches the one set on the thermostat. If there’s a significant difference or the temperature fluctuates, it could indicate a problem with the system’s sensors or controls.
While running the HVAC system, keep an eye on any unusual odors. Musty, burning, or pungent smells could indicate issues with the system, such as mold, electrical problems, or gas leaks. If you detect any strange odors, it’s crucial to address them promptly for your safety and the system’s proper functioning.
Lastly, be mindful of any sudden increases in energy consumption or utility bills. Higher than normal energy usage could indicate inefficiencies in the HVAC system, such as air leaks or failing components.
If you notice any abnormalities or have concerns about the functioning of your HVAC system, it’s recommended to contact a professional HVAC technician. They have the expertise to diagnose and troubleshoot any issues, ensuring the system operates optimally and providing you with a comfortable indoor environment.
By monitoring the HVAC system regularly and addressing any problems promptly, you can maintain the efficiency, longevity, and reliability of your HVAC system.
Conclusion
Congratulations! You have successfully learned how to turn on your HVAC system and ensure its proper functioning. By following the steps outlined in this article, you can enjoy a comfortable, well-regulated indoor environment. Remember to refer to the specific instructions provided by your HVAC system’s manufacturer and consult a professional if you encounter any difficulties or have specific concerns.
Locating your HVAC system, ensuring a power supply, setting the thermostat to “ON,” adjusting temperature settings, checking air filters, and monitoring for proper functioning are all essential steps in maintaining an efficient and effective HVAC system.
Regular maintenance and upkeep of your HVAC system are crucial for optimal performance and energy efficiency. Keep in mind that scheduling periodic professional maintenance and cleaning, such as annual check-ups and air filter replacements, can greatly extend the life and efficiency of your system.
Remember, the HVAC system is designed to provide you with a comfortable and healthy indoor environment, so it’s important to stay vigilant and address any issues promptly. By taking proper care of your HVAC system, you can ensure its long-term functionality and minimize unexpected breakdowns.
Thank you for taking the time to read this article. We hope this guide has been helpful in teaching you how to turn on your HVAC system and maintain its operation. Enjoy the benefits of a well-controlled indoor climate all year round!
Frequently Asked Questions about How To Turn On HVAC System
Was this page helpful?
At Storables.com, we guarantee accurate and reliable information. Our content, validated by Expert Board Contributors, is crafted following stringent Editorial Policies. We're committed to providing you with well-researched, expert-backed insights for all your informational needs.


0 thoughts on “How To Turn On HVAC System”