Home>Home Maintenance>How To Home Repair A Torn Patio Umbrella Without Glue
Home Maintenance
How To Home Repair A Torn Patio Umbrella Without Glue
Modified: March 6, 2024
Learn how to repair a torn patio umbrella at home without using glue. Discover easy home maintenance techniques for fixing your umbrella and enjoying your outdoor space again.
(Many of the links in this article redirect to a specific reviewed product. Your purchase of these products through affiliate links helps to generate commission for Storables.com, at no extra cost. Learn more)
Introduction
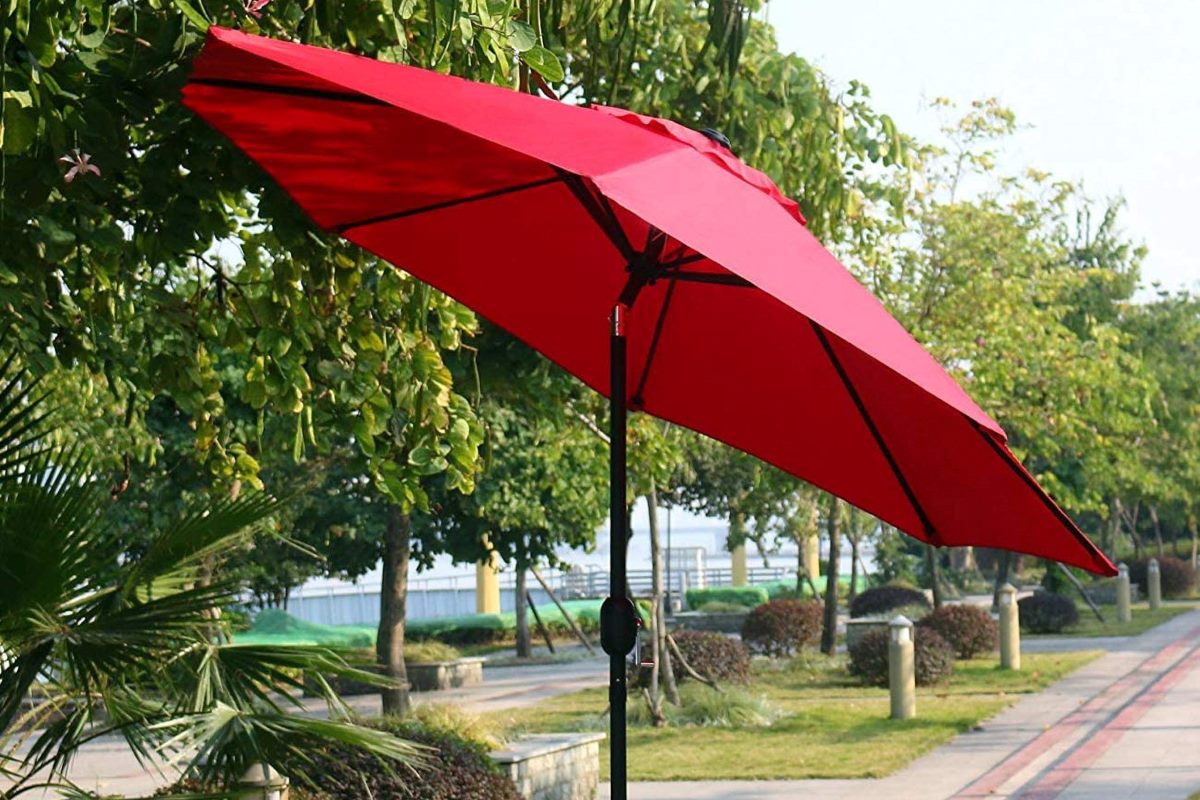
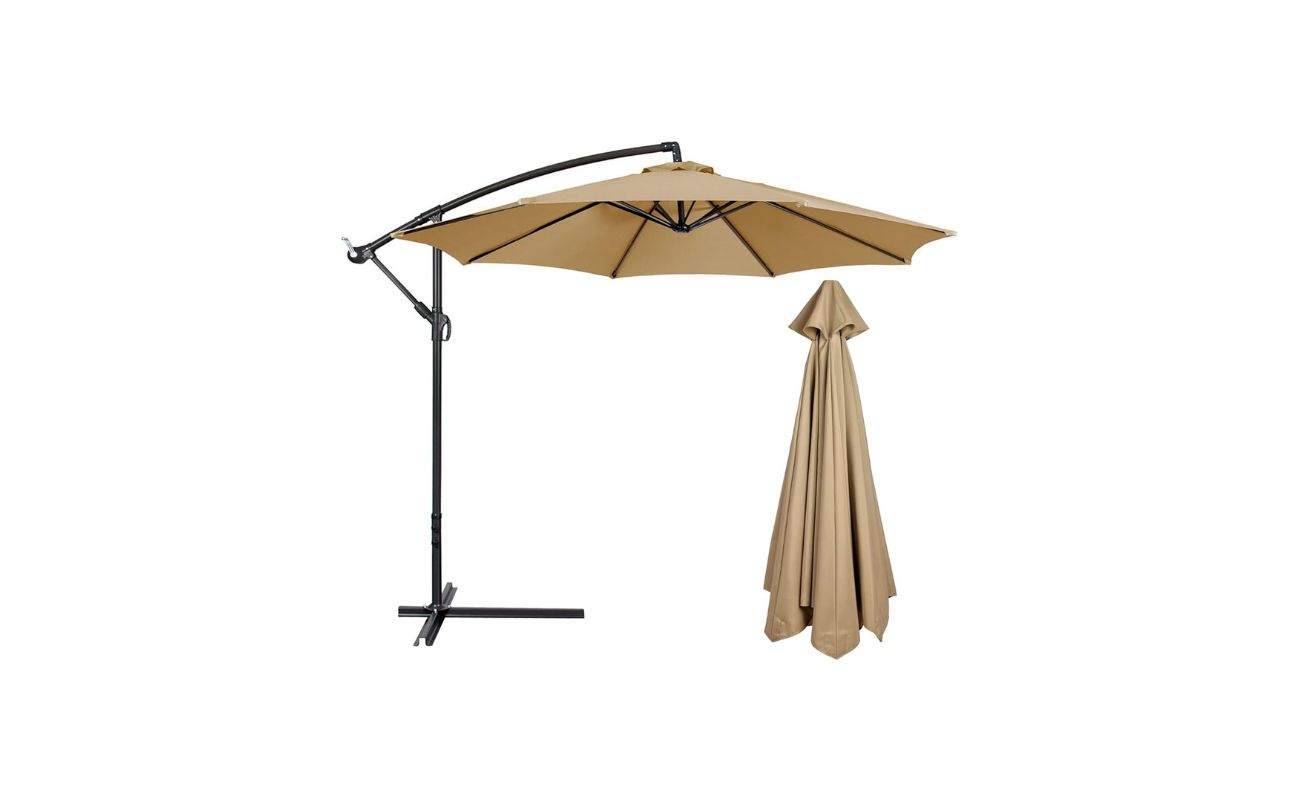
Having a torn patio umbrella can be frustrating, especially during the summer months when you want to enjoy the outdoors. However, there’s no need to worry! With a few simple steps and the right supplies, you can easily repair a torn patio umbrella without the use of glue.
Repairing a torn patio umbrella not only saves you money from having to purchase a new one, but it also allows you to continue using your favorite outdoor shade without any interruptions. Whether the tear is small or significant, this step-by-step guide will walk you through the process of repairing your patio umbrella with ease.
In this article, we will discuss the supplies you’ll need to gather, as well as the step-by-step instructions on how to repair a torn patio umbrella without glue. By following these simple steps, you’ll have your umbrella looking as good as new in no time!
Key Takeaways:
- Save money and enjoy the outdoors by repairing a torn patio umbrella without glue. With simple tools and careful stitching, you can extend the life of your favorite outdoor shade.
- Assess the damage, gather the right tools, and reinforce the repair with binding tape to ensure a durable and cost-effective fix for your torn patio umbrella.
Read more: How To Dye A Patio Umbrella
Supplies Needed
Before you begin the repair process, it’s important to gather all the necessary supplies. Here’s a list of items you’ll need:
- Scissors
- Heavy-duty thread (preferably nylon)
- Sewing needle
- Thimble
- Measuring tape
- Iron-on binding tape
- Iron
- Clamps or clothespins
- Markers or fabric chalk
- Safety pins
- Optional: sewing machine (if available)
Make sure you have all these supplies ready before starting the repair process. Having everything on hand will save you time and ensure a smooth repair process.
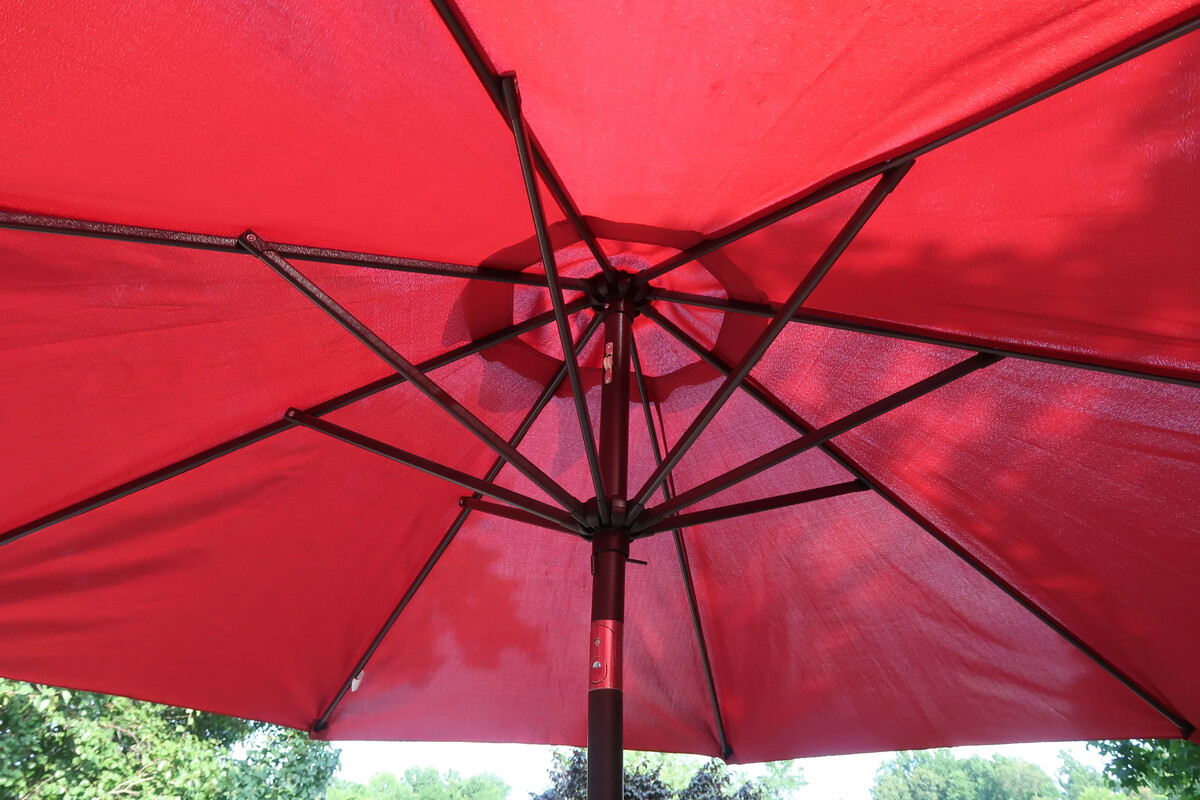
Step 1: Assess the Damage
The first step in repairing a torn patio umbrella is to assess the extent of the damage. Take a close look at the tear and determine its size and location. This will help you plan the repair process accordingly.
If the tear is small and relatively minor, you can easily fix it using a needle and thread. However, if the tear is large or in a critical area, such as the main canopy or the support ribs, you may need to consider professional repair or replacement.
It’s also important to check the overall condition of your patio umbrella. Look for any other signs of wear and tear, such as weakened fabric or loose stitching. Addressing these issues along with the tear will help ensure the longevity of your umbrella.
Once you have assessed the damage and determined it’s repairable, you can proceed to the next step of gathering the necessary tools to complete the repair.
Step 2: Gather Necessary Tools
Now that you’ve assessed the damage and confirmed that the tear in your patio umbrella is repairable, it’s time to gather the necessary tools you’ll need for the repair process.
Here’s a list of the tools you’ll need:
- Scissors: You’ll need a pair of sharp scissors to cut through the fabric cleanly.
- Heavy-duty thread: Opt for nylon thread, as it is durable and weather-resistant.
- Sewing needle: Choose a needle that is suitable for heavy fabrics and has a large enough eye to thread the nylon thread through.
- Thimble: Using a thimble will protect your finger while pushing the needle through thick fabric.
- Measuring tape: It’s essential to measure the length of the tear accurately to determine the amount of thread you’ll need and ensure a precise repair.
- Iron-on binding tape: This tape is used to reinforce the fabric and provide extra strength to the repaired area.
- Iron: The iron is required to activate the adhesive on the binding tape and bond it firmly to the fabric.
- Clamps or clothespins: These will help hold the fabric in place while you work on the repair.
- Markers or fabric chalk: These tools can be used to mark the areas for stitching and ensure accuracy in aligning the fabric.
- Safety pins: Safety pins are useful for temporarily securing the fabric together during the repair process.
- Optional: Sewing machine: If you have access to a sewing machine and are comfortable using it, it can speed up the repair process.
Make sure you have all these tools before you begin the repair process. Having everything ready will make the process more efficient and seamless.
Step 3: Prepare the Fabric
Before you start stitching the tear in your patio umbrella, it’s important to prepare the fabric to ensure a clean and secure repair. Follow these steps to properly prepare the fabric:
- Trim any frayed edges: Use a pair of sharp scissors to trim any frayed edges around the tear. This will prevent further unraveling of the fabric.
- Clean the area: If the tear is dirty or has debris stuck to it, gently clean the area with a mild detergent and water. Make sure to thoroughly rinse and allow the fabric to dry completely before proceeding.
- Mark the tear: Use a marker or fabric chalk to mark the outline of the tear. This will serve as a guide for stitching and ensure that the repair is aligned properly.
- Secure the fabric: If the tear is larger or on a curved surface, use safety pins to temporarily hold the torn edges together. This will prevent the fabric from shifting or moving during the repair process.
By taking the time to properly prepare the fabric, you’ll create a stable foundation for the repair and ensure better results. Once the fabric is ready, you can move on to the next step of stitching the tear.
You can repair a torn patio umbrella without glue by using a patch kit specifically designed for outdoor fabrics. Clean the area around the tear, apply the patch according to the instructions, and let it dry completely before using the umbrella again.
Read more: How To Choose A Patio Umbrella
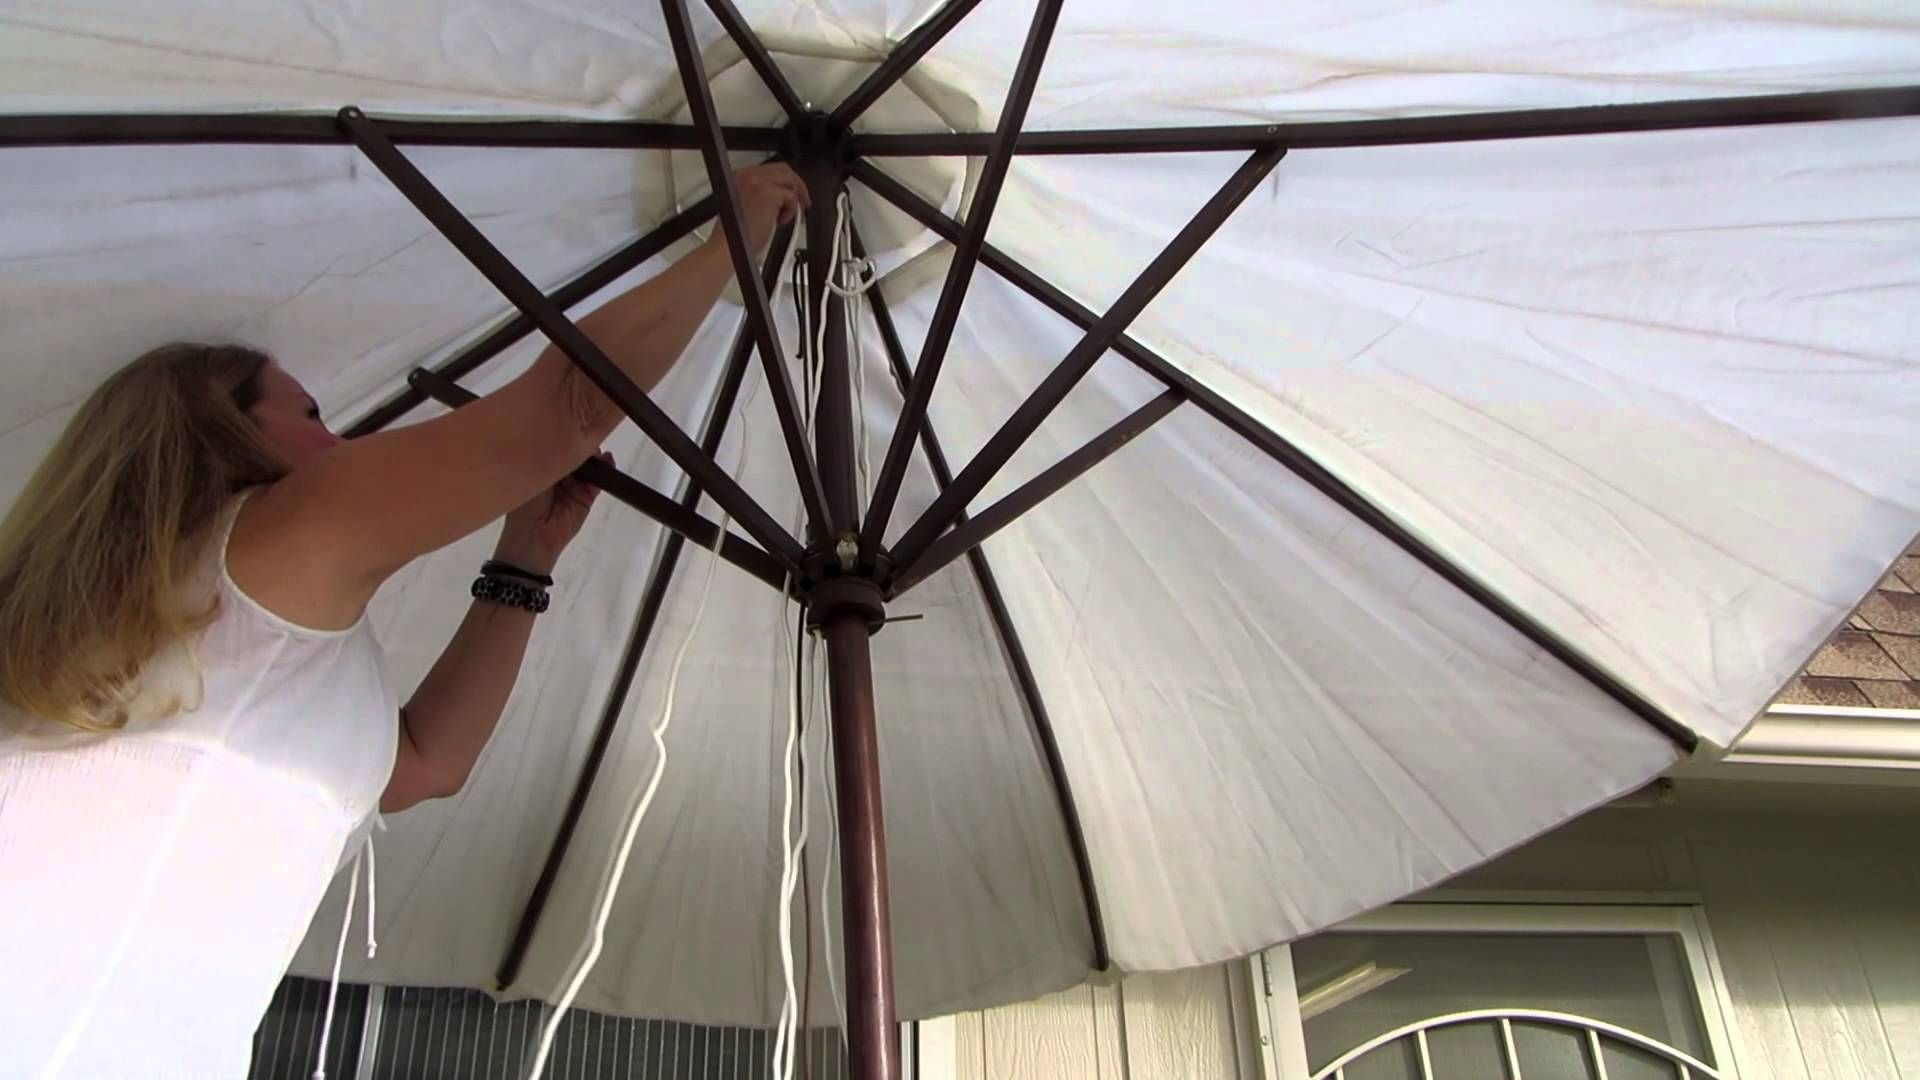
Step 4: Stitch the Tear
Now that the fabric is prepared, it’s time to stitch the tear in your patio umbrella. Follow these steps to ensure a secure and durable repair:
- Thread the needle: Thread a needle with a length of heavy-duty nylon thread. Double the thread for added strength.
- Start the stitch: Begin stitching from the inside of the umbrella fabric, so the knot is not visible on the outside. Insert the needle through the fabric, close to the edge of the tear, and pull it through until the knot catches on the inside.
- Choose a stitch: There are a few stitch options you can use, depending on the size and type of tear. The most common stitches include the running stitch, backstitch, or ladder stitch. Choose a stitch that provides good strength and blends in well with the fabric.
- Stitch along the tear: Work your way along the tear, stitching closely and evenly. Keep the stitches tight but not so tight that they distort the fabric. If necessary, use the markers or fabric chalk lines as a guide to maintain a straight stitch.
- Secure the end: When you reach the end of the tear, create a secure finish by making several small backstitches or knotting the thread. Trim any excess thread.
Remember to take your time with the stitching process and ensure that each stitch is even and secure. This will provide a strong foundation for the repair and ensure long-lasting results. Once the tear is stitched, you can proceed to reinforce the repair with binding tape.
Step 5: Reinforce with Binding Tape
After stitching the tear in your patio umbrella, it’s essential to reinforce the repair and add extra strength to the fabric. This is where the iron-on binding tape comes into play. Follow these steps to reinforce the repair with binding tape:
- Cut the binding tape: Measure the length of the repaired tear and cut a piece of iron-on binding tape to match that length.
- Position the tape: Place the binding tape over the stitched tear, aligning it with the torn edges. Make sure the tape covers both the front and back sides of the tear.
- Secure the tape: Use clamps or clothespins to hold the tape in place, ensuring it remains flat and secure during the ironing process.
- Activate the adhesive: Set your iron to the appropriate temperature and carefully apply heat to the binding tape. Follow the manufacturer’s instructions for the specific type of tape you’re using.
- Iron the tape: Move the iron back and forth over the tape, applying even pressure. This will activate the adhesive and bond the tape to the fabric.
- Allow the tape to cool: Once you’ve ironed the binding tape, allow it to cool and set for a few minutes. This will ensure a strong and durable bond with the fabric.
The iron-on binding tape provides additional reinforcement to the repaired tear, preventing further tearing or unraveling. It also gives a neat and professional finish to your repair. Once the binding tape is secured and cooled, you can move on to the final step of testing the repair.
Step 6: Test the Repair
Now that you’ve completed the repair process for your torn patio umbrella, it’s crucial to test the repair to ensure its effectiveness and durability. Follow these steps to properly test the repair:
- Open the umbrella: Fully extend and open the repaired patio umbrella, making sure to engage all the necessary mechanisms.
- Check the tear: Examine the repaired area closely, paying attention to the stitching and binding tape. Look for any signs of tension or strain that may suggest the repair is not holding up properly.
- Test stability: Gently shake or wiggle the umbrella to see if the repair holds strong. Pay attention to any movement or looseness in the repaired area.
- Observe in different conditions: If possible, test the repaired umbrella in various weather conditions, such as light rain or wind, to evaluate its performance.
- Make adjustments if necessary: If you notice any issues or weaknesses in the repair, consider reinforcing it further with additional stitching or binding tape. You can also contact a professional for further advice if needed.
By thoroughly testing the repair, you can ensure that your patio umbrella is ready to withstand outdoor conditions and provide the shade and protection you need. If the repair passes the test, congratulations! You’ve successfully repaired your torn patio umbrella without the use of glue.
Conclusion
Repairing a torn patio umbrella without the use of glue is a cost-effective and practical solution to extend its lifespan and continue enjoying outdoor relaxation. By following the step-by-step guide outlined in this article and using the proper tools, you can easily mend a torn patio umbrella and ensure its durability.
Remember to start by assessing the damage and determining if the tear is repairable. Gather all the necessary supplies, including scissors, heavy-duty thread, a sewing needle, thimble, measuring tape, iron-on binding tape, and clamps or clothespins. Once you’re prepared, carefully trim any frayed edges and clean the area around the tear. Mark the tear and secure the fabric before stitching it using a suitable stitch pattern.
To reinforce the repair and add strength, apply iron-on binding tape over the stitched tear. Ensure the tape covers both the front and back sides of the tear and activate the adhesive with an iron. Allow the tape to cool and set before testing the repair.
Take the time to test the repaired patio umbrella by opening it fully and assessing the stitching, binding tape, and overall stability. Make any necessary adjustments or reinforcements to ensure the repair is secure and can withstand various weather conditions.
Repairing a torn patio umbrella without glue not only saves you money but also enables you to continue enjoying outdoor comfort and shade. With proper care and maintenance, your repaired patio umbrella can provide many more seasons of relaxation and protection.
Before embarking on any repair, it’s essential to assess your own skill level and consider seeking professional assistance if necessary. A professional repair might be required for severe tears or critical areas of the umbrella.
Remember, repairing your torn patio umbrella is a satisfying and rewarding DIY project that can be accomplished with a little effort and the right tools. So, don’t let a small tear prevent you from enjoying the great outdoors. Grab your supplies and get started on repairing your patio umbrella today!
Frequently Asked Questions about How To Home Repair A Torn Patio Umbrella Without Glue
Was this page helpful?
At Storables.com, we guarantee accurate and reliable information. Our content, validated by Expert Board Contributors, is crafted following stringent Editorial Policies. We're committed to providing you with well-researched, expert-backed insights for all your informational needs.