Home>Furniture>Outdoor Furniture>How To Replace A Patio Umbrella Canopy
Outdoor Furniture
How To Replace A Patio Umbrella Canopy
Modified: March 7, 2024
Learn how to easily replace the canopy of your outdoor furniture patio umbrella with our step-by-step guide. Don't let a worn-out canopy ruin your outdoor enjoyment!
(Many of the links in this article redirect to a specific reviewed product. Your purchase of these products through affiliate links helps to generate commission for Storables.com, at no extra cost. Learn more)
Introduction
Welcome to this comprehensive guide on how to replace a patio umbrella canopy. As outdoor furniture enthusiasts, we know that patio umbrellas are not only functional but also add aesthetic appeal to our outdoor spaces. However, over time, the canopy of your patio umbrella can get damaged or faded due to prolonged exposure to the elements.
Replacing the canopy is a cost-effective way to breathe new life into your outdoor furniture and ensure your patio umbrella continues to provide much-needed shade and protection. In this step-by-step guide, we will walk you through the process of replacing a patio umbrella canopy, ensuring that you have the necessary instructions and tips to successfully complete the task.
Before we dive into the process, it’s important to note that the specific steps may vary depending on the type and model of your patio umbrella. Therefore, it’s always a good idea to consult the manufacturer’s instructions for your particular umbrella. With that said, let’s get started on giving your patio umbrella a fresh new look!
Key Takeaways:
- Refresh your patio umbrella by replacing the canopy with the right materials and careful installation. Enjoy a stylish and functional outdoor space with a cost-effective upgrade.
- Test the umbrella’s functionality after replacement to ensure smooth operation and adequate shade. Follow manufacturer’s guidelines and seek professional help if needed for a successful canopy replacement.
Read more: How To Dye A Patio Umbrella
Step 1: Prepare the necessary materials
Before you begin the process of replacing the patio umbrella canopy, it’s essential to gather all the necessary materials. Having everything ready beforehand will ensure a smooth and efficient process. Here are the materials you’ll need:
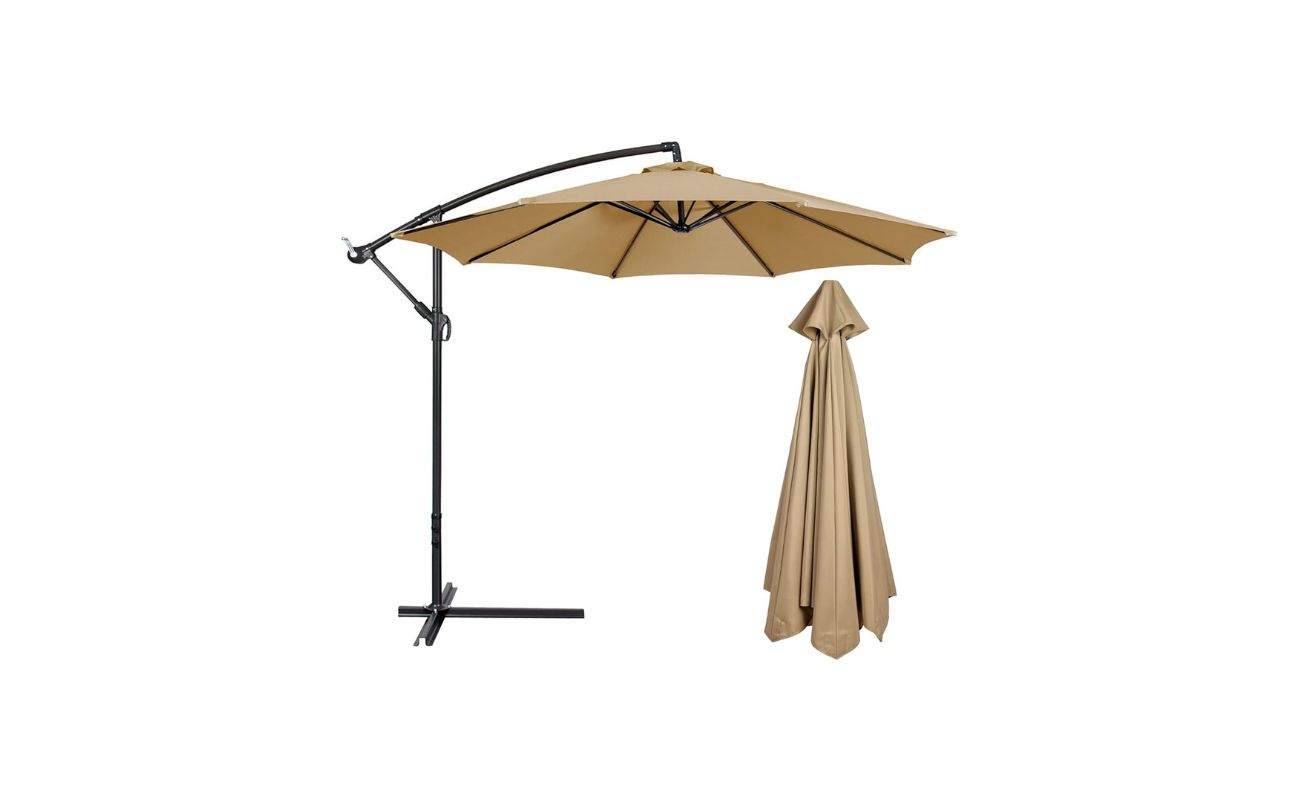
- Replacement canopy: Measure the dimensions of your current canopy to ensure you choose the right size and shape.
- Scissors or a utility knife: These will be used to remove the old canopy and make any necessary adjustments to the new one.
- Measuring tape: You’ll use this to measure the dimensions of your patio umbrella frame.
- Pins or clips: These will be used to secure the new canopy to the frame.
- Thread and needle: These are optional but can be handy if you need to make any small repairs or adjustments to the canopy.
- A clean cloth or sponge: This will come in handy for cleaning the frame and removing any dirt or debris.
- Optional: If your patio umbrella has additional features such as lights or a tilt mechanism, you may need additional tools or parts to detach and reattach these components.
Once you have gathered all the necessary materials, you’re ready to move on to the next step: removing the existing canopy.
Step 2: Remove the existing canopy
Now that you have gathered all the necessary materials, it’s time to remove the existing canopy from your patio umbrella. Follow these steps to ensure a seamless removal process:
- Open your patio umbrella fully to expose the canopy.
- Inspect the canopy and locate any attachment points or fasteners. These may include screws, pins, or clips.
- Using the appropriate tools, carefully remove the fasteners securing the canopy to the frame. Take note of how the canopy is attached, as this will help with the installation of the new canopy.
- Once you have removed all the fasteners, gently detach the canopy from the frame, being mindful not to cause any damage to the frame or other components of the umbrella.
- If the canopy is stuck or difficult to remove, it may be helpful to enlist the assistance of a friend to hold the frame steady while you work on removing the canopy.
- Once the canopy is detached, inspect it for any signs of damage or wear. This will help you determine if you need to make any repairs or if it’s time to replace the entire canopy.
- Dispose of the old canopy responsibly, either by recycling it or by placing it in the appropriate waste receptacle.
With the existing canopy removed, you’re now ready to move on to the next step: measuring the dimensions of the patio umbrella frame.
Step 3: Measure the dimensions of the patio umbrella frame
Before selecting a replacement canopy, it’s crucial to accurately measure the dimensions of your patio umbrella frame. This will ensure that the new canopy fits properly and securely. Follow these steps to measure the dimensions:
- Start by fully extending your patio umbrella and ensuring it is stable and securely positioned.
- Take a measuring tape and measure the length from one end of the top of the frame to the opposite end. This will give you the diameter of the umbrella.
- Next, measure the height of the frame by measuring from the top of the frame to the bottom.
- Take note of these measurements, as they will be crucial when selecting a replacement canopy.
- In addition to the diameter and height, you should also measure the size and location of any attachment points or mechanisms on the frame. This will help you ensure that the new canopy is compatible with your specific umbrella model.
- Double-check your measurements to ensure accuracy.
With the dimensions of your patio umbrella frame recorded, you’re now ready to move on to the next step: selecting a suitable replacement canopy.
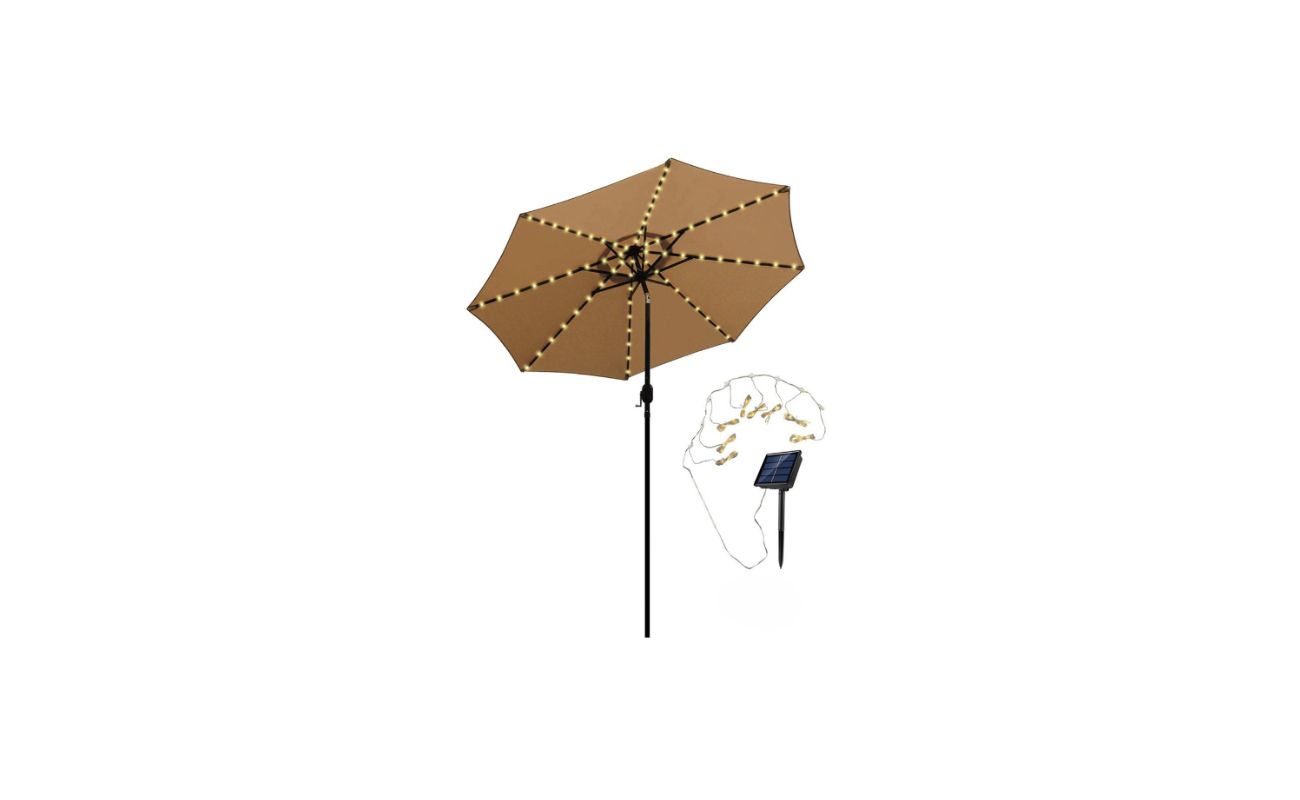
Step 4: Select a suitable replacement canopy
Now that you have measured the dimensions of your patio umbrella frame, it’s time to select a replacement canopy that fits perfectly. Here are some key factors to consider when choosing a suitable replacement:
- Size and shape: Ensure that the replacement canopy matches the diameter and height of your umbrella frame. It should fit snugly and cover the entire frame when opened.
- Material: Consider the material of the canopy. Popular options include polyester, olefin, and acrylic. Each material has its own advantages in terms of durability, UV protection, and water resistance.
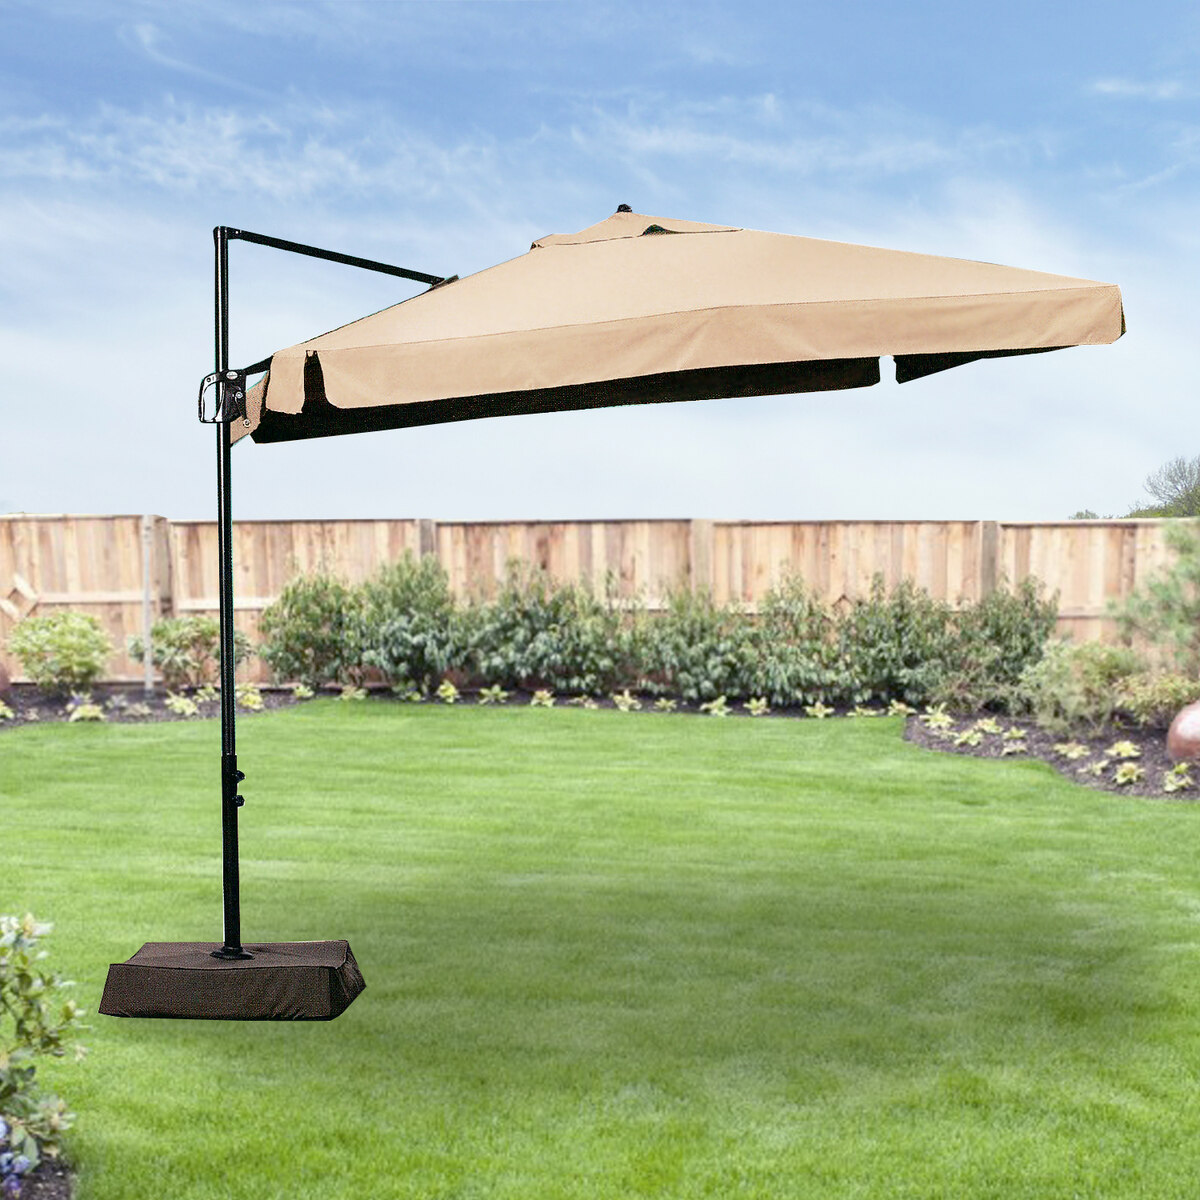
- Color and design: Select a canopy color and design that complements your outdoor space and personal preferences. Whether you prefer vibrant shades or neutral tones, choose a canopy that enhances the overall aesthetic.
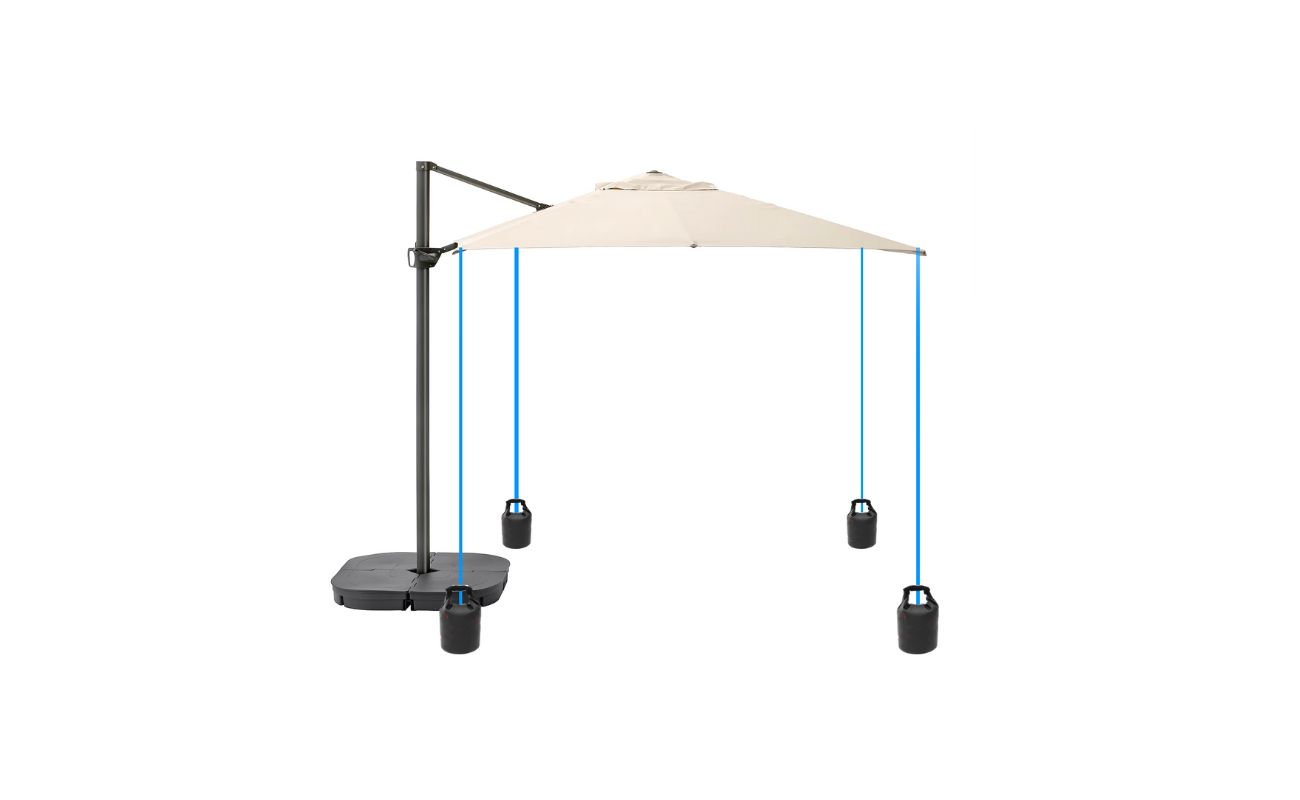
- Features: If your existing canopy had additional features like vents, wind flaps, or a tilt mechanism, ensure that the replacement canopy has the same features if desired.
- Brand compatibility: Check if the replacement canopy is specifically designed for your umbrella brand and model. This will ensure a better fit and make installation easier.
- Customer reviews: Read customer reviews and ratings of the replacement canopy to get insights into its quality, durability, and ease of installation.
Take your time to research and compare different replacement canopy options that meet your requirements. By considering these factors, you can confidently select a suitable replacement canopy for your patio umbrella.
Once you have chosen the replacement canopy, it’s time to move on to the next step: attaching the new canopy to the frame.
When replacing a patio umbrella canopy, measure the diameter of the umbrella and purchase a replacement canopy that matches the size. This will ensure a proper fit and function.
Read more: How To Choose A Patio Umbrella
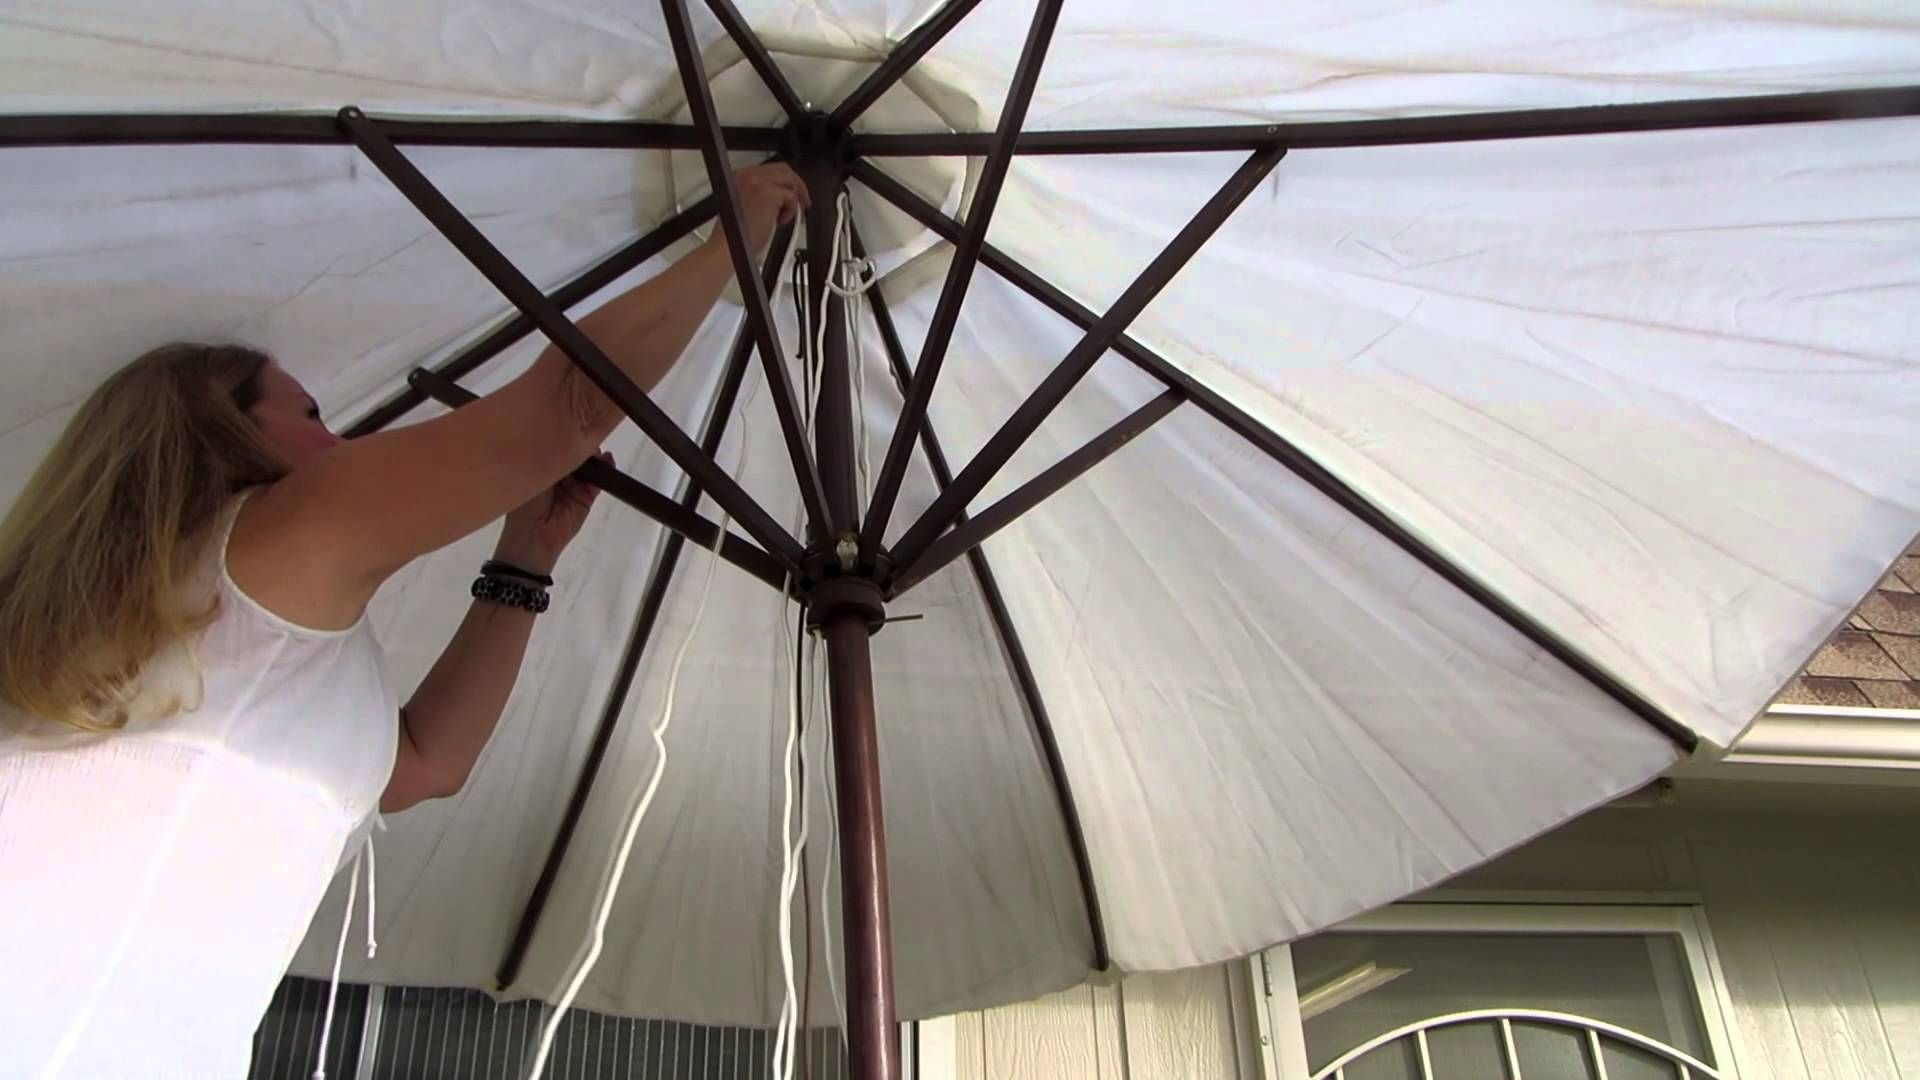
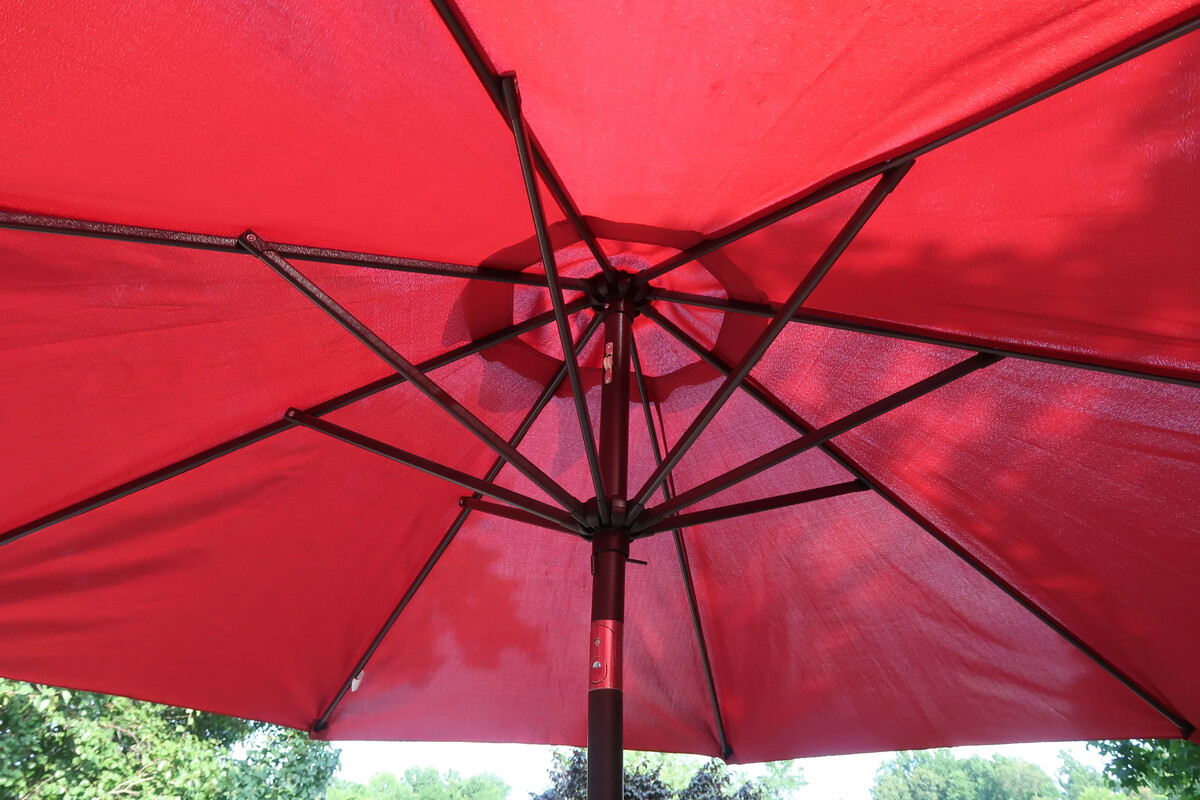
Step 5: Attach the new canopy to the frame
Now that you have selected a suitable replacement canopy, it’s time to attach it to the frame of your patio umbrella. Follow these steps to ensure a proper installation:
- Read the instructions provided with your replacement canopy, as the attachment method may vary depending on the brand and model.
- Start by opening the replacement canopy fully and laying it out flat.
- Align the center of the replacement canopy with the top of the frame, ensuring that the fabric is evenly distributed around the frame. If there are any vents or wind flaps, make sure they are in the correct position.
- Depending on your specific umbrella model, you may need to use pins, clips, or screws to secure the canopy to the frame. Refer to the instructions for the correct attachment method.
- Carefully fasten the canopy to the frame, working your way around and ensuring that it is evenly stretched. Take your time to ensure a tight and secure attachment.
- If necessary, make any adjustments to the canopy to ensure it is centered and aligned properly. This may involve tightening or loosening the attachments or adjusting the tension of the canopy fabric.
Take a step back and inspect the attached canopy to ensure it is secure and properly aligned with the frame. Make any necessary adjustments as needed. The new canopy should fit snugly and smoothly over the frame, providing a fresh and appealing look to your patio umbrella.
With the new canopy attached, it’s time to move on to the next step: adjusting and securing the canopy.
Step 6: Adjust and secure the canopy
After attaching the new canopy to the frame of your patio umbrella, it’s important to make any necessary adjustments and ensure that the canopy is properly secured. Follow these steps to adjust and secure the canopy:
- Stand back and assess the overall appearance of the canopy. Check for any wrinkles, unevenness, or areas that require adjustment.
- Using pins, clips, or fasteners provided with the replacement canopy, secure any loose areas or adjust the tension of the fabric if needed. Ensure that the canopy is evenly stretched and does not sag or have any excess slack.
- Check for proper alignment of any vents, wind flaps, or additional features on the canopy. Adjust them to their correct position if necessary.
- If there are any drawstrings or cords on the new canopy, use them to fine-tune the tightness and fit of the canopy. This will help ensure a secure and stable setup.
- Inspect the attachment points where the canopy connects to the frame. Ensure that all pins, clips, or screws are tightened properly to prevent any movement or instability.
- If your patio umbrella has a tilt mechanism, test it to ensure that it operates smoothly with the new canopy. Make any necessary adjustments or repairs if the tilt mechanism is not functioning correctly.
Take your time to meticulously adjust and secure the canopy to ensure a perfect fit and appearance. Doing so will not only enhance the overall look of your patio umbrella but also ensure its functionality and longevity.
With the canopy fully adjusted and securely in place, you’re now ready to move on to the final step: testing the umbrella’s functionality.
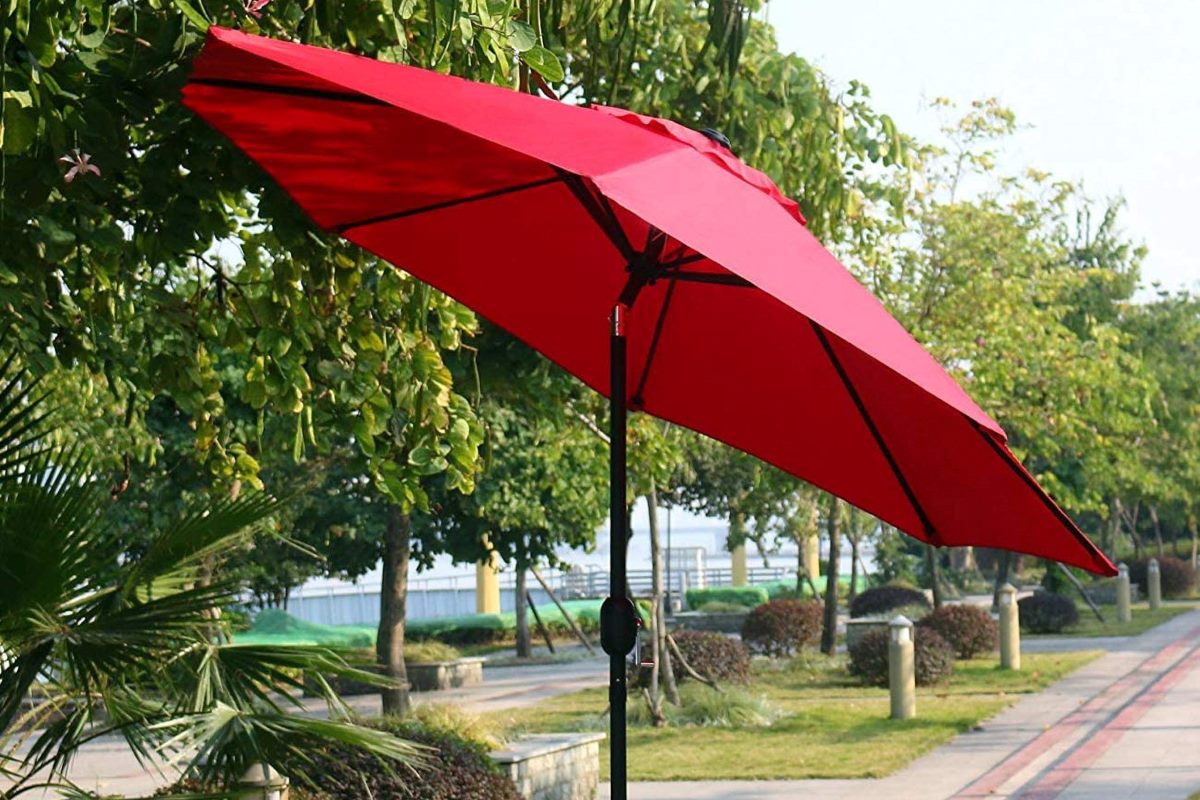
Step 7: Test the umbrella functionality
After replacing the canopy of your patio umbrella, it’s crucial to test its functionality to ensure that it operates smoothly and provides the necessary shade and protection. Follow these steps to test the umbrella’s functionality:
- Ensure that the replacement canopy is properly secured and adjusted, as mentioned in the previous steps.
- If your patio umbrella has a crank system, gently turn the crank to open the umbrella. Observe if the canopy opens smoothly without any obstructions or difficulties. Make sure it opens fully and rests securely in an open position.
- If your umbrella has a tilt mechanism, engage the tilt feature and observe how the canopy adjusts. Ensure that the tilt mechanism operates smoothly and holds the canopy securely in the desired tilt position.
- Test the stability of the umbrella by gently shaking it or applying slight pressure. The canopy should remain securely attached to the frame with no wobbling or instability.
- Observe if the replacement canopy provides adequate shade and protection from the sun. Ensure that it covers the desired area and provides the necessary shade to keep you comfortable outdoors.
- If you notice any issues or inconsistencies during the testing process, make the necessary adjustments or repairs. Refer to the manufacturer’s instructions or seek professional assistance if needed.
Testing the functionality of your patio umbrella ensures that it is in proper working condition and ready to provide you with the desired shade and comfort. By thoroughly testing the umbrella, you can address any potential issues before they become major problems.
With the umbrella’s functionality tested and confirmed, you have successfully completed the process of replacing the patio umbrella canopy! Enjoy your revitalized outdoor space with a fresh and stylish canopy.
We hope this step-by-step guide has been helpful in assisting you through the process of replacing your patio umbrella canopy. By following these steps and taking the necessary precautions, you can easily breathe new life into your outdoor furniture and enjoy many more seasons of shade and relaxation.
Remember to follow the manufacturer’s guidelines specific to your patio umbrella model and consult professional help if needed. Happy umbrella canopy replacement!
Conclusion
Congratulations! You have successfully learned how to replace a patio umbrella canopy. By following this comprehensive guide, you have taken the necessary steps to refresh and restore the functionality of your outdoor furniture.
Replacing the canopy of your patio umbrella is a cost-effective way to extend its lifespan and enhance the aesthetics of your outdoor space. With the right materials, proper measurements, and careful installation, you can effortlessly transform your umbrella into a stylish and functional piece.
Remember, each patio umbrella may have its own unique specifications and requirements, so it’s crucial to consult the manufacturer’s instructions throughout the process. Additionally, if you encounter any difficulties or have concerns, don’t hesitate to seek assistance from professionals or customer service for your umbrella model.
Now, sit back and enjoy the refreshing shade provided by your newly replaced canopy. Whether it’s a sunny afternoon or a cozy evening outdoors, your patio umbrella will continue to be a reliable shelter, protecting you and your loved ones from the elements.
Don’t forget to regularly clean and maintain your patio umbrella to prolong its lifespan and keep it in optimal condition. Shielding your umbrella from harsh weather conditions, such as strong winds and heavy rain, will help ensure its longevity.
We hope this guide has been informative and helpful in guiding you through the process of replacing your patio umbrella canopy. With the knowledge and skills gained, you can confidently take on this project, elevating the comfort and beauty of your outdoor living space.
Thank you for taking the time to learn with us, and we wish you many enjoyable moments beneath the shade of your newly revitalized patio umbrella!
Frequently Asked Questions about How To Replace A Patio Umbrella Canopy
Was this page helpful?
At Storables.com, we guarantee accurate and reliable information. Our content, validated by Expert Board Contributors, is crafted following stringent Editorial Policies. We're committed to providing you with well-researched, expert-backed insights for all your informational needs.


0 thoughts on “How To Replace A Patio Umbrella Canopy”