Home>Furniture>Outdoor Furniture>How To Fix A Patio Umbrella Crank
Outdoor Furniture
How To Fix A Patio Umbrella Crank
Modified: March 7, 2024
Learn how to fix a patio umbrella crank with our step-by-step guide. Keep your outdoor furniture functional and protected with our expert tips.
(Many of the links in this article redirect to a specific reviewed product. Your purchase of these products through affiliate links helps to generate commission for Storables.com, at no extra cost. Learn more)
Introduction
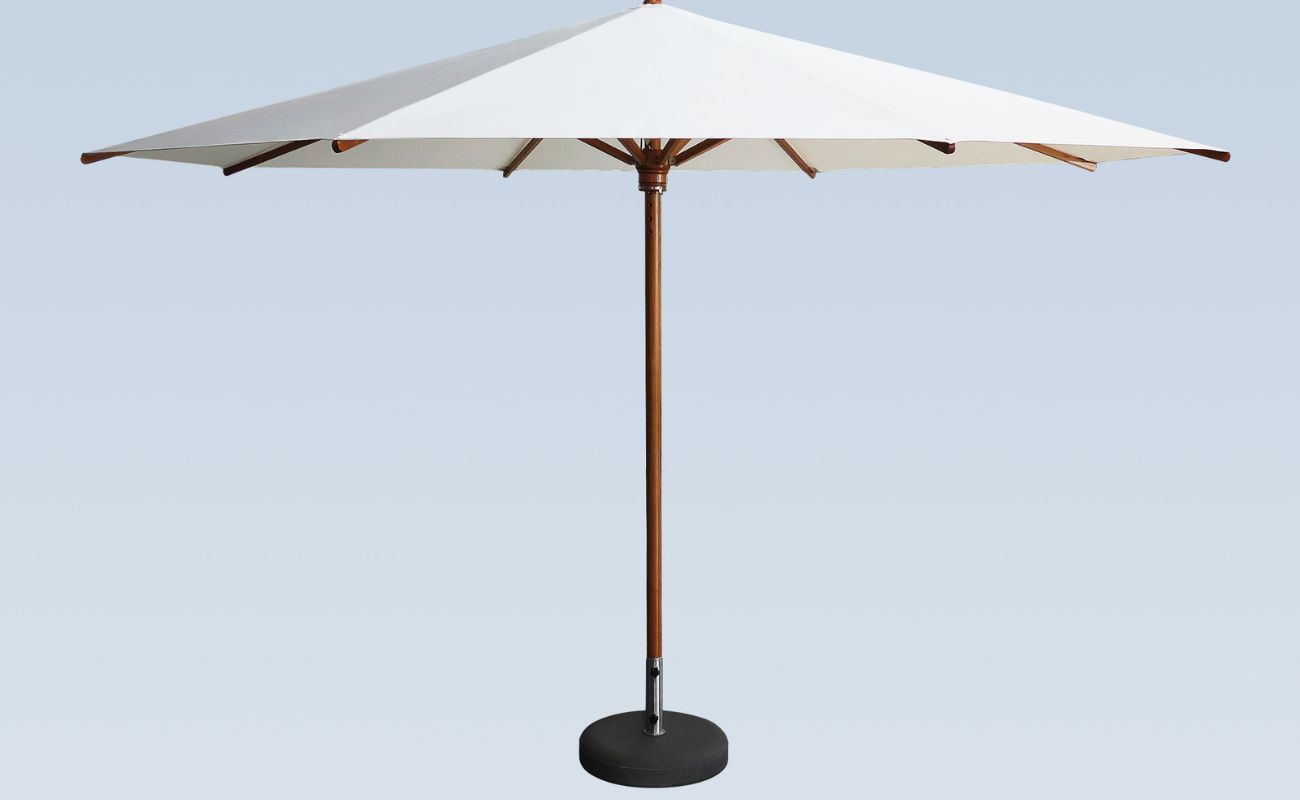
Welcome to our comprehensive guide on how to fix a patio umbrella crank. Patio umbrellas are a fantastic addition to any outdoor space, providing much-needed shade and a comfortable ambiance. However, over time, the crank mechanism of your umbrella may encounter issues such as difficulty in opening or closing, or even getting stuck altogether. But don’t worry, with a little bit of know-how and some simple tools, you can easily repair your patio umbrella crank and have it working smoothly again.
In this guide, we will walk you through a step-by-step process to assess the issue, inspect the crank mechanism, lubricate it, and even replace any faulty parts, if necessary. By following these instructions, you’ll be able to enjoy hassle-free operation of your patio umbrella for many seasons to come.
Before we dive into the details of fixing a patio umbrella crank, make sure you have the necessary tools on hand. You may need a screwdriver, pliers, lubricating oil, replacement parts (if required), and a soft cloth for cleaning. With these at your disposal, let’s get started on bringing your patio umbrella back to life!
Key Takeaways:
- Don’t let a stuck patio umbrella crank ruin your outdoor relaxation! Follow simple steps to assess, lubricate, and replace parts if needed, ensuring smooth operation for many seasons to come.
- By removing the canopy, inspecting the crank mechanism, and testing its functionality, you can easily fix your patio umbrella crank and enjoy shade and comfort in your outdoor space.
Read more: How To Fix Patio Umbrella Crank
Step 1: Assess the Issue
The first step in fixing a patio umbrella crank is to assess the issue at hand. Before you start taking anything apart, it’s essential to determine the specific problem you’re facing. This will help you identify the necessary actions to fix it.
Begin by examining the umbrella crank mechanism. Is it difficult to turn? Does it make any grinding or clicking noises? Is the umbrella canopy not opening or closing smoothly? Take note of any visible damage, such as bent or broken components.
Next, test the functionality of the crank by attempting to open and close the umbrella. Observe whether it moves smoothly or if there’s any resistance or jerking motion. Pay attention to any unusual sounds or vibrations.
Often, the issue with a patio umbrella crank can be attributed to dirt, debris, or lack of lubrication. Over time, these factors can cause the mechanism to become stiff or jammed. If you notice any signs of dirt or debris, gently clean the crank and surrounding areas with a soft cloth.
If the umbrella still doesn’t function properly after cleaning, continue to the next step to inspect the crank mechanism in more detail. Understanding the root of the problem will enable you to implement the most appropriate solution.
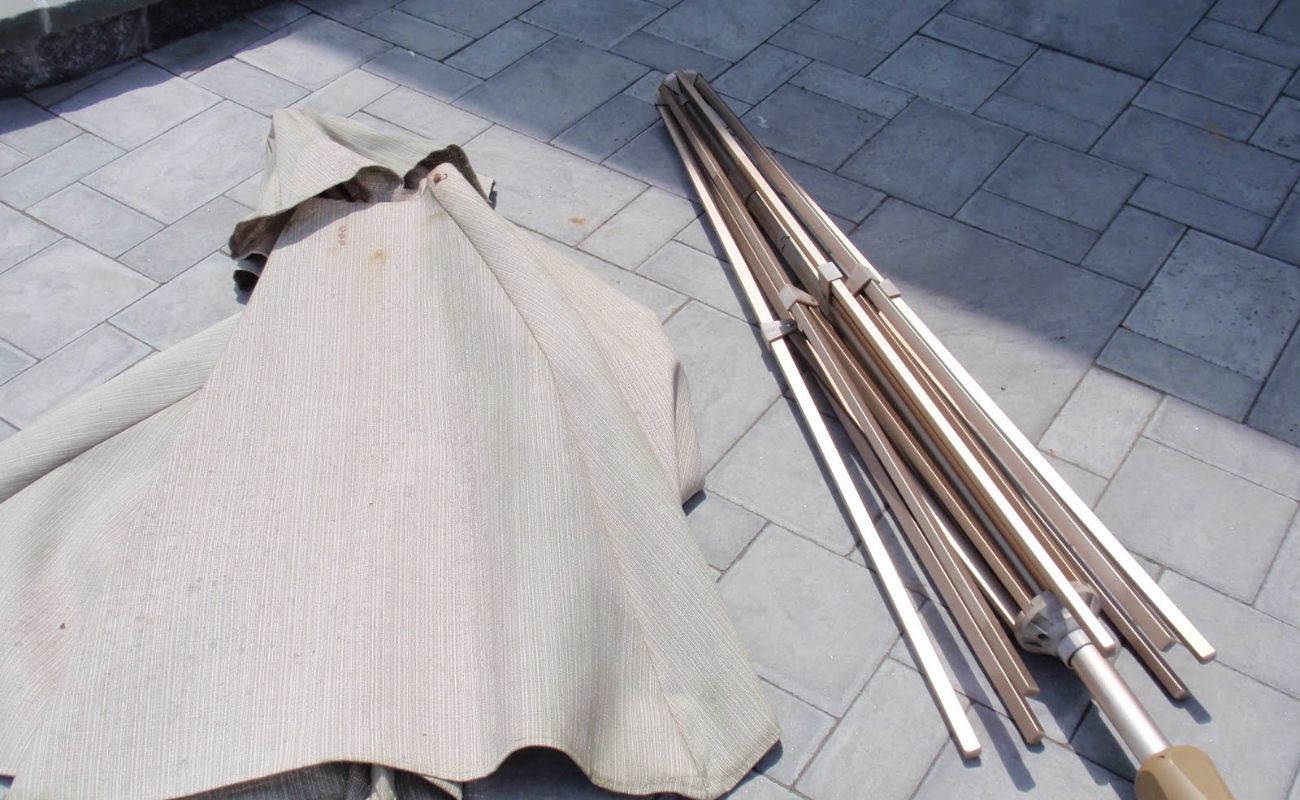
Step 2: Remove the Canopy
Once you have assessed the issue with your patio umbrella crank, it’s time to move on to the next step: removing the canopy. This step is crucial as it allows you easier access to the crank mechanism for further inspection and repair.
To remove the canopy, follow these simple steps:
- Begin by closing the umbrella completely. This will prevent the canopy from being damaged during the removal process.
- Locate the finial or cap at the top of the umbrella. This is usually a decorative piece that covers the top of the umbrella pole.
- Depending on the design of your patio umbrella, you may need to unscrew or rotate the finial counterclockwise to remove it. Some umbrella models may have a clip or button that needs to be released.
- Once the finial is removed, gently slide the canopy off the umbrella frame. Take care not to force it or cause any tears or damage.
- Set the canopy aside in a safe place to prevent it from getting dirty or damaged while you work on the crank mechanism.
By removing the canopy, you now have a clear view of the internal components of the patio umbrella, making it easier to proceed with the inspection and repair process. With this step complete, let’s move on to step three: inspecting the crank mechanism.
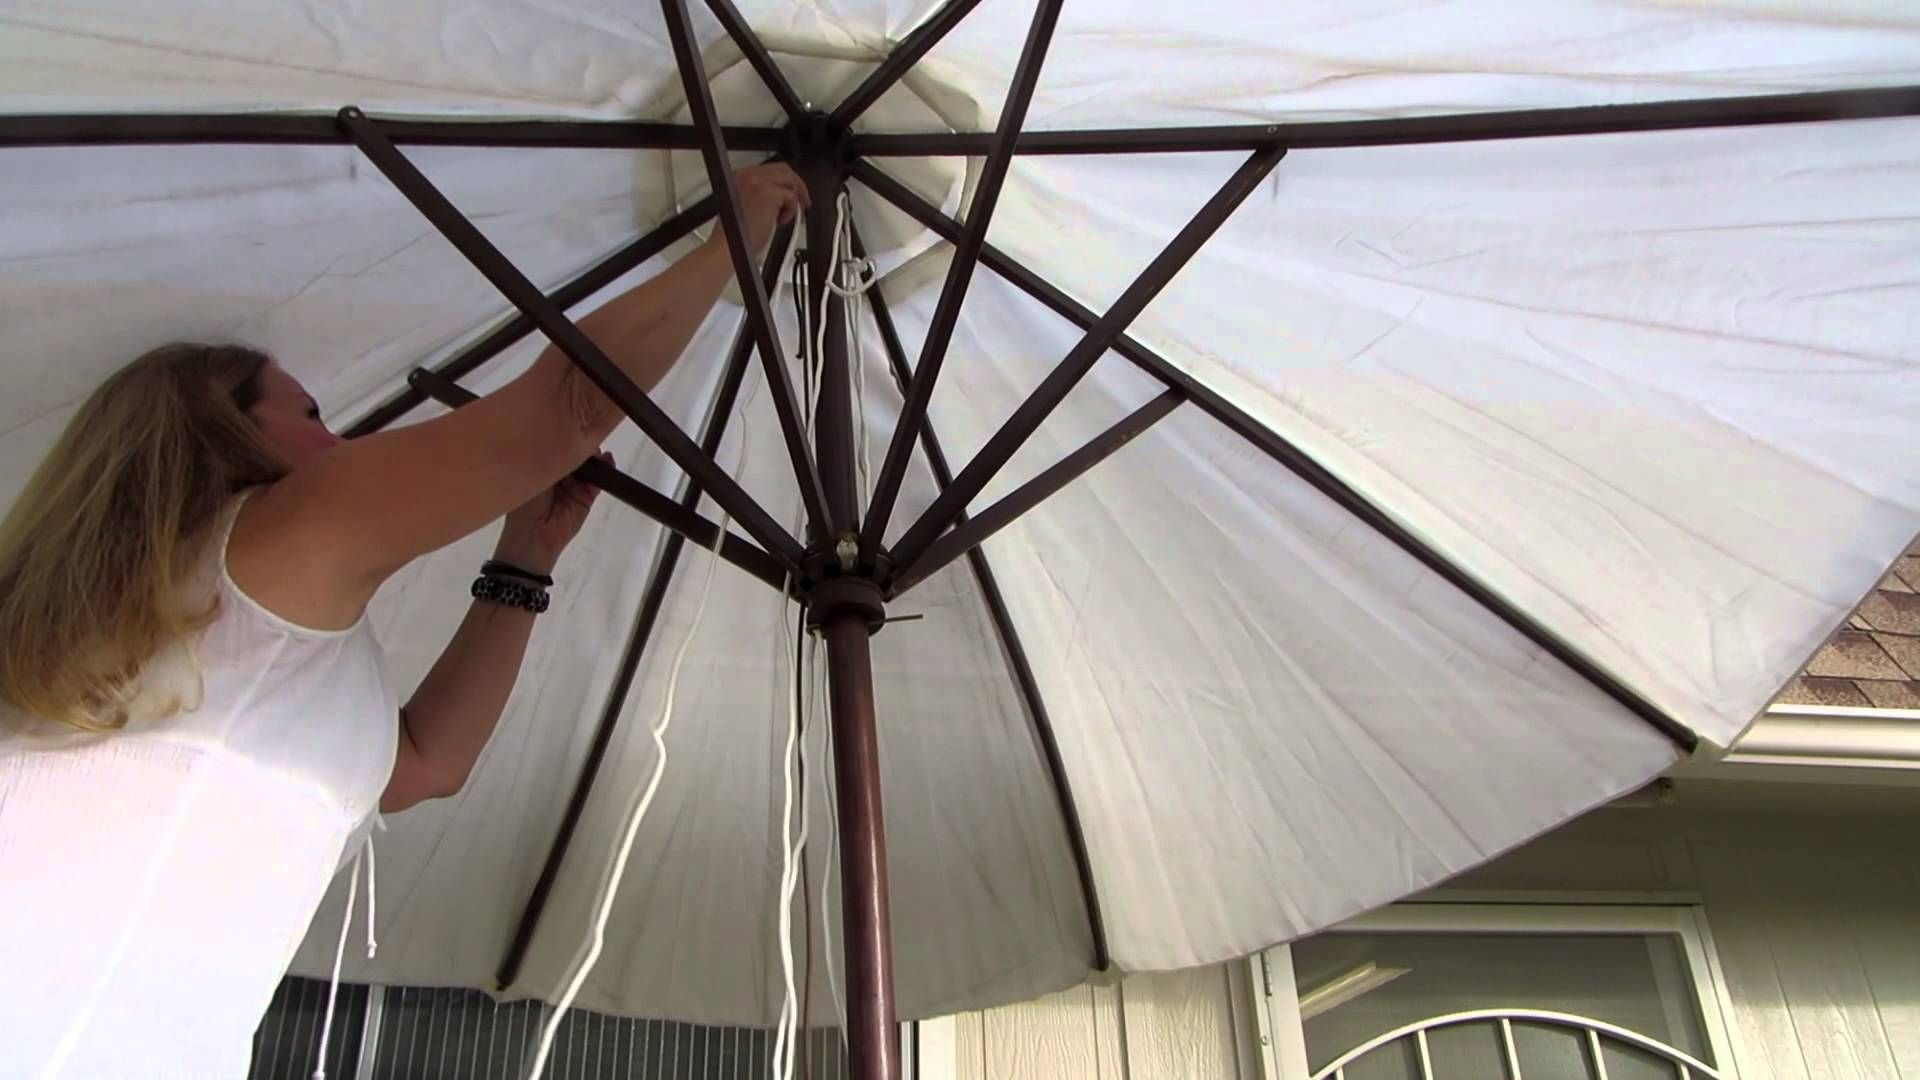
Step 3: Inspect the Crank Mechanism
With the canopy removed, you can now focus on inspecting the crank mechanism of your patio umbrella. This step is crucial in identifying any underlying issues that may be causing the malfunction.
Start by carefully examining the crank handle. Look for any signs of damage, such as cracks or wear and tear. Ensure that the handle is securely attached to the crank mechanism and that there are no loose or missing screws.
Next, inspect the crank housing. This is the part of the mechanism where the handle attaches and operates. Look for any signs of rust, corrosion, or debris buildup. If you notice any of these, you can use a soft cloth to clean the area or a fine-grit sandpaper to remove light rust or corrosion.
Moving on, examine the crank spindle. This component is responsible for connecting the crank handle to the umbrella ribs, allowing the opening and closing of the canopy. Ensure that the spindle is straight and not bent or warped. If you notice any bending or warping, it may need to be straightened or replaced.
Take a closer look at the gears or gears assembly inside the crank housing. These gears are crucial for the smooth operation of the crank mechanism. Check for any signs of damage, worn teeth, or misalignment. If the gears appear worn or damaged, they may need to be replaced.
As you inspect the crank mechanism, make sure to keep an eye out for any other components that may be contributing to the issue. Look for loose or broken screws, bent rods, or any other visible damage. Taking note of these issues will help you determine the necessary repairs or replacements.
Once you have thoroughly inspected the crank mechanism, you can move on to the next step: lubricating the components to ensure smooth operation.
Step 4: Lubricate the Crank Mechanism
Now that you have inspected the crank mechanism and identified any issues, it’s time to address any friction or stiffness by lubricating the components. Lubrication is a vital step in ensuring smooth and effortless operation of your patio umbrella crank.
Before you begin, make sure to use a lubricant specifically designed for outdoor use. Look for a lubricating oil that is resistant to moisture and provides long-lasting protection.
Here’s how to lubricate the crank mechanism:
- Apply a small amount of lubricating oil to the crank handle. Make sure to cover all surfaces, including the inner mechanism and any moving parts.
- Rotate the handle several times to distribute the oil evenly and work it into the mechanism.
- If your patio umbrella has exposed gears, apply a thin layer of lubricant directly onto the gears. Be careful not to use excessive amounts, as this can attract dirt and debris.
- Once you have lubricated the crank handle and gears, move on to other components that may require lubrication, such as the crank spindle or any other moving parts.
- In some cases, you may need to dismantle certain parts of the crank mechanism to access hard-to-reach areas. Follow the manufacturer’s instructions or consult a professional if needed.
- After applying the lubricant, operate the crank handle several times to ensure that the lubrication is evenly distributed and to work out any stiffness or resistance.
Lubricating the crank mechanism not only improves its functionality but also helps prevent rust and corrosion, extending the lifespan of your patio umbrella. With the crank mechanism properly lubricated, you’re one step closer to repairing your patio umbrella.
Now, let’s move on to step five: checking for any bent or damaged components that may need to be replaced.
To fix a patio umbrella crank, first, remove the crank handle and inspect for any damage. If the crank is broken, replace it with a new one. If it’s just stuck, lubricate the mechanism with silicone spray to help it move smoothly.
Read more: How To Fix A Broken Patio Umbrella
Step 5: Check for Bent or Damaged Components
After lubricating the crank mechanism, it’s time to check for any bent or damaged components that may be causing the issue with your patio umbrella. Identifying and replacing these faulty parts is crucial for the proper functioning of the umbrella.
Here’s how to check for bent or damaged components:
- Inspect the crank handle and other visible parts for any signs of bending, cracking, or excessive wear and tear. If you notice any damage, it’s best to replace the affected parts.
- Examine the crank spindle. Ensure that it is straight and undamaged. If you notice any bending or warping, it may need to be replaced to ensure a smooth operation.
- Check the gears and gear assembly for any signs of damage, such as worn or missing teeth or misalignment. If the gears are damaged, they should be replaced to restore the functionality of the crank mechanism.
- Look for any loose or broken screws, rods, or other fastening components. Tighten loose screws and replace any broken or missing parts.
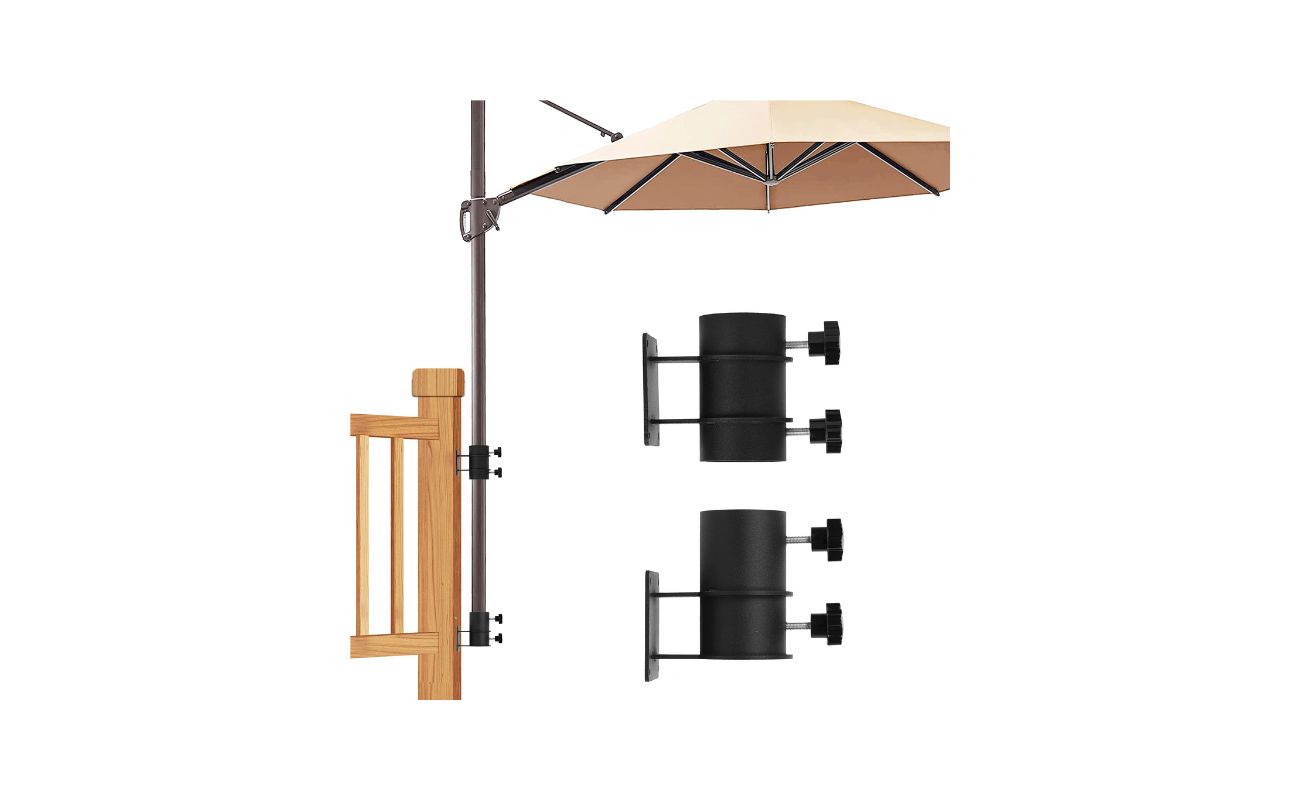
- If your umbrella has a tilt mechanism, inspect it for any bent or broken parts that may be affecting its operation. This includes the tilt joint, locking mechanisms, and any connecting rods.
- Check the umbrella ribs for any signs of damage, such as bent or broken pieces. Damaged ribs can affect the overall stability and performance of the umbrella.
It’s important not to overlook any bent or damaged components, as they can hinder the smooth operation of your patio umbrella. Replacing these faulty parts ensures that you can fully enjoy the functionality of the umbrella without any issues.
If you do identify any bent or damaged components during the inspection, make a note of them and proceed to the next step: replacing the faulty parts.
Step 6: Replace Faulty Parts
After identifying any bent or damaged components during the inspection, it’s time to replace them to restore the functionality of your patio umbrella. Replacing faulty parts is an essential step in ensuring the smooth operation and longevity of your umbrella.
Here’s how to replace faulty parts:
- Refer to the manufacturer’s instructions or consult a professional to identify the specific replacement parts needed for your patio umbrella. It’s important to ensure that you have the correct parts for your particular umbrella model.
- Order the replacement parts from a reputable supplier or contact the manufacturer directly to request the necessary components.
- Once you have the replacement parts, begin by removing the old, faulty components. Use a screwdriver or the appropriate tool to loosen and remove any screws or fasteners that secure the damaged parts.
- Install the new parts in the reverse order of removal. Take care to align them properly and securely fasten them with the appropriate screws or fasteners.
- Follow any specific instructions provided with the replacement parts to ensure correct installation. Pay attention to any adjustments or alignments that may be required for optimal functioning.
- Double-check that all replaced components are securely fastened and functioning smoothly. Test the crank mechanism and other moving parts to ensure that they operate as intended.
Replacing faulty parts is an important step in the repair process, as it addresses the root cause of the issue with your patio umbrella. By using the correct replacement components, you can ensure that your umbrella functions properly and efficiently.
If you are unsure about the replacement process or encounter any difficulties, it’s recommended to seek professional assistance or contact the manufacturer for further guidance.
With the faulty parts replaced, you are now ready to proceed to the next step: reassembling the umbrella.
Step 7: Reassemble the Umbrella
After replacing any faulty parts and ensuring that the crank mechanism is functioning properly, it’s time to reassemble your patio umbrella. Reassembling the umbrella allows you to put all the components back together and prepare it for use.
Here’s how to reassemble the umbrella:
- Start by retrieving the canopy that you set aside earlier. Make sure it is clean and free from any dirt or debris.
- Slide the canopy back onto the umbrella frame, aligning the spokes with the corresponding receptacles. Take care not to force the canopy and avoid any tears or damage.
- Secure the canopy in place by reattaching the finial or cap at the top of the umbrella. Screw it in or lock it into position, depending on the design of your umbrella.
- Inspect the overall alignment and stability of the umbrella. Ensure that all the components, including the canopy, spokes, and frame, are properly aligned and securely connected.
- If your patio umbrella has any additional features such as a tilt mechanism or a locking mechanism, make sure that they are functioning correctly and securely in place.
- Test the opening and closing of the umbrella to verify that it moves smoothly and without any resistance. The crank should operate effortlessly, allowing you to control the umbrella canopy’s position.
Reassembling the umbrella is a straightforward process that brings all the parts back together to form a functional unit. Take your time during this step to ensure proper alignment and stability, as this will contribute to the overall performance of your patio umbrella.
With the umbrella reassembled, you are now ready for the final step: testing the crank mechanism to ensure it works as intended.
Step 8: Test the Crank Mechanism
After reassembling your patio umbrella, it’s important to test the crank mechanism to ensure that it is functioning properly. Testing the mechanism will allow you to verify that all the repairs and replacements have been successful.
Here’s how to test the crank mechanism:
- Begin by making sure that the umbrella is securely in its upright position.
- Gently turn the crank handle in the appropriate direction to open the umbrella canopy. Observe if the umbrella opens smoothly without any resistance or jerking motion. Pay attention to any unusual sounds or vibrations.
- Continue to turn the crank handle until the canopy is fully open. Take note of the rotation and movement of the umbrella ribs. They should extend and lock into place easily.
- Now, try closing the umbrella by turning the crank handle in the opposite direction. Ensure that the canopy closes smoothly, without any sticking or difficulty.
- As you operate the crank handle, listen for any unusual noises or grinding sounds. These may indicate underlying issues that need further attention.
- Test any additional features of your umbrella, such as tilt mechanisms or locking mechanisms, to ensure they are working properly.
- If you encounter any issues or abnormalities during the testing process, refer back to the earlier steps to identify and address the problem.
By thoroughly testing the crank mechanism, you can confirm that the repairs have been successful and that your patio umbrella is ready for use. Proper functionality of the crank ensures that you can easily open and close the umbrella as desired, providing shade and comfort in your outdoor space.
Congratulations! You have successfully repaired your patio umbrella crank and can now enjoy its smooth operation for many seasons to come.
And that concludes our comprehensive guide on how to fix a patio umbrella crank. Remember, regular maintenance and cleaning will help prolong the lifespan of your patio umbrella, so be sure to keep it in good condition. Happy relaxing under the shade of your perfectly functioning patio umbrella!
Read more: How To Fix A Patio Umbrella String
Conclusion
Repairing a patio umbrella crank doesn’t have to be a daunting task. With the right knowledge and a systematic approach, you can easily fix common issues and restore the functionality of your umbrella. By following the steps outlined in this guide, you can assess the issue, remove the canopy, inspect the crank mechanism, lubricate the components, check for bent or damaged parts, replace any faulty components, reassemble the umbrella, and test the crank mechanism to ensure it operates smoothly.
Taking the time to repair your patio umbrella not only saves you money on purchasing a new one but also allows you to enjoy the shade and comfort it provides in your outdoor space for many seasons to come. Regular maintenance, such as cleaning the umbrella and lubricating the crank mechanism, will help prevent future issues and prolong the lifespan of your umbrella.
Remember, safety is essential when working on any mechanical parts, so always follow the manufacturer’s instructions and take necessary precautions. If you’re uncertain or encounter any difficulties during the repair process, it’s best to seek professional assistance or contact the manufacturer for guidance.
We hope this guide has been helpful in guiding you through the process of fixing a patio umbrella crank. By using these steps and techniques, you can get your umbrella back in working condition and enjoy the outdoors without any hassle. So grab your tools and get started on repairing your patio umbrella crank today!
Frequently Asked Questions about How To Fix A Patio Umbrella Crank
Was this page helpful?
At Storables.com, we guarantee accurate and reliable information. Our content, validated by Expert Board Contributors, is crafted following stringent Editorial Policies. We're committed to providing you with well-researched, expert-backed insights for all your informational needs.


0 thoughts on “How To Fix A Patio Umbrella Crank”