Home>Home Maintenance>How To Prepare For A Home Inspection As A Buyer
Home Maintenance
How To Prepare For A Home Inspection As A Buyer
Modified: August 28, 2024
Learn how to prepare for a home inspection as a buyer and ensure a smooth process. Discover essential tips for home maintenance to impress sellers and make informed decisions.
(Many of the links in this article redirect to a specific reviewed product. Your purchase of these products through affiliate links helps to generate commission for Storables.com, at no extra cost. Learn more)
Introduction
Buying a home is an exciting experience, but it also comes with its fair share of challenges and important decisions. One of the most crucial steps in the home buying process is the home inspection. A home inspection is a thorough evaluation of the property’s condition, conducted by a professional home inspector. The purpose of this inspection is to identify any potential issues or problems that may impact the value or safety of the home.
Preparing for a home inspection as a buyer is essential to ensure that you make an informed decision. By understanding the inspection process, gathering necessary documents, and taking proactive steps to prepare the home, you can maximize the benefits of the inspection and avoid any surprises down the line.
In this article, we will guide you through the step-by-step process of preparing for a home inspection as a buyer. From researching and hiring a qualified inspector to reviewing the inspection report and negotiating repair requests, we’ll cover everything you need to know to navigate this important milestone in your home buying journey.
So, let’s get started with Step 1: Understand the Purpose of a Home Inspection.
Key Takeaways:
- Be prepared for a home inspection by understanding its purpose, hiring a qualified inspector, and gathering relevant documents. This ensures a thorough evaluation and helps you make informed decisions about the property.
- Accompany the inspector during the inspection, review the inspection report, and negotiate repair requests to address any concerns before closing the deal. Stay proactive and communicate openly throughout the process.
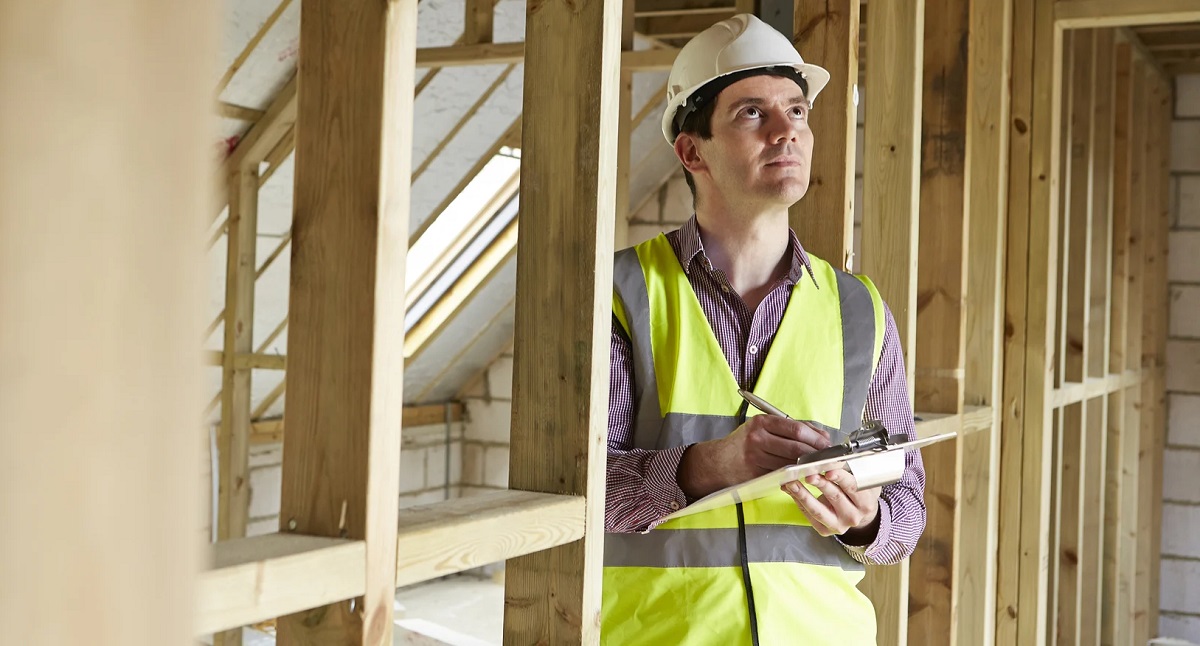
Step 1: Understand the Purpose of a Home Inspection
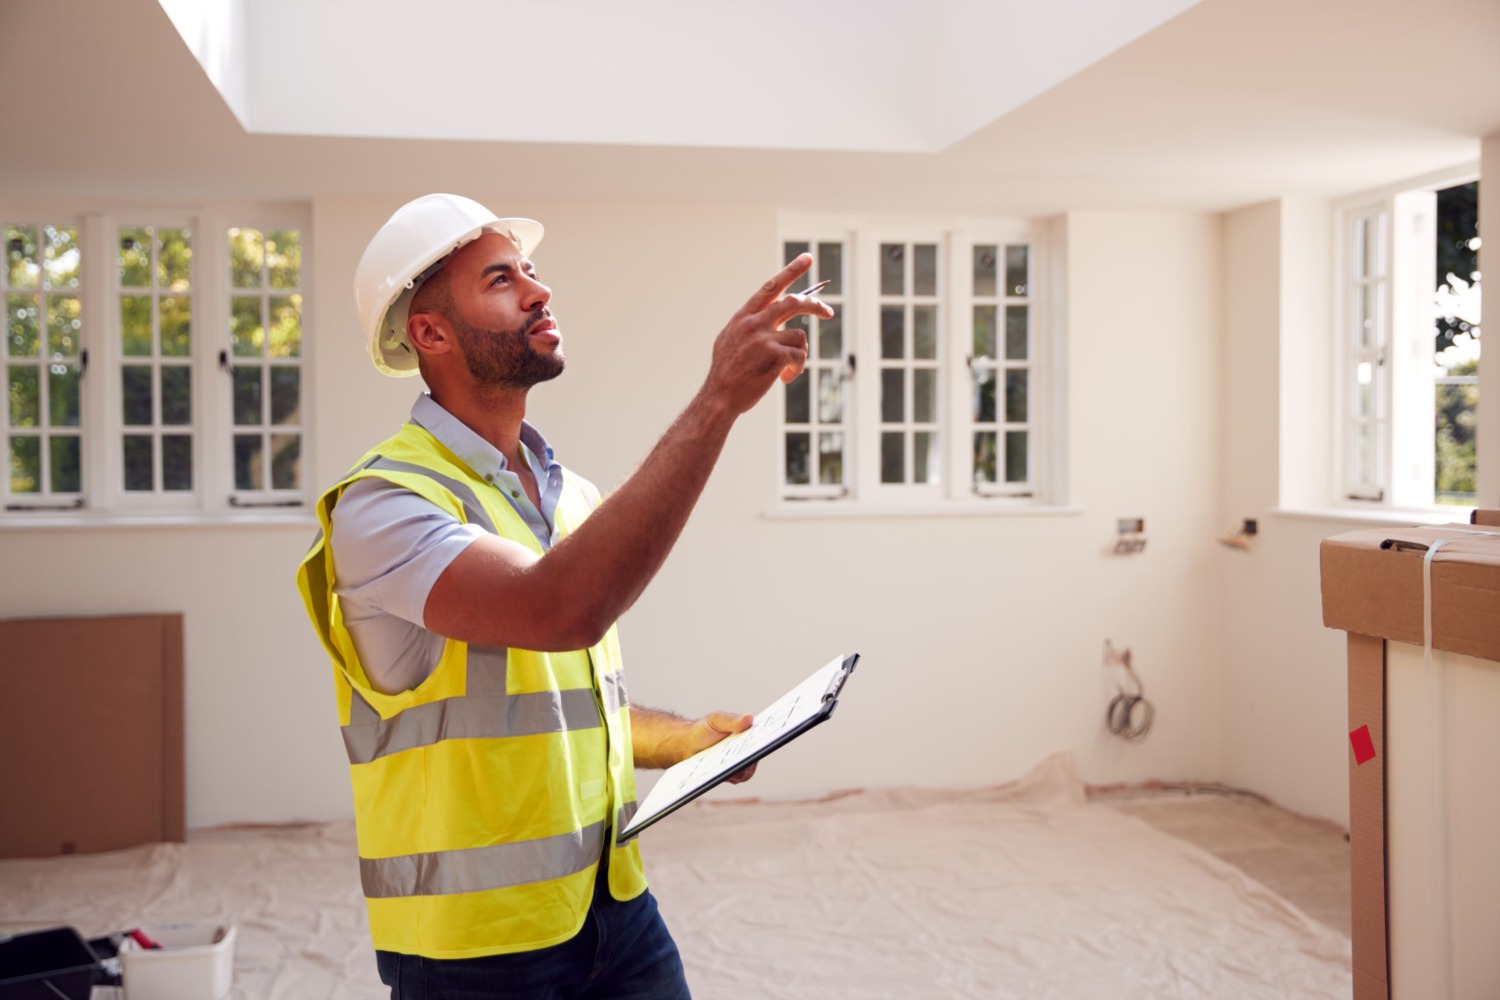
A home inspection is a comprehensive examination of a property’s condition, including its structural components, systems, and overall safety. The main purpose of a home inspection is to provide the buyer with a clear understanding of the home’s current state before finalizing the purchase.
During a home inspection, a professional inspector will assess various aspects of the property, such as the electrical system, plumbing, roofing, HVAC (heating, ventilation, and air conditioning) system, foundation, and more. They will look for any potential issues, defects, or safety hazards that may exist. By conducting a meticulous inspection, the inspector can provide you with valuable insights into the condition of the home, enabling you to make an informed decision.
Understanding the purpose of a home inspection is vital because it sets the stage for the entire process. It helps you recognize the importance of investing in a qualified and experienced home inspector who can provide an accurate and detailed assessment of the property. A comprehensive inspection report will assist you in identifying any areas that require further attention, estimating potential repair costs, and determining whether the home is a good fit for your needs and budget.
It’s crucial to keep in mind that a home inspection is not intended to uncover every single minor flaw or cosmetic issue in the property. Instead, it focuses on significant structural, safety, and functional concerns. For example, the inspector may highlight issues like a faulty electrical panel, a leaky roof, or a malfunctioning HVAC system.
By understanding the purpose of a home inspection, you’ll approach the process with realistic expectations. Remember, the goal is to ensure that you have a clear understanding of the property’s condition, allowing you to make informed decisions about the purchase.
Now that you understand the purpose of a home inspection, let’s move on to Step 2: Research and Hire a Qualified Home Inspector.
Step 2: Research and Hire a Qualified Home Inspector
When it comes to a crucial step like a home inspection, it’s essential to hire a qualified and experienced professional. Conducting thorough research and selecting the right home inspector is crucial to ensure a comprehensive and accurate assessment of the property.
Here are some key factors to consider when researching and hiring a qualified home inspector:
- Check for licenses and certifications: Look for a home inspector who is licensed and certified. This ensures that they have the necessary training and knowledge to conduct a thorough inspection. Check if they are a member of reputable professional organizations such as the American Society of Home Inspectors (ASHI) or the International Association of Certified Home Inspectors (InterNACHI).
- Consider experience: Look for inspectors who have extensive experience in the field. An experienced inspector will have a better understanding of the intricacies of different types of homes and will be able to identify potential issues more accurately.
- Read reviews and ask for references: Take the time to read reviews and testimonials from previous clients. This will give you insights into the inspector’s professionalism, thoroughness, and communication skills. Additionally, don’t hesitate to ask the inspector for references so you can directly reach out to past clients.
- Ask about their process and tools: Inquire about the inspector’s process during the inspection. Do they use specialized tools and equipment? Are they open to you accompanying them during the inspection? A transparent and communicative inspector who welcomes your involvement can help you better understand the property and its potential issues.
- Request sample reports: Ask for sample inspection reports to get an idea of the level of detail and clarity the inspector provides. A well-documented report will be easier to understand and navigate, ensuring that you have a comprehensive overview of the property’s condition.
By taking the time to research and hire a qualified home inspector, you’ll have peace of mind knowing that your property will be thoroughly evaluated by a professional. This step plays a vital role in ensuring that you receive accurate information about the home’s condition, allowing you to make informed decisions moving forward.
Once you’ve found a qualified home inspector, you can proceed to Step 3: Gather and Organize Relevant Documents.
Step 3: Gather and Organize Relevant Documents
Prior to the home inspection, it’s important to gather and organize all relevant documents related to the property. These documents will provide valuable information to both you and the home inspector, enabling a more thorough assessment.
Here are some key documents to gather:
- Seller’s disclosures: The seller is typically required to provide disclosures that highlight any known issues or defects with the property. These disclosures can include information about past repairs, renovations, or known problems. Review these disclosures carefully to ensure that all relevant information is considered during the inspection.
- Previous inspection reports: If the property has undergone previous inspections, such as termite inspections or roof evaluations, gather the reports and make them available to the current home inspector. This can help identify any recurring issues or track the progress of previous repairs.
- Warranties and manuals: If the property has any warranties or manuals for systems or appliances, collect them and make them accessible to the inspector. This allows them to understand the maintenance requirements and ensure proper functioning during the inspection.
- Permits and renovation records: If the property has undergone any major renovations or additions, gather the relevant permits and documentation. This helps the inspector verify that the work was conducted legally and up to code.
- Utility bills: Collect utility bills from the past year, if available. Reviewing these bills can provide insights into energy consumption patterns and potential efficiency issues with heating, cooling, or plumbing systems.
By gathering and organizing these documents, you provide the home inspector with valuable information that can contribute to a more comprehensive assessment of the property. It also allows you to have a holistic understanding of the home’s history and any potential areas of concern.
Once you’ve gathered and organized the relevant documents, you’re ready to move on to Step 4: Make a Checklist of Areas to Be Inspected.
Step 4: Make a Checklist of Areas to Be Inspected
To ensure a thorough home inspection, it’s important to have a checklist of areas that need to be inspected. By having a comprehensive list, you can ensure that no critical components or areas of the property are overlooked.
Here are some key areas to include in your inspection checklist:
- Roof: Inspect the roof for any signs of damage, loose shingles, or leaks. Determine the age and condition of the roof to assess if any repairs or replacements may be necessary.
- Exterior: Check the exterior walls, siding, and foundation for any cracks, water damage, or structural issues. Look for signs of pest infestations or damage caused by wildlife.
- Plumbing: Inspect the plumbing system, including faucets, toilets, pipes, and drains, for leaks, water pressure, and functionality. Identify any signs of water damage or mold.
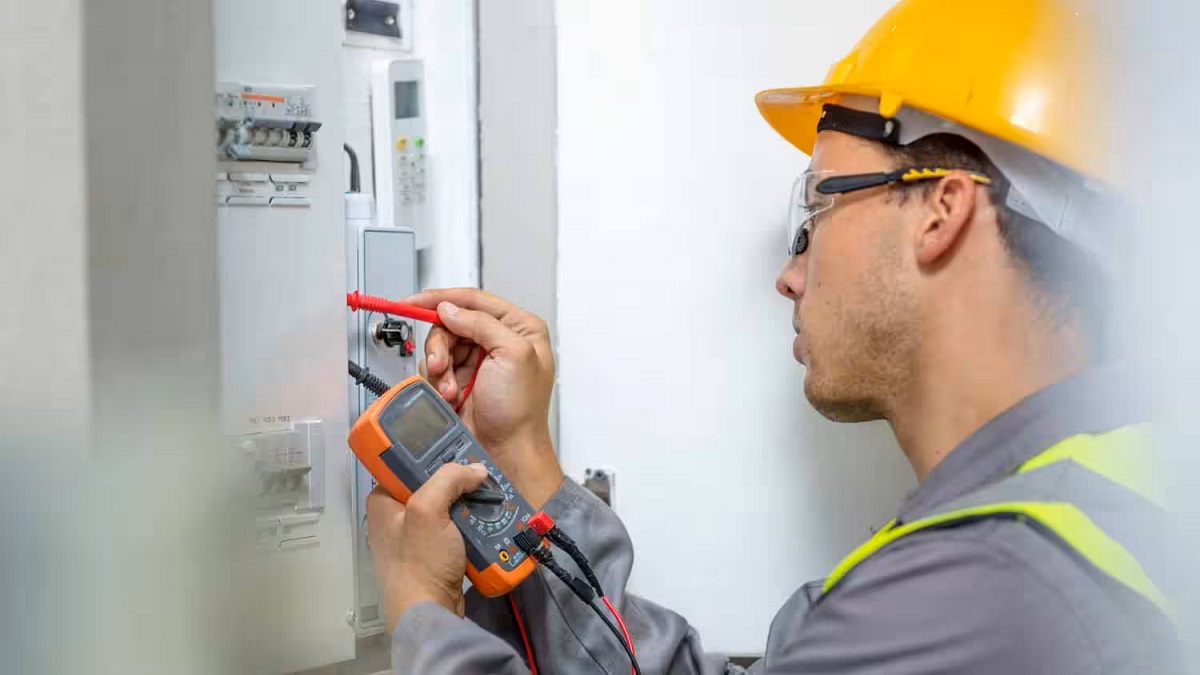
- Electrical: Test electrical outlets, switches, and the electrical panel for proper functioning and safety. Look for outdated wiring or faulty connections that may pose fire hazards.
- Heating and cooling systems: Evaluate the condition and efficiency of the HVAC systems. Check the air conditioning unit, furnace, and ductwork for any issues or needed repairs.
- Insulation and ventilation: Assess the insulation levels in the walls and attic. Look for proper ventilation to prevent excess moisture and potential mold growth.
- Windows and doors: Inspect windows and doors for any signs of damage, insulation issues, or air leaks. Ensure they open, close, and lock properly.
- Appliances and systems: Test the functionality of the appliances, such as the dishwasher, stove, refrigerator, and washer/dryer. Verify that smoke detectors and carbon monoxide detectors are functioning correctly.
By creating a comprehensive checklist, you can ensure that every essential area of the property is carefully inspected. Not only does this help the home inspector perform a detailed evaluation, but it also allows you to track potential issues and make informed decisions based on the findings.
Once you have your checklist ready, you can move on to Step 5: Prepare the Home for Inspection.
Read more: What Is A Buyer’s Inspection Advisory?
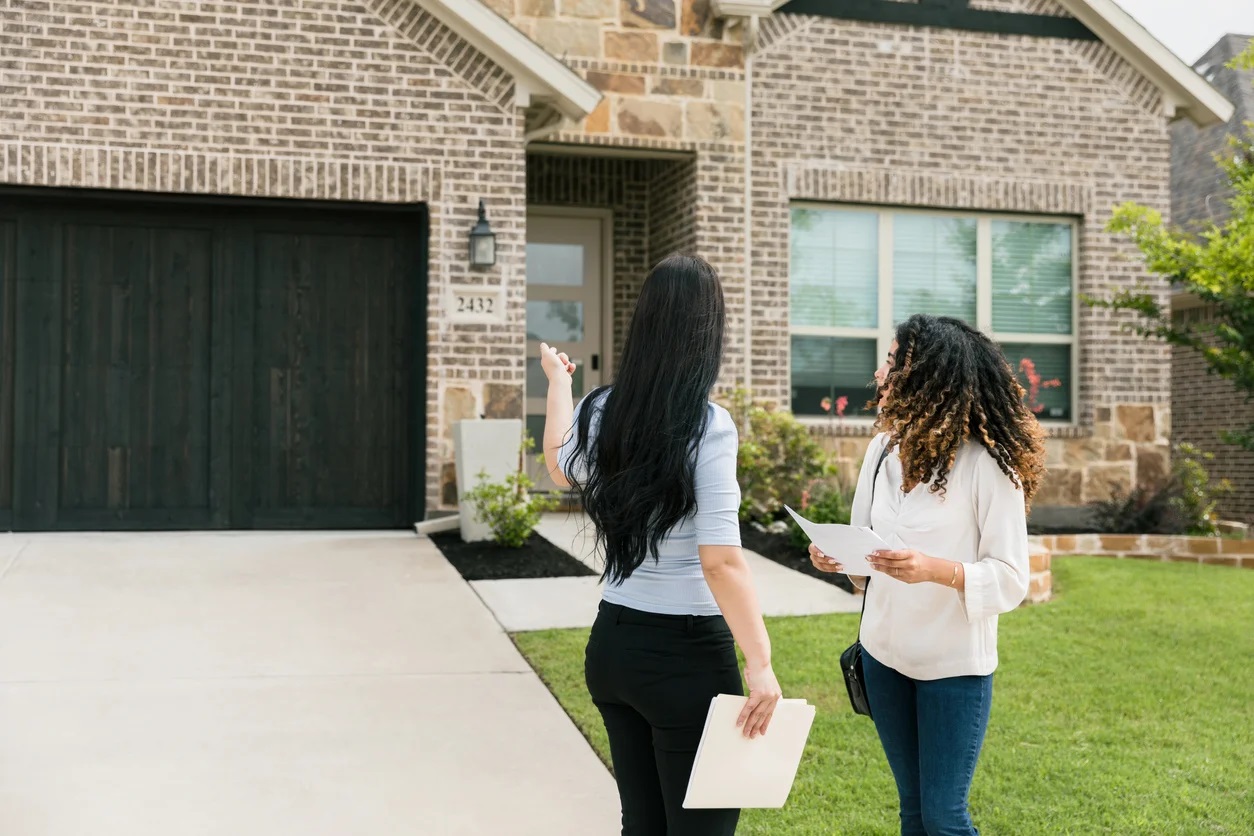
Step 5: Prepare the Home for Inspection
Preparing your home for inspection is an important step to ensure a smooth and effective evaluation by the inspector. By making certain preparations, you can help facilitate the inspection process and ensure that all areas of the property are accessible for thorough examination.
Here are some key steps to take when preparing your home for inspection:
- Clean and declutter: Clear any clutter and ensure that the home is clean and tidy. This allows the inspector to easily access different areas and components without any obstructions.
- Provide easy access: Ensure that all areas of the property, including the attic, crawl spaces, electrical panels, and basement, are easily accessible. Remove any objects blocking access points, such as storage boxes or furniture.
- Pets and children: Make arrangements for pets and young children to be out of the house or supervised during the inspection. This helps create a safe environment for the inspector and allows them to focus on their assessment.
- Provide documentation: Keep your checklist and relevant documents organized and readily available for the inspector’s reference. This includes any warranties, permits, or previous inspection reports.
- Notify the homeowner’s association (HOA): If you live in a housing community with an HOA, inform them about the upcoming inspection. Some HOAs may have specific rules or guidelines for access to common areas or shared facilities.
- Show the inspector any known issues: If you are aware of any specific issues or areas of concern in the property, make sure to communicate them to the inspector. This can help direct their attention and ensure those areas are thoroughly examined.
By preparing your home for inspection, you help create a conducive environment for the inspector to conduct a thorough evaluation. This allows them to assess the property comprehensively and provide you with an accurate and detailed report of their findings.
Once you have prepared your home for inspection, you’re ready to move on to Step 6: Accompany the Inspector During the Inspection.
Research the home inspection process and make a checklist of areas to be inspected. Attend the inspection and ask questions to fully understand the condition of the property.
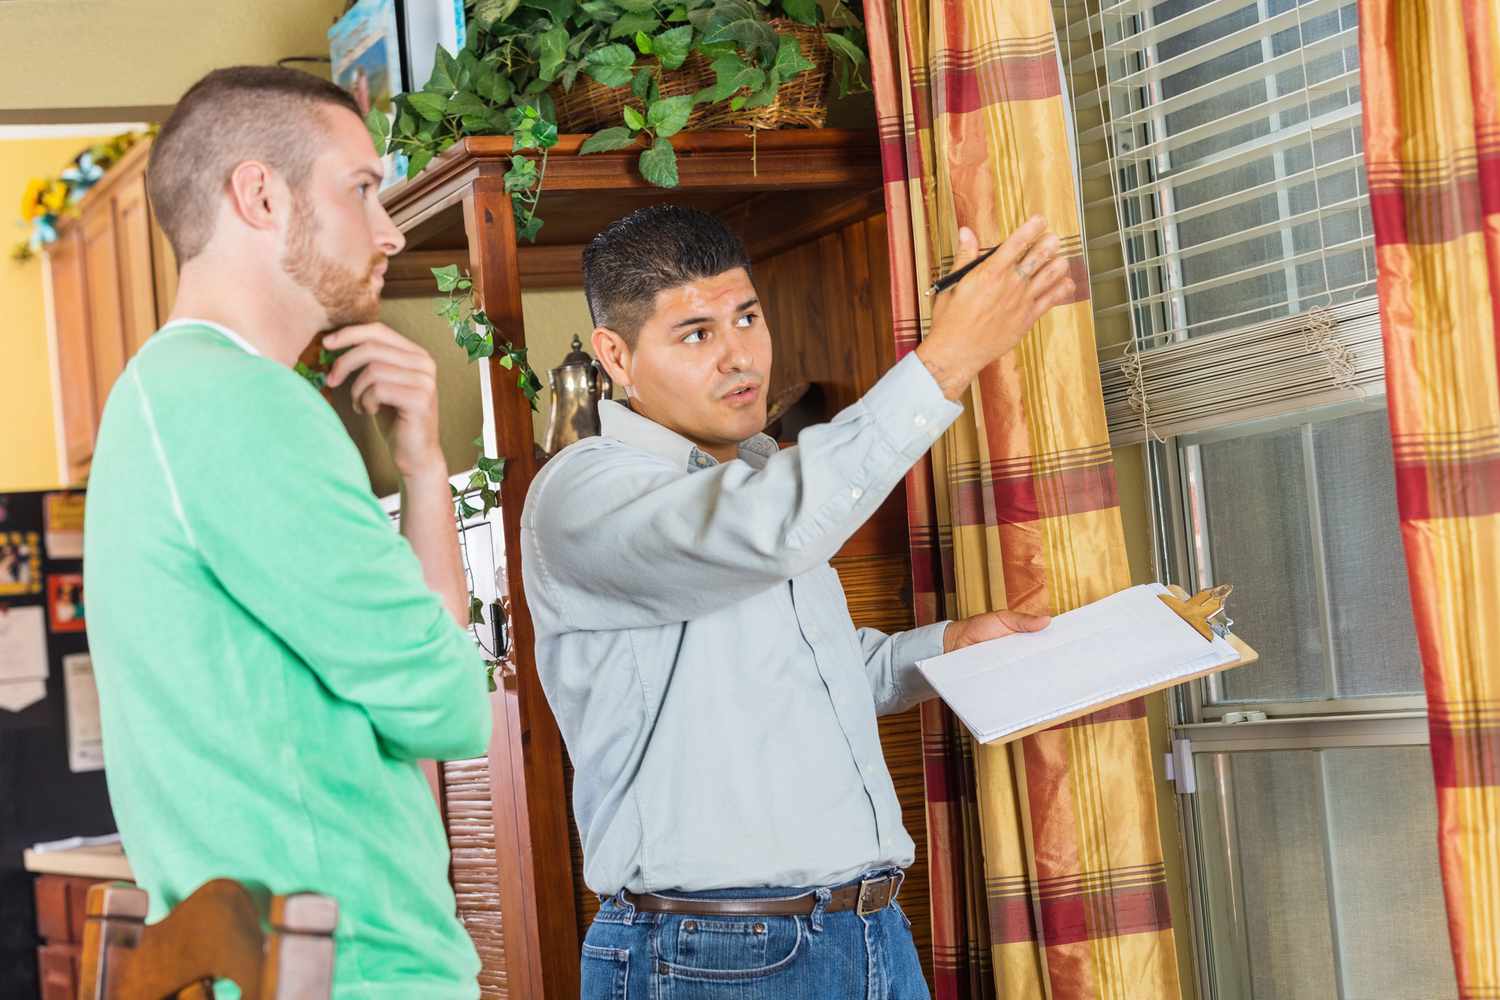
Step 6: Accompany the Inspector During the Inspection
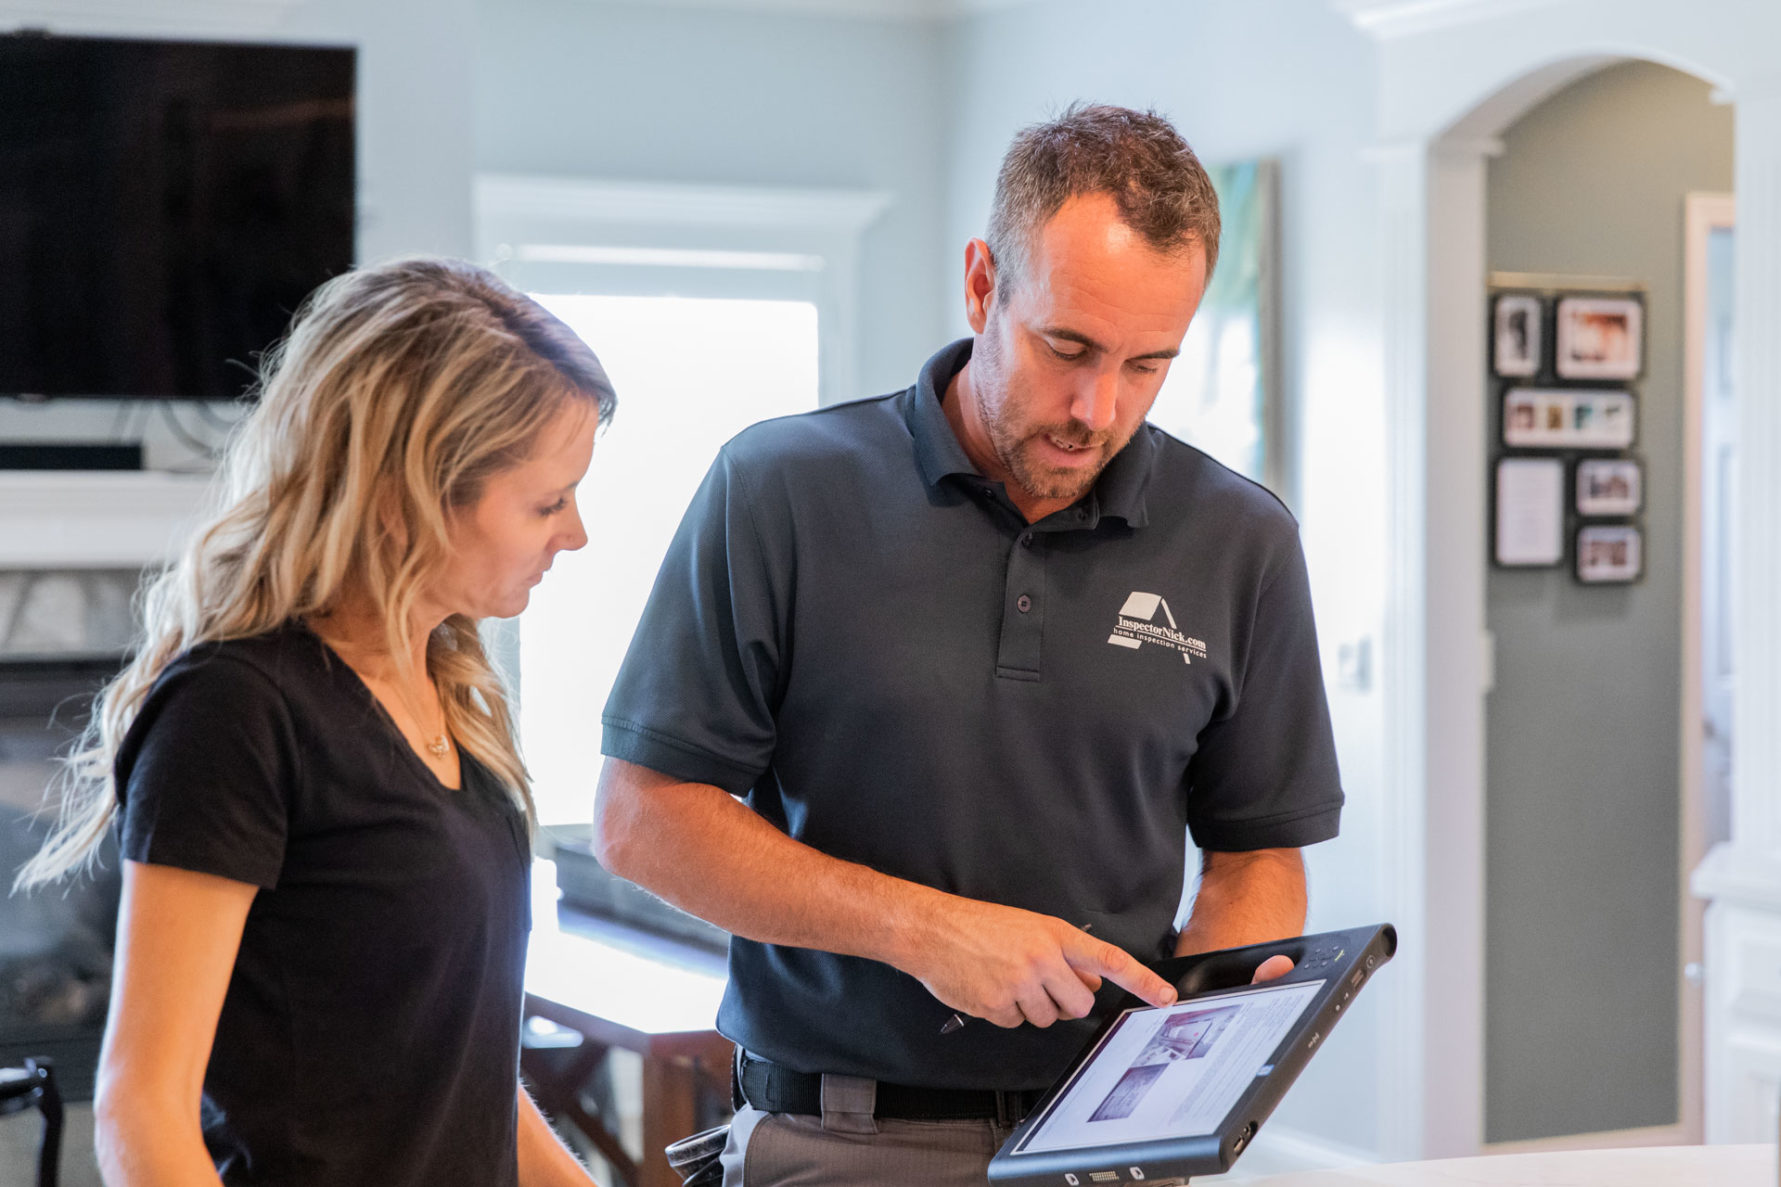
Accompanying the home inspector during the inspection is a valuable opportunity for you to gain firsthand knowledge about the property and its condition. By being present during the inspection, you can ask questions, clarify any concerns, and better understand the inspector’s findings.
Here are some reasons why it’s beneficial to accompany the inspector during the inspection:
- Gain insights and ask questions: Being present during the inspection allows you to observe and gain insights into the condition of the property. You can ask the inspector questions about specific areas or components and seek clarification on any concerns that you may have.
- Learn about maintenance and repairs: The inspector can provide valuable information about maintenance recommendations and potential repairs. By being present, you can learn how to properly care for the home and address any issues that may arise in the future.
- Identify immediate concerns: The inspector may uncover issues that require immediate attention or further assessment. Being present allows you to understand the severity of these issues and discuss possible solutions with the inspector.
- Document the inspection: Taking notes and photos during the inspection can serve as a reference for you in the future. It can help you remember specific areas or findings and assist you in making informed decisions, such as negotiating repairs or estimating future maintenance costs.
- Understand the home’s systems: The inspector can walk you through the various systems in the home, such as the electrical panel, HVAC, or plumbing. This helps you gain a better understanding of how these systems work and their current condition.
During the inspection, it’s important to respect the inspector’s space and allow them to focus on their evaluation. However, don’t hesitate to engage in conversation and ask questions when appropriate.
Remember, accompanying the inspector during the inspection is not mandatory, but it can provide you with valuable insights and empower you with the knowledge needed to make informed decisions about the property.
Once you have accompanied the inspector during the inspection, you can move on to Step 7: Review the Inspection Report.
Step 7: Review the Inspection Report
After the home inspection is completed, you will receive an inspection report detailing the findings and observations of the inspector. It is essential to thoroughly review this report to gain a comprehensive understanding of the property’s condition and identify any areas that may require attention.
Here are some key steps to follow when reviewing the inspection report:
- Read the report carefully: Take the time to read the report thoroughly, paying attention to each section and detail provided by the inspector. Familiarize yourself with their language and terminology to better understand the assessment.
- Note major issues: Identify any major issues or concerns highlighted in the report. These could include structural deficiencies, safety hazards, or significant repair requirements that may impact the value or livability of the home.
- Assess minor issues: Take note of any minor issues or recommended maintenance tasks mentioned in the report. While these may not be deal-breakers, they are important to be aware of and address in order to maintain the condition of the property.
- Seek clarification if needed: If there are any parts of the report that are unclear or require further explanation, don’t hesitate to reach out to the inspector for clarification. They can provide additional context and guidance to help you fully understand the findings.
- Consider the overall condition: Evaluate the overall condition of the property based on the inspection report. Assess how the findings align with your expectations and determine if any significant repairs or negotiations are necessary.
- Consult with professionals if needed: If specific issues are identified in the report, you may want to consult with relevant professionals, such as contractors or specialists, to get a more accurate assessment or estimate for repairs.
Remember, the inspection report is a valuable tool that provides you with a comprehensive evaluation of the property. It serves as a guide to help you make informed decisions regarding the purchase and any necessary repairs or negotiations.
Once you have thoroughly reviewed the inspection report, you can move on to Step 8: Negotiate Repair Requests.
Step 8: Negotiate Repair Requests
After reviewing the inspection report and identifying any necessary repairs or issues, it’s time to initiate the negotiation process with the seller. This step is important to address any significant concerns and ensure that the necessary repairs are taken care of before finalizing the purchase.
Here are some steps to follow when negotiating repair requests:
- Prioritize the repairs: Determine which repairs are the most critical and prioritize them in your negotiation request. Focus on issues that pose safety hazards, affect the structural integrity of the property, or have a significant impact on the property’s value.
- Consult professionals if needed: For complex repairs or issues that require expert assessment, consider consulting with contractors or specialists. They can provide accurate estimates or evaluations to support your negotiation requests.
- Draft a clear and concise request: Clearly outline the requested repairs in a written document to present to the seller. Be specific and provide supporting evidence from the inspection report to strengthen your case.
- Consider alternative solutions: In addition to requesting repairs, you can also explore alternative solutions such as offering a credit or reducing the purchase price to compensate for the needed repairs. This can provide flexibility in the negotiation process.
- Be open to counter offers: The seller may respond with a counter offer or propose their own solutions. Evaluate their counter offer carefully and consider the feasibility and fairness of their proposed solutions.
- Negotiate in good faith: Approach the negotiation process with a collaborative mindset, aiming for a mutually beneficial resolution. Maintain open lines of communication and be willing to compromise to reach an agreement.
Remember, the negotiation process may require back-and-forth communication between you and the seller. It is crucial to document all agreements in writing and ensure clarity on which repairs will be addressed before closing the deal.
Once the repair requests have been negotiated and agreed upon, you can move forward to Step 9: Take Necessary Steps for Closing the Deal.
Read more: How To Complete The Buyer’s Final Inspection
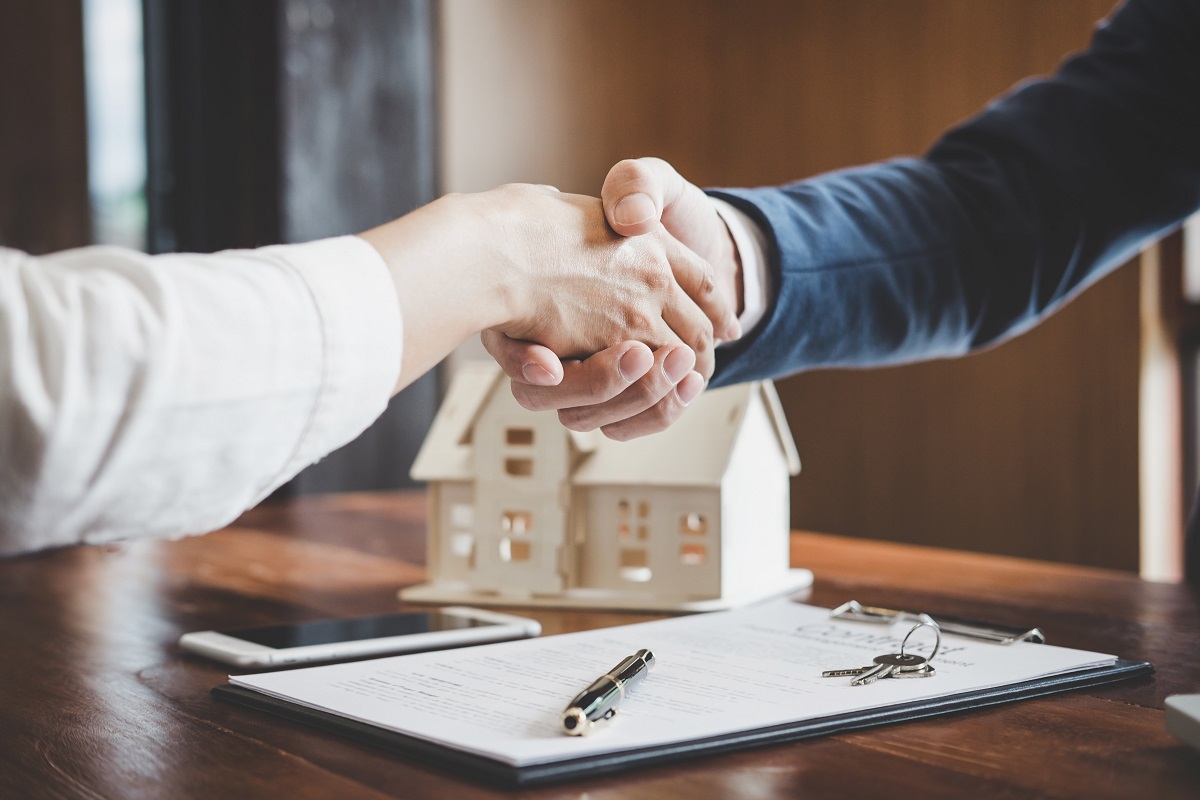
Step 9: Take Necessary Steps for Closing the Deal
After the repair requests have been negotiated and agreed upon, it’s time to take the necessary steps to move towards closing the deal. This final step involves coordinating with various parties involved in the transaction to ensure a smooth and successful closing.
Here are some important actions to take when preparing to close the deal:
- Notify necessary parties: Inform your lender, real estate agent, and any other relevant parties about the agreed-upon repairs and ensure they are aware of the status of the transaction.
- Schedule the repairs: Coordinate with the seller and appropriate contractors to schedule the repairs. Ensure that the necessary permits and materials are obtained, and a timeline is established for completion.
- Obtain proof of repairs: Once the repairs are completed, obtain documentation or receipts from the contractors as proof that the agreed-upon repairs have been finished satisfactorily. Keep these documents organized and ready for review.
- Revisit the inspection report: Review the inspection report once more to ensure that all the required repairs have been addressed as agreed upon. If any discrepancies are found, communicate them with the seller to resolve the issue before closing.
- Coordinate the final walk-through: Schedule a final walk-through of the property prior to closing to ensure that everything is in the expected condition. This allows you to verify that the repairs have been completed and the property is in the same or better condition as when you made the offer.
- Prepare closing documents: Work closely with your real estate agent or attorney to prepare the necessary documents for closing. This typically includes the transfer of title, loan documents, and other legal paperwork associated with the purchase.
- Secure homeowner’s insurance: Arrange for homeowner’s insurance coverage and provide the necessary documentation to your lender before closing. This is typically a requirement for the mortgage loan.
- Participate in the final closing: Attend the final closing meeting, where you will sign the necessary documents and complete the purchase of the property. Review all documents carefully and ask questions if anything is unclear before signing.
By taking these necessary steps, you can ensure a smooth and successful closing of the deal. Remember to stay in close communication with all parties involved and address any last-minute issues promptly to avoid any delays in the closing process.
Once the deal is officially closed, you can celebrate your new home and begin the exciting journey of homeownership!
By following these steps and being proactive throughout the home inspection process, you can navigate the home buying journey with confidence, making informed decisions about your investment. Remember, the key is to be prepared, informed, and proactive, ensuring that your new home is safe, sound, and ready for you to enjoy.
If you’d like to learn more about home maintenance tips or other related topics, feel free to explore our website or reach out to our team of experts.
Happy home buying!
Conclusion
Preparing for a home inspection as a buyer is a critical step in the home buying process. It allows you to gather essential information about the property’s condition, identify any potential issues, and make informed decisions. By following the step-by-step guide outlined in this article, you can navigate the home inspection process with confidence and ensure a smooth and successful experience.
From understanding the purpose of a home inspection to researching and hiring a qualified home inspector, gathering relevant documents, and preparing the home for inspection, each step plays a crucial role in maximizing the benefits of the inspection. Accompanying the inspector during the evaluation provides valuable insights, while reviewing the inspection report allows you to identify necessary repairs and negotiate them with the seller.
Taking the necessary steps for closing the deal ensures a seamless transition to homeownership. Coordinating with various parties, scheduling repairs, and preparing the required documents are pivotal in finalizing the purchase and beginning this exciting new chapter.
Throughout the entire process, it’s important to stay proactive, communicate openly, and seek professional advice when needed. By doing so, you can confidently assess the condition of a potential home, address any concerns, and make informed decisions regarding your investment.
Remember, a home inspection provides you with a comprehensive overview of the property, empowering you to make informed decisions based on accurate information. It also offers an opportunity to understand the maintenance needs and potential repairs, ensuring that your future home remains safe and comfortable.
As you embark on your home buying journey, take advantage of the knowledge and expertise of professionals in the field. Their guidance, along with the comprehensive understanding gained through the home inspection, will empower you to make the best choices for your home and investment.
Ultimately, by following these steps and being proactive throughout the home inspection process, you can confidently navigate the home buying journey, secure in the knowledge that you have made an informed decision about your dream home.
Good luck with your home inspection and congratulations on taking the steps towards homeownership! Enjoy this new chapter in your life.
Frequently Asked Questions about How To Prepare For A Home Inspection As A Buyer
Was this page helpful?
At Storables.com, we guarantee accurate and reliable information. Our content, validated by Expert Board Contributors, is crafted following stringent Editorial Policies. We're committed to providing you with well-researched, expert-backed insights for all your informational needs.


0 thoughts on “How To Prepare For A Home Inspection As A Buyer”