Home>Home Maintenance>How To Adjust Air Conditioning Vents
Home Maintenance
How To Adjust Air Conditioning Vents
Modified: March 6, 2024
Learn how to adjust air conditioning vents and improve your home's comfort with our comprehensive home maintenance guide.
(Many of the links in this article redirect to a specific reviewed product. Your purchase of these products through affiliate links helps to generate commission for Storables.com, at no extra cost. Learn more)
Introduction
Welcome to the ultimate guide on how to adjust air conditioning vents in your home. Having a properly functioning HVAC system is essential to maintain a comfortable living environment, and one key aspect of that is ensuring that your air conditioning vents are adjusted correctly. In this article, we will walk you through a step-by-step process to help you optimize the airflow and temperature distribution in your home.
Adjusting air conditioning vents involves cleaning the vents, directing the airflow, and adjusting the size of the vent openings. By following these steps, you can ensure that each room in your home receives the appropriate level of cooling or heating, enhancing your overall comfort and energy efficiency.
Before we jump into the nitty-gritty details, let’s take a moment to understand the different types of air conditioning vents you may encounter in your home.
Key Takeaways:
- Keep your home comfortable by adjusting air conditioning vents. Determine the type, locate, clean, adjust direction and opening size, and fine-tune airflow for optimal performance.
- Regularly maintaining and adjusting air conditioning vents enhances comfort and energy efficiency. Seek professional help if needed and enjoy a well-balanced HVAC system.
Read more: How To Close Air Conditioning Vents
Step 1: Determine the Type of Air Conditioning Vents
The first step in adjusting your air conditioning vents is to determine the type of vents installed in your home. There are several common types, including:
- Floor vents: These vents are located on the floor and usually have slats or louvers to control the airflow.
- Wall vents: These vents are mounted on the walls and can be adjusted vertically or horizontally to control the direction of the air.
- Ceiling vents: As the name suggests, these vents are installed on the ceiling and can be adjusted to direct the air downward or in a specific direction.
- Register vents: These vents are usually rectangular in shape and can be found on the floor, wall, or ceiling. They are equipped with dampers or fins to regulate the airflow.
Identifying the type of vents in your home is important because each type may require slightly different adjustments. For example, floor vents typically have adjustable dampers or louvers that can be opened or closed to control the airflow, while ceiling vents may have directional fins that you can adjust to change the direction of the air.
Take some time to visually inspect each vent in your home and make a note of their types and locations. This will help you customize the adjustments for each vent later on.
Once you have determined the type of vents in your home, we can move on to the next step: locating the vents.
Step 2: Locate the Vents in Your Home
In order to adjust your air conditioning vents effectively, you need to identify the locations of all the vents in your home. This will allow you to target specific areas that may require more or less airflow. Here’s how you can locate the vents:
- Start by walking through each room in your home and visually inspecting the walls, floors, and ceilings for vent openings. Look for rectangular or square shapes with slats, grilles, or louvers.
- Pay attention to any areas where you may have noticed airflow in the past. Vents are often located near windows, doors, or in direct proximity to the HVAC unit.
- If you have a basement or crawl space, check for vents in those areas as well. They are often found near the foundation walls or in the ceiling.
- Don’t forget to check less obvious locations, such as closets, bathrooms, and utility rooms. Some homes may have hidden vents in these areas.
As you locate each vent, jot down its location on a piece of paper or create a simple diagram. This will serve as a helpful reference when adjusting the vents later on.
It’s also important to note any vents that may be blocked by furniture, curtains, or other obstructions. These blockages can restrict airflow and hinder the effectiveness of your HVAC system. Make sure to clear any obstacles to ensure optimal airflow throughout your home.
Once you have located all the vents in your home, we can move on to the next step: cleaning the vents.
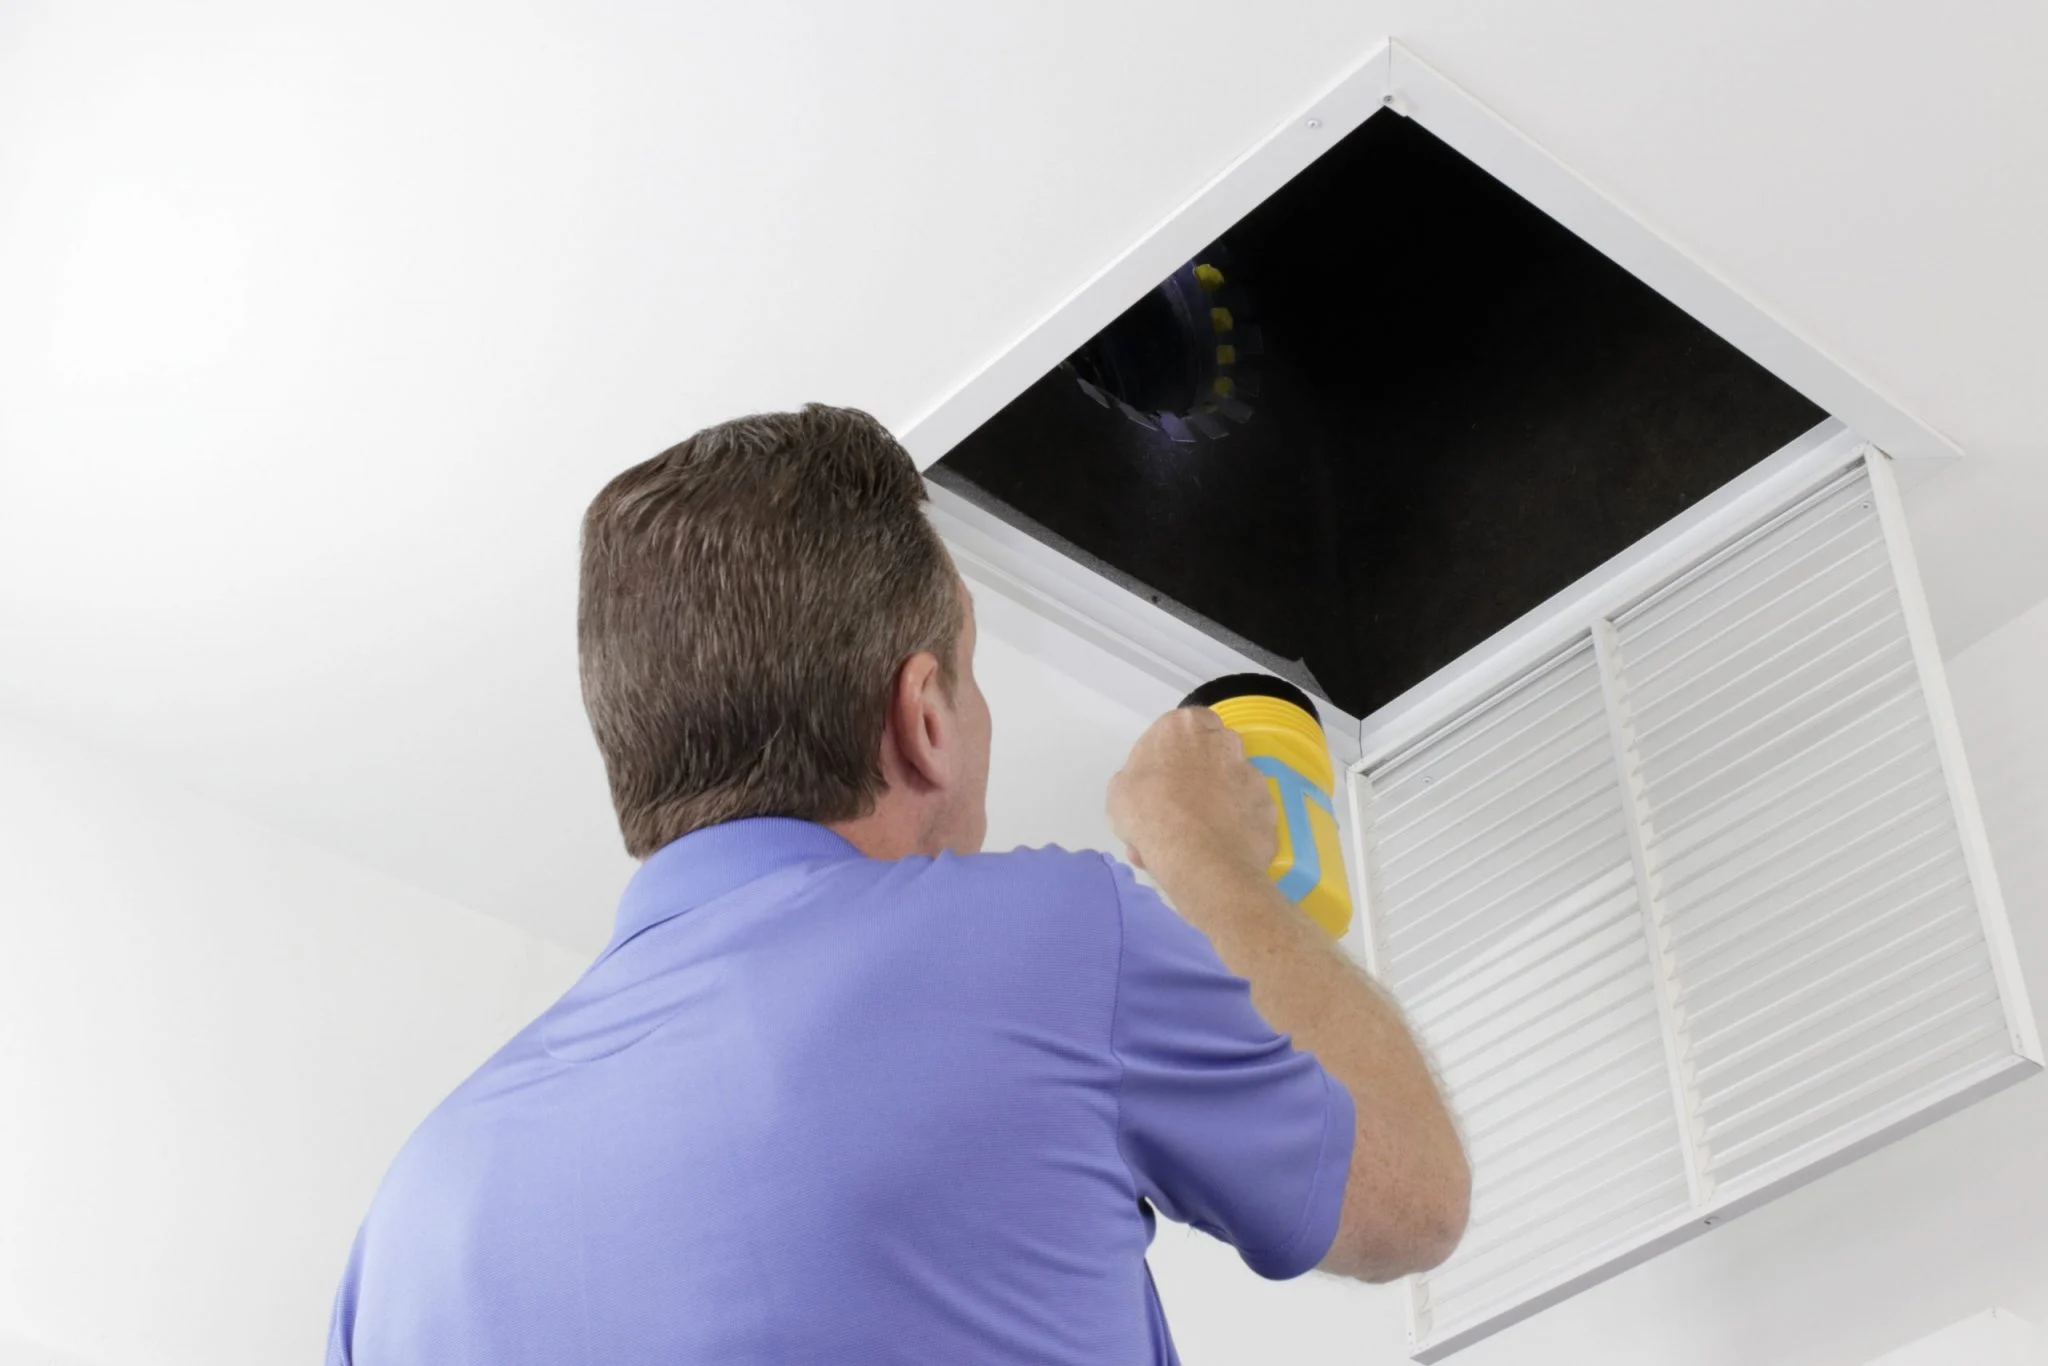
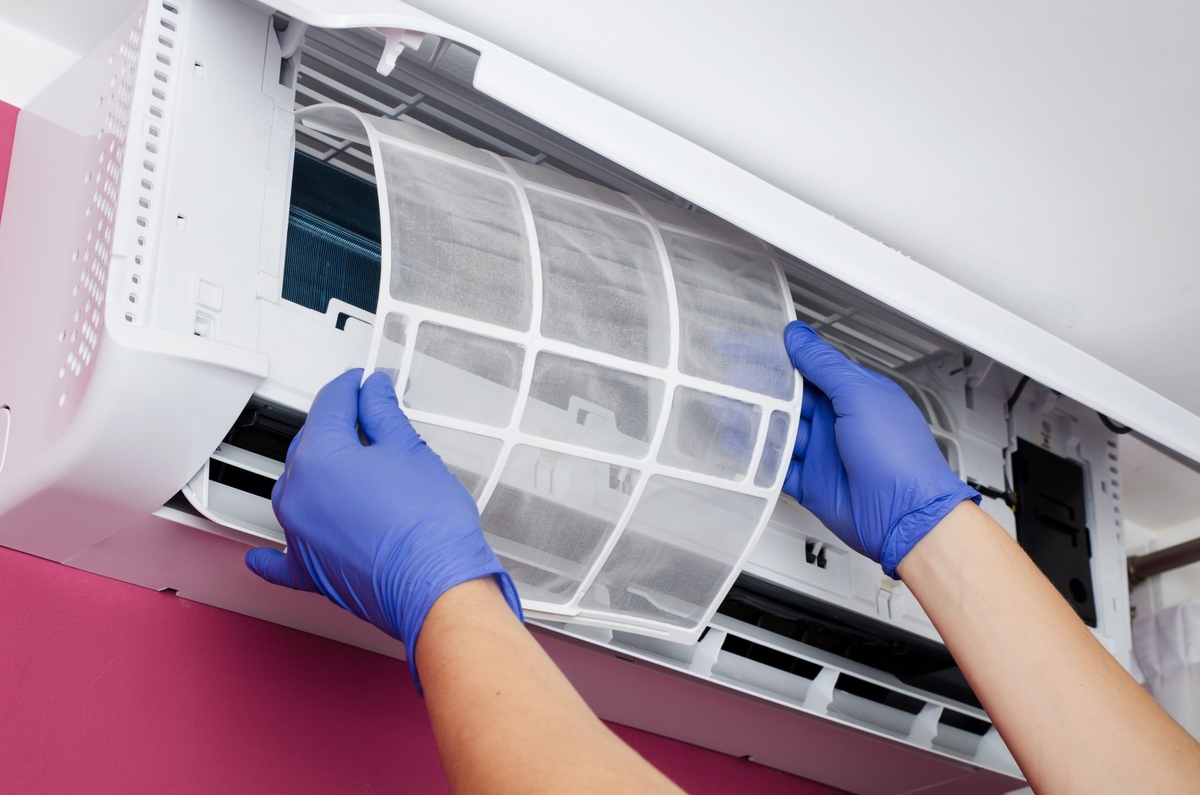
Step 3: Clean the Vents
Before making any adjustments to the airflow or direction of your air conditioning vents, it’s important to ensure that they are clean and free from any dust or debris. Cleaning the vents not only improves the air quality in your home but also helps maintain the efficiency of your HVAC system. Here’s how you can clean your vents:
- Start by turning off your HVAC system to prevent any debris from being blown around during cleaning.
- Use a vacuum cleaner with a brush attachment to gently remove any visible dust or cobwebs from the vent slats or grilles.
- If the vents are excessively dirty or clogged, you may need to remove them for a more thorough cleaning. Follow the manufacturer’s instructions or consult a professional if you are unsure how to remove the vents safely.
- Once the vents are removed, use a damp cloth or sponge to wipe away any stubborn dirt or grime. You can also use a mild detergent mixed with water for a deeper clean, if necessary.
- Allow the vents to dry completely before reattaching them. This will prevent any moisture from entering the HVAC system.
- Finally, turn on your HVAC system and check for any noticeable improvements in airflow and ventilation.
Cleaning your vents on a regular basis, ideally once every few months, will help maintain the efficiency of your HVAC system and ensure that each room in your home receives the proper airflow. It’s a simple maintenance task that can make a significant difference in the overall performance of your air conditioning system.
Now that your vents are clean, we can move on to the next step: adjusting the vent direction.
To adjust air conditioning vents, use the levers on the vent to open or close them for more or less airflow. Make sure to not block the vents with furniture or curtains for proper air circulation.
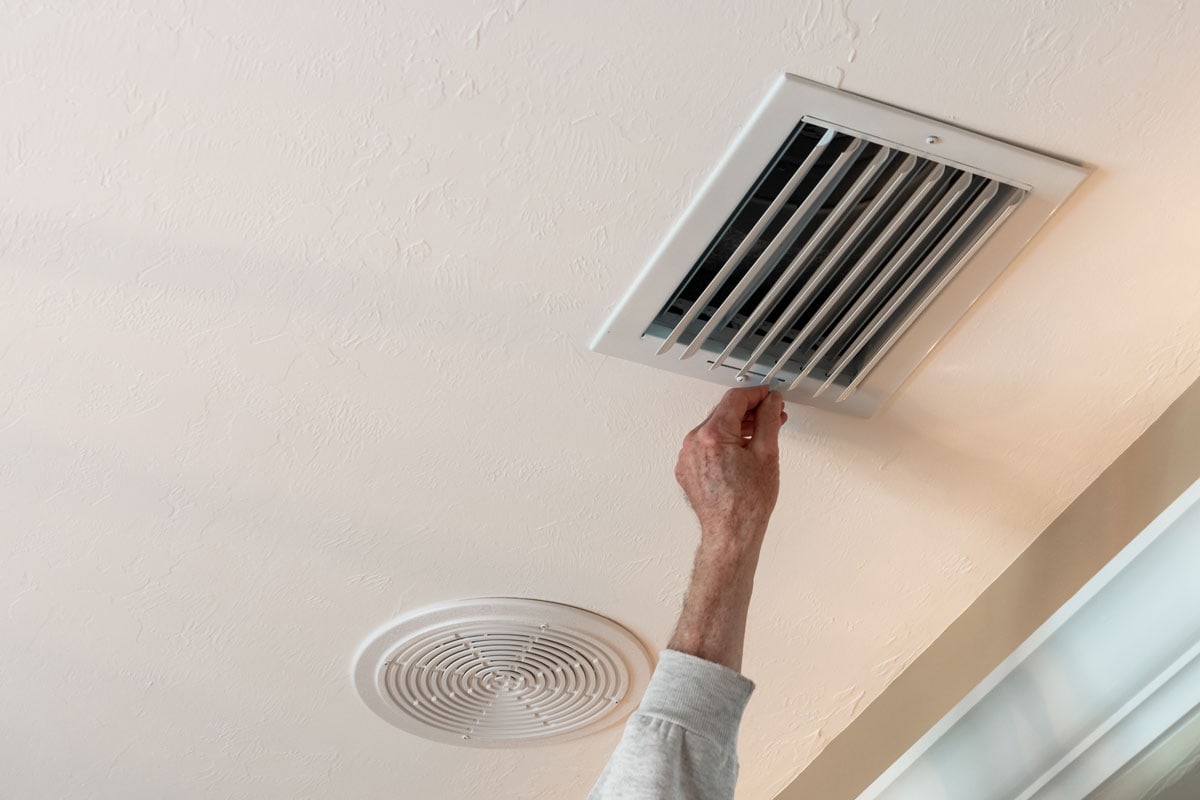
Step 4: Adjust the Vent Direction
Now that you have cleaned your air conditioning vents, it’s time to adjust their direction to optimize the airflow in your home. By directing the airflow properly, you can ensure that each room receives the desired level of cooling or heating. Follow these steps to adjust the vent direction:
- Stand in front of each vent and observe the current direction of the airflow. Is it directly hitting a wall or being obstructed by furniture? Take note of any areas that may require a change in direction.
- For wall or ceiling vents, you can usually adjust the direction by using a flat-headed screwdriver or your hands. Gently rotate the fins or louvers to direct the airflow where you want it to go.
- If you have floor vents, you may need to use a vent deflector or air diverter to redirect the airflow. These accessories can be purchased at hardware stores and are typically easy to install.
- Experiment with different angles and positions to find the optimal direction for each vent. Keep in mind that you may need to adjust the vent direction seasonally to accommodate changes in temperature and airflow preferences.
By adjusting the vent direction, you can prevent cold or hot spots in your home and ensure that the conditioned air is effectively distributed throughout each room. This will not only enhance your comfort but also improve the energy efficiency of your HVAC system.
Now that you have adjusted the vent direction, let’s move on to the next step: adjusting the vent opening size.
Read more: How To Remove Air Conditioning Vents
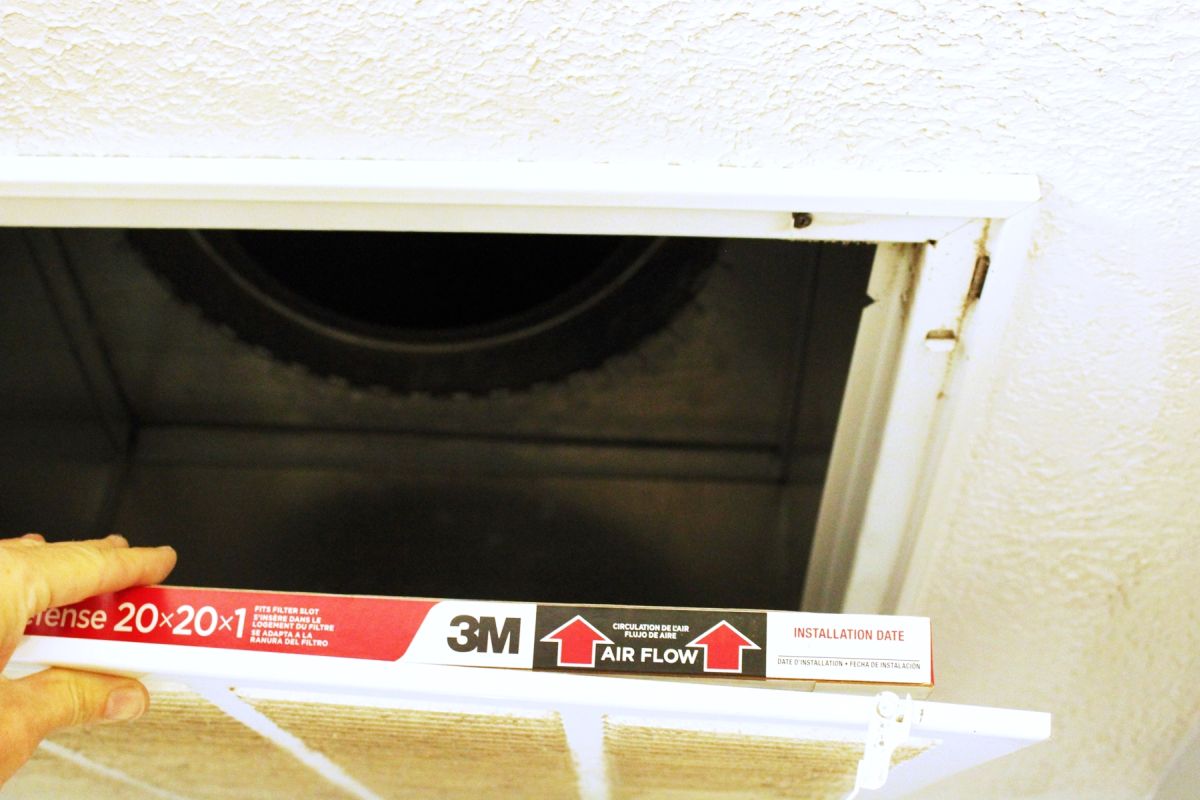
Step 5: Adjust the Vent Opening Size
After adjusting the direction of your air conditioning vents, the next step is to fine-tune the airflow by adjusting the size of the vent openings. This allows you to control the amount of air that enters each room, catering to individual temperature preferences and specific needs. Follow these steps to adjust the vent opening size:
- Start by examining each vent and determining whether it has adjustable dampers or louvers.
- If the vent has adjustable dampers, you can typically open or close them by using a flat-headed screwdriver. Rotate the damper to decrease or increase the size of the vent opening.
- For vents without adjustable dampers, you can use magnetic or clip-on vent covers to partially cover the vent opening. This allows you to control the airflow by adjusting the position of the cover.
- Pay attention to rooms that may require more or less airflow. For example, you may want to increase the airflow in rooms that tend to be warmer or decrease the airflow in rooms that are naturally cooler.
- Keep in mind that adjusting the vent opening size can impact the overall system balance. It’s important to achieve a balance between rooms to maintain proper airflow and prevent unnecessary strain on your HVAC system.
By adjusting the vent opening size, you can create a customized airflow in each room, ensuring maximum comfort and energy efficiency. Regularly monitor the temperature and airflow in different areas of your home to make necessary adjustments as needed.
Now that you have adjusted the vent opening size, let’s move on to the final step: testing and fine-tuning the air flow.
Step 6: Test and Fine-tune the Air Flow
Now that you have adjusted the direction and size of your air conditioning vents, it’s time to test and fine-tune the airflow in your home. This step allows you to assess the effectiveness of your adjustments and make any necessary refinements. Follow these steps to test and fine-tune the air flow:
- Turn on your HVAC system and allow it to run for a few minutes to ensure that the conditioned air is flowing through the vents.
- Walk through each room in your home and assess the temperature and airflow. Does each room feel adequately cooled or heated? Are there any noticeable hot or cold spots?
- Make note of any rooms that may require further adjustments. It’s normal for different rooms to have varying airflow needs, so don’t be afraid to fine-tune the settings accordingly.
- For rooms that are not receiving sufficient airflow, consider opening the vent dampers or increasing the vent opening size. Conversely, for rooms that are getting too much airflow, adjust the dampers or partially cover the vents to reduce the airflow.
- Monitor the temperature and airflow in each room over the course of a few days to ensure that the adjustments are achieving the desired comfort levels.
- Periodically revisit the adjustments and make refinements as necessary. Changes in weather or personal preferences may require further modifications to optimize the airflow in your home.
Testing and fine-tuning the air flow is a crucial step to ensure that your HVAC system is providing the desired comfort and energy efficiency. By monitoring and adjusting the airflow, you can maintain a balanced and comfortable indoor environment.
Congratulations! You have successfully adjusted the air conditioning vents in your home. By following these steps and regularly maintaining your vents, you can optimize the airflow and enhance the performance of your HVAC system.
Remember, if you encounter any difficulties or are unsure about making adjustments, it’s always advisable to consult a professional HVAC technician for assistance. They can provide expert guidance and ensure that your system is functioning optimally.
By taking the time to adjust and maintain your air conditioning vents, you can enjoy a comfortable living environment while also maximizing energy efficiency. Start implementing these steps today and reap the benefits of a well-balanced and efficiently functioning HVAC system.
Conclusion
Properly adjusting your air conditioning vents is essential for maintaining a comfortable and well-balanced indoor environment. By following the steps outlined in this guide, you can optimize the airflow and temperature distribution in your home, enhancing both your comfort and energy efficiency.
Through determining the type of vents, locating them, cleaning them, adjusting their direction, controlling the vent opening size, and fine-tuning the airflow, you can achieve a customized ventilation system that meets the specific needs of each room in your home.
Regular maintenance and adjustment of your air conditioning vents will not only enhance your comfort but also prolong the lifespan of your HVAC system and improve its overall efficiency. Remember to clean your vents regularly, remove any obstructions, and monitor the airflow in different areas of your home to ensure optimal performance.
If you are unsure about making adjustments or encounter any difficulties, it is always recommended to consult a professional HVAC technician. They can provide expert guidance tailored to your specific HVAC system and ensure that everything is properly adjusted and functioning as it should be.
By taking the time to adjust and maintain your air conditioning vents, you can enjoy a comfortable living environment throughout the year, reduce energy consumption, and save on utility bills. Start implementing these steps today and reap the benefits of a well-balanced and efficiently functioning HVAC system.
Remember, proper ventilation is key to creating a healthy, comfortable, and enjoyable home environment. Take control of your air conditioning vents, and enjoy the perfect climate in every room!
Frequently Asked Questions about How To Adjust Air Conditioning Vents
Was this page helpful?
At Storables.com, we guarantee accurate and reliable information. Our content, validated by Expert Board Contributors, is crafted following stringent Editorial Policies. We're committed to providing you with well-researched, expert-backed insights for all your informational needs.