Articles
How To Get The Toilet To Stop Running
Modified: October 20, 2024
Need help with a running toilet? Check out our informative articles on how to stop the toilet from running for good.
(Many of the links in this article redirect to a specific reviewed product. Your purchase of these products through affiliate links helps to generate commission for Storables.com, at no extra cost. Learn more)
Introduction
A running toilet can be a frustrating and wasteful problem to deal with. Not only does it lead to water wastage, but it can also increase your water bill significantly. Thankfully, fixing a running toilet is often a simple and inexpensive task that you can tackle on your own. In this article, we will explore the common causes of a running toilet and provide step-by-step instructions on how to fix them.
Before we dive into the solutions, it’s important to understand why your toilet might be running in the first place. The most common causes include a faulty flapper, a misadjusted float, a faulty fill valve, a problem with the flush valve, or even a faulty supply line. By identifying the root cause of the issue, you can easily pinpoint the necessary fix.
So, if you’re tired of hearing the constant sound of water running in your bathroom and want to put an end to the wastage and annoyance, read on to discover the steps to get your toilet to stop running.
Key Takeaways:
- Don’t let a running toilet waste water and money. Easily troubleshoot and fix common issues like a faulty flapper or misadjusted float to restore a quiet and efficient bathroom experience.
- Take control of your water bill by addressing a running toilet. From adjusting the float to fixing a faulty supply line, simple DIY solutions can save you from the frustration of continuous water wastage.
Read more: How To Fix A Running Toilet
Common Causes of a Running Toilet
A running toilet can have various causes, and being able to identify the root of the problem is the first step towards fixing it. Here are some common culprits that may be causing your toilet to run:
- 1. Faulty Flapper: The flapper is a rubber valve that seals the bottom of the tank and allows water to flow into the bowl when you flush. Over time, the flapper can wear out or become misaligned, resulting in a constant flow of water into the bowl.
- 2. Misadjusted Float: The float is a mechanism that controls the water level in the tank. If the float is set too high, the water level will rise and continue to flow into the overflow tube, causing the toilet to run. Alternatively, if the float is set too low, it may not close the fill valve properly, leading to continuous water flow.
- 3. Faulty Fill Valve: The fill valve is responsible for refilling the tank after each flush. If the fill valve is not functioning correctly, it may fail to shut off completely, causing water to constantly flow into the tank.
- 4. Problem with the Flush Valve: The flush valve allows water to enter the bowl during flushing and ensures a proper seal afterward. If there is a problem with the flush valve, such as debris blocking it or a faulty seal, water may continuously leak into the bowl.
- 5. Faulty Supply Line: If you’ve checked the internals of the toilet and everything seems to be in working order, the issue may lie with the supply line. A faulty supply line can cause a constant flow of water into the tank, leading to a running toilet.
By understanding these common causes, you can now proceed to troubleshoot and fix your running toilet. In the next sections, we will provide step-by-step instructions on how to check and adjust the float, adjust the fill valve, replace the flapper, check and repair the flush valve, and fix a faulty supply line. So, let’s get started on restoring your toilet back to its normal, quiet state!
Checking and Adjusting the Float
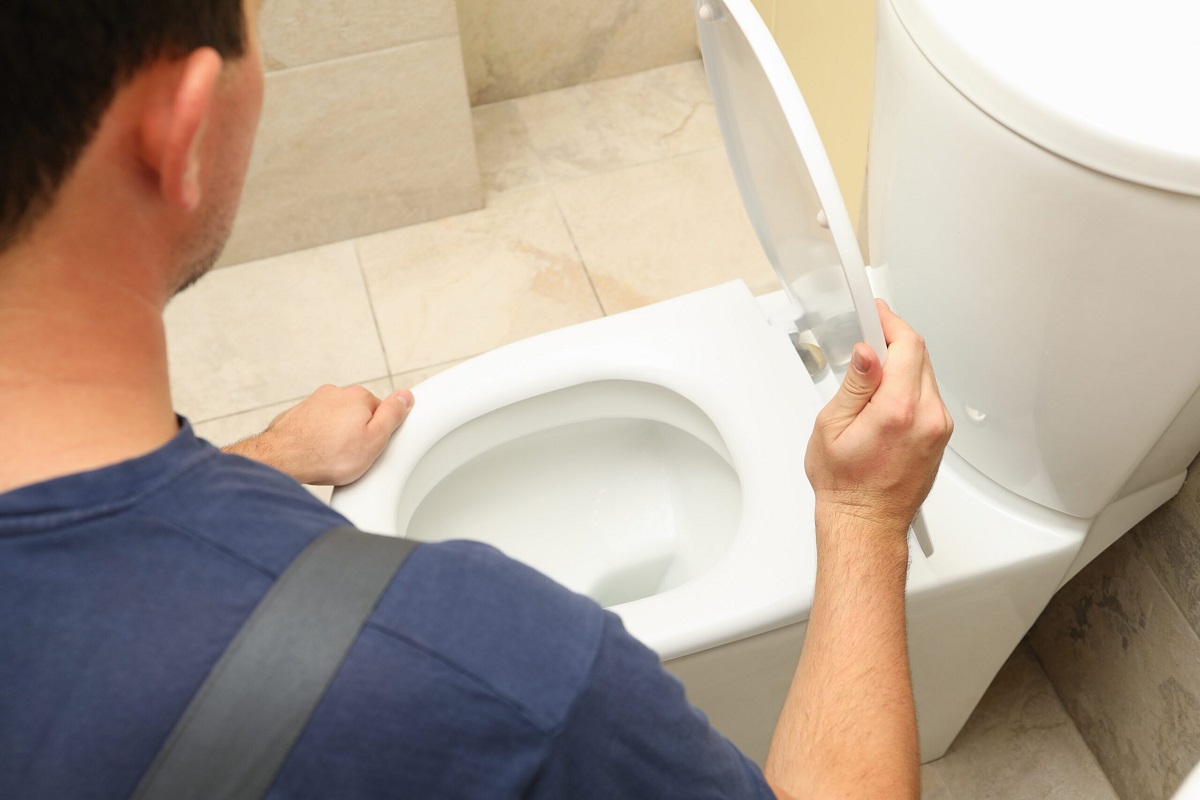
The float is responsible for regulating the water level in the toilet tank. If the float is set incorrectly, it can cause the toilet to continuously run. Here’s how you can check and adjust the float:
- Step 1: Remove the tank lid and place it in a safe location.
- Step 2: Take a look inside the tank and locate the fill valve. The fill valve is usually located on the left side of the tank.
- Step 3: Observe the float. In most toilets, the float is either a plastic ball attached to a metal arm or a cylindrical device attached to the fill valve assembly.
- Step 4: Check if the float is set at the correct level. The correct water level should be marked on the overflow pipe or indicated in the manufacturer’s instructions.
- Step 5: If the water level is too high, adjust the float by gently bending the metal arm or adjusting the float mechanism. You may need to hold the float while turning the adjustment screw to secure it in the desired position.
- Step 6: If the water level is too low, carefully bend the float arm upward to increase the water level. Be cautious not to bend it too much, as it can cause the toilet to overflow.
- Step 7: Flush the toilet to see if the adjustment has resolved the issue. If the toilet no longer runs and the water level is correct, you have successfully adjusted the float.
- Step 8: If the toilet continues to run or the water level is still incorrect, you may need to replace the float or seek further assistance from a professional plumber.
By checking and adjusting the float, you can ensure that the water level in your toilet tank is correctly regulated, preventing it from continuously running. If adjusting the float does not resolve the issue, you can move on to the next step of troubleshooting your running toilet.
Adjusting the Fill Valve
If the float adjustment did not fix the running toilet issue, the problem might lie with the fill valve. The fill valve controls the water flow into the tank after each flush. Here’s how you can adjust the fill valve:
- Step 1: Turn off the water supply to the toilet. You can usually find the shut-off valve behind or near the toilet, either on the wall or the floor.
- Step 2: Flush the toilet to drain the water from the tank.
- Step 3: Locate the fill valve, which is connected to the water supply line and has a float and a refill tube attached.
- Step 4: Take note of the adjustment mechanism on the fill valve. It is typically a screw or a slider that controls the water level.
- Step 5: Depending on your fill valve type, either turn the adjustment screw clockwise to lower the water level or slide the adjustment slider down to decrease the water level.
- Step 6: Flush the toilet and observe if the water level has reached the desired level. If not, repeat the adjustment process until the correct water level is achieved.
- Step 7: Once the water level is set correctly, turn the water supply back on and allow the tank to refill.
- Step 8: Check if the toilet continues to run. If it does, you may need to replace the fill valve or seek professional assistance.
By adjusting the fill valve, you can control the water level in the tank and prevent it from continuously running. Make sure to test the toilet after the adjustment to ensure that the running issue is resolved. If the problem persists, continue troubleshooting with the next steps.
Check the flapper and the chain inside the toilet tank. If the flapper is not sealing properly, it can cause the toilet to run. Adjust or replace as needed.
Replacing the Flapper
If adjusting the float and fill valve did not resolve the running toilet problem, the flapper may be the culprit. The flapper is a rubber valve that allows water to flow from the tank into the bowl during flushing. Over time, the flapper can deteriorate or become misaligned, leading to a continuous flow of water. Here’s how you can replace the flapper:
- Step 1: Turn off the water supply to the toilet.
- Step 2: Flush the toilet to drain the water from the tank.
- Step 3: Remove the tank lid and set it aside in a safe area.
- Step 4: Inspect the flapper. It is typically located at the bottom of the tank, covering the flush valve opening.
- Step 5: Disconnect the flapper from the flush valve chain. This may involve unhooking it or unscrewing it, depending on the type of flapper mechanism.
- Step 6: Take note of the make and model of your toilet, as well as the type of flapper you need. This information will help you purchase the correct replacement flapper.
- Step 7: Install the new flapper by attaching it to the flush valve, ensuring a secure and watertight connection.
- Step 8: Reconnect the flapper to the flush valve chain, adjusting the chain length as needed. Make sure there is enough slack in the chain for the flapper to properly open and close.
- Step 9: Turn the water supply back on and allow the tank to refill.
- Step 10: Test the toilet by flushing it and checking for any leaks or continuous running. If everything is working correctly, your toilet should no longer run.
By replacing the flapper, you can ensure a proper seal between the tank and the bowl, preventing water from continuously flowing and causing a running toilet. If replacing the flapper did not resolve the issue, move on to the next step of troubleshooting.
Read more: How To Stop An Overflowing Toilet
Checking and Repairing the Flush Valve
If you’ve already adjusted the float, fill valve, and replaced the flapper without resolving the running toilet issue, the problem may lie with the flush valve. The flush valve is responsible for allowing water to enter the bowl during flushing and ensuring a proper seal afterward. Here’s how you can check and repair the flush valve:
- Step 1: Turn off the water supply to the toilet.
- Step 2: Flush the toilet to drain the water from the tank.
- Step 3: Remove the tank lid and set it aside in a safe area.
- Step 4: Inspect the flush valve for any signs of damage or debris. The flush valve is typically located in the middle of the bottom of the tank.
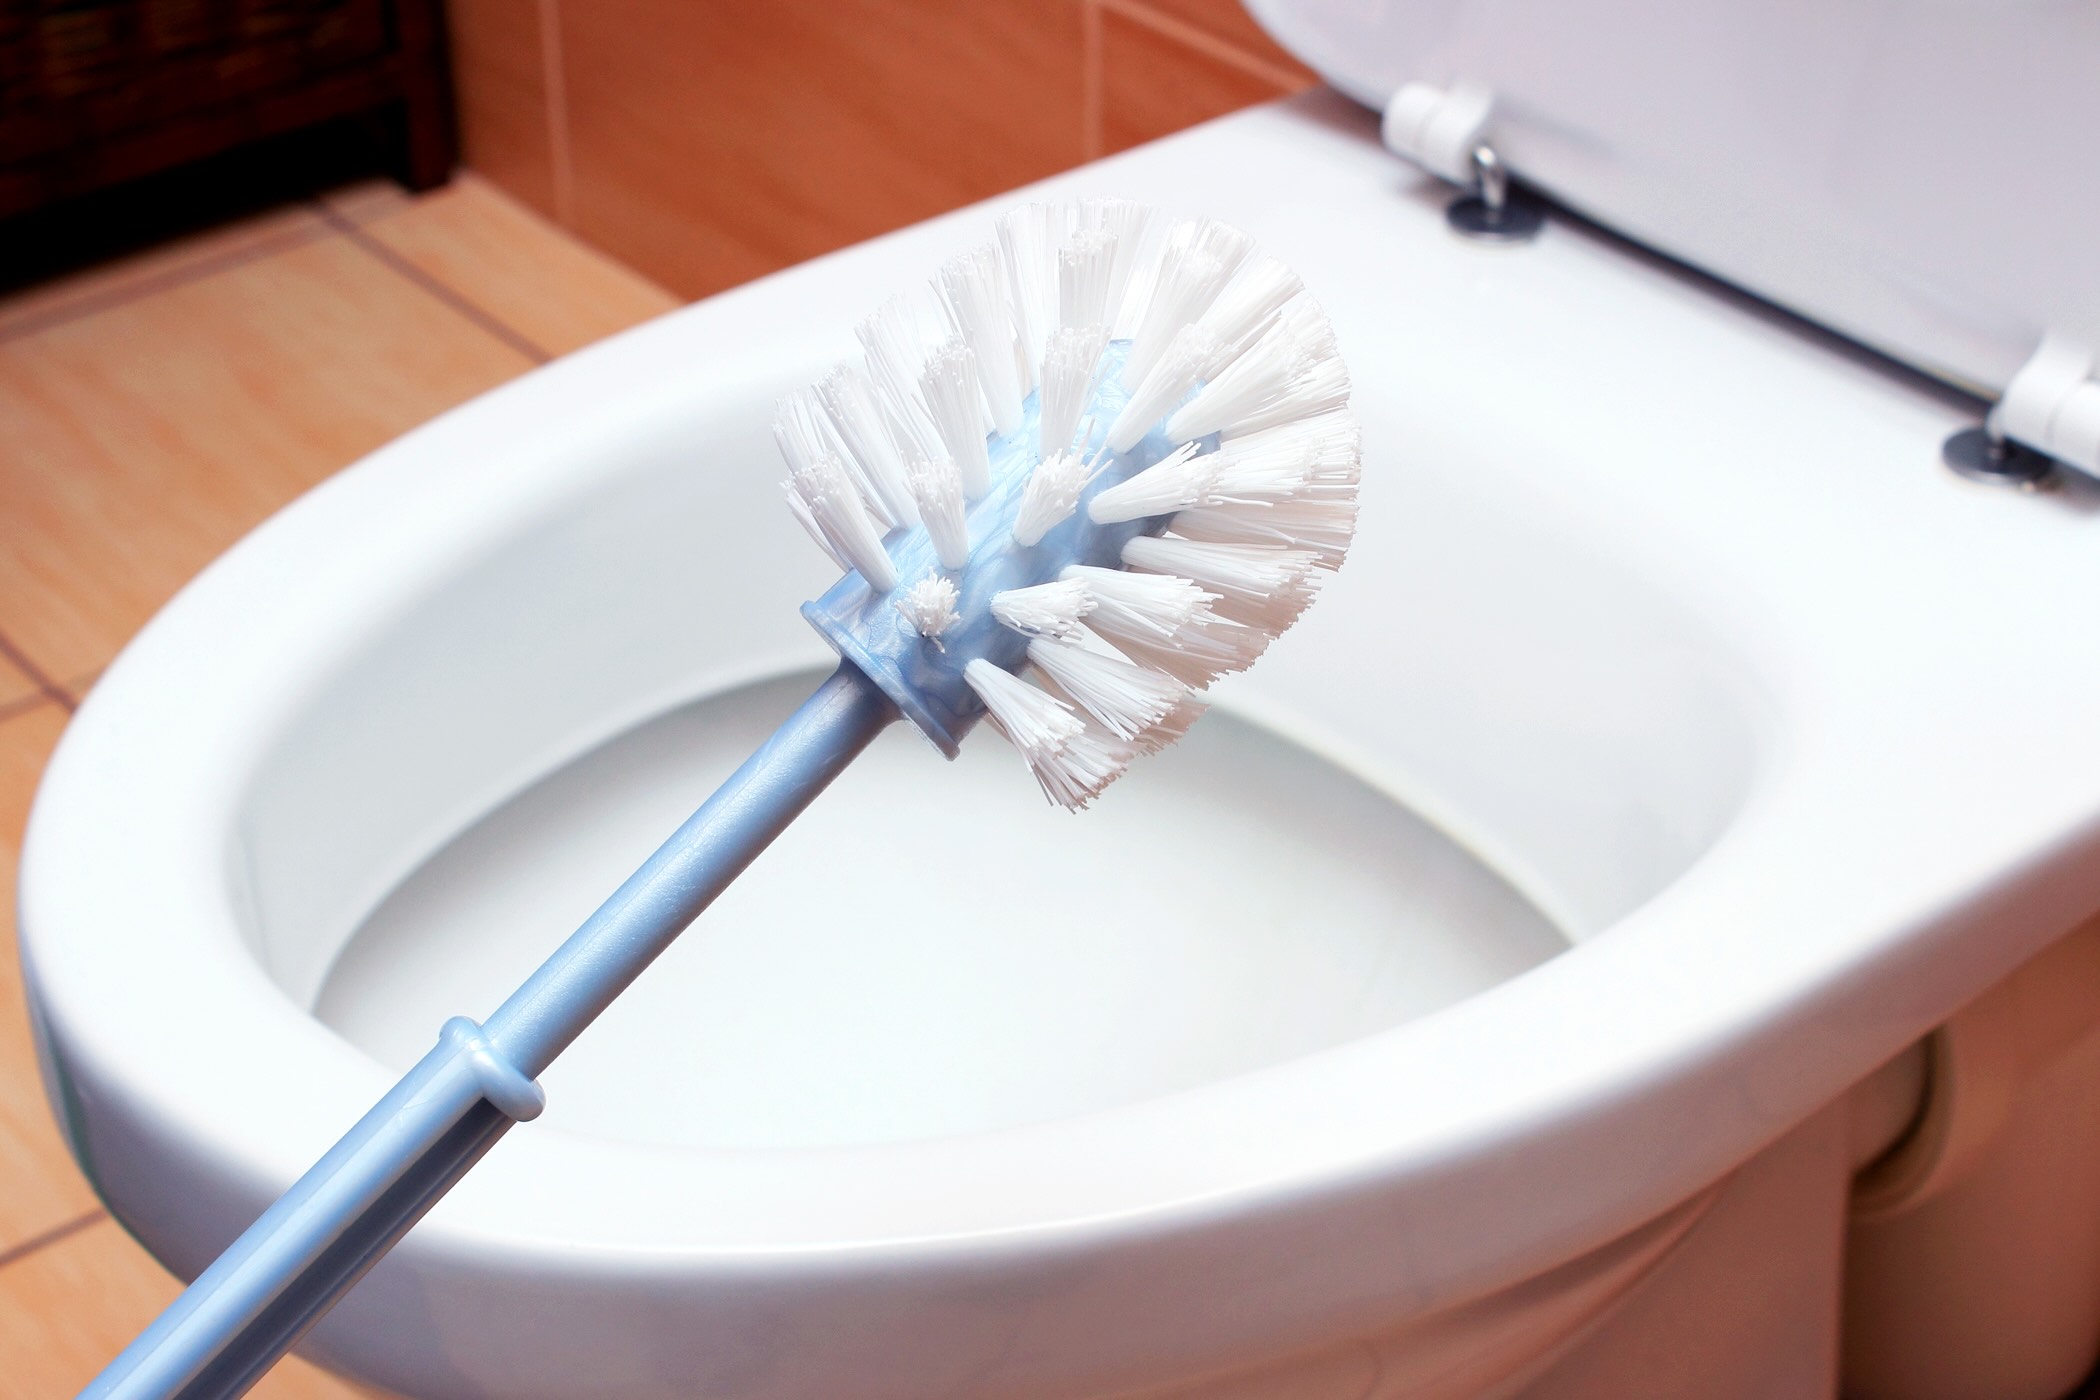
- Step 5: Clean the flush valve by removing any debris or mineral deposits that may be obstructing it. Use a brush or a cloth soaked in vinegar to thoroughly clean the valve and the surrounding area.
- Step 6: If the flush valve is damaged or worn out, you may need to replace it. Consult the manufacturer’s instructions for your specific toilet model or seek professional assistance for guidance.
- Step 7: Install the new flush valve according to the manufacturer’s instructions. Ensure that it is properly aligned and securely tightened.
- Step 8: Turn the water supply back on and allow the tank to refill.
- Step 9: Test the toilet by flushing it and checking for any leaks or continuous running. If the flush valve repair was successful, your toilet should no longer run.
By checking and repairing the flush valve, you can ensure proper water flow and airtight sealing, preventing water from continuously running into the toilet bowl. If the issue persists, there may be a problem with the supply line, which we will address in the next step of troubleshooting.
Fixing a Faulty Supply Line
If you’ve gone through the previous troubleshooting steps and your toilet is still running, the issue may be with the supply line. The supply line connects the water source to the toilet tank and can develop leaks or other faults over time. Here’s how you can fix a faulty supply line:
- Step 1: Turn off the water supply to the toilet.
- Step 2: Flush the toilet to drain the remaining water from the tank.
- Step 3: Place a bucket or towels on the floor beneath the supply line to catch any water that may spill during the repair.
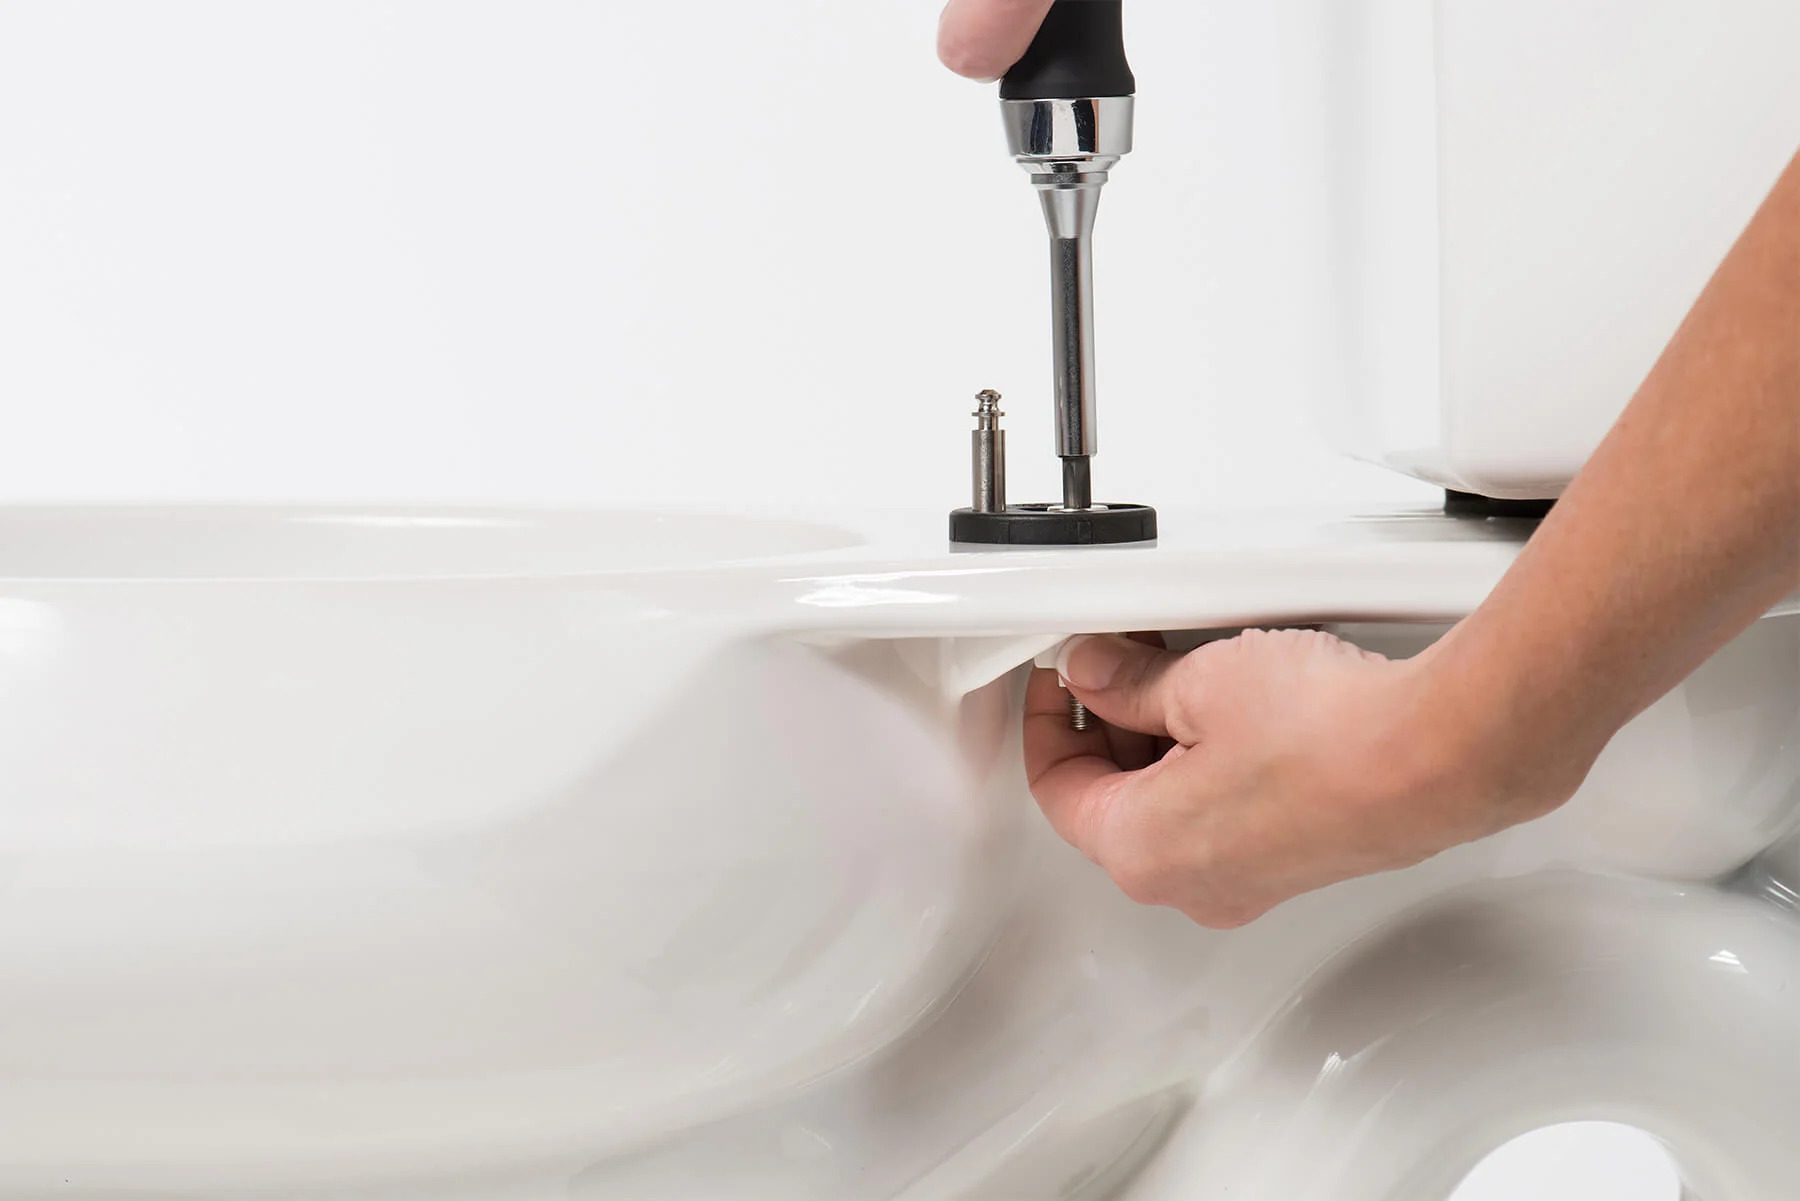
- Step 4: Use an adjustable wrench to disconnect the supply line from the bottom of the toilet tank and the shut-off valve. Turn the nuts counterclockwise to loosen them.
- Step 5: Inspect the supply line for any signs of damage, such as cracks, leaks, or kinks. If you notice any issues, it’s best to replace the supply line entirely.
- Step 6: Prepare the new supply line by ensuring it is the correct length and type for your toilet. Flexible stainless steel braided hoses are commonly used and provide durability.
- Step 7: Attach one end of the new supply line to the bottom of the toilet tank and tighten the nut clockwise using the adjustable wrench. Be careful not to over-tighten, as it can cause damage to the fittings.
- Step 8: Attach the other end of the supply line to the shut-off valve and tighten the nut clockwise as well.
- Step 9: Turn on the water supply and check for any leaks. If you notice any leaks, tighten the connections as needed or consider using plumber’s tape or sealant to create a watertight seal.
- Step 10: Once you’ve confirmed there are no leaks, flush the toilet and check if the running issue has been resolved.
By fixing a faulty supply line, you can ensure a steady flow of water to the toilet tank without any leaks or interruptions, which can contribute to a running toilet. If you’ve followed these steps and the problem still persists, it may be time to seek professional assistance to diagnose and resolve the issue.
Conclusion
A running toilet can be a frustrating and wasteful issue, but thankfully, it is often a problem that can be easily fixed. By understanding the common causes of a running toilet and following the troubleshooting steps outlined in this article, you can successfully address the issue and prevent water wastage.
Start by checking and adjusting the float to ensure it is set at the correct water level. If that doesn’t solve the problem, move on to adjusting the fill valve to control the water flow into the tank. Replacing the flapper can also help if it is worn out or misaligned. If the toilet continues to run, inspect and repair the flush valve for any damage or debris. Finally, check and fix any faults in the supply line that may be causing continuous water flow.
Remember, safety is important when working with plumbing, so always turn off the water supply before making any adjustments or repairs. If you’re unsure or uncomfortable with tackling the issue on your own, it’s best to consult a professional plumber for assistance.
By taking the time to troubleshoot and fix your running toilet, not only will you save water and money on your water bill, but you’ll also enjoy a quieter and more efficient bathroom experience. So, don’t let a running toilet be a constant annoyance – take action today and restore your toilet to its normal functioning state.
Frequently Asked Questions about How To Get The Toilet To Stop Running
Was this page helpful?
At Storables.com, we guarantee accurate and reliable information. Our content, validated by Expert Board Contributors, is crafted following stringent Editorial Policies. We're committed to providing you with well-researched, expert-backed insights for all your informational needs.


0 thoughts on “How To Get The Toilet To Stop Running”