Home>Home Maintenance>How To Replace An Auto Air Conditioning Compressor

Home Maintenance
How To Replace An Auto Air Conditioning Compressor
Modified: August 16, 2024
Learn how to replace an auto air conditioning compressor with our comprehensive guide. Ensure your #home-maintenance routine includes this essential task for a comfortable and cool ride.
(Many of the links in this article redirect to a specific reviewed product. Your purchase of these products through affiliate links helps to generate commission for Storables.com, at no extra cost. Learn more)
Introduction
Welcome to our comprehensive guide on how to replace an auto air conditioning compressor. The air conditioning compressor plays a crucial role in keeping your vehicle cool and comfortable during hot summer months. Over time, this essential component may experience wear and tear, leading to reduced cooling efficiency or even complete failure. However, with the right tools, materials, and knowledge, you can replace the compressor yourself and restore your car’s air conditioning system to optimal performance.
In this article, we will take you through each step of the process, providing detailed instructions and helpful tips along the way. From gathering the necessary tools and materials to recharging the refrigerant, you’ll learn everything you need to know to successfully replace your auto air conditioning compressor.
Before we begin, it’s important to note that replacing an auto air conditioning compressor requires a certain level of mechanical skill and knowledge. If you’re uncertain about your abilities or lack the necessary tools, consider consulting a professional mechanic. Also, be sure to follow all safety precautions throughout the process, such as wearing appropriate protective gear and working in a well-ventilated area.
Now, let’s get started by gathering the tools and materials you’ll need for this project.
Key Takeaways:
- Replacing an auto air conditioning compressor requires specific tools and mechanical skills. Prioritize safety, follow step-by-step instructions, and consider professional help if uncertain.
- Proper maintenance and regular inspections are crucial for prolonging the life of your vehicle’s air conditioning system. Invest in comfort and functionality by taking care of your car’s cooling system.
Read more: How To Replace An Air Conditioner Compressor
Step 1: Gather necessary tools and materials
Before you begin replacing your auto air conditioning compressor, it’s essential to have all the necessary tools and materials at hand. Here’s a list of items you’ll need:
- Socket wrench set
- Allen wrench set
- Screwdrivers (flathead and Phillips)
- Reciprocating saw or hacksaw
- AC manifold gauge set
- Vacuum pump
- New air conditioning compressor
- New compressor oil
- Refrigerant
- Leak detection kit
- Protective gloves and goggles
Having these tools and materials ready beforehand will save you time and frustration during the replacement process. If you don’t have any of these items, you can find them at your local auto parts store or online.
It’s also important to note that different car models may require specific tools or additional materials. Consult your vehicle’s manual or conduct some research to ensure you have everything necessary for your particular make and model.
Once you’ve gathered all the tools and materials, you’re ready to move on to the next step: disconnecting the battery.
Step 2: Disconnect the battery
Before you begin working on your vehicle’s air conditioning system, it’s crucial to disconnect the battery. This step is essential to ensure your safety and prevent any electrical mishaps during the replacement process. Follow these steps to disconnect the battery:
- Locate the vehicle’s battery. In most cars, the battery is located in the engine compartment.
- Put on a pair of protective gloves and goggles to prevent any accidents or injuries.
- Start by removing the negative (-) terminal connection. Use a socket wrench to loosen the nut and carefully detach the negative battery cable.
- Next, remove the positive (+) terminal connection in the same manner. Again, use a socket wrench to loosen the nut and disconnect the positive battery cable.
- Once both terminals are disconnected, secure them away from the battery to prevent accidental contact.
By disconnecting the battery, you eliminate the risk of electrical shock and damage while working on the air conditioning compressor. It’s essential to follow these steps carefully and avoid touching both the negative and positive terminals simultaneously.
Keep in mind that disconnecting the battery may reset some settings in your vehicle, such as the clock or radio presets. Take note of any important settings prior to disconnecting the battery so you can easily restore them later.
With the battery safely disconnected, you can now proceed to the next step: removing the drive belt.
Step 3: Remove the drive belt
In Step 3, we will guide you through the process of removing the drive belt from your vehicle’s air conditioning compressor. The drive belt is responsible for transferring power from the engine to the compressor, allowing it to operate.
- Locate the drive belt. In most cases, it is situated near the front of the engine and loops around various pulleys, including the air conditioning compressor.
- Identify the belt tensioner. The belt tensioner is a spring-loaded pulley that keeps the drive belt tight. Using a wrench or socket, rotate the tensioner in the direction that releases tension on the belt.
- While holding the tensioner in the released position, slide the drive belt off the pulleys, making sure to note the belt routing for reinstallation.
- Once the belt is removed, slowly release the tensioner and ensure it returns to its original position.
It’s important to note that some vehicles may have additional components or brackets obstructing access to the drive belt. In such cases, you may need to remove these components temporarily to gain sufficient room to remove the belt.
Remember to inspect the drive belt for any signs of damage, such as cracks, fraying, or excessive wear. If the belt appears to be in poor condition, it’s recommended to replace it with a new one during the reassembly process.
With the drive belt safely removed, you’re now ready to move on to Step 4: draining the refrigerant from the system.
Step 4: Drain the refrigerant from the system
In Step 4, we will discuss the process of draining the refrigerant from your vehicle’s air conditioning system. Removing the refrigerant is crucial before replacing the compressor to prevent the release of harmful substances into the environment.
It’s important to note that handling refrigerant requires specific tools and knowledge. We highly recommend consulting a professional mechanic or HVAC technician for this step if you’re not experienced in working with refrigerant.
- Ensure you are working in a well-ventilated area. Proper ventilation is essential to prevent the inhalation of refrigerant gases.
- Wear appropriate protective gear, including gloves and goggles, to protect yourself from any potential leaks or spills.
- Locate the service ports on your vehicle’s air conditioning system. These ports are typically located on the high-pressure and low-pressure sides of the system.
- Using an AC manifold gauge set, connect the gauges to the respective service ports. Follow the manufacturer’s instructions on how to properly attach the gauges.
- Once the gauges are connected, slowly open the valves on the gauges to release pressure from the system. This step helps prevent any sudden releases of refrigerant.
- Attach a refrigerant reclaimer or recovery machine to the AC manifold gauge set. This device will safely collect and store the refrigerant for proper disposal or reuse.
- Open the valves on the AC manifold gauge set to allow the refrigerant to flow into the reclaimer. Follow the manufacturer’s instructions for the specific equipment you’re using.
- Allow the refrigerant to drain completely from the system. This process may take some time, depending on the amount of refrigerant in the system.
- Once the refrigerant has been drained, close the valves on the AC manifold gauge set.
Remember to handle the refrigerant with care and dispose of it properly according to local regulations. Never release refrigerant into the atmosphere, as it is harmful to the environment.
With the refrigerant drained from the system, you can now move on to Step 5: removing the old compressor.
When replacing an auto air conditioning compressor, make sure to properly evacuate the system of refrigerant before starting the replacement process to avoid any safety hazards.
Step 5: Remove the old compressor
In Step 5, we will guide you through the process of removing the old air conditioning compressor from your vehicle. It’s important to remove the old compressor carefully to avoid damage to other components and ensure a smooth installation of the new compressor.
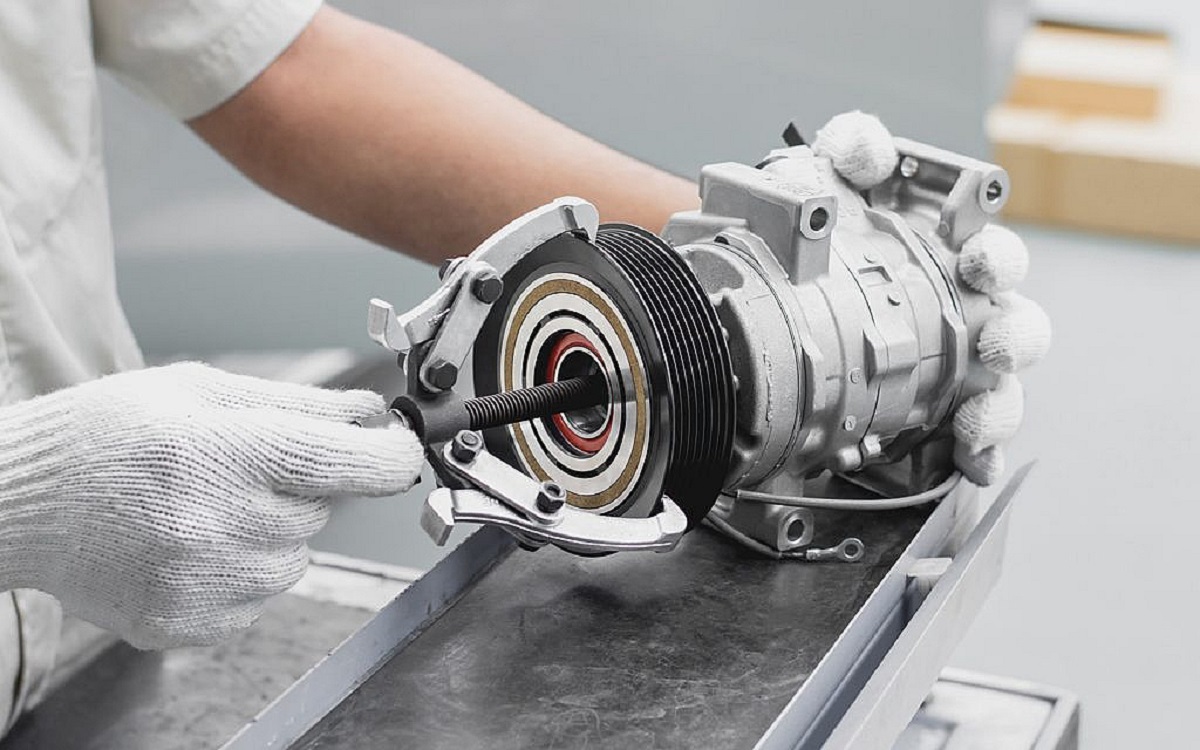
- Using a socket wrench or the appropriate tool, loosen and remove the bolts or brackets attaching the compressor to the engine or mounting bracket. Take note of the location and number of bolts for ease of reinstallation.
- Once the bolts or brackets are removed, carefully detach any electrical connections or hoses connected to the compressor. Take care not to damage any surrounding components during this process.
- Inspect the compressor and surrounding area for any signs of damage or leaks. It’s important to identify any issues that may have contributed to the compressor failure and address them during the replacement process.
- With all connections detached and any debris cleared, gently lift and remove the old compressor from its mounting location. Be cautious as the compressor may still have residual oils or refrigerant inside.
- If necessary, transfer any mounting brackets, sensors, or other components from the old compressor to the new one. Refer to your vehicle’s manual or research to ensure proper installation.
During the removal process, it’s recommended to handle the old compressor with care and avoid tipping it to prevent any residual oils or refrigerant from leaking. Properly dispose of the old compressor according to local regulations.
Remember to inspect the surrounding area for any signs of oil leaks or damage. If any issues are detected, address them before installing the new compressor to ensure optimal performance.
With the old compressor removed, you’re now ready to move on to Step 6: installing the new compressor.
Step 6: Install the new compressor
In Step 6, we will walk you through the process of installing the new air conditioning compressor in your vehicle. Proper installation is crucial to ensure the compressor functions efficiently and effectively.
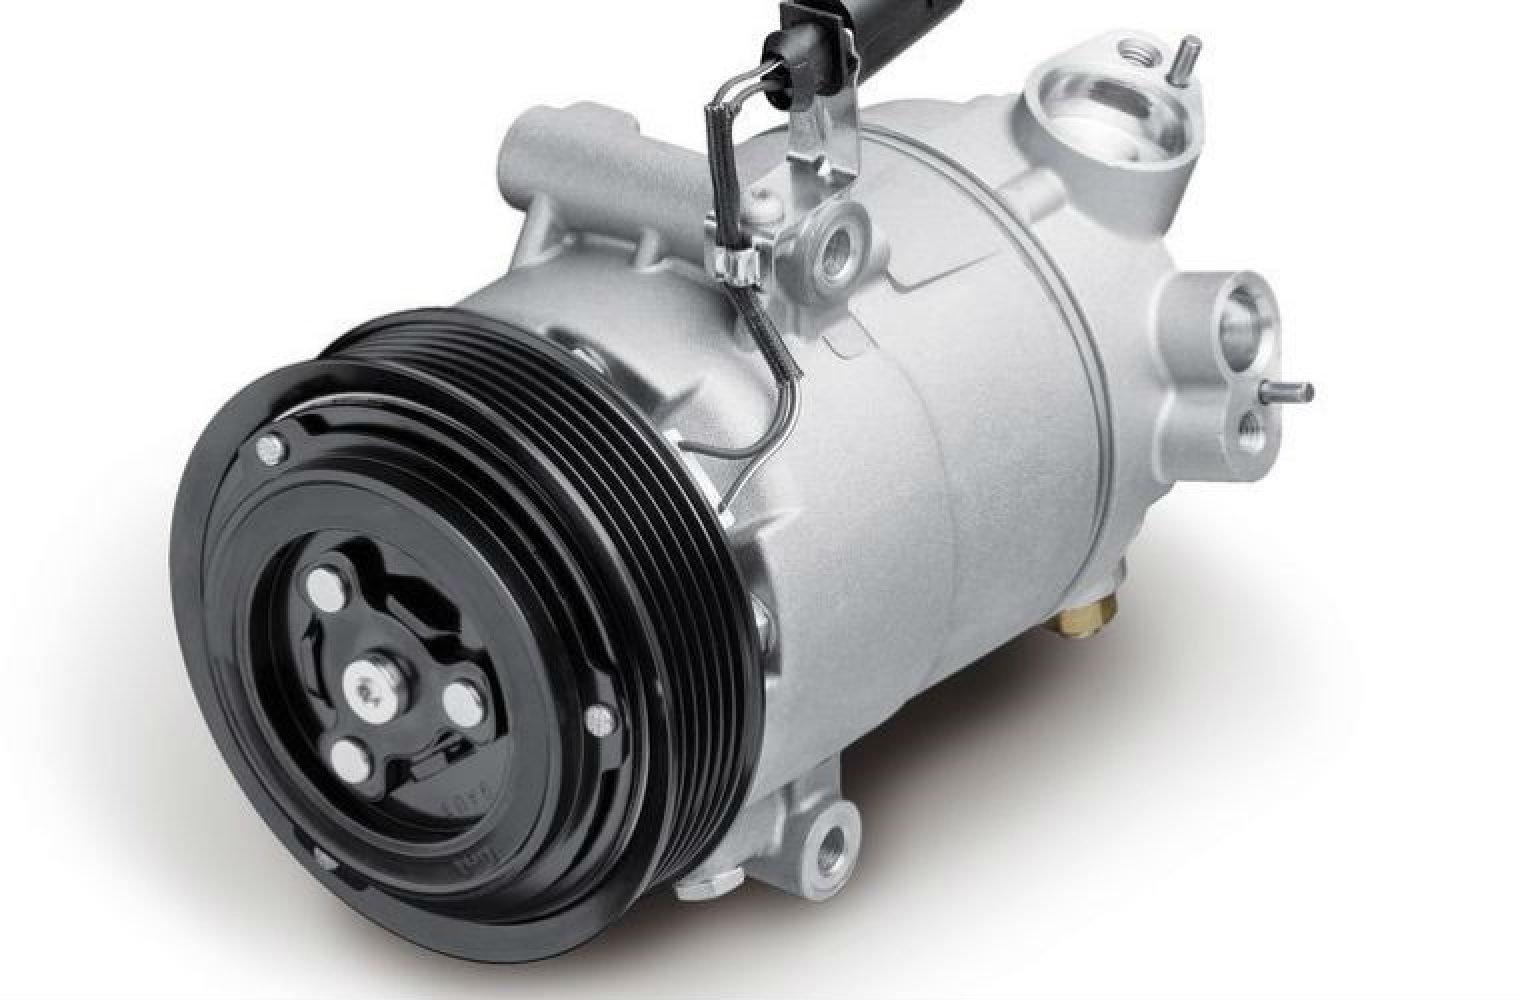
- Start by positioning the new compressor in its mounting location. Take care to align it properly and ensure all mounting holes are aligned with the corresponding bolts or brackets.
- If necessary, transfer any mounting brackets, sensors, or other components from the old compressor to the new one. Refer to your vehicle’s manual or research to ensure proper installation.
- Gradually lower the compressor into place, making sure to avoid any contact with other components or surfaces.
- Once the compressor is properly positioned, reattach any electrical connections or hoses that were detached during the removal process. Ensure a secure and proper connection for each component.
- Using a socket wrench or the appropriate tool, begin tightening the bolts or brackets that secure the compressor to the engine or mounting bracket. Tighten the bolts gradually and diagonally to ensure equal pressure distribution.
- Refer to your vehicle’s specifications or the compressor manufacturer’s instructions to determine the correct torque specifications for the mounting bolts. Over-tightening can cause damage, while under-tightening may result in loose connections.
It’s important to follow the recommended torque specifications and installation guidelines to ensure the new compressor is securely and properly installed. This will help prevent any potential leaks or damage in the future.
With the new compressor installed, you’re ready to move on to Step 7: recharging the refrigerant and lubricant.
Step 7: Recharge the refrigerant
In Step 7, we will guide you through the process of recharging the refrigerant in your vehicle’s air conditioning system. Properly recharging the refrigerant is essential for optimal functioning of the air conditioning system and cooling performance.
Before you begin, ensure you have the necessary refrigerant, compressor oil, and equipment needed for the recharge process. Consult your vehicle’s manual or research to determine the appropriate type and amount of refrigerant and compressor oil required for your specific make and model.
- Attach a vacuum pump to the service ports of the air conditioning system. This will remove any moisture or air from the system, creating a vacuum.
- Turn on the vacuum pump and let it run for approximately 30 minutes to extract any moisture or air from the system.
- Close the valves on the vacuum pump and disconnect it from the service ports.
- Connect the refrigerant canister to the service port on the low-pressure side of the air conditioning system. Follow the instructions on the canister to ensure a proper connection.
- Slowly open the valve on the refrigerant canister to allow the refrigerant to flow into the system. Monitor the pressure gauge on the canister to ensure the correct amount of refrigerant is being added.
- During the recharge process, it’s important to run the air conditioning system on the coldest setting and with the fan on high to ensure proper circulation of the refrigerant.
- Continue adding refrigerant until the pressure on the gauge reaches the specified range for your vehicle. Avoid overcharging the system, as this can lead to damage.
- Once the correct amount of refrigerant has been added, close the valve on the refrigerant canister and disconnect it from the service port.
- Add the appropriate amount of compressor oil to the system. Consult the manufacturer’s instructions or your vehicle’s manual for the recommended type and amount of oil.
- With the refrigerant and oil properly added, perform a leak test using a leak detection kit. Follow the instructions provided with the kit to check for any leaks in the system.
It’s essential to ensure the refrigerant is properly and precisely charged to avoid any issues with the air conditioning system’s performance. If you’re uncertain or unfamiliar with the recharge process, it’s recommended to seek assistance from a professional mechanic or HVAC technician.
With the refrigerant recharged, you’re now ready to move on to Step 8: reconnecting the battery.
Step 8: Reconnect the battery
In Step 8, we will guide you through the process of reconnecting the battery in your vehicle. Reconnecting the battery is necessary to restore power to the electrical systems and ensure the proper functioning of your vehicle.
- Ensure all tools and materials are clear of the engine compartment to avoid accidentally causing a short circuit.
- Put on a pair of protective gloves and goggles to prevent any accidents or injuries.
- Start by attaching the positive (+) battery cable to the positive terminal of the battery. Use a socket wrench to tighten the nut on the terminal, ensuring a secure connection.
- Next, connect the negative (-) battery cable to the negative terminal of the battery. Again, use a socket wrench to tighten the nut on the terminal, ensuring a secure connection.
- Double-check that both terminals are properly connected and secure.
- Inspect the surrounding area to ensure no tools or materials were accidentally left in the engine compartment.
Once the battery is reconnected, you can begin testing the air conditioning system to ensure it operates properly. Start the engine and turn on the air conditioning system to see if cool air is being produced. Monitor the system for any signs of leaks, unusual noises, or malfunctioning components.
If you encounter any issues or suspect there may be a problem, it’s advisable to seek the assistance of a professional mechanic or HVAC technician to diagnose and address the problem.
Congratulations! You have successfully replaced your auto air conditioning compressor and recharged the refrigerant. By following these steps, you’ve taken an important step in maintaining your vehicle’s comfort and performance. Remember to perform regular maintenance and inspections to ensure the long-term functionality of your air conditioning system.
Thank you for following our comprehensive guide on how to replace an auto air conditioning compressor. We hope this article has been informative and helpful, allowing you to complete the replacement process with confidence. Stay cool and enjoy the comfort of your newly restored air conditioning system!
Read more: How To Replace A Refrigerator Compressor
Conclusion
Replacing an auto air conditioning compressor may seem like a daunting task, but with the right tools, materials, and knowledge, it can be successfully accomplished. By following the steps outlined in this comprehensive guide, you can restore your vehicle’s air conditioning system to its optimal performance and enjoy cool and comfortable drives once again.
Throughout the process, it’s important to prioritize safety by wearing appropriate protective gear and working in a well-ventilated area. If you’re unsure about any step or lack the necessary skills or tools, it’s always best to seek the help of a professional mechanic or HVAC technician to ensure the job is done correctly.
Remember, proper maintenance is key to prolonging the life of your air conditioning system. Regularly inspect and clean the system, including the compressor, to prevent debris buildup and improve efficiency. Monitor for any signs of leaks or reduced cooling performance, as these may indicate further issues that need to be addressed.
By taking the time to replace your auto air conditioning compressor, you’re investing in the comfort and functionality of your vehicle. A properly functioning air conditioning system not only enhances your driving experience but also helps maintain a comfortable and safe interior temperature for you and your passengers.
We hope this article has provided you with a comprehensive and engaging guide on how to replace an auto air conditioning compressor. Remember to consult your vehicle’s manual or seek professional assistance for specific instructions related to your make and model. With the right tools, preparation, and a little bit of DIY spirit, you’ll have your air conditioning system running smoothly in no time!
Frequently Asked Questions about How To Replace An Auto Air Conditioning Compressor
Was this page helpful?
At Storables.com, we guarantee accurate and reliable information. Our content, validated by Expert Board Contributors, is crafted following stringent Editorial Policies. We're committed to providing you with well-researched, expert-backed insights for all your informational needs.
