Home>Home Maintenance>How To Replace An Air Conditioner Compressor
Home Maintenance
How To Replace An Air Conditioner Compressor
Modified: August 24, 2024
Learn how to replace your air conditioner compressor with this step-by-step guide. Improve your home-maintenance skills and ensure a cool and comfortable indoor environment.
(Many of the links in this article redirect to a specific reviewed product. Your purchase of these products through affiliate links helps to generate commission for Storables.com, at no extra cost. Learn more)
Introduction
Welcome to the comprehensive guide on how to replace an air conditioner compressor. Your air conditioner plays a crucial role in keeping your home cool and comfortable, especially during hot summer months. The compressor is the heart of the air conditioning system, responsible for pressurizing and circulating the refrigerant that cools the air.
Over time, your compressor may experience wear and tear, leading to decreased efficiency or complete failure. When this happens, it’s important to replace the compressor to restore your air conditioner’s functionality. While it may seem like a daunting task, with the right tools and knowledge, you can successfully replace the compressor and have your air conditioner up and running again.
In this guide, we will take you through the step-by-step process of replacing an air conditioner compressor. We’ll cover everything from turning off the power supply to testing the air conditioner after the replacement. So, let’s get started!
Key Takeaways:
- Safety first! Always turn off the power supply and handle electrical connections with care when replacing an air conditioner compressor to avoid accidents and ensure a successful DIY project.
- Replacing an air conditioner compressor is a manageable task with the right tools and knowledge. Prioritize safety, follow the step-by-step guide, and enjoy a cool, comfortable home environment.
Read more: How To Check An Air Conditioner Compressor
Step 1: Turn off the Power Supply
Before you begin any work on your air conditioner, it’s crucial to ensure your safety by turning off the power supply. This step will prevent any accidental electric shock or damage to your equipment.
Start by locating the electrical panel in your home. It’s usually located in the basement, utility room, garage, or outside. Open the panel door and locate the breaker labeled for your air conditioner. Flip the switch to the ‘off’ position to cut off the power supply to the unit.
After turning off the power at the breaker, it’s a good practice to double-check if the air conditioner is indeed not receiving power. Use a non-contact voltage tester or a multimeter set to the voltage testing mode. Hold the tester near the unit’s electrical connections to ensure there is no electricity still flowing through.
Remember, safety should always be your top priority when working with electricity. Make sure to follow proper electrical safety protocols, wear appropriate personal protective equipment, and take necessary precautions to avoid any accidents.
Now that you have successfully turned off the power supply, you can proceed with replacing your air conditioner compressor confidently.
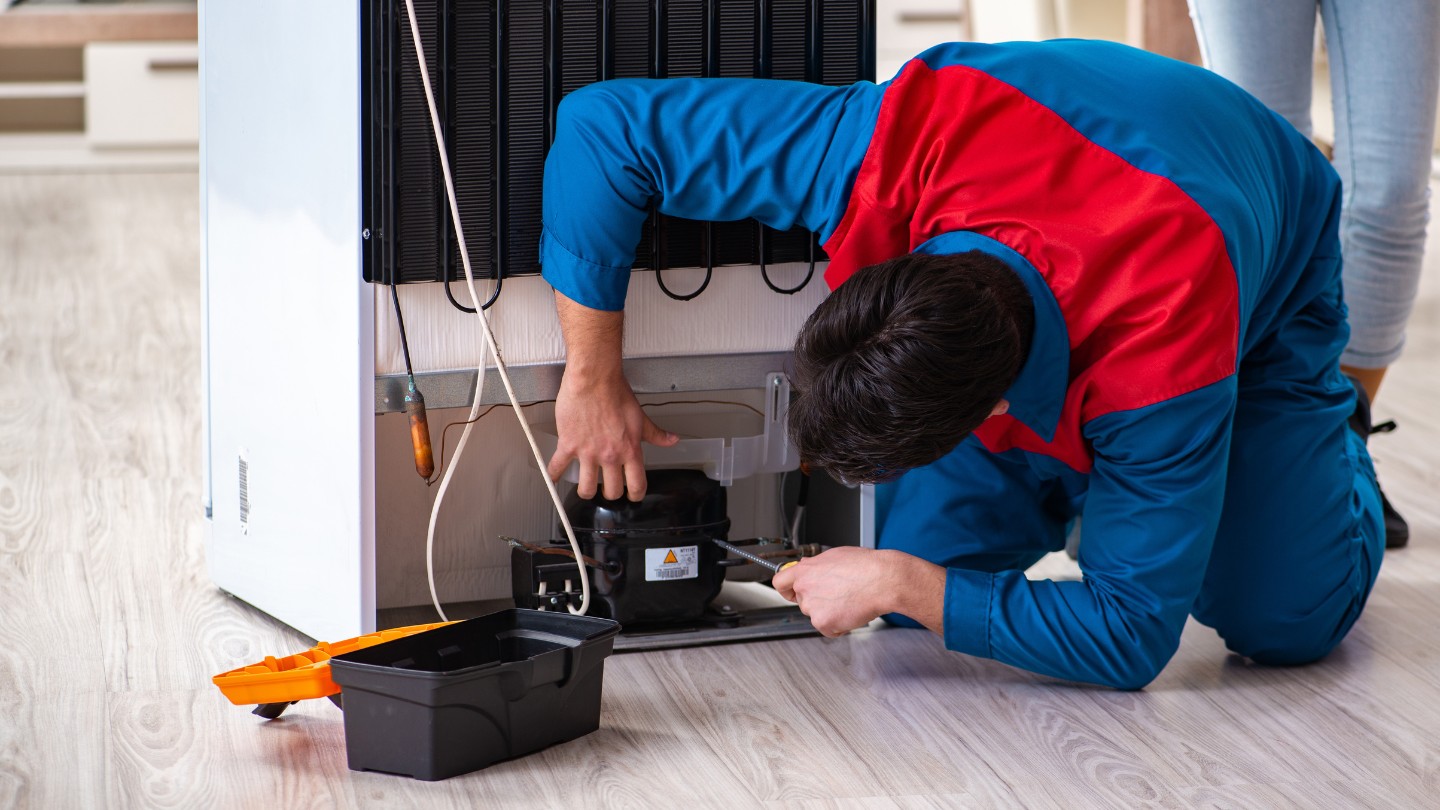
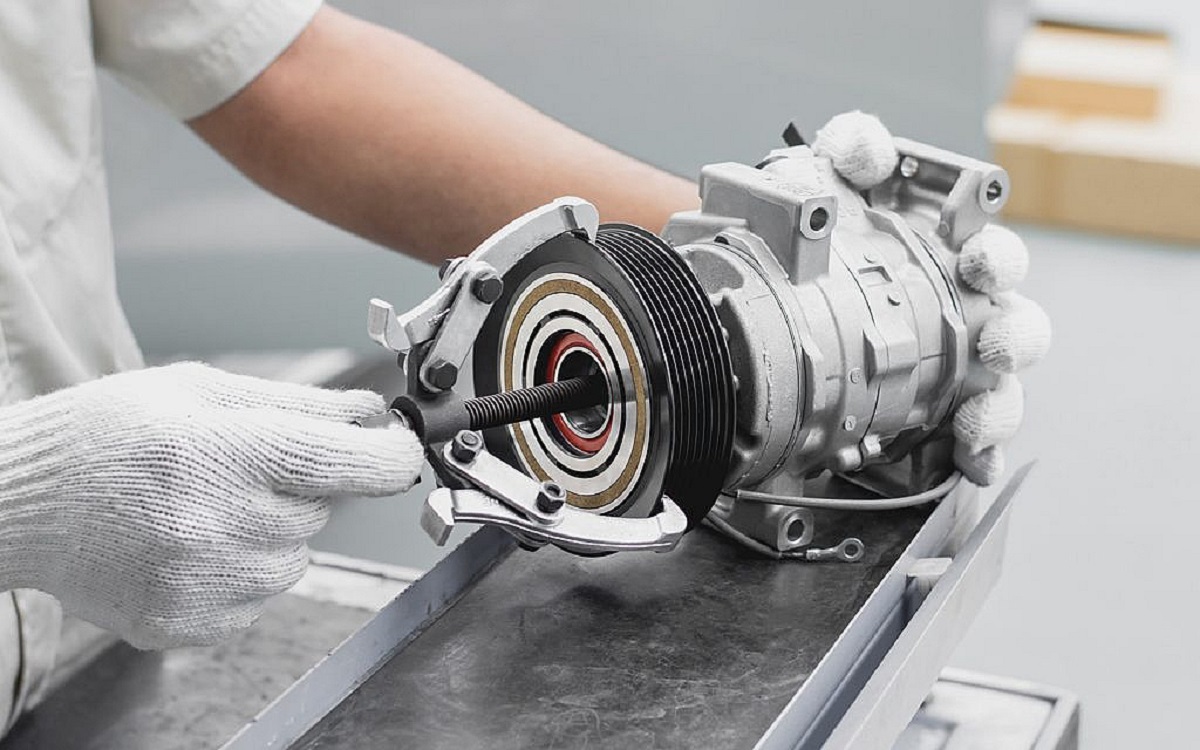
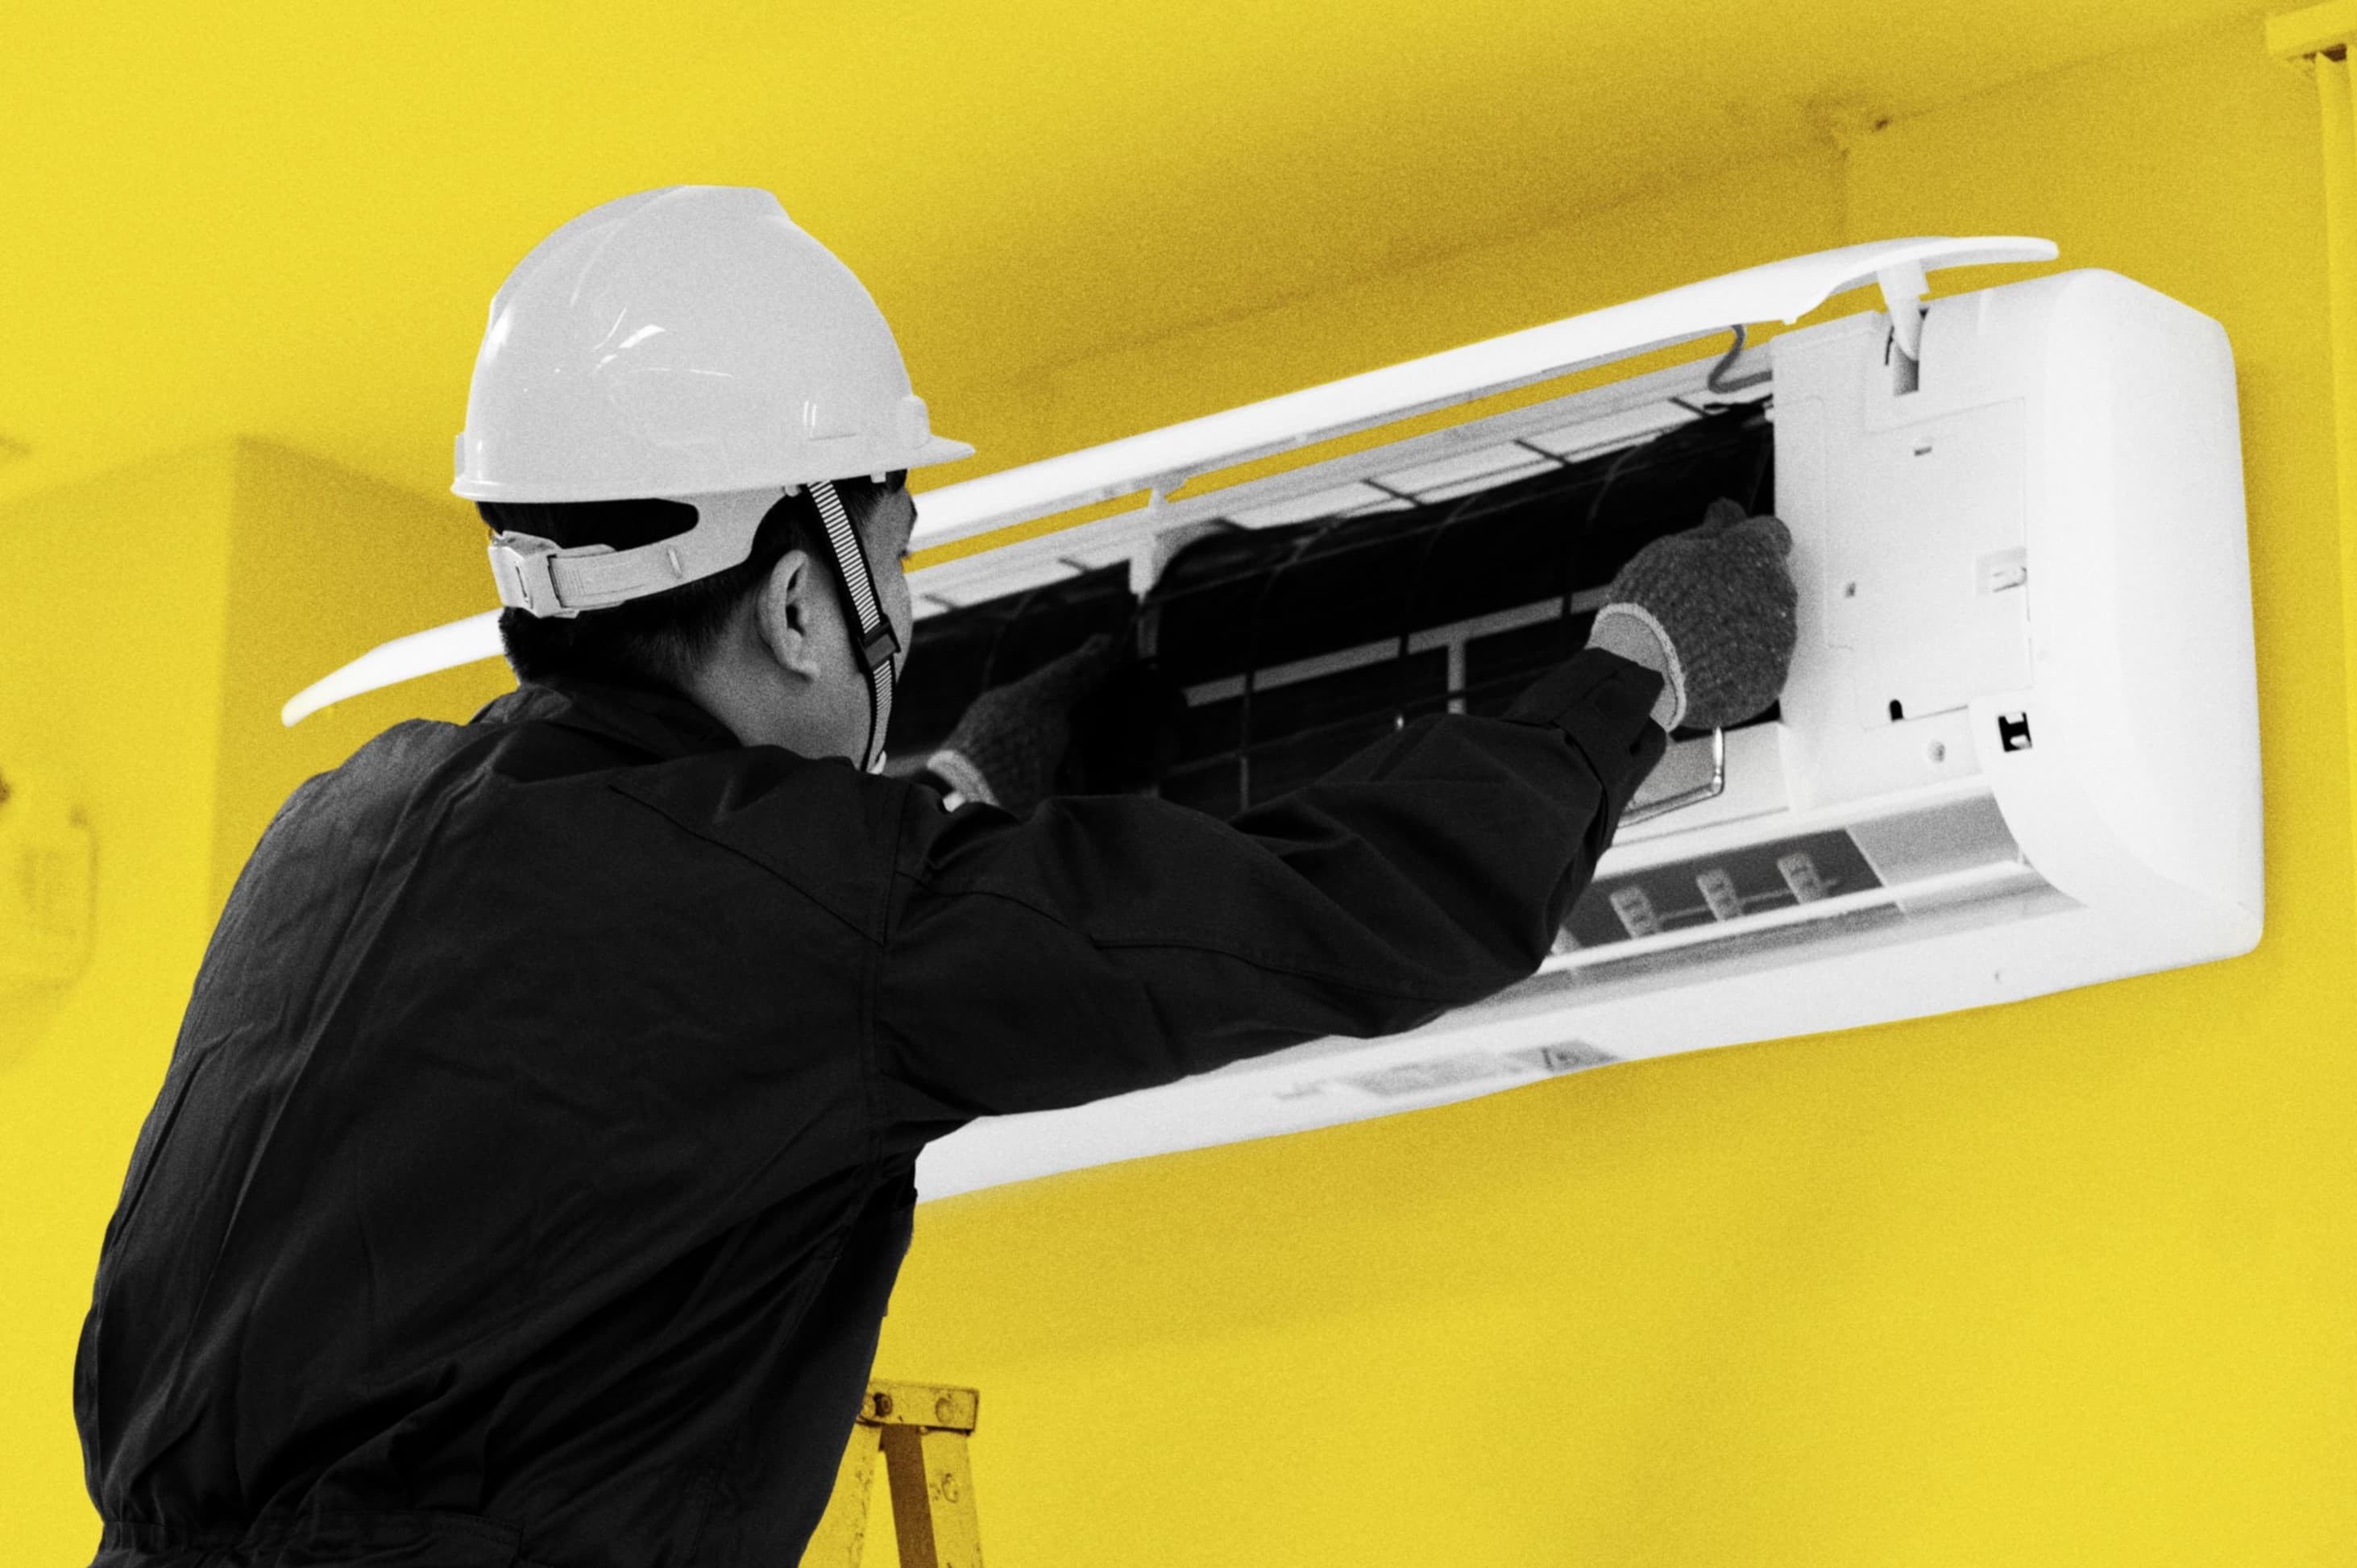
Step 2: Remove the Old Compressor
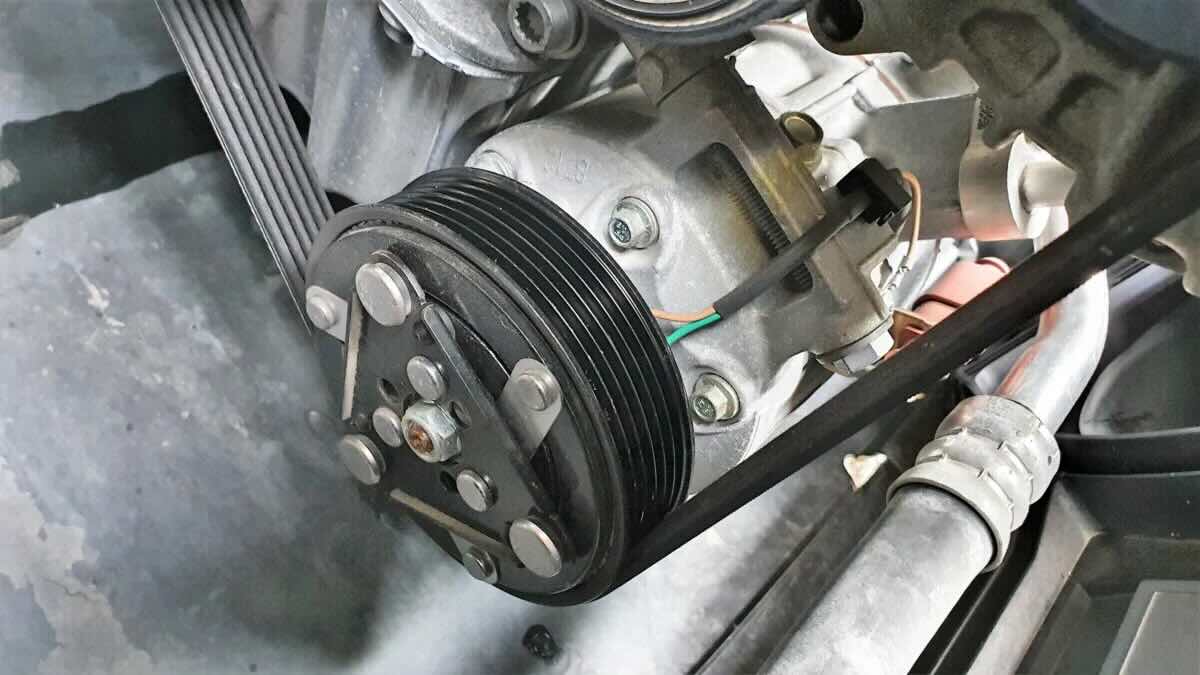
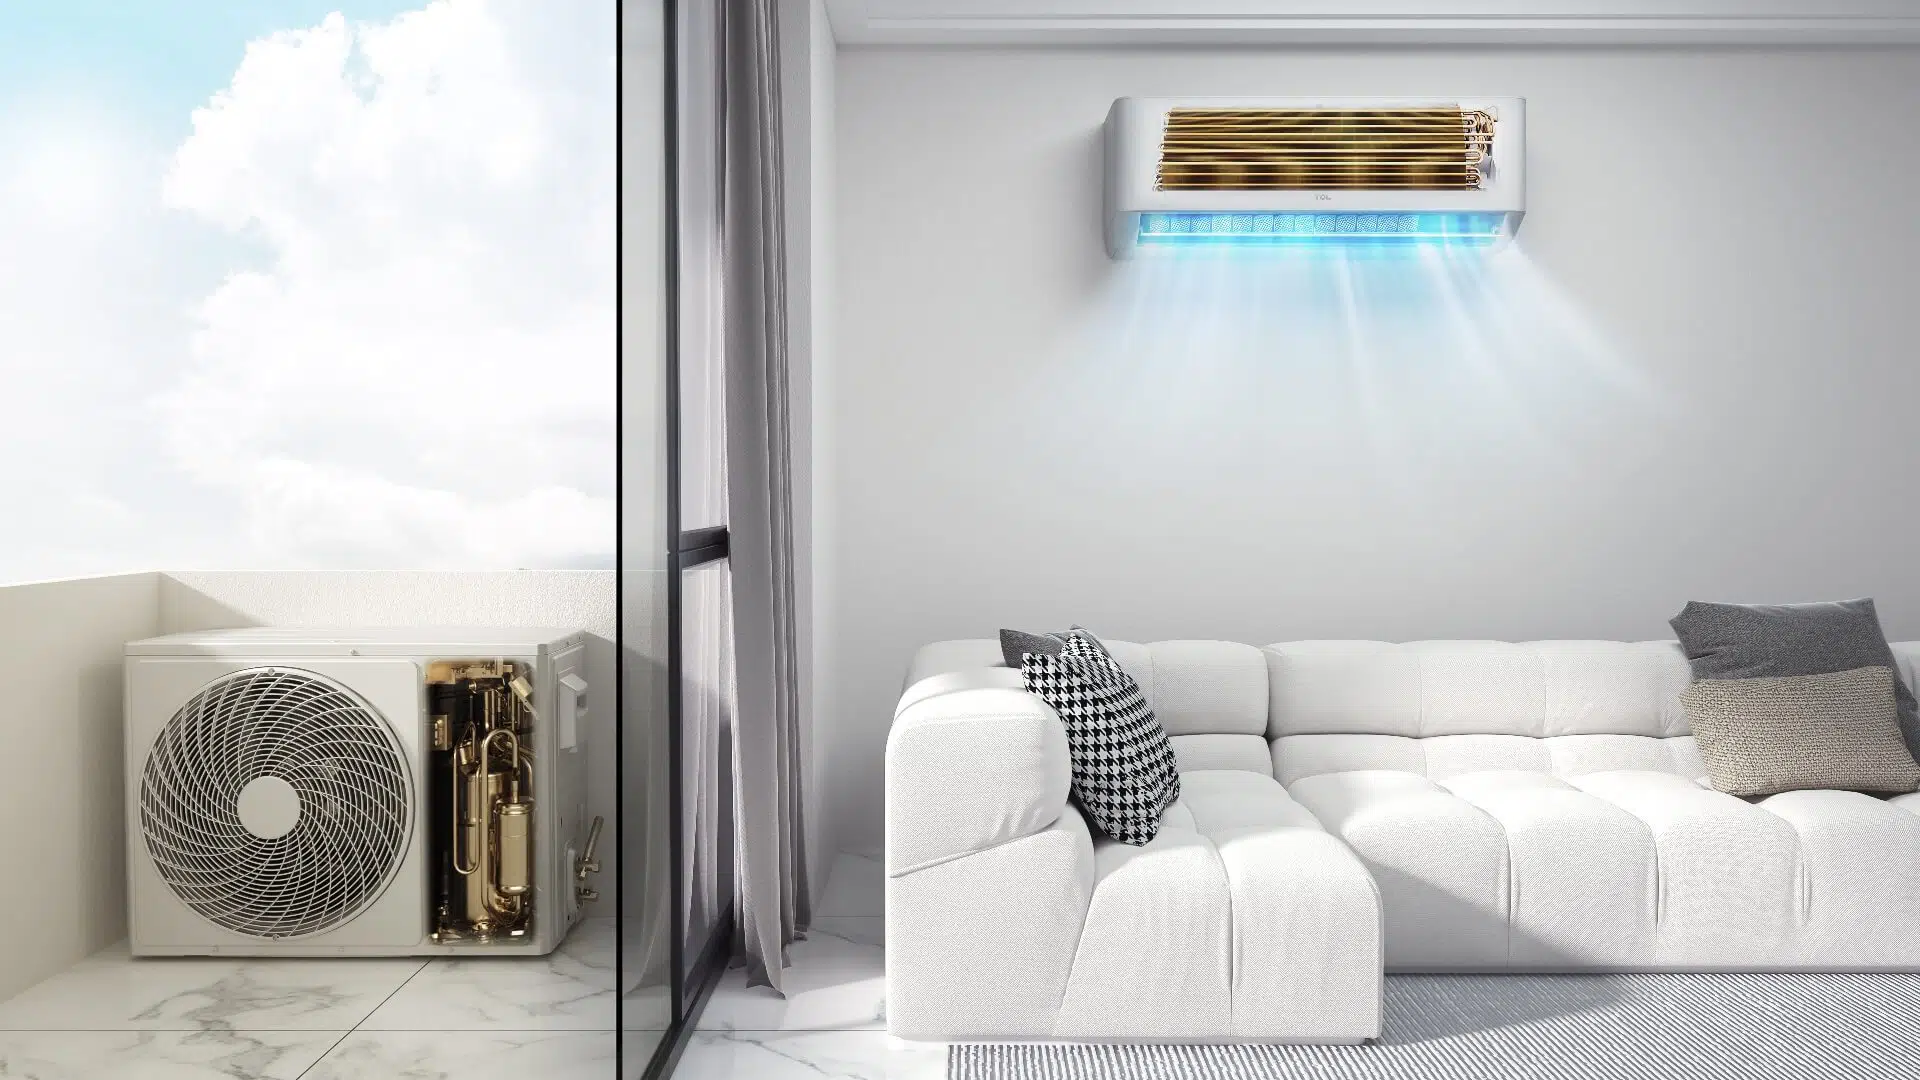
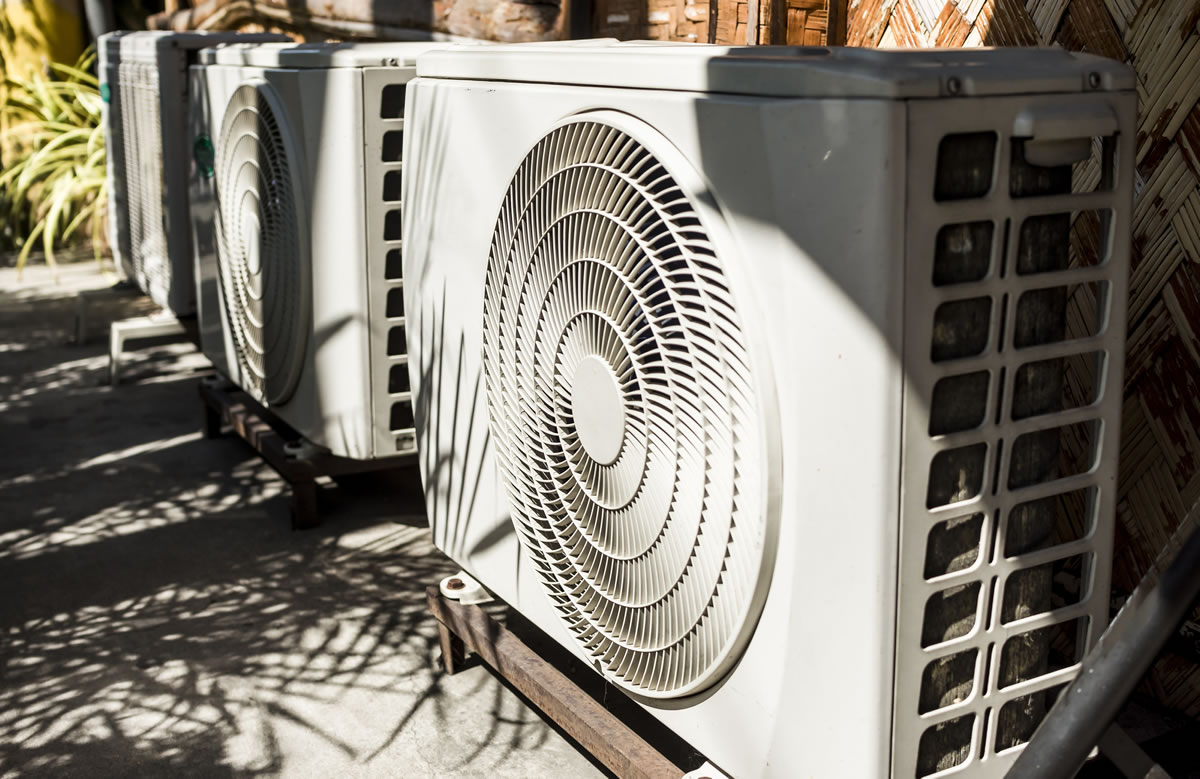
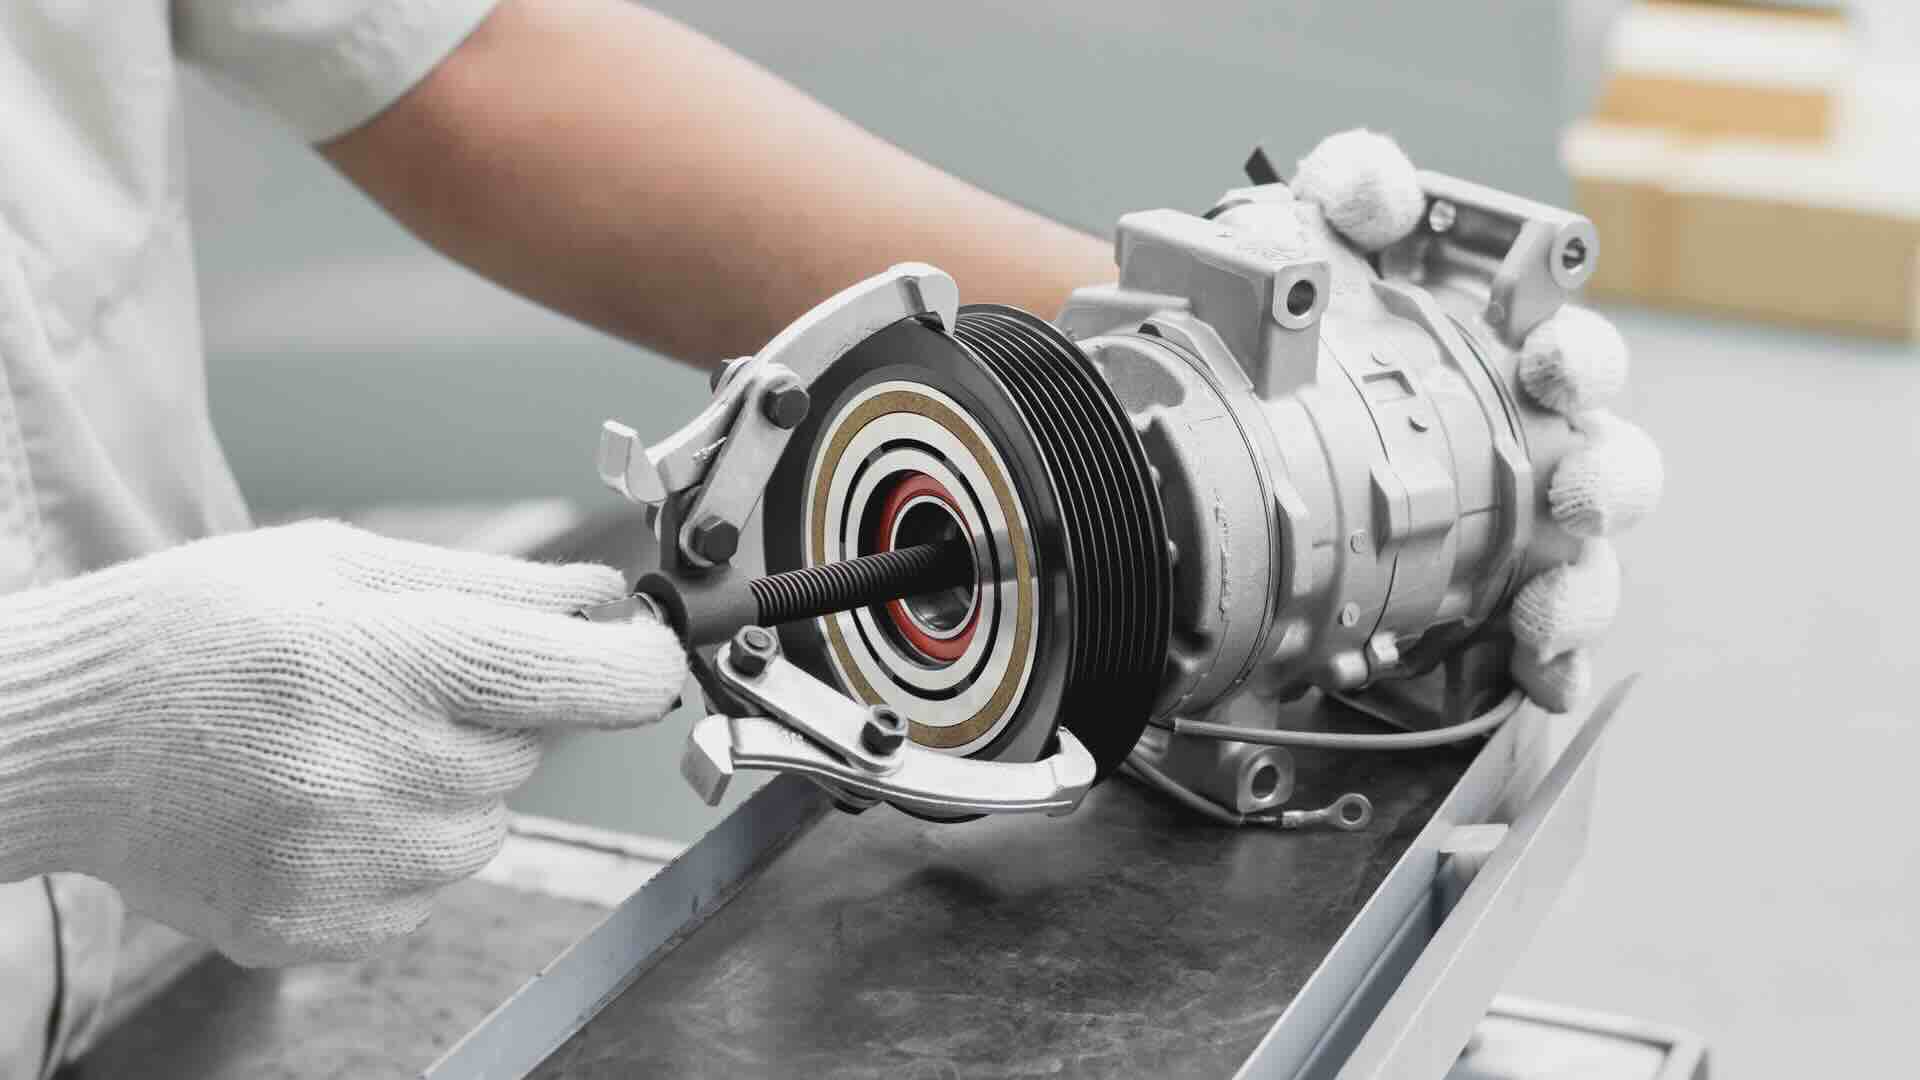
With the power supply to your air conditioner turned off, it’s time to remove the old compressor. The compressor is typically located within the outdoor unit of your air conditioner, also known as the condenser unit.
Start by removing the access panel on the condenser unit. This panel is usually secured with screws or clips. Use a screwdriver or a suitable tool to loosen and remove the screws or release the clips. Carefully set the panel aside, ensuring not to damage any wires or components.
Once the access panel is removed, you will have a clear view of the compressor. Take note of the compressor’s orientation and placement before proceeding. It can be helpful to take a picture or make a diagram to reference later during the installation of the new compressor.
To remove the old compressor, you will need to disconnect the refrigerant lines connected to it. These lines carry the refrigerant between the compressor and the evaporator coil inside your home. Using a wrench or adjustable pliers, carefully loosen and remove the fittings that secure the refrigerant lines to the compressor. Be cautious to avoid any damage to the lines or fittings.
Next, disconnect the electrical wires connected to the compressor. Carefully remove any wire nuts or connectors, taking note of the color-coded wiring for reference when reconnecting them later. It’s crucial to handle electrical connections with care and avoid any accidental contact with live wires.
Once the refrigerant lines and electrical wires are disconnected, you can now remove the old compressor from the condenser unit. The compressor may be secured in place with bolts or brackets. Carefully unscrew or remove any mounting hardware to release the compressor. As you remove the compressor, be mindful of its weight and size to avoid any injuries or damage to surrounding components.
Set the old compressor aside, as you will need to properly dispose of it later in accordance with local regulations for electronic waste.
Congratulations! You have successfully removed the old compressor from your air conditioner’s condenser unit. In the next step, we will discuss how to disconnect the electrical wires.
Step 3: Disconnect the Electrical Wires
Now that you have removed the old compressor from your air conditioner’s condenser unit in the previous step, it’s time to disconnect the electrical wires connected to it. This step is crucial to ensure a smooth replacement process.
First, take a moment to examine the electrical connections and make note of the wiring setup. Identify the different colored wires and their corresponding terminals on the compressor.
Using a pair of wire cutters or wire strippers, carefully remove any wire nuts or connectors that are securing the electrical wires to the compressor. Take caution not to damage the wires during this process, as you’ll need to reuse them for the installation of the new compressor.
As you remove the wire nuts, ensure that you keep track of which wires are connected together. It can be helpful to label or take pictures of the wiring setup for future reference. This will make it easier when it’s time to reconnect the wires to the new compressor.
After disconnecting the electrical wires, gently pull them away from the compressor, making sure they are no longer secured or entangled with any other components. Take care to avoid any accidental contact with live wires.
It’s important to mention that if you encounter any damaged or frayed wires during this process, it’s recommended to replace them with new ones. This will ensure the safety and proper functioning of your air conditioner’s electrical system.
With the electrical wires safely disconnected, you are now ready to move on to the next step – removing the refrigerant lines. This step is crucial to ensure a proper replacement process and maintain the integrity of the refrigerant system in your air conditioner.
Step 4: Remove the Refrigerant Lines
Once you have successfully disconnected the electrical wires in the previous step, it’s time to remove the refrigerant lines connected to the old compressor. Removing the refrigerant lines is an essential step in the process of replacing the compressor and requires proper care to prevent any leaks.
Before proceeding, it’s important to note that handling refrigerant requires specialized knowledge and equipment. If you are not familiar with working with refrigerant, it is highly recommended to seek the assistance of a qualified HVAC technician to ensure safety and compliance.
To remove the refrigerant lines, start by locating the access valves or service ports on the lines. These valves are usually capped and can be found near where the lines connect to the old compressor.
Using an adjustable wrench or the appropriate tool, carefully loosen and remove the caps from the access valves. Set the caps aside in a safe place to avoid misplacing them.
Next, attach a refrigerant recovery machine or vacuum pump to the access valves. This will help safely remove the refrigerant from the lines and prevent any leaks or contamination. Follow the manufacturer’s instructions for connecting the recovery machine or vacuum pump properly.
Once the recovery machine or vacuum pump is connected, turn it on and allow it to evacuate the refrigerant from the lines. This process may take some time, as it is essential to remove as much of the refrigerant as possible to avoid any environmental or safety hazards.
Once the refrigerant is fully evacuated, use an appropriate tool to disconnect the refrigerant lines from the old compressor. This may involve loosening and removing any fittings, bolts, or clamps that secure the lines in place. Take note of the orientation and placement of the refrigerant lines before disconnecting them.
As you disconnect the refrigerant lines, be prepared for a small amount of refrigerant oil or residual refrigerant to escape. This is normal and can be wiped away using a clean cloth or rag.
After removing the refrigerant lines, it’s important to cap or seal them to prevent any contaminants from entering the system. Use the appropriate caps or plugs to seal the open ends of the lines until the new compressor is ready to be installed.
Congratulations! You have successfully removed the refrigerant lines from the old compressor. In the next step, we will discuss how to install the new compressor.
When replacing an air conditioner compressor, make sure to properly discharge the refrigerant, disconnect the electrical connections, and remove the old compressor carefully to avoid damaging other components. Always follow manufacturer’s instructions and safety guidelines.
Read more: How To Fix Air Conditioner Compressor
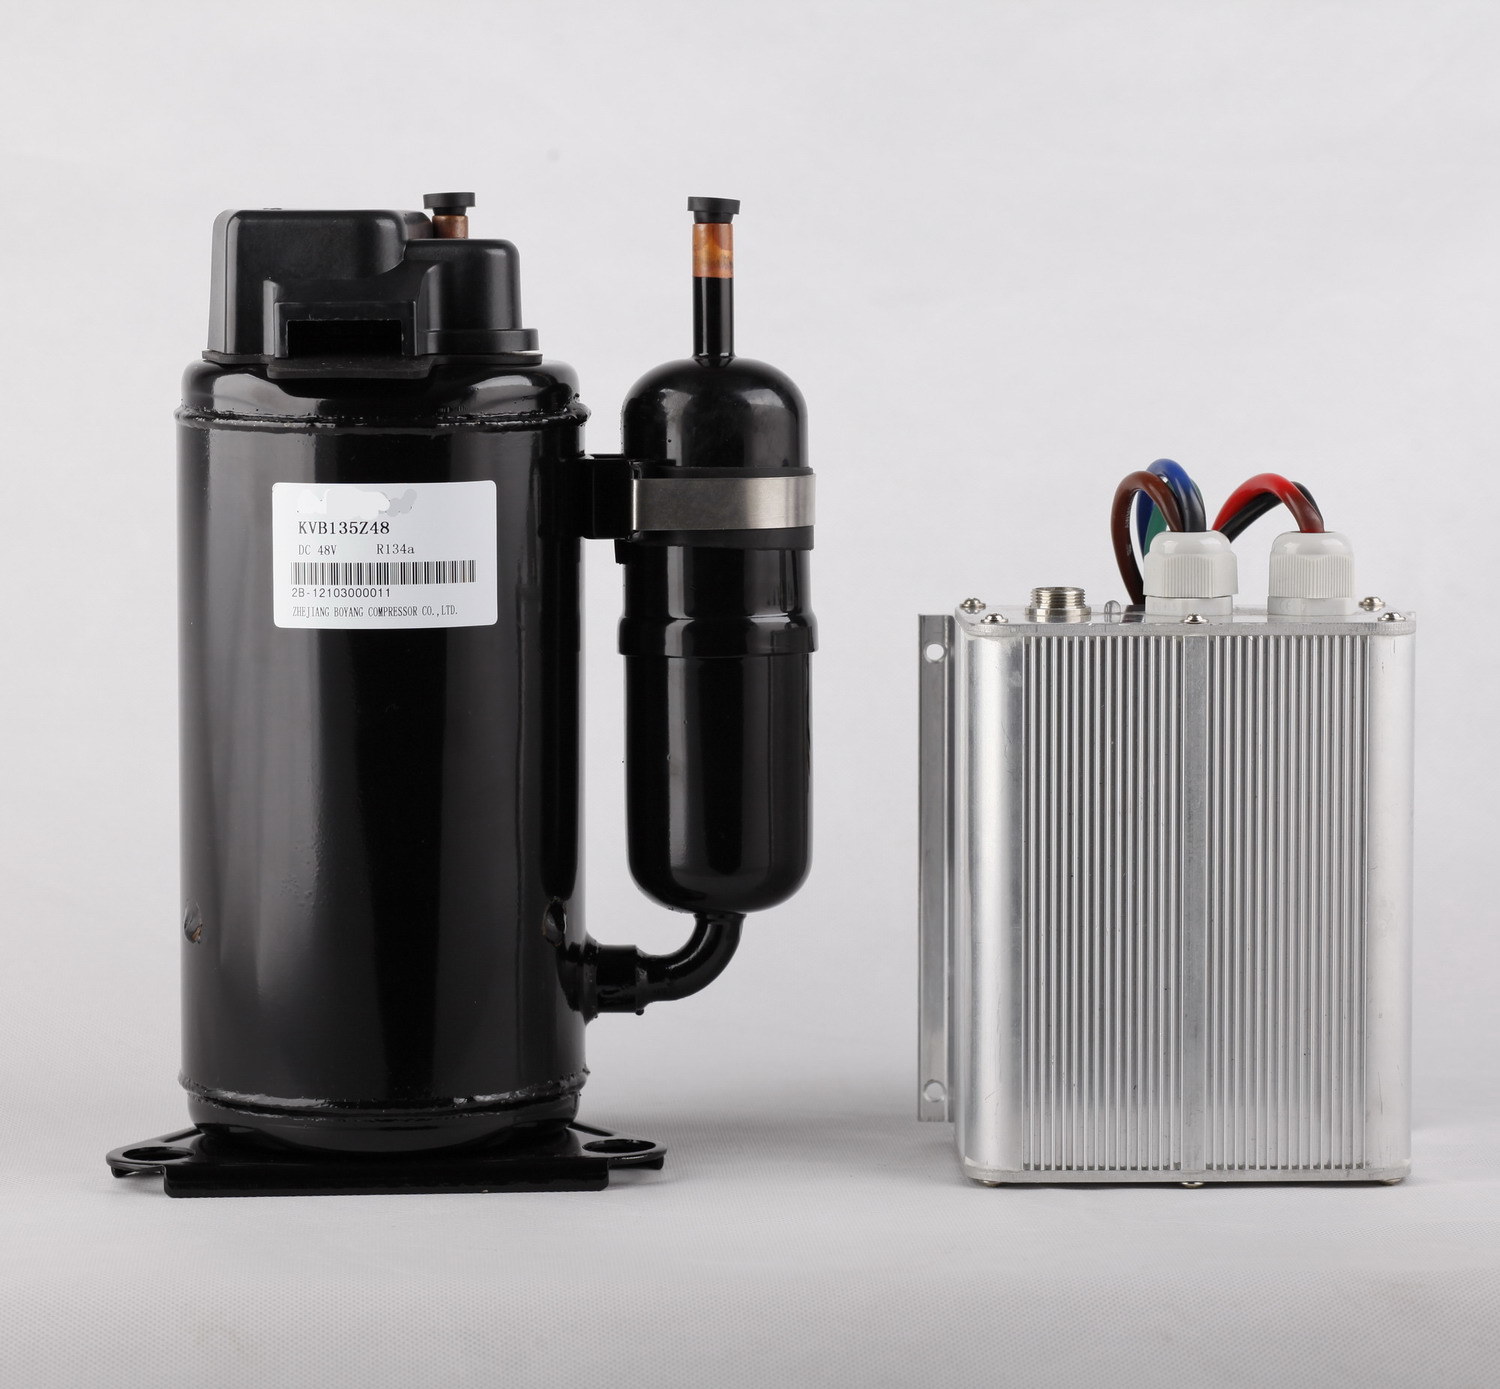
Step 5: Install the New Compressor
Now that you have removed the refrigerant lines and prepared the old compressor for replacement, it’s time to install the new compressor in your air conditioner’s condenser unit. Installing the new compressor correctly is crucial for optimal performance and longevity of your air conditioning system.
Before you begin, ensure that you have the correct replacement compressor that matches the specifications of your air conditioning system. If you are unsure, it’s advisable to consult the manufacturer’s documentation or seek guidance from a professional HVAC technician.
Start by carefully lifting the new compressor and placing it in the condenser unit. Ensure that it is oriented correctly, matching the position and placement of the previous compressor. Use the mounting brackets or bolts to secure the compressor in place, taking care not to overtighten or damage any components.
Next, connect the refrigerant lines to the new compressor. Begin by removing any caps or plugs from the access valves on the lines. Align the lines with their respective fittings on the compressor and carefully tighten the fittings to secure them in place. Use the appropriate wrench or tool and make sure not to overtighten to avoid any leaks.
After connecting the refrigerant lines, it’s time to reconnect the electrical wires. Refer to the label or pictures you took earlier to ensure the correct wiring setup. Reattach the wires using wire nuts or connectors, ensuring a secure and proper connection. Take care to match the color-coding and follow any specific instructions provided by the manufacturer.
Once the electrical wires are reconnected, double-check all the connections, including the refrigerant lines and electrical wiring, to make sure everything is secure and properly fastened.
Now is a good time to inspect the overall condition of the condenser unit. Clear away any debris or obstructions that may have accumulated during the replacement process. This will help optimize the airflow and performance of your air conditioner.
With the new compressor installed and all the connections secure, you are one step closer to having a fully functioning air conditioner again. In the next step, we will cover how to reconnect the refrigerant lines.
Step 6: Reconnect the Refrigerant Lines
With the new compressor installed in your air conditioner’s condenser unit, it’s time to reconnect the refrigerant lines. Reconnecting the refrigerant lines correctly is vital to ensure the proper flow of refrigerant and maintain the efficiency of your air conditioning system.
Begin by removing any caps or plugs from the access valves on the refrigerant lines. This will allow for a smooth connection between the lines and the compressor.
Align the refrigerant lines with their respective fittings on the compressor. Ensure that the lines are correctly positioned and seated properly. Using the appropriate wrench or tool, carefully tighten the fittings to secure the connections. It’s important not to overtighten to avoid damaging the lines or causing leaks.
Once the fittings are properly tightened, perform a visual inspection to ensure that the connections are secure and free from any visible leaks or damage. This step is essential to prevent refrigerant leaks, which can lead to system inefficiency and environmental concerns.
After reconnecting the refrigerant lines, it’s crucial to perform a pressure test. This test will help determine if there are any leaks in the connections or refrigerant lines. Additionally, it’s recommended to conduct a vacuum test to remove any moisture or contaminants from the system before recharging it with refrigerant.
If you are not experienced with pressure testing or vacuum testing, it’s advisable to seek the assistance of a professional HVAC technician. These tests require specialized knowledge and equipment to be performed accurately and safely.
Once the pressure and vacuum tests are completed successfully, you can move on to the next step of reattaching the electrical wires.
Recheck all the connections between the refrigerant lines and the compressor to ensure they are secure. Take your time to visually inspect the connections once again for any signs of leaks or loose fittings.
Congratulations! You have successfully reconnected the refrigerant lines to the new compressor. In the next step, we will discuss how to reconnect the electrical wires to complete the compressor replacement process.
Step 7: Reconnect the Electrical Wires
With the refrigerant lines reconnected in the previous step, it’s time to focus on reconnecting the electrical wires to complete the replacement of your air conditioner compressor. Properly reconnecting the electrical wires is crucial for the safe and efficient operation of your air conditioning system.
Begin by referring to the label or pictures you took earlier to ensure the correct wiring setup. Identify the different colored wires and their corresponding terminals on the new compressor.
Take each wire and carefully match it to its corresponding terminal on the compressor. Make sure to strip the ends of the wires if necessary to ensure a proper connection. Use wire nuts or connectors to securely attach the wires, following the specific wiring diagram provided by the manufacturer.
When connecting the wires, it’s important to ensure that the connections are tight and secure. Give each wire a gentle tug to confirm that it is properly fastened. A loose connection can cause electrical issues or even damage the compressor.
Next, double-check the wiring connections to ensure that there are no loose or crossed wires. Misconnected wires can lead to improper operation or even damage the electrical system. Take your time to verify each wire’s position and make any necessary adjustments before proceeding.
Once all the electrical wires are securely connected, carefully push them away from any nearby components or moving parts. Ensure that the wires are properly routed and do not interfere with the operation of the compressor or any other components within the condenser unit.
After completing the electrical connections, take a moment to inspect the overall condition of the condenser unit. Clear away any debris or obstructions that may have accumulated during the replacement process. This will help optimize the airflow and performance of your air conditioner.
Now that the refrigerant lines and electrical wires are all reconnected, you are one step closer to enjoying a fully functional air conditioning system once again. In the final step, we will discuss how to test the air conditioner to ensure that the compressor replacement was successful.
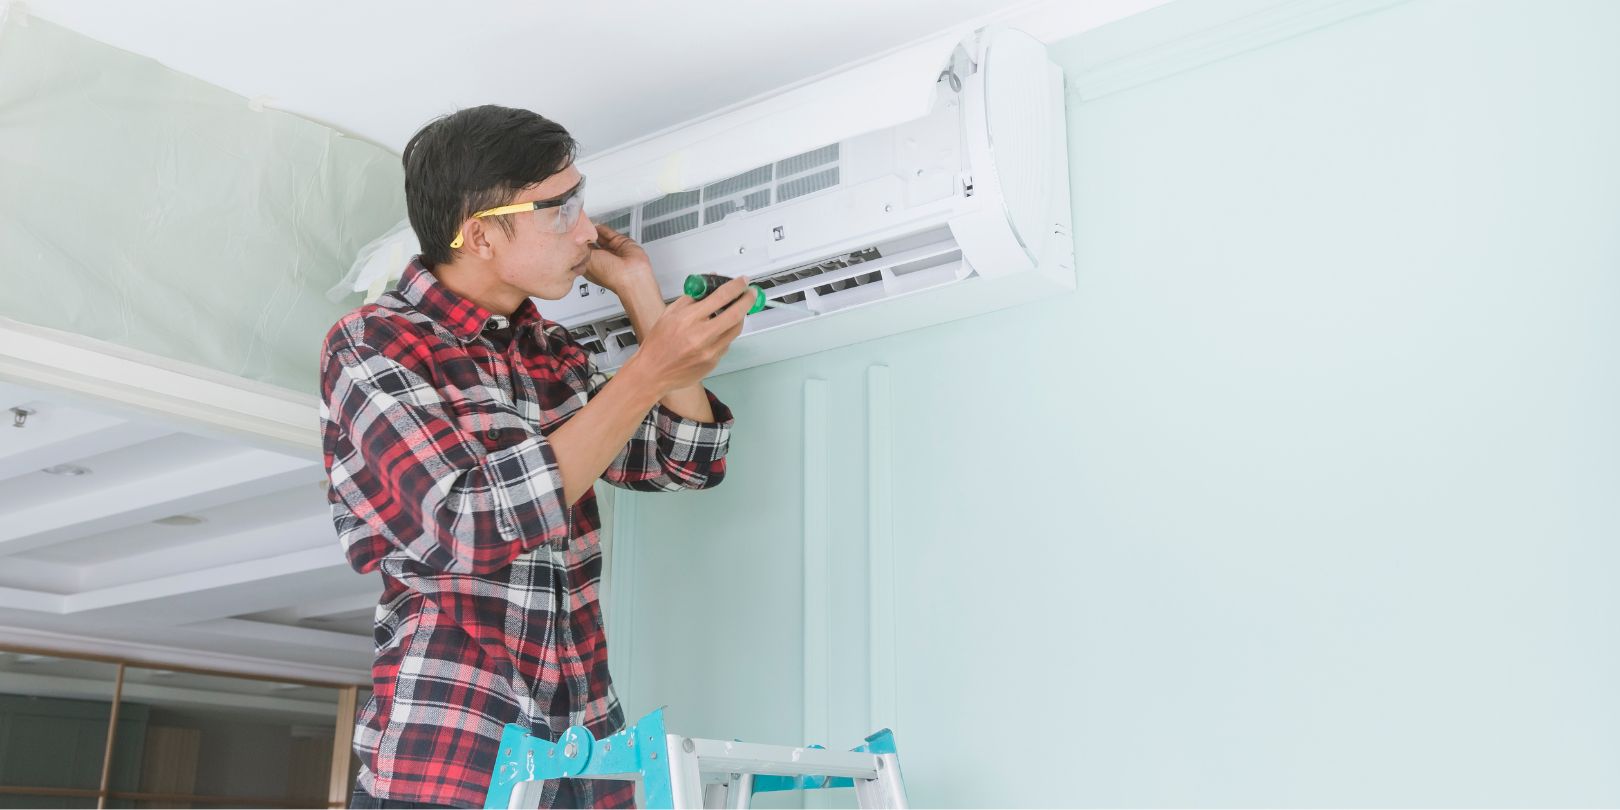
Step 8: Test the Air Conditioner
After completing all the previous steps of replacing the air conditioner compressor, it’s time to test your air conditioner to ensure that the replacement was successful and that the system is functioning properly. Proper testing is crucial to ensure optimal cooling and performance.
Before you turn on the power supply, double-check all the connections you have made during the replacement process. Verify that the refrigerant lines and electrical wires are securely connected and that there are no loose or damaged components.
Once you are confident that everything is in order, you can proceed with turning on the power supply to your air conditioner. Go to the electrical panel in your home and locate the breaker that controls the power to the air conditioner. Flip the switch to the ‘on’ position to restore the power supply.
As the power is turned on, listen for any unusual sounds coming from the air conditioner, such as grinding or banging noises. These may indicate a problem with the installation or the compressor itself. If you notice any concerning sounds, it’s advisable to contact a professional HVAC technician for further inspection.
Next, set your thermostat to the desired temperature and lower it to activate the air conditioner. Allow the system to run for a few minutes and observe the cooling performance. Check if cool air is coming out of the vents and if the temperature is gradually dropping to the set point.
Monitor the air conditioner for any signs of uneven cooling, excessive noise, or abnormal cycling. These may indicate potential issues that require further attention. Pay attention to any strange smells or odors as well, as they could indicate a problem with the refrigerant or other components.
It’s also important to check the refrigerant pressure and levels to ensure they are within the manufacturer’s specified range. If you are not experienced in handling refrigerant, it’s best to consult a professional HVAC technician to perform these tests and make any necessary adjustments.
If everything appears to be functioning correctly and the air conditioner is cooling effectively, congratulations! You have successfully replaced the air conditioner compressor. However, if you encounter any issues or concerns during the testing phase, it’s advisable to seek the assistance of a qualified HVAC technician to diagnose and resolve the problem.
Regular maintenance and professional inspections of your air conditioning system will help ensure its long-term efficiency and reliability. It’s recommended to schedule routine maintenance to keep your newly replaced compressor and the entire system in optimal condition.
Remember, if you are not comfortable or experienced with HVAC repairs and installations, it’s always best to seek the help of a professional technician to avoid any potential risks or further damage to your air conditioner.
Enjoy the cool and comfortable environment provided by your newly replaced air conditioner compressor!
Conclusion
Replacing an air conditioner compressor may seem like a daunting task, but with the right knowledge and preparation, it can be successfully accomplished. A functioning compressor is essential for the efficient operation of your air conditioning system, ensuring you stay cool and comfortable during hot summer months.
In this comprehensive guide, we have walked through the step-by-step process of replacing an air conditioner compressor. From turning off the power supply to testing the air conditioner, each step was carefully explained to help you successfully complete the replacement process.
Remember, when working with electricity or refrigerant, it’s crucial to prioritize safety. Make sure to turn off the power supply, wear appropriate personal protective equipment, and handle all components with caution.
If you are not confident in your DIY skills or if you encounter any challenges during the process, it’s always best to seek the assistance of a qualified HVAC technician. They have the expertise and specialized equipment to ensure a proper replacement and prevent any potential issues or safety hazards.
Regular maintenance and servicing of your air conditioning system are key to its longevity and performance. It’s recommended to schedule routine inspections by a professional HVAC technician to keep your system running optimally.
By following the steps outlined in this guide and taking proper care of your air conditioner, you can extend its lifespan and enjoy a cool and comfortable home environment for years to come.
Now that you have the knowledge and understanding, you are ready to embark on the journey of replacing your air conditioner compressor. Good luck, stay safe, and enjoy the benefits of a properly functioning air conditioning system!
Frequently Asked Questions about How To Replace An Air Conditioner Compressor
Was this page helpful?
At Storables.com, we guarantee accurate and reliable information. Our content, validated by Expert Board Contributors, is crafted following stringent Editorial Policies. We're committed to providing you with well-researched, expert-backed insights for all your informational needs.