Home>Home Maintenance>How To Check An Air Conditioner Compressor
Home Maintenance
How To Check An Air Conditioner Compressor
Modified: August 17, 2024
Learn how to check an air conditioner compressor as part of your home maintenance routine. Ensure your AC is running efficiently with these easy steps.
(Many of the links in this article redirect to a specific reviewed product. Your purchase of these products through affiliate links helps to generate commission for Storables.com, at no extra cost. Learn more)
Introduction
Welcome to our comprehensive guide on how to check an air conditioner compressor. The air conditioner compressor is a critical component that plays a crucial role in the cooling process of your home. Understanding how to check the compressor can help you identify any issues early on and ensure that your air conditioning system is running efficiently.
In this article, we will provide you with a step-by-step guide on how to check an air conditioner compressor. We will discuss the signs of a faulty compressor, important precautions to consider before checking the compressor, and the tools required for this task. By following our instructions, you will be able to perform a thorough inspection of the compressor and potentially troubleshoot any problems.
It’s important to note that checking the air conditioner compressor requires basic knowledge of HVAC systems, as well as a comfort level with electrical components. If you are not confident in your ability to safely handle these tasks, we recommend consulting a professional HVAC technician.
Now, let’s dive into the details of understanding the air conditioner compressor and the signs that may indicate a faulty unit.
[Content continues…]
Key Takeaways:
- Checking your air conditioner compressor is crucial for maintaining a cool home. Signs of a faulty compressor include warm air, loud noises, and high energy bills. Always prioritize safety and consider consulting a professional if unsure.
- Before inspecting your air conditioner compressor, take precautions like turning off the power and handling refrigerant cautiously. Use tools like a multimeter and pressure gauges for a thorough check. Regular maintenance can prevent costly repairs and ensure a comfortable home.
Read more: How To Replace An Air Conditioner Compressor
Understanding the Air Conditioner Compressor
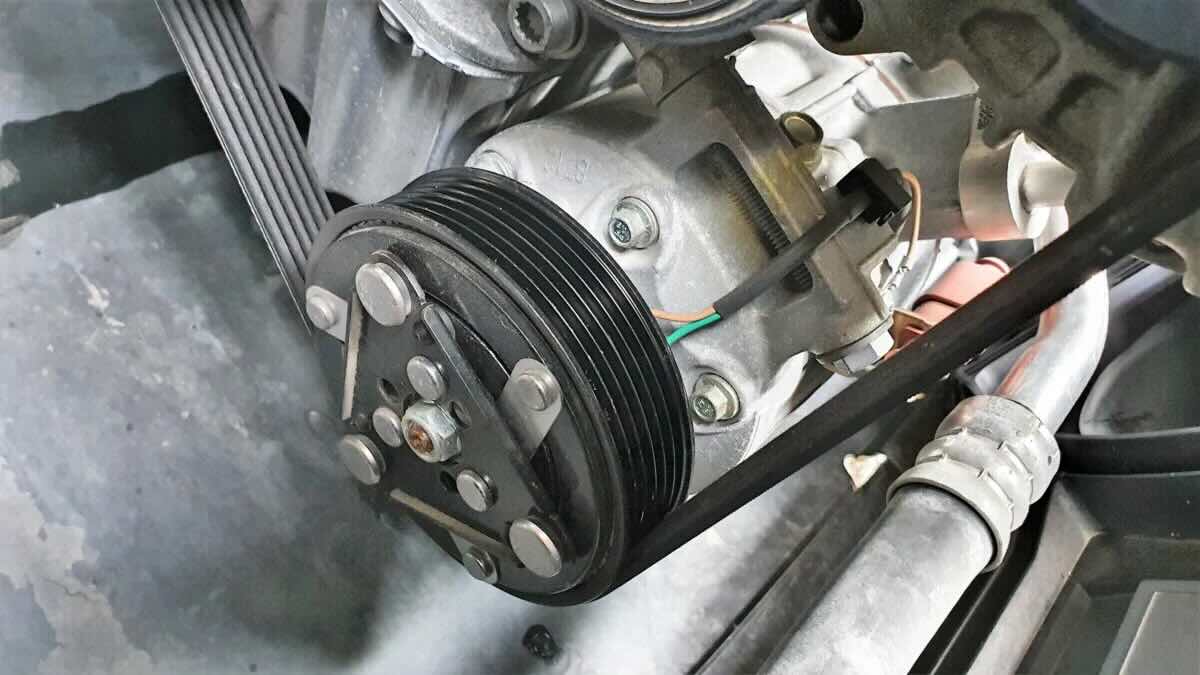
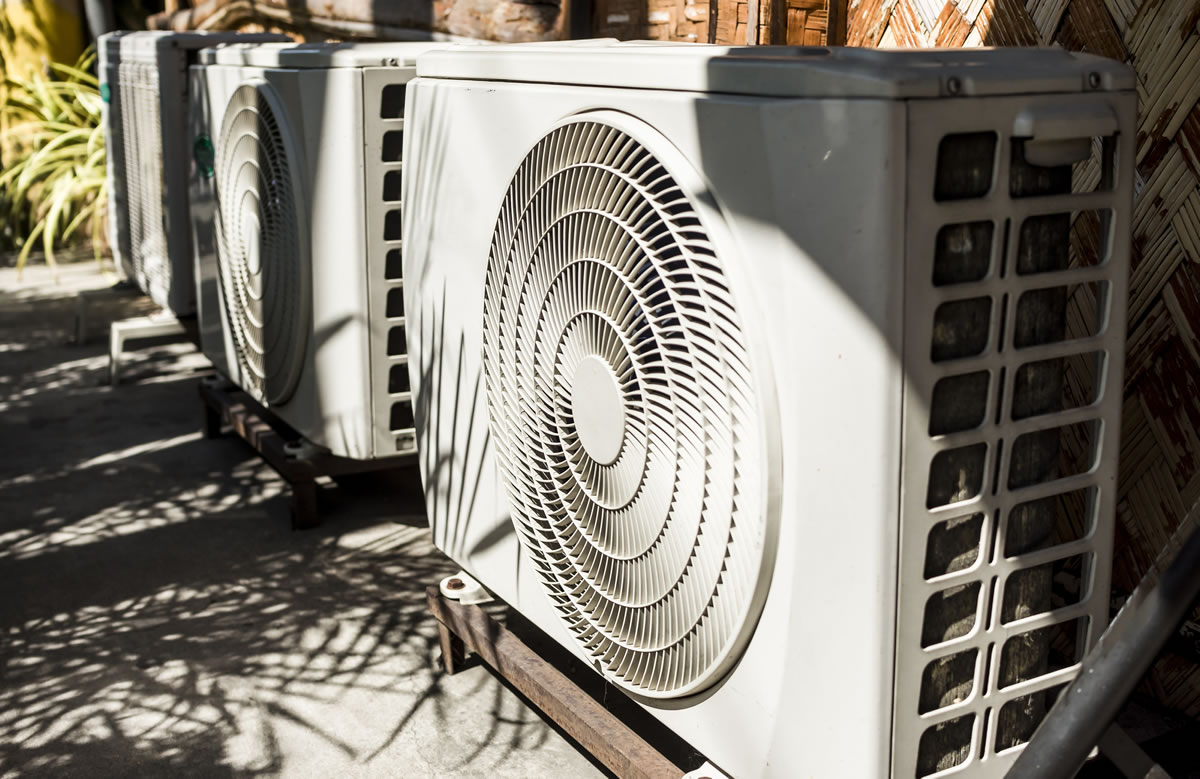
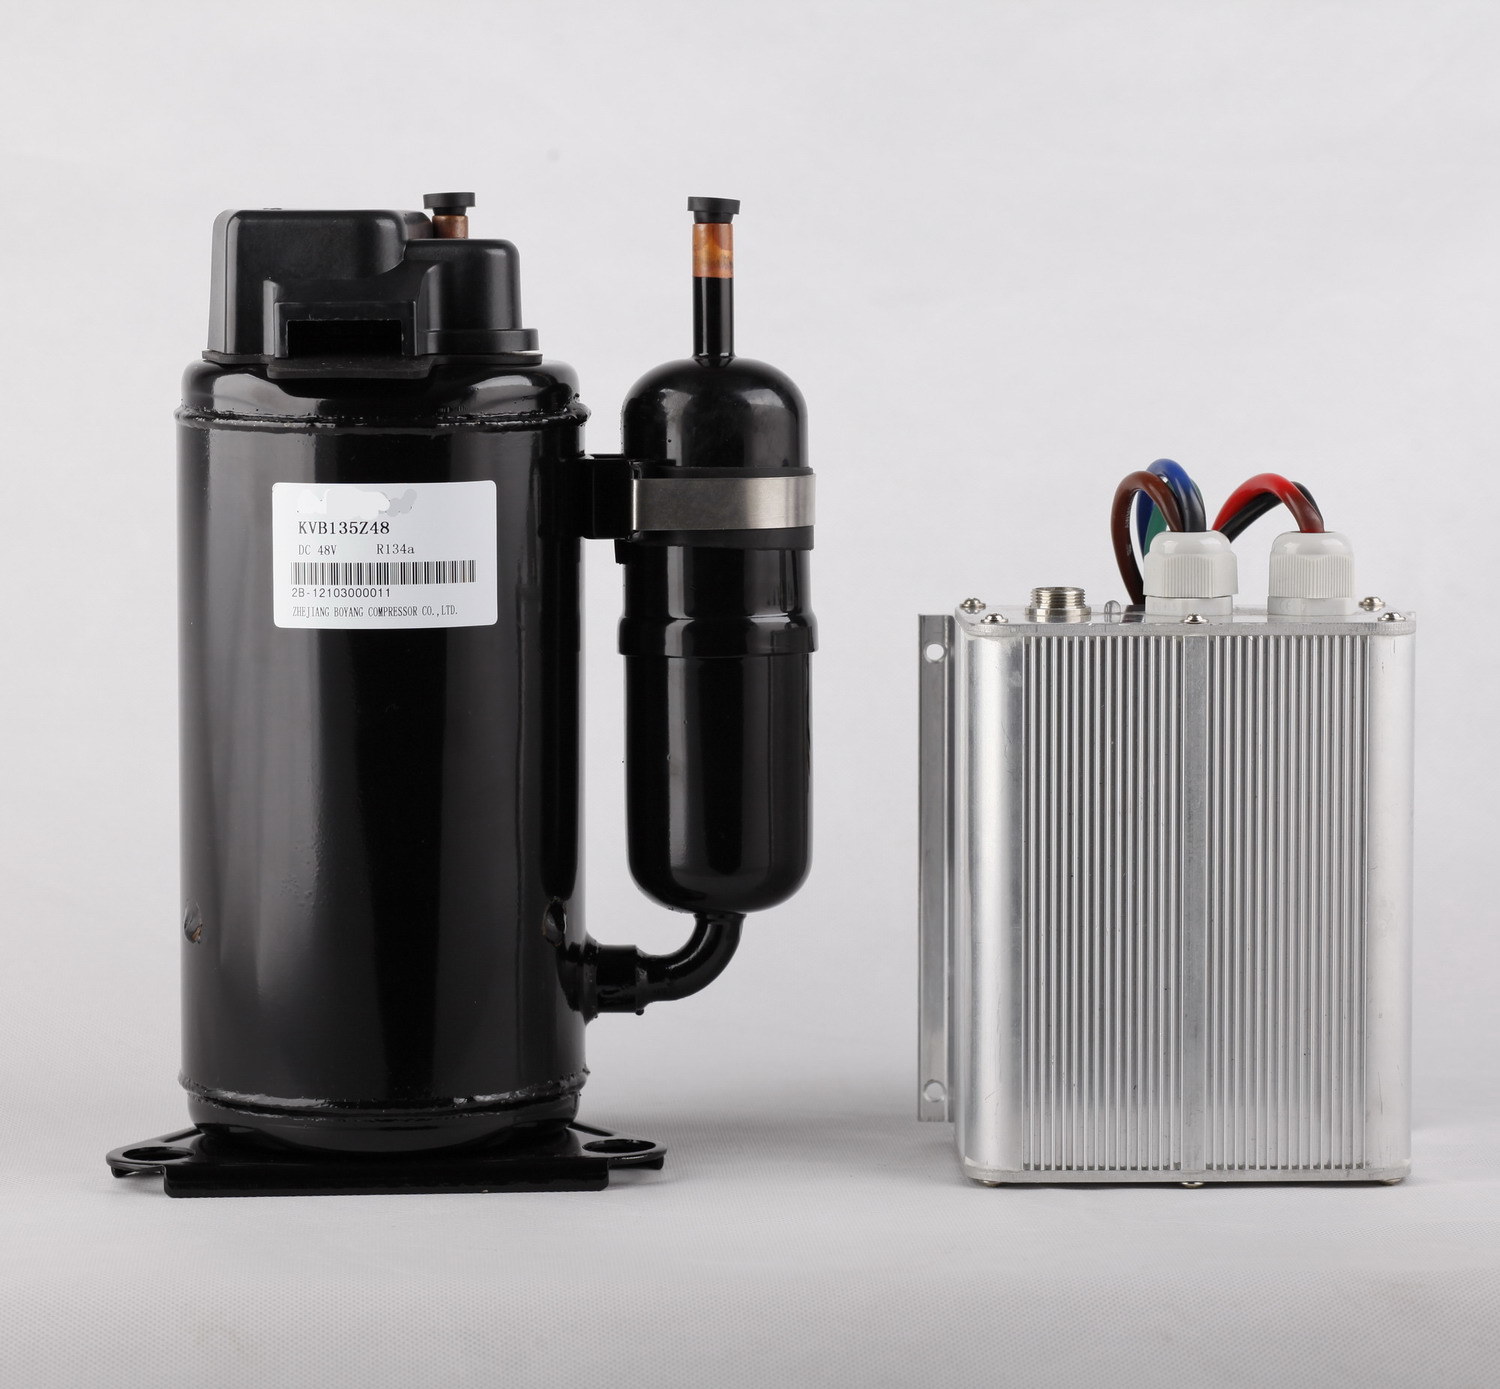
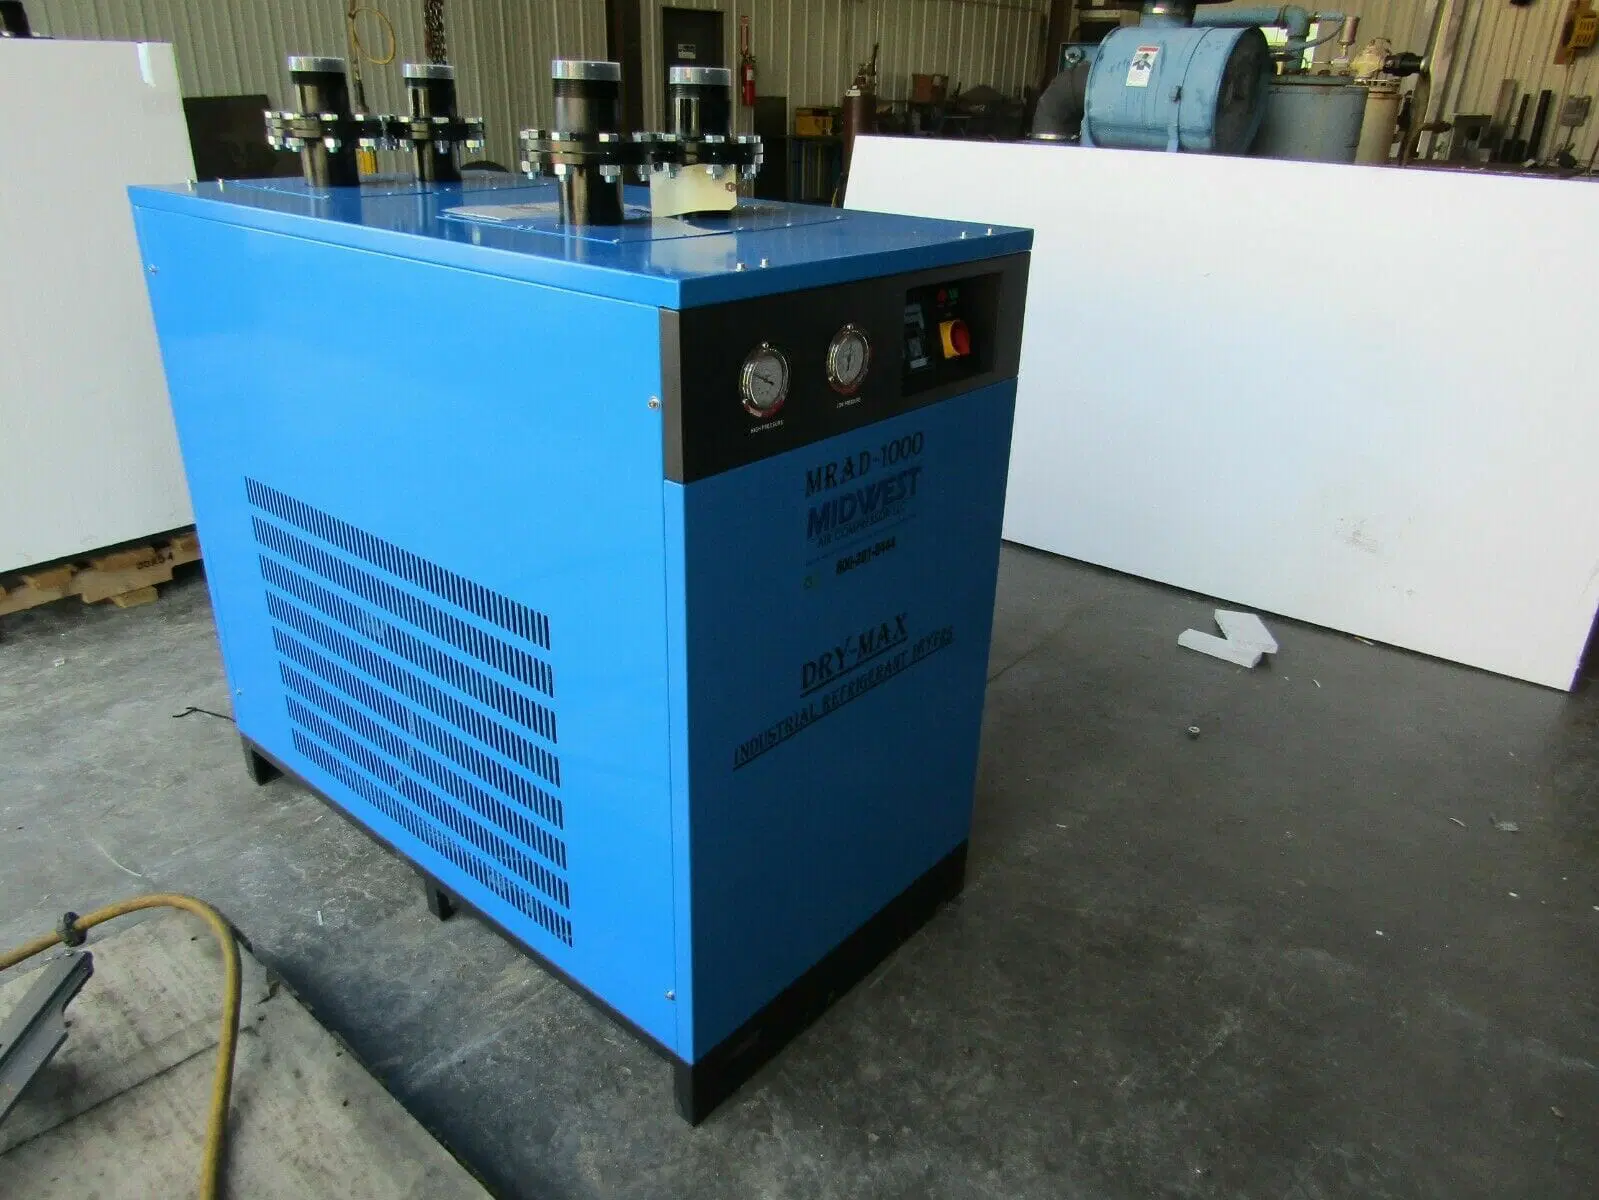
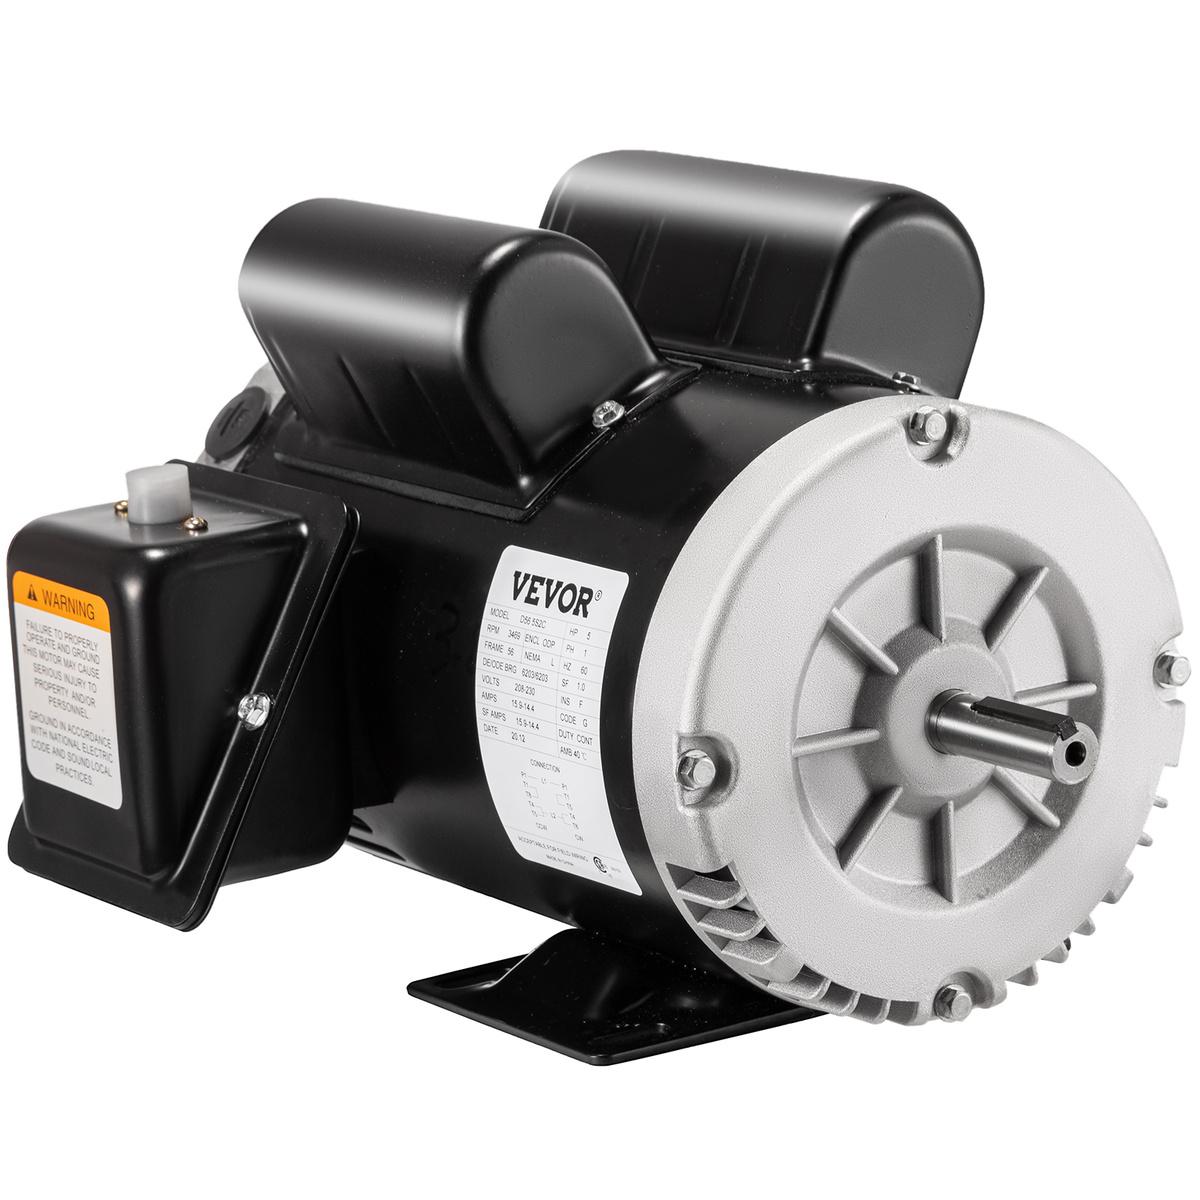
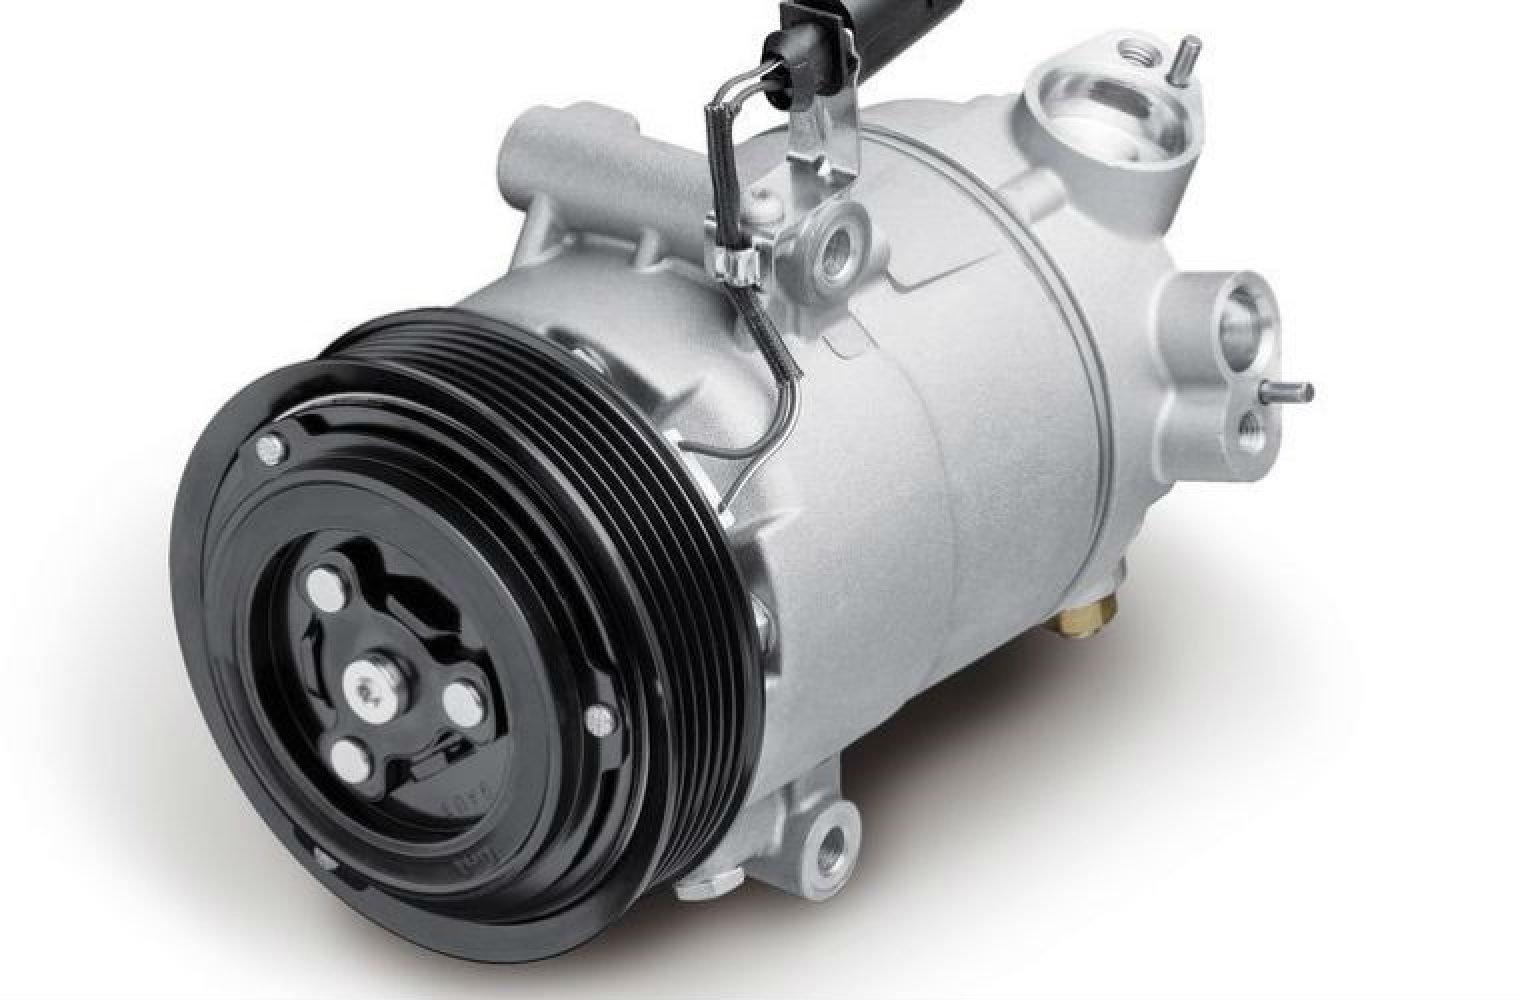
The air conditioner compressor is often referred to as the heart of the cooling system. Its primary function is to compress and circulate the refrigerant, which is responsible for removing heat from your indoor space. The compressor, typically located in the outdoor unit of your air conditioning system, works alongside other components like the condenser and evaporator to provide cool air.
The compressor operates by compressing the low-pressure refrigerant vapor from the evaporator into a high-pressure, high-temperature gas. This compressed gas then flows to the condenser, where it releases heat to the outside air. As the refrigerant cools down, it turns back into a liquid before returning to the evaporator to repeat the cooling cycle.
A properly functioning compressor is essential for efficient cooling. If the compressor is faulty or malfunctioning, it can hinder the cooling process and lead to warmer indoor temperatures. Understanding the signs of a faulty compressor can help you diagnose potential issues and address them promptly.
Some common signs of a faulty air conditioner compressor include:
- Hot Air: If your air conditioner is blowing warm air instead of cool air, it could be a result of a malfunctioning compressor. The compressor’s failure to compress the refrigerant properly can result in reduced cooling capacity.
- Loud Noises: Unusual noises coming from the outdoor unit, such as grinding, squealing, or rattling sounds, may indicate a problem with the compressor motor or internal components.
- Frequent Cycling: If your air conditioner continuously turns on and off, known as short cycling, it could be a sign of compressor issues. This can occur when the compressor fails to maintain the desired pressure levels.
- Increased Energy Bills: A faulty compressor can cause your air conditioning system to work harder to achieve the desired cooling, leading to increased energy consumption and higher utility bills.
- Leaking Refrigerant: A compressor leak can result in a loss of refrigerant, which can impact the cooling efficiency and cause excessive strain on the compressor.
It’s important to note that while these signs may indicate a faulty compressor, they can also be attributed to other issues within the air conditioning system. That’s why it’s crucial to perform a thorough inspection and diagnostic check to accurately identify the cause of the problem.
In the next section, we will discuss the precautions you should take before checking the air conditioner compressor.
[Content continues…]
Signs of a Faulty Compressor
A faulty air conditioner compressor can lead to various issues that may affect the performance and efficiency of your cooling system. It’s important to be aware of the signs that could indicate a problem with the compressor. By identifying these signs early on, you can take appropriate action to prevent further damage to your air conditioning system.
Here are some common signs of a faulty air conditioner compressor:
- Warm Air: One of the most noticeable signs of a faulty compressor is when your air conditioner blows warm air instead of cool air. This could be due to a lack of refrigerant flow or a failure of the compressor to properly compress the refrigerant.
- Loud or Strange Noises: If you hear strange noises coming from your air conditioning unit, such as grinding, rattling, or squealing sounds, it could be an indication of compressor problems. These noises may suggest that the compressor motor or internal components are wearing out or malfunctioning.
- Frequent Cycling: When the compressor is not functioning properly, it may cause the air conditioner to cycle on and off more frequently than usual. This can lead to inconsistent cooling and increased energy consumption.
- High Energy Bills: A faulty compressor can cause your air conditioning system to work harder to achieve the desired cooling, resulting in higher energy bills. If you notice a sudden increase in your energy costs without a change in usage, it’s worth checking the condition of your compressor.
- Leaking Refrigerant: Compressor leaks can cause a loss of refrigerant, impacting the cooling efficiency of your air conditioning system. If you notice refrigerant stains or a decrease in cooling capacity, it could be a sign of a compressor leak.
- Tripped Circuit Breaker: A malfunctioning compressor can draw excessive current, leading to a tripped circuit breaker. If you frequently experience circuit breaker trips when your air conditioner is running, it may be due to a faulty compressor.
- Ice Buildup: Another sign of a faulty compressor is the presence of ice buildup on the outdoor unit or the refrigerant lines. This can occur when the compressor is not properly compressing the refrigerant, leading to a decrease in cooling capacity.
It’s important to note that while these signs may indicate a faulty compressor, it’s recommended to have a professional HVAC technician diagnose and repair the issue. They have the necessary expertise and tools to accurately diagnose the problem and provide the appropriate solution.
In the next section, we will discuss the precautions you should take before checking the air conditioner compressor.
[Content continues…]
Precautions Before Checking the Compressor
Before attempting to check the air conditioner compressor, it’s important to take certain precautions to ensure your safety and prevent any further damage to the system. The compressor is a vital component of your air conditioning system and involves electrical and refrigerant-related hazards. Therefore, it’s crucial to follow these precautions:
- Turn off the Power: Before starting any work on the air conditioner, make sure to turn off the power supply. This includes shutting off the circuit breaker or disconnecting the power at the main electrical panel. This step is essential to prevent electrical shock or injury while working on the compressor.
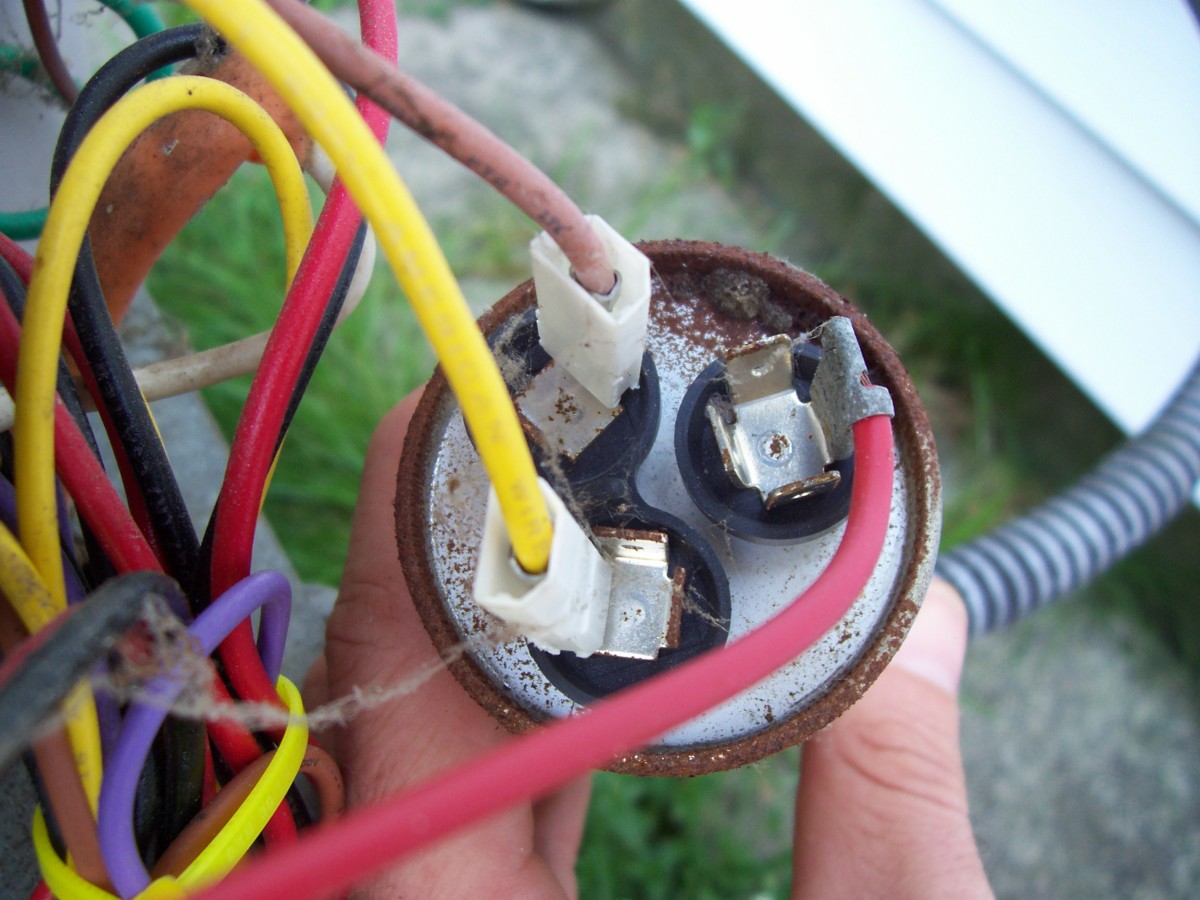
- Deactivate the Capacitor: The capacitor holds an electrical charge, even when the power is turned off. To discharge the capacitor and eliminate the risk of electrical shock, use a screwdriver with an insulated handle to bridge the capacitor terminals and short them out. Ensure that you are wearing proper protective gear, such as gloves and safety glasses, when performing this task.
- Wait for the Compressor to Cool Down: The compressor can become extremely hot during operation. To avoid burns or injury, wait for a sufficient amount of time to allow the compressor to cool down before attempting to inspect or touch it.
- Handle Refrigerant Cautiously: Refrigerant is a hazardous substance that can cause skin irritation, burns, or frostbite if exposed. If you suspect a refrigerant leak or need to handle the refrigerant lines, wear protective gloves and safety glasses. Additionally, make sure to follow proper refrigerant handling and disposal procedures in accordance with local regulations.
- Use Proper Tools: When working on the compressor, use the appropriate tools for the job. This can include wrenches, screwdrivers, multimeters, and pressure gauges. Using the correct tools not only ensures accuracy but also reduces the risk of damage to the compressor or surrounding components.
- Consult a Professional: If you are unsure or uncomfortable with any step of inspecting or checking the compressor, it’s best to consult a professional HVAC technician. They have the expertise and experience to handle the task safely and efficiently, minimizing the risk of further damage or injury.
By following these precautions, you can prioritize your safety while inspecting the air conditioner compressor. Remember, if you are not confident in your abilities or lack the necessary knowledge and tools, it’s always best to seek professional assistance.
In the next section, we will outline the tools required for checking the air conditioner compressor.
[Content continues…]
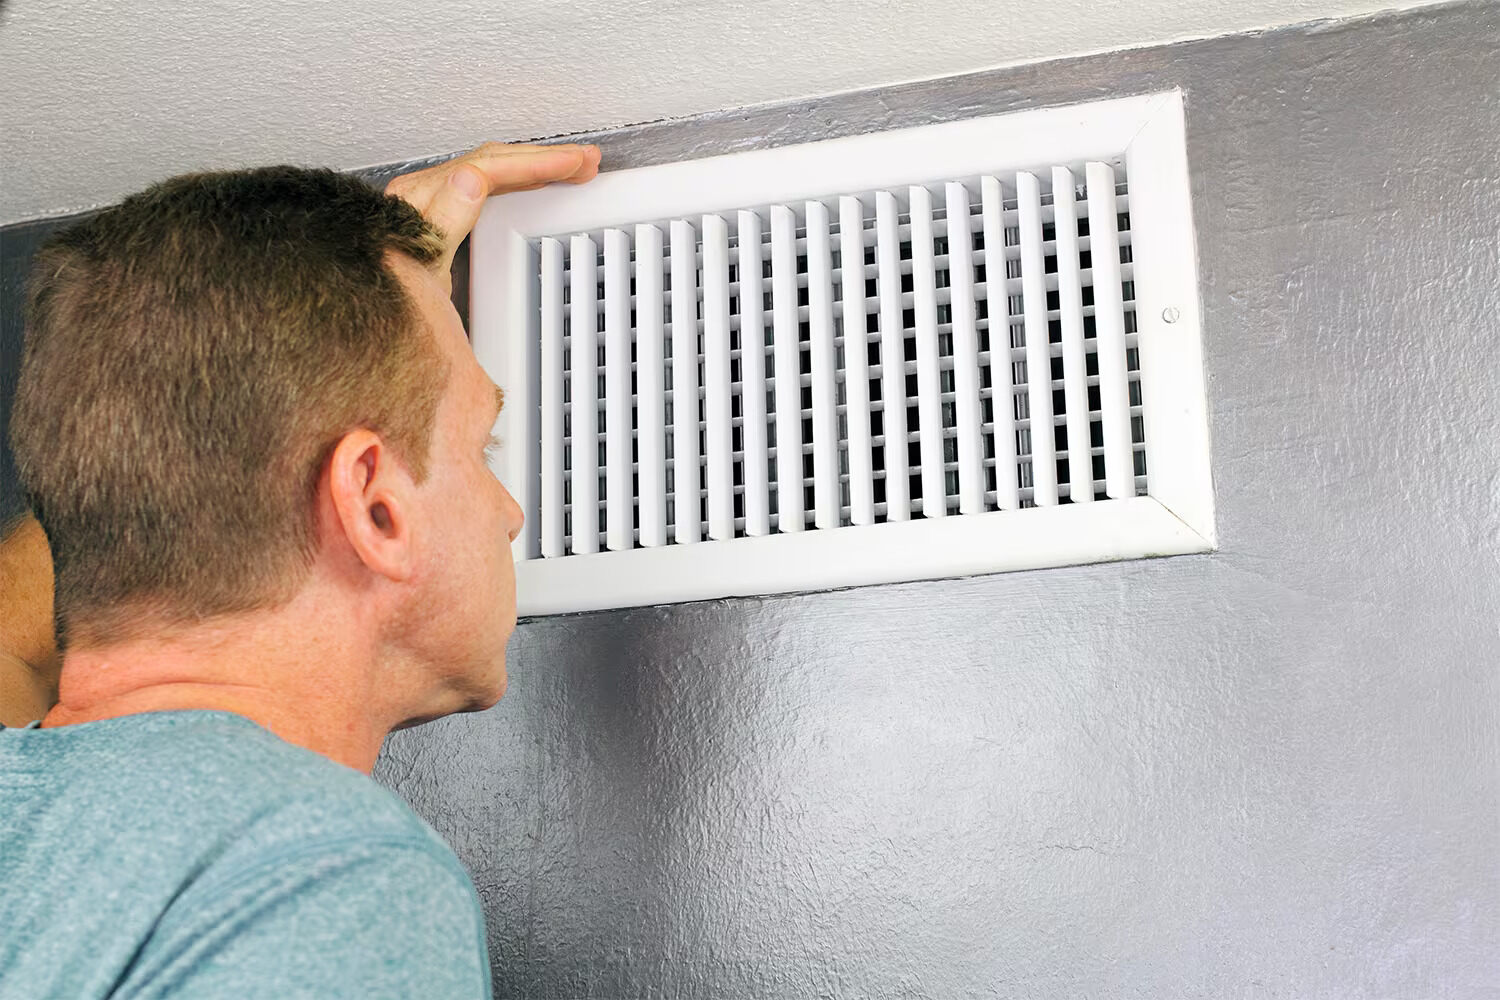
When checking an air conditioner compressor, make sure to inspect the electrical connections, check for any unusual noises or vibrations, and monitor the temperature of the air coming out of the unit. If you notice any issues, it’s best to contact a professional for further inspection and repairs.
Tools Required for Checking the Compressor
When it comes to checking the air conditioner compressor, having the right tools is essential to ensure accurate diagnosis and troubleshooting. Here are some tools you will need:
- Multimeter: A multimeter is a versatile tool that measures various electrical parameters, including voltage, current, and resistance. It allows you to check the electrical connections and verify if the compressor motor is functioning properly.
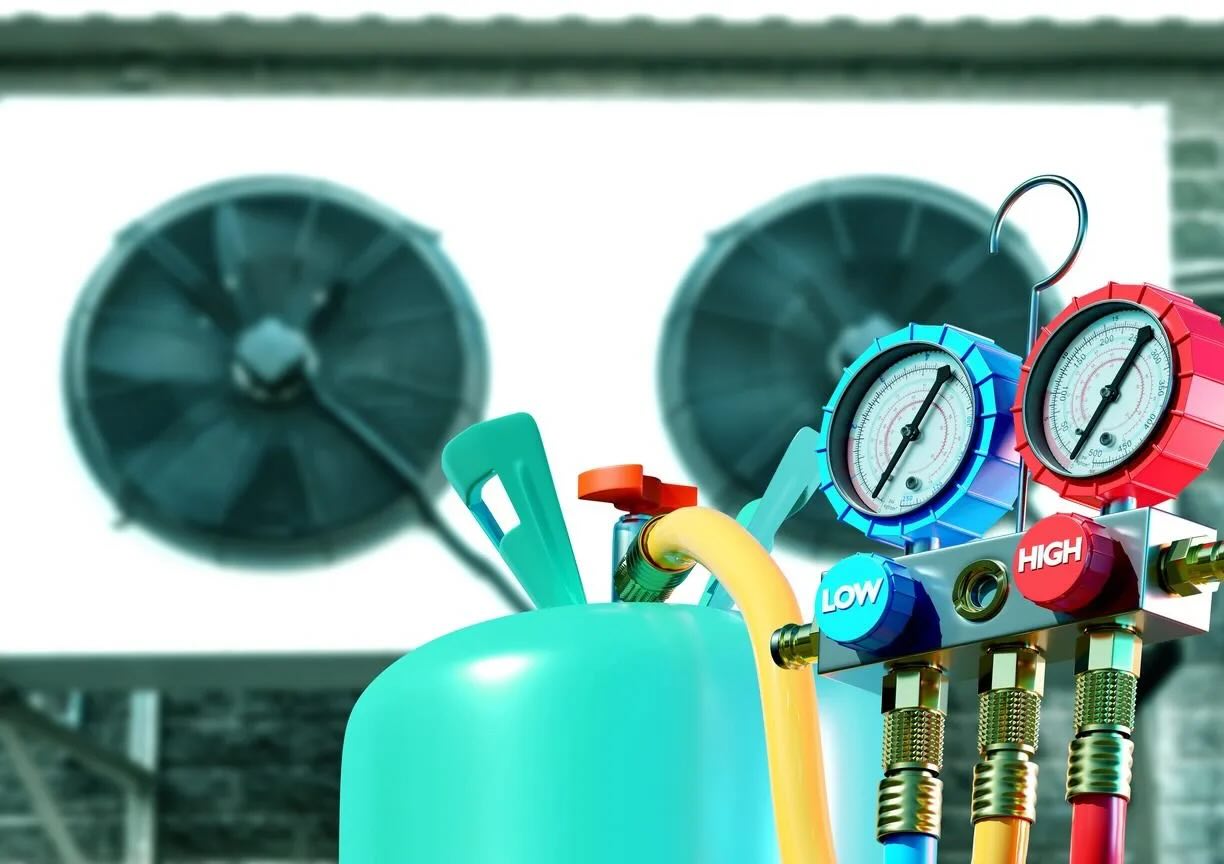
- Pressure Gauges: Pressure gauges are used to measure the pressure of the refrigerant within the air conditioning system. They help to determine if the compressor is operating at the correct pressure levels and can aid in identifying any issues.
- Screwdriver Set: A set of screwdrivers, both flathead and Phillips head, is essential for removing the access panels and inspecting the compressor. Ensure you have different sizes to accommodate various screws.
- Wrench Set: A wrench set will come in handy for loosening or tightening any nuts or bolts on the air conditioning unit, especially when accessing the compressor is required.
- Protective Gloves and Safety Glasses: Working with the compressor may involve handling sharp or potentially hazardous components. It is important to protect your hands with gloves and your eyes with safety glasses to prevent any injuries.
- Refrigerant Leak Detector: If you suspect a refrigerant leak, a refrigerant leak detector can help you locate the source. This tool is designed to detect the presence of refrigerant gas and can be helpful in identifying any leaks in the compressor or other components.
- Cleaning Supplies: It can be beneficial to have cleaning supplies on hand, such as a soft brush and compressed air, to remove any debris or dust that may have accumulated on or around the compressor. Keeping the compressor clean can help prevent issues and ensure optimal performance.
Having these tools readily available before you start inspecting the air conditioner compressor will make the process smoother and more efficient. It is essential to handle these tools with care and follow proper safety guidelines to avoid accidents or damage to the air conditioning system.
In the next section, we will provide a step-by-step guide on how to check the air conditioner compressor.
[Content continues…]
Read more: How To Check HVAC Compressor
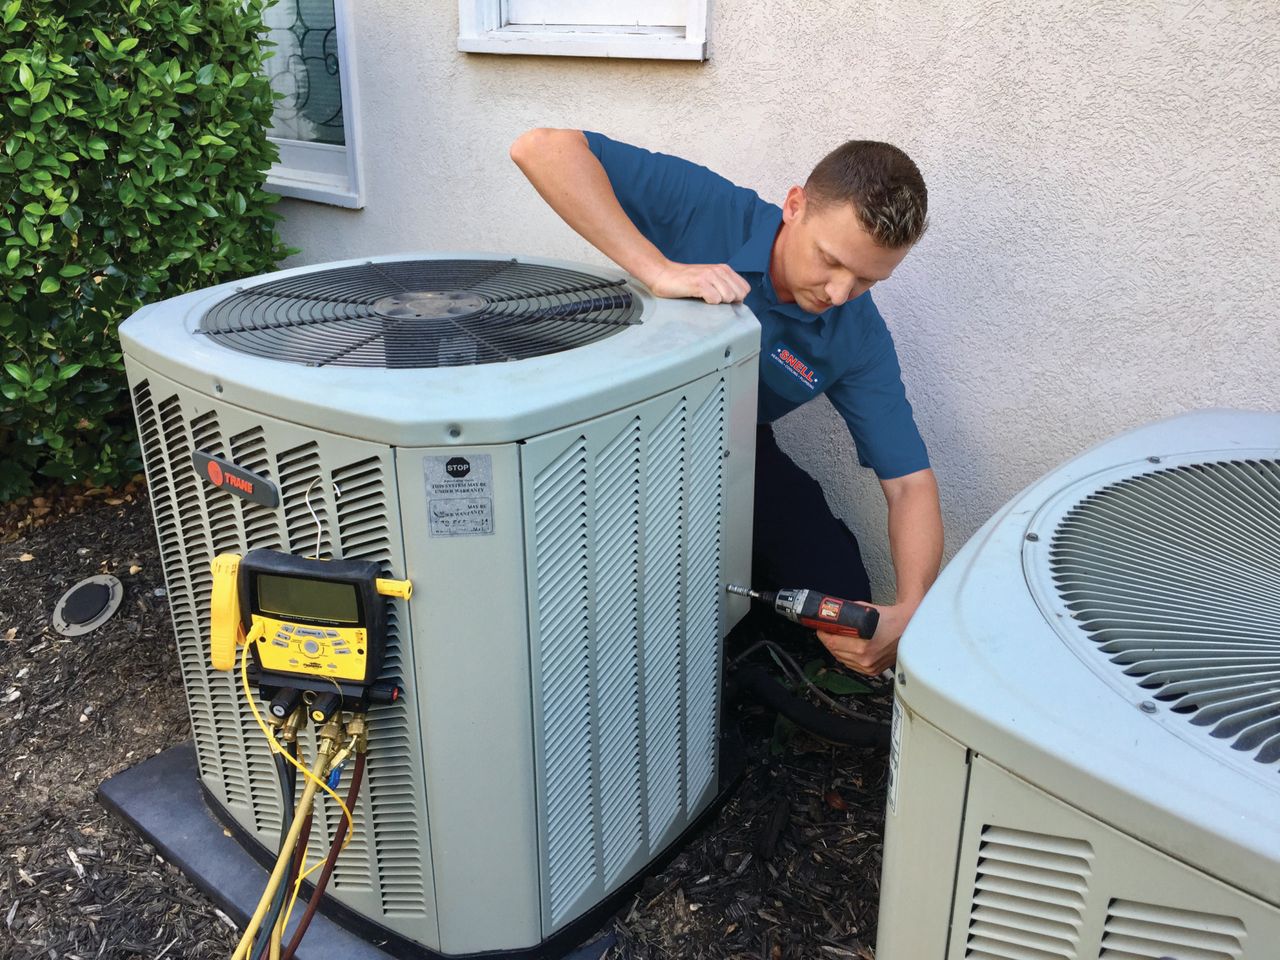
Step-by-Step Guide to Checking the Compressor
Checking the air conditioner compressor requires thorough inspection and attention to detail. By following this step-by-step guide, you can effectively troubleshoot issues and ensure optimal performance of your air conditioning system:
- Turn off the Power: Start by turning off the power to the air conditioning system. This can be done by switching off the circuit breaker associated with the unit or disconnecting the power at the main electrical panel.
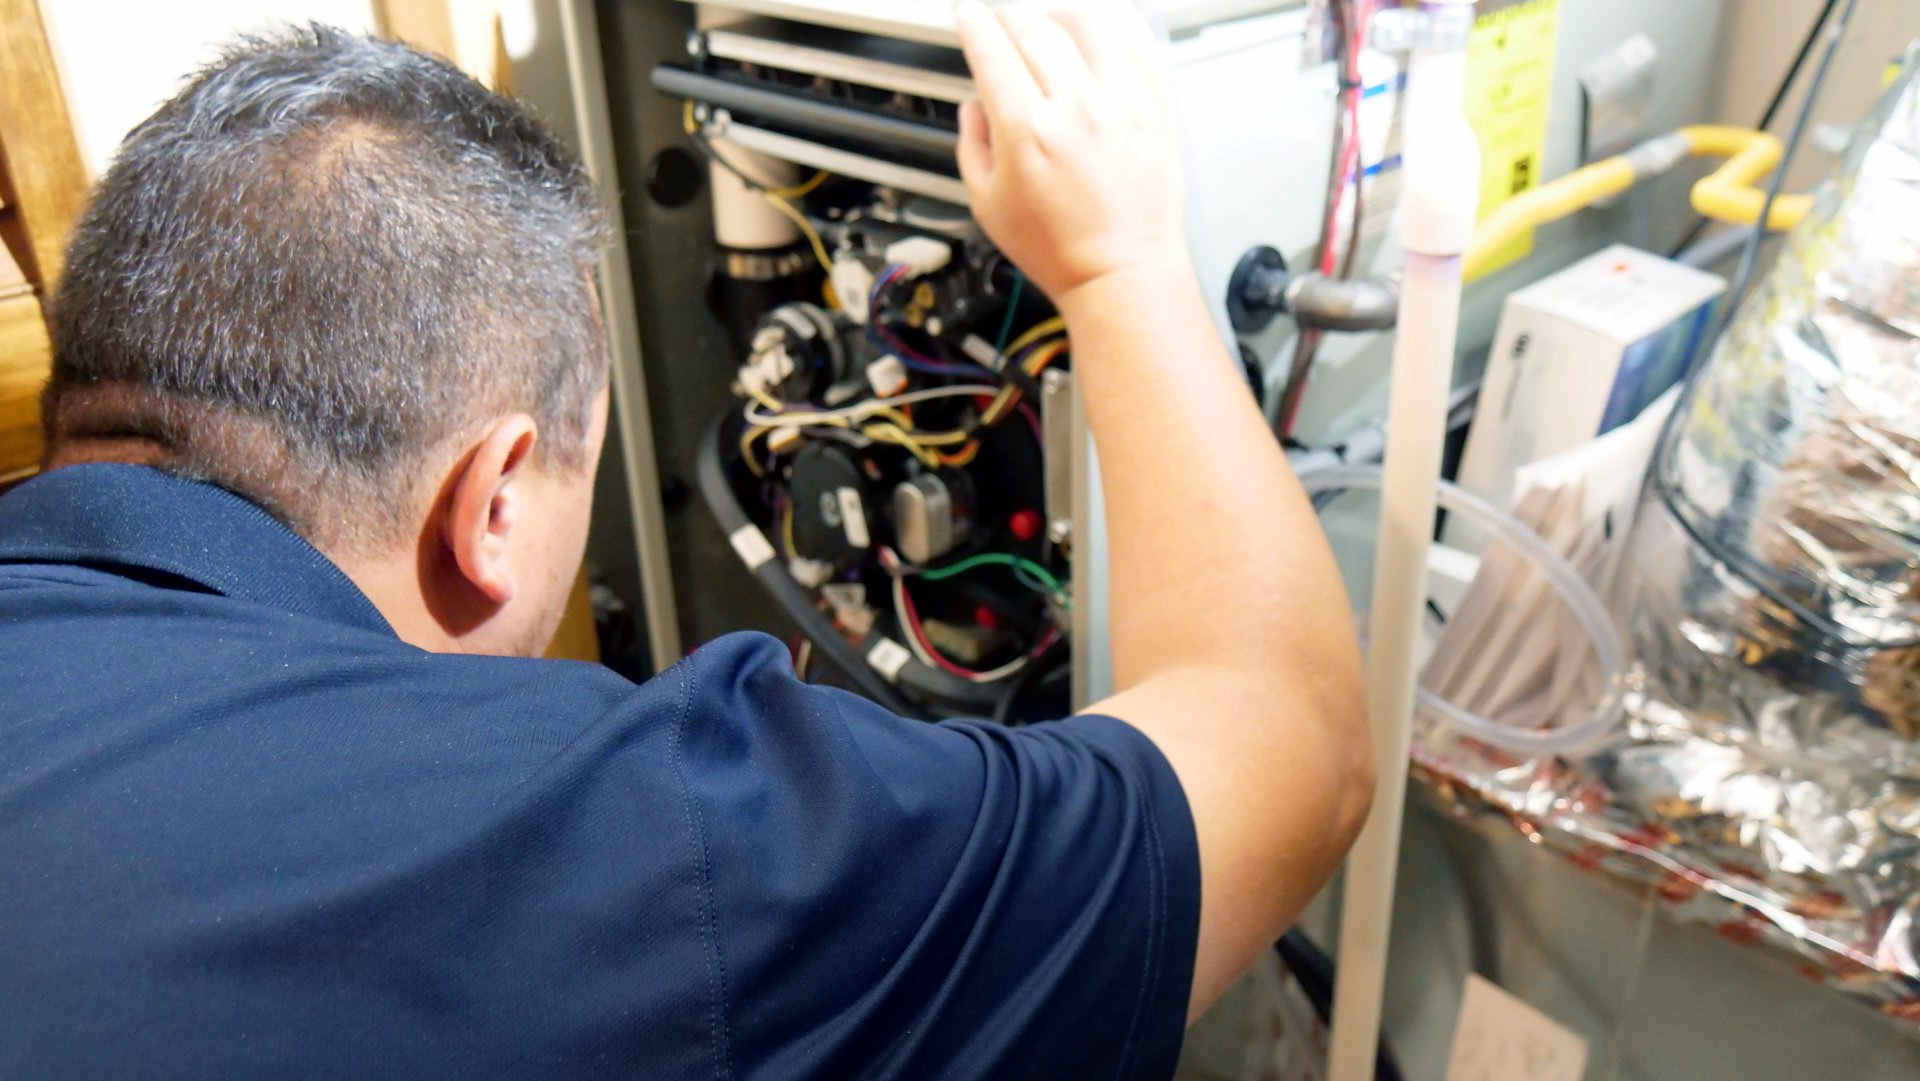
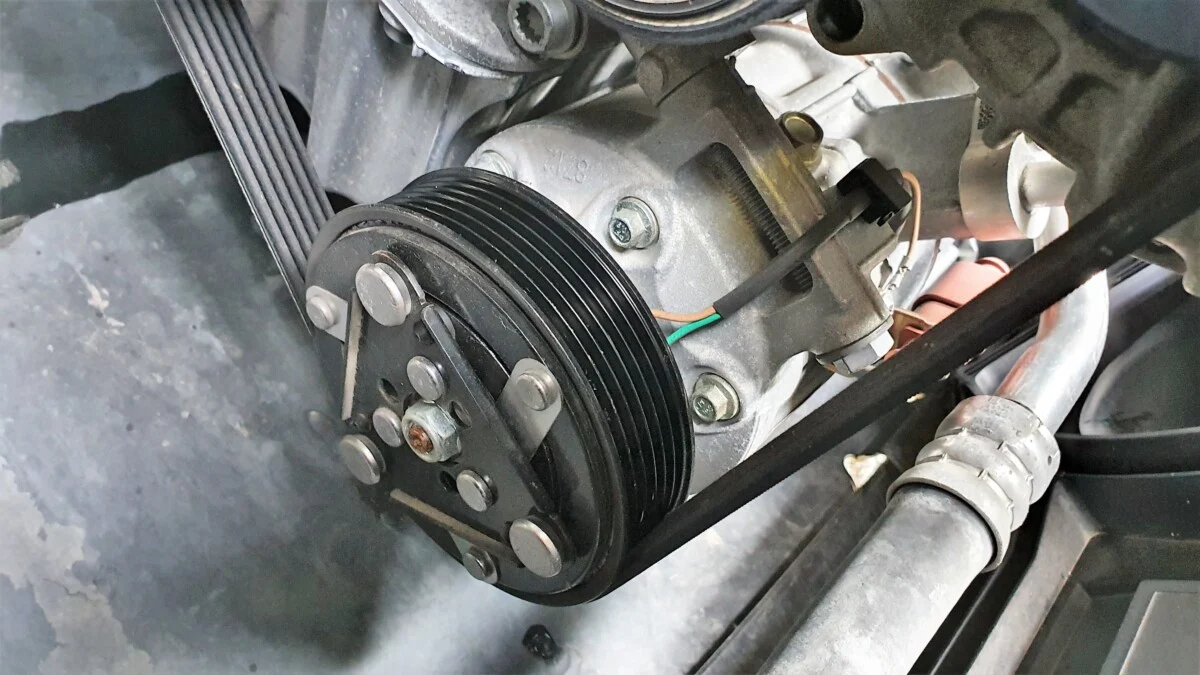
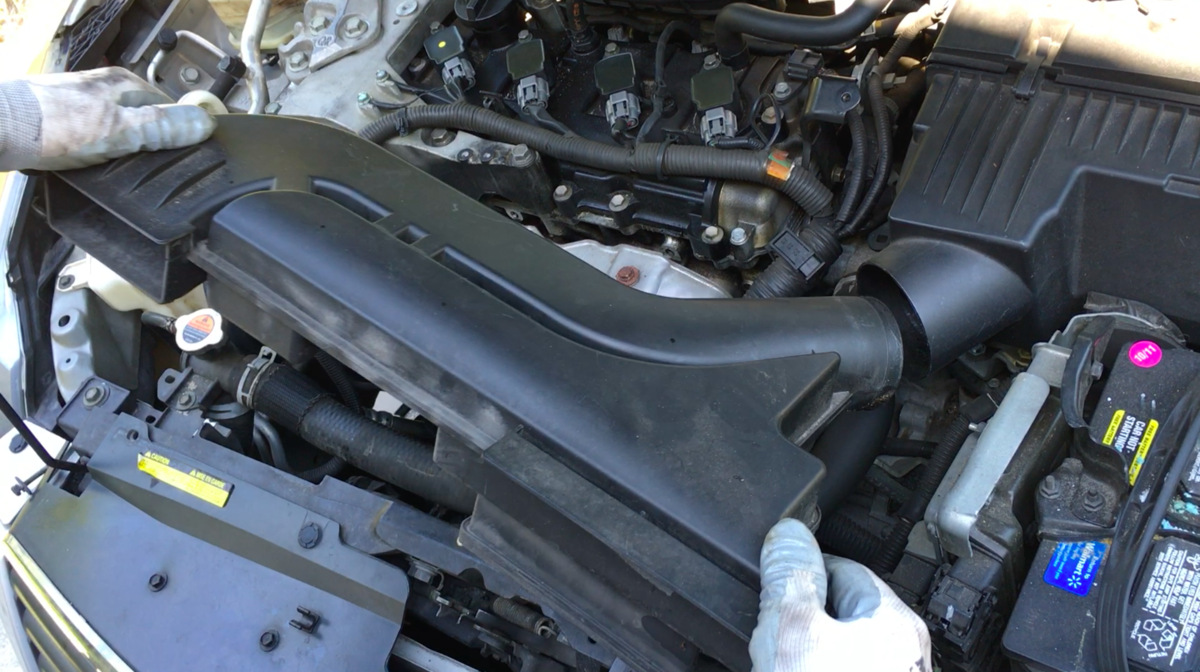
- Access the Compressor: Remove any access panels or covers that provide access to the compressor. This may involve using a screwdriver or wrench to loosen and remove the necessary screws or bolts.
- Visually Inspect the Compressor: Carefully examine the compressor for any signs of physical damage, such as dents, leaks, or loose connections. Look for oil stains or refrigerant leaks around the compressor, which can indicate a problem.
- Check the Electrical Connections: Using a multimeter, test the electrical connections of the compressor to ensure they are securely tightened and not damaged. Check for any loose or corroded wires and repair or replace them if necessary.
- Measure the Voltage: Set your multimeter to the voltage setting and measure the voltage across the compressor terminals. Compare the reading to the manufacturer’s specified voltage range. If the reading is outside of the range, it may indicate a problem with the compressor motor or electrical supply.
- Measure the Refrigerant Pressure: Connect the pressure gauges to the appropriate ports on the air conditioning system, following the manufacturer’s instructions. Note the pressure readings for both the high and low sides of the system. Compare these readings to the recommended pressure ranges for your specific air conditioner model.
- Listen for Unusual Sounds: While the power is still off, listen for any unusual noises coming from the compressor when you turn it on. Grinding, rattling, or squealing sounds may indicate motor or internal component issues.
- Perform a Refrigerant Leak Test: If you suspect a refrigerant leak, use a refrigerant leak detector to carefully inspect the compressor and surrounding components. Follow the detector’s instructions to identify any leaks and take appropriate action to repair them.
- Clean the Compressor: Using a soft brush and compressed air, gently clean any debris or dust that may have accumulated on or around the compressor. Ensure the area is clear of obstructions to allow for proper airflow.
It’s important to note that while these steps can help you identify potential issues with the air conditioner compressor, some problems may require the expertise of a professional HVAC technician for repair or replacement.
Remember to always follow proper safety precautions, such as turning off the power and wearing protective gear, while working on the compressor. If you are unsure or uncomfortable with any step in the process, it’s best to seek professional assistance.
[Content continues…]
Conclusion
Checking the air conditioner compressor is an important task that can help you identify and address potential issues with your cooling system. By understanding the signs of a faulty compressor, taking necessary precautions, and using the right tools, you can effectively troubleshoot and maintain your air conditioning system’s performance.
In this comprehensive guide, we discussed the role of the air conditioner compressor in the cooling process and outlined the signs that may indicate a faulty unit. We emphasized the importance of following precautions before inspecting the compressor to ensure your safety and prevent further damage to the system.
We also provided a list of essential tools required for checking the compressor, such as a multimeter, pressure gauges, screwdrivers, and safety gear. Having these tools on hand will make the inspection process more efficient and effective.
Furthermore, we provided a step-by-step guide to checking the compressor, including accessing the compressor, visually inspecting it, checking electrical connections, measuring voltage and refrigerant pressure, listening for unusual sounds, and performing a refrigerant leak test. These steps will help you diagnose potential issues and take appropriate action, whether it be repairing or seeking professional assistance.
Remember, if you are not confident in your abilities or lack the necessary knowledge and experience, it’s always best to consult a professional HVAC technician. They have the expertise to handle complex issues and ensure the proper functioning of your air conditioning system.
By taking the time to check your air conditioner compressor and address any problems, you can enhance the efficiency, longevity, and performance of your cooling system. Regular maintenance and inspections can also help you avoid costly repairs and ensure a comfortable indoor environment.
Thank you for reading our comprehensive guide on how to check an air conditioner compressor. We hope you found this information helpful and encourage you to prioritize regular maintenance to keep your air conditioning system in optimal condition.
Frequently Asked Questions about How To Check An Air Conditioner Compressor
Was this page helpful?
At Storables.com, we guarantee accurate and reliable information. Our content, validated by Expert Board Contributors, is crafted following stringent Editorial Policies. We're committed to providing you with well-researched, expert-backed insights for all your informational needs.