Home>Home Maintenance>How To Replace An Entire Central Air Conditioning System
Home Maintenance
How To Replace An Entire Central Air Conditioning System
Modified: March 6, 2024
Learn the step-by-step process of replacing your entire central air conditioning system with our comprehensive home maintenance guide. Ensure your home stays cool and comfortable with our expert tips.
(Many of the links in this article redirect to a specific reviewed product. Your purchase of these products through affiliate links helps to generate commission for Storables.com, at no extra cost. Learn more)
Introduction
Welcome to the world of home maintenance where we’ll be exploring how to replace an entire central air conditioning system. Your central air conditioning system plays a crucial role in keeping your home cool and comfortable, especially during the scorching summer months. Over time, however, these systems can become outdated, inefficient, or even break down completely. In such cases, replacing the entire central air conditioning system becomes necessary.
While the thought of replacing your AC system might seem daunting, fear not! In this comprehensive guide, we’ll walk you through the step-by-step process of replacing your central air conditioning system. From evaluating the need for replacement to selecting the right system and hiring a professional HVAC contractor, we’ll cover it all.
Before we delve into the details, it’s important to note that replacing an entire central air conditioning system is not a do-it-yourself project for most homeowners. It requires technical knowledge, specialized tools, and experience. Therefore, we highly recommend hiring a professional HVAC contractor to ensure the installation is done correctly and safely. However, having an understanding of the process will help you make informed decisions and communicate effectively with your chosen contractor.
So, let’s jump right in and discover the steps involved in replacing an entire central air conditioning system. By the end of this guide, you’ll be well-equipped with the knowledge you need to embark on this significant home maintenance project.
Key Takeaways:
- Assess your AC system’s age, energy efficiency, performance, repair history, and your home’s cooling needs to determine if it’s time for a replacement. Consulting a professional HVAC contractor can provide expert advice.
- When replacing your AC system, choose the right size, energy-efficient, and suitable type of system within your budget. Hiring a reputable HVAC contractor for installation and regular maintenance ensures optimal performance and long-term value.
Read more: What Is Central Air Conditioning System
Step 1: Assessing the Need for Replacement
The first step in replacing an entire central air conditioning system is determining whether it’s actually necessary. While some issues can be addressed through repairs or maintenance, there are certain signs that indicate a system replacement is the best course of action.
One of the most obvious signs that your central air conditioning system needs replacement is its age. The average lifespan of a well-maintained AC system is around 10-15 years. If your system is approaching or has exceeded this timeframe, it’s likely that it’s no longer operating at peak efficiency and may be experiencing frequent breakdowns.
Additionally, consider the energy efficiency of your current system. Older models tend to be less energy-efficient, leading to higher utility bills. If you notice a significant increase in your energy costs over time, it could be an indication that your AC system is no longer efficient and it’s time for an upgrade.
Next, evaluate the overall performance of your air conditioning system. Are you experiencing uneven cooling throughout your home? Does it take longer than usual for your house to reach a comfortable temperature? If your current system struggles to maintain consistent cooling or falls short in providing the desired comfort, it may be time to replace it with a more reliable and effective system.
Furthermore, take into consideration the repair history of your air conditioning unit. If you find yourself constantly investing in repairs and the frequency of breakdowns is increasing, it may be more cost-effective in the long run to replace the entire system rather than continuing to pour money into temporary fixes.
Lastly, consider any changes in your home’s cooling needs. If you’ve made significant renovations or additions to your home since the installation of your current system, it may be undersized and struggling to adequately cool your space. In such cases, replacing the system with one that is better suited to your home’s cooling requirements will ensure optimal comfort.
By carefully assessing these factors, you’ll be able to determine whether your central air conditioning system is in need of replacement. If you’re unsure, it’s always a good idea to consult with a trusted HVAC professional who can evaluate your system and provide expert advice.
Step 2: Choosing the Right Air Conditioning System
Once you’ve determined that it’s time to replace your central air conditioning system, the next step is choosing the right system for your home. There are several factors to consider during this selection process to ensure you end up with the most suitable and efficient system.
The first consideration is the size of the air conditioning system. An oversized or undersized system can lead to inefficiency, increased energy consumption, and inadequate cooling. To determine the appropriate size, you’ll need to calculate the cooling load of your home. This can be done by taking into account factors such as square footage, insulation, number of windows, and climate. Consulting with an HVAC professional can help ensure accurate calculations and proper sizing.
Next, consider the energy efficiency of the system. Look for systems with a high Seasonal Energy Efficiency Ratio (SEER) rating. The SEER rating indicates the cooling efficiency of the system – the higher the SEER rating, the more energy-efficient the system. Energy-efficient systems not only help reduce your carbon footprint but also result in lower utility bills over time.
Another important factor to consider is the type of air conditioning system. The two most common types are split systems and packaged systems. Split systems consist of an outdoor unit and an indoor unit, while packaged systems have all components housed in a single unit. The choice between the two depends on factors such as available space, installation preferences, and budget.
Furthermore, consider the features and options offered by different air conditioning systems. For example, variable-speed compressors and two-stage cooling systems provide enhanced comfort and energy efficiency. Additionally, features such as programmable thermostats, air purifiers, and smart technology integration can enhance the performance and convenience of your system.
Budget is also a crucial consideration when choosing an air conditioning system. While it’s important to invest in a high-quality system, it’s equally important to find one that aligns with your budget. Consider the upfront costs of purchasing and installing the system, as well as long-term maintenance and operating costs.
Finally, it’s essential to research and select a reputable brand and HVAC contractor. Look for brands known for their reliability, durability, and customer satisfaction. Read reviews, seek recommendations, and compare warranties and after-sales service options. Similarly, choose an experienced and certified HVAC contractor who can ensure a professional installation and provide ongoing maintenance and support.
By considering these factors and thoroughly researching your options, you can confidently choose the right air conditioning system that will provide optimal comfort, energy efficiency, and long-term value for your home.
Step 3: Hiring a Professional HVAC Contractor
Replacing an entire central air conditioning system is a complex task that requires the expertise of a professional HVAC contractor. Hiring the right contractor is crucial to ensure the seamless installation and optimal performance of your new system. Here are some key considerations when hiring an HVAC contractor:
1. Credentials and Experience: Look for contractors who are licensed and certified to work on HVAC systems. Check their credentials and certifications to ensure they have the necessary qualifications and training. Additionally, consider their experience in the industry. An experienced contractor is more likely to have a deeper understanding of various systems and can handle any challenges that may arise during the installation process.
2. Reputation and Reviews: Research the contractor’s reputation and read reviews from past customers. Look for feedback regarding their professionalism, quality of work, and customer service. Consider reaching out to friends, family, or local community groups for recommendations and firsthand experiences. A contractor with a positive reputation and satisfied customers is a good indicator of their reliability and quality of service.
3. Get Multiple Quotes: Request quotes from multiple HVAC contractors to compare prices and services. Be wary of extremely low or high quotes, as they may indicate subpar quality or hidden costs. A detailed and transparent quote that includes the cost of the system, installation, any additional work required, and warranties will help you make an informed decision.
4. Insurance and Liability: Verify that the contractor carries appropriate insurance coverage. This is important to protect both you and the contractor in case of any accidents or damages during the installation process. Request proof of insurance and ensure it covers liability, property damage, and worker’s compensation.
5. Warranty and Maintenance Plans: Inquire about the warranty provided by the contractor and the manufacturer of the new air conditioning system. A reliable contractor will offer a warranty on their workmanship, providing peace of mind in case any issues arise post-installation. Additionally, ask about maintenance plans to ensure the ongoing performance and longevity of your new system.
6. Communication and Professionalism: Pay attention to the contractor’s communication skills and professionalism. A contractor who is responsive, punctual, and addresses your questions and concerns is more likely to provide a smooth and satisfactory experience. Clear communication throughout the process will ensure that you understand the timeline, scope of work, and any potential disruptions.
Remember that the hiring process is not simply based on the lowest price. The quality of installation and the reputation of the contractor should be the primary considerations. A well-installed and well-maintained system will provide efficient cooling, reduce the risk of breakdowns, and ultimately save you money in the long run.
By carefully selecting a professional HVAC contractor, you can have the confidence that your new air conditioning system will be installed correctly and effectively, providing optimal comfort for years to come.
Step 4: Removing the Old Air Conditioning System
Once you have chosen the right air conditioning system and hired a professional HVAC contractor, it’s time to proceed with the removal of the old system. Properly removing the old system is essential before installing the new one. Here’s what you need to know about this crucial step:
1. Turn Off Power: Before starting any work on the old air conditioning system, ensure that the power is turned off at the main electrical panel. This step is crucial for your safety and to prevent any electrical accidents.
2. Disconnect and Remove Components: Start by disconnecting and removing all the components of the old air conditioning system. This typically includes disconnecting the electrical wiring, refrigerant lines, and ductwork. Carefully label each component as you disconnect to ensure easy reinstallation if needed in the future.
3. Properly Dispose of Refrigerant: If the old air conditioning system contains refrigerant, it is crucial to handle it properly. This task must be done by a certified professional who can safely recover and recycle the refrigerant in accordance with environmental regulations. Improper disposal of refrigerant can lead to environmental damage and legal consequences.
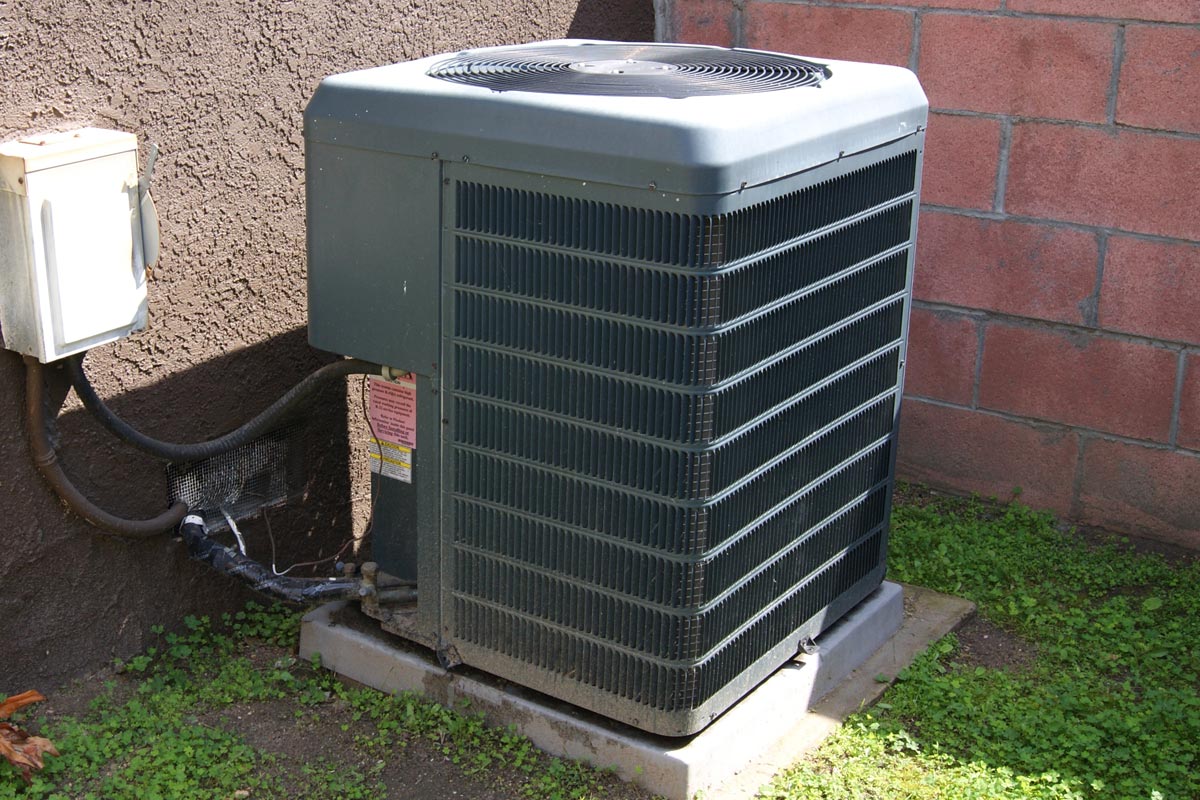
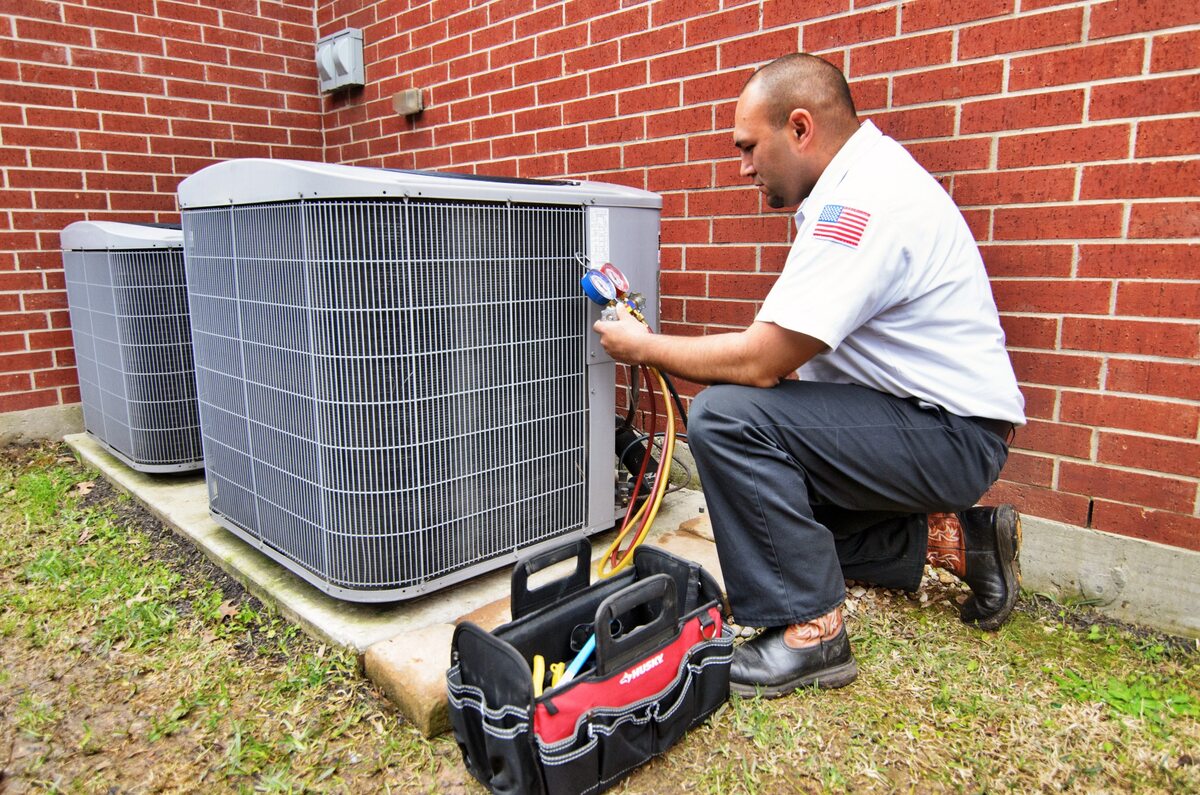
4. Remove the Condenser Unit: The condenser unit, usually located outside the home, should be carefully detached and removed. This involves disconnecting the electrical connections and refrigerant lines. It may require the use of specialized tools and equipment, so it’s best to leave this task to the professionals.
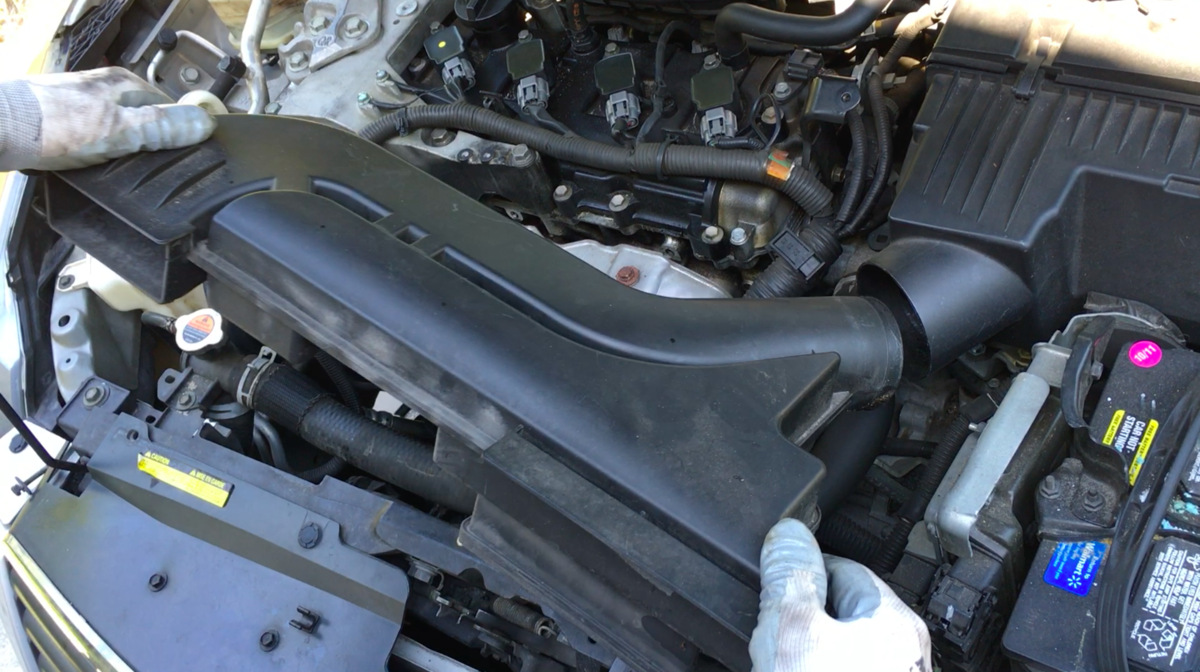
5. Disassemble and Remove the Air Handler: The air handler, which is typically located in the attic, basement, or utility room, needs to be disassembled and removed. This involves disconnecting electrical connections, removing ductwork, and carefully maneuvering the unit out of its location. It’s important to handle the air handler with care to avoid any damage to your home’s structure.
6. Clean the Area: Once the old air conditioning system has been completely removed, take the time to clean the area where it was installed. Remove any debris, dust, or remnants from the old system. This will provide a clean and prepared space for the installation of the new air conditioning system.
Remember that the removal of the old air conditioning system requires careful handling and knowledge of HVAC systems. It is best to leave this task to the professionals to ensure safety and proper disposal.
By following these steps to remove the old air conditioning system, you’re paving the way for a successful installation of the new system. With the old system out of the way, you’re one step closer to enjoying efficient and reliable cooling in your home.
Make sure to properly size your new central air conditioning system to ensure it is efficient and effective for your home’s size and layout. Consult with a professional to determine the right size for your replacement system.
Read more: How To Pick A Central Air Conditioning Unit
Step 5: Installing the New Air Conditioning System
With the old air conditioning system removed, it’s time to move on to the installation of the new system. Installing a new air conditioning system requires precision and expertise, which is why it’s crucial to rely on a professional HVAC contractor. Here’s what you can expect during the installation process:
1. Preparing the Installation Area: The HVAC contractor will prepare the area where the new air conditioning system will be installed. This may involve clearing any obstacles, ensuring proper ventilation, and making necessary adjustments to accommodate the new system.
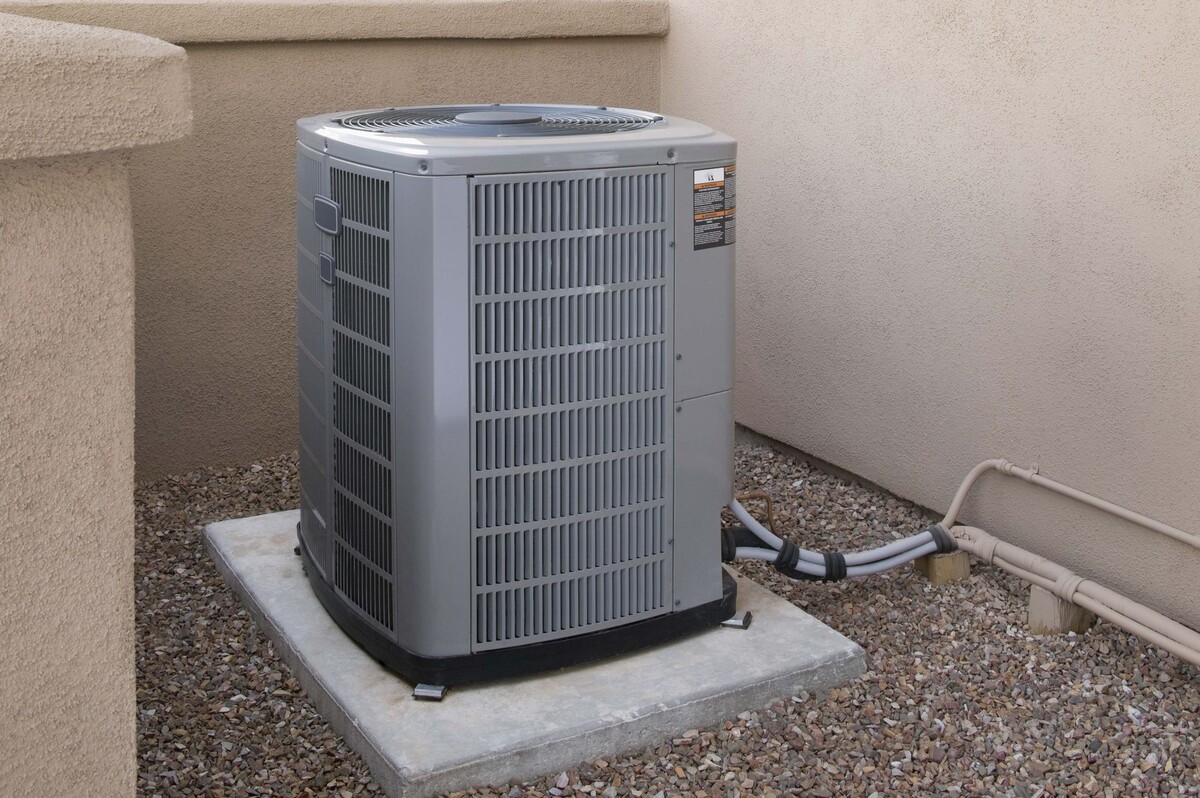
2. Placing the Outdoor Unit: The outdoor unit, also known as the condenser, will be placed in the designated location outside your home. It will be positioned on a stable base, such as a concrete pad, and secured properly to prevent any vibrations or movement.
3. Installing the Indoor Unit: The indoor unit, also known as the air handler, will be installed in the designated area inside your home. This can be in the attic, basement, utility room, or a dedicated closet. The HVAC contractor will ensure the unit is mounted securely and properly connected to the ductwork.
4. Connecting Electrical Wiring: The electrical wiring for the new system will be connected, ensuring the proper voltage and amperage requirements are met. This step is critical for the safe and efficient operation of the air conditioning system.
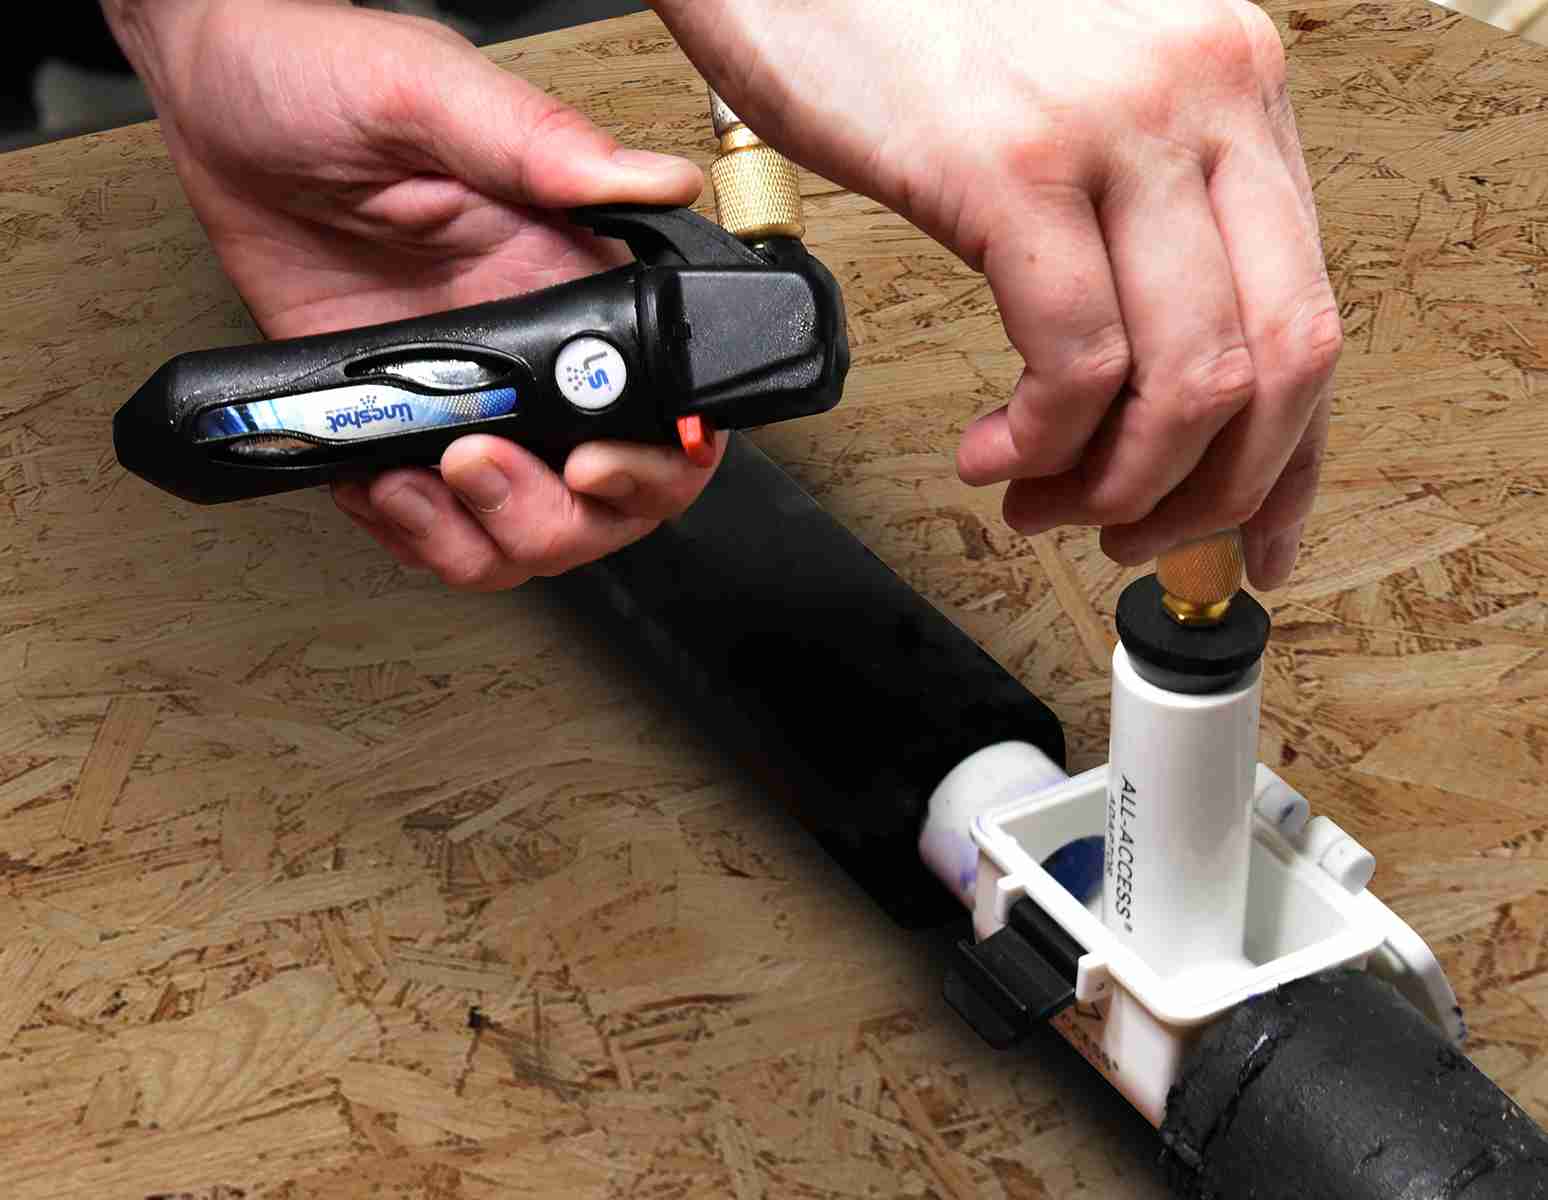
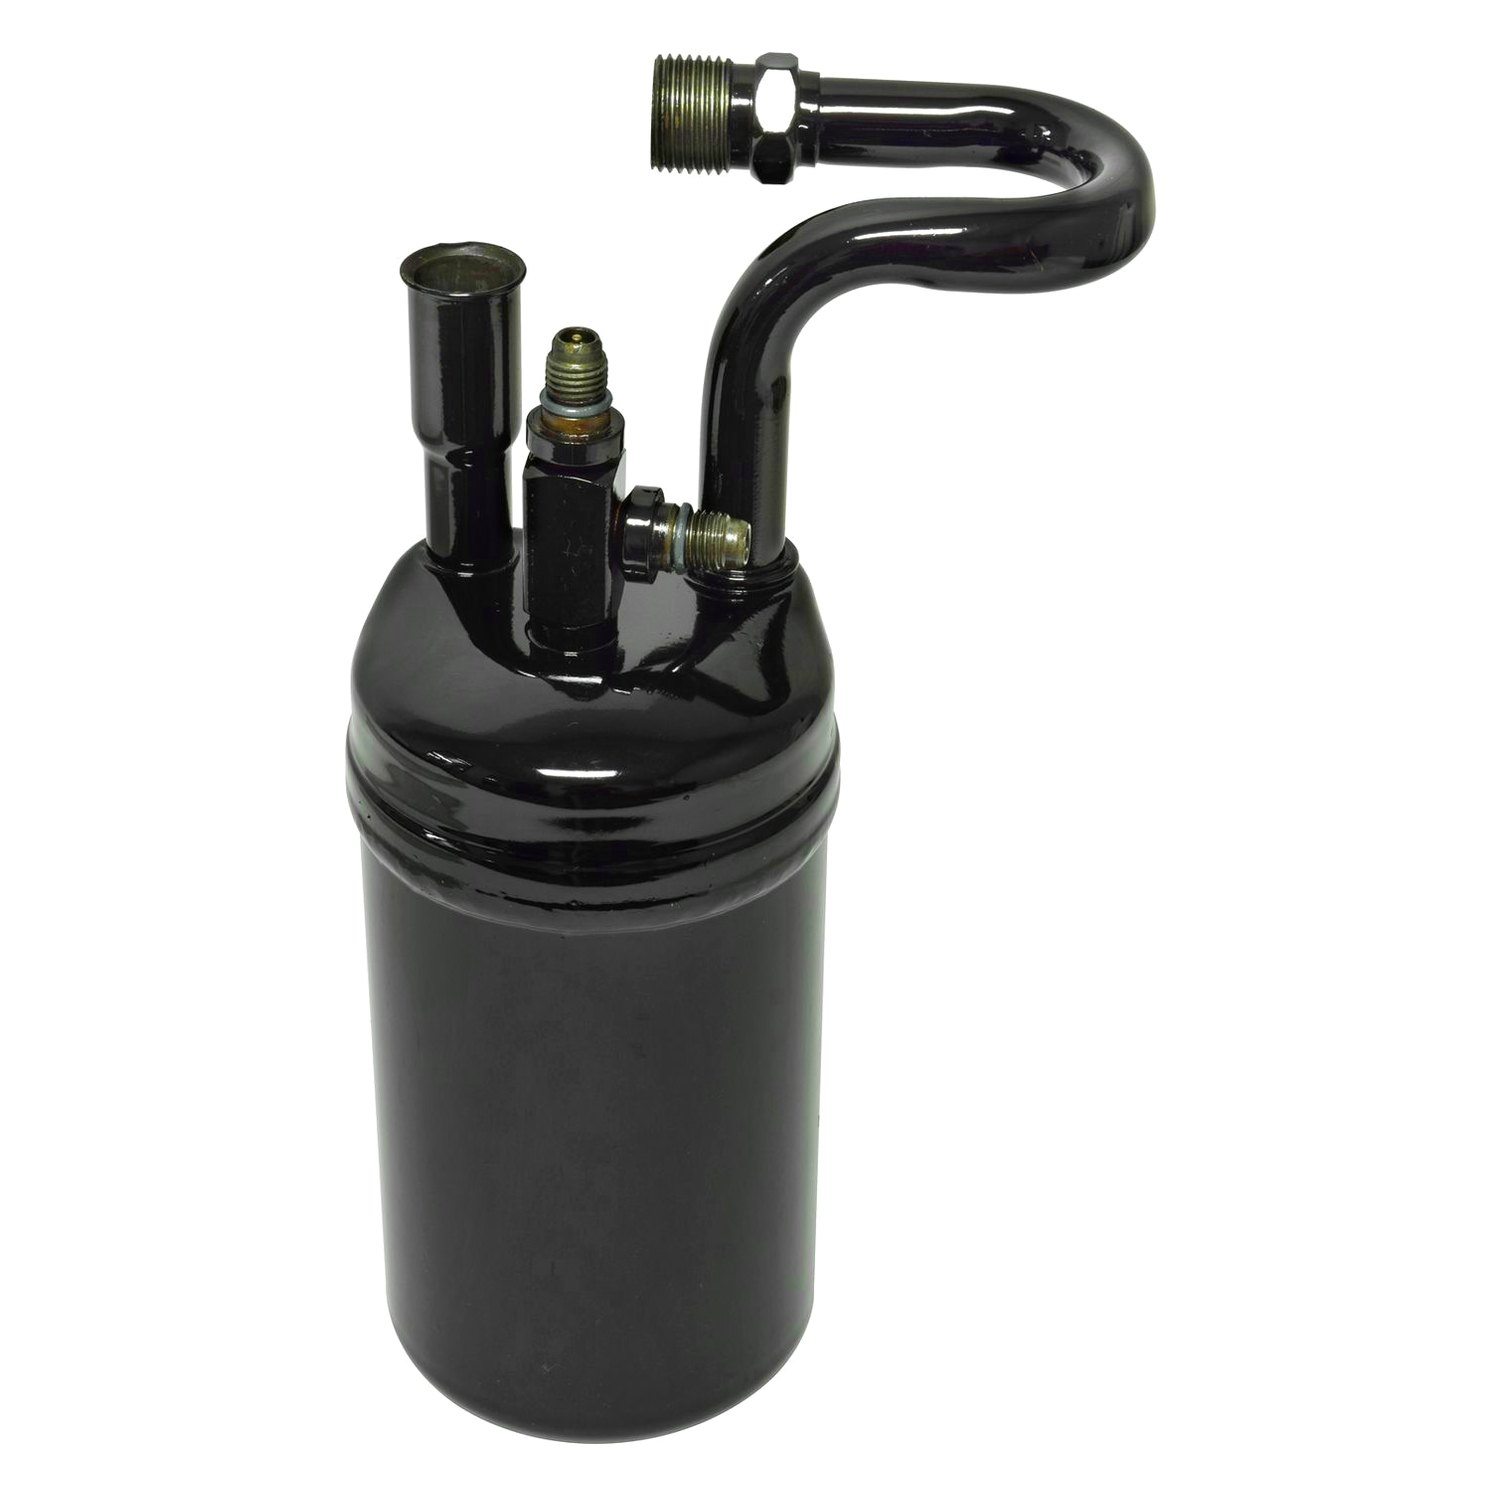
5. Installing Refrigerant lines: The HVAC contractor will install the refrigerant lines that connect the indoor and outdoor units. These lines are responsible for the circulation of refrigerant, which is essential for the cooling process. The lines will be properly insulated to prevent energy loss and maintain efficiency.
6. Connecting the Thermostat: The thermostat, which controls the temperature and settings of the air conditioning system, will be connected and installed. The HVAC contractor will ensure proper wiring and calibration for accurate temperature control.
7. Testing the System: Once the installation is complete, the HVAC contractor will thoroughly test the air conditioning system to ensure it is functioning properly. This includes checking for proper airflow, cooling capacity, and overall system performance. Any issues or adjustments will be addressed before finalizing the installation.
It’s important to note that each installation process may vary depending on the specific system and the layout of your home. A professional HVAC contractor will have the knowledge and experience to handle any unique requirements or challenges that may arise during the installation process.
By entrusting the installation to a professional, you can be confident that your new air conditioning system will be installed correctly and efficiently. This ensures optimal performance, energy efficiency, and long-lasting comfort for your home.
Step 6: Testing and Inspecting the System
After the installation of the new air conditioning system, thorough testing and inspection are crucial to ensure that everything is in proper working order. This step is essential to identify any potential issues or adjustments needed before finalizing the installation. Here’s what you can expect during the testing and inspection process:
1. Start-Up and Calibration: The HVAC contractor will start the air conditioning system and calibrate it to ensure it is operating at the intended specifications. This involves checking the airflow, temperature settings, and overall functionality of the system.
2. Temperature and Performance Testing: The contractor will measure the temperature output and the cooling capacity of the system throughout your home. This helps verify that the system is providing the desired level of cooling and ensuring consistent temperatures throughout different areas.
3. Airflow Inspection: The contractor will inspect the airflow throughout the ductwork to ensure it is balanced and unrestricted. They will check for any blockages, leaks, or inefficiencies that may impede the proper distribution of cool air throughout your home.
4. System Efficiency Evaluation: The energy efficiency of the system will be evaluated, taking into account factors such as the Seasonal Energy Efficiency Ratio (SEER) rating and any additional energy-saving features. This assessment ensures that you are getting the most efficient cooling system possible, which can lead to cost savings on your energy bills.
5. Refrigerant Level Check: The contractor will ensure that the refrigerant level is at the manufacturer’s recommended level. This is important for the proper functioning and efficiency of the system. If the refrigerant level is low, it may indicate a leak that needs to be addressed.
6. Safety Inspection: Safety features of the system, such as pressure controls and shut-off switches, will be inspected to ensure they are functioning correctly. This is important to prevent any potential accidents or malfunctions that could pose a risk to you or your home.
7. Completing Documentation: Once the testing and inspection are complete, the HVAC contractor will provide you with documentation detailing the results of the tests and any recommendations or adjustments made. This documentation serves as a record of the installation and can be referenced for future maintenance or warranty purposes.
It’s important to address any concerns or issues identified during the system testing and inspection process with your HVAC contractor. They can provide guidance and recommendations to resolve any issues or make necessary adjustments before finalizing the installation.
By thoroughly testing and inspecting the new air conditioning system, you can have confidence that it is functioning optimally and providing the desired level of comfort for your home. This step ensures that any potential issues are addressed early on, allowing you to fully enjoy the benefits of your new air conditioning system.
Step 7: Maintaining the New System for Optimal Performance
Now that your new air conditioning system is installed and working efficiently, it’s important to implement a regular maintenance routine to ensure its long-term performance and reliability. Proper maintenance plays a crucial role in maximizing energy efficiency, preventing breakdowns, and extending the lifespan of your system. Here are some key maintenance tips:
1. Regular Filter Replacement: The air filter in your air conditioning system can easily become clogged with dust, debris, and allergens. It’s important to replace the filter regularly, following the manufacturer’s recommendations. This will ensure proper airflow, improve indoor air quality, and prevent strain on the system.
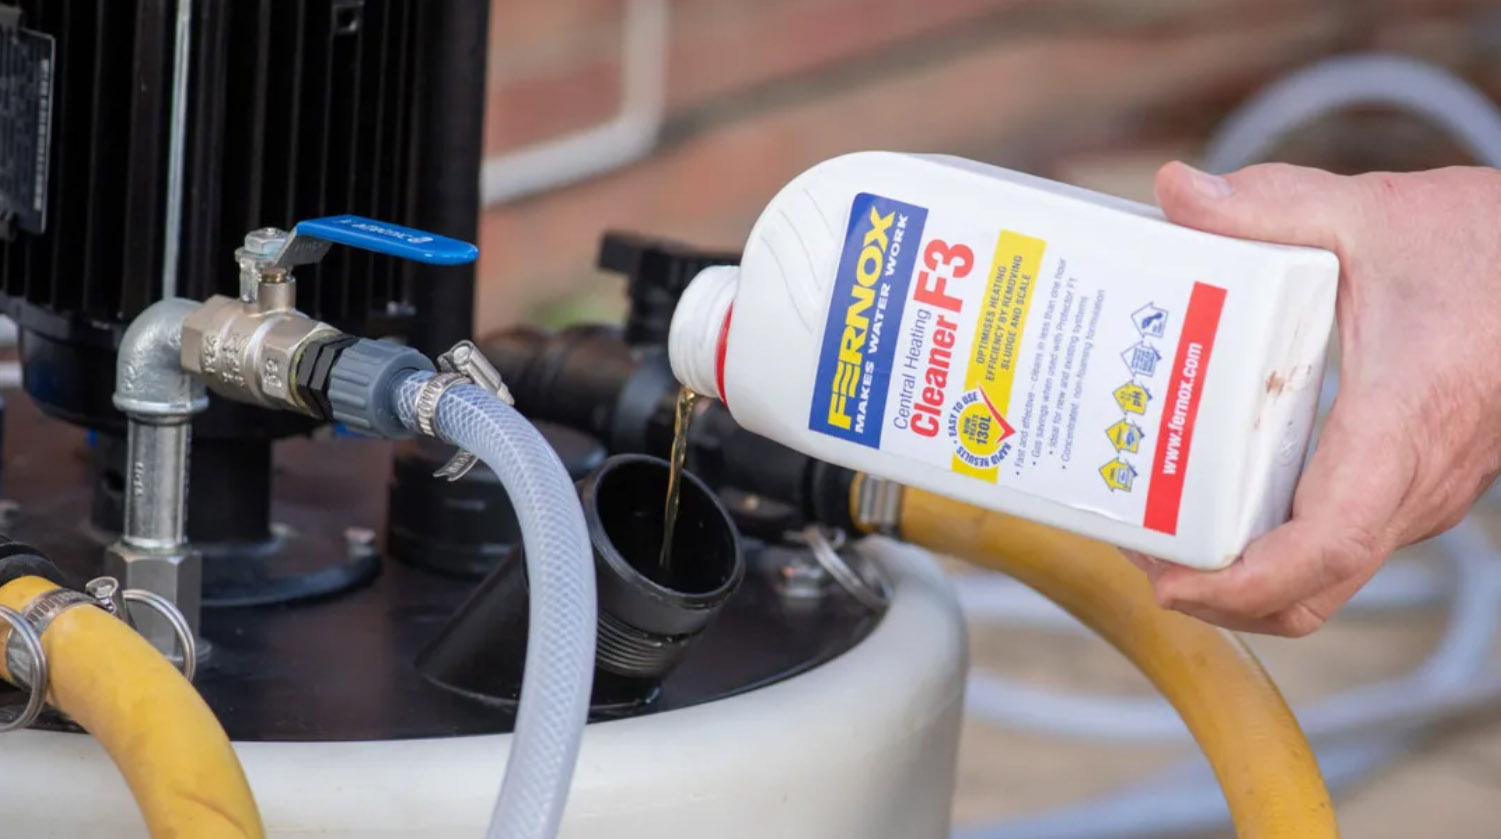
2. Cleaning the Outdoor Unit: The outdoor condenser unit can accumulate dirt, leaves, and debris, which can hinder the performance of the system. Regularly clean the unit by removing any debris and gently washing it with a hose. Be sure to turn off the power before cleaning and avoid excessive force that could damage the fins.
3. Clearing the Surrounding Area: Ensure that the area around the outdoor unit is clear and free from any obstructions. Trim back any vegetation or bushes that may impede airflow or hinder access for maintenance. This will promote proper airflow and prevent potential damage to the unit.
4. Checking for Refrigerant Leaks: Periodically check for any signs of refrigerant leaks, such as a decrease in cooling efficiency or noticeable ice buildup on the evaporator coil. If you suspect a leak, it’s important to contact a professional HVAC technician to address the issue and prevent further damage to the system.
5. Regular Professional Maintenance: Schedule annual maintenance visits with a professional HVAC contractor to thoroughly inspect and tune up your air conditioning system. During these visits, the technician will check electrical connections, lubricate moving parts, measure refrigerant levels, and perform other necessary tasks to ensure optimal performance and identify any potential issues before they escalate.
6. Maintain Proper Insulation: Proper insulation in your home plays a vital role in the efficiency of your air conditioning system. Ensure that your home is properly insulated, including windows, doors, and walls, to minimize heat transfer and maximize cooling efficiency. This can help reduce the workload on your air conditioning system and lower your energy consumption.
7. Use a Programmable Thermostat: Consider using a programmable thermostat to optimize the temperature settings of your air conditioning system. Programming your thermostat to adjust the temperature based on your daily schedule can help save energy and maintain a comfortable environment throughout the day.
8. Address Strange Noises or Odors: Pay attention to any unusual noises or odors coming from your air conditioning system. Strange noises, such as grinding or squealing, may indicate a mechanical issue that requires attention. Unusual odors could be a sign of mold, mildew, or other issues that need to be addressed promptly.
By following these maintenance tips and being proactive in taking care of your air conditioning system, you can ensure optimal performance, energy efficiency, and a longer lifespan for your new system. Regular maintenance will not only help you save money on energy bills but also provide you with a comfortable and reliable cooling experience for years to come.
Conclusion
Replacing an entire central air conditioning system may seem like a daunting task, but with the right knowledge and guidance, it can be a smooth and rewarding process. By following the steps outlined in this guide, you can ensure that your home is equipped with a new, efficient, and reliable air conditioning system.
Assessing the need for replacement is the first step, considering factors such as age, energy efficiency, performance, repair history, and changing cooling needs. Once you’ve determined the need for a new system, selecting the right air conditioning system is crucial. Factors to consider include size, energy efficiency, type, features, budget, and reputable brands. Hiring a professional HVAC contractor is essential for a successful installation. Look for credentials, experience, reputation, insurance, and clear communication.
The process continues with the proper removal of the old air conditioning system, ensuring safety and proper disposal of refrigerant. Then, the new system is installed, including placing outdoor and indoor units, connecting electrical wiring and refrigerant lines, and installing the thermostat. Thorough testing and inspection follow to ensure the system is functioning at its best.
Maintaining the new system is key for optimal performance and longevity. Regular tasks such as filter replacement, cleaning the outdoor unit, clearing the surrounding area, checking for leaks, and scheduling professional maintenance will keep the system running smoothly. Proper insulation and using a programmable thermostat can also enhance energy efficiency. Address any unusual noises or odors promptly to prevent further issues.
In conclusion, by following these steps and maintaining your new air conditioning system, you can enjoy years of efficient and reliable cooling in your home. Remember to consult with a professional HVAC contractor for guidance and assistance throughout the process. Stay cool and comfortable in the hot summer months, knowing that you have taken the necessary steps to ensure a reliable and efficient central air conditioning system.
Frequently Asked Questions about How To Replace An Entire Central Air Conditioning System
Was this page helpful?
At Storables.com, we guarantee accurate and reliable information. Our content, validated by Expert Board Contributors, is crafted following stringent Editorial Policies. We're committed to providing you with well-researched, expert-backed insights for all your informational needs.