Home>Home Maintenance>How To Clean A Window Air Conditioning Unit
Home Maintenance
How To Clean A Window Air Conditioning Unit
Modified: March 6, 2024
Learn how to clean a window air conditioning unit with this comprehensive guide on home maintenance. Keep your AC unit running efficiently and your home cool all summer long.
(Many of the links in this article redirect to a specific reviewed product. Your purchase of these products through affiliate links helps to generate commission for Storables.com, at no extra cost. Learn more)
Introduction
Welcome to our comprehensive guide on how to clean a window air conditioning unit. As summer approaches and temperatures rise, it’s crucial to ensure that your air conditioner is working efficiently to keep your home cool and comfortable. Regular maintenance and cleaning of your window AC unit not only prolong its lifespan but also enhance its performance and energy efficiency.
Cleaning a window air conditioner may seem like a daunting task, but with the right tools and knowledge, it can be a straightforward and rewarding process. In this article, we will take you through a step-by-step guide on how to clean your window AC unit, from turning off the power to reassembling it with a fresh and sparkling appearance.
By following these cleaning steps, you will not only improve the air quality in your home but also help your air conditioner operate more efficiently, ultimately saving you money on energy bills. So, let’s get started and bring back the cool breeze into your space!
Key Takeaways:
- Regular cleaning of your window air conditioning unit improves its efficiency, extends its lifespan, and ensures a healthier and more comfortable living environment.
- By following the step-by-step guide, you can confidently clean and maintain your window AC unit, enhancing its performance and providing cool, refreshing air throughout the hot summer months.
Read more: How To Clean Air Conditioning Coils
Step 1: Turn off the Power
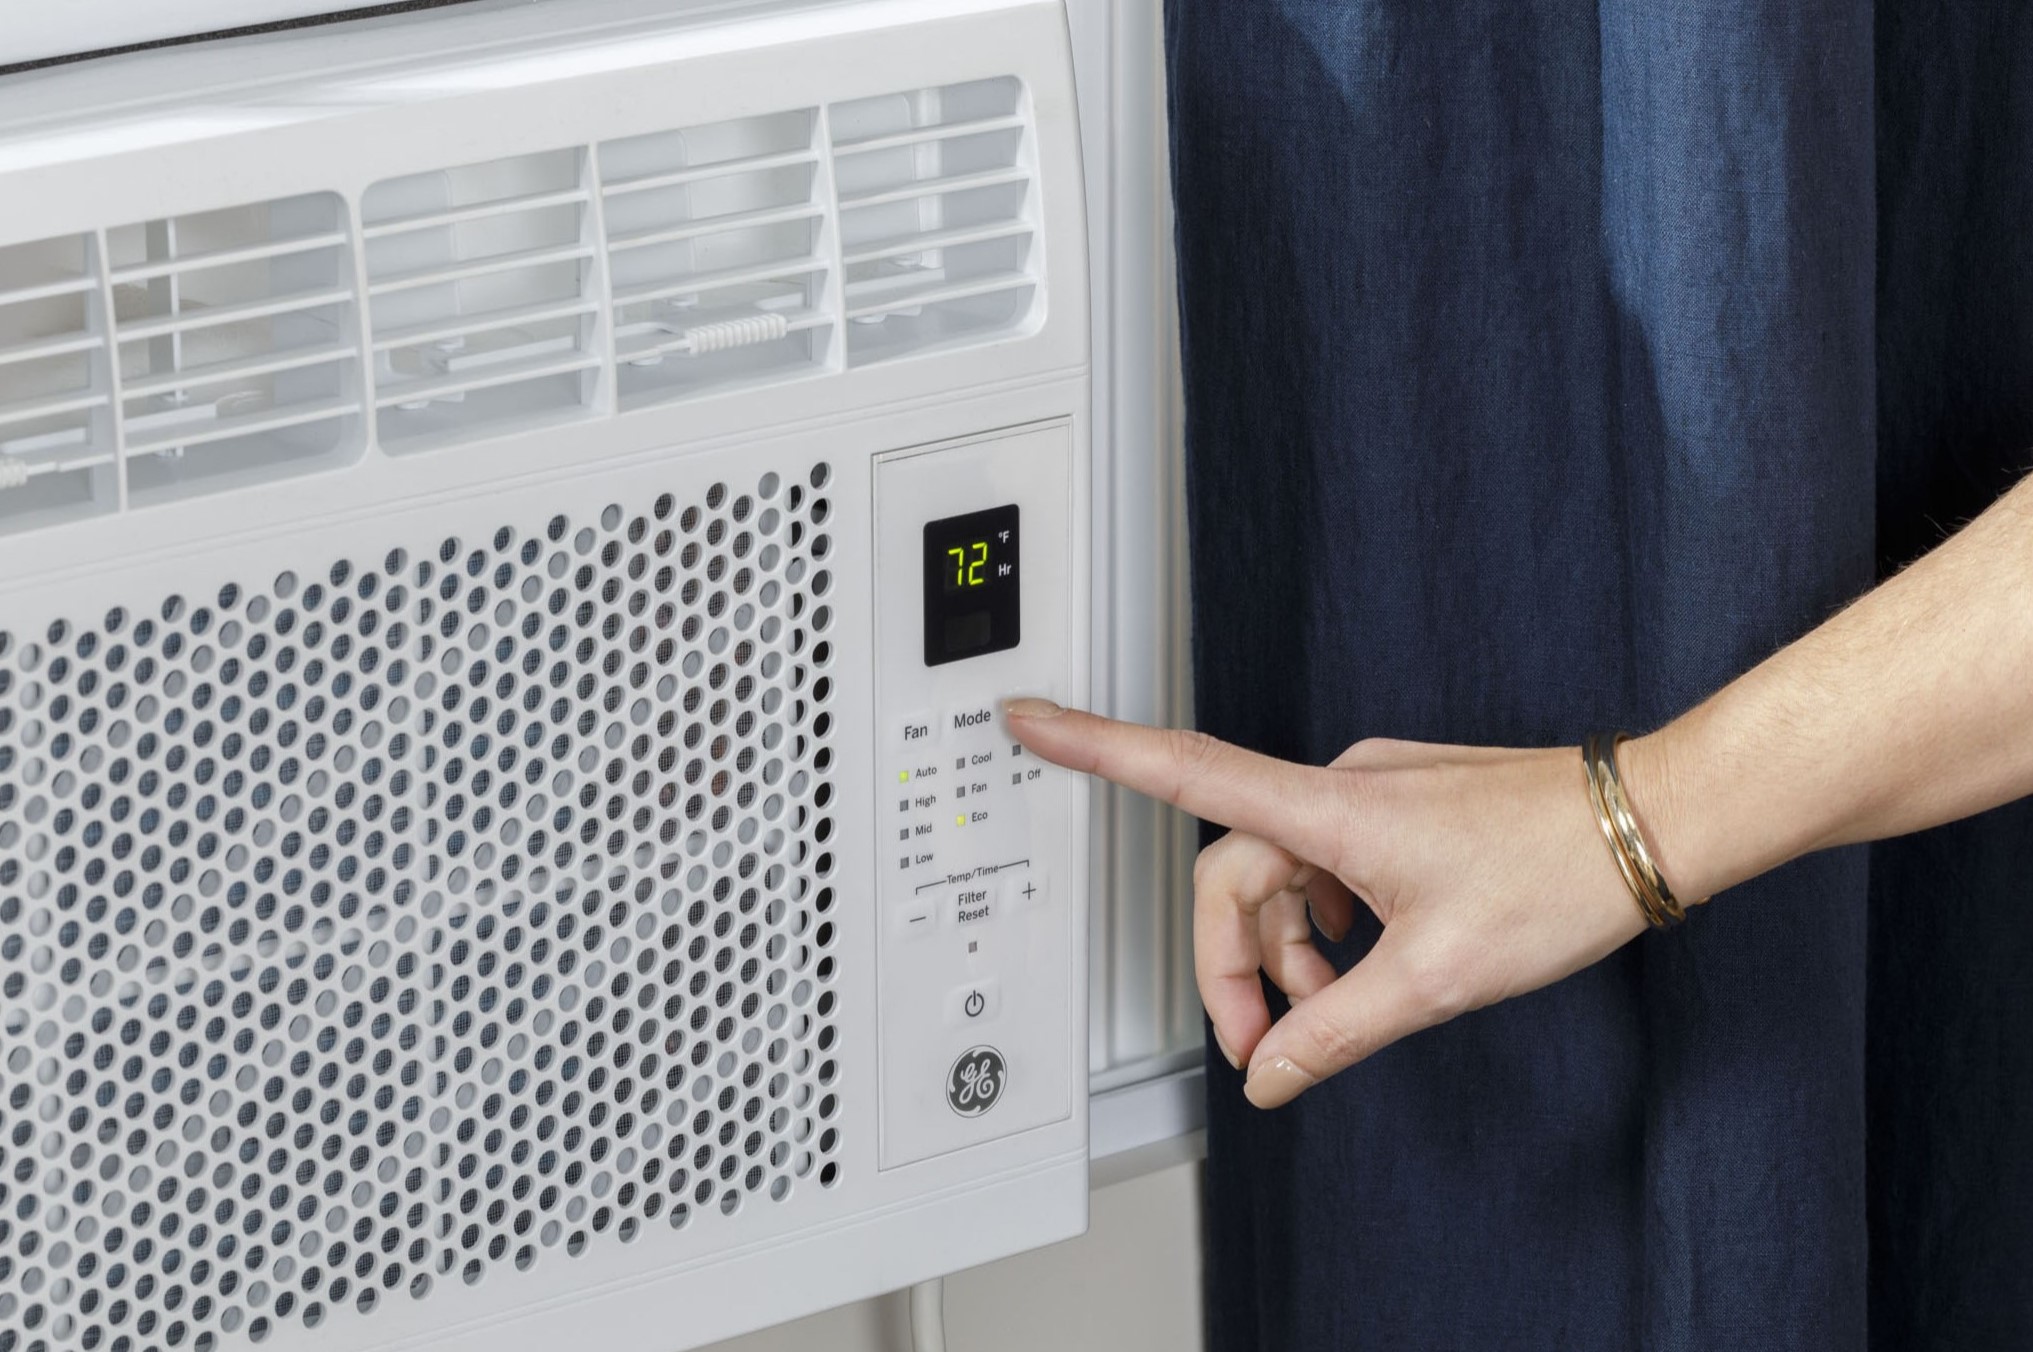
Before you begin cleaning your window air conditioning unit, it is crucial to ensure your safety by turning off the power. Locate the power source for the unit, which is typically a circuit breaker or an isolator switch. Flip the switch to the “off” position or turn off the corresponding breaker to cut off the power supply. This step is crucial to prevent any mishaps or accidents while cleaning the unit.
Once you have turned off the power, it’s a good idea to unplug the AC unit from the electrical outlet for added safety. This will ensure that there is no chance of electricity flowing into the unit while you are cleaning it.
Remember, safety should always be your top priority when working with electrical appliances, so be sure to take these precautions before moving on to the next steps.
Now that you have turned off the power and unplugged the unit, you can proceed with confidence to the next steps of cleaning your window air conditioning unit.
Step 2: Remove the Front Cover
Once the power is turned off, it’s time to remove the front cover of your window air conditioning unit. The front cover is typically held in place by screws, latches, or clips. Refer to the manufacturer’s manual or instructions to determine the exact method of removing the cover for your specific model.
Use a screwdriver or the appropriate tool to remove any screws securing the front cover. If your unit has latches or clips, carefully release them to detach the cover. Be gentle to avoid any damage to the unit or cover.
Once the screws or latches are removed, carefully lift or slide the front cover away from the unit. Take note of any tabs or hooks that may be holding the cover in place and ensure they are properly disengaged before attempting to remove it.
As you remove the front cover, be mindful of any wiring or connections that may be attached to it. You may need to disconnect these wires or connections to fully remove the cover. Remember to take note of how they are connected or take pictures for reference before disconnecting anything.
Set the front cover aside in a safe location where it won’t get damaged. Now that you have successfully removed the front cover, you can proceed to the next step of cleaning your window air conditioning unit.
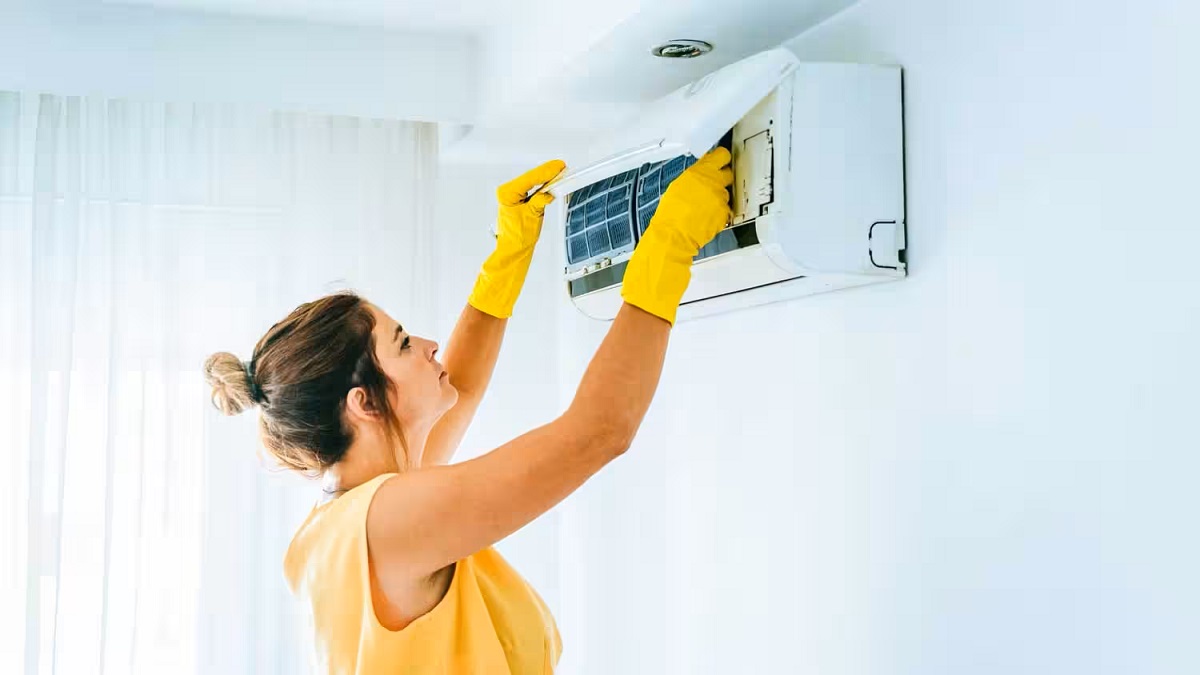
Step 3: Clean or Replace the Filter
Now that you have removed the front cover, it’s time to focus on the filter of your window air conditioning unit. The filter plays a critical role in catching dust, dirt, and other particles from the air, ensuring that the air circulating in your home is clean.
Check the condition of the filter and determine whether it needs cleaning or replacement. If the filter is reusable, you can clean it by following these steps:
- First, gently remove the filter from its housing. Pay attention to how it was positioned as you will need to reassemble it correctly later.
- Inspect the filter for any visible dirt, debris, or clogs. If it appears dirty or dusty, it’s time for a thorough cleaning.
- Using a vacuum cleaner with a brush attachment or a soft brush, gently remove the loose dirt and debris from the filter. Be careful not to damage or tear the filter while cleaning.
- Next, prepare a solution of warm water and mild detergent. Submerge the filter in this mixture and allow it to soak for about 15-20 minutes. This will help to loosen and dissolve any stubborn dirt or grime.
- Gently scrub the filter with a soft brush, focusing on the areas with visible dirt or stains. Take your time and be thorough, ensuring that you clean all sides of the filter.
- Rinse the filter thoroughly with clean water to remove any remaining detergent residue.
- Allow the filter to air dry completely before reinstalling it. Make sure it is completely dry to prevent the growth of mold or mildew.
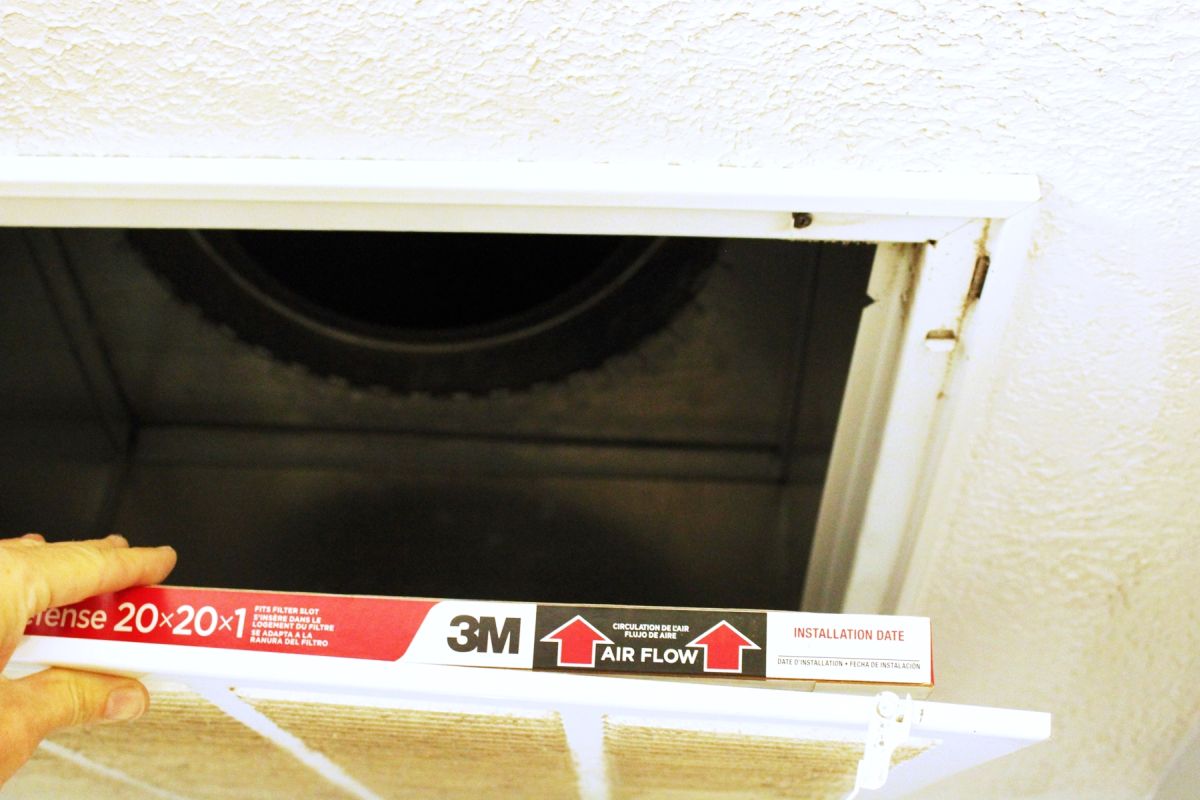
If the filter is not reusable or if it appears significantly damaged, it’s best to replace it with a new one. Refer to the manufacturer’s instructions or consult a local hardware store to find the appropriate replacement filter for your window AC unit.
Remember, a clean and properly functioning filter is essential for efficient airflow and improved air quality. After cleaning or replacing the filter, you can move on to the next step of cleaning your window air conditioning unit.
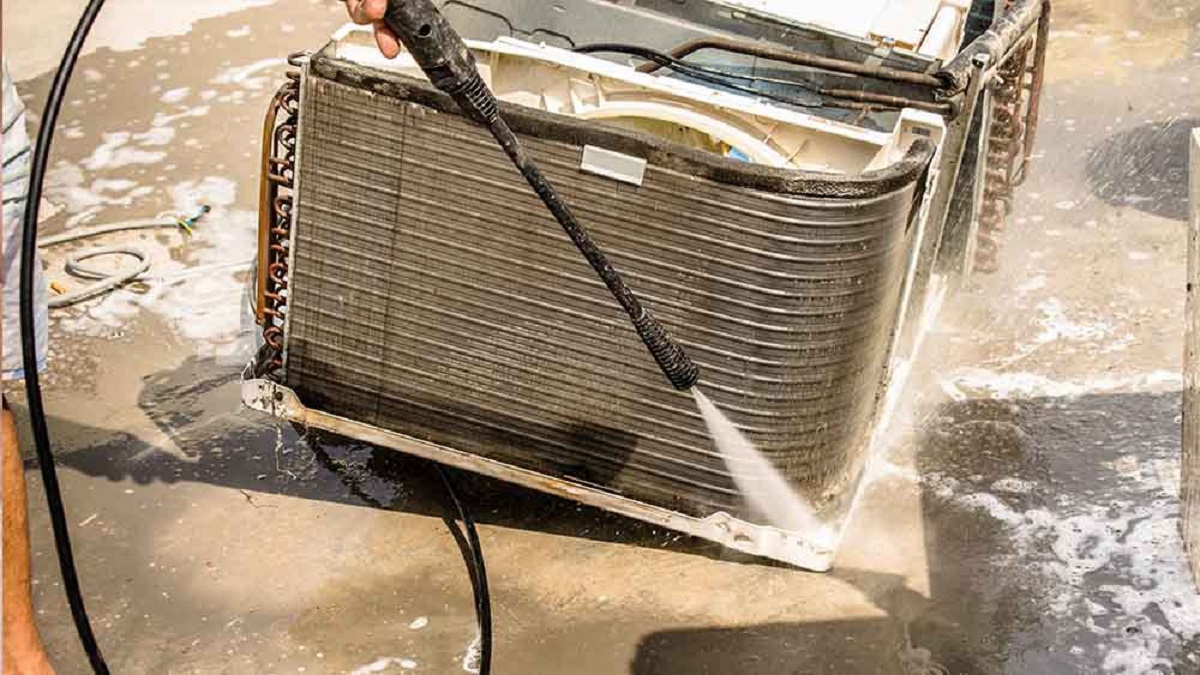
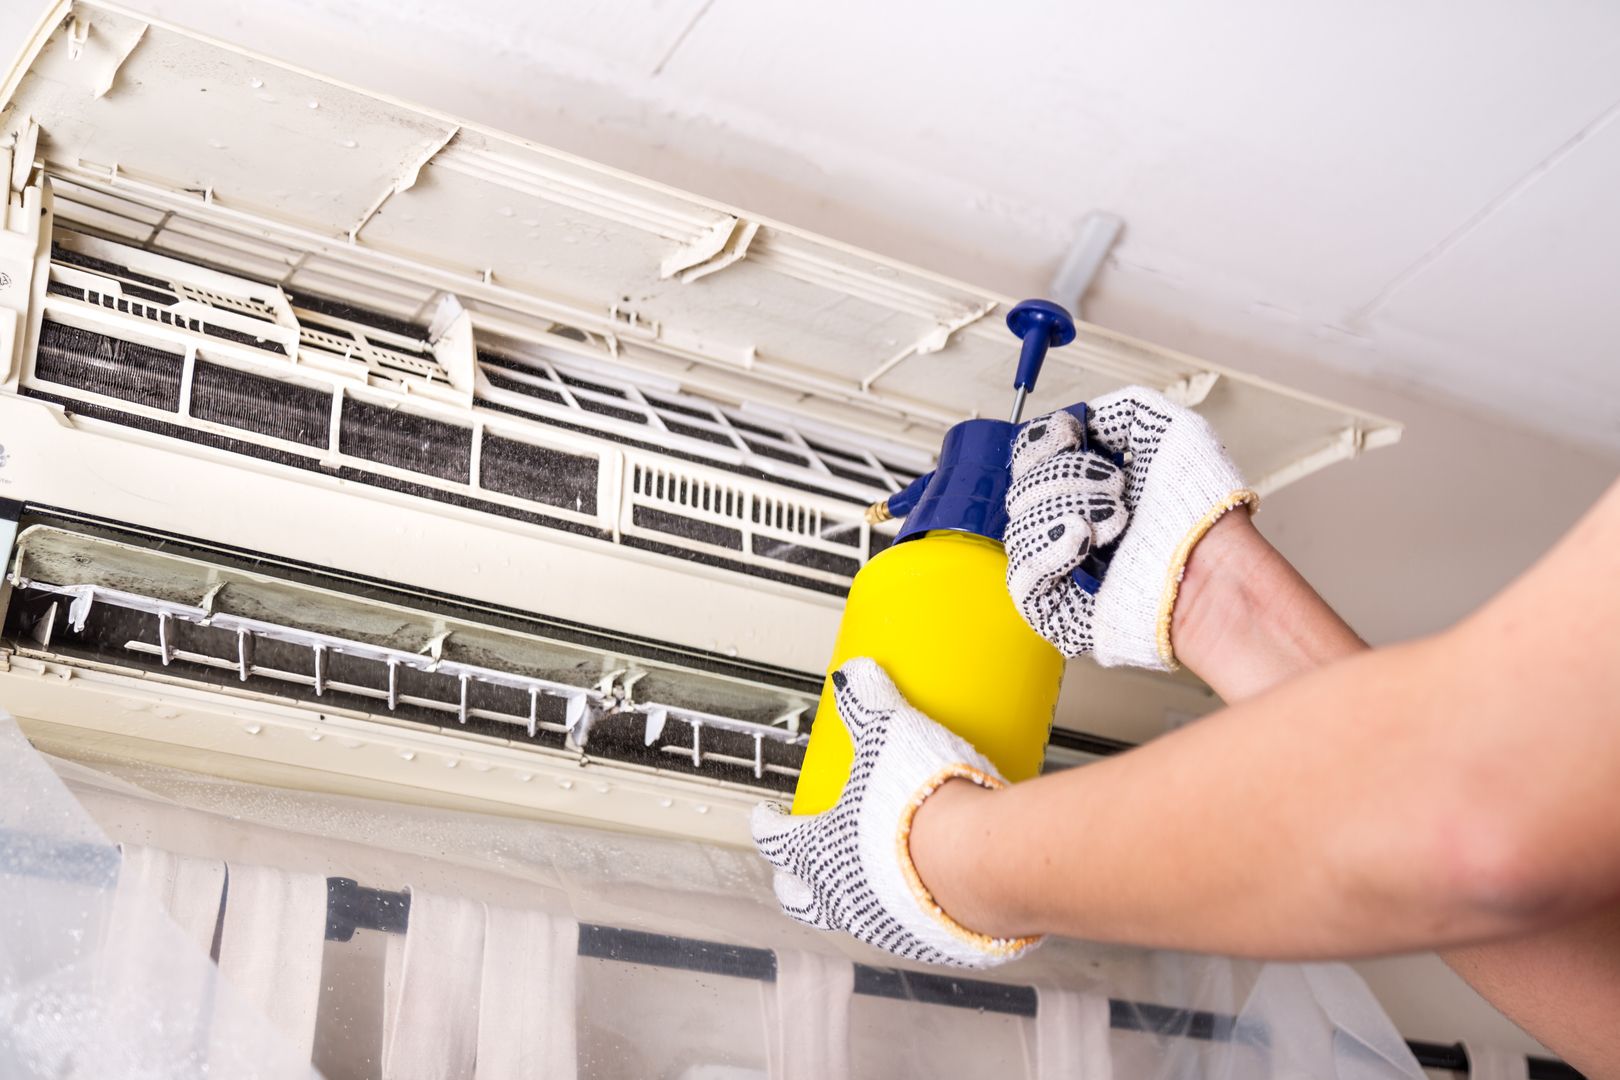
Step 4: Clean the Coils
After taking care of the filter, it’s time to clean the coils of your window air conditioning unit. The coils, both the evaporator coils and the condenser coils, play a crucial role in the cooling process. Over time, they can become dirty and covered in dust, reducing the efficiency of the unit.
Here’s how to clean the coils:
- Locate the evaporator coils, which are usually found behind the front cover or inside the unit. They may be visible once the filter has been removed, so take caution not to touch the coils with bare hands.
- Inspect the coils for any visible dirt, dust, or debris. If there is a significant build-up, it’s time to clean them.
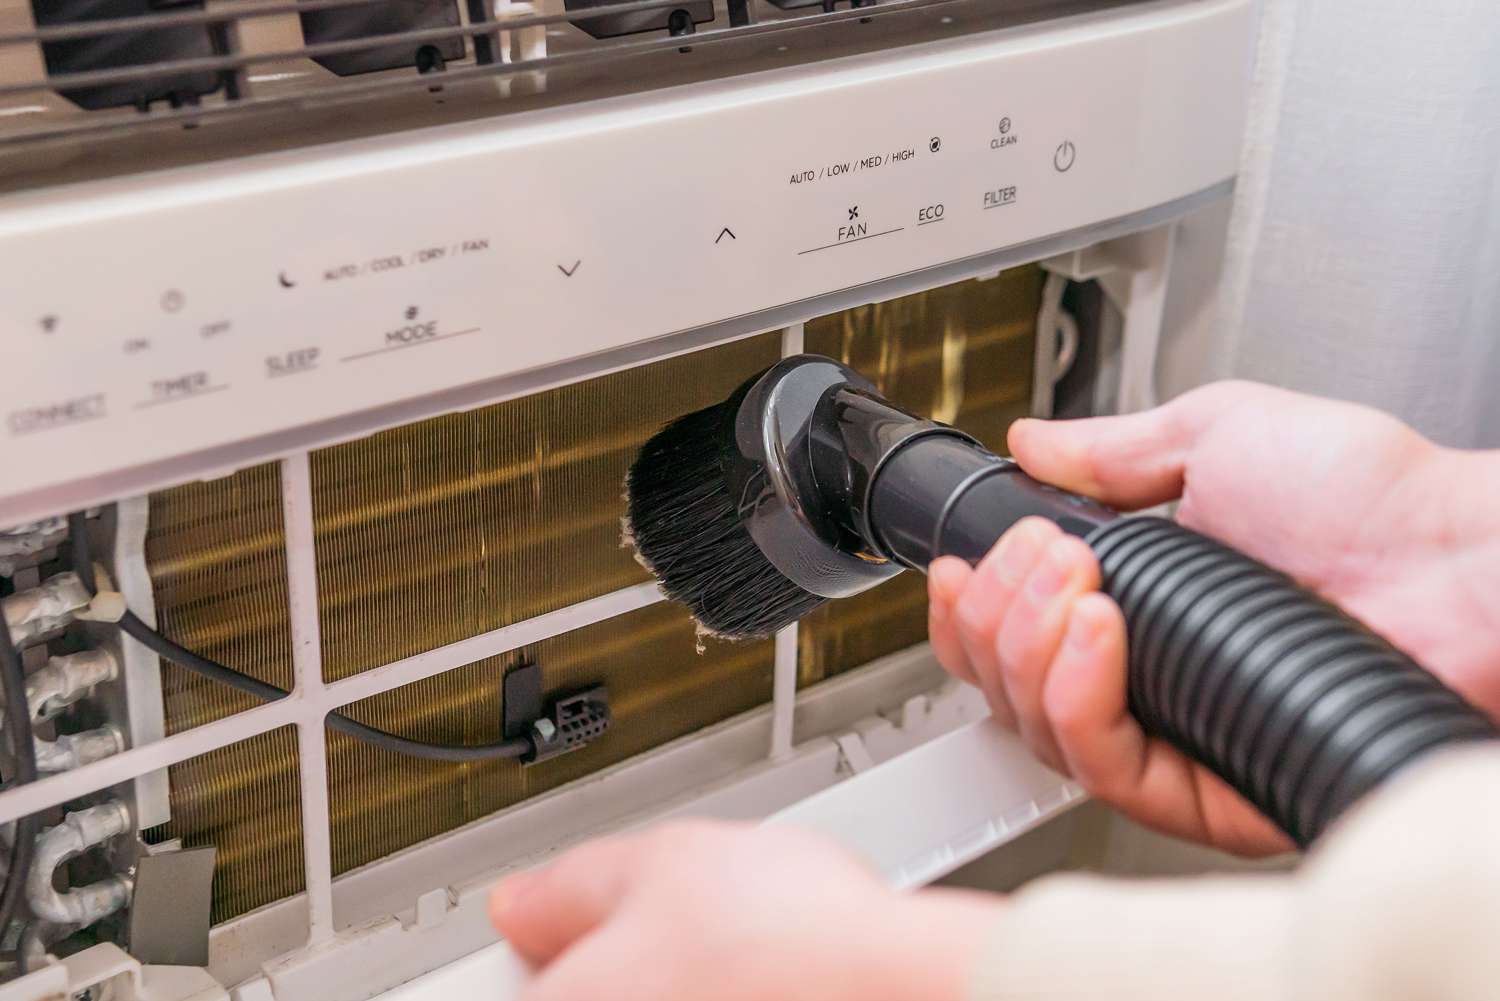
- Take a soft brush or a vacuum cleaner with a brush attachment and carefully remove any loose dirt or dust from the coils. Be gentle to avoid damaging the delicate fins on the coils.
- If the coils are heavily soiled, you can prepare a mixture of warm water and a mild detergent. Dampen a soft cloth or sponge with the solution and gently wipe down the coils, ensuring that you cover all areas evenly.
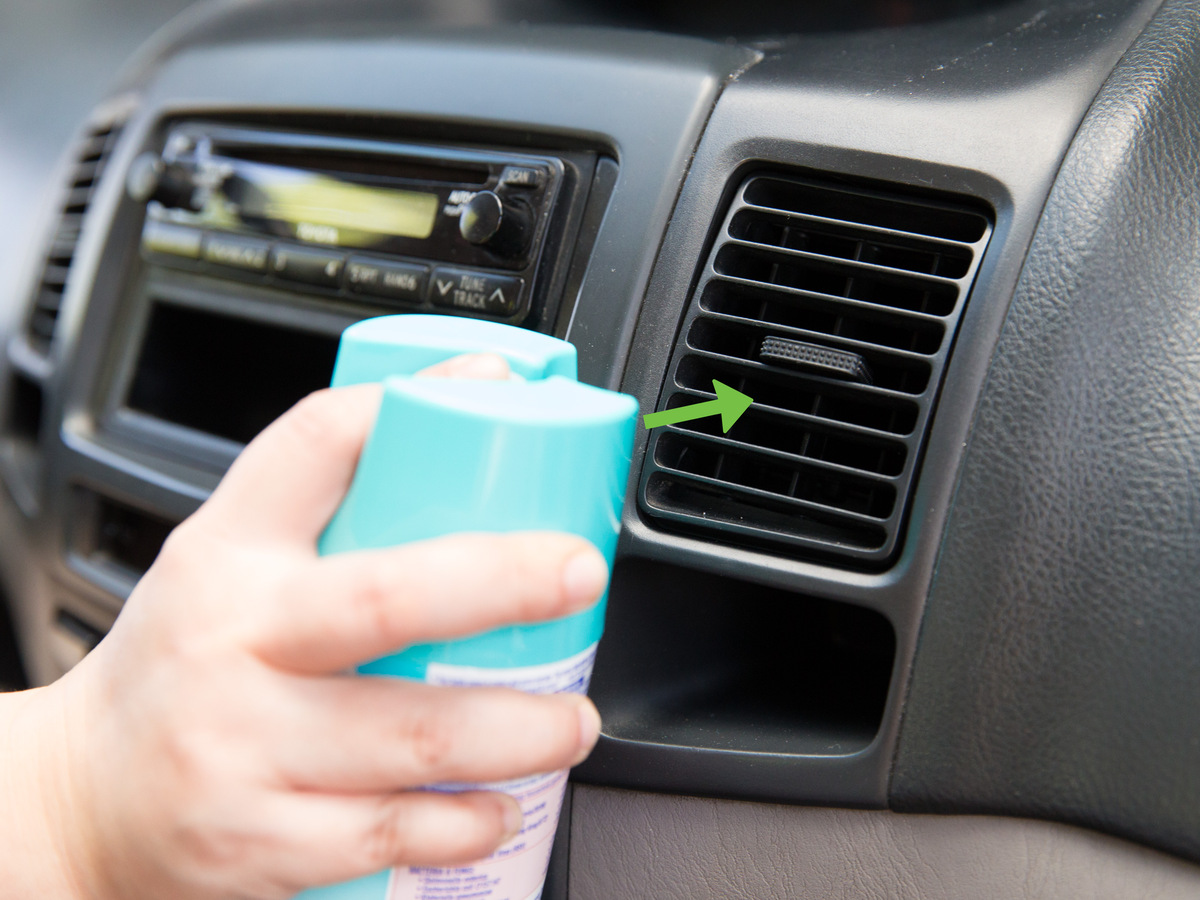
- Alternatively, you can use a specialized coil cleaner specifically designed for air conditioning units. Follow the instructions on the cleaner’s packaging, and make sure to use it in a well-ventilated area.
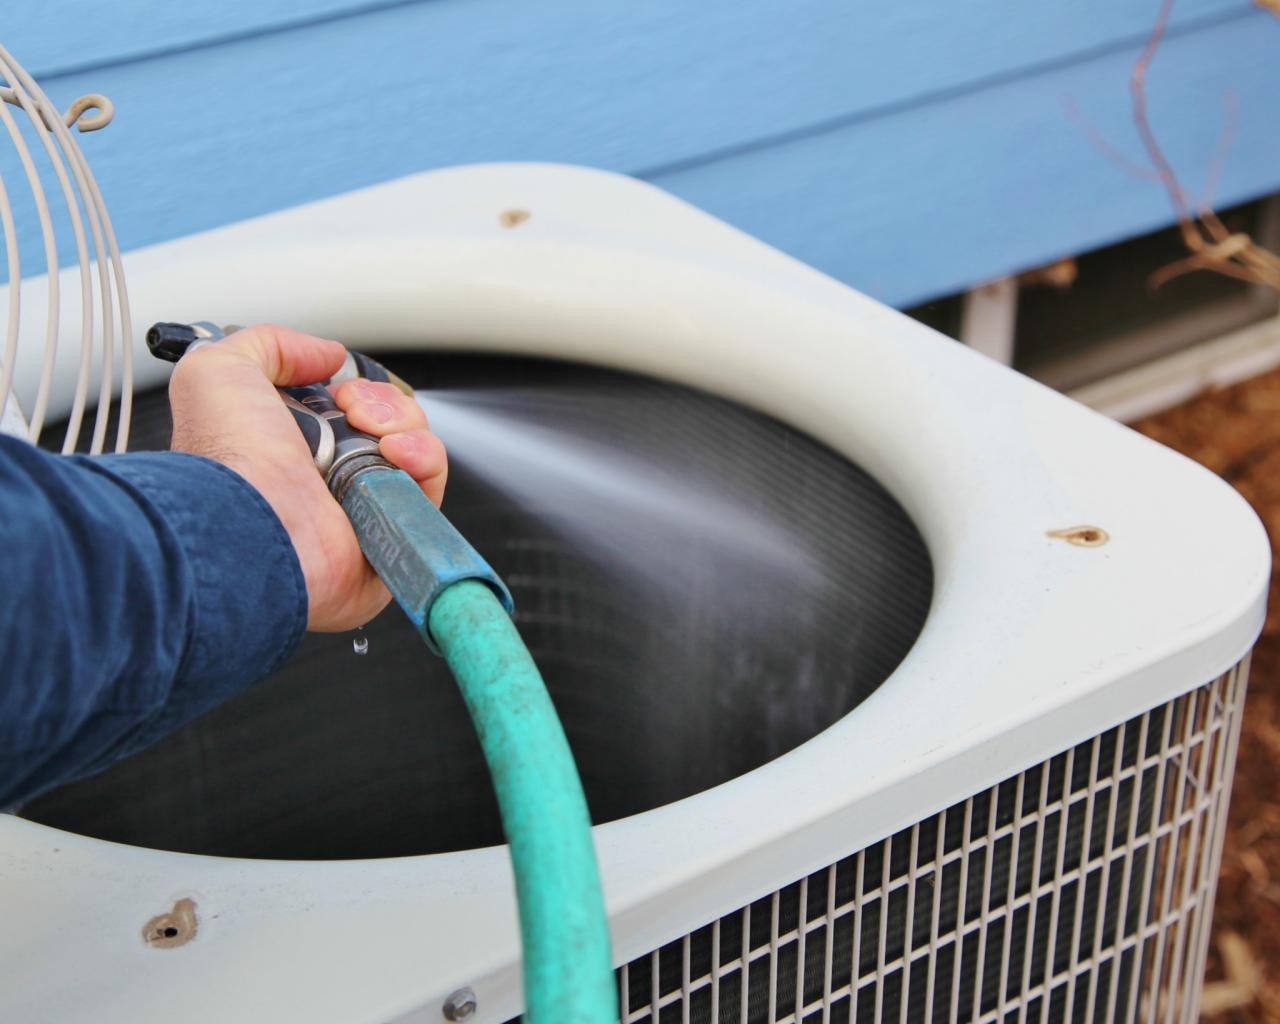
- Rinse the coils with clean water to remove any detergent residue or cleaner. You can use a spray bottle or a gentle stream of water from a hose nozzle.
- Allow the coils to dry completely before reassembling the unit. This may take several hours, so be patient.
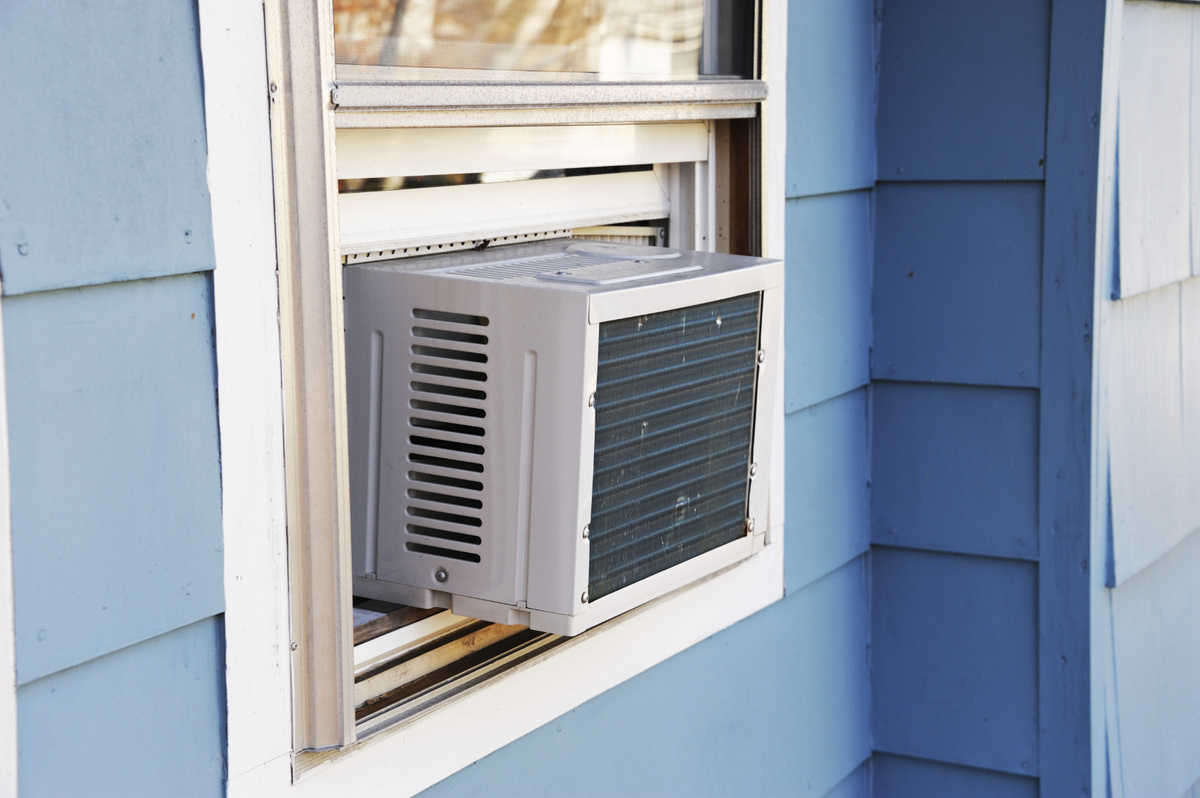
In addition to cleaning the evaporator coils, it’s important to clean the condenser coils, which are located on the exterior of the unit. Use a soft brush or a vacuum cleaner to remove any debris or dirt from the condenser coils. Be sure to clean both sides of the coils thoroughly.
By cleaning the coils, you’ll ensure better airflow and improve the cooling efficiency of your window air conditioning unit. Once the coils are clean, you can move on to the next step in the cleaning process.
Regularly clean or replace the air filter in your window air conditioning unit to ensure it runs efficiently and circulates clean air. This will also help prevent mold and bacteria buildup.
Read more: How To Clean Air Conditioning Filter
Step 5: Clean the Drainage Hole and Tray
As you continue to clean your window air conditioning unit, it’s important not to overlook the drainage hole and tray. Over time, these areas can accumulate dirt, debris, and even mold, which can hinder proper drainage and cause water leakage.
Here are the steps to clean the drainage hole and tray:
- Locate the drainage hole, which is usually found at the back of the unit or at the bottom. This hole allows the condensation to drain away.
- Inspect the drainage hole for any blockages or build-up. Use a soft brush or a toothbrush to gently remove any dirt or debris that may be clogging the hole. Be careful not to push the debris further into the unit.
- Next, remove the drainage tray, which is located beneath the unit. This tray collects the condensation that drips from the evaporator coils.
- Empty any standing water in the tray and dispose of it properly.
- Clean the tray by washing it with warm, soapy water. Use a non-abrasive sponge or cloth to remove any dirt or residue.
- Rinse the tray thoroughly with clean water to remove any soap or cleaning solution.
- Allow the tray to dry completely before placing it back into the unit.
Regularly cleaning the drainage hole and tray is essential to prevent water overflow and potential damage to your window air conditioning unit. It also helps to maintain a healthy and mold-free environment.
Once the drainage hole and tray are cleaned and dried, you can proceed to the next step in the cleaning process.
Step 6: Clean the Fan Blades
Now it’s time to clean the fan blades of your window air conditioning unit. The fan blades can accumulate dust and dirt over time, which can reduce the efficiency of the fan and restrict the airflow.
Follow these steps to effectively clean the fan blades:
- Locate the fan blades, which are usually visible once the front cover has been removed.
- Use a soft brush, such as a paintbrush or a toothbrush, to gently remove any loose dirt or dust from the blades. Be cautious not to bend or damage the blades while cleaning.
- If the fan blades are heavily soiled, you can dampen a cloth or sponge with a mild detergent solution and gently wipe down the blades. Make sure to cover all sides of the blades evenly.
- Rinse the fan blades with clean water to remove any detergent residue or cleaner. You can use a spray bottle or a gentle stream of water from a hose nozzle.
- Allow the fan blades to dry completely before reassembling the unit. This may take some time, so ensure they are fully dry to prevent any damage or corrosion.
By cleaning the fan blades, you’ll help to ensure proper airflow and improve the overall performance of your window air conditioning unit. Removing the dust and dirt from the fan blades will also help to reduce noise and vibrations during operation.
Once the fan blades are clean and dry, you can move on to the next step in the cleaning process.
Step 7: Clean the Exterior
To complete the cleaning process of your window air conditioning unit, it’s important to give attention to the exterior. Over time, dust, dirt, and debris can accumulate on the outer surfaces of the unit, making it appear dull and reducing its aesthetic appeal.
Follow these steps to effectively clean the exterior of your window AC unit:
- Prepare a mild detergent solution by mixing warm water with a gentle household cleaner.
- Dampen a soft cloth or sponge with the detergent solution and gently wipe down the exterior surfaces of the unit. Pay attention to any areas with visible dirt or stains.
- For stubborn dirt or grime, you can use a non-abrasive brush or a toothbrush to scrub the affected areas gently.
- Rinse the exterior surfaces with clean water to remove any detergent residue.
- Wipe down the unit with a clean, dry cloth to ensure it is completely dry. This is especially important for any metal or electrical components to prevent corrosion or damage.
- Inspect the vents or louvers on the unit and remove any dirt or debris that may be blocking the airflow. You can use a soft brush or a vacuum cleaner with a brush attachment for this purpose.
Cleaning the exterior not only improves the appearance of your window air conditioning unit but also helps to maintain its functionality. By removing dirt and debris from the exterior, you enhance the airflow and ensure efficient cooling performance.
Once the exterior is clean and dry, you are almost done with the cleaning process. Follow the next step to reassemble and restore power to your window AC unit.
Step 8: Reassemble and Restore Power
Now that you have completed the cleaning process of your window air conditioning unit, it’s time to reassemble the components and restore power to the unit. Follow these final steps to ensure everything is in place and the unit is ready to provide cool, refreshing air:
- Begin by reattaching the front cover of the unit. Line up the tabs or hooks and carefully slide or lower the cover back into position. Make sure it is properly aligned with the unit.
- Secure the front cover by reinserting the screws, engaging the latches, or clipping it back into place, depending on the type of fastening mechanism used. Tighten the screws securely, but be careful not to overtighten and damage the cover or unit.
- If any wires or connections were disconnected during the cleaning process, carefully reconnect them following the steps you noted earlier or referencing any pictures you took.
- Plug the unit back into the electrical outlet and ensure that the power supply is restored. If you disconnected the unit from a circuit breaker, flip the switch back on to provide power to the unit.
- Allow the unit to run for a few minutes to ensure everything is working properly. Listen for any strange noises or vibrations that may indicate a problem.
- Check the airflow from the unit and feel for the cool air. If necessary, adjust the thermostat settings or fan speed as desired.
Congratulations! You have successfully cleaned your window air conditioning unit and reassembled it. By following these steps, you have not only ensured better efficiency and performance but also extended the lifespan of your unit.
Remember, regular cleaning and maintenance are key to keeping your window AC unit in optimal condition. It’s recommended to clean the unit at least once a year, preferably before the start of the cooling season. This will help maintain consistent performance and ensure a comfortable environment in your home.
Enjoy the cool comfort provided by your clean window air conditioning unit! If you have any specific questions or concerns, refer to the manufacturer’s manual or consult a professional for further guidance.
Read more: How To Mount A Window Air Conditioning Unit
Conclusion
Cleaning your window air conditioning unit is essential for maintaining its performance, efficiency, and longevity. By following the step-by-step guide outlined in this article, you can ensure that your unit remains in optimal condition and provides you with cool and refreshing air throughout the hot summer months.
Starting with turning off the power and removing the front cover, you learned how to clean or replace the filter to improve air quality. Cleaning the coils helps the unit operate more efficiently, while clearing the drainage hole and tray prevents water leakage and mold growth.
Additionally, cleaning the fan blades enhances airflow and reduces noise, and giving attention to the exterior ensures an attractive appearance. Finally, reassembling the unit and restoring power completes the process.
Regular maintenance and cleaning of your window air conditioning unit not only improve its performance and efficiency but also contribute to a healthier and more comfortable living environment. By removing accumulated dirt, dust, and debris, you create an optimal airflow and prevent potential breakdowns.
Remember to consult the manufacturer’s manual for specific instructions and recommendations for your unit. If you are unsure or uncomfortable performing the cleaning yourself, it is always a good idea to seek the assistance of a professional technician.
Now that you have the knowledge and tools to clean your window air conditioning unit, take the time to give it the care it deserves. Enjoy the cool and refreshing breeze knowing that your unit is clean and ready to provide you with comfort and relief from the summer heat.
Frequently Asked Questions about How To Clean A Window Air Conditioning Unit
Was this page helpful?
At Storables.com, we guarantee accurate and reliable information. Our content, validated by Expert Board Contributors, is crafted following stringent Editorial Policies. We're committed to providing you with well-researched, expert-backed insights for all your informational needs.