Home>Home Maintenance>How To Clean A Central Air Conditioner

Home Maintenance
How To Clean A Central Air Conditioner
Modified: August 16, 2024
Learn how to effectively clean and maintain your central air conditioner with these easy home maintenance tips. Keep your AC running efficiently all summer long.
(Many of the links in this article redirect to a specific reviewed product. Your purchase of these products through affiliate links helps to generate commission for Storables.com, at no extra cost. Learn more)
Introduction
Welcome to our comprehensive guide on how to clean a central air conditioner! Keeping your AC unit clean and well-maintained is essential for optimum performance and energy efficiency. Regular cleaning not only improves the air quality in your home but also prolongs the life of your HVAC system. In this article, we will take you through the step-by-step process of cleaning your central air conditioner, from turning off the power to reassembling the unit. So, let’s dive in and get your AC unit in tip-top shape!
Before we begin, let’s clarify that while cleaning your central air conditioner can be done by most homeowners, if you are unsure or uncomfortable with any of the steps, it’s always a good idea to consult a professional HVAC technician for assistance.
Key Takeaways:
- Regularly cleaning your central air conditioner is crucial for better air quality, energy efficiency, and a longer lifespan. Follow safety precautions and perform key maintenance steps to keep your AC unit in top shape.
- Prioritize safety, turn off power, remove debris, clean coils, filters, drain line, and blower motor to maintain your central air conditioner. Enjoy improved air quality, energy savings, and a longer-lasting HVAC system.
Read more: How To Choose A Central Air Conditioner
Safety Precautions
Before you start the cleaning process, it’s important to prioritize your safety. Here are some key safety precautions to keep in mind:
- Turn off the power: Before performing any maintenance or cleaning tasks, always turn off the power to your central air conditioner. You can do this by locating the circuit breaker or disconnect switch and flipping it to the “off” position.
- Wear protective gear: Cleaning your AC unit involves handling potentially dirty and dusty components. It’s recommended to wear gloves, safety goggles, and a dust mask to protect yourself from any debris or allergens.
- Be cautious of sharp edges: Some parts of your AC system, such as the condenser coils, may have sharp edges. Take extra care while cleaning these components to avoid any cuts or injuries.
- Work in a well-ventilated area: Cleaning your AC unit may involve the use of cleaning solutions or chemicals. Ensure that you are working in a well-ventilated area to avoid inhaling any fumes. If necessary, use a fan or open windows and doors to improve air circulation.
- Follow manufacturer’s instructions: Every central air conditioner may have specific cleaning instructions provided by the manufacturer. It’s important to read and follow these instructions to avoid any damage to the unit and ensure a successful cleaning process.
By adhering to these safety precautions, you can minimize the risk of accidents or injuries while cleaning your central air conditioner. Remember, safety should always be a top priority when working around electrical equipment and handling cleaning agents.
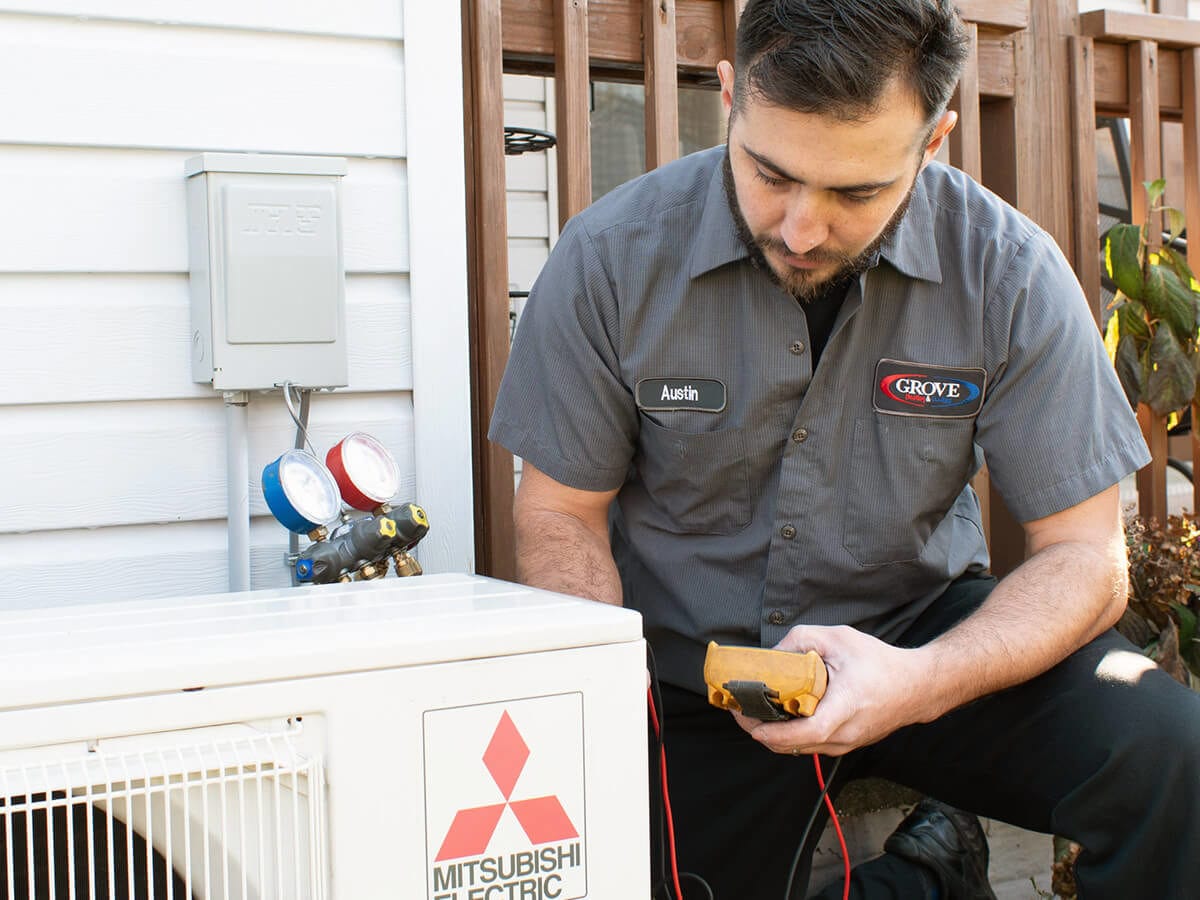
Step 1: Turn Off Power to the AC Unit
The first step in cleaning your central air conditioner is to turn off the power to the unit. This is crucial to prevent any potential electrical accidents while you work on the system. Follow these steps to safely turn off the power:
- Locate the circuit breaker or disconnect switch: The circuit breaker or disconnect switch for your AC unit is typically located near the outdoor condenser unit or inside the main electrical panel of your home.
- Identify the correct breaker or switch: Look for a switch or breaker labeled specifically for your air conditioning unit. It may be marked as “AC,” “Air Conditioner,” or something similar.
- Flip the switch or turn off the breaker: Once you’ve identified the correct switch or breaker, flip it to the “off” position. This will cut off power supply to the AC unit and ensure your safety.
Turning off the power to your central air conditioner before beginning the cleaning process is crucial. It prevents any accidental electric shock or damage to the unit. Remember, if you’re unsure about which breaker or switch controls your AC unit, it’s always best to consult a professional electrician.
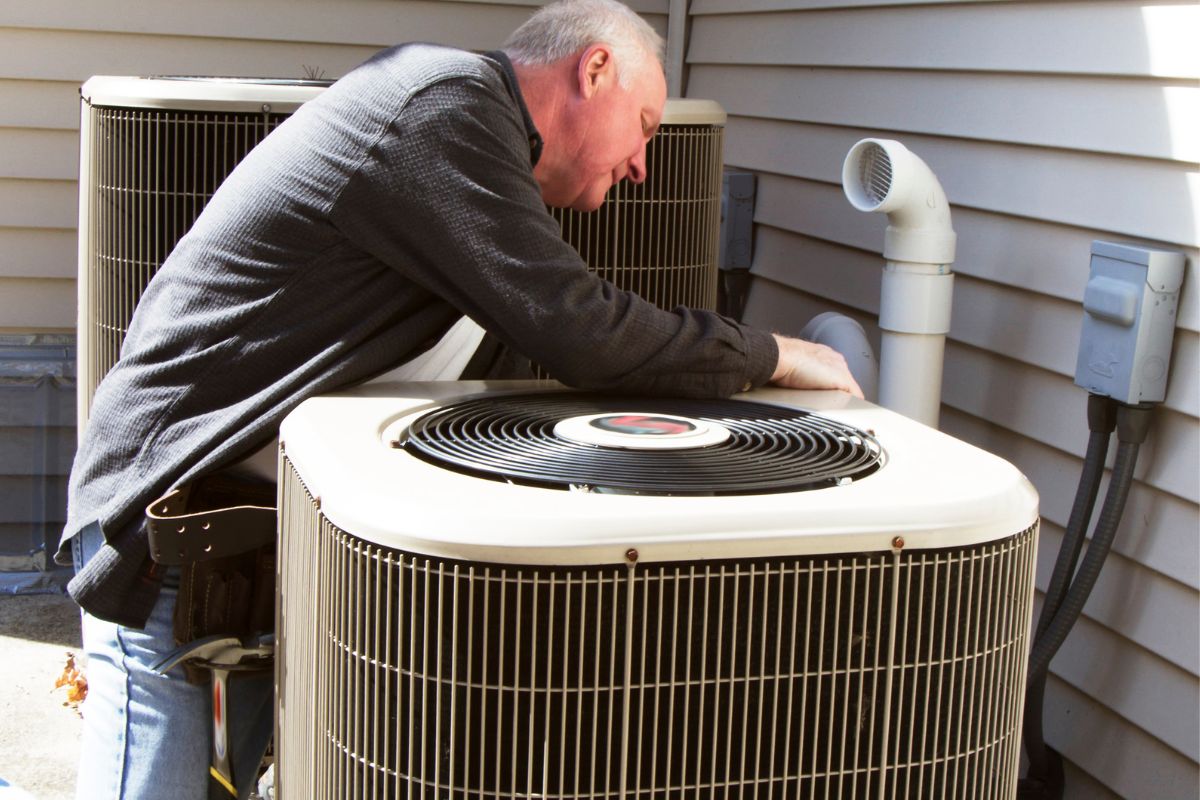
Step 2: Remove Debris from the Exterior
Once you have turned off the power to your central air conditioner, the next step is to remove any debris that has accumulated on the exterior of the unit. This includes leaves, dirt, grass clippings, and any other debris that may have accumulated over time. Here’s how to do it:
- Inspect the exterior: Take a close look at the outdoor condenser unit and identify any visible debris. Pay attention to the fins, which are delicate and can easily get clogged.
- Use a brush or soft broom: Gently brush away the debris from the fins, being careful not to bend or damage them. You can also use a soft broom to sweep away larger debris from the surrounding area.
- Clear the surrounding area: Trim any overgrown vegetation or plants that may obstruct the airflow around the unit. Keep a clearance of at least two feet around the condenser to ensure proper ventilation.
- Remove any obstructions: Check for any objects, such as furniture or storage items, that may be blocking the airflow to the condenser. Clear away these obstructions to allow for optimal airflow.
Removing debris from the exterior of your central air conditioner is essential for efficient operation. Accumulated debris can restrict airflow, reduce performance, and even lead to system breakdowns. Regularly cleaning the exterior helps maintain proper ventilation and ensures your AC unit functions at its best.
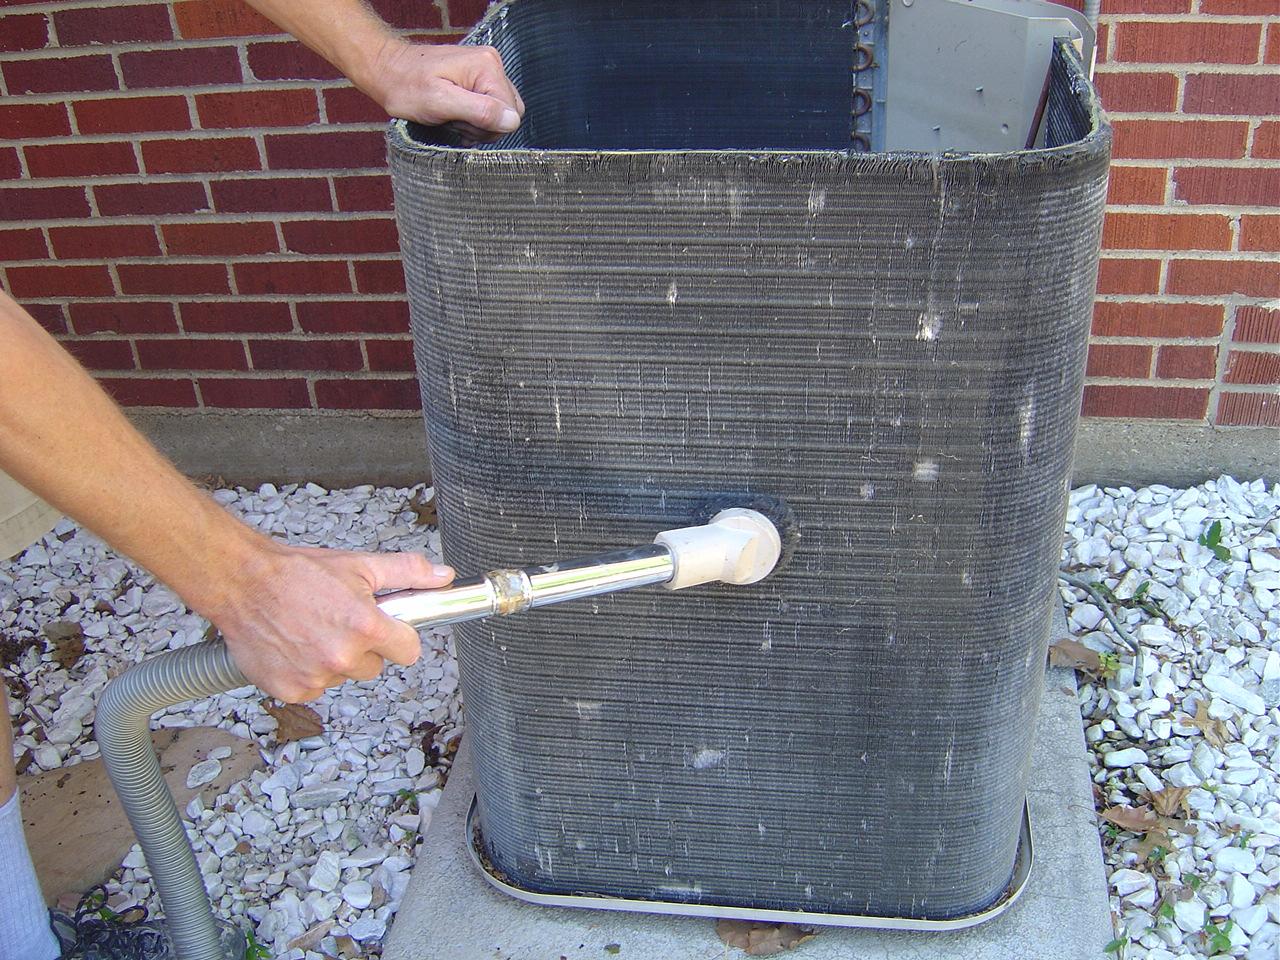
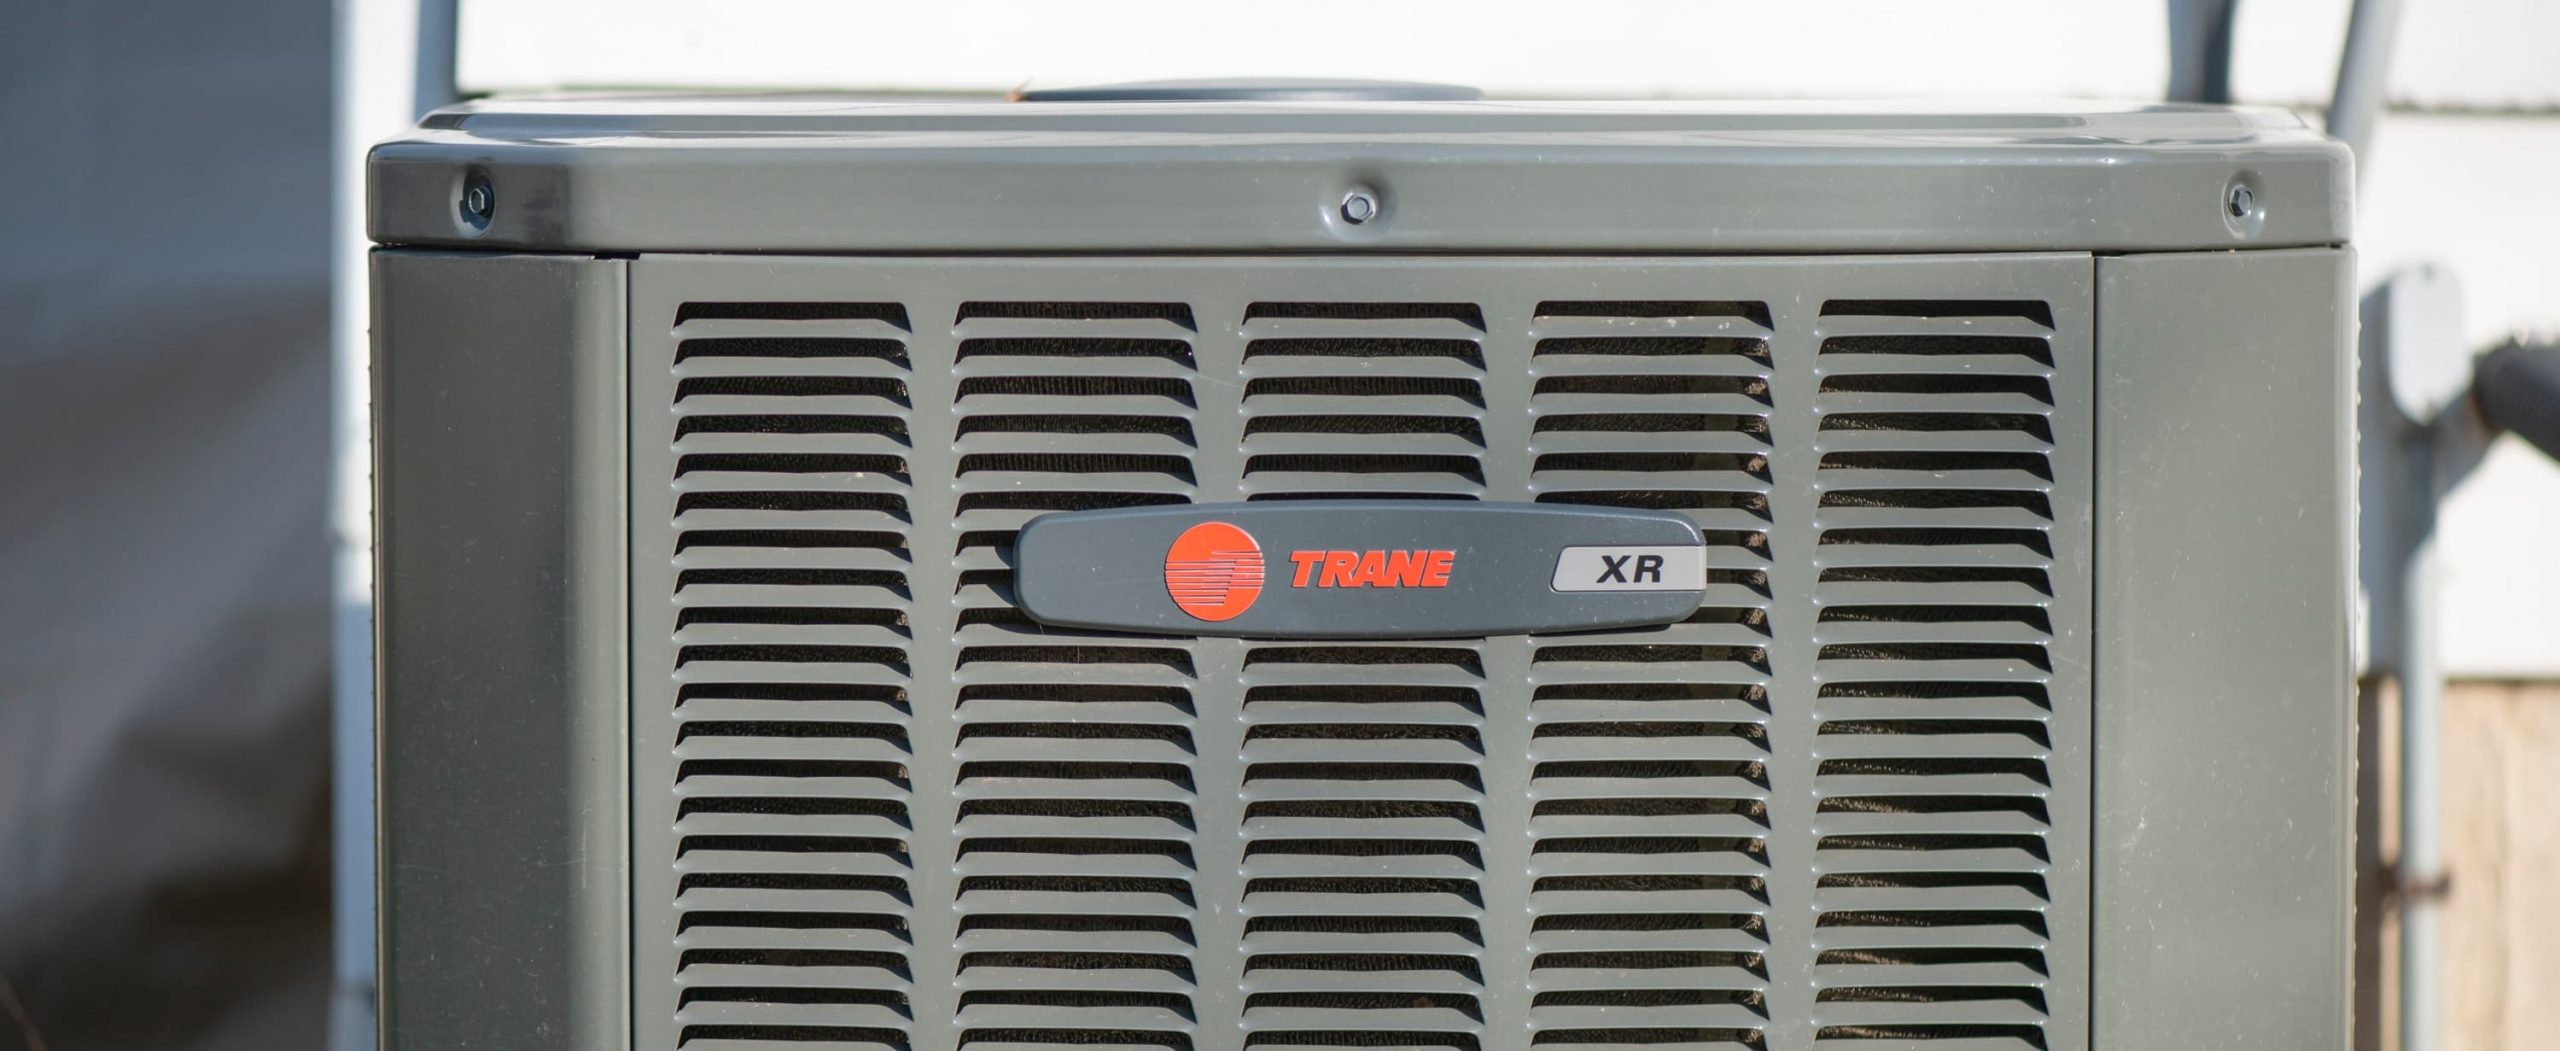
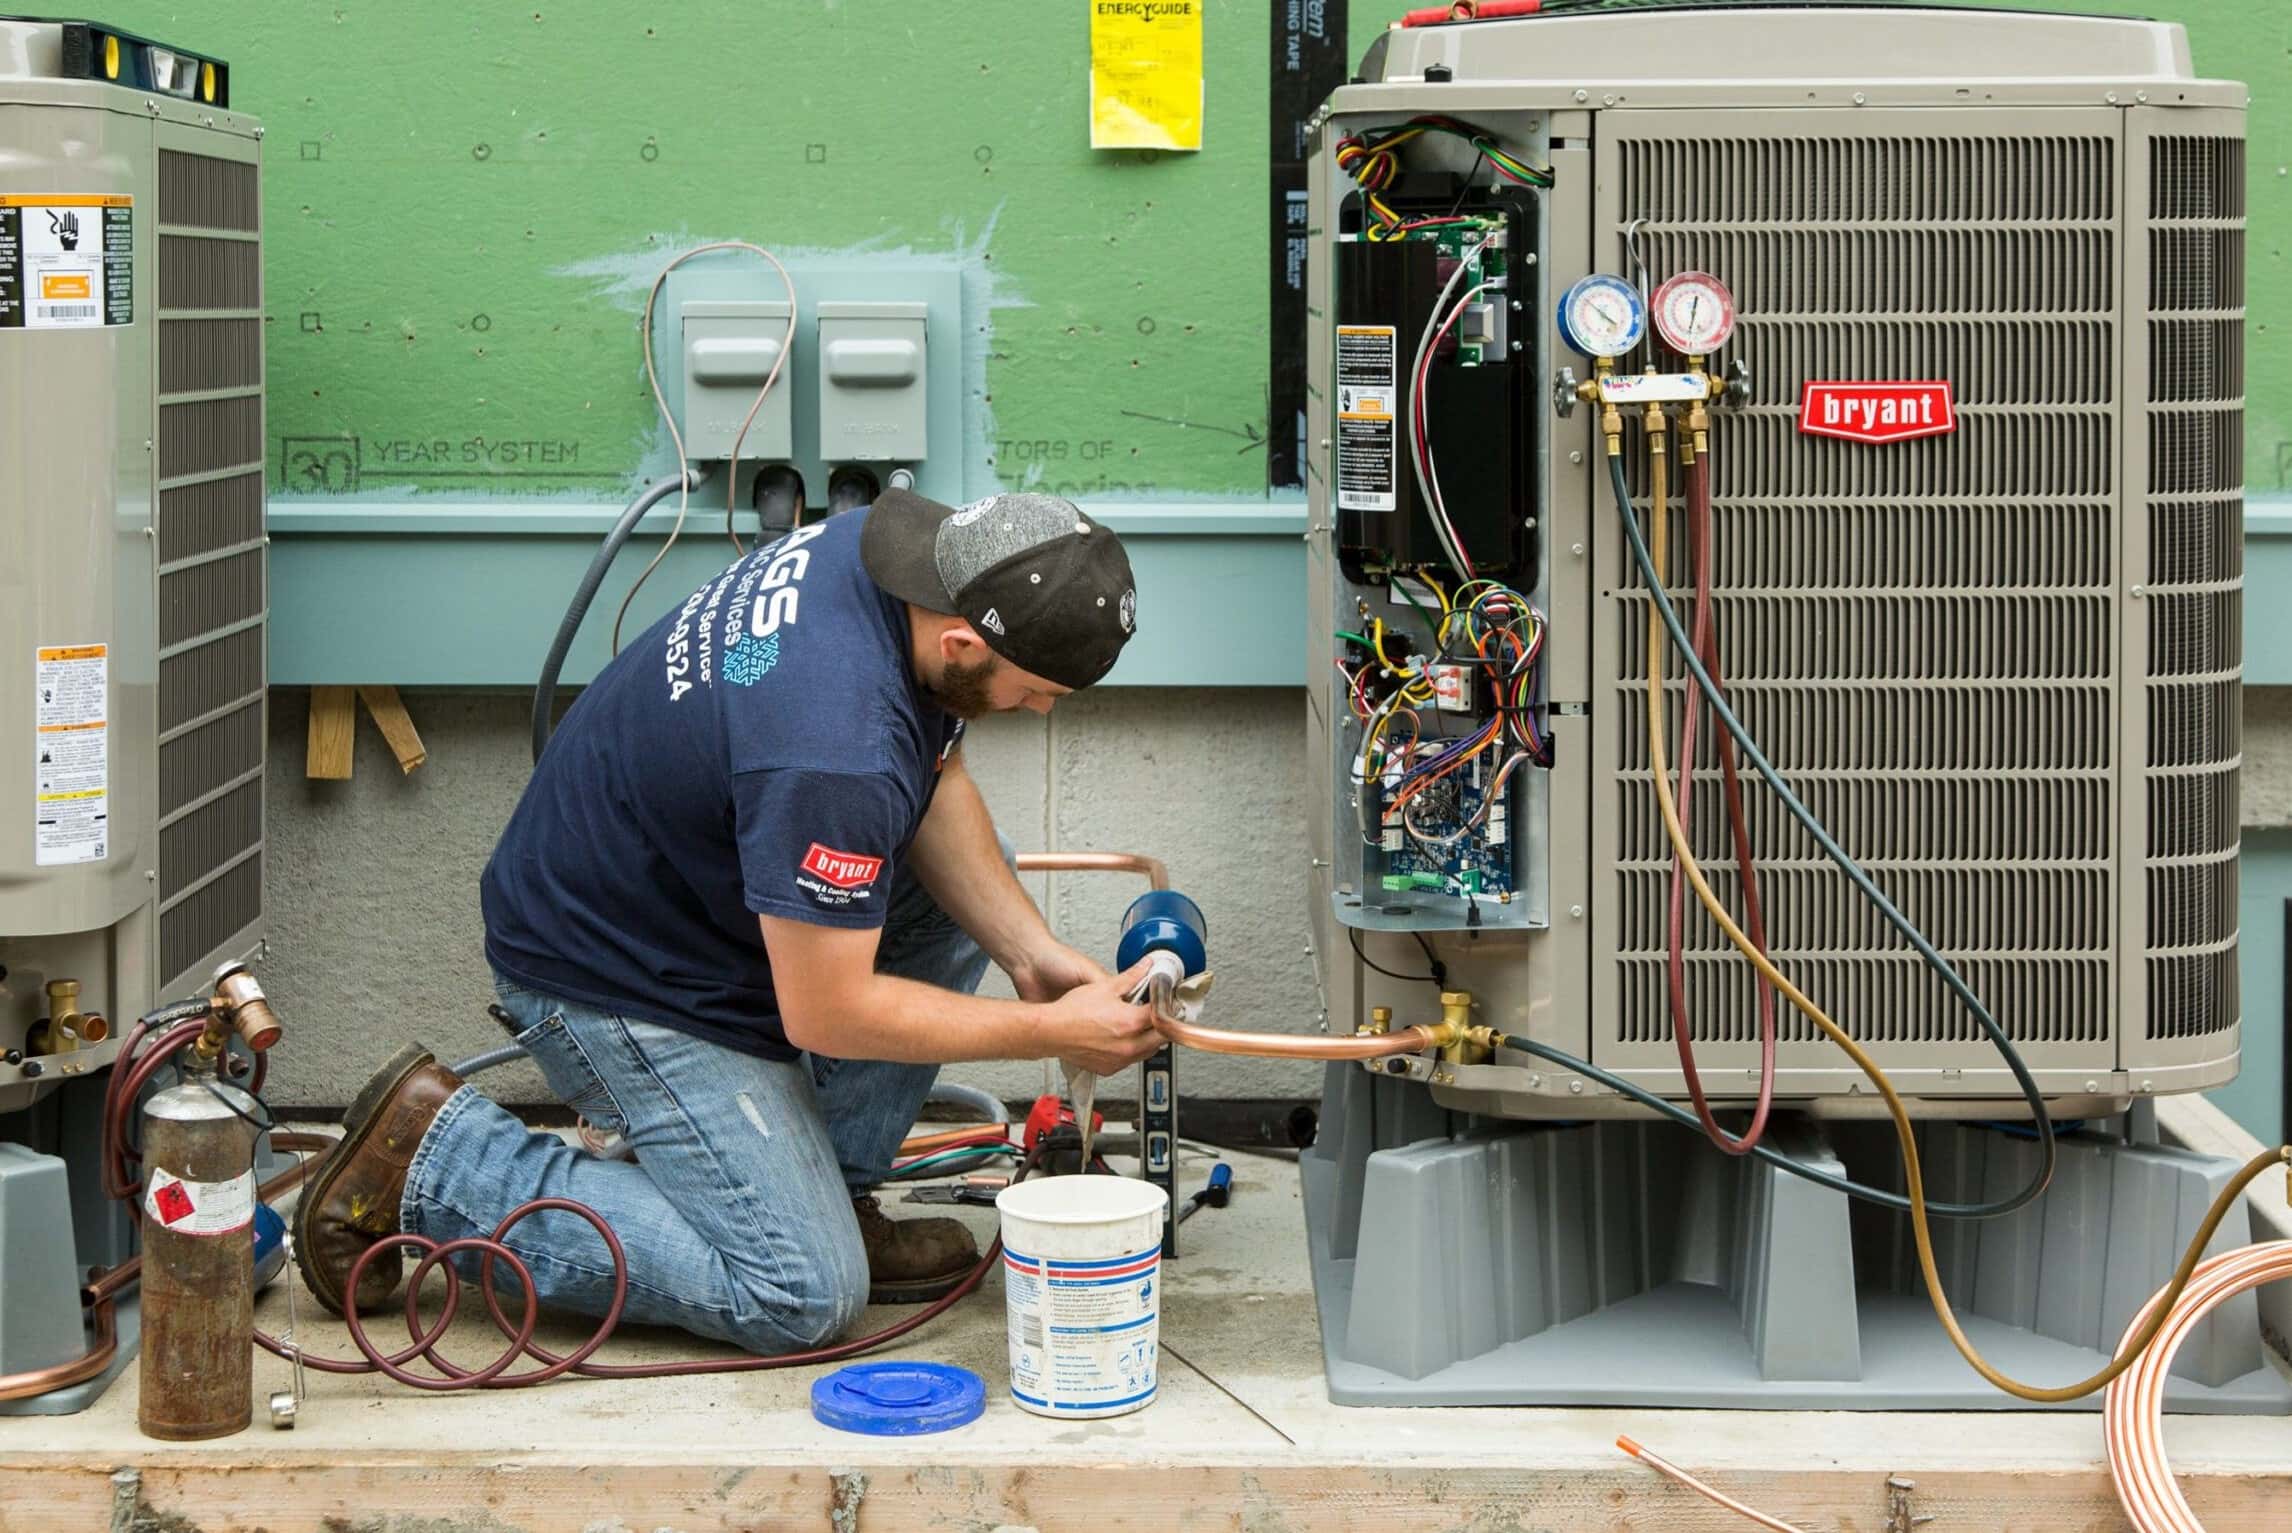
Step 3: Clean the Condenser Coils
The condenser coils of your central air conditioner play a critical role in the cooling process. Over time, these coils can become dirty and covered in dust, dirt, and debris, which can hinder their efficiency. Cleaning the condenser coils will improve the overall performance of your AC unit. Here’s how to do it:
- Access the condenser unit: Locate the outdoor condenser unit, which houses the condenser coils. It is usually located on the side or back of your house.
- Remove debris: Before cleaning the coils, remove any large debris or obstructions from the unit, as we discussed in the previous step.
- Use a coil cleaner: Apply a commercially available coil cleaner to the coils. Follow the instructions on the product for the proper application method.
- Gently brush the coils: Use a soft brush or a coil cleaning brush to gently brush the coils in an up-and-down motion. This helps remove the dirt and debris that has accumulated on the surface.
- Rinse with water: After brushing the coils, rinse them thoroughly with a gentle stream of water. This will wash away any remaining cleaner and loosened debris.
- Allow the coils to dry: Let the coils air dry completely before moving on to the next step. This may take a couple of hours, depending on the weather conditions.
Cleaning the condenser coils of your central air conditioner is important for optimal cooling efficiency. Dirty coils can reduce airflow and increase the strain on the system, leading to higher energy consumption and decreased performance. By regularly cleaning the coils, you can maintain the efficiency and longevity of your AC unit.
Read more: How Does A Central Air Conditioner Work?
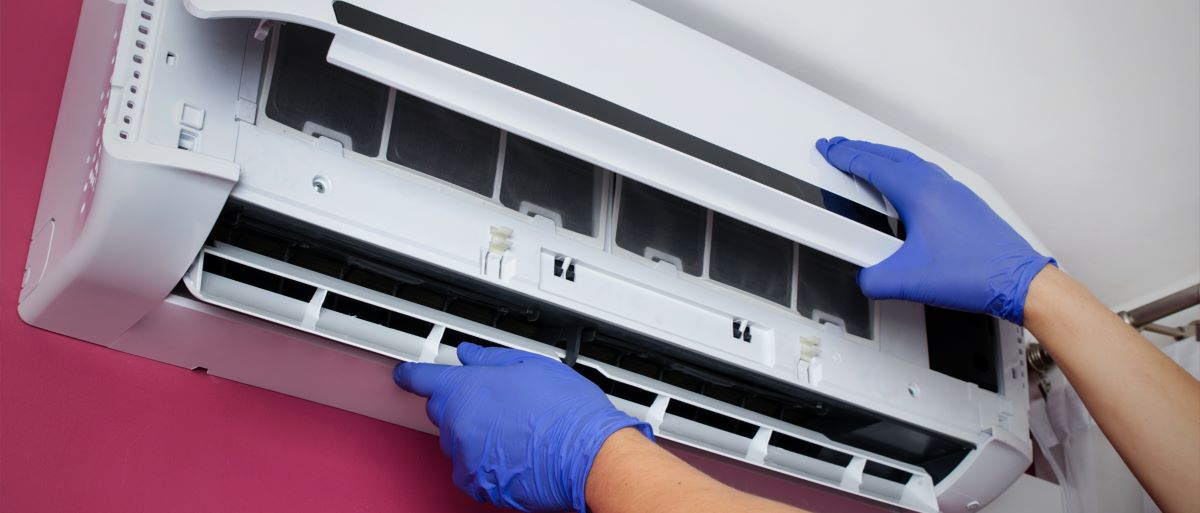
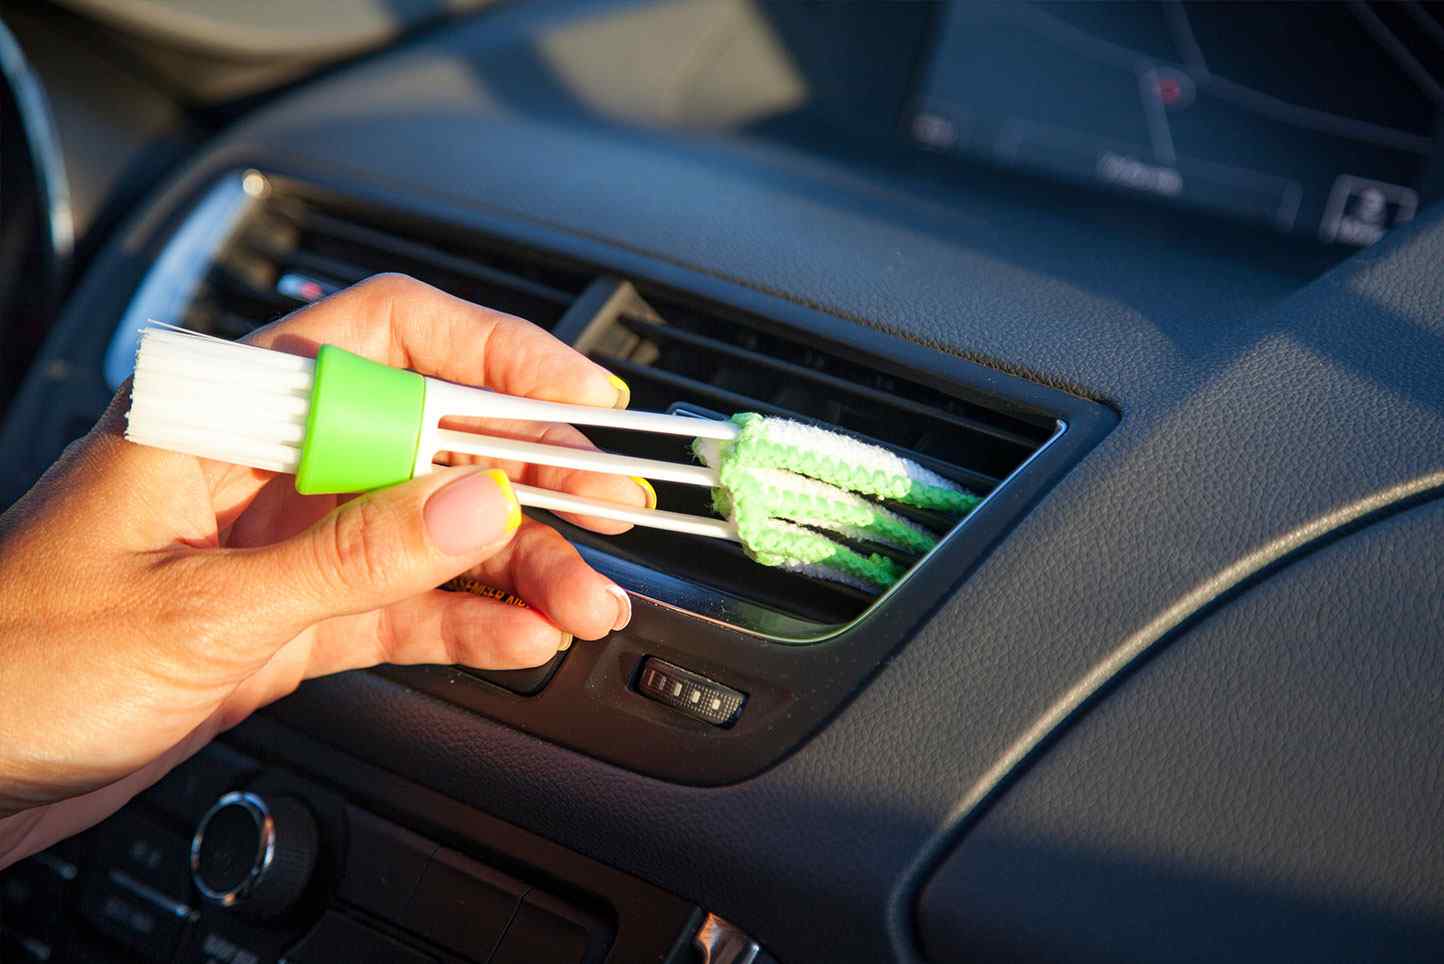
Step 4: Remove and Clean the Air Filters
The air filters in your central air conditioner are responsible for trapping dust, pollen, and other airborne particles, ensuring clean and healthy air circulation in your home. Over time, these filters can become clogged with debris, reducing airflow and efficiency. Cleaning or replacing the air filters is an important step in maintaining the performance of your AC unit. Here’s how to do it:
- Locate the air filter compartment: The air filter compartment is typically located in the return air duct, which is usually found near the indoor unit or furnace.
- Turn off the power: Before removing the air filters, it is important to turn off the power to the AC unit. Locate the circuit breaker or disconnect switch and switch it off.
- Remove the filters: Open the air filter compartment and carefully remove the filters. Depending on your system, you may have one or more filters.
- Clean the filters: If your filters are reusable, gently clean them with a vacuum cleaner or by rinsing them with water. Follow the manufacturer’s instructions for proper cleaning techniques.
- Allow the filters to dry: After cleaning, make sure the filters are completely dry before reinserting them. Placing wet filters back into the unit can lead to moisture buildup and mold growth.
- Replace if necessary: If your air filters are disposable or too soiled to be effectively cleaned, it’s best to replace them with new filters. Make sure to purchase the correct size and type of filters for your AC unit.
- Reinstall the filters: Once the filters are dry or replaced, carefully reinsert them into the air filter compartment. Make sure they are properly aligned and secure.
- Turn on the power: After reinstalling the filters, turn the power back on to the AC unit. Restore the power at the circuit breaker or flip the disconnect switch back on.
Cleaning or replacing the air filters on a regular basis is essential for maintaining healthy indoor air quality and efficient airflow in your central air conditioner. By doing so, you can ensure the proper functioning of your AC unit and reduce the strain on the system.
Regularly clean or replace the air filter in your central air conditioner to improve its efficiency and air quality. This should be done at least every 3 months, or more frequently if you have pets or allergies.
Step 5: Clean the Condensate Drain Line
The condensate drain line in your central air conditioner is responsible for removing excess moisture that is produced during the cooling process. Over time, this drain line can become clogged with algae, mold, or debris, leading to water leakage or system malfunctions. Cleaning the condensate drain line is an important maintenance task to ensure proper drainage and prevent water damage. Here’s how to do it:
- Locate the condensate drain line: The condensate drain line is typically a PVC pipe that runs from the indoor unit to an outside location.
- Inspect the drain line: Check for any visible signs of clogging, such as standing water or a slow drainage rate.
- Mix a cleaning solution: Prepare a mixture of equal parts water and vinegar or bleach. This solution will help dissolve any buildup inside the drain line.
- Pour the solution into the drain line: Carefully pour the cleaning solution into the condensate drain line. Start with a small amount and gradually increase the quantity if needed.
- Allow the solution to sit: Let the cleaning solution sit in the drain line for about 30 minutes to allow it to break down any clogs or debris.
- Flush the drain line: After the solution has had time to work, flush the drain line with water. You can use a hose or pour water directly into the drain line to flush out any remaining residue.
- Test the drainage: Once you’ve flushed the drain line, check to ensure that the water is flowing freely and there are no signs of blockage or leakage.
- Consider preventive measures: To prevent future clogs, you can install a condensate drain line cleaning kit or use algaecide tablets that help inhibit the growth of algae and mold.
Cleaning the condensate drain line is a vital step in maintaining the functionality of your central air conditioner. By regularly cleaning the drain line, you can prevent water damage, maintain proper humidity levels, and ensure the smooth operation of your AC unit.
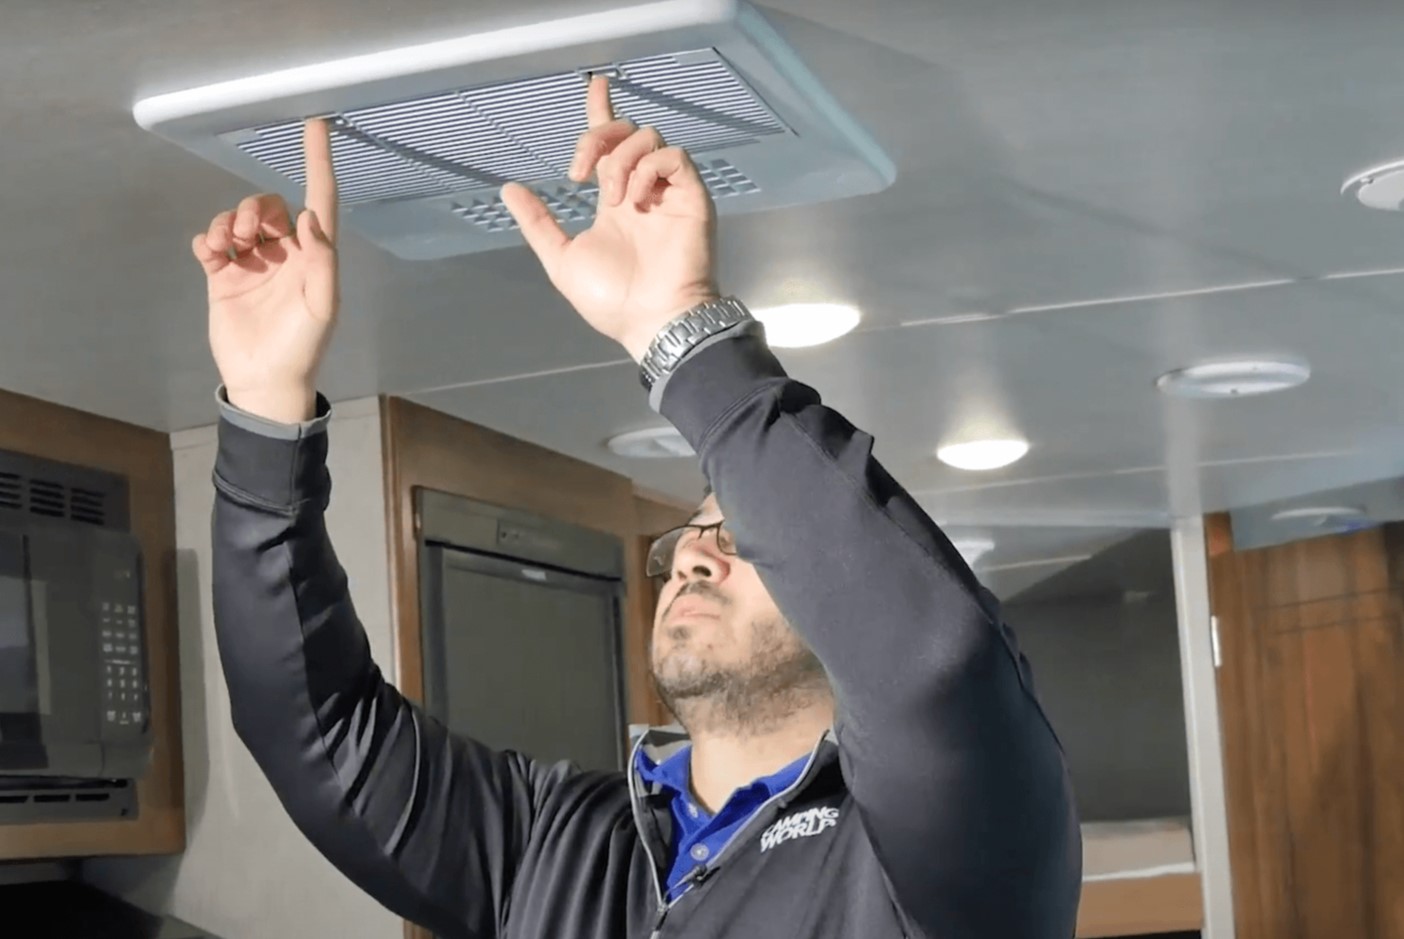
Step 6: Clean the Evaporator Coil
The evaporator coil in your central air conditioner is responsible for absorbing heat from the air, allowing the cooling process to take place. Over time, the evaporator coil can become dirty and covered in dust or debris, hindering its efficiency and reducing cooling performance. Cleaning the evaporator coil is a crucial step in maintaining the effectiveness of your AC unit. Here’s how to do it:
- Access the evaporator coil: The evaporator coil is typically located inside the indoor unit, often found above the furnace or air handler.
- Turn off the power: Before attempting to clean the evaporator coil, make sure to turn off the power to the AC unit. Locate the circuit breaker or disconnect switch and switch it off.
- Remove access panels: Depending on your system, you may need to remove access panels to gain access to the evaporator coil. Consult your AC unit’s manual or follow manufacturer instructions for specific guidance.
- Inspect the coil: Take a close look at the evaporator coil to assess the level of dirt and debris buildup. In some cases, you may need to remove the coil for a more thorough cleaning.
- Clean the coil fins: Using a soft brush or a fin brush, gently clean the coil fins by brushing them in an up-and-down motion. Be careful not to bend or damage the fins, as they are delicate.
- Use a coil cleaner: Apply a mild, non-acidic coil cleaner to the evaporator coil. Follow the instructions provided by the manufacturer for the proper application method.
- Rinse with water: After applying the coil cleaner, rinse the evaporator coil with a gentle stream of water to remove any dirt or residue.
- Allow the coil to dry: Once cleaned, allow the evaporator coil to air dry completely before reassembling the unit. This may take a few hours depending on humidity levels.
- Reassemble the unit: After the evaporator coil is dry, reattach any access panels and make sure they are properly secured.
- Turn on the power: Once the unit is reassembled, turn the power back on to the AC unit. Restore the power at the circuit breaker or flip the disconnect switch back on.
Cleaning the evaporator coil is essential for maintaining efficient cooling and preventing the buildup of dirt and debris. By regularly cleaning the coil, you can ensure the optimal performance of your central air conditioner and extend its lifespan.
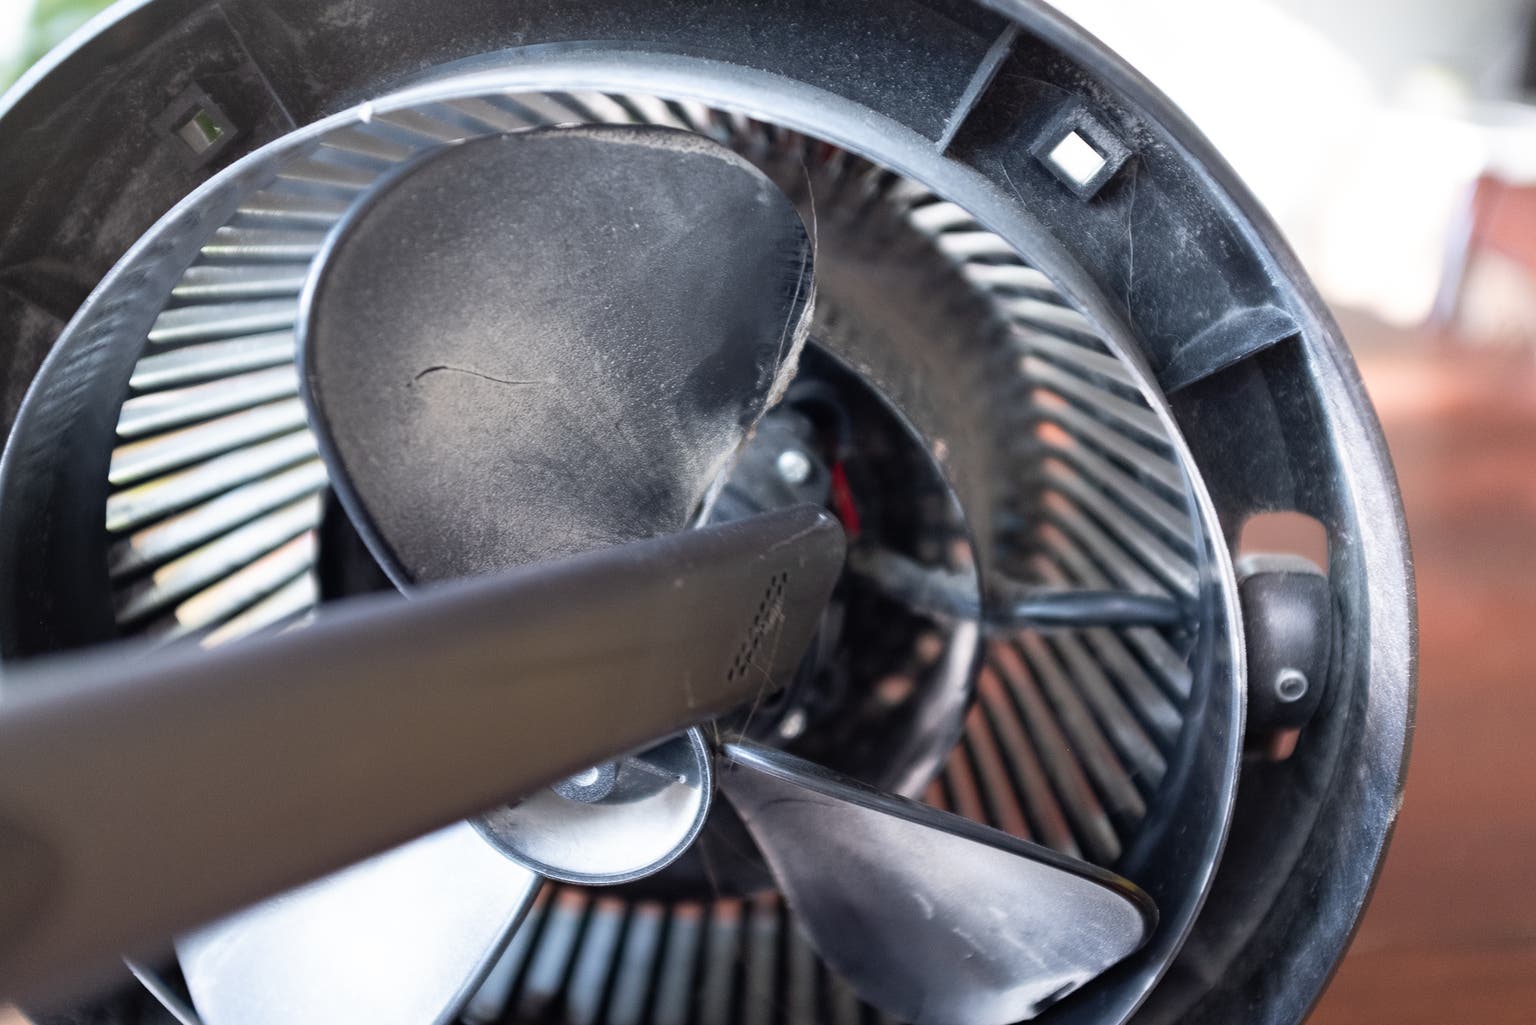
Step 7: Clean the Blower Motor and Fan
The blower motor and fan in your central air conditioner are responsible for circulating the cooled air throughout your home. Over time, these components can accumulate dirt, dust, and debris, which can reduce airflow and strain the motor. Cleaning the blower motor and fan is an important maintenance step to ensure proper airflow and efficient operation. Here’s how to do it:
- Turn off the power: Before you begin cleaning the blower motor and fan, make sure to turn off the power to the AC unit. Locate the circuit breaker or disconnect switch and switch it off.
- Access the blower motor and fan: The blower motor and fan are typically located inside the indoor unit, behind an access panel.
- Remove access panel: Carefully remove the access panel to expose the blower motor and fan. Refer to your AC unit’s manual or follow manufacturer instructions for specific guidance.
- Inspect the motor and fan: Take a close look at the blower motor and fan to assess the level of dirt and debris buildup. Use a flashlight if necessary to get a better view.
- Use a soft brush or vacuum: Gently brush off any visible dust or debris from the blower motor and fan. Alternatively, you can use a vacuum cleaner with a soft brush attachment to remove the dirt.
- Clean the fan blades: Carefully wipe down the fan blades with a damp cloth to remove any dirt or grime. Be cautious of sharp edges and moving parts.
- Check the motor lubrication: If your blower motor requires lubrication, refer to the manufacturer’s instructions on the appropriate type of lubricant and how to apply it.
- Reassemble the unit: Once the blower motor and fan are clean, replace the access panel and make sure it is securely fastened.
- Turn on the power: After reassembling the unit, turn the power back on to the AC unit. Restore the power at the circuit breaker or flip the disconnect switch back on.
Cleaning the blower motor and fan helps maintain proper airflow and ensures the efficient operation of your central air conditioner. By regularly cleaning these components, you can improve the overall performance and lifespan of your AC unit.
Read more: How Much Is A New Central Air Conditioner
Step 8: Reassemble and Restore Power
After completing the cleaning process for your central air conditioner, the final step is to reassemble the unit and restore power. Properly reassembling your AC unit ensures that all components are securely in place and ready for operation. Here’s how to do it:
- Replace any access panels: If you removed any access panels during the cleaning process, make sure to carefully replace them. Ensure that they are securely fastened and properly aligned.
- Double-check all connections: Inspect all connections, such as electrical wires and tubing, to make sure they are properly connected and not damaged in any way.
- Remove any tools or cleaning materials: Before restoring power, ensure that you have removed any tools or cleaning materials from the AC unit. Leaving any foreign objects inside the unit can lead to damage or malfunction.
- Turn on the power: Locate the circuit breaker or disconnect switch and switch it on to restore the power to your central air conditioner.
- Test the unit: Once the power is restored, turn on your AC unit and test its operation. Listen for any unusual noises and check for proper airflow and cooling.
- Observe for any issues: After the unit has been running for a while, monitor it closely for any signs of leaks, malfunctions, or reduced performance. If you notice any problems, it may be necessary to seek professional assistance.
By reassembling your central air conditioner properly and restoring power, you can ensure that all components are intact and ready for use. Testing the unit after cleaning allows you to verify that it is functioning as expected and promptly address any potential issues.
Remember, for complex issues or if you’re uncomfortable with any aspect of the cleaning process, it’s always best to consult a professional HVAC technician for assistance.
Conclusion
Congratulations! You have successfully learned how to clean a central air conditioner. Regular maintenance of your AC unit is crucial to ensure its optimal performance, energy efficiency, and longevity. By following the step-by-step process outlined in this guide, you can keep your central air conditioner clean and well-maintained, leading to improved indoor air quality and a comfortable living environment.
Throughout the cleaning process, it’s important to prioritize safety and follow the recommended precautions. Remember to turn off the power before starting any maintenance tasks, wear appropriate protective gear, and be cautious of sharp edges and moving parts.
Cleaning your central air conditioner involves several key steps, including turning off the power, removing debris from the exterior, cleaning the condenser coils, removing and cleaning the air filters, cleaning the condensate drain line, cleaning the evaporator coil, and cleaning the blower motor and fan. Each of these steps plays a crucial role in maintaining the efficiency and effectiveness of your AC unit.
By maintaining a clean and well-maintained central air conditioner, you can enjoy the benefits of improved air quality, energy savings, and a longer lifespan for your HVAC system. Remember to regularly perform these cleaning tasks to prevent the buildup of dirt, dust, and debris, which can restrict airflow and strain your AC unit.
If you are ever unsure or uncomfortable with any step of the cleaning process, do not hesitate to contact a professional HVAC technician for assistance. They have the expertise and tools necessary to handle complex maintenance tasks and ensure the proper functioning of your central air conditioner.
Thank you for reading our comprehensive guide on how to clean a central air conditioner. We hope you found it informative and helpful in maintaining your HVAC system. Enjoy cleaner, cooler, and more efficient air conditioning in your home!
Frequently Asked Questions about How To Clean A Central Air Conditioner
Was this page helpful?
At Storables.com, we guarantee accurate and reliable information. Our content, validated by Expert Board Contributors, is crafted following stringent Editorial Policies. We're committed to providing you with well-researched, expert-backed insights for all your informational needs.