Home>Home Maintenance>How To Install Central Air Conditioning Units
Home Maintenance
How To Install Central Air Conditioning Units
Modified: March 6, 2024
Learn how to install central air conditioning units in your home with our helpful home maintenance guide. Stay cool and comfortable all summer long!
(Many of the links in this article redirect to a specific reviewed product. Your purchase of these products through affiliate links helps to generate commission for Storables.com, at no extra cost. Learn more)
Introduction
Welcome to the world of central air conditioning units – the epitome of modern comfort in any home. Whether you’re sweltering in the scorching summer heat or seeking relief from the stifling humidity, installing a central air conditioning unit can transform your living space into a cool and inviting oasis.
This comprehensive guide will walk you through the step-by-step process of installing a central air conditioning unit in your home. From evaluating your cooling needs to gathering the necessary tools and materials, we’ll cover everything you need to know to ensure a successful installation.
Before we dive in, it’s essential to note that while this guide provides general guidance, it’s always a good idea to consult with a professional HVAC technician before attempting any major installations or modifications in your home. They can provide valuable insights and ensure your installation aligns with local codes and regulations.
Now, let’s embark on this cooling journey and learn how to install a central air conditioning unit that will bring comfort and relief to your home.
Key Takeaways:
- Assess Your Home’s Cooling Needs
Before installing a central air conditioning unit, assess your home’s size, insulation, windows, unique features, and climate to determine the right unit size for efficient cooling and energy savings. - Proper Installation and Maintenance
Properly install and maintain your central air conditioning system to enjoy efficient cooling, lower energy bills, and long-term comfort. Regular maintenance and professional assistance ensure optimal performance.
Read more: What Is Central Air Conditioning System
Step 1: Assessing Your Home’s Cooling Needs
Before diving into the installation process, it’s crucial to assess your home’s cooling needs. This step will help you determine the appropriate size and capacity of the central air conditioning unit required to effectively cool your space.
First, consider the square footage of your home. The size of the central air conditioning unit is directly related to the square footage it needs to cool. Smaller units may struggle to cool larger spaces, while oversized units can lead to inefficient cooling and increased energy consumption.
Next, evaluate the insulation in your home. Well-insulated homes retain cool air better, requiring a smaller capacity unit to maintain a comfortable temperature. On the other hand, poorly insulated homes may require a more powerful unit to compensate for air leakage.
Additionally, consider the number and size of windows in your home. Windows play a significant role in heat gain and loss. Homes with large, south-facing windows may require a higher capacity unit to counteract the heat gain from sunlight.
Take note of any unique features or challenges in your home that may impact cooling. This could include high ceilings, open floor plans, or multiple levels. These factors can affect air circulation and temperature distribution, which should be taken into account when selecting the appropriate unit.
Lastly, consider your climate. If you live in a region with extremely hot and humid summers, you may need a more powerful unit to handle the demanding cooling requirements.
Once you’ve assessed your home’s cooling needs, you can use this information to consult with an HVAC professional or refer to manufacturer guidelines to determine the ideal size and capacity of your central air conditioning unit. Accurately matching the unit to your home’s cooling needs will ensure optimal performance and energy efficiency, keeping you cool and comfortable all summer long.
Step 2: Choosing the Right Central Air Conditioning Unit
Choosing the right central air conditioning unit is a crucial step in the installation process. The unit you select will have a significant impact on your home’s cooling performance, energy efficiency, and overall comfort. Here are some factors to consider when making your choice.
1. Energy Efficiency: Look for an air conditioning unit with a high SEER (Seasonal Energy Efficiency Ratio) rating. The higher the SEER rating, the more energy-efficient the unit will be, resulting in lower energy bills and reduced environmental impact.
2. Capacity: Based on the assessment of your home’s cooling needs, choose a unit with the appropriate capacity to cool your space effectively. Undersized units will struggle to cool your home adequately, while oversized units can cycle on and off too frequently, impacting energy efficiency and comfort.
3. Noise Level: Consider the noise level of the unit. Look for models specifically designed for quiet operation, which can make a significant difference in maintaining a peaceful and comfortable living environment.
4. Brand Reputation: Research reputable brands known for their quality and reliability. A well-established brand will typically offer better customer support, warranties, and a wider range of compatible accessories and replacement parts.
5. Additional Features: Explore the additional features offered by different models, such as programmable thermostats, adjustable fan speeds, and air purification systems. These features can enhance your comfort and improve indoor air quality.
6. Budget: Determine your budget for the central air conditioning unit, including installation costs. While it’s important to consider affordability, be cautious of compromising quality and energy efficiency for a lower upfront cost. A slightly higher initial investment can lead to greater long-term savings.
Once you’ve considered these factors, consult with an HVAC professional or use online resources to identify air conditioning units that meet your criteria. Read reviews, compare specifications, and carefully weigh the pros and cons of different models before making a final decision.
Remember, choosing the right central air conditioning unit is a critical investment in your home’s comfort and energy efficiency. Take the time to research and make an informed decision to enjoy optimal cooling performance for years to come.
Step 3: Gathering the Necessary Tools and Materials
Before you begin the installation process, it’s essential to gather all the necessary tools and materials to ensure a smooth and efficient installation of your central air conditioning unit. Having everything ready beforehand will save time and prevent interruptions during the process. Here’s a list of the essential items you’ll need:
1. Air conditioning unit: Make sure you have the central air conditioning unit that matches your home’s cooling needs and meets your chosen specifications.
2. Refrigerant lines: You’ll need the appropriate length of copper refrigerant lines, usually insulated, to connect the indoor and outdoor units.
3. Condenser pad or brackets: These provide a stable base for the outdoor unit and help protect it from ground-level debris and moisture.
4. Electrical wire: Choose the correct gauge and length of electrical wire to connect the units and provide power to the system. Refer to the manufacturer’s specifications or consult an electrician for guidance.
5. Ductwork materials: If your installation requires modifications or additions to the existing ductwork, gather the necessary materials such as ductwork sections, connectors, and sealant.
6. Insulation materials: Depending on the specifics of your installation, you may need insulation materials for the refrigerant lines, ductwork, and other components to ensure maximum efficiency and prevent air leakage.
7. Mounting hardware: If mounting brackets are needed to secure the units or other components, ensure you have the correct hardware and fasteners.
8. Hand tools: Some essential hand tools you’ll need include a drill, screwdriver set, pliers, adjustable wrench, tubing cutter, and utility knife.
9. Power tools: You may require power tools like a drill with various bits, socket wrench, and wire strippers/crimpers for electrical connections.
10. Safety equipment: Don’t forget to gather safety equipment such as gloves, safety goggles, and a ladder or scaffolding for working at heights.
11. Manuals and documentation: Keep all the relevant manufacturer’s manuals, installation guides, and local building code requirements handy for reference throughout the installation process.
Once you have gathered all the necessary tools and materials, organize them in a convenient and accessible manner. Double-check that everything is in proper working condition, and replace any damaged or worn-out items.
By ensuring you have everything you need upfront, you’ll be fully prepared to proceed with the installation process smoothly and efficiently.
Step 4: Preparing Your Home for Installation
Before you begin installing your central air conditioning unit, it’s essential to prepare your home to ensure a successful and smooth installation process. By taking the time to properly prepare, you can minimize potential issues and ensure the longevity and efficiency of your new system. Here are the key steps to follow:
1. Clear the area: Clear any clutter, furniture, or obstacles near the installation areas, both indoors and outdoors. Provide ample space around the indoor and outdoor units to allow for proper airflow and easy access during installation and future maintenance.
2. Turn off the power: Locate the main electrical panel in your home and turn off the power supply to the area where the installation will take place. This ensures safety during the installation process and prevents any accidental electrical mishaps.
3. Establish a suitable location: Determine the ideal location for both the indoor and outdoor units. The indoor unit, typically installed in the utility room or basement, should be close to the central return air grille and near a drain for condensate removal. The outdoor unit should be placed on a stable and level surface, ensuring proper clearance from walls, vegetation, and other outdoor obstructions.
4. Install the necessary supports: If required, install condenser pads or mounting brackets to provide a stable base for the outdoor unit. The pads or brackets will help protect the unit and prevent vibration and movement.
5. Secure the refrigerant lines: Install the copper refrigerant lines that connect the indoor and outdoor units. Ensure they are properly insulated and protected from potential damage or pests.
6. Seal air leaks: Check the existing ductwork for any leaks or damage. Seal any gaps or holes using appropriate duct sealant to prevent air leakage and ensure optimal efficiency.
7. Consider aesthetics: If desired, plan for any necessary modifications to conceal the refrigerant lines, electrical wiring, or outdoor unit for aesthetic purposes. This could involve installing a chase or covering them with decorative elements in coordination with your home’s design.
8. Arrange for professional assistance if necessary: If you encounter any challenges during the preparation process or feel unsure about specific tasks, don’t hesitate to seek assistance from a professional HVAC technician. They can provide expert guidance and ensure the preparation is done correctly.
By taking the time to prepare your home adequately, you’ll create a conducive environment for a smooth installation process. Proper preparation sets the foundation for optimal system performance, energy efficiency, and overall comfort in your home.
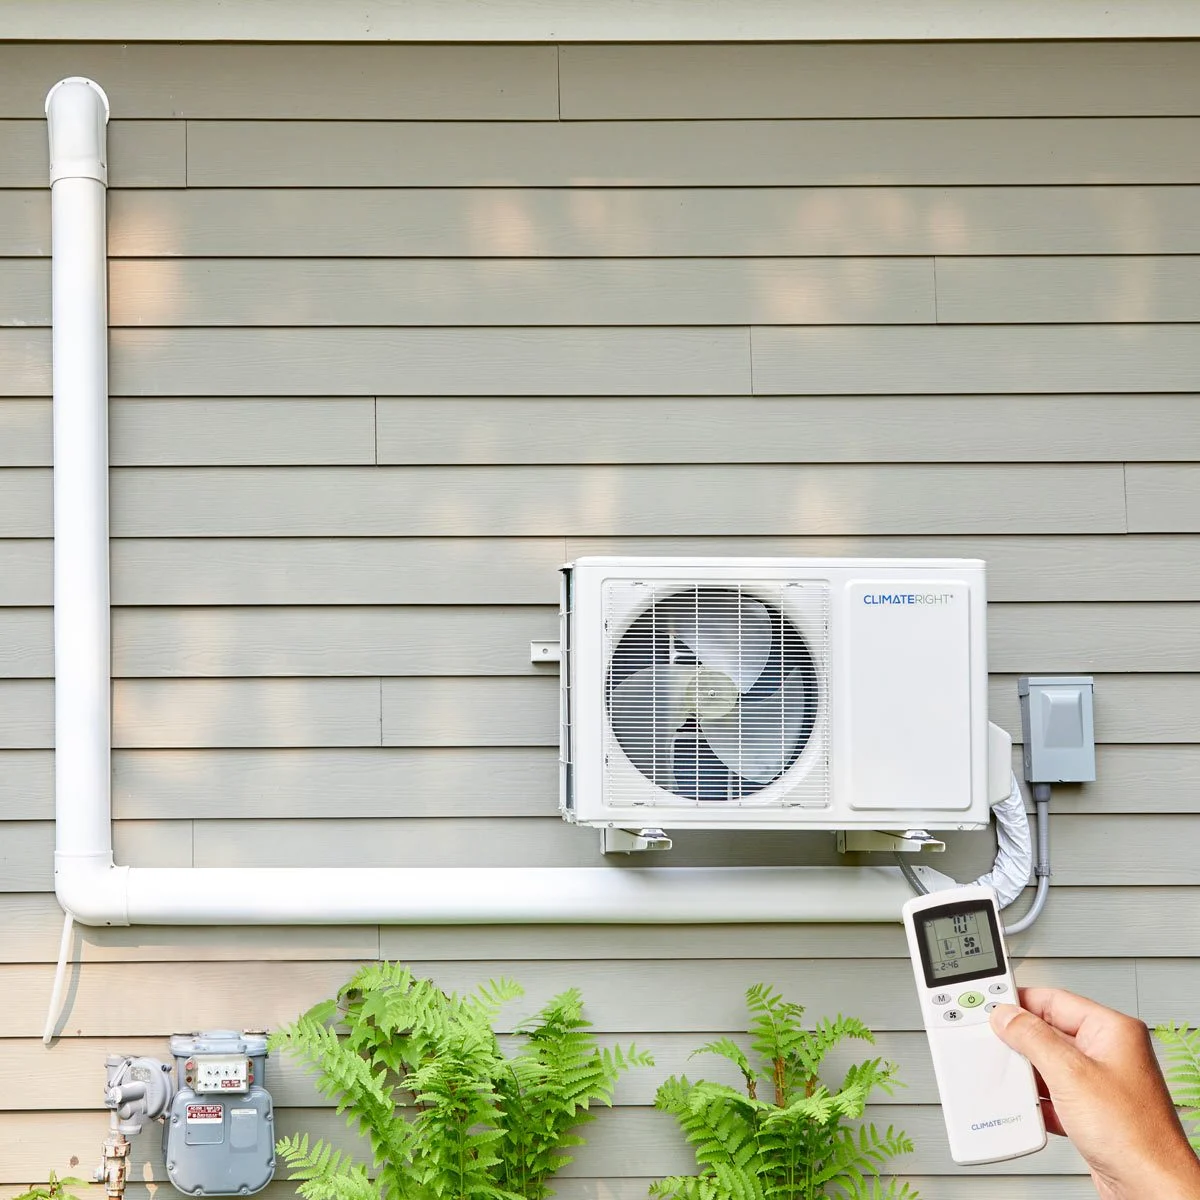
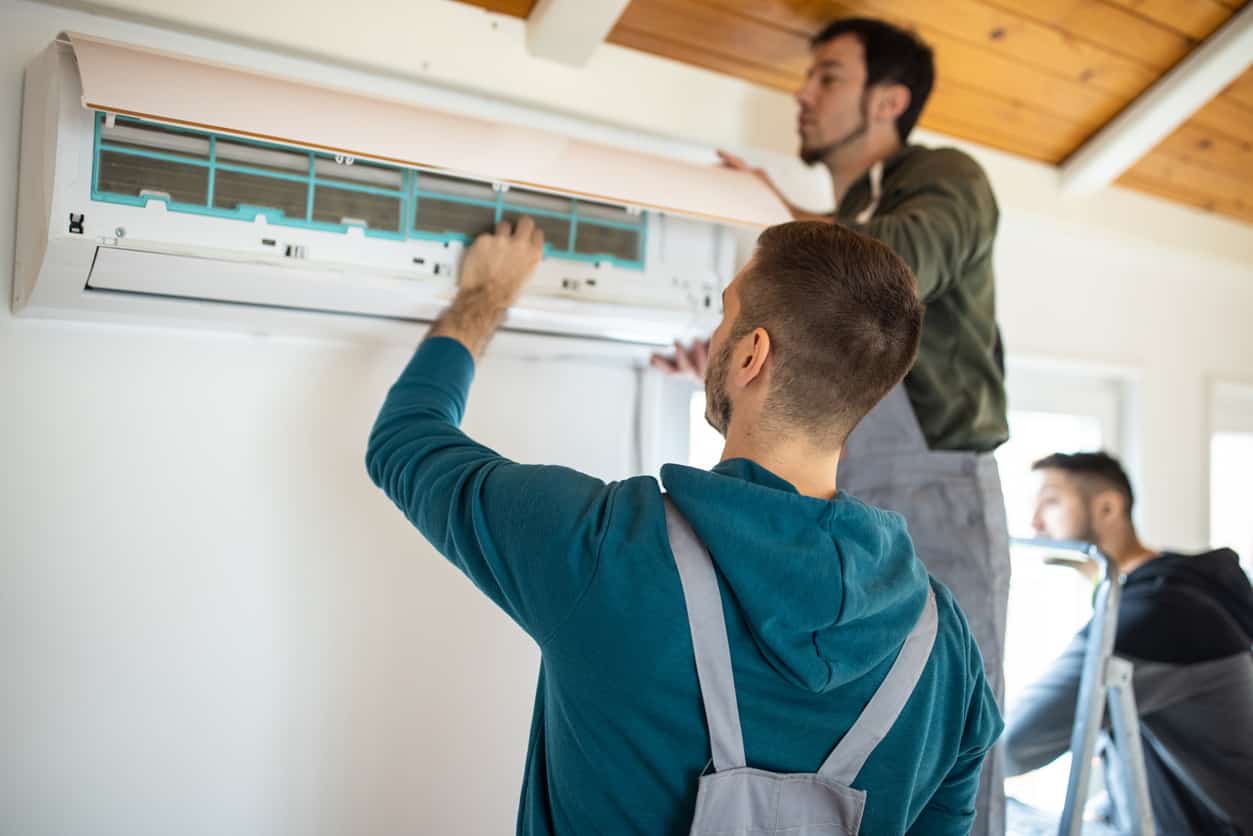
Step 5: Installing the Indoor Unit
The installation of the indoor unit is a crucial step in setting up your central air conditioning system. This unit distributes cool air throughout your home, so proper installation is essential for efficient cooling and optimal comfort. Follow these steps to install the indoor unit:
- Locate the designated area: Identify the appropriate location for the indoor unit. It is typically installed near the central return air grille and close to a drainage point for condensate removal.
- Prepare the area: Clear the installation area of any obstructions or debris. Ensure that the space provides sufficient clearance and proper positioning for the unit.
- Mount the unit: Install the mounting plate securely on the wall at the designated location. Make sure to level it properly and use appropriate anchors or screws to secure it in place.
- Connect the refrigerant lines: Carefully connect the refrigerant lines from the outdoor condensing unit to the indoor unit. Follow the manufacturer’s instructions and ensure proper sealing to prevent any leaks.
- Connect the drain line: Install and connect a drain line to allow for proper condensate drainage from the indoor unit. Ensure that the line is properly positioned and sloped to prevent water accumulation or leaks.
- Make electrical connections: Connect the electrical wiring from the indoor unit to the designated power source. Follow the manufacturer’s instructions and consult a licensed electrician if needed.
- Secure the unit: Once all connections are made, secure the indoor unit onto the mounting plate. Ensure that it is firmly attached and level to avoid any vibrations or movement.
- Test the unit: Before completing the installation, perform a test run to ensure that the unit is functioning correctly. Check for any unusual noises, vibrations, or leaks. Also, verify that the air is flowing properly and that the controls are functioning as intended.
During the installation process, it’s vital to follow the manufacturer’s instructions and consult a professional HVAC technician if you encounter any difficulties or have specific questions. Properly installing the indoor unit is essential for the efficient operation of your central air conditioning system, and it ensures that cool air is effectively distributed throughout your home for maximum comfort.
Make sure to properly size your central air conditioning unit for your home. An oversized unit will cycle on and off frequently, while an undersized unit will struggle to cool your home efficiently.
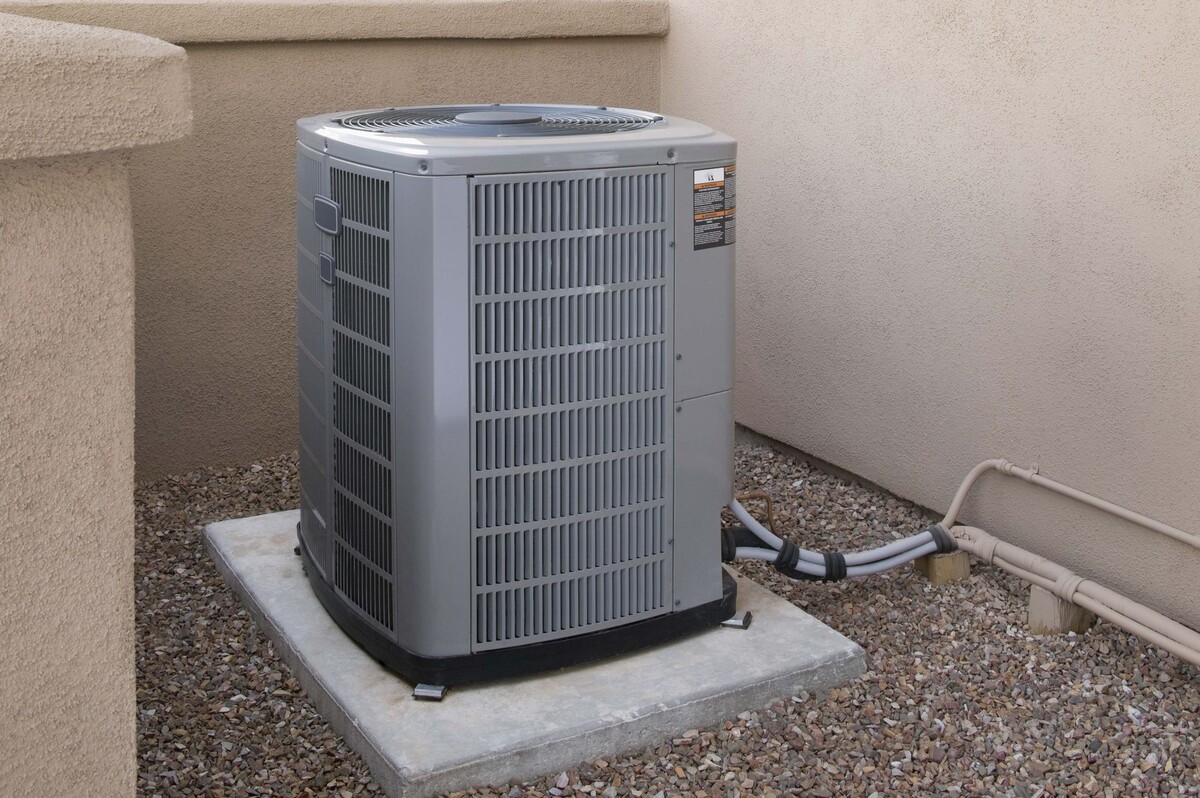
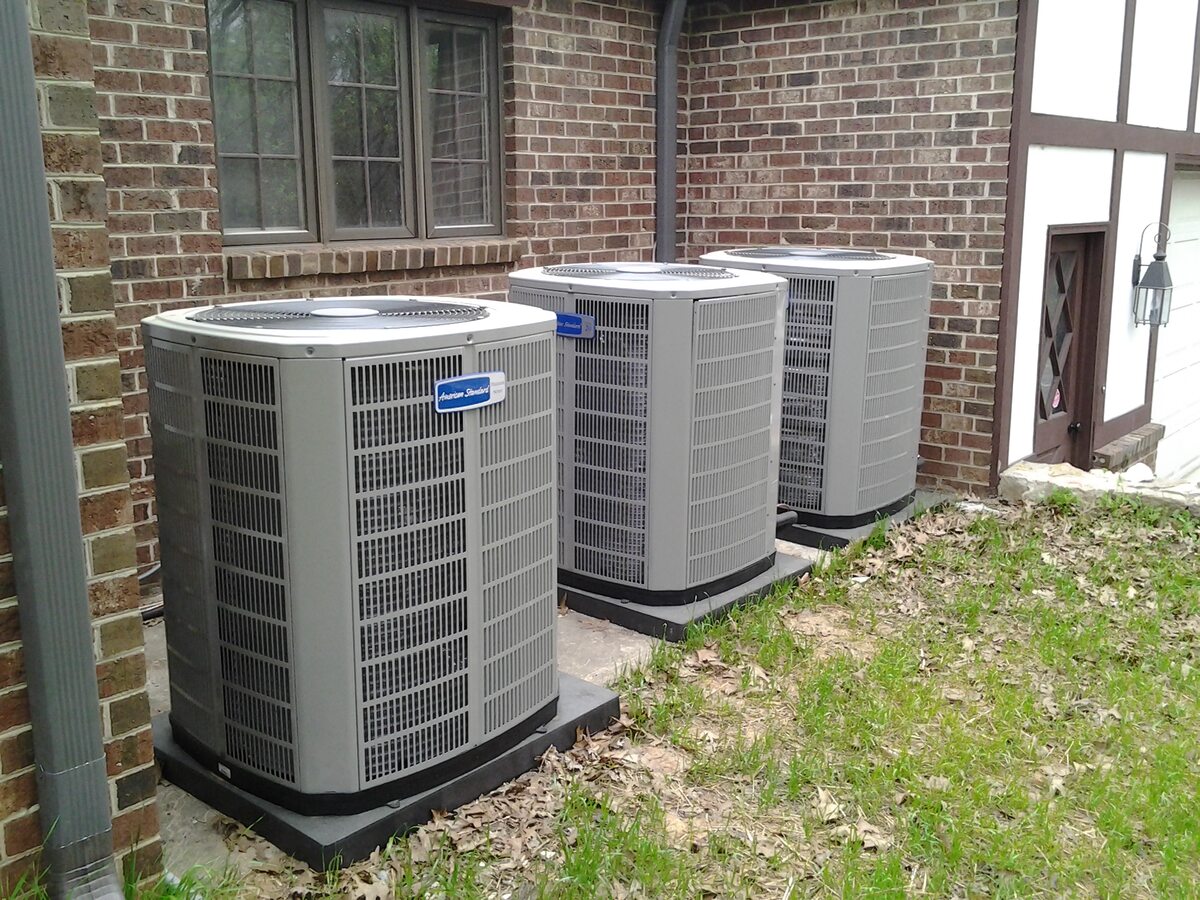
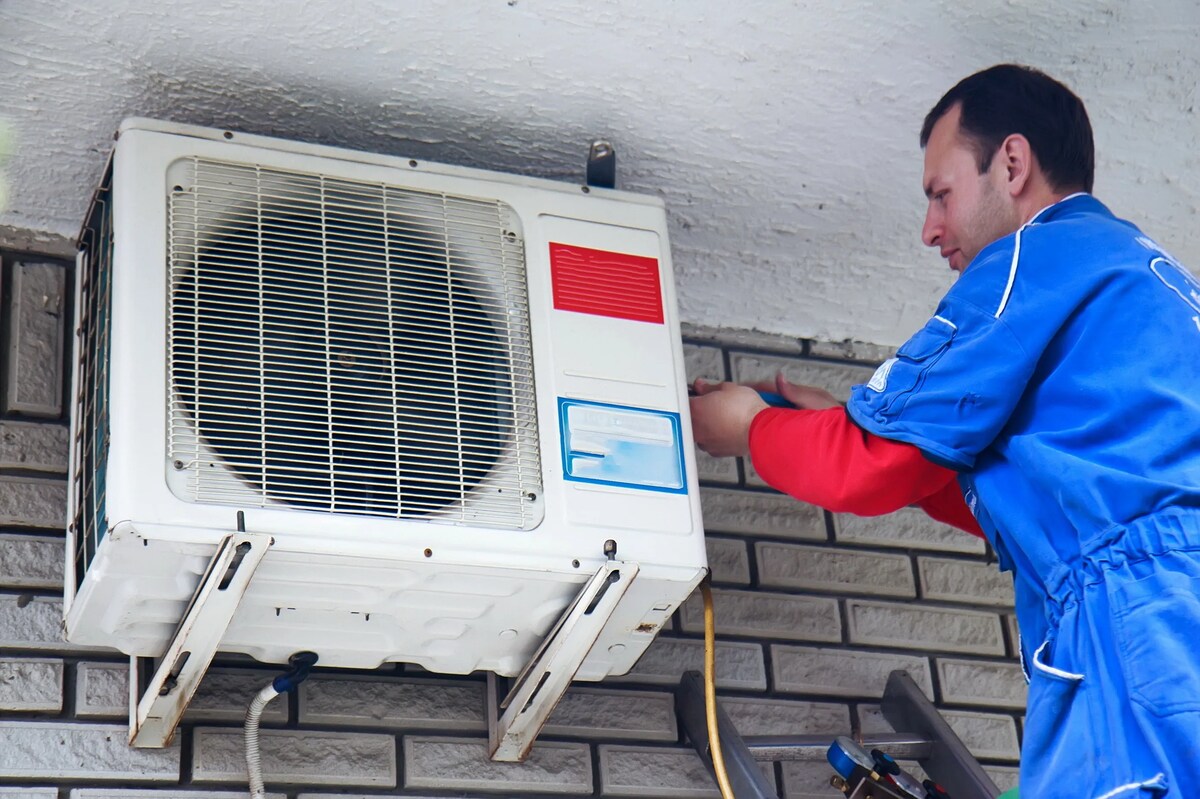
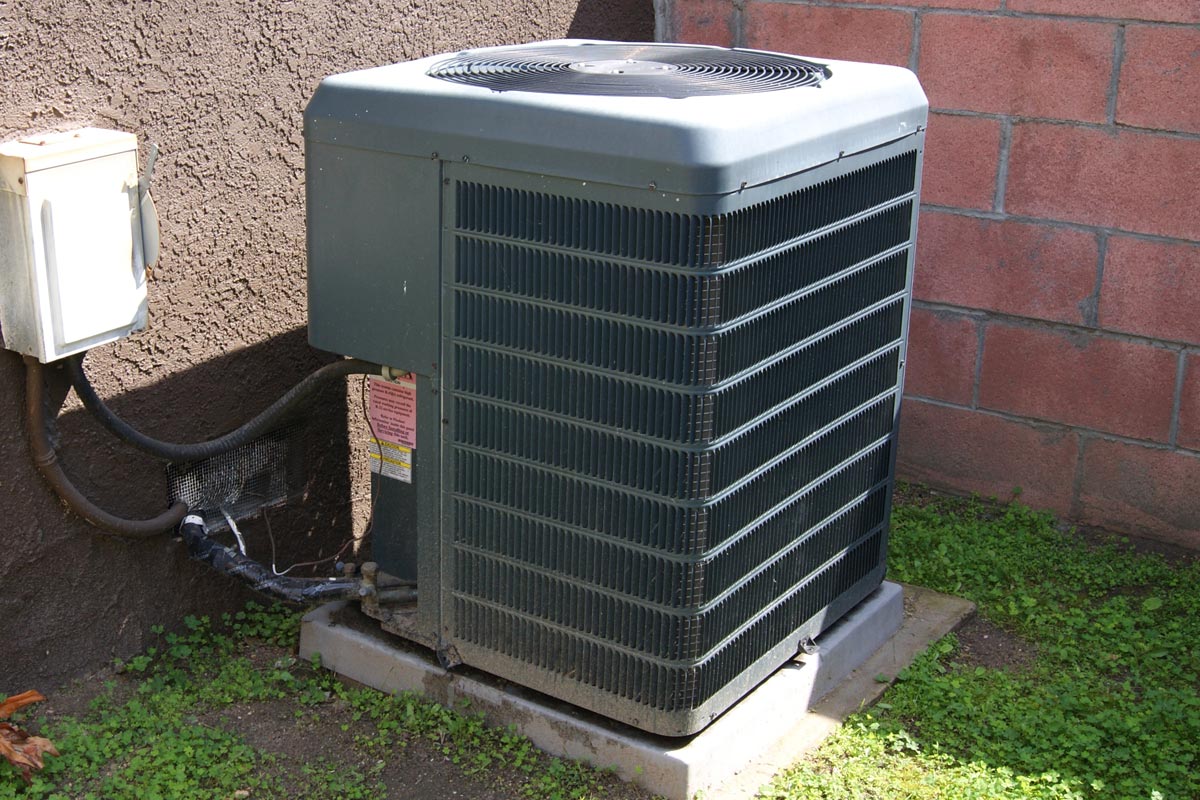
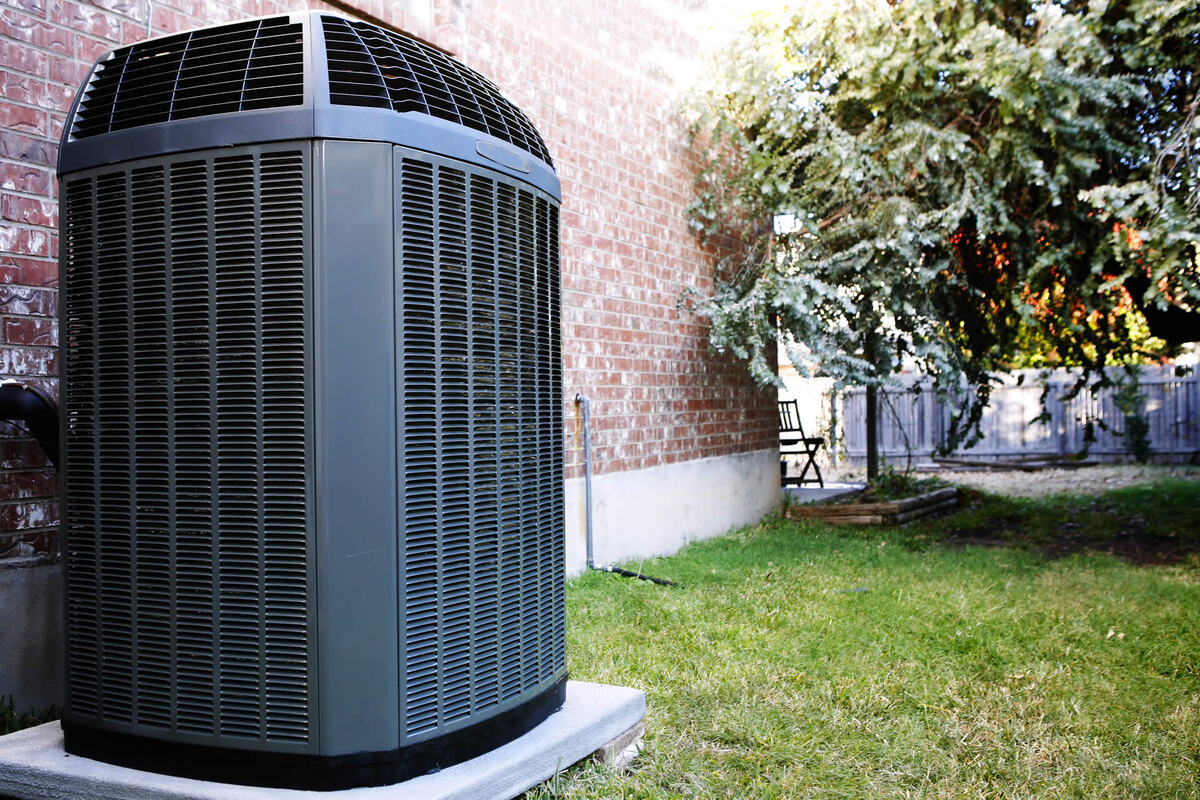
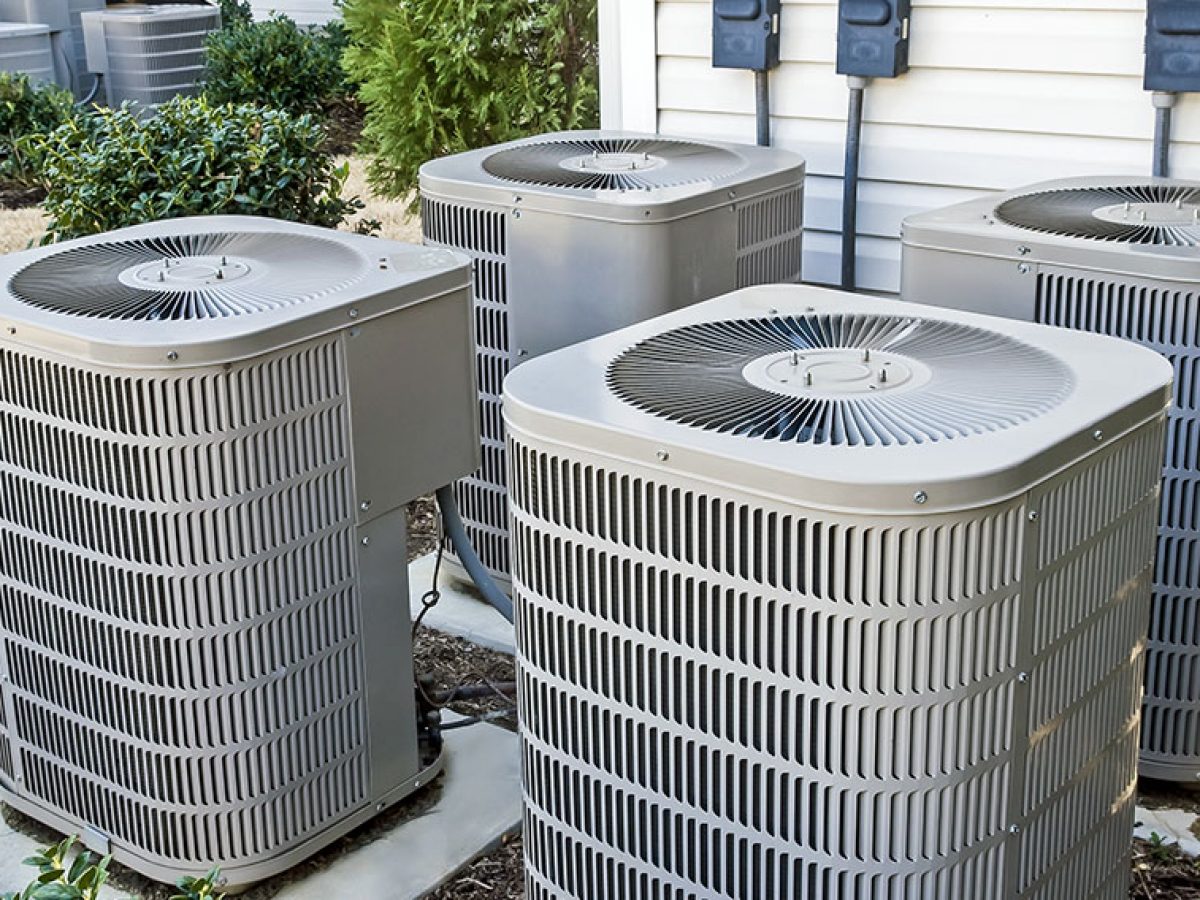
Step 6: Installing the Outdoor Unit
The outdoor unit of your central air conditioning system is responsible for expelling heat and circulating refrigerant to cool the air. Installing the outdoor unit correctly is crucial to ensure optimal performance and longevity of your system. Follow these steps to install the outdoor unit:
- Select an appropriate location: Choose a suitable location for the outdoor unit. It should be placed on a stable surface, such as a concrete pad or brackets, and have sufficient clearance from walls, vegetation, and other obstructions.
- Clear the area: Clear the installation area of any debris, leaves, or vegetation that could restrict airflow or impede the unit’s operation. Ensure there is enough space for proper ventilation around the unit.
- Install the condenser pad or brackets: If using a condenser pad, place it on the designated installation area. If using brackets, securely attach them to the surface to provide a stable base for the outdoor unit.
- Place the outdoor unit: Carefully place the outdoor condensing unit on the pad or brackets. Ensure that it is level and stable to prevent vibrations and excessive noise during operation.
- Connect the refrigerant lines: Connect the refrigerant lines from the indoor unit to the outdoor unit. Carefully follow the manufacturer’s instructions to ensure proper connection and sealing. Use insulated sleeves to protect the refrigerant lines and enhance energy efficiency.
- Secure the unit: Once the refrigerant lines are connected, secure the outdoor unit in place. Depending on the model and manufacturer’s instructions, this may involve fastening screws or bolts to hold the unit firmly onto the condenser pad or brackets.
- Make electrical connections: Connect the electrical wiring from the outdoor unit to the main power supply. Follow the manufacturer’s guidelines and consult an electrician if needed to ensure correct wiring and compliance with local electrical codes.
- Ensure proper airflow: Confirm that no obstructions, such as plants or debris, are blocking the airflow of the outdoor unit. Clear any nearby vegetation and maintain a minimum clearance of at least 2 feet on all sides for optimal airflow.
- Test the unit: Once the installation is complete, perform a thorough test to ensure that the outdoor unit is functioning correctly. Listen for any unusual noises and check for proper air circulation. Additionally, monitor the refrigerant lines for any leaks.
Proper installation of the outdoor unit is essential to ensure efficient cooling and the longevity of your central air conditioning system. Refer to the manufacturer’s instructions, follow safety guidelines, and consult a professional HVAC technician if needed to ensure a successful installation.
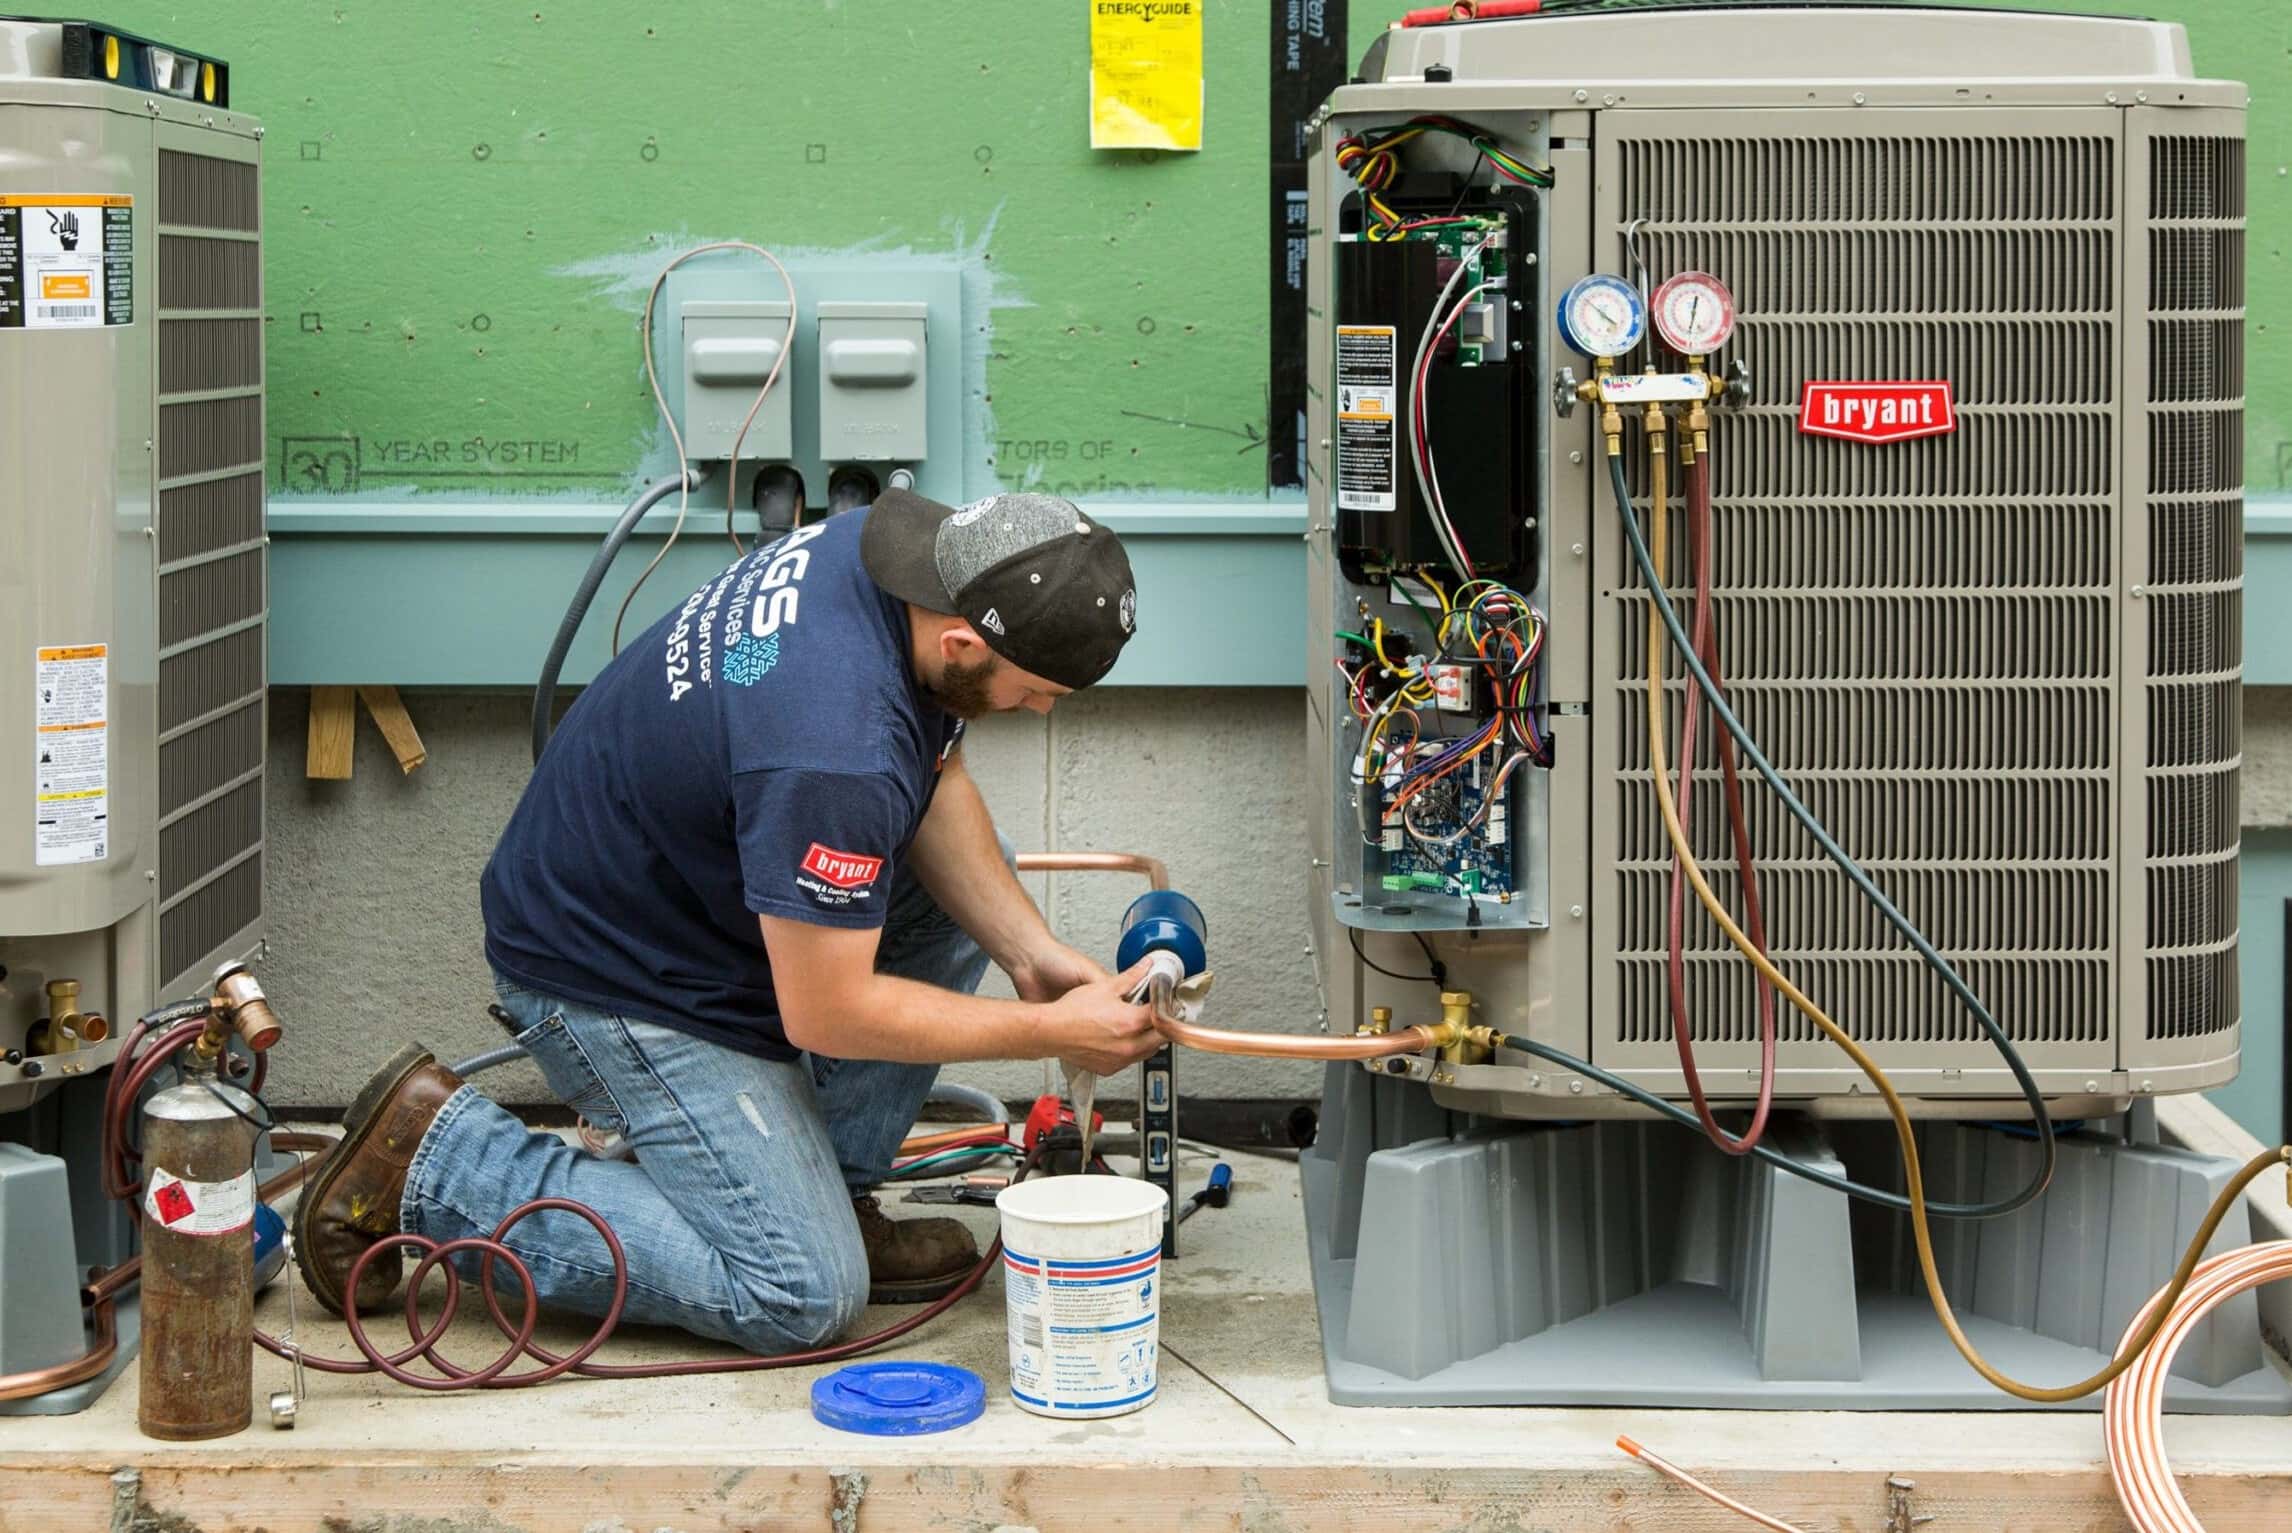
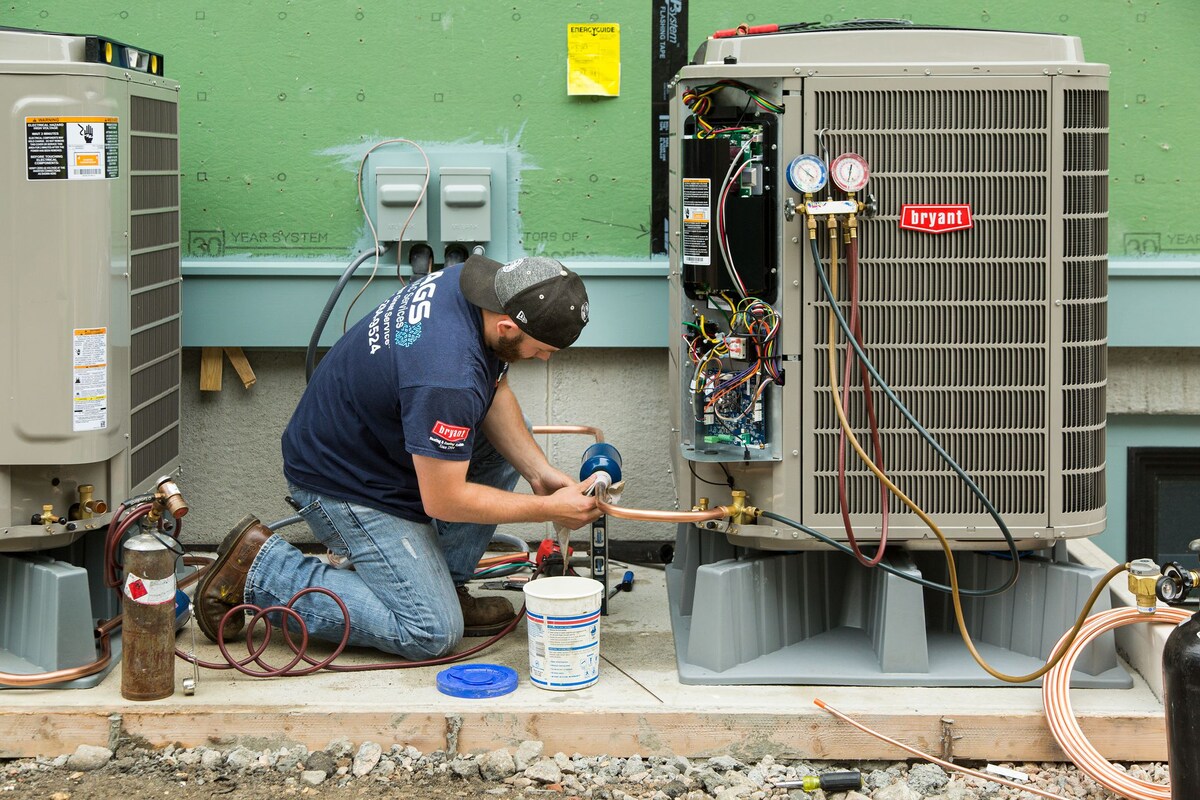
Step 7: Connecting the Refrigerant Lines
Connecting the refrigerant lines is a critical step in the installation of your central air conditioning system. These lines carry the refrigerant between the indoor and outdoor units, allowing for heat exchange and the cooling of your home. Follow these steps to connect the refrigerant lines:
- Measure and cut the refrigerant lines: Measure the distance between the indoor and outdoor units and cut the copper refrigerant lines to the appropriate length. Use a tubing cutter to ensure clean and precise cuts.
- Flare the ends of the refrigerant lines: Use a flaring tool to create flares at the ends of the copper refrigerant lines. Flaring ensures a tight and durable connection between the lines and the units.
- Remove any burrs: After flaring, remove any burrs or rough edges from the refrigerant lines with a reaming tool or fine-grit sandpaper. This prevents any obstruction or damage to the system during the connection process.
- Apply flux and solder the connections: Apply flux to the flared ends of the refrigerant lines and the fittings on the units. Use a torch to heat the joint and melt solder onto the connection. Ensure a secure and leak-free bond by evenly distributing the solder around the joint.
- Connect the refrigerant lines to the indoor unit: Attach the flared end of the smaller refrigerant line (known as the liquid line) to the corresponding fitting on the indoor unit. Use a wrench to tighten the connection, ensuring a snug fit without overtightening.
- Connect the refrigerant lines to the outdoor unit: Attach the flared end of the larger refrigerant line (known as the suction line) to the appropriate fitting on the outdoor unit. Again, use a wrench to secure the connection, taking care not to damage the fittings.
- Insulate the refrigerant lines: Wrap the exposed portion of the refrigerant lines with insulation. Use insulation sleeves or tape designed specifically for HVAC applications to prevent heat gain or loss and enhance energy efficiency.
- Test for leaks: After connecting the refrigerant lines, perform a thorough leak test to ensure that all connections are secure and free of any leaks. Apply a soapy water solution to the connections and observe for any bubbling, indicating a leak. If a leak is detected, recheck and tighten the connections.
It’s essential to follow proper procedures and adhere to manufacturer guidelines when connecting the refrigerant lines. Improper connections can result in refrigerant leaks, inefficiency, or even damage to the system. If you’re unsure or uncomfortable with the process, it’s recommended to consult with a professional HVAC technician for assistance.
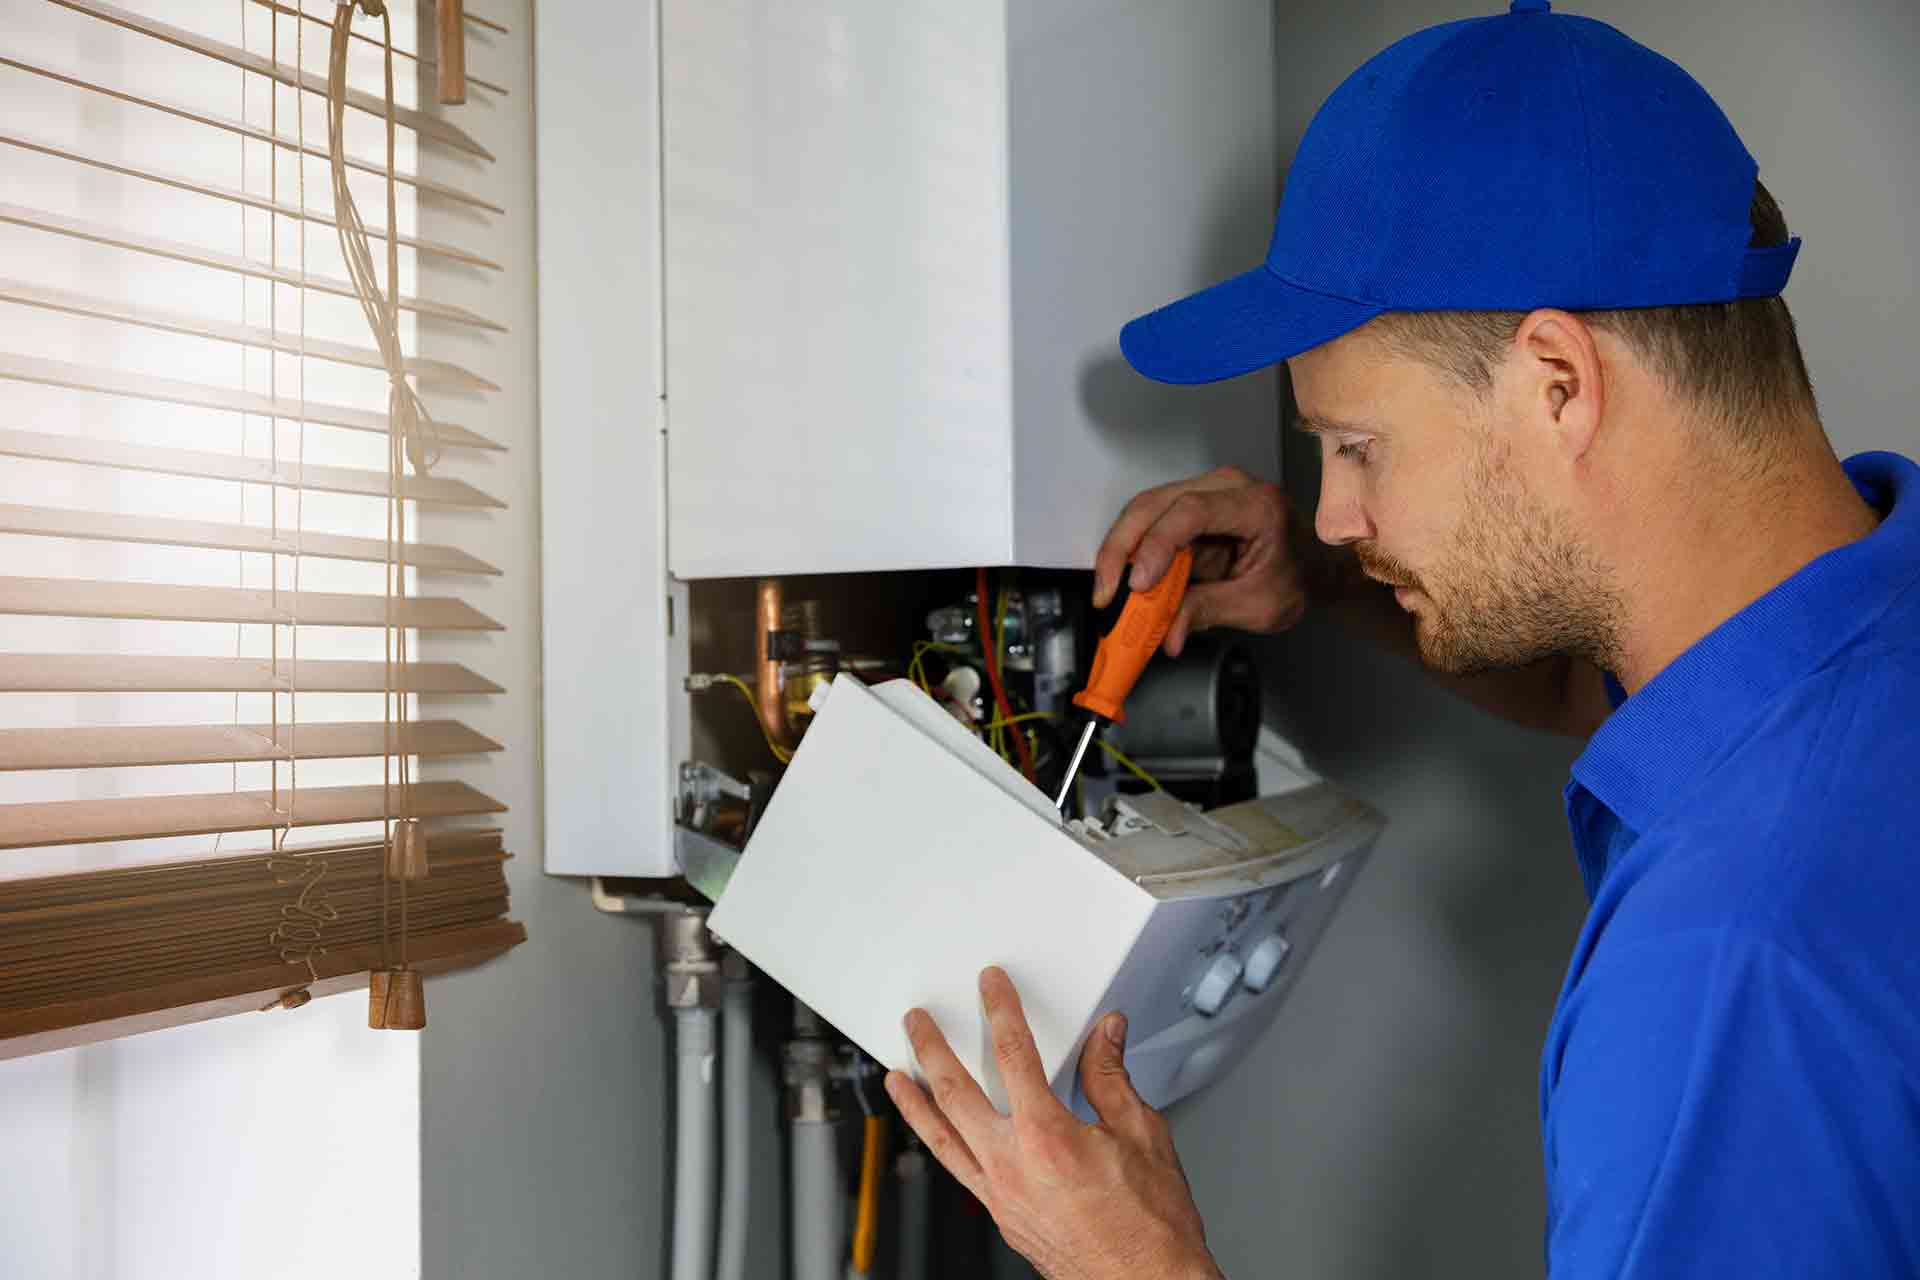
Step 8: Wiring and Electrical Connections
Wiring and electrical connections play a crucial role in the proper functioning and safety of your central air conditioning system. It is important to handle electrical components with caution and ensure correct wiring procedures. Follow these steps to wire and make electrical connections for your central air conditioning system:
- Turn off the power: Before working with any electrical components, turn off the power supply to the area where the installation is taking place. Locate the main electrical panel and flip the circuit breaker or remove the appropriate fuse to ensure safety.
- Prepare the electrical wiring: Follow the manufacturer’s instructions and any local electrical codes to determine the appropriate size and type of electrical wiring needed for the system. Ensure you have the correct gauge and length of electrical wire to connect the units.
- Route the electrical wire: Run the electrical wire from the main electrical panel to the outdoor unit. Use secure wiring methods, such as conduit or cable protectors, to protect the wire from damage and ensure a neat and professional installation.
- Make electrical connections at the outdoor unit: Connect the electrical wire to the appropriate terminals on the outdoor unit. Typically, there will be designated terminals for the power supply and ground connection. It is essential to follow the manufacturer’s instructions and consult an electrician if you are not familiar with electrical work.
- Connect the electrical wire to the indoor unit: Run the electrical wire from the outdoor unit to the indoor unit, following safe wiring practices. Make the necessary electrical connections at the indoor unit, ensuring proper matching of wires and terminals.
- Secure the electrical connections: Once the connections are made, secure them tightly using the appropriate electrical connectors. Ensure that all connections are properly insulated and protected from exposure to moisture or other potential sources of damage.
- Verify the electrical connections: Double-check all electrical connections to ensure they are secure and correctly wired. Carefully inspect for any loose or exposed wires, and correct any issues before proceeding further.
- Restore power and test the system: After completing the electrical connections, restore power to the system by turning on the circuit breaker or replacing the fuse. With caution, test the system to ensure all electrical components are functioning properly. Check for any error codes or abnormal behavior and make any necessary adjustments or repairs.
Electrical work can be hazardous if not done correctly. If you are not comfortable or experienced with electrical work, it is strongly recommended to consult a licensed electrician to handle the wiring and electrical connections for your central air conditioning system. Safety should always be the top priority when working with electricity.
Read more: How To Pick A Central Air Conditioning Unit
Step 9: Testing and Troubleshooting
Once the installation and wiring of your central air conditioning system are complete, it’s time to move on to testing and troubleshooting. This step is crucial to ensure that the system is functioning correctly and to address any potential issues that may arise. Follow these steps to test and troubleshoot your central air conditioning system:
- Turn on the power: Make sure the power supply to the system is restored, and all circuit breakers or fuses are in the on position. Verify that the system has power and is ready for testing.
- Test the thermostat: Set the thermostat to the desired temperature and verify that it sends the correct signals to the system. Monitor the response of the system and ensure that it starts and stops as expected based on the thermostat settings.
- Check airflow and temperature: Monitor the airflow from the vents and ensure that it’s consistent and strong. Use a thermometer to measure the temperature of the air coming out of the vents. Verify that the air is cold and matches the temperature settings on the thermostat.
- Inspect for leaks or unusual noises: Carefully inspect the indoor and outdoor units for any signs of refrigerant leaks, such as oil stains or wet spots. Listen for any unusual noises, vibrations, or rattling that may indicate loose components or other issues.
- Monitor performance over time: Allow the system to run for an extended period, such as several hours, and monitor its performance. Verify that the cooling is consistent and that the system maintains the desired temperature throughout your home.
- Troubleshoot any issues: If you encounter any problems during testing, refer to the manufacturer’s troubleshooting guide or consult with an HVAC professional. Common issues could include insufficient cooling, poor airflow, unusual odors, or error codes displayed on the system.
- Addressing troubleshooting issues: If troubleshooting reveals a problem, do not attempt to fix it on your own unless you are experienced in HVAC repairs. Contact a professional technician who can diagnose and resolve the issue safely and efficiently.
- Maintain regular maintenance: Once the system is up and running smoothly, establish a regular maintenance schedule. This includes cleaning or replacing air filters, maintaining proper airflow, scheduling professional inspections, and addressing any maintenance tasks recommended by the manufacturer.
Regular testing and troubleshooting ensure that your central air conditioning system operates efficiently, providing consistent cooling and optimal comfort. If you encounter any issues or are unsure about any aspect of the testing and troubleshooting process, it’s best to consult with a professional HVAC technician to avoid causing further damage or compromising the system’s performance.
Step 10: Finalizing the Installation
As you reach the final step of installing your central air conditioning system, it’s time to wrap up the installation process and ensure everything is in order. Follow these steps to effectively finalize the installation:
- Inspect the installation: Conduct a thorough inspection of the entire installation to ensure that all components are properly installed and secured. Check for any loose connections, leaks, or potential hazards. Make any necessary adjustments or corrections as needed.
- Clean up the work area: Tidy up the installation area, both indoors and outdoors. Remove any tools, debris, or packaging materials. Leaving the work area clean and organized will leave a positive final impression and reduce the risk of accidents or damage in the future.
- Review the manufacturer’s instructions: Spend some time reviewing the manufacturer’s recommended maintenance guidelines and any warranty information. Familiarize yourself with the necessary maintenance tasks and intervals to keep your system in top condition.
- Create a maintenance schedule: Establish a maintenance schedule for your air conditioning system. This may include regular filter changes, cleaning coils, scheduling professional tune-ups, and other recommended maintenance tasks. Keep track of these tasks to ensure your system operates efficiently and to prolong its lifespan.
- Take note of the system’s details: Record important information such as the make, model, and serial numbers of the units, as well as the installation date and any warranty details. Store this information in a safe and easily accessible location for future reference.
- Consider registering the warranty: If applicable, consider registering your central air conditioning system’s warranty. This can protect you against unforeseen issues and allow for easy access to warranty services should the need arise.
- Educate yourself on usage and troubleshooting: Take the time to familiarize yourself with the operating instructions and settings of your central air conditioning system. Understand how to adjust temperature settings, switch between cooling modes, and troubleshoot common issues. This knowledge will empower you to use and maintain your system effectively.
- Enjoy your new cooling system: With the installation complete, it’s time to enjoy the comfort and benefits of your newly installed central air conditioning system. Revel in the cool atmosphere it provides, and experience the relief from hot summer temperatures and humidity.
By following these final steps, you can ensure a smooth and successful installation of your central air conditioning system. Regular maintenance and proper use of your system will keep it performing optimally, keeping you comfortable for years to come.
Conclusion
Congratulations on successfully completing the installation of your central air conditioning unit! By following the steps outlined in this guide, you’ve learned how to assess your home’s cooling needs, choose the right unit, gather the necessary tools and materials, prepare your home, and install the indoor and outdoor units. You’ve also connected the refrigerant lines, wired the electrical connections, tested and troubleshooted the system, and finalized the installation.
Installing a central air conditioning system can greatly enhance your home’s comfort, especially during those hot summer months. It provides efficient cooling, better indoor air quality, and increased energy efficiency, leading to lower utility bills. With proper installation and regular maintenance, your new system will ensure optimal performance and longevity.
Remember, if you encounter any difficulties during the installation or are unsure about any aspect, it’s important to consult with a professional HVAC technician. They can provide expert guidance, ensure compliance with local codes, and address any specific challenges your home may present.
Now that your central air conditioning system is up and running, be sure to maintain it regularly. Keep up with recommended maintenance tasks, such as filter changes and professional inspections, to keep your system operating efficiently. Familiarize yourself with the system’s settings and troubleshooting procedures, allowing you to address any issues that may arise promptly.
Enjoy the cool and refreshing comfort that your new central air conditioning system brings to your home. Stay cool, save energy, and savor the relief from the scorching summer heat. With proper care and maintenance, your central air conditioning unit will keep you comfortable for many years to come.
Frequently Asked Questions about How To Install Central Air Conditioning Units
Was this page helpful?
At Storables.com, we guarantee accurate and reliable information. Our content, validated by Expert Board Contributors, is crafted following stringent Editorial Policies. We're committed to providing you with well-researched, expert-backed insights for all your informational needs.