Home>Home Maintenance>How To Charge A Central Air Conditioning System
Home Maintenance
How To Charge A Central Air Conditioning System
Modified: March 6, 2024
Learn how to properly charge your central air conditioning system with this comprehensive guide on home maintenance. Ensure optimal performance and efficiency for your cooling system.
(Many of the links in this article redirect to a specific reviewed product. Your purchase of these products through affiliate links helps to generate commission for Storables.com, at no extra cost. Learn more)
Introduction
Welcome to the ultimate guide on how to charge a central air conditioning system! If you’re experiencing issues with your AC not providing enough cooling or if it’s not working efficiently, it might be time to recharge the system. In this comprehensive article, we will walk you through the process step-by-step, ensuring that you have all the knowledge and tools necessary to get the job done.
A central air conditioning system is a complex and vital component of any home. It helps to regulate indoor temperatures, keeping us comfortable and cool during hot summer months. However, over time, the system can lose refrigerant, resulting in a decreased cooling capacity. This may lead to higher energy bills and discomfort in your living space.
Charging your central air conditioning system involves replenishing the refrigerant in the system, restoring it to the optimal levels. This process requires some technical knowledge and specific tools, but fear not – with our guidance, you’ll be able to tackle this maintenance task like a pro.
Before we dive into the steps involved in charging a central air conditioning system, it’s important to note that if you’re not comfortable working with HVAC systems or if you’re unsure of your skills, it’s always best to contact a professional HVAC technician. They have the expertise and experience to ensure the job is done safely and correctly.
Now, let’s get started on understanding your central air conditioning system and why it’s important to regularly check and recharge it.
Key Takeaways:
- Keep your central air conditioning system running efficiently by checking for leaks and damages before recharging. Regular maintenance ensures optimal cooling and lower energy bills.
- Gather the necessary tools and materials, and follow the step-by-step process to safely recharge your central air conditioning system for a cool and comfortable home.
Read more: What Is Central Air Conditioning System
Understanding the Central Air Conditioning System
Before diving into the process of charging the central air conditioning system, it’s essential to have a basic understanding of how it works. This knowledge will help you grasp the importance of regular maintenance and recharging.
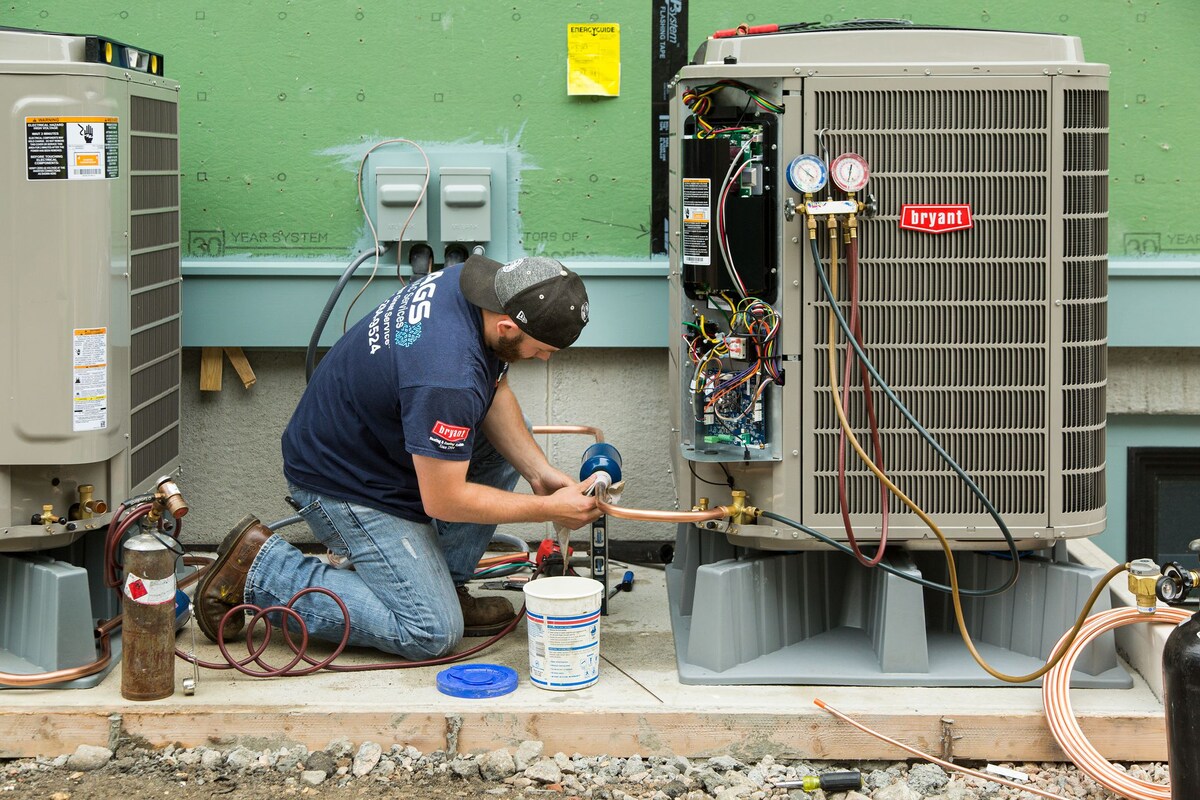
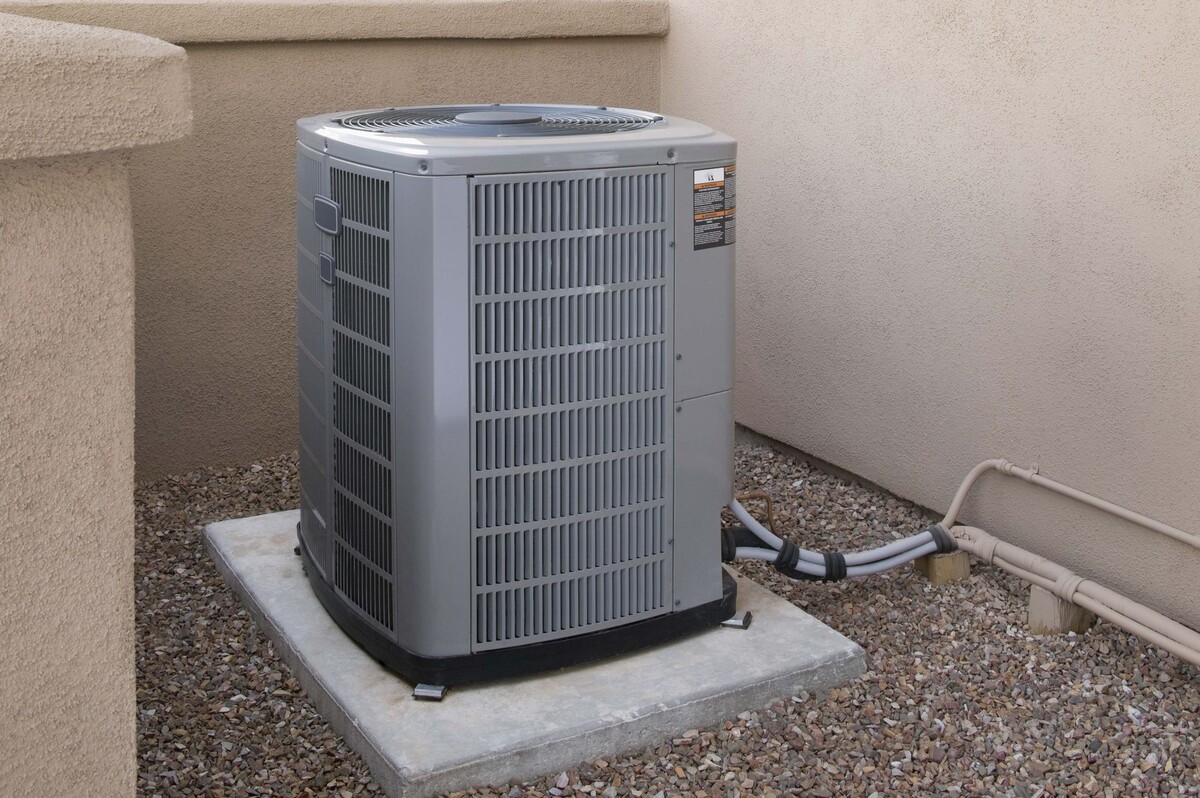
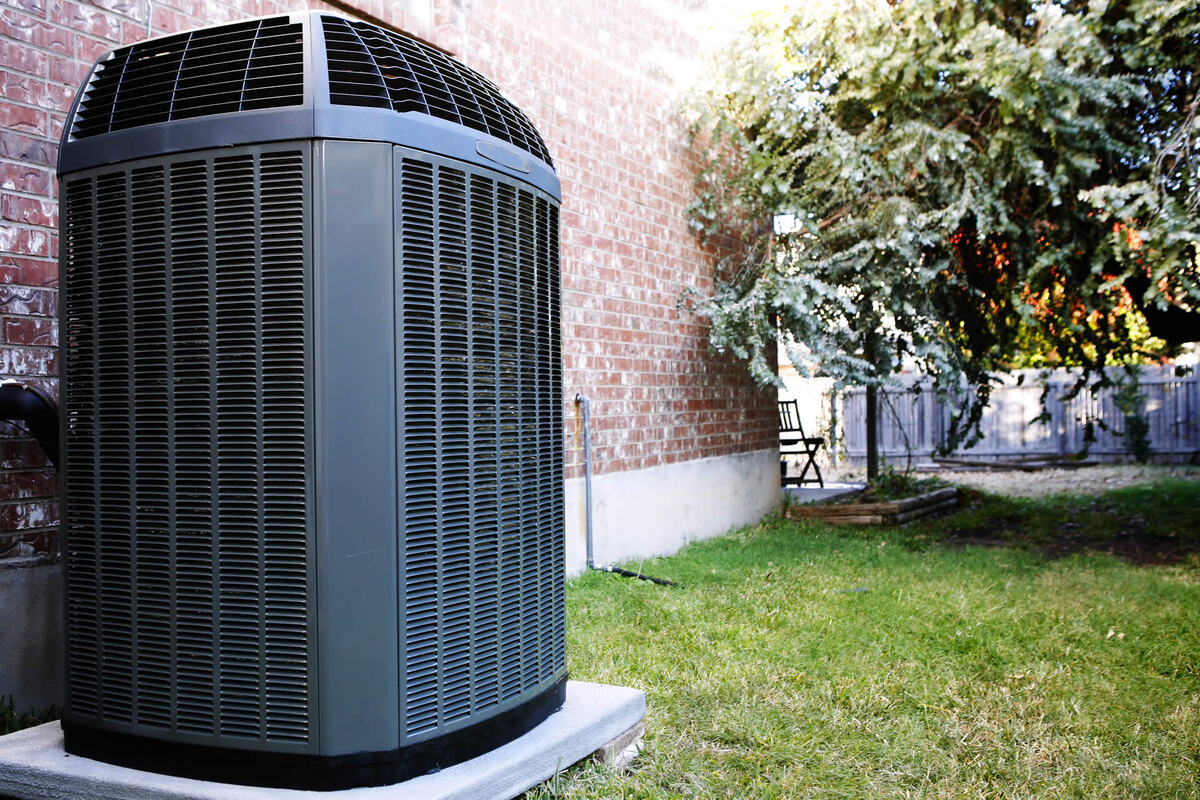
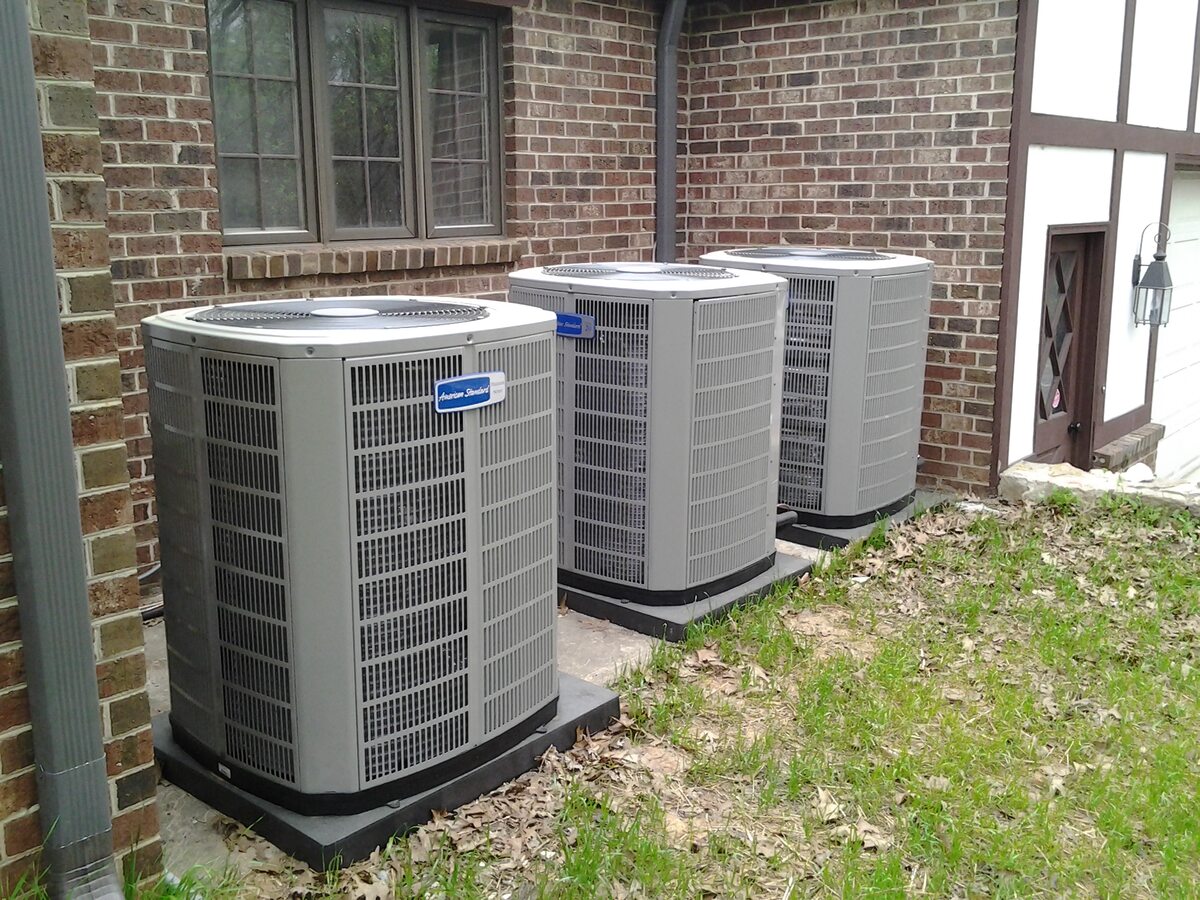
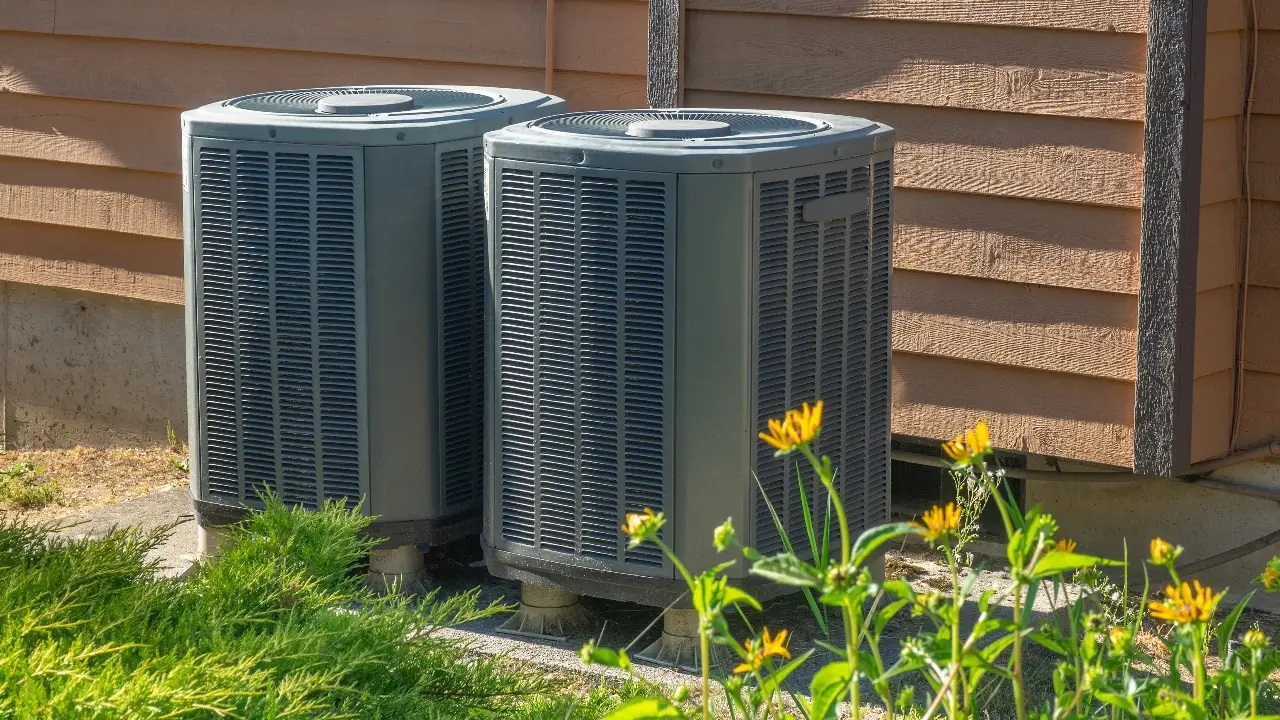
A central air conditioning system consists of two main components: the condenser unit, usually located outside the house, and the evaporator coil, typically found in the indoor unit. These components work together to circulate refrigerant and extract heat from the air, cooling your home in the process.
The refrigerant (often a chemical called R-22 or R-410A) plays a crucial role in the cooling process. It is responsible for absorbing heat from the indoor air, transforming it from a gas to a liquid state, and then releasing the heat outside through the condenser unit. As the refrigerant flows through the system, it undergoes changes in pressure and temperature to facilitate the heat exchange, resulting in cool air being circulated back into your home.
Over time, the refrigerant level in your system can deplete due to small leaks or normal wear and tear. When the refrigerant level drops below the recommended amount, your system’s cooling capacity decreases, and it may struggle to maintain the desired temperature. This is where recharging becomes necessary.
Regularly checking and recharging the central air conditioning system is essential to ensure its optimal performance. When the refrigerant is at the correct level, your air conditioner will cool efficiently, resulting in improved comfort and potentially lower energy bills. Neglecting this maintenance task can lead to increased energy consumption, reduced cooling effectiveness, and even potential damage to the system.
Now that we have a better understanding of how the central air conditioning system works and why it’s crucial to maintain it, let’s move on to the next step – checking for leaks or damages that may be affecting your system’s performance.
Checking for Leaks or Damages
Before proceeding with recharging your central air conditioning system, it’s important to check for any leaks or damages that could be affecting its performance. Addressing these issues beforehand will ensure that the refrigerant you add during the charging process remains in the system and is not wasted.
Here are some steps to follow when checking for leaks or damages:
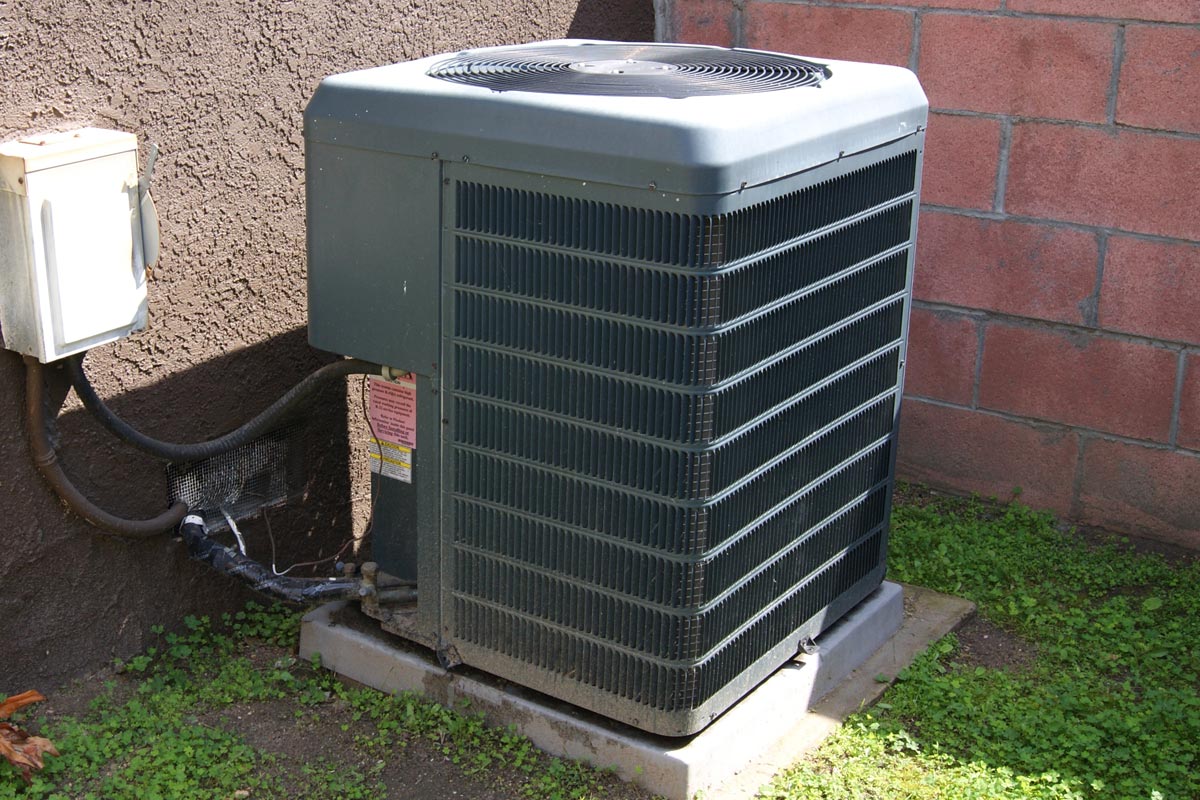
- Inspect the condenser unit: Start by examining the outdoor condenser unit. Look for any visible signs of damage, such as dented or bent fins, loose connections, or debris blocking the unit’s airflow. If you notice any issues, make the necessary repairs or contact a professional for assistance.
- Check the refrigerant lines: Inspect the refrigerant lines that connect the condenser unit to the indoor evaporator coil. Look for signs of oil stains or corrosion, which could indicate leakage. Additionally, feel the lines for any noticeable temperature differences, as cold spots might indicate refrigerant leaks.
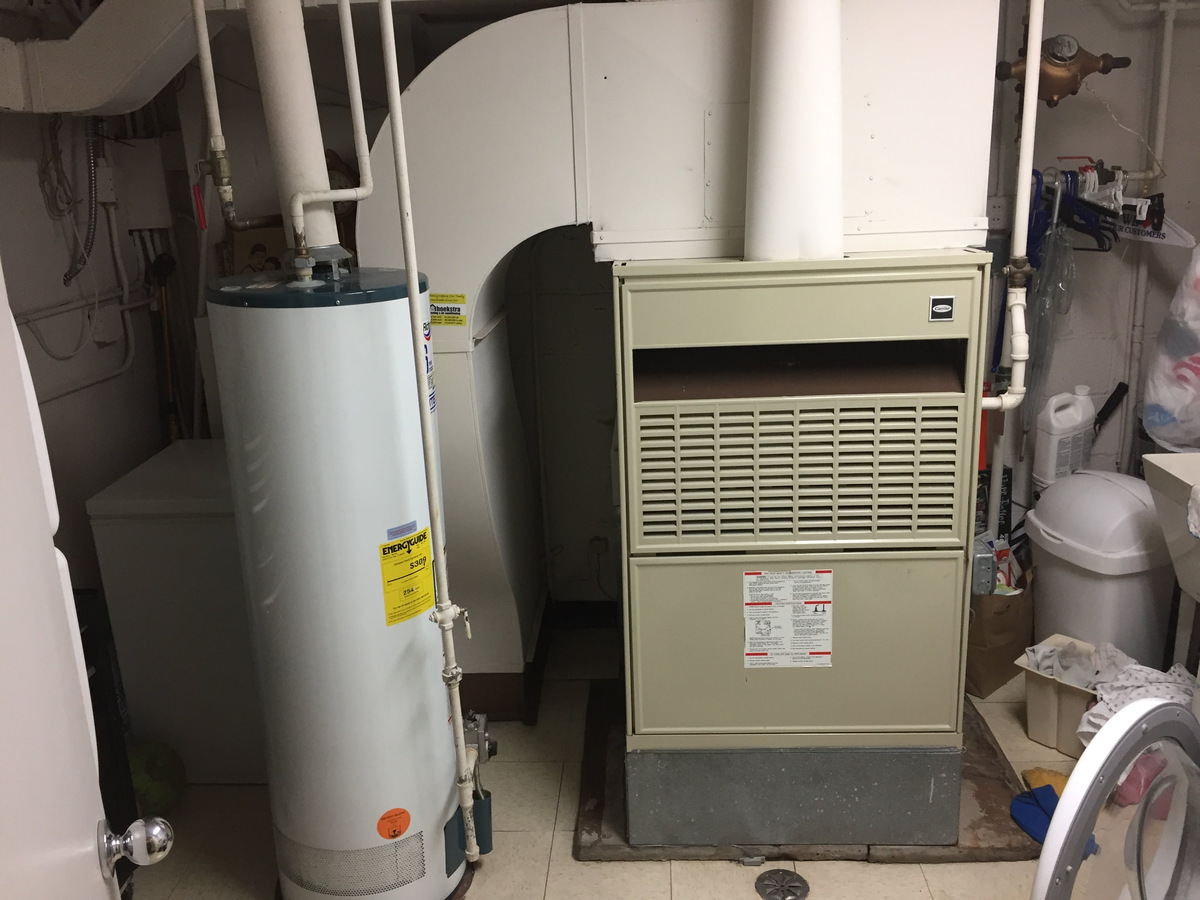
- Examine the indoor unit: Move indoors and inspect the indoor unit, usually located in the furnace or air handler. Check for any visible damage or leaks around the unit, such as water stains or wet spots. These could be signs of a leak or an issue with the condensate drain. Address any problems before proceeding with the charging process.
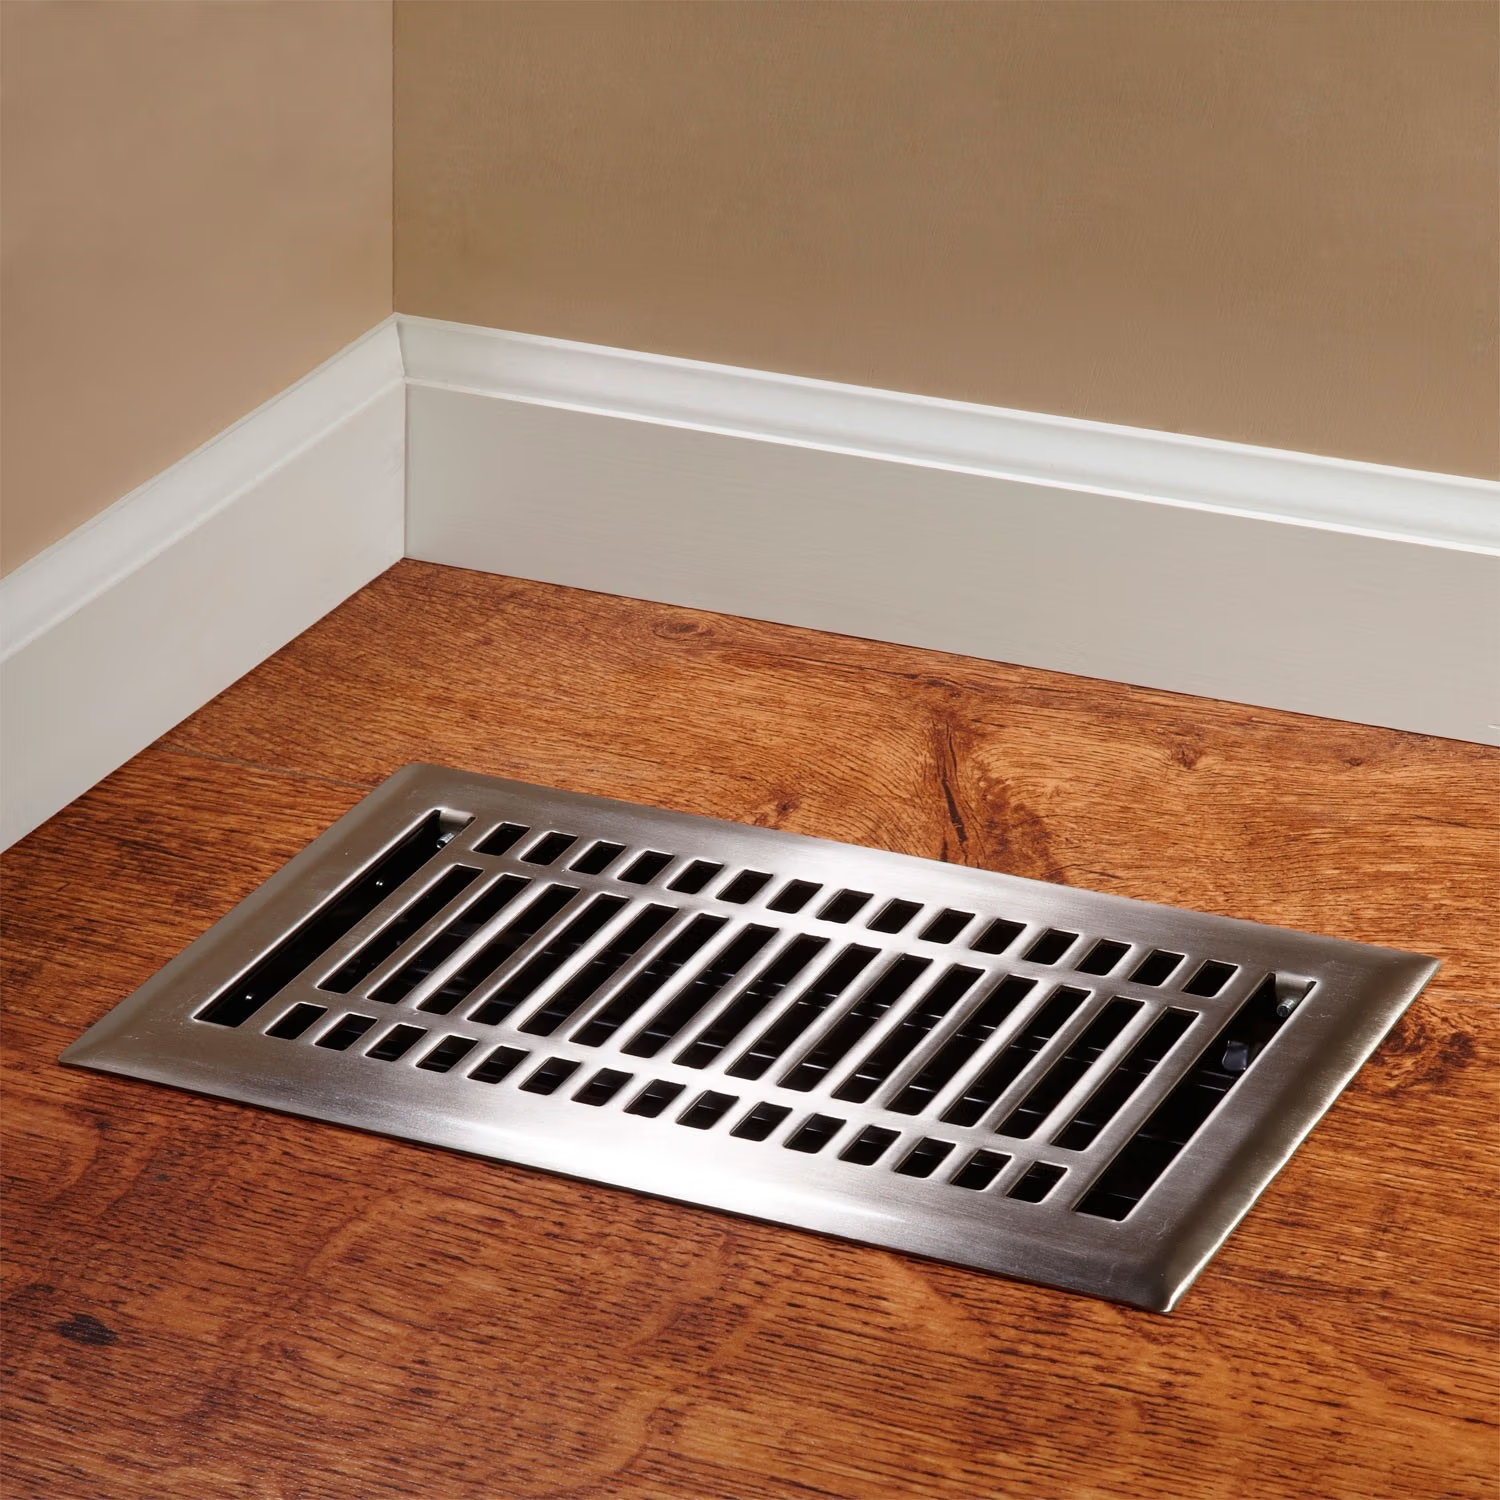
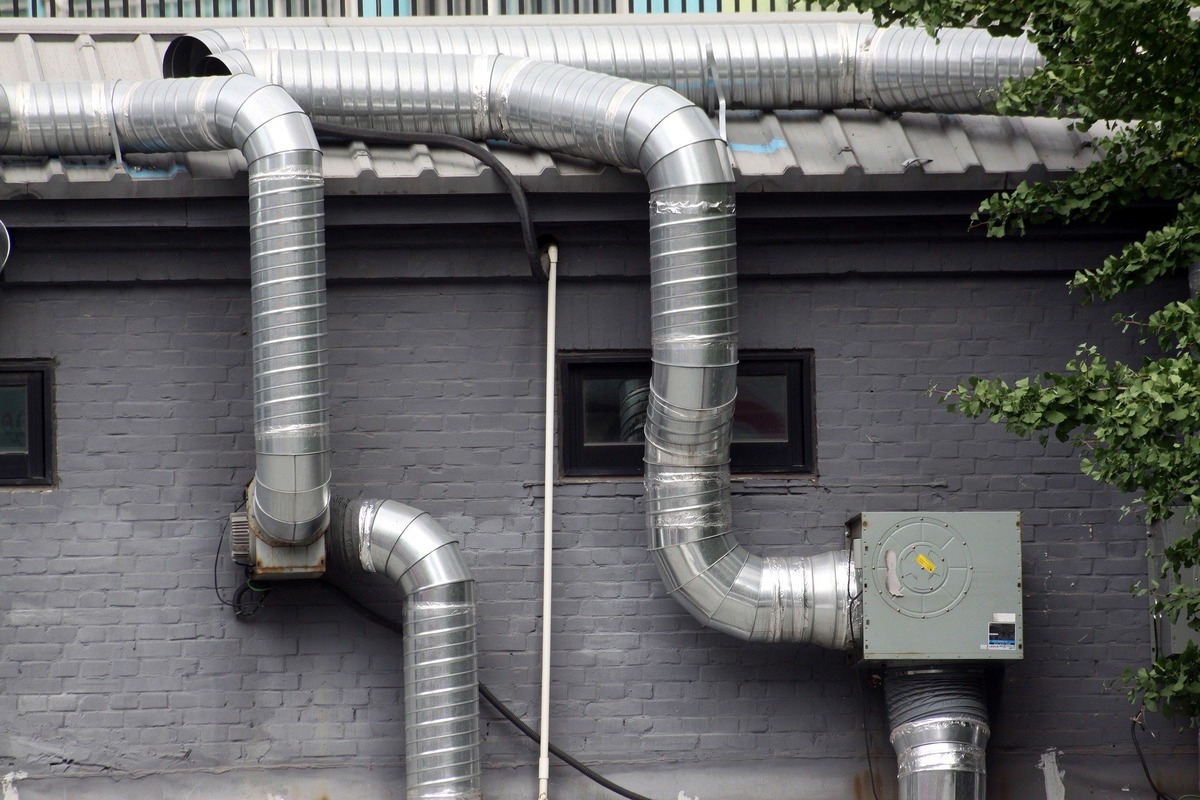
- Inspect the air ducts: Take a look at the ductwork connected to your central air conditioning system. Look for any visible leaks or gaps in the ducts that could be causing air loss. Sealing these leaks will help improve the efficiency of your system and prevent wasted energy.
- Perform a dye test: If you suspect a refrigerant leak but cannot find the source, consider performing a dye test. Add a UV dye to your system, run it for a while, and then use a UV flashlight to check for any signs of the dye around connections or components.
By thoroughly checking for leaks or damages, you’ll be able to identify and address any issues before moving forward with the recharging process. This will help ensure that the refrigerant you add remains in the system, allowing for optimal performance and efficiency.
Once you’ve confirmed that your system is free of leaks or damages, it’s time to gather the necessary tools and materials for the charging process. We’ll cover this in the next section.
Gathering the Necessary Tools and Materials
Before you begin the process of charging a central air conditioning system, it’s important to gather all the necessary tools and materials. Being prepared will help you complete the task efficiently and effectively. Here’s a list of what you’ll need:
- Refrigerant: Purchase the correct type and amount of refrigerant for your specific central air conditioning system. Refer to your system’s manual or consult with a professional to determine the appropriate refrigerant.
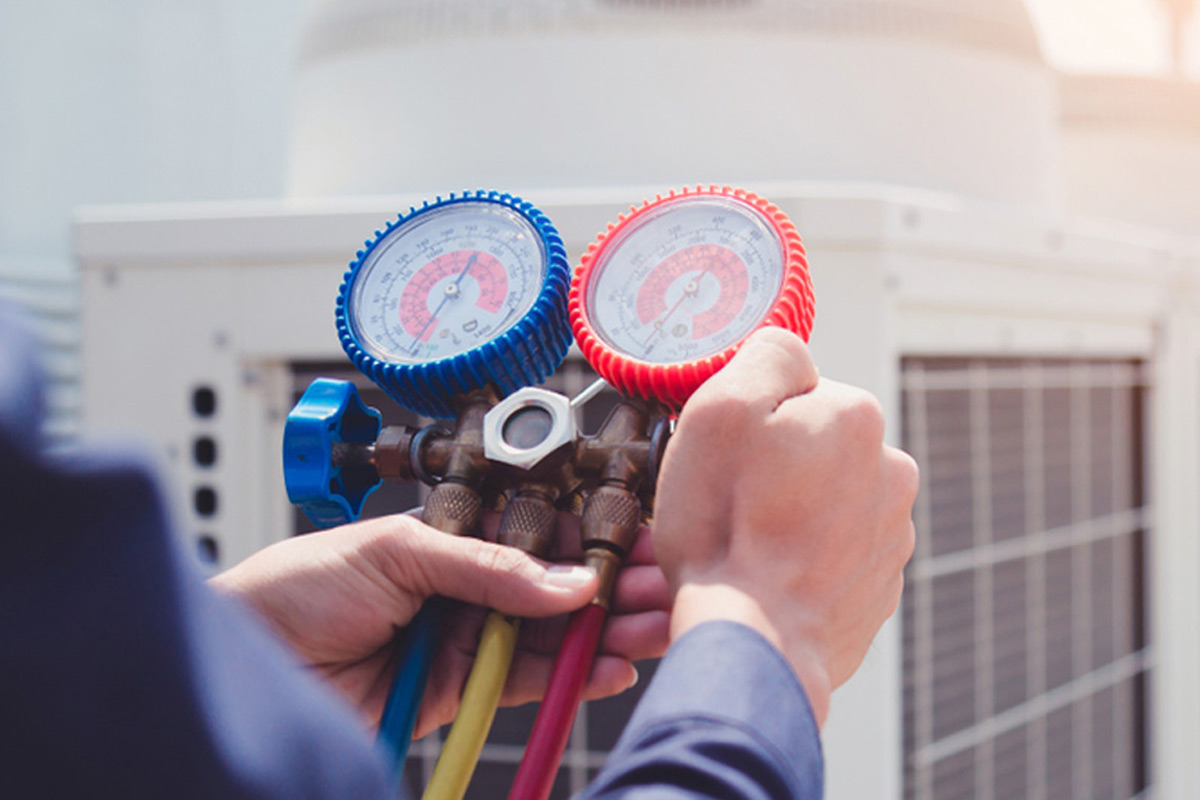
- Gauges and Charging Hose: You’ll need a set of gauges and a charging hose specifically designed for refrigerant charging. These tools allow you to measure the pressure in the system and control the flow of refrigerant.
- Safety Glasses and Gloves: It’s important to protect yourself during the charging process. Wear safety glasses to shield your eyes from any potential refrigerant leaks or splashes. Additionally, wear gloves to protect your hands from cold refrigerant and any sharp edges when handling components.
- Screwdrivers or Wrenches: Depending on your system, you may need screwdrivers or wrenches to remove access panels or secure connections during the charging process. Have a set of these tools on hand in case they are needed.
- Leak Detector: While not required, a refrigerant leak detector can be a helpful tool for identifying any leaks in your system. It uses ultraviolet light or other detection methods to locate refrigerant leaks, allowing you to address them properly.
- Protective Coverings: To prevent any accidental damage, cover nearby furniture or surfaces with plastic sheets or cloth coverings. This will protect them from any refrigerant spills or accidental contact during the charging process.
- System Manual: Always have your system’s manual on hand for reference. It will provide specific instructions and guidelines for recharging your particular central air conditioning system. If you don’t have the manual, try accessing it online or contact the manufacturer for a copy.
By gathering all the necessary tools and materials upfront, you’ll be well-prepared to charge your central air conditioning system. This will help streamline the process and ensure that you have everything you need to complete the task successfully.
With the tools and materials in hand, it’s time to prepare the system for charging, which we’ll cover in the next section.
Preparing the System for Charging
Before you start charging your central air conditioning system, it’s crucial to properly prepare the system to ensure a successful and safe charging process. Taking these preparatory steps will help to minimize any potential damage or issues and ensure that the refrigerant is added properly. Here’s what you need to do:
- Turn off the power: Begin by turning off the power to your central air conditioning system. This can usually be done by switching off the circuit breaker dedicated to the HVAC unit. Cutting off the power supply will prevent any potential mishaps or accidents during the charging process.
- Locate the access valves: Look for the access valves on your central air conditioning system. These valves are typically located near the outdoor condenser unit. There are two valves: the low-pressure valve and the high-pressure valve. Familiarize yourself with their locations and marking to avoid any confusion during the charging process.
- Remove debris and obstructions: Clear away any debris, dirt, or obstructions from around the condenser unit. Ensure that the area is clean and free from any blockages that could impede the proper flow of air or refrigerant. This will help optimize the efficiency and performance of your system.
- Clean or replace the air filter: Check the air filter and clean or replace it if necessary. A dirty or clogged air filter can hinder airflow and reduce the effectiveness of your central air conditioning system. A clean air filter ensures that cool air flows freely and efficiently throughout your home.
- Inspect and clean the evaporator coil: Carefully inspect the indoor evaporator coil and clean it if needed. Over time, the coil can accumulate dust and debris, which can restrict airflow and affect the cooling efficiency of your system. Use a soft brush or vacuum to gently clean the fins and remove any buildup.
- Inspect the refrigerant lines: Examine the refrigerant lines for any signs of damage or leaks. Insulation around the lines should be intact, and there should be no visible oil stains, corrosion, or worn-out connections. Address any issues before proceeding with the charging process.
- Check the system’s manual: Consult your central air conditioning system’s manual for any specific steps or recommendations for preparing the system for charging. Different systems may have unique requirements or considerations during this stage, so it’s important to follow the manufacturer’s guidelines.
By properly preparing your central air conditioning system for charging, you’ll ensure that the process goes smoothly and without any complications. Taking the time to clean and inspect the system will help optimize its performance and prolong its lifespan.
Once you have completed the preparatory steps, you are now ready to move on to the next stage: connecting the charging hose. This will bring us closer to successfully recharging your central air conditioning system.
Regularly check and clean the air filters in your central air conditioning system to ensure proper airflow and efficiency.
Read more: How To Pick A Central Air Conditioning Unit
Connecting the Charging Hose
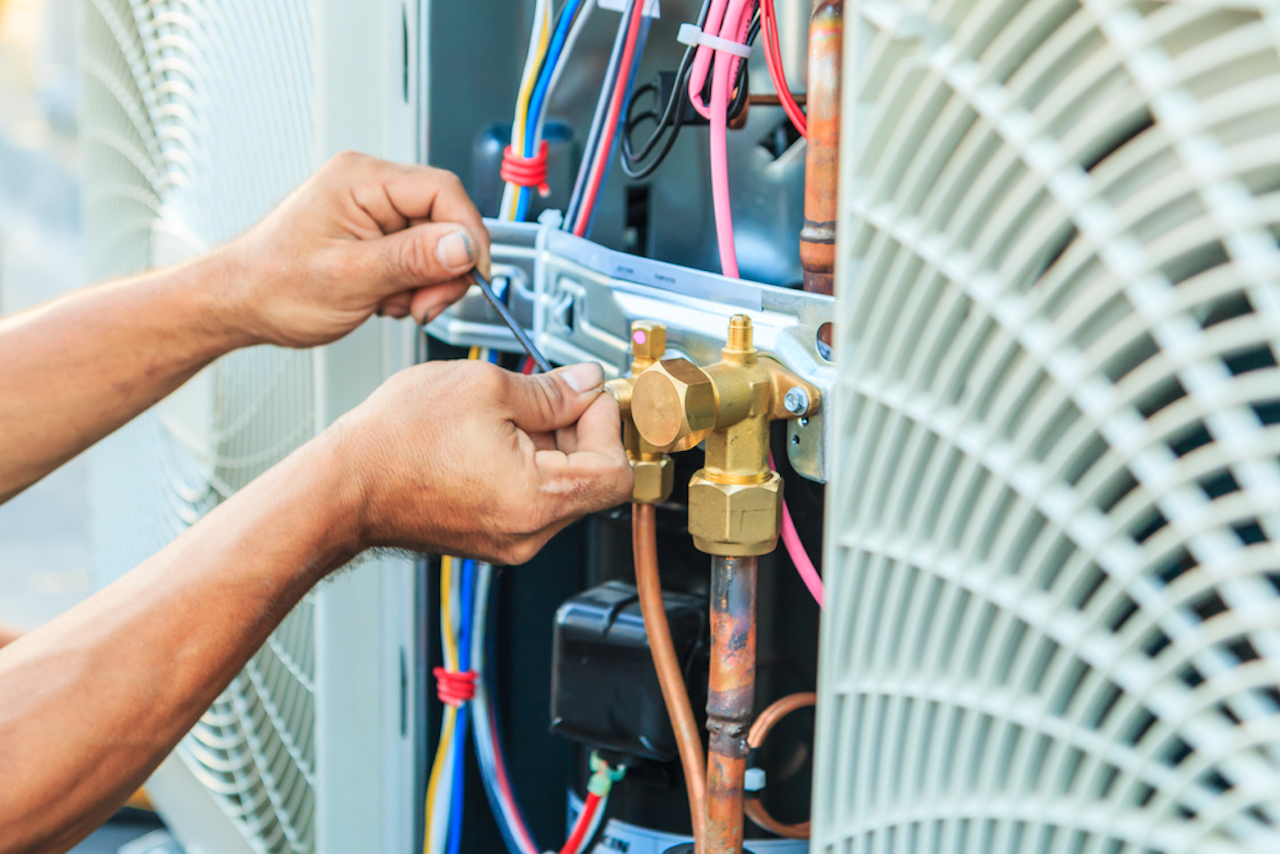
Now that you have prepared your central air conditioning system for charging, it’s time to connect the charging hose. The charging hose is a crucial component that allows you to introduce refrigerant into the system in a controlled manner. Follow these steps to connect the charging hose properly:
- Locate the service valves: Identify the service valves on your central air conditioning system. These valves are usually located near the access valves that you identified earlier. The service valves control the flow of refrigerant into the system.
- Attach the charging hose: Take the charging hose and attach it to the service valve that corresponds to the refrigerant you are using. Typically, the low-pressure service valve is used for recharging. Ensure that the connection is secure and tight to prevent any leaks or loss of refrigerant.
- Attach the other end of the charging hose: Attach the other end of the charging hose to the refrigerant canister. Make sure that it is securely connected to prevent any refrigerant from escaping during the charging process.
- Open the service valve: Slowly and carefully open the service valve on the charging hose. This will allow the flow of refrigerant into the system. Pay attention to any pressure readings on the gauges and be cautious not to overcharge the system. Refer to your system’s manual or consult with a professional to determine the appropriate pressure levels.
- Purge the charging hose: Before introducing the refrigerant into the system, it’s important to purge the charging hose. This removes any air or moisture in the hose that could contaminate the refrigerant. To do this, briefly open the low-pressure valve and allow a small amount of refrigerant to pass through. Close the valve once the air is purged.
- Verify the connection: Once the charging hose is connected and the system is ready, double-check all the connections to ensure that they are tight and secure. This will prevent any refrigerant from leaking during the charging process.
By diligently following these steps, you will be able to connect the charging hose to your central air conditioning system correctly. This will enable you to proceed with checking the pressure, adding refrigerant, and ultimately recharging the system to its optimal level. Remember to exercise caution and refer to the manufacturer’s guidelines for specific instructions related to your system.
Next, we will discuss how to check the pressure and add refrigerant to your central air conditioning system.
Checking the Pressure and Adding Refrigerant
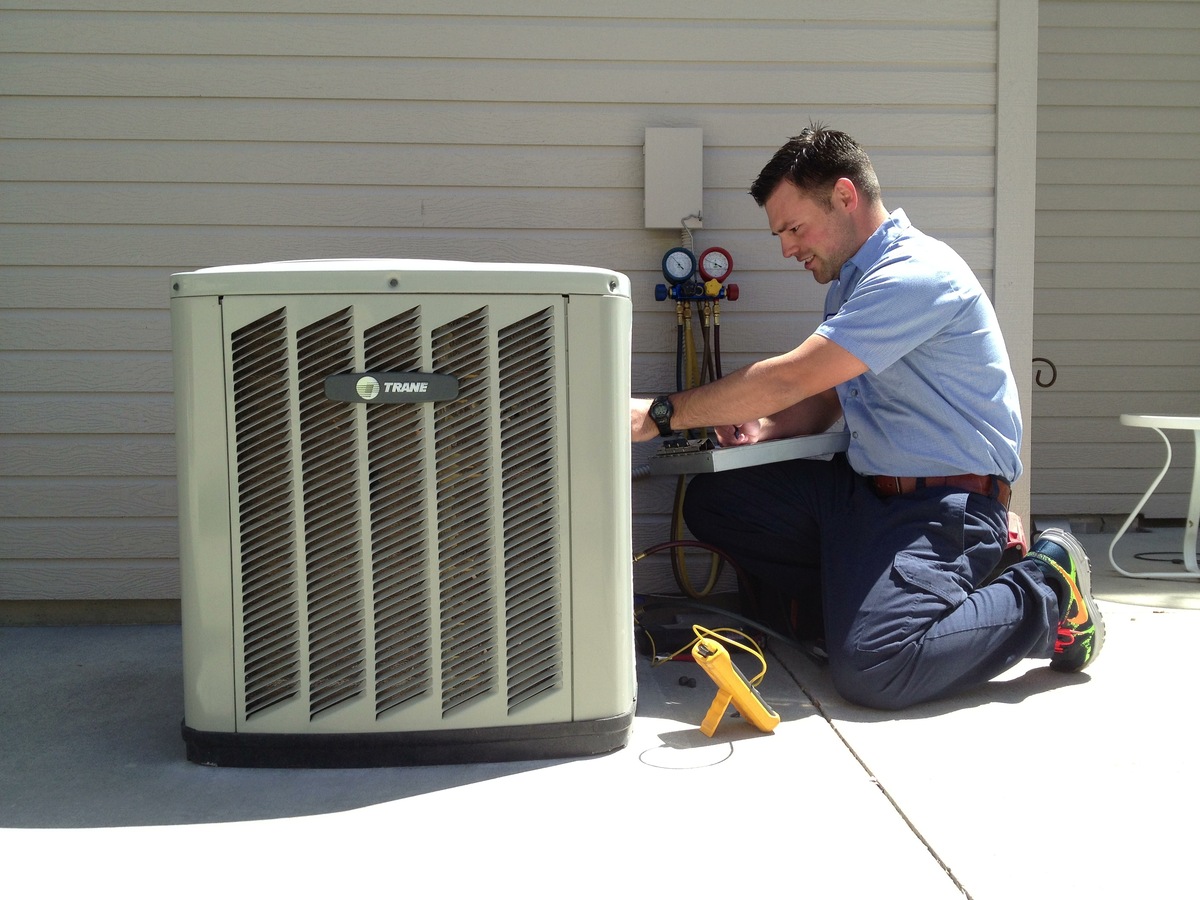
With the charging hose properly connected, you are now ready to check the pressure and add refrigerant to your central air conditioning system. Carefully follow these steps to ensure a smooth and successful charging process:
- Turn on the power: Before checking the pressure, turn on the power to your central air conditioning system. This will allow the system to start running and give more accurate pressure readings.
- Observe the gauges: Look at the gauges connected to the charging hose. There are two gauges: the low-pressure gauge and the high-pressure gauge. Take note of the readings on both gauges.
- Check the pressure: Compare the pressure readings on the gauges to the recommended pressure range specified in your system’s manual. If the pressure is too low, it indicates a low refrigerant level and the need for recharging.
- Add refrigerant: If the pressure is below the recommended range, slowly add refrigerant to the system. Follow the instructions provided with the refrigerant canister, ensuring that you are adding the correct type and amount of refrigerant.
- Monitor the pressure: As you add refrigerant, keep a close eye on the pressure readings on the gauges. Aim to bring the pressure within the specified range. Avoid overcharging the system, as this can lead to potential damage and reduced efficiency.
- Close the service valve: Once the pressure is within the recommended range, close the service valve on the charging hose to stop the flow of refrigerant into the system. This will ensure that the system is not overcharged.
- Check for leaks: After adding the refrigerant, carefully inspect the connections and components for any signs of leaks. Use a leak detector or perform a visual inspection to ensure that no refrigerant is escaping from the system.
It’s important to note that while adding refrigerant can help restore the system’s cooling capacity, it’s crucial to identify and address any underlying leaks or issues. If you suspect a leak or if the refrigerant continually depletes, it’s best to contact a professional HVAC technician to inspect and repair the system.
By following these steps and closely monitoring the pressure readings, you will be able to add the appropriate amount of refrigerant and bring your central air conditioning system back to its optimal performance level.
Finally, let’s move on to the last section – monitoring the system and wrapping up the charging process.
Monitoring the System and Finishing Up
After adding refrigerant to your central air conditioning system, it’s important to monitor it and ensure that everything is functioning correctly. This final step ensures that the charging process is successful and that your system is prepared to cool your home effectively. Follow these guidelines to monitor the system and wrap up the charging process:
- Allow the system to run: Turn on your central air conditioning system and allow it to run for a while. This will give the system time to circulate the newly added refrigerant and stabilize its operation.
- Check cooling performance: Feel the air coming from the vents to assess the cooling performance. It should now be cooler and more comfortable in your home. If you notice that the airflow or cooling is still not satisfactory, there may be other issues that need to be addressed. Consult a professional HVAC technician for further assistance.
- Monitor for any unusual sounds or odors: While the system is running, pay attention to any unusual sounds, such as squealing or rattling, as well as any strange odors. These could be signs of potential problems that require attention.
- Check for proper airflow: Ensure that the airflow from the vents is consistent and strong. If you notice weak airflow or uneven cooling, there may be issues with the ductwork or the blower motor. Consider contacting a professional for further investigation.
- Verify temperature consistency: Check the temperature throughout your home to ensure consistent cooling. If you notice significant temperature variations or hot spots, it could indicate imbalances in the system or other underlying issues.
- Secure access panels and covers: After monitoring the system and confirming its performance, securely close and secure all access panels and covers that were removed during the charging process. This ensures the system is properly sealed and protected.
- Clean up and dispose of materials: Dispose of any refrigerant canisters or other materials used during the charging process responsibly. Follow local guidelines and regulations for the proper disposal of refrigerant and other HVAC-related materials.
- Schedule regular maintenance: Charging your central air conditioning system is an essential maintenance task, but it’s not a one-time solution. Regular maintenance, including cleaning the coils, replacing filters, and checking for leaks, is crucial for optimal system performance. Consider scheduling annual maintenance with a professional HVAC technician.
By monitoring your central air conditioning system post-charging, you can ensure that it’s operating efficiently and effectively. This final step allows you to address any potential issues and make any necessary adjustments or repairs to help maintain the system’s performance and longevity.
Congratulations! You have successfully learned how to charge a central air conditioning system. Remember, if you encounter any challenges or are unsure of the process, it’s always best to seek the assistance of a qualified HVAC technician. They have the expertise to handle any complications and ensure that your system is in optimal condition.
Now, sit back, relax, and enjoy the cool and comfortable environment that your freshly charged central air conditioning system provides!
Note: It’s important to follow safety guidelines and proper procedures when working with HVAC systems. This article provides general guidance and should not replace professional advice or assistance.
Conclusion
Congratulations! You have reached the end of our comprehensive guide on how to charge a central air conditioning system. By following the steps outlined in this article, you have gained valuable knowledge on maintaining and recharging your system to ensure optimal cooling performance.
We started by understanding the central air conditioning system and the importance of regular maintenance. We then guided you through checking for leaks or damages that could affect the system’s performance. After that, we discussed the tools and materials you need to gather to prepare for the charging process.
We then delved into preparing the system itself, ensuring that it is ready to be recharged. We covered connecting the charging hose, checking the pressure, and adding refrigerant to the system. Lastly, we emphasized the importance of monitoring the system, checking for any issues, and wrapping up the charging process.
Remember, while charging a central air conditioning system can be a DIY task, it’s essential to know your limits. If you are unsure or uncomfortable with any step, it’s always best to consult with a professional HVAC technician who can provide expert guidance and assistance.
Regular maintenance and recharging of your central air conditioning system help to prolong its lifespan, ensure optimal cooling performance, and potentially reduce energy costs. So, don’t neglect this important task!
We hope this guide has empowered you to take charge of your central air conditioning system’s maintenance needs. By doing so, you can enjoy a cool and comfortable home during those hot summer months. Remember to schedule regular maintenance and inspections to keep your system running smoothly year-round.
Thank you for choosing our guide as your resource. Stay cool and take pride in your well-maintained central air conditioning system!
Frequently Asked Questions about How To Charge A Central Air Conditioning System
Was this page helpful?
At Storables.com, we guarantee accurate and reliable information. Our content, validated by Expert Board Contributors, is crafted following stringent Editorial Policies. We're committed to providing you with well-researched, expert-backed insights for all your informational needs.