Home>Home Security and Surveillance>How To Have Security Cameras Without Wifi
Home Security and Surveillance
How To Have Security Cameras Without Wifi
Modified: March 6, 2024
Looking for home security and surveillance options without wifi? Learn how to set up security cameras without wifi for added protection.
(Many of the links in this article redirect to a specific reviewed product. Your purchase of these products through affiliate links helps to generate commission for Storables.com, at no extra cost. Learn more)
Introduction
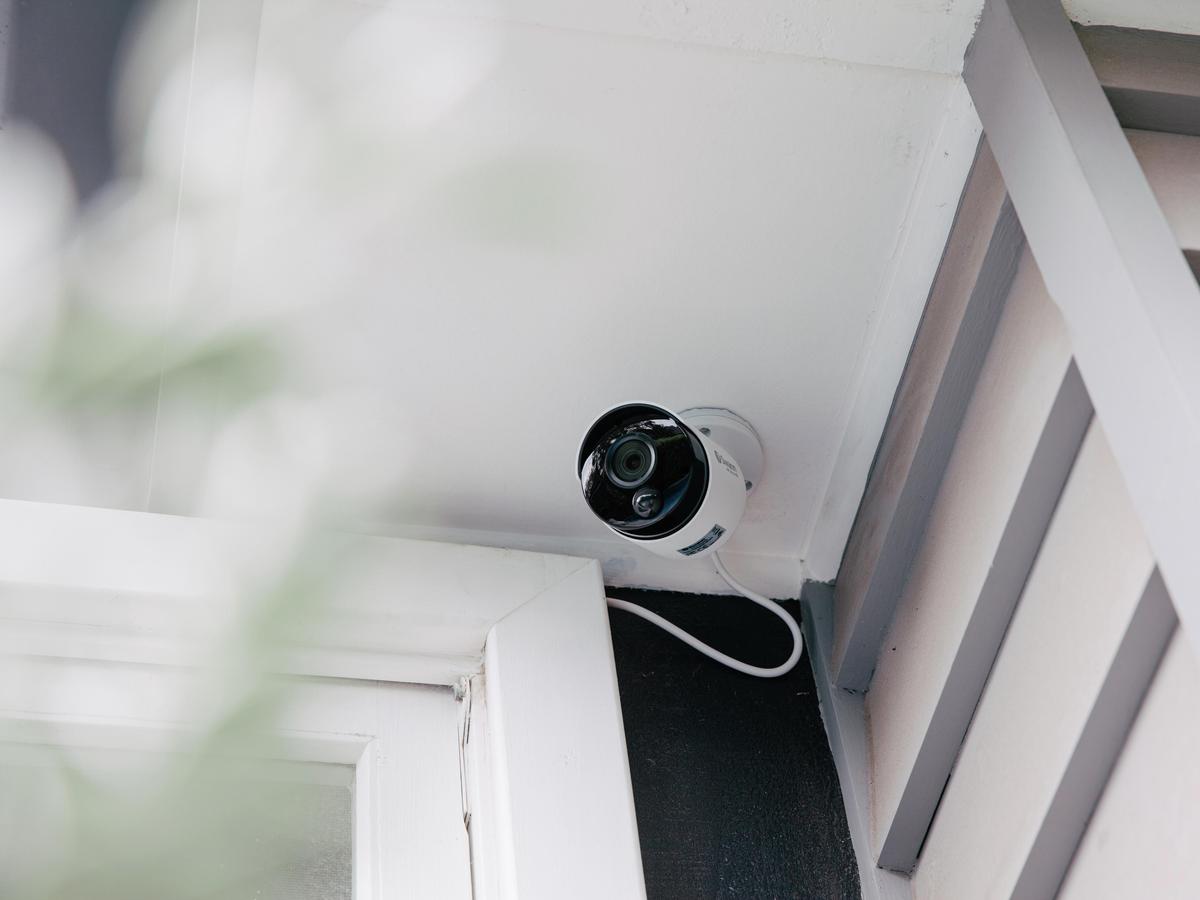
In today’s fast-paced and technology-driven world, home security cameras have become an essential component of any comprehensive home security system. These cameras provide peace of mind by allowing homeowners to monitor their property, deter potential criminals, and enhance overall safety. However, most security cameras on the market rely on a Wifi connection for operation.
While Wifi-enabled security cameras offer convenience and accessibility, they also come with certain limitations. In some cases, your home may not have a reliable Wifi signal, or you may have concerns about the security of the Wifi network. Fortunately, there are alternative options available that allow you to have security cameras without relying on Wifi.
In this article, we will explore the importance of security cameras, the limitations of Wifi-based cameras, and alternative options that offer flexibility and reliability for home surveillance.
Key Takeaways:
- Don’t worry if your home has a weak Wifi signal or if you’re concerned about Wifi security. You can still have reliable security cameras using cellular, wired IP, or battery-powered options for peace of mind.
- Whether it’s deterring criminals, monitoring loved ones, or preventing package theft, security cameras without Wifi offer flexibility and enhanced security. Consider your specific needs and explore alternative options for reliable home surveillance.
Importance of Security Cameras
Security cameras play a vital role in safeguarding your home and loved ones. They act as a deterrent to potential intruders and provide valuable evidence in the event of a break-in or other security incident. Here are some key reasons why security cameras are important:
- Crime prevention: The mere presence of security cameras can deter criminals from targeting your property. Knowing that their actions are being recorded and can be used as evidence later on is often enough to make them reconsider their plans.
- Evidence collection: In the unfortunate event of a crime, security cameras can provide critical evidence. High-quality footage can help identify suspects and improve the chances of apprehending the culprits. Additionally, this evidence can be crucial in insurance claims or legal proceedings.
- Remote monitoring: Modern security cameras come equipped with advanced features that allow homeowners to monitor their property remotely. With the help of a smartphone app or a computer, you can check the live feed and receive alerts regarding any suspicious activities, giving you peace of mind even when you’re away from home.
- Child and elderly safety: Security cameras are not just for deterring external threats; they can also be used to keep an eye on your loved ones within the confines of your home. Whether it’s monitoring your children playing or ensuring the safety of elderly family members, security cameras provide an extra layer of protection.
- Package theft prevention: With the rise of online shopping, package theft has become a common concern. By strategically placing security cameras near your front door or driveway, you can deter thieves and have recorded evidence in case a package is stolen.
- Peace of mind: Knowing that your home and family are protected by security cameras can bring a sense of security and peace of mind. It allows you to sleep better at night, knowing that you have taken proactive steps to ensure the safety of your loved ones and belongings.
Given the myriad of benefits that security cameras provide, it is crucial to have a reliable surveillance system in place. While Wifi-based security cameras are the most common choice, they may not always be suitable for every situation. In the following sections, we will explore alternative options for security cameras without relying on Wifi.
Limitations of Wifi-based Security Cameras
While Wifi-based security cameras offer convenience and ease of use, it is important to consider their limitations before making a purchase decision. Here are some common limitations associated with Wifi-based security cameras:
- Dependence on a Wifi network: Wifi-based security cameras require a stable and reliable Wifi network to function properly. If your home has a weak Wifi signal or experiences frequent network outages, the camera may lose connectivity, leading to gaps in surveillance coverage.
- Interference and signal disruptions: Wifi signals can be susceptible to interference from other electronic devices or physical obstructions such as walls and barriers. This can result in a weakened signal, leading to decreased video quality or intermittent connectivity with the security camera.
- Security vulnerabilities: Wifi networks can be vulnerable to hacking and unauthorized access. If not adequately secured, your security camera’s Wifi connection may be compromised, potentially allowing unauthorized individuals to view or tamper with your surveillance footage.
- Limited range: Wifi-based cameras generally have a limited range of connectivity. If you need to monitor areas that are far away from your Wifi router or outside the range of your home network, Wifi-based cameras may not be an effective solution.
- Power requirements: Most Wifi-based security cameras require a constant power source. This means that if there is a power outage or disruption, the camera may cease to function, leaving your property vulnerable during that time.
- Bandwidth limitations: Streaming high-quality video footage from a Wifi-based camera can consume a considerable amount of bandwidth. If you have multiple security cameras or have other devices competing for bandwidth on your network, it may result in slower internet speeds for other activities.
Considering these limitations, it becomes evident that Wifi-based security cameras may not be suitable for all situations. Fortunately, there are alternative options available that can provide reliable and secure surveillance without relying on a Wifi network. In the following sections, we will explore these options in detail.
Alternative Options for Security Cameras without Wifi
If you are looking for security cameras without relying on a Wifi connection, there are several alternative options available. These options provide flexibility, reliability, and enhanced security. Let’s explore them:
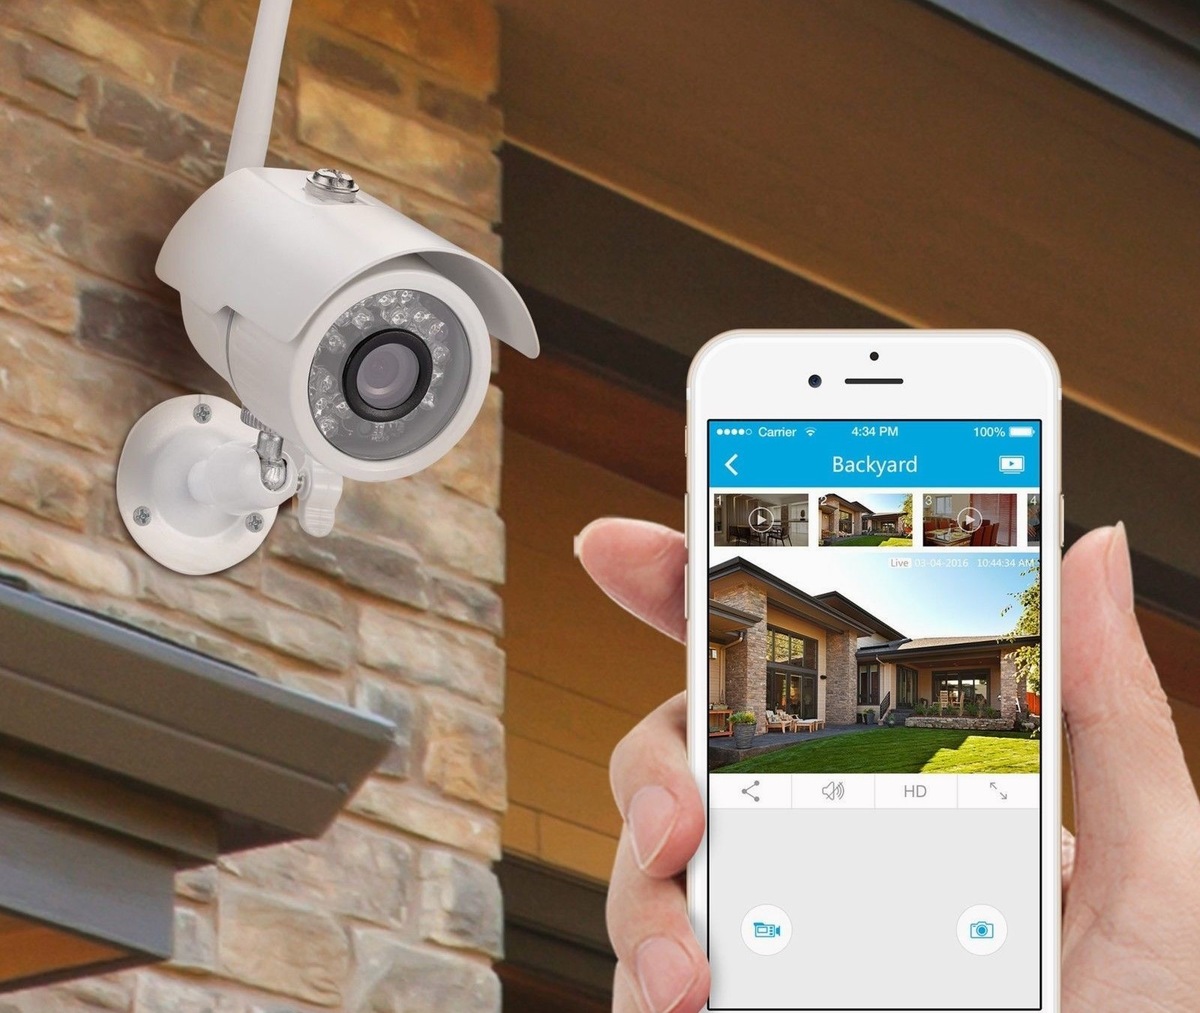
- Cellular Security Cameras: Cellular security cameras operate using a cellular network, similar to your mobile phone. These cameras use a SIM card and connect to a cellular network provider to transmit the video footage. They eliminate the need for a Wifi network and are suitable for areas with limited or no Wifi coverage. Cellular security cameras are easy to install, offer real-time monitoring, and can send alerts directly to your smartphone.
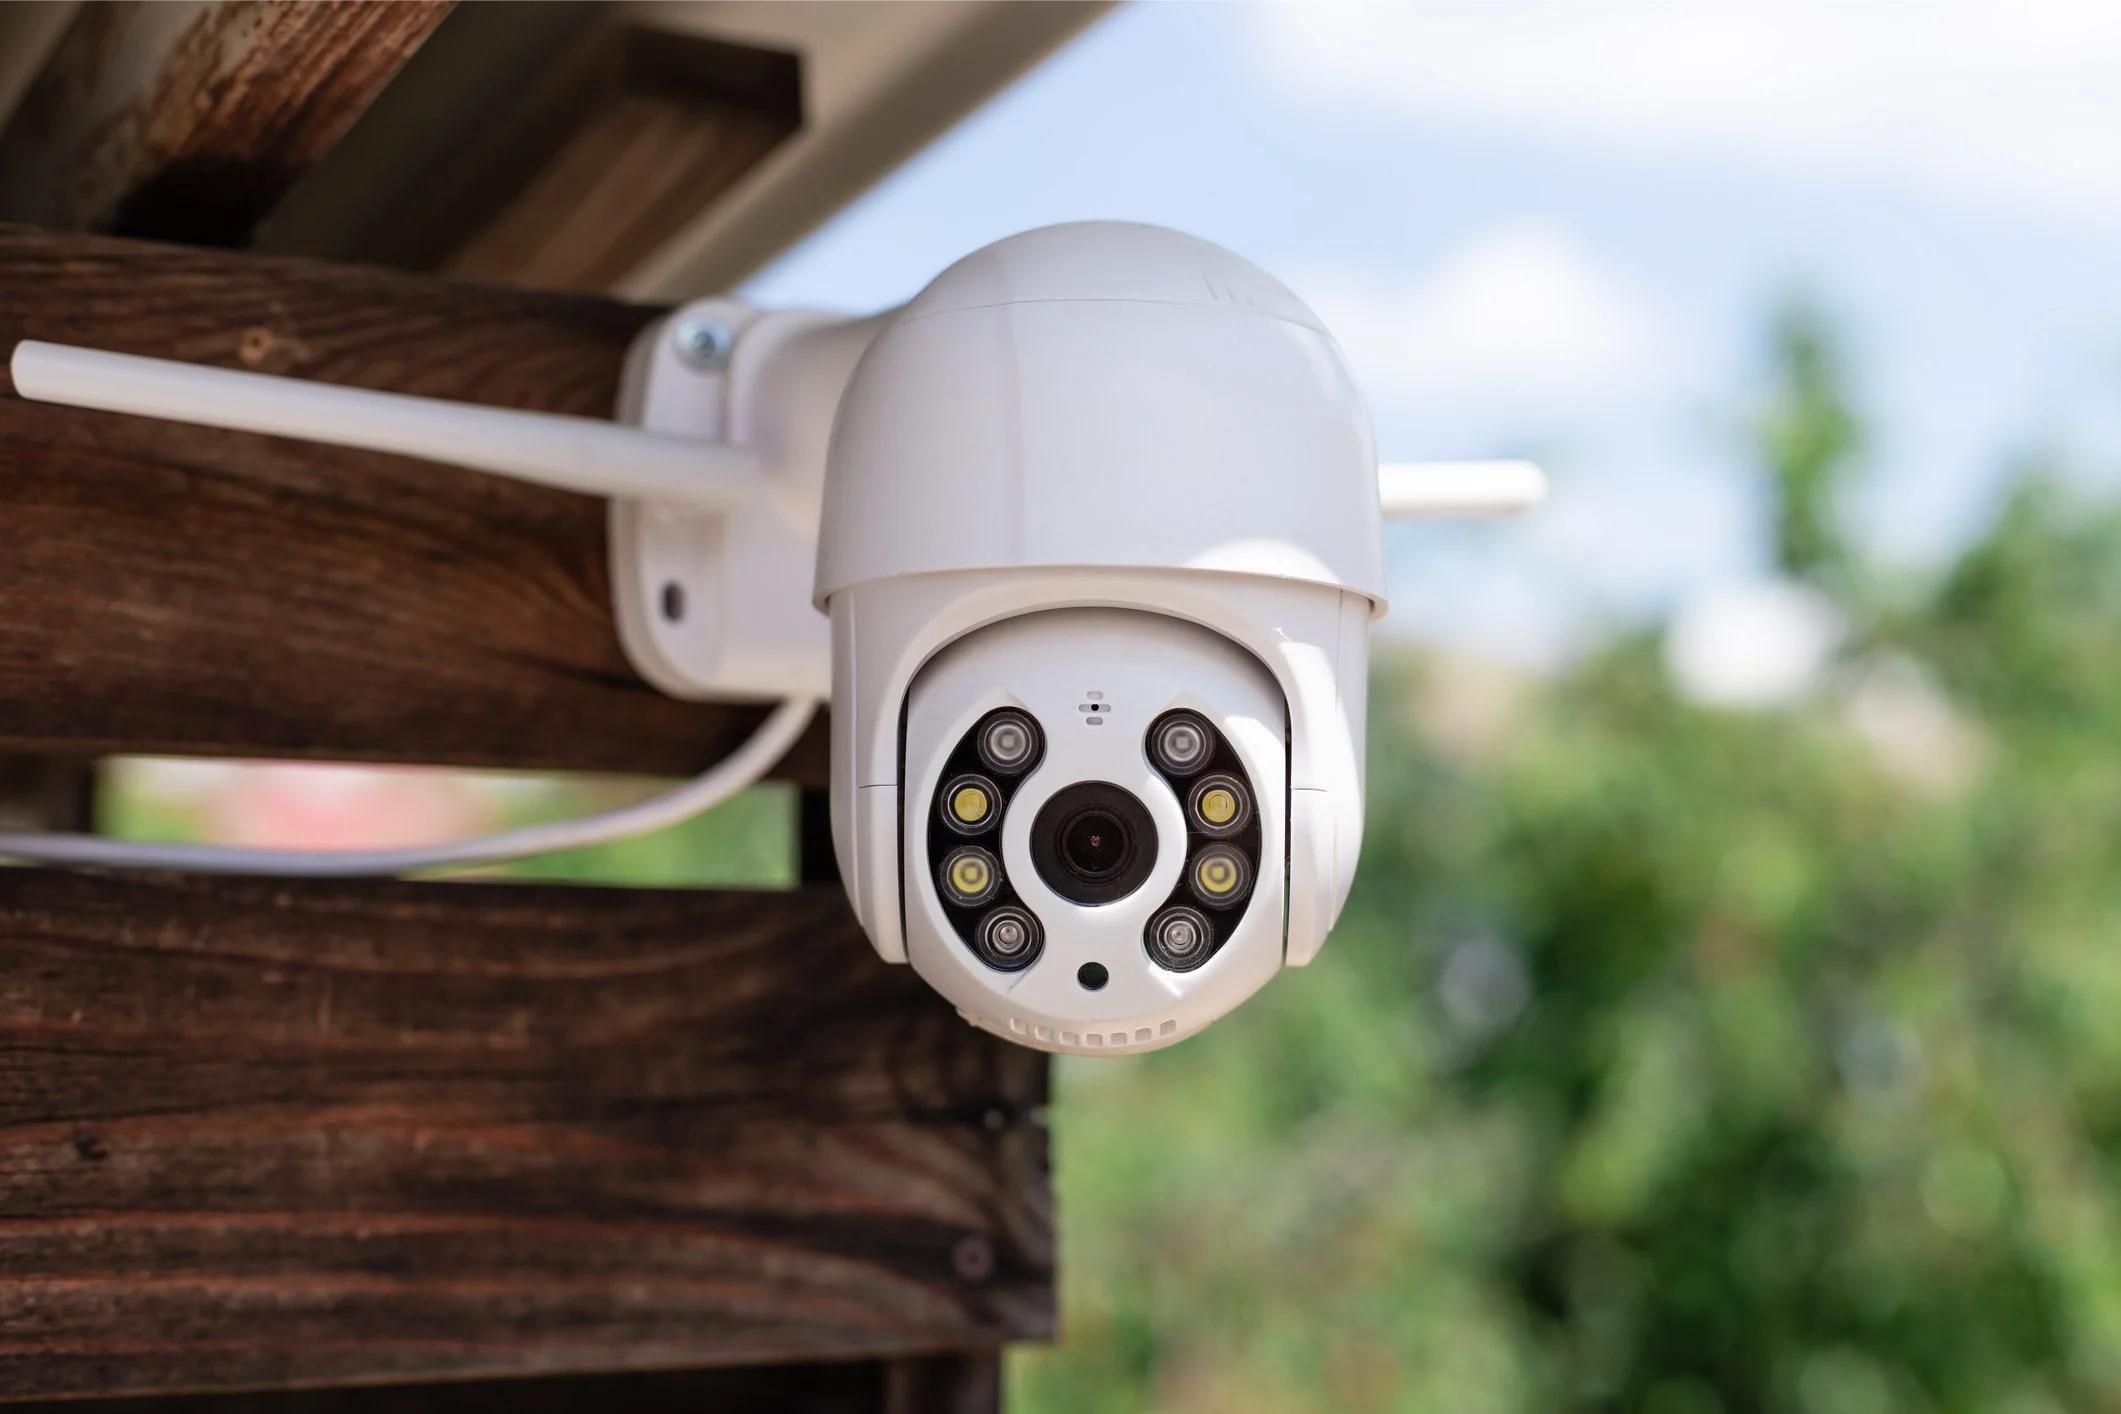
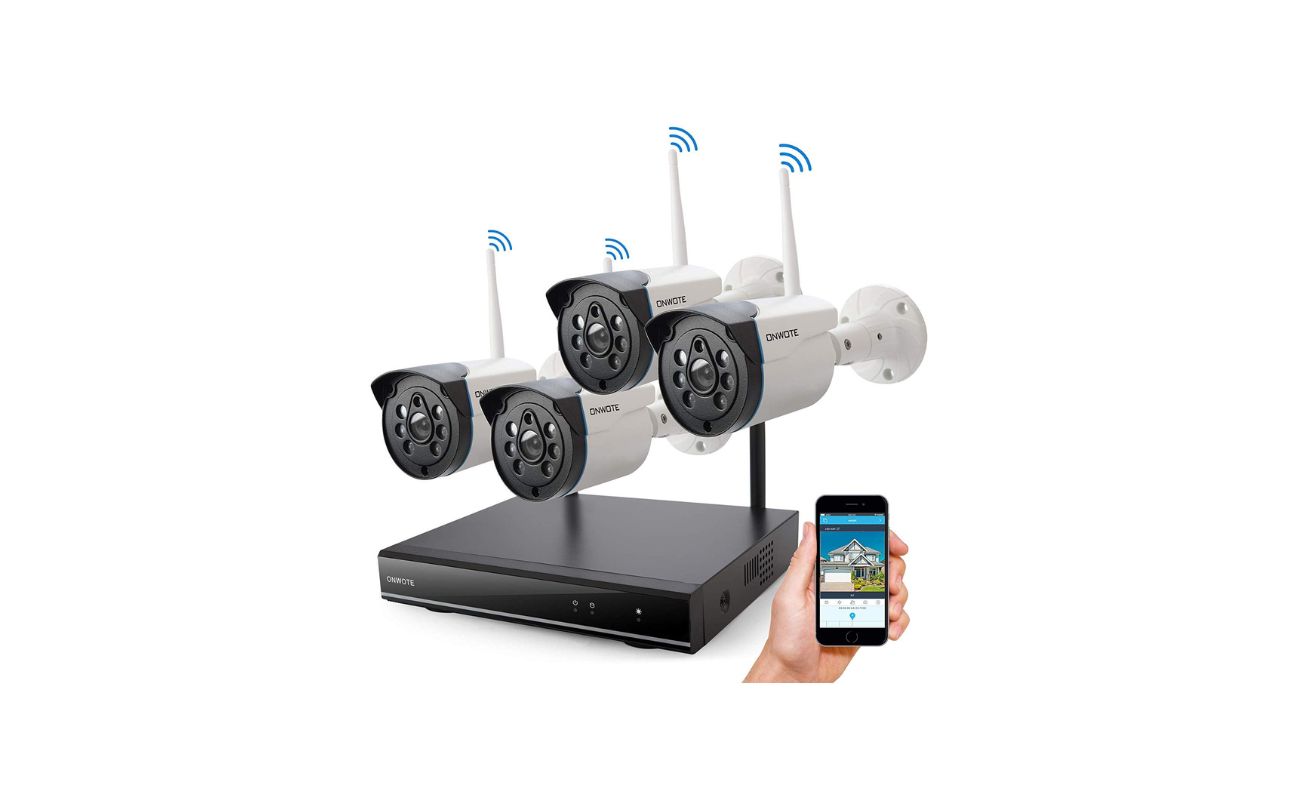
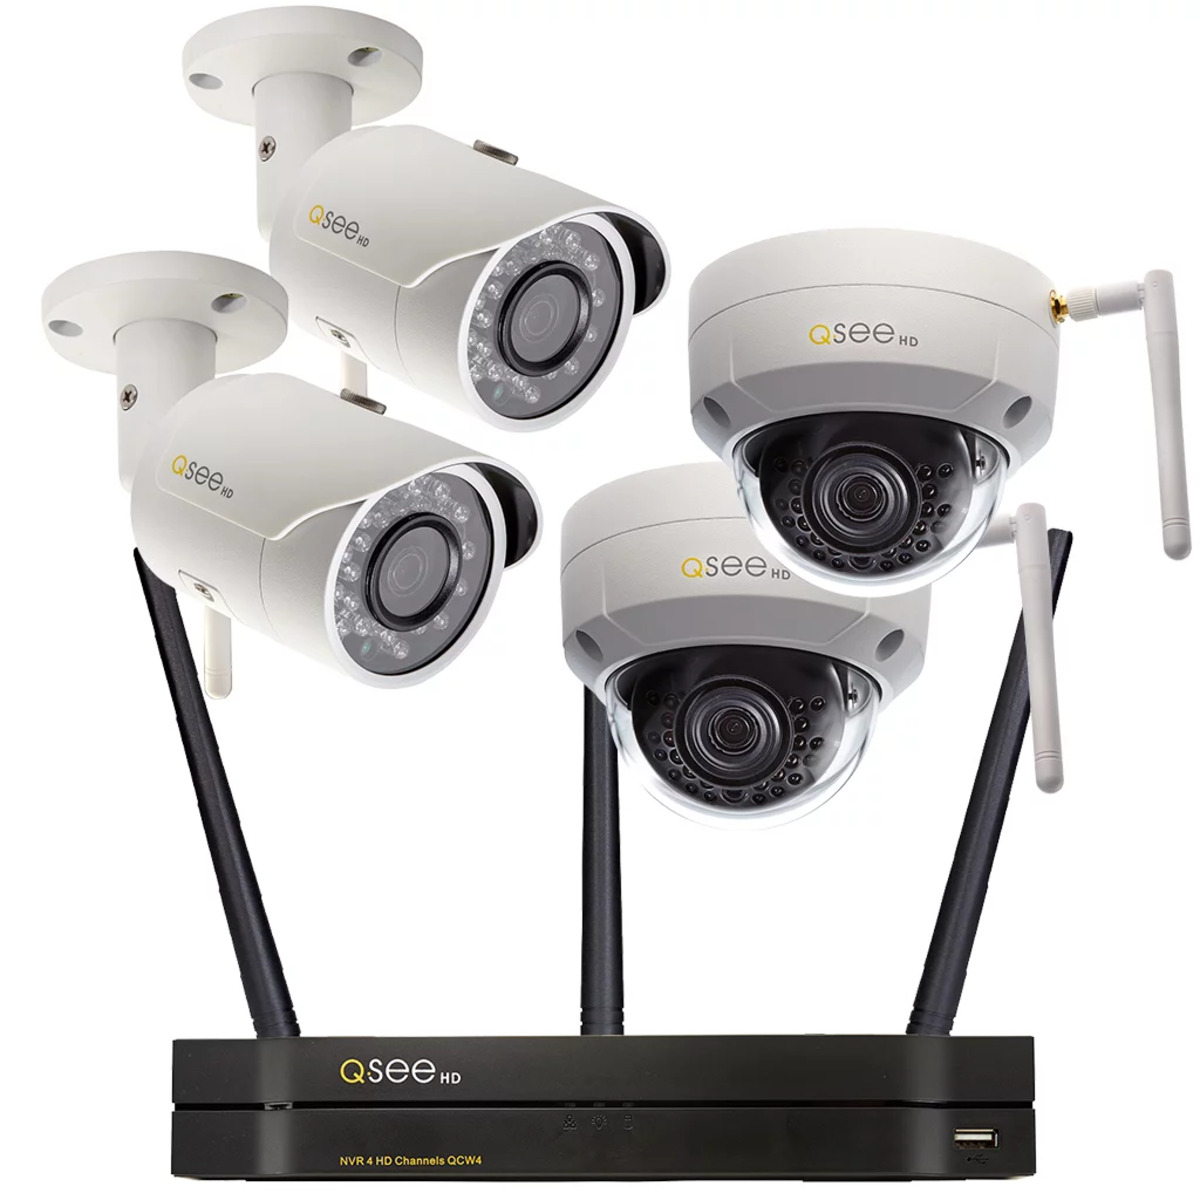
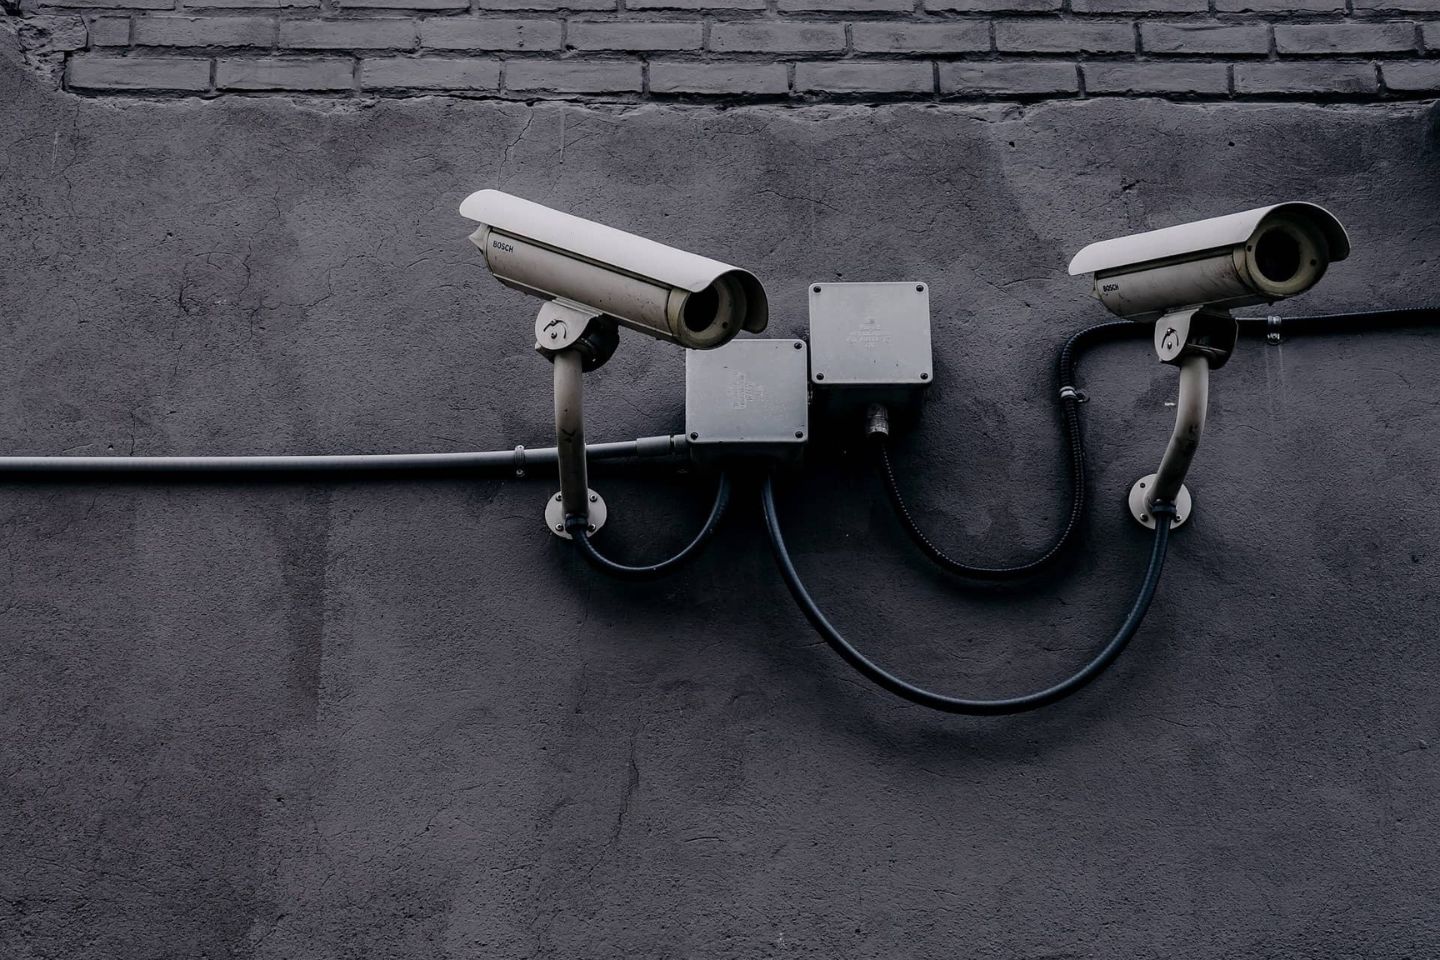
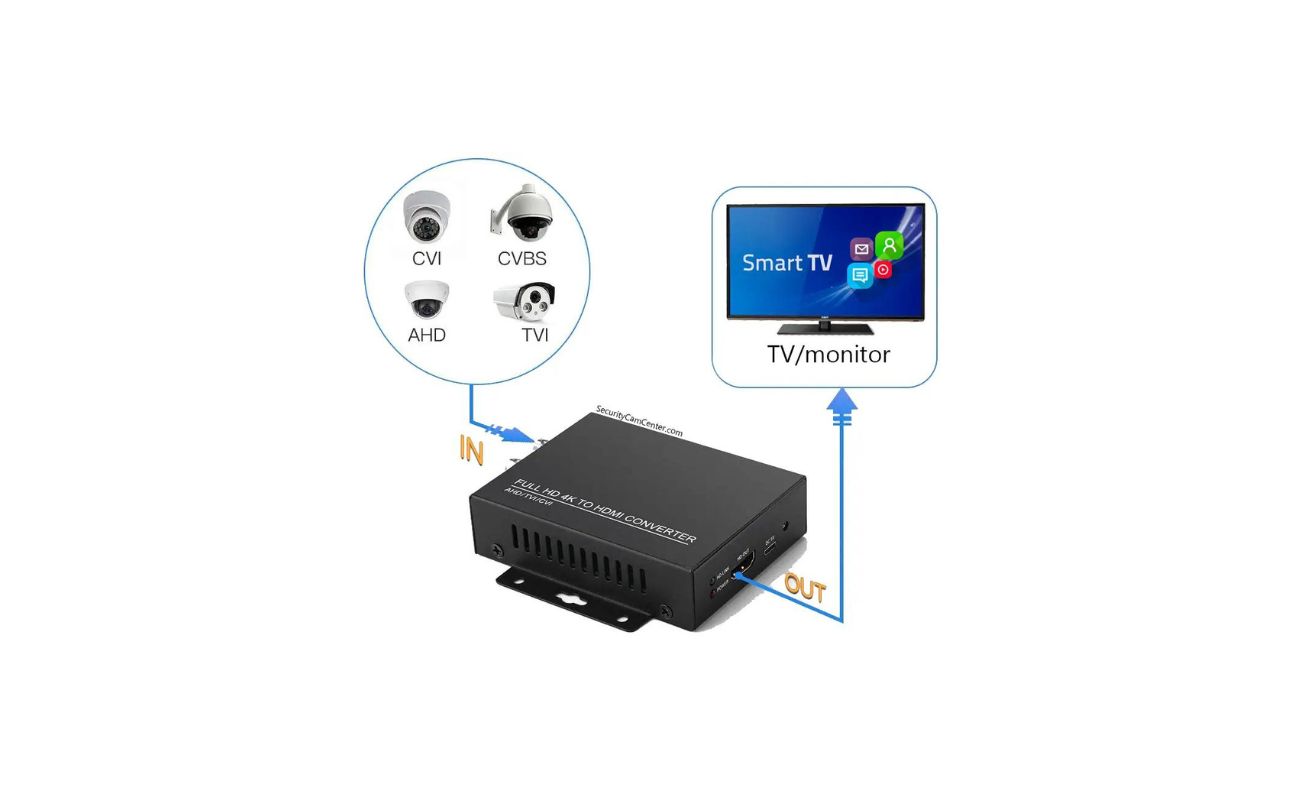
- Wired IP Security Cameras: Wired IP (Internet Protocol) security cameras require a physical Ethernet connection for data transmission. These cameras are hardwired to your home’s network via an Ethernet cable, providing a stable and secure connection. Wired IP cameras can be powered through the Ethernet cable using Power over Ethernet (PoE) technology or through a separate power source. They offer high-quality video footage and are ideal for areas where Wifi signals are weak or not available.
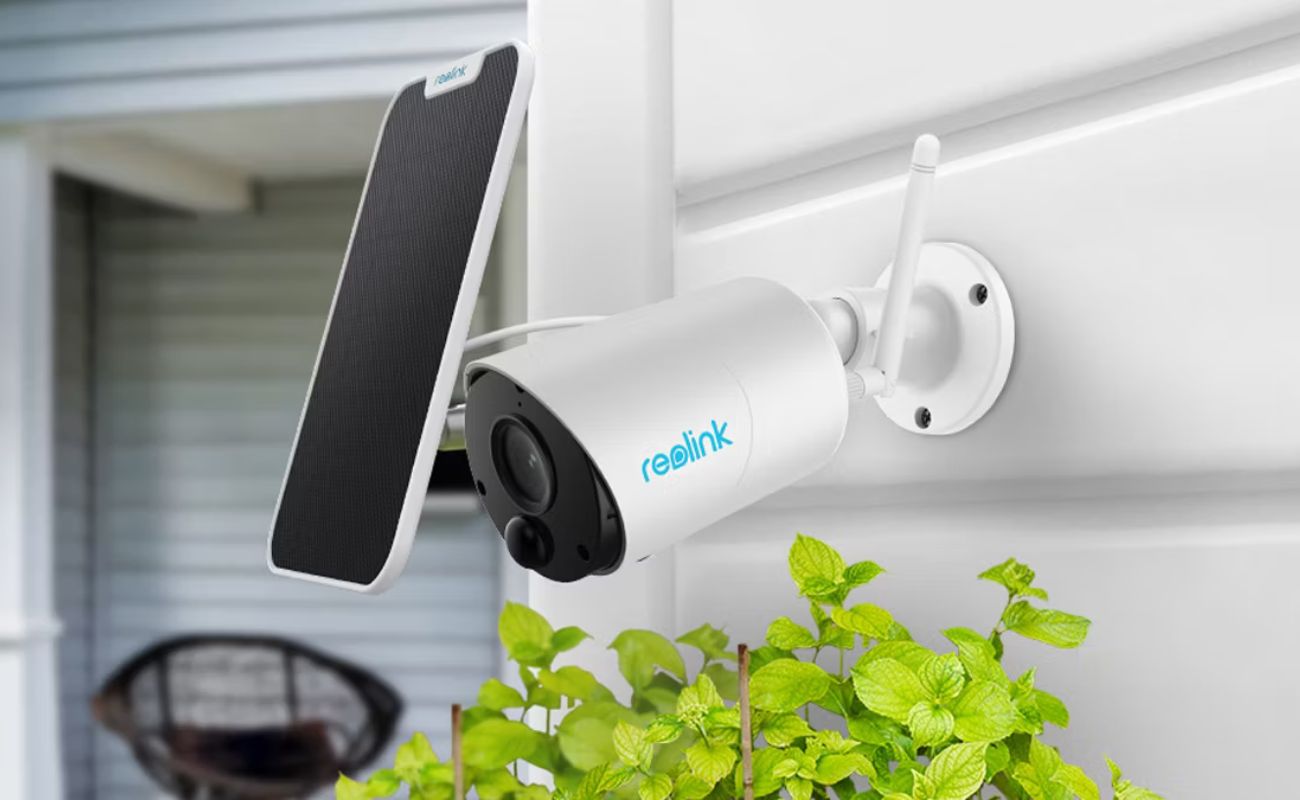
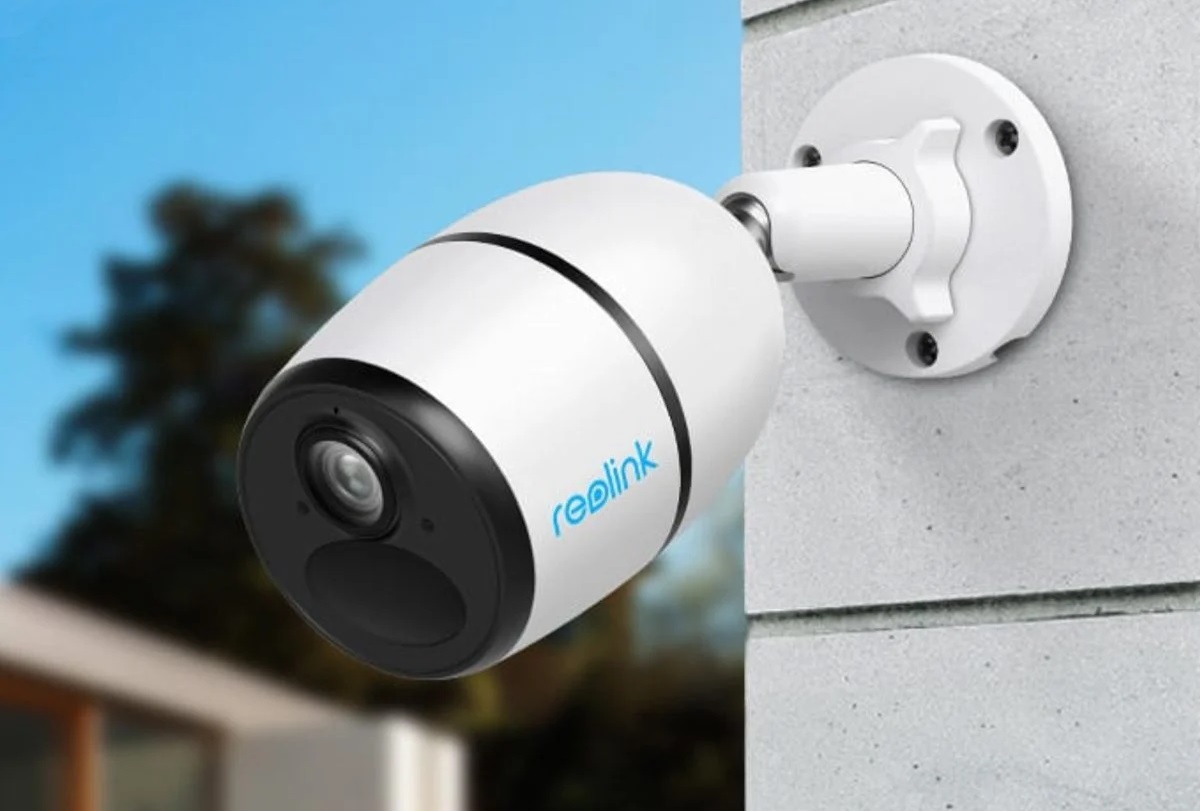
- Battery-powered Security Cameras: Battery-powered security cameras are a convenient option as they do not require a permanent power source or a Wifi network. These cameras are powered by rechargeable batteries or replaceable batteries, allowing you to place them in any location within your property. Battery-powered cameras often have motion detection capabilities and can send alerts to your smartphone when triggered. While they may not offer continuous monitoring like other options, they are easy to install and suitable for temporary surveillance needs.
Each of these alternative options offers distinct advantages depending on your specific requirements and circumstances. Consider factors such as coverage area, power source availability, and desired features before selecting the most suitable option for your home security needs.
It’s important to note that while these alternative options do not rely on a Wifi network, they may still offer remote viewing and control capabilities through dedicated mobile apps or computer interfaces. This allows you to monitor your surveillance footage, receive alerts, and adjust camera settings from anywhere with an internet connection.
By exploring these alternative options, you can ensure that you have a reliable and robust security camera system in place, regardless of the limitations of Wifi-based cameras.
Consider using security cameras that are designed to work without wifi, such as those that use cellular networks or local storage. This will allow you to have surveillance without relying on a wifi connection.
Cellular Security Cameras
Cellular security cameras provide an excellent solution for those who require surveillance without relying on a Wifi connection. These cameras operate using a cellular network, similar to your mobile phone, to transmit video footage and receive remote commands. Here are some key features and benefits of cellular security cameras:
- Independent connectivity: Cellular security cameras do not depend on a Wifi network for operation. Instead, they use a SIM card and connect to a cellular network provider. This makes them an ideal choice for areas with limited or no Wifi coverage, such as remote properties or construction sites.
- Real-time monitoring: Just like Wifi-based cameras, cellular security cameras offer real-time monitoring capabilities. You can access the live video feed from the camera through a dedicated mobile app or web portal. This allows you to keep an eye on your property at all times and receive immediate notifications in case of any suspicious activities.
- Remote access and control: Cellular security cameras enable remote access and control, regardless of where you are. As long as you have an internet connection on your smartphone or computer, you can view the camera feed, adjust camera settings, and even remotely pan, tilt, or zoom the camera if it supports those features. This flexibility provides peace of mind and ensures that you are always in control of your security system.
- No dependency on power outlet: Cellular security cameras can be powered using either a dedicated power source or rechargeable batteries, depending on the model. This means that you have the flexibility to install the cameras in any location, even if there is no nearby power outlet. Battery-powered cellular cameras offer the added advantage of being completely wire-free, making them easy to install and relocate as needed.
- Security and encryption: Cellular networks are highly secure, utilizing advanced encryption protocols to protect your data. This ensures that your surveillance footage remains private and secure, without the risk of unauthorized access. It’s important to choose a cellular security camera that supports encryption protocols and offers robust security features to keep your data safe.
One thing to consider when choosing a cellular security camera is the availability and strength of cellular signal in your area. Make sure to check the coverage provided by your chosen cellular network provider to ensure reliable and consistent connectivity for your camera.
Overall, cellular security cameras offer a reliable and versatile alternative to traditional Wifi-based cameras. They provide independent connectivity, real-time monitoring, remote access, and a range of power options to suit your specific needs. Whether you need surveillance for a remote property, construction site, or any location without a reliable Wifi network, cellular security cameras offer a comprehensive and effective solution.
Read more: What Security Cameras Work On 5Ghz Wifi
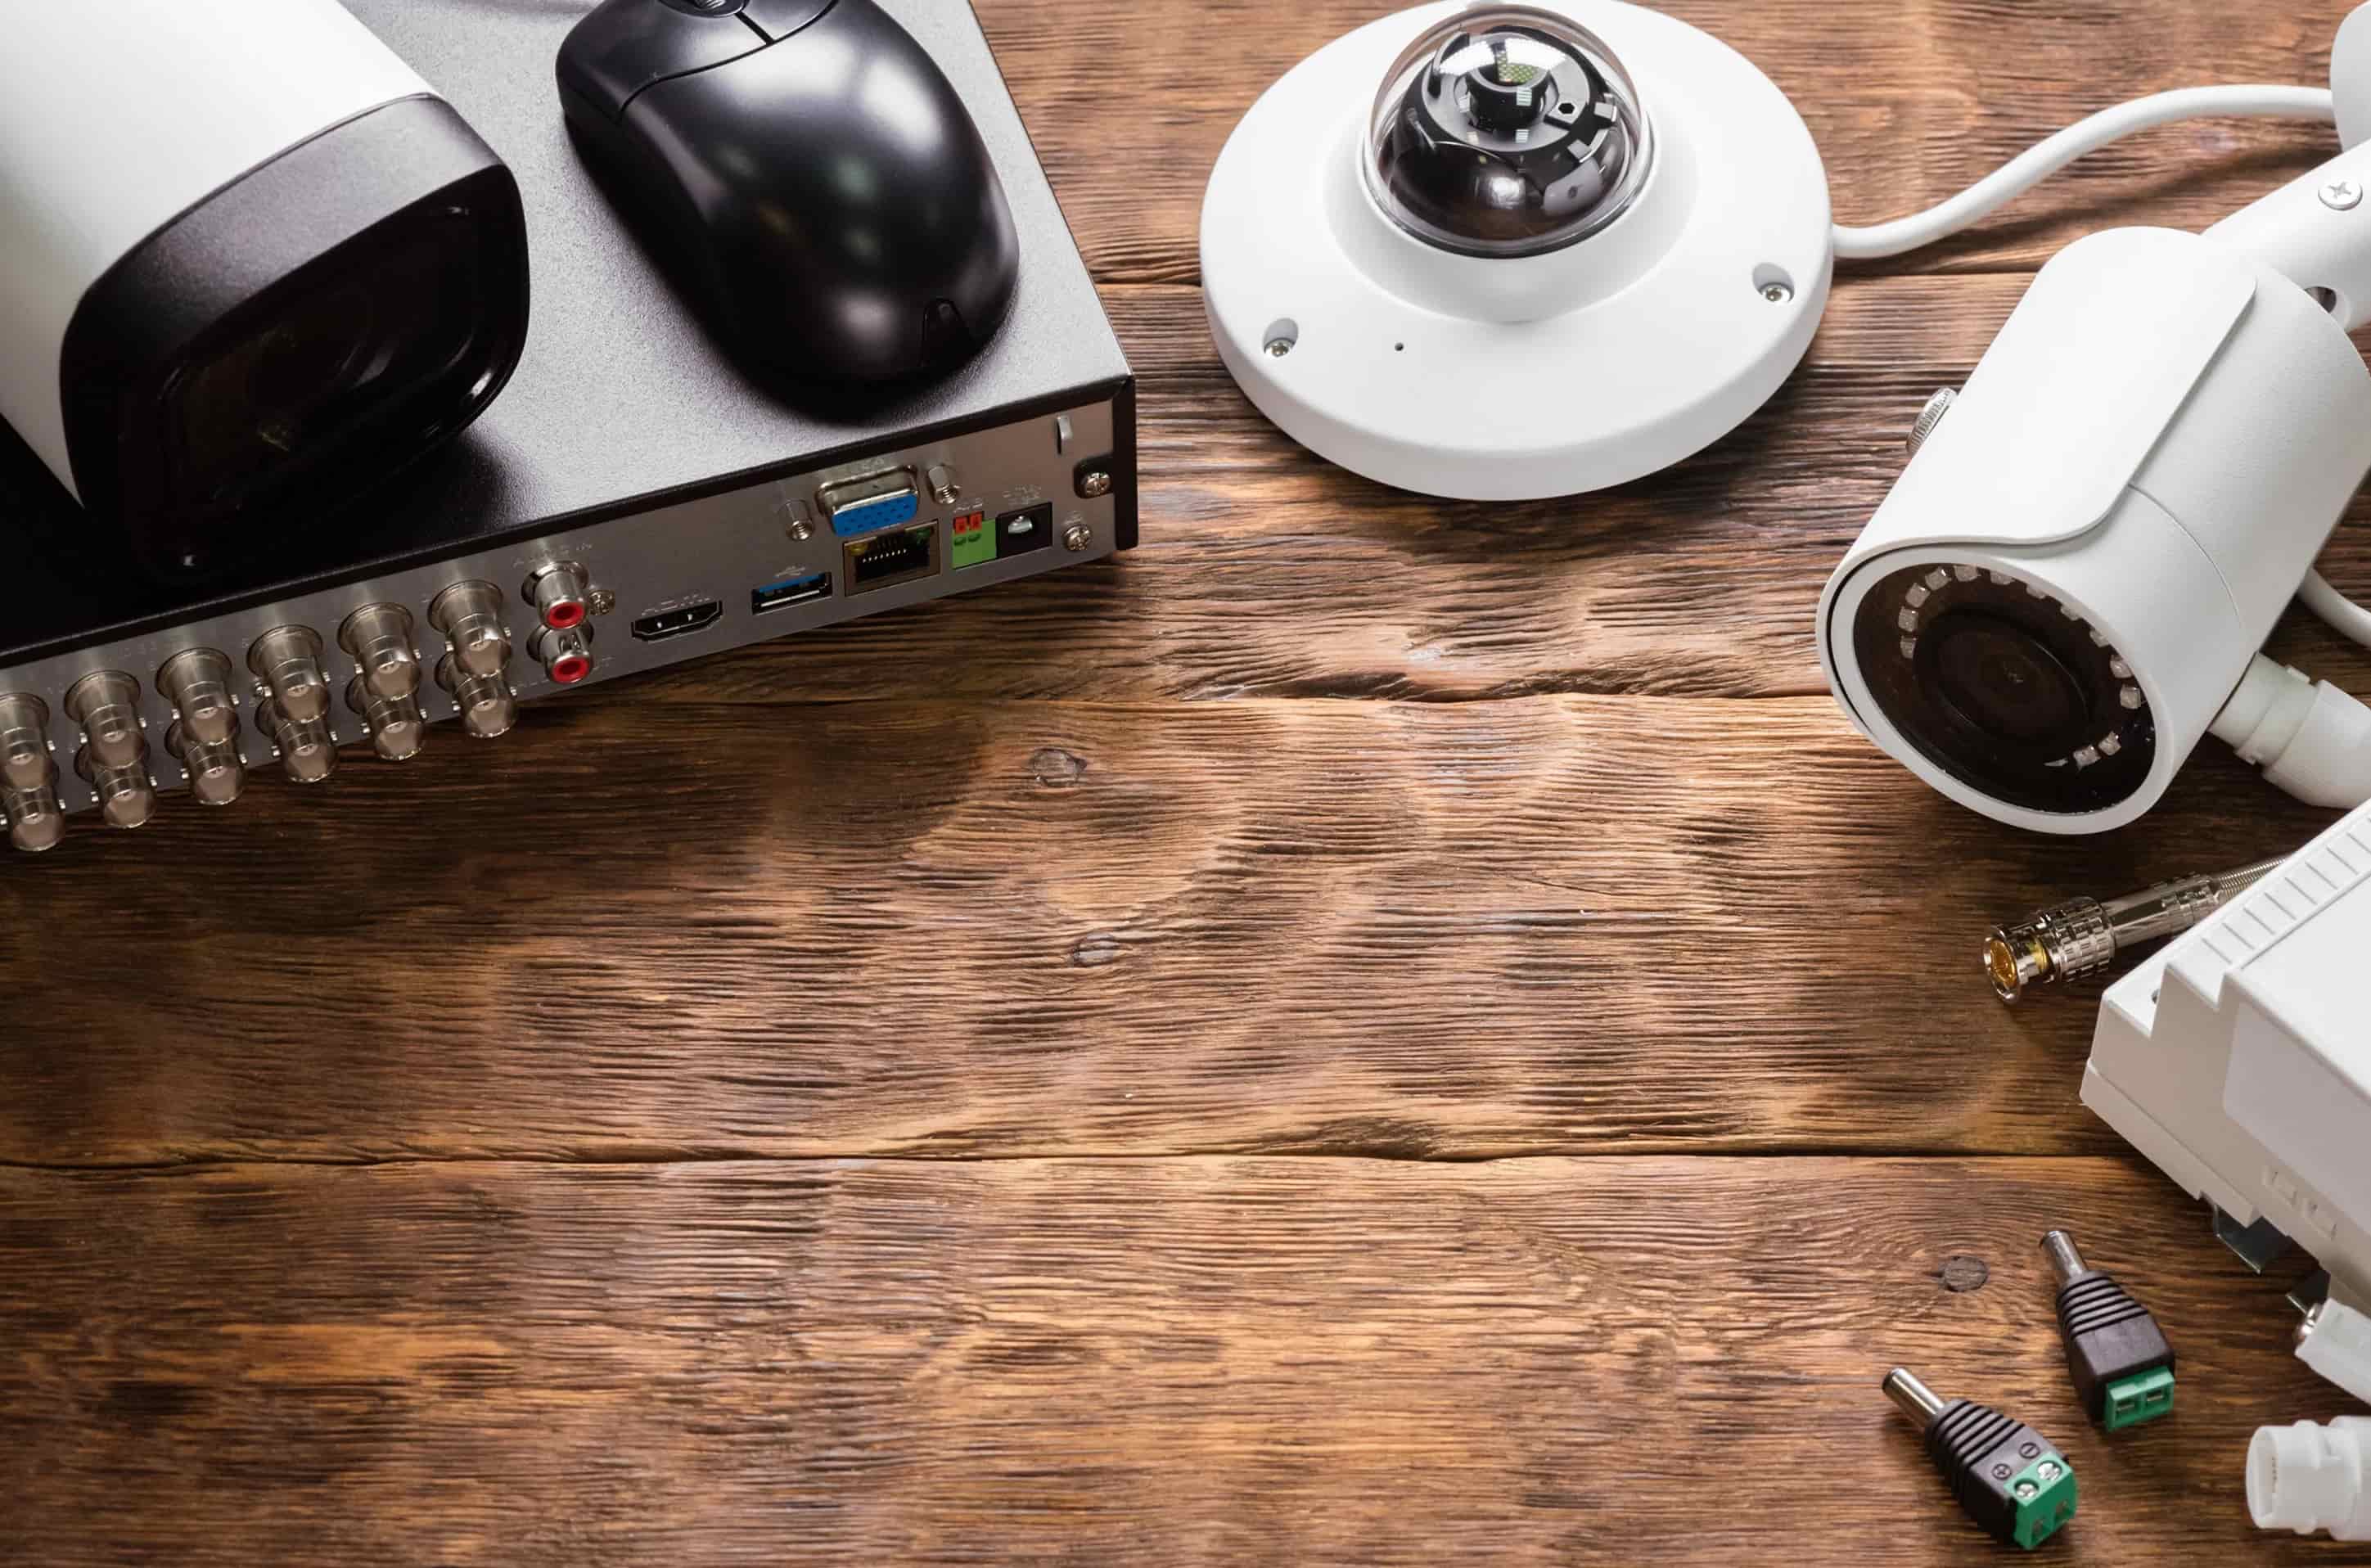
Wired IP Security Cameras
When Wifi is not a viable option, wired IP (Internet Protocol) security cameras provide a reliable and secure alternative for your home surveillance needs. These cameras require a physical Ethernet connection for data transmission. Here are some key features and benefits of wired IP security cameras:
- Stable and secure connection: Wired IP cameras are hardwired to your home’s network using an Ethernet cable. This ensures a stable and reliable connection, free from the potential interference and signal disruptions often associated with Wifi-based cameras. The direct connection also enhances the security of your surveillance system, reducing the risk of unauthorized access.
- High-quality video footage: Wired IP cameras offer high-definition video quality, providing clear and detailed footage of your property. With options for different resolutions and advanced imaging technologies, you can capture crisp images and vital details, making it easier to identify people, objects, and activities on your premises.
- Power options: Wired IP cameras can be powered through Power over Ethernet (PoE) technology, where the Ethernet cable not only transfers data but also provides power to the camera. This eliminates the need for separate power outlets near the cameras and simplifies the overall installation process. Alternatively, some wired IP cameras may require a separate power source, allowing you to choose the most suitable power option based on your setup.
- Expandable system: Wired IP security cameras are often part of a larger surveillance system that can support multiple cameras. This allows you to customize your system based on your specific needs and expand it over time if required. With a central network video recorder (NVR), you can manage and view the footage from all connected cameras in one place, enhancing the overall efficiency and effectiveness of your surveillance system.
- Flexible placement options: Since wired IP cameras utilize Ethernet cables for connectivity, you have more flexibility in camera placement compared to Wifi-based cameras. You can position the cameras at a greater distance from the network router, allowing you to cover larger areas or specific locations that are not easily accessible with Wifi signals.
It’s important to note that wired IP security cameras do require some advanced setup and installation compared to other options. Running Ethernet cables and setting up a central NVR may require professional assistance, especially for larger and more complex surveillance systems. However, the benefits of a reliable and high-quality surveillance system make it worthwhile for many homeowners.
Overall, wired IP security cameras provide a robust and dependable solution for home surveillance when Wifi-based cameras are not feasible. With their stable connection, high-definition video quality, flexible power options, and expandable system capabilities, wired IP cameras offer an effective means of protecting your property and ensuring peace of mind.
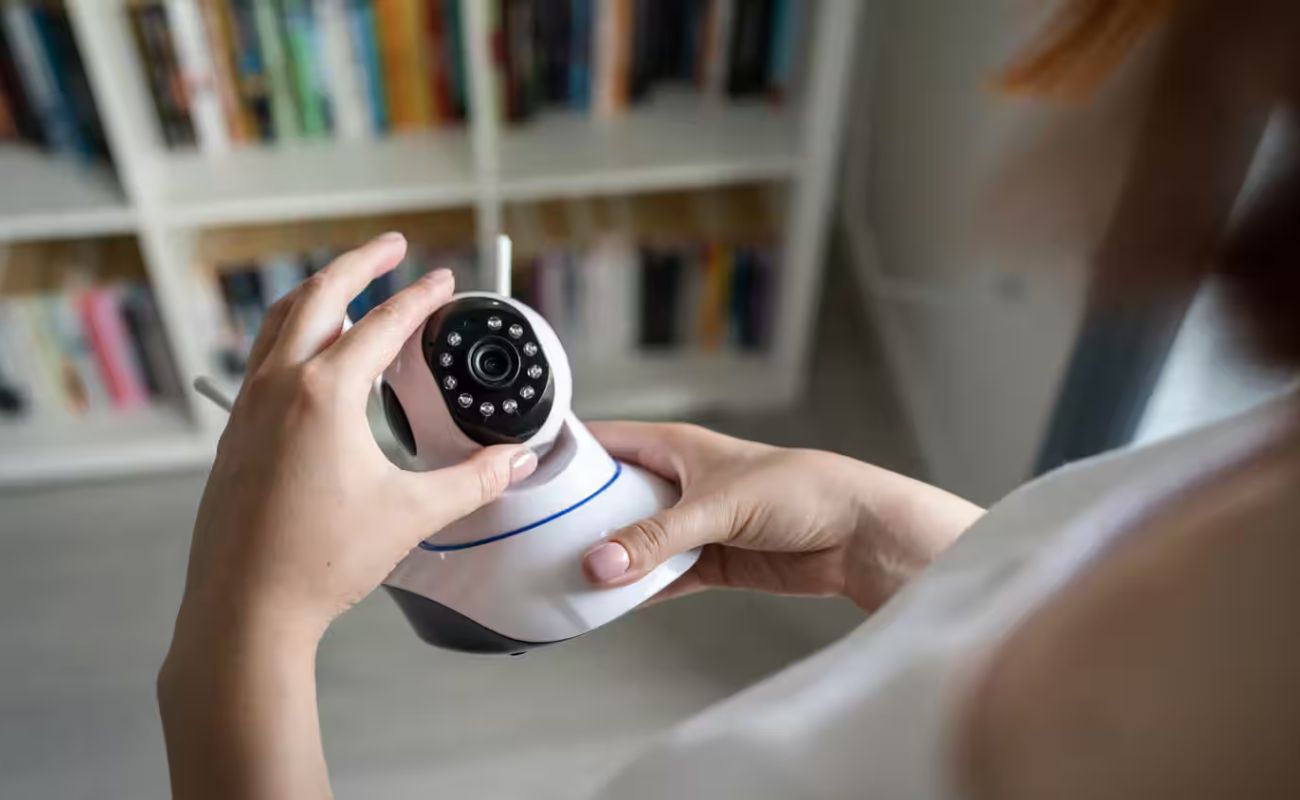
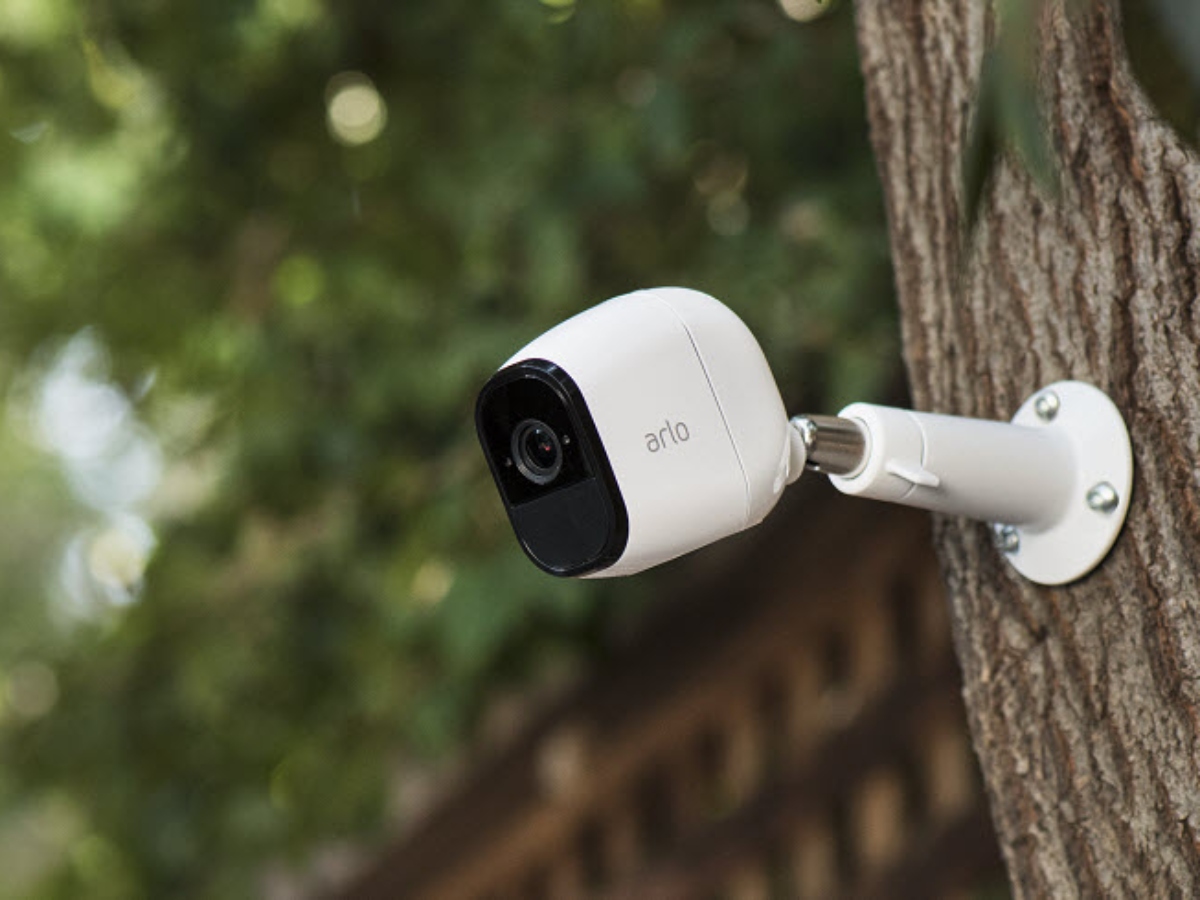
Battery-powered Security Cameras
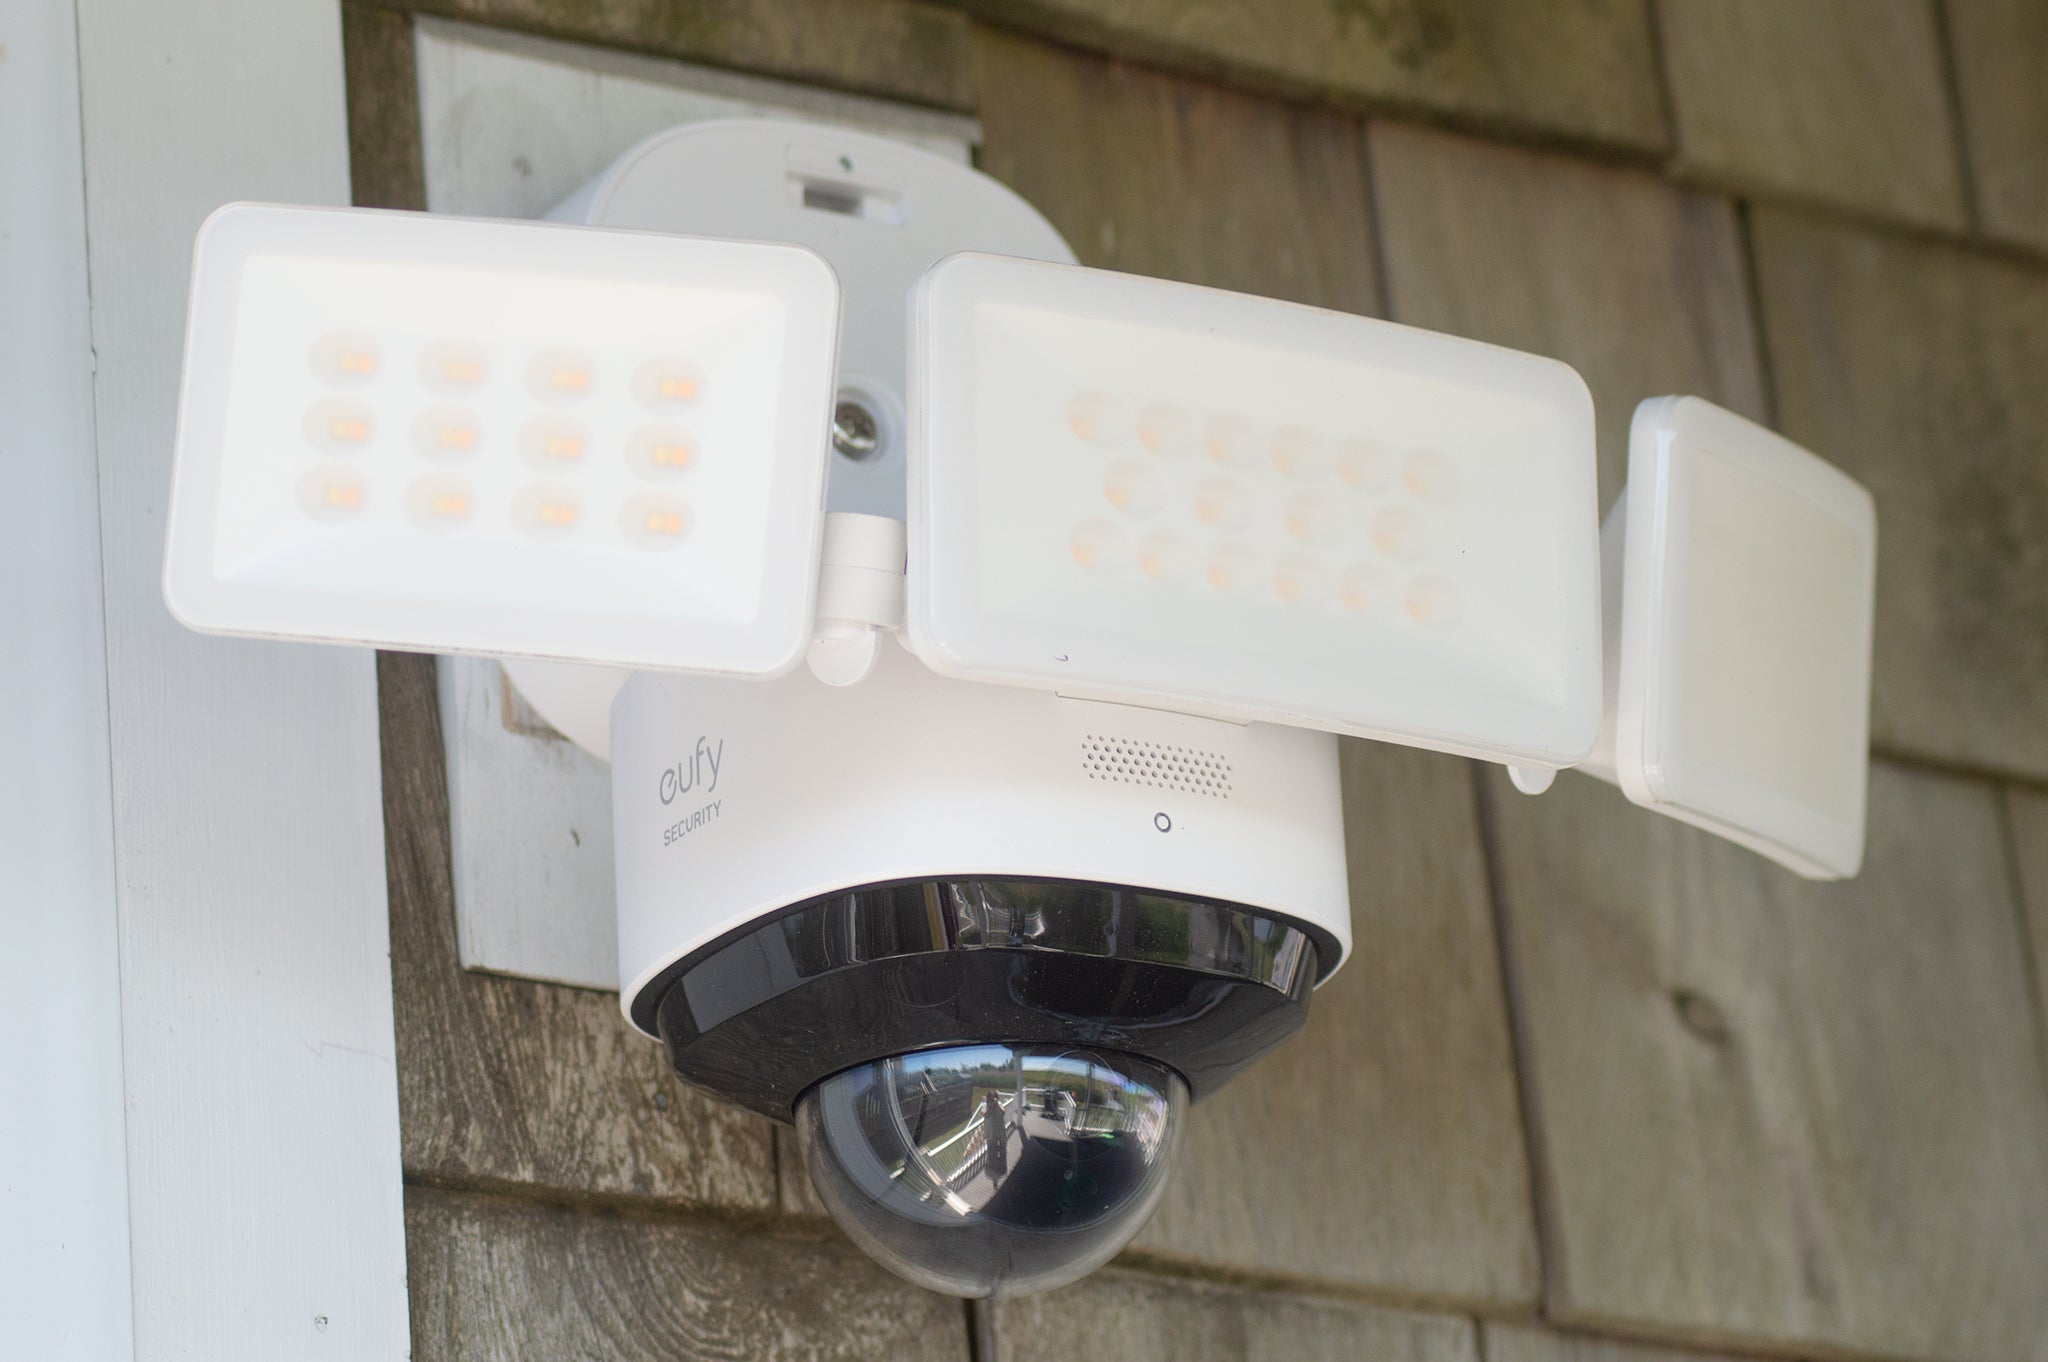
Battery-powered security cameras offer a convenient and flexible alternative for home surveillance when a permanent power source or Wifi connection is not available or desired. These cameras operate on rechargeable or replaceable batteries, providing the following features and benefits:
- Wire-free installation: Battery-powered security cameras are completely wire-free, allowing you to install them in any location within your property without the need for drilling holes or running cables. This flexibility allows you to easily move and reposition the cameras as your surveillance needs change.
- Quick and easy setup: Battery-powered cameras are designed for easy installation. Most models come with a mounting bracket or adhesive tape, making it simple to attach them to walls, ceilings, or other surfaces. Setup typically involves pairing the camera with a mobile app or a base station and configuring the desired settings.
- Motion detection and alerts: Many battery-powered cameras are equipped with motion detection technology. When the camera detects motion within its field of view, it can send instant alerts to your smartphone or trigger a recording. This helps to minimize false notifications and ensures that you are promptly alerted to any potential security breaches.
- Remote access and control: Battery-powered cameras support remote access and control through dedicated mobile apps. You can view the camera’s live feed, playback recorded footage, adjust camera settings, and receive alerts from anywhere with an internet connection. This allows you to stay connected with your home’s security, whether you are at work, traveling, or simply in a different part of your home.
- Indoor and outdoor versatility: Battery-powered cameras are designed to withstand various weather conditions, making them suitable for both indoor and outdoor use. Whether you need surveillance for your front yard, backyard, or a specific area within your home, battery-powered cameras offer the versatility to meet your needs.
- Power-saving features: To extend battery life, many battery-powered cameras incorporate power-saving features such as sleep mode, where the camera conserves power when no motion is detected. This helps maximize the camera’s operational time between charges or battery replacements.
It’s important to consider the battery life and charging requirements when choosing a battery-powered security camera. Factors such as camera usage, motion detection sensitivity, and the frequency of alerts can affect the battery life. Some cameras may require regular recharging, while others offer longer battery life and the option to use replaceable batteries.
Overall, battery-powered security cameras provide a convenient and versatile option for home surveillance without the need for a permanent power source or Wifi connection. With their wire-free installation, motion detection capabilities, remote access, and weather resistance, these cameras offer a reliable solution for monitoring your property and enhancing your home security.
Conclusion
When it comes to home security, having surveillance cameras in place is crucial for peace of mind and enhanced protection. While Wifi-based security cameras are the most commonly used option, they are not always suitable for every situation due to limitations such as dependence on a Wifi network, signal disruptions, security vulnerabilities, and limited range.
In this article, we have explored alternative options for security cameras without relying on Wifi. Cellular security cameras offer independent connectivity, real-time monitoring, remote access, and various power options. Wired IP security cameras provide a stable and secure connection, high-quality video footage, expandable system capabilities, and flexible camera placement. Battery-powered security cameras offer wire-free installation, easy setup, motion detection, remote access, and the convenience of not relying on a permanent power source.
Whether you have a weak Wifi signal, limited coverage area, or simply prefer a different approach to home surveillance, these alternative options provide flexibility, reliability, and enhanced security for your property.
Before selecting the right security camera system for your needs, consider factors such as coverage area, power source availability, desired features, and budget. It may also be helpful to consult with a professional to determine the most suitable option based on your specific requirements.
Remember, the ultimate goal is to have a surveillance system that provides reliable monitoring, deters potential criminals, and offers peace of mind. Regardless of the option you choose, having security cameras in place can significantly contribute to a safer home environment for you and your loved ones.
Frequently Asked Questions about How To Have Security Cameras Without Wifi
Was this page helpful?
At Storables.com, we guarantee accurate and reliable information. Our content, validated by Expert Board Contributors, is crafted following stringent Editorial Policies. We're committed to providing you with well-researched, expert-backed insights for all your informational needs.