Home>Home Security and Surveillance>How To Connect Xfinity Home Security To Wifi

Home Security and Surveillance
How To Connect Xfinity Home Security To Wifi
Modified: March 6, 2024
Learn how to easily connect Xfinity Home Security to your wifi network for seamless home security and surveillance. Simplify your setup with our step-by-step guide.
(Many of the links in this article redirect to a specific reviewed product. Your purchase of these products through affiliate links helps to generate commission for Storables.com, at no extra cost. Learn more)
Introduction
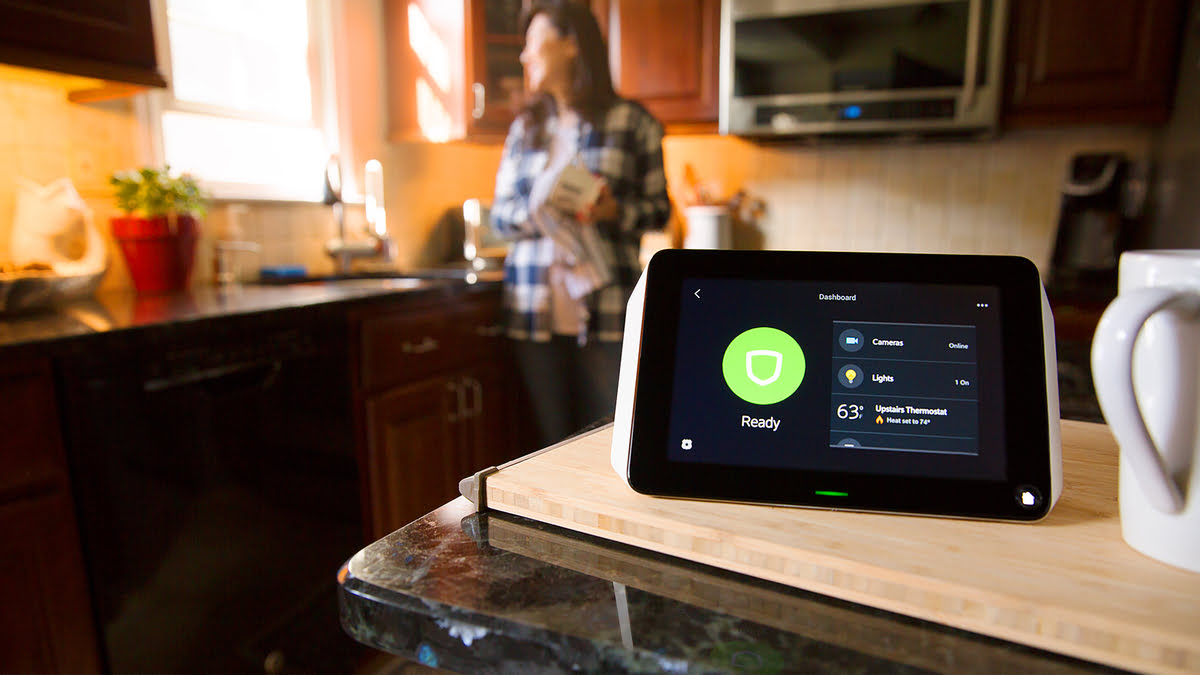
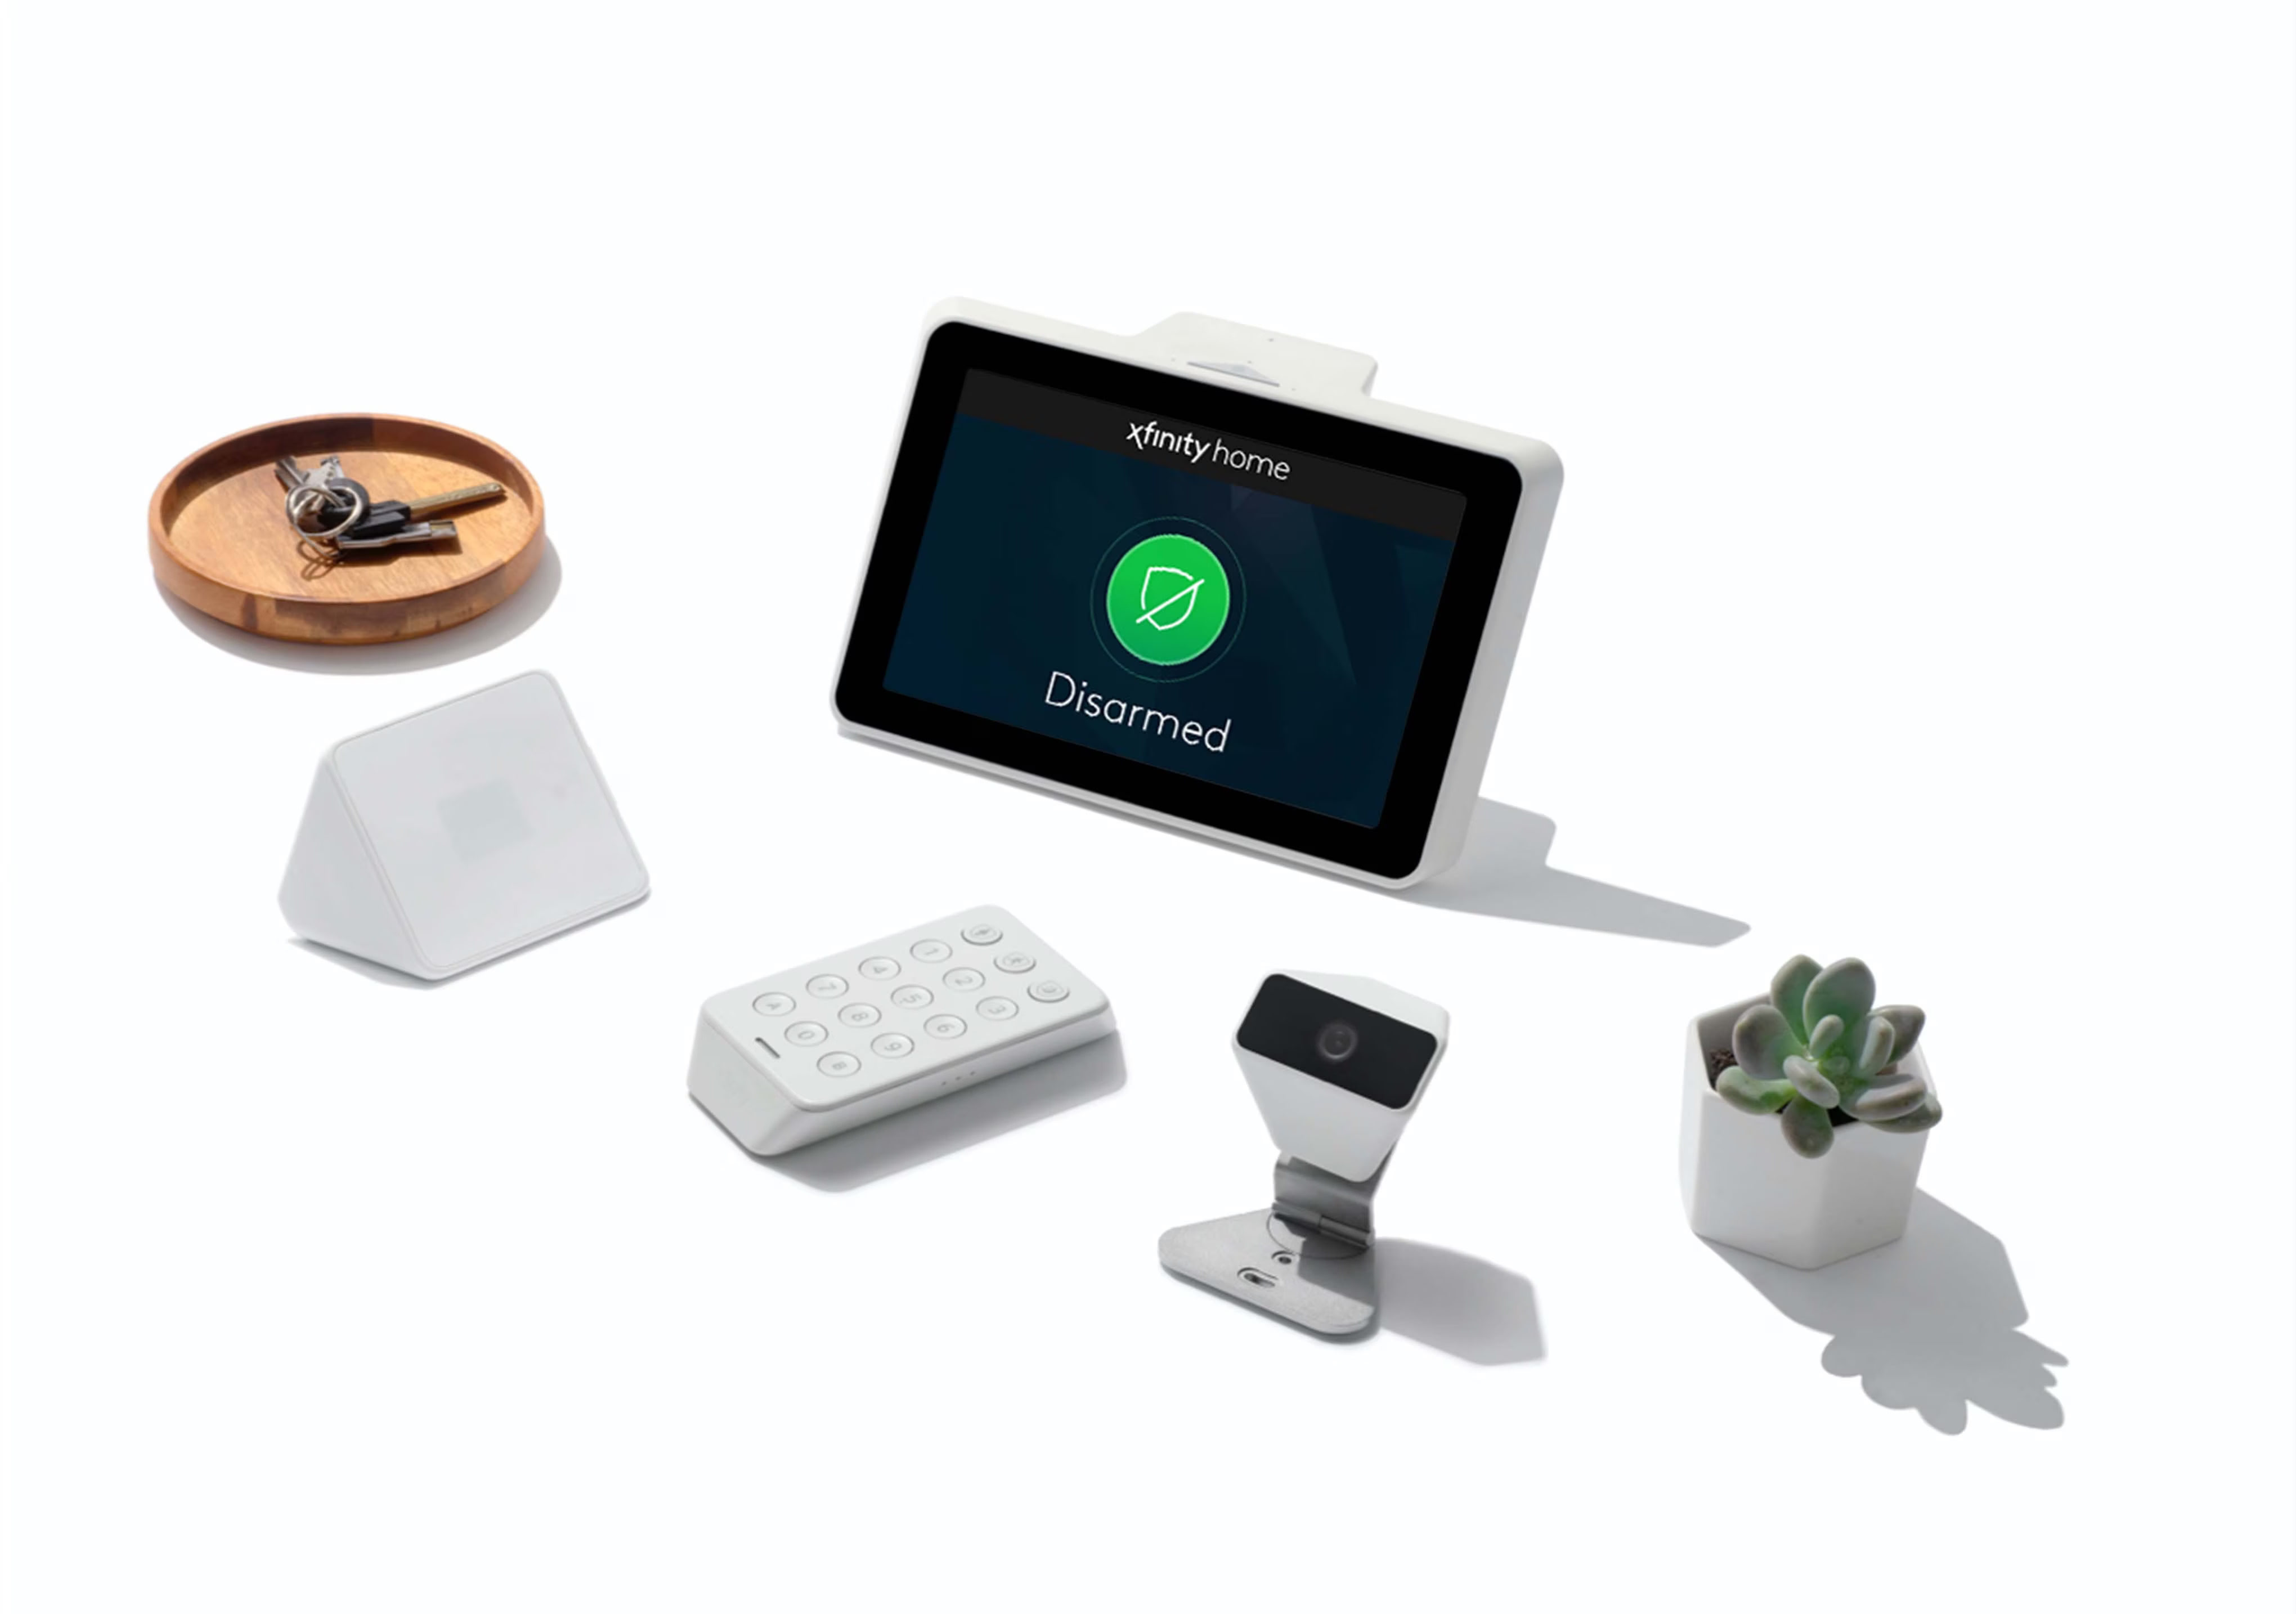
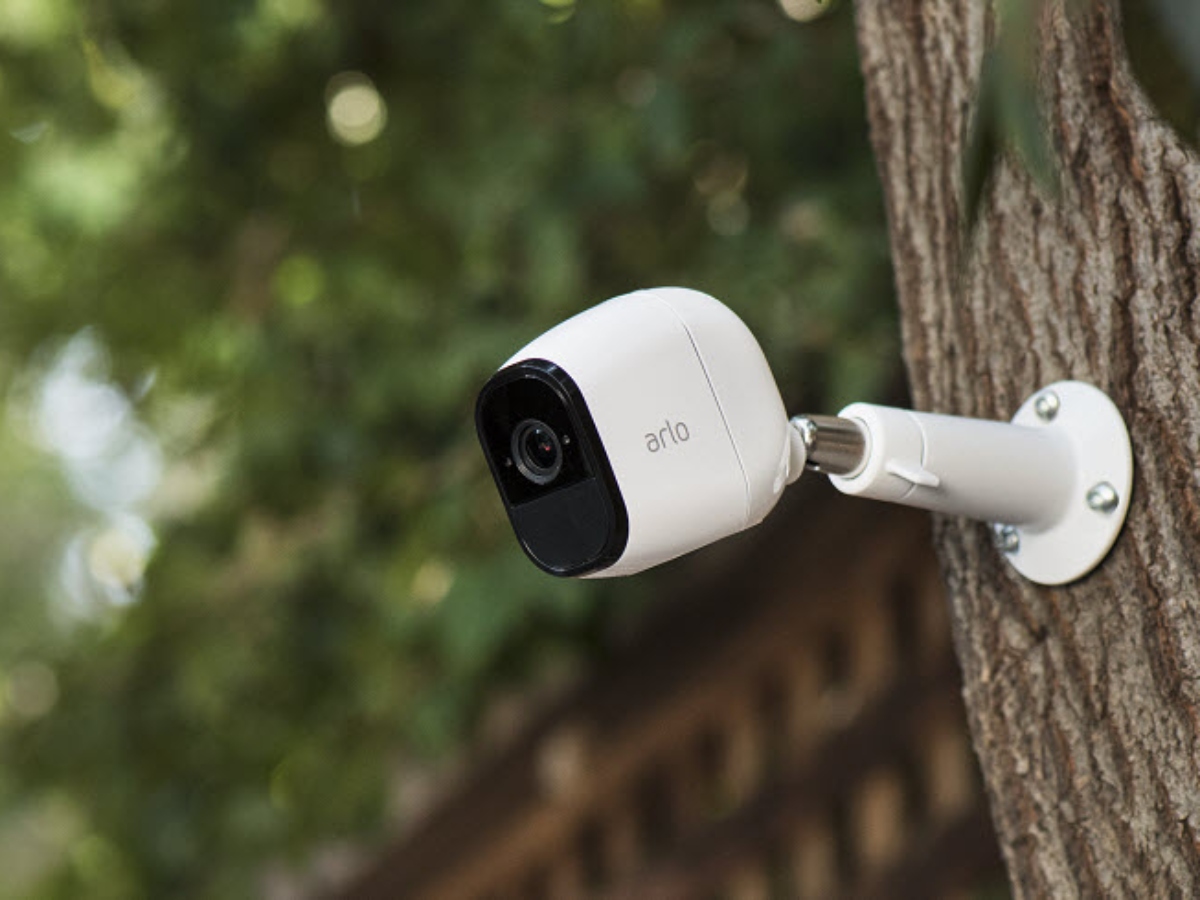
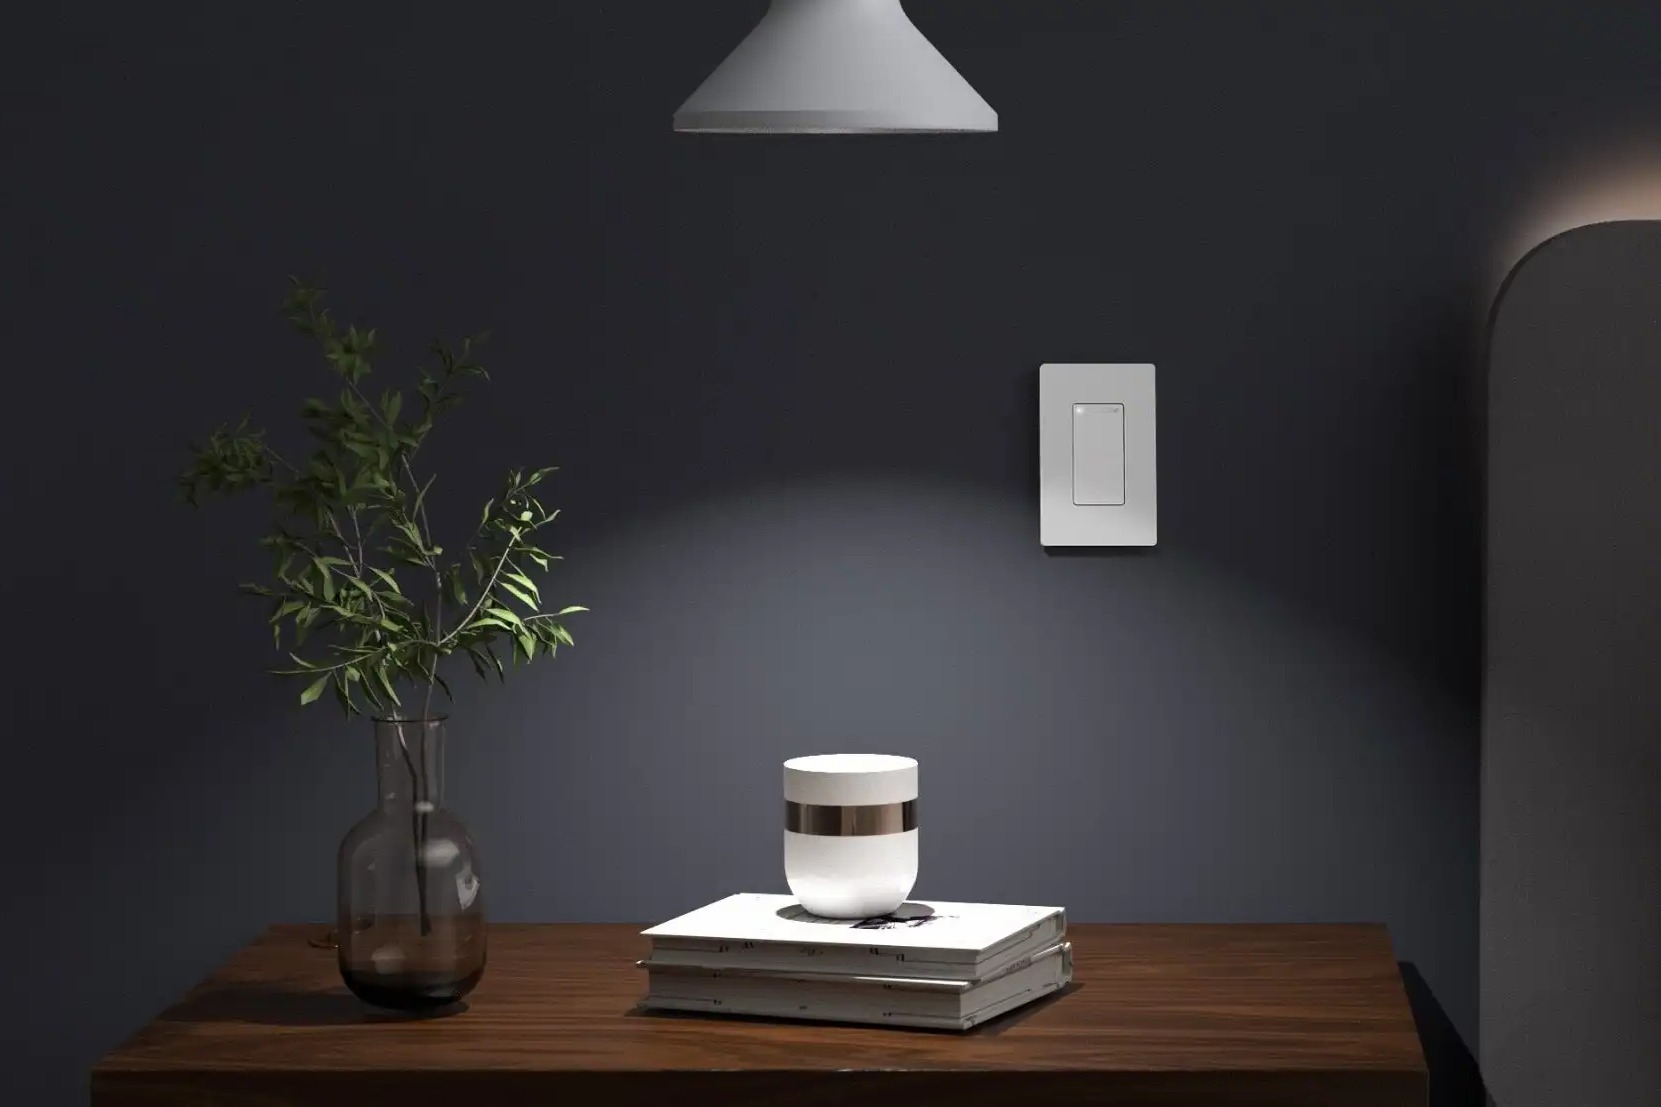
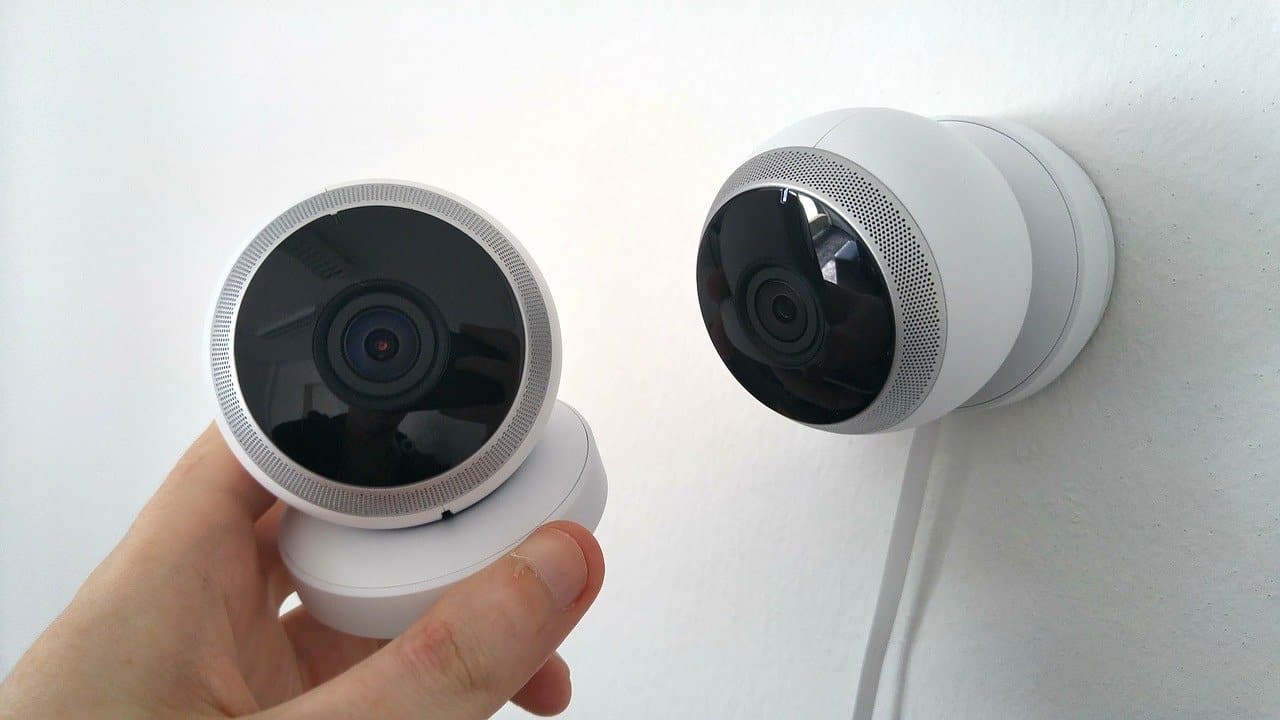
Home security is a top priority for many homeowners, and with the advent of advanced technology, it has become easier than ever to protect our homes and loved ones. One popular option in the market is Xfinity Home Security, a comprehensive system that offers a range of features and functionalities to ensure the safety and security of your property.
One crucial aspect of any modern security system is the ability to connect it to your Wi-Fi network. This enables you to monitor your home remotely, receive alerts, and access various features using your smartphone or computer. In this article, we will guide you through the process of connecting your Xfinity Home Security system to your Wi-Fi network, ensuring seamless integration and uninterrupted protection.
Before we dive into the steps, it’s important to note that the specific instructions may vary slightly depending on the model and version of your Xfinity Home Security system. However, the overall process should be similar for most systems, so you can use this guide as a general reference point.
Now, let’s get started on connecting your Xfinity Home Security system to Wi-Fi.
Key Takeaways:
- Connecting your Xfinity Home Security system to Wi-Fi allows you to monitor your home remotely, receive alerts, and access features using your smartphone. Follow the steps to ensure seamless integration and uninterrupted protection.
- If you encounter connectivity issues, try troubleshooting tips like restarting the system and Wi-Fi router, checking network settings, and updating firmware. Contact Xfinity Home Security customer support for tailored assistance if problems persist.
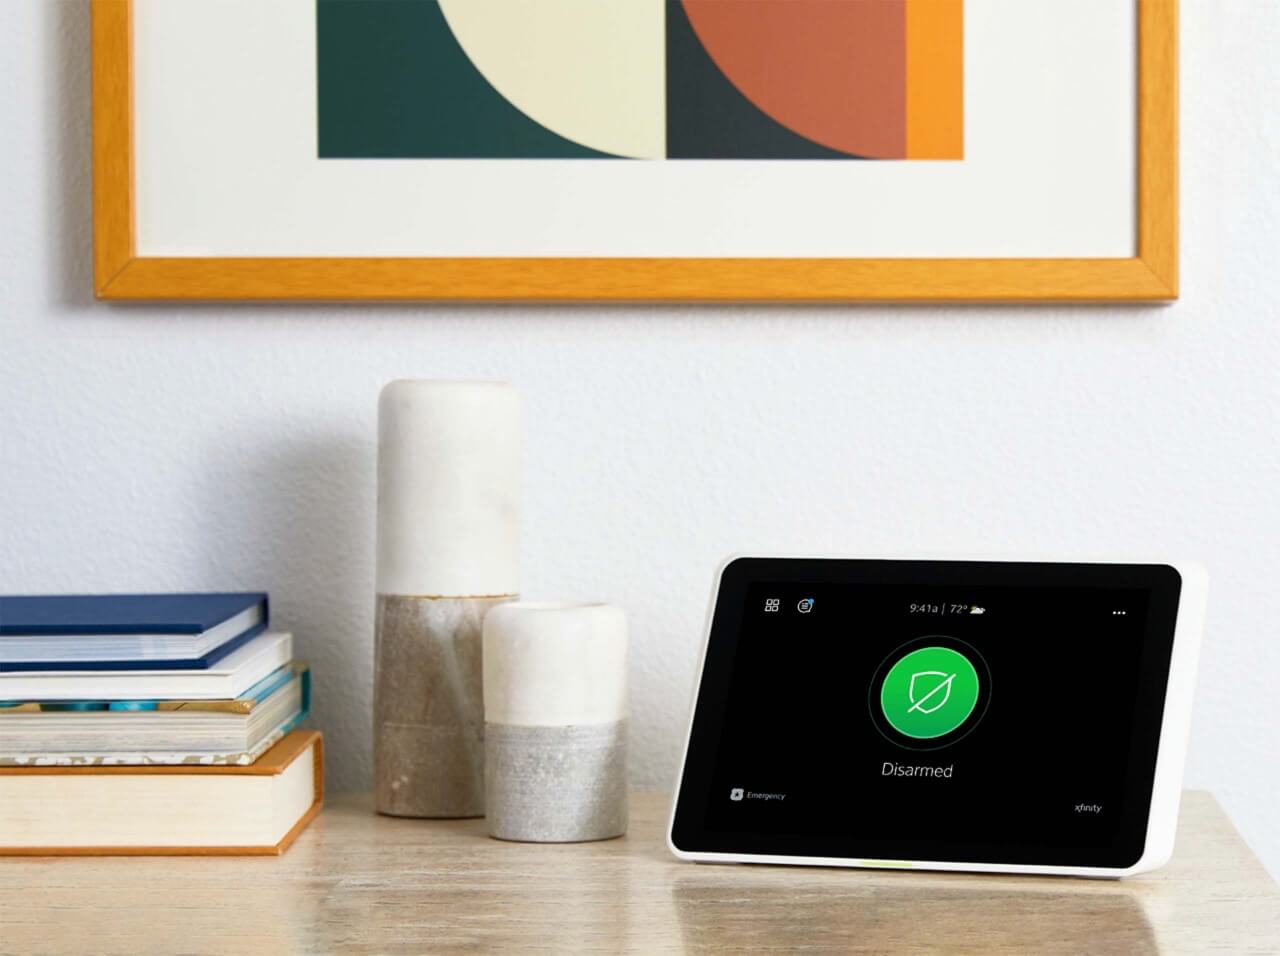
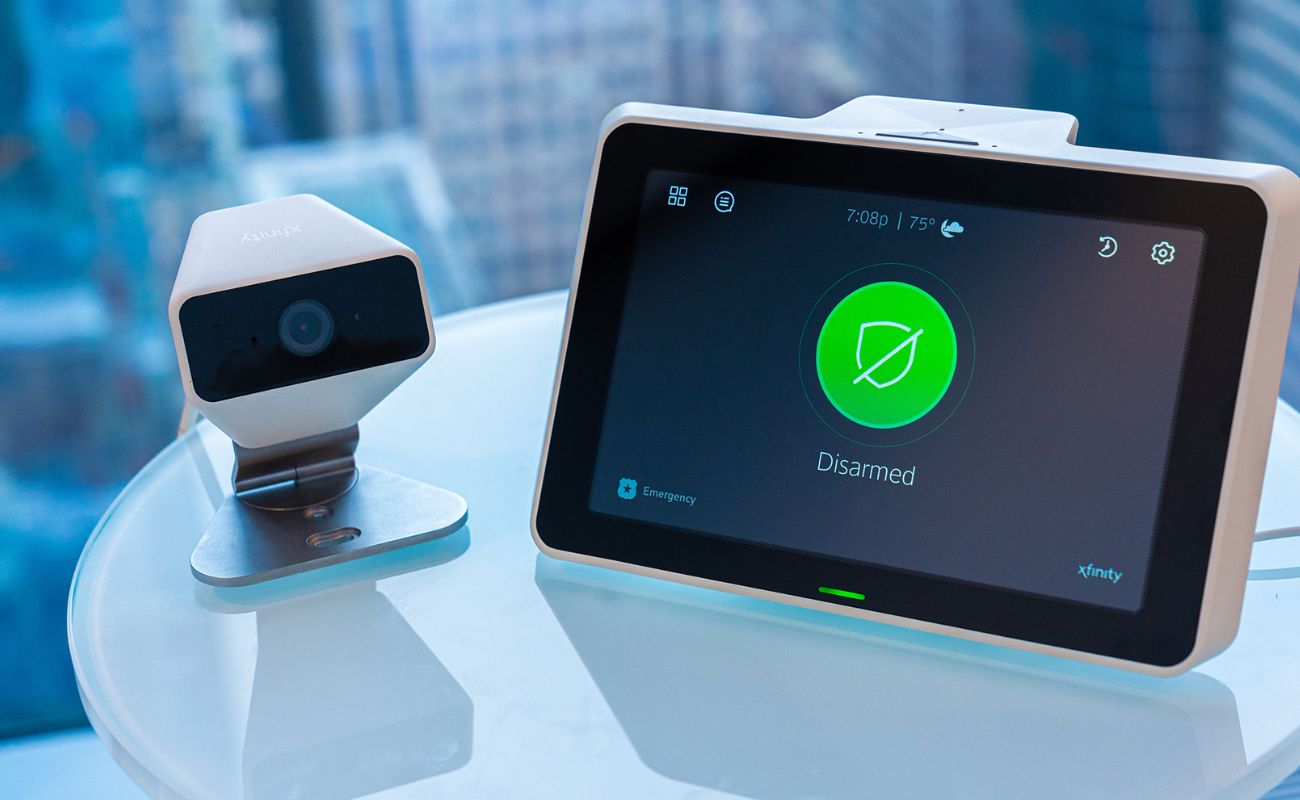
Step 1: Accessing the Xfinity Home Security System Settings
The first step in connecting your Xfinity Home Security system to your Wi-Fi network is accessing the system settings. This is typically done through the control panel or a dedicated mobile app.
If you have a physical control panel, it is usually located in a central area of your home, such as the entryway or living room. You may need to enter a passcode or use a key to unlock it. Once unlocked, navigate through the menu options on the control panel until you find the settings section related to Wi-Fi connectivity.
If you prefer to access the system settings using a mobile app, make sure you have downloaded the Xfinity Home app on your smartphone or tablet. Open the app and sign in to your Xfinity account. Once logged in, locate the settings section and look for the options related to Wi-Fi.
Once you have found the Wi-Fi settings, you are ready to proceed to the next step.
Step 2: Navigating to the Wi-Fi Connection Settings
After accessing the Xfinity Home Security system settings, the next step is to navigate to the Wi-Fi connection settings. This is where you will find the options to connect your system to your Wi-Fi network.
If you are using a physical control panel, use the menu or navigation buttons to scroll through the settings until you find the Wi-Fi connection option. The exact location may vary depending on your specific system, but it is typically found under the network or connectivity settings category.
If you are using the Xfinity Home app, look for a section dedicated to Wi-Fi connectivity within the settings menu. This is where you will find the options to connect your system to your Wi-Fi network.
Once you have located the Wi-Fi connection settings, you are ready to move on to the next step.
Make sure you are in a place with a strong Wi-Fi signal, as a weak signal could cause connectivity issues during the setup process. If the signal is weak, consider moving closer to your Wi-Fi router or using a Wi-Fi extender to boost the signal in that area.
Step 3: Connecting to a Wi-Fi Network
Now that you have navigated to the Wi-Fi connection settings, it’s time to connect your Xfinity Home Security system to your Wi-Fi network. This step involves selecting your network, entering the Wi-Fi password, and establishing a secure connection.
In most Xfinity Home Security systems, you will see a list of available Wi-Fi networks. Select your network from the list by highlighting it and pressing the confirm or select button. If your network does not appear, try refreshing the list or moving closer to your Wi-Fi router.
Once you have selected your network, you will need to enter the Wi-Fi password. Use the control panel or the virtual keyboard in the mobile app to enter the password accurately. Take care to enter characters in the correct case and ensure that the password is entered fully. If you make a mistake, use the backspace or delete button to correct it.
After entering the password, confirm your selection and wait for the system to establish a connection with your Wi-Fi network. This process may take a few moments, so be patient and avoid interrupting it.
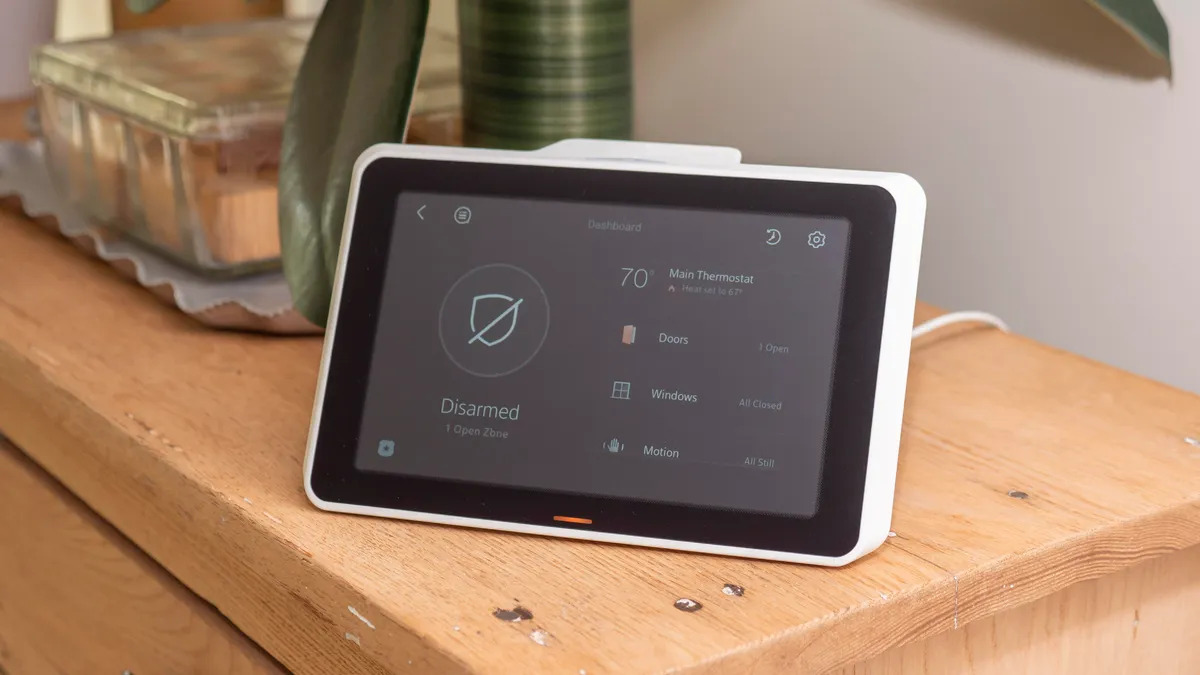
If the connection is successful, you will see a confirmation message indicating that your Xfinity Home Security system is now connected to your Wi-Fi network. You may also see the Wi-Fi signal strength displayed on the screen.
Now that your Xfinity Home Security system is connected to Wi-Fi, you can enjoy the benefits of remote monitoring, alerts, and other advanced features.
To connect Xfinity Home Security to WiFi, log in to your Xfinity account, go to the Home Security section, select your system, and follow the prompts to connect to your WiFi network.
Step 4: Verifying the Wi-Fi Connection
After connecting your Xfinity Home Security system to your Wi-Fi network, it’s important to verify the connection to ensure that everything is working properly. This step will help you confirm that your system is indeed connected to the Wi-Fi network and can communicate effectively.
Start by checking the Wi-Fi signal strength displayed on the control panel or within the Xfinity Home app. A strong signal indicates a good connection, while a weak signal may signify potential issues with the distance or interference.
Next, test the communication between your Xfinity Home Security system and your smartphone or computer. Open the Xfinity Home app or log in to the Xfinity Home website using your credentials. If you can access the live feed from your security cameras, view recent activity logs, or arm and disarm the system remotely without any issues, it is a clear indication that the Wi-Fi connection is working correctly.
If you encounter any difficulties at this stage, double-check your Wi-Fi network and password settings. Ensure that they are entered correctly. If the problem persists, you can try restarting both your Wi-Fi router and the Xfinity Home Security system to resolve any temporary issues.
It’s also worth noting that certain obstructions or interference can affect the Wi-Fi signal and cause connectivity problems. Keep your Xfinity Home Security system away from large metal objects, thick walls, and other electronic devices that may interfere with the signal. If necessary, you can consider installing Wi-Fi extenders or mesh systems to improve the coverage in your home.
By verifying the Wi-Fi connection, you can have peace of mind knowing that your Xfinity Home Security system is properly connected and ready to provide the protection you need.
Read more: How To Set Wireless Security Mode On Xfinity
Step 5: Troubleshooting Tips
Even with the proper setup and configuration, occasional issues may arise when connecting your Xfinity Home Security system to your Wi-Fi network. Here are some troubleshooting tips to help you resolve common problems and ensure a smooth and reliable connection:
- Restart Your Xfinity Home Security System: Sometimes, a simple system reboot can resolve connectivity issues. Restart your Xfinity Home Security system by powering it off, waiting for a few seconds, and then turning it back on.
- Restart Your Wi-Fi Router: Restarting your Wi-Fi router can also help resolve connection problems. Power off your router, wait for a minute, and then power it back on.
- Check Your Wi-Fi Network and Password: Verify that your Wi-Fi network and password settings are correct. Double-check the network name, ensuring that it matches your Wi-Fi router’s SSID exactly. Make sure the password is entered accurately, paying attention to uppercase and lowercase letters, as well as special characters.
- Ensure Proper Wi-Fi Signal Strength: Check the signal strength of your Wi-Fi network. If it’s weak, consider moving your Xfinity Home Security system closer to your Wi-Fi router or using a Wi-Fi extender to enhance coverage in that area.
- Update Firmware: Ensure that both your Xfinity Home Security system and Wi-Fi router are running the latest firmware updates. Outdated firmware can cause compatibility issues and connectivity problems.
- Reset Network Settings: As a last resort, you can try resetting the network settings on your Xfinity Home Security system. This will erase any existing Wi-Fi connection information, allowing you to start fresh. However, keep in mind that you will need to reconfigure the Wi-Fi settings and reconnect all devices after the reset.
If you are still experiencing issues after trying these troubleshooting tips, it is recommended to contact Xfinity Home Security customer support for further assistance. They will be able to provide tailored guidance based on your specific system and network setup.
By following these troubleshooting tips, you can overcome common Wi-Fi connection problems and ensure that your Xfinity Home Security system remains connected and operational.
Conclusion
Connecting your Xfinity Home Security system to your Wi-Fi network is a crucial step in ensuring the seamless operation and remote accessibility of your home security system. With a strong and reliable Wi-Fi connection, you can monitor your property, receive real-time alerts, and control various features using your smartphone or computer.
In this article, we provided a step-by-step guide to help you connect your Xfinity Home Security system to your Wi-Fi network. We covered topics such as accessing the system settings, navigating to the Wi-Fi connection settings, connecting to your Wi-Fi network, verifying the Wi-Fi connection, and troubleshooting common issues.
Remember to follow the specific instructions and guidelines provided by your Xfinity Home Security system, as the process may vary slightly depending on your model and version. Additionally, make sure to maintain a strong Wi-Fi signal in the area where your security system is installed to avoid any connectivity issues.
If you encounter any difficulties during the setup process or experience ongoing connectivity problems, don’t hesitate to reach out to Xfinity Home Security customer support for assistance. They have the knowledge and expertise to help resolve any issues and ensure the smooth functioning of your system.
By successfully connecting your Xfinity Home Security system to your Wi-Fi network and addressing any troubleshooting needs, you can enjoy the peace of mind and enhanced security that comes with a fully integrated and connected home security solution.
Frequently Asked Questions about How To Connect Xfinity Home Security To Wifi
Was this page helpful?
At Storables.com, we guarantee accurate and reliable information. Our content, validated by Expert Board Contributors, is crafted following stringent Editorial Policies. We're committed to providing you with well-researched, expert-backed insights for all your informational needs.