Home>Home Security and Surveillance>How To Connect Mi Home Security Camera To Wifi
Home Security and Surveillance
How To Connect Mi Home Security Camera To Wifi
Modified: March 6, 2024
Learn how to connect your Mi Home Security Camera to Wifi for seamless home security and surveillance. Follow our step-by-step guide to ensure a secure and hassle-free setup.
(Many of the links in this article redirect to a specific reviewed product. Your purchase of these products through affiliate links helps to generate commission for Storables.com, at no extra cost. Learn more)
Introduction
Welcome to the world of home security and surveillance! In today’s digital age, it’s crucial to protect our homes and loved ones from potential threats. One effective way to do so is by installing a reliable home security camera system. These devices provide peace of mind by allowing us to monitor our homes remotely and receive real-time alerts in case of any suspicious activities.
One popular option in the market is the Mi Home Security Camera, known for its advanced features and user-friendly interface. If you’ve recently purchased a Mi Home Security Camera and are wondering how to connect it to your Wi-Fi network, you’ve come to the right place. In this article, we’ll guide you through the process step-by-step and help you get your camera up and running in no time.
Before we dive into the nitty-gritty, it’s important to ensure that you have all the necessary components for a successful setup. Firstly, you’ll need your Mi Home Security Camera, along with its power adapter and USB cable. Additionally, ensure that you have a stable Wi-Fi network with the corresponding network name (SSID) and password handy. Once you have everything ready, let’s move on to the first step.
Key Takeaways:
- Setting up your Mi Home Security Camera is easy! Just follow the step-by-step guide to connect it to your Wi-Fi network and customize the settings for optimal performance and peace of mind.
- After connecting and configuring your camera, don’t forget to test its features to ensure everything is working smoothly. Regular updates and maintenance will keep your home and loved ones safe and secure.
Read more: How To Connect Xfinity Home Security To Wifi
Step 1: Setting up the Mi Home Security Camera
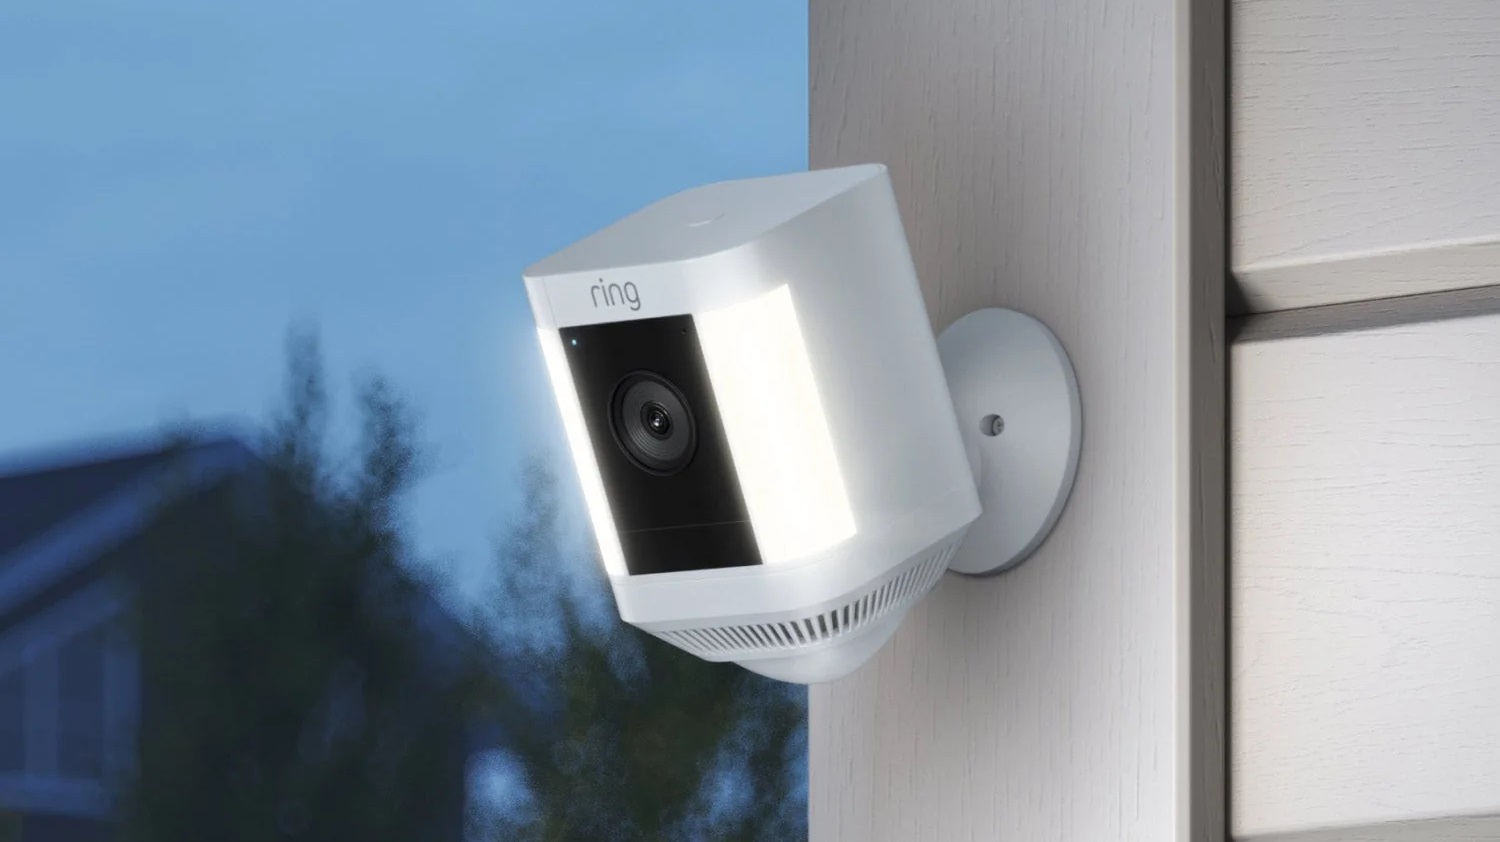
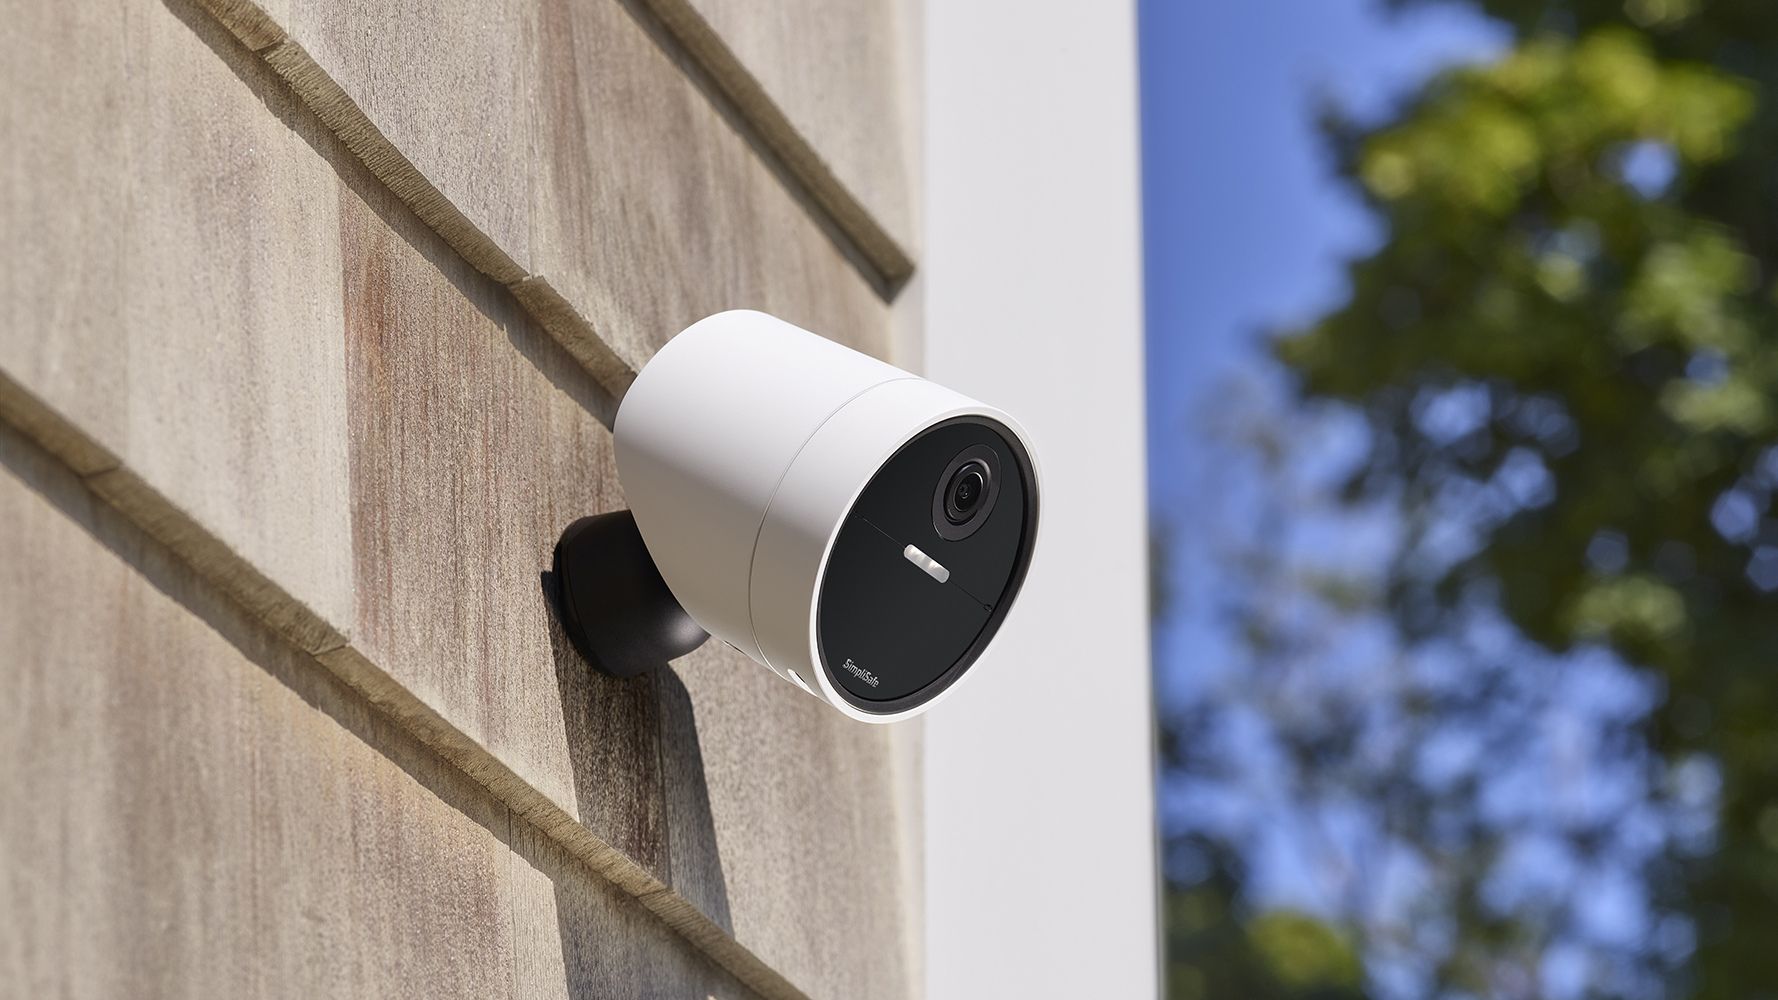
The first step in connecting your Mi Home Security Camera to Wi-Fi is setting up the physical components of the device. Start by finding a suitable location for the camera, preferably an area that provides a wide field of view and covers the desired surveillance area. Once you’ve chosen the ideal spot, follow these steps:
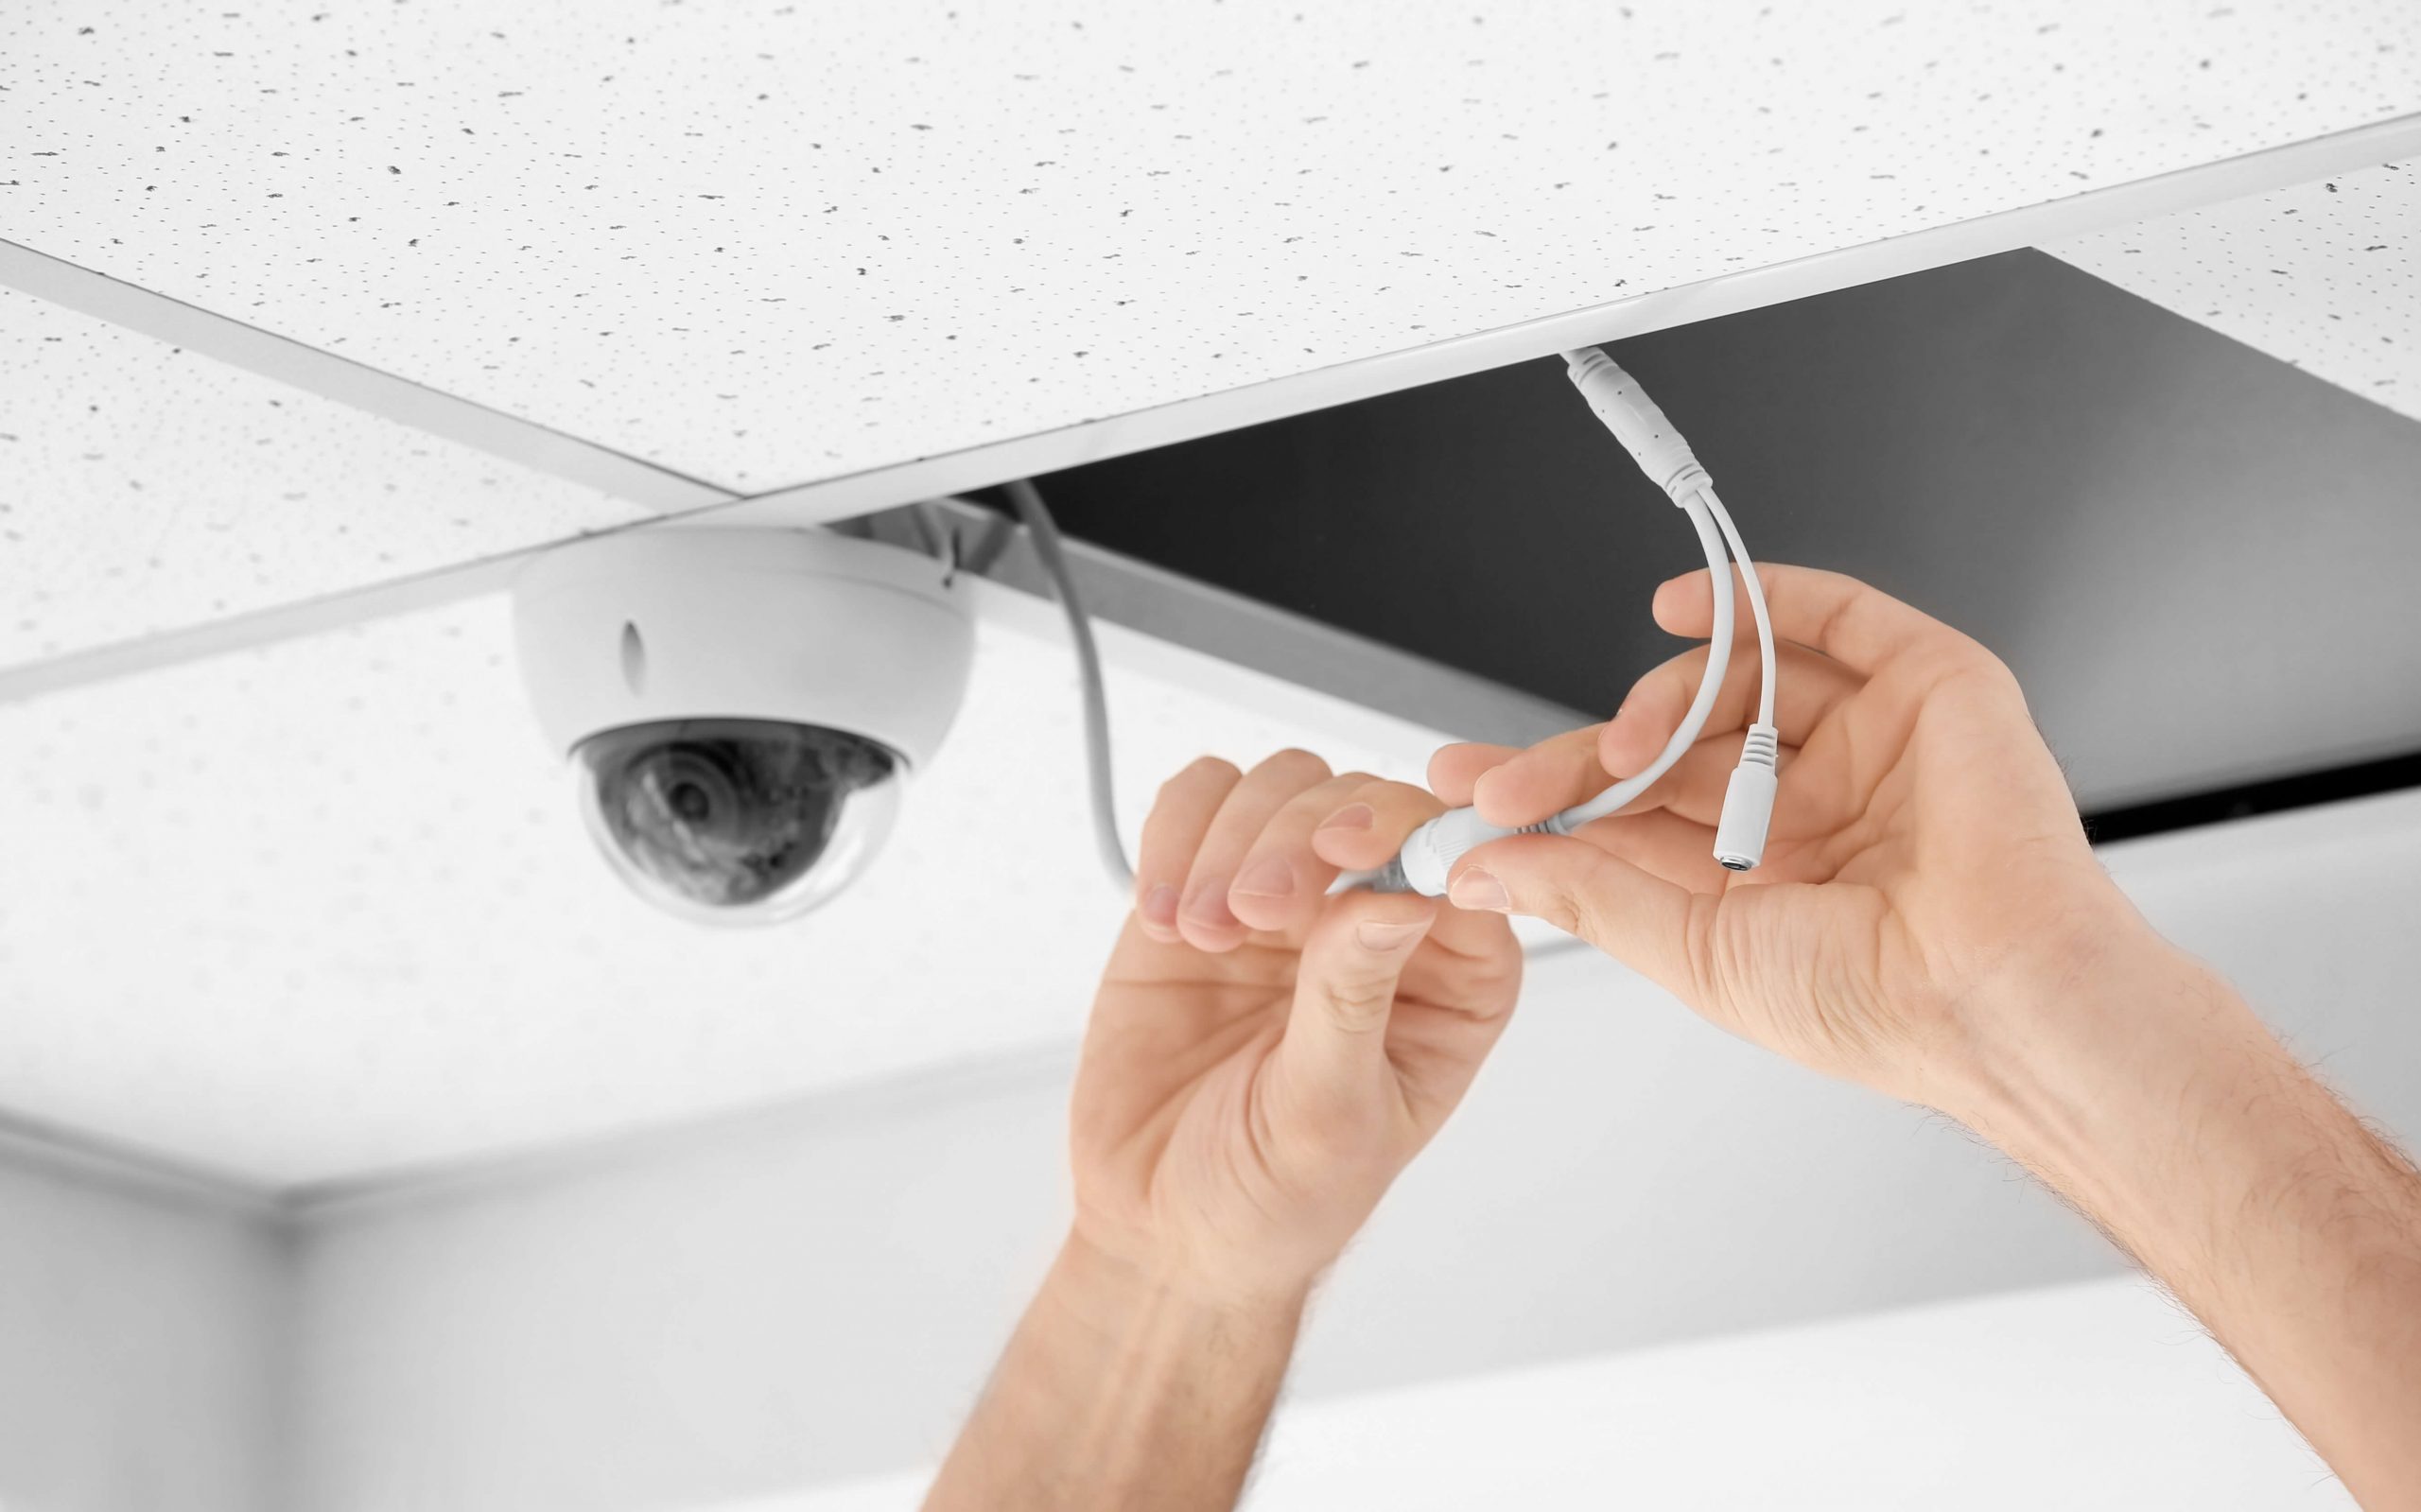
- Connect the power adapter to a power source and plug the USB cable into the device’s charging port.
- Ensure that the camera is powered on and the indicator lights are illuminated. This indicates that the camera is ready to be configured.
- To ensure stability, consider mounting the camera on a wall or using a tripod stand, if provided. This will help secure the camera in place and prevent any accidental movement.
- Position the camera at the desired angle and direction. Avoid obstacles or obstructions that may interfere with the camera’s view.
Once you’ve completed the physical setup, it’s time to access the camera’s settings and proceed to the next step, which is connecting it to your Wi-Fi network.
Step 2: Accessing the camera settings
In order to connect your Mi Home Security Camera to Wi-Fi, you need to access the camera’s settings through the dedicated mobile app. Follow these steps to get started:
- Download and install the Mi Home app on your smartphone or tablet. The app is available for both iOS and Android devices and can be found in the respective app stores.
- Launch the Mi Home app and sign in to your Mi account. If you don’t have one, you will need to create an account to proceed.
- Once you’re logged in, tap on the “+” button at the top right corner of the app’s home screen. This will initiate the process of adding a new device.
- Select “Security Camera” from the list of available devices. Make sure your Mi Home Security Camera is powered on and in close proximity to your smartphone or tablet.
- Follow the on-screen instructions to put the camera in pairing mode. This typically involves pressing a specific button or scanning a QR code displayed on the camera.
- Wait for the app to detect the camera. Once it appears on the screen, tap on it to proceed.
By successfully completing these steps, you have now accessed the camera’s settings and are ready to connect it to your Wi-Fi network. In the next step, we will guide you through the process of connecting your camera to Wi-Fi.
Step 3: Connecting the camera to Wi-Fi
Now that you have accessed the settings of your Mi Home Security Camera, it’s time to connect it to your Wi-Fi network. Follow these steps to ensure a successful connection:
- In the camera settings, locate the option to connect to Wi-Fi. This may be labeled as “Wireless Settings” or something similar.
- Select your Wi-Fi network from the list of available networks. Make sure to choose the correct network that you want your camera to connect to.
- Enter the password for your Wi-Fi network when prompted. Double-check the password to ensure it is entered correctly since any errors may result in a failed connection.
- Once you have entered the correct Wi-Fi password, wait for the camera to establish a connection with your network. This process may take a few moments.
- After the connection is established, the camera’s indicator lights should indicate a successful Wi-Fi connection.
Great! You have now successfully connected your Mi Home Security Camera to your Wi-Fi network. In the next step, we will guide you on how to configure the camera settings according to your preferences.
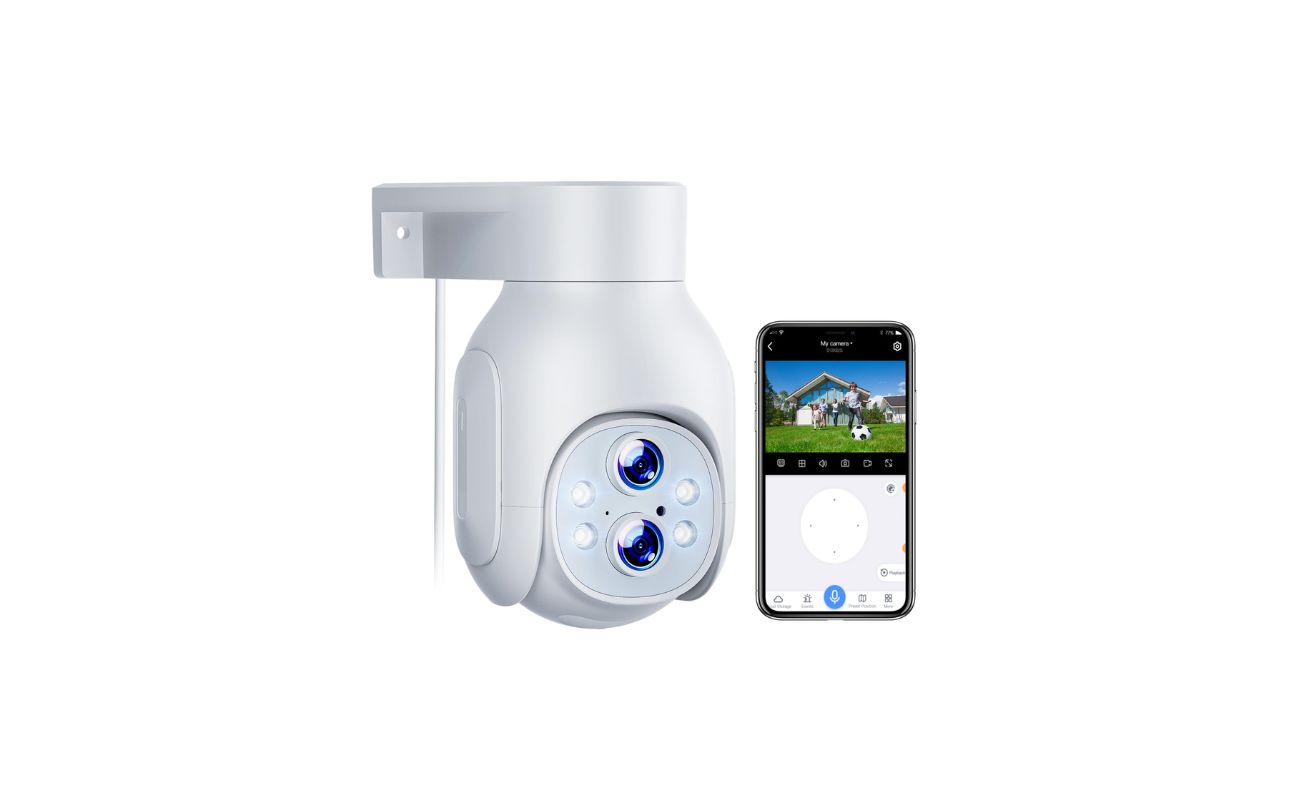
Make sure your Mi Home Security Camera is powered on and in setup mode. Open the Mi Home app, tap on the “+” icon to add a new device, select the camera, and follow the on-screen instructions to connect it to your Wi-Fi network.
Step 4: Configuring camera settings
Now that your Mi Home Security Camera is connected to your Wi-Fi network, you can begin configuring its settings to suit your preferences. Follow these steps to get started:
- Open the Mi Home app on your smartphone or tablet.
- Locate the Camera tab within the app’s interface and tap on it to access the camera’s live view.
- From the live view, you’ll find various options to customize the camera settings. These options may include motion detection sensitivity, camera resolution, night vision mode, and more. Explore the app menu to find the relevant settings that you wish to modify.
- Adjust the settings according to your needs. For example, you may want to enable motion detection alerts and set the sensitivity level to ensure that you receive push notifications whenever any movement is detected within the camera’s field of view.
- Experiment with different settings to optimize the camera’s performance and achieve the desired surveillance results.
It’s important to note that the available settings and customization options may vary depending on the model and firmware version of your Mi Home Security Camera. Therefore, it’s recommended to refer to the camera’s user manual or explore the app thoroughly to familiarize yourself with all the available features.
Once you have configured the camera settings to your satisfaction, you’re ready to move on to the final step – testing the connection.
Read more: How To Have Security Cameras Without Wifi
Step 5: Testing the connection
After setting up and configuring your Mi Home Security Camera, it’s essential to test the connection to ensure everything is working smoothly. Follow these steps to test the connection:
- Launch the Mi Home app on your smartphone or tablet.
- Access the camera’s live view by navigating to the Camera tab within the app.
- Check if the live feed is streaming properly. You should be able to see the camera’s view on your device’s screen.
- Move around within the camera’s field of view to confirm that the motion detection is functioning correctly. This will help you verify that the camera can detect movement and trigger notifications, if enabled.
- Test the camera’s audio features by speaking into your device’s microphone and checking if the audio is transmitted to the camera’s speaker. Similarly, listen for any sounds or voices coming through the camera’s microphone.
- If you have set up remote access, try accessing the camera from a different location, such as a friend’s house or a coffee shop, using the Mi Home app on your smartphone.
By testing the connection and the camera’s various features, you can determine if everything is working as expected. If you encounter any issues or have difficulty with certain functionalities, consult the camera’s user manual or reach out to customer support for further assistance.
With the successful completion of these steps, congratulations! You have successfully connected and configured your Mi Home Security Camera to your Wi-Fi network and tested its functionality. Now you can enjoy the peace of mind that comes with having a reliable home security and surveillance system in place.
Remember to regularly update the camera’s firmware and check for any software upgrades to ensure that you have the latest features and security enhancements. Stay vigilant, and may your Mi Home Security Camera keep you and your loved ones safe and protected!
Conclusion
In conclusion, connecting your Mi Home Security Camera to your Wi-Fi network is a straightforward process that can be accomplished in a few simple steps. By following the instructions provided in this article, you can set up and configure your camera to ensure optimal performance and peace of mind.
The Mi Home Security Camera offers a range of advanced features, including motion detection, night vision, and remote access, which allows you to monitor your home from anywhere at any time. With the ability to customize settings according to your preferences, you can tailor the camera’s functionality to suit your specific needs.
Remember to position the camera strategically to capture the desired surveillance area and secure it in place to prevent accidental movement. Accessing the camera’s settings through the Mi Home app allows you to easily connect it to your Wi-Fi network and make any necessary adjustments to enhance its performance.
After configuring the camera settings, it is crucial to test the connection to ensure everything is working as expected. By checking the live feed, motion detection, audio features, and remote access, you can confirm that your Mi Home Security Camera is functioning correctly and providing you with the desired security coverage.
Regularly updating the camera’s firmware and staying informed about any software upgrades will ensure that you have access to the latest features and enhancements, keeping your home and loved ones safe.
With your Mi Home Security Camera successfully connected and configured, you can now enjoy the peace of mind that comes with having a reliable and effective home security and surveillance system in place. Rest assured that you have taken a significant step towards protecting your home and loved ones from potential threats.
Remember, proper installation, configuration, and maintenance are essential for the optimal performance of your Mi Home Security Camera. Consult the user manual or reach out to customer support if you encounter any difficulties or have further questions.
Stay vigilant, stay safe, and enjoy the added security that your Mi Home Security Camera brings to your home and peace of mind.
Frequently Asked Questions about How To Connect Mi Home Security Camera To Wifi
Was this page helpful?
At Storables.com, we guarantee accurate and reliable information. Our content, validated by Expert Board Contributors, is crafted following stringent Editorial Policies. We're committed to providing you with well-researched, expert-backed insights for all your informational needs.