Home>Home Security and Surveillance>How To Install Q-See 8-Channel 6 HD 720P Night Vision Cameras With 1TB HDD DVR Security System
Home Security and Surveillance
How To Install Q-See 8-Channel 6 HD 720P Night Vision Cameras With 1TB HDD DVR Security System
Modified: March 6, 2024
Looking for a reliable and high-quality home security and surveillance system? Learn how to install the Q-See 8-Channel 6 HD 720P Night Vision Cameras with 1TB HDD DVR Security System.
(Many of the links in this article redirect to a specific reviewed product. Your purchase of these products through affiliate links helps to generate commission for Storables.com, at no extra cost. Learn more)
Introduction
Welcome to the comprehensive guide on installing the Q-See 8-Channel 6 HD 720P Night Vision Cameras with 1TB HDD DVR Security System. In this article, we will walk you through the step-by-step process of setting up and configuring this advanced home security system.
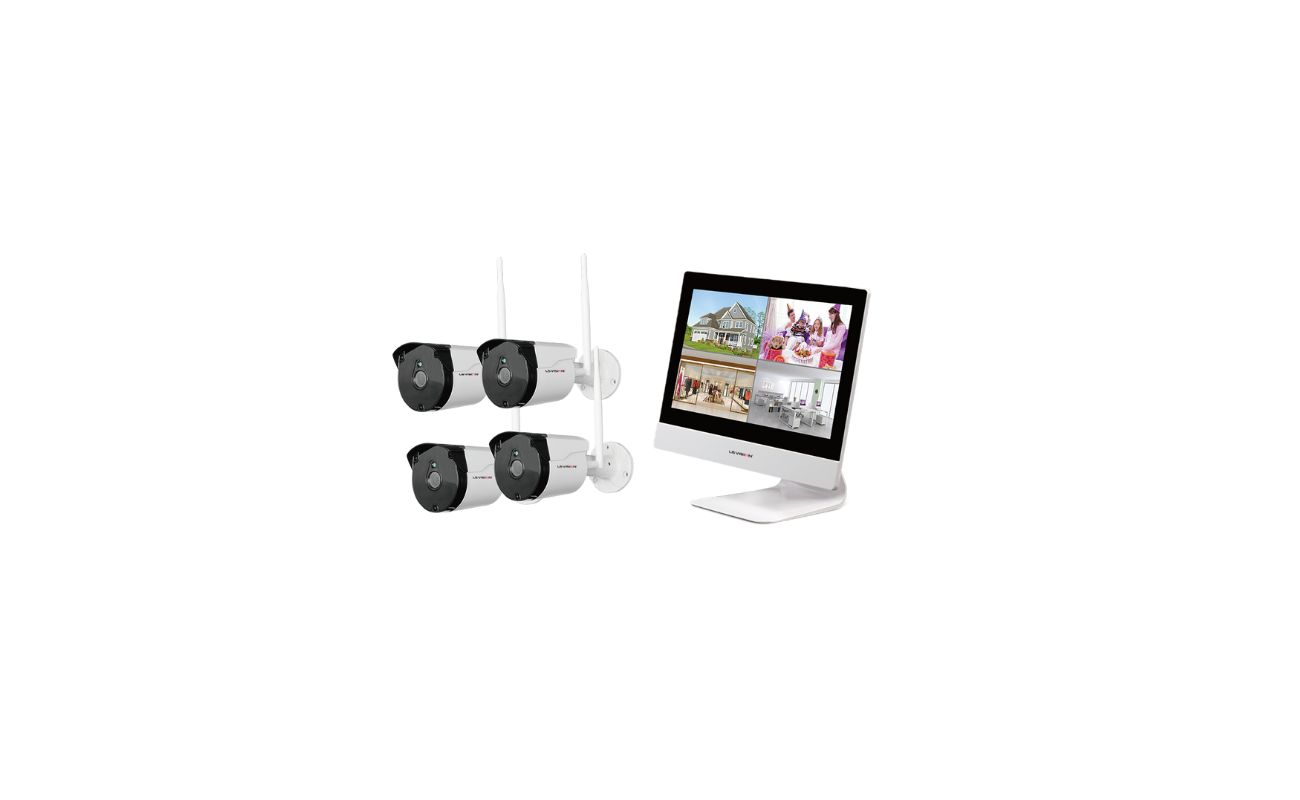
Home security is a top priority for many homeowners, and with advancements in technology, it has become easier than ever to monitor and protect your property. The Q-See 8-Channel 6 HD 720P Night Vision Cameras with 1TB HDD DVR Security System is a top-of-the-line solution that offers high-definition video recording, night vision capabilities, and remote access to live feeds, all in one package.
This state-of-the-art surveillance system provides peace of mind by offering 24/7 monitoring and recording of activities in and around your home. Whether you are looking to deter potential burglars, keep an eye on your children and pets, or monitor outdoor areas, this system has the features and capabilities to meet your security needs.
Before we dive into the installation process, it’s important to note that this guide assumes you have already purchased the Q-See 8-Channel 6 HD 720P Night Vision Cameras with 1TB HDD DVR Security System and have all the necessary equipment on hand. If you haven’t made the purchase yet, we highly recommend consulting with a professional or conducting thorough research to ensure that this system aligns with your specific requirements.
Now, let’s get started with the unboxing and installation process of the Q-See 8-Channel 6 HD 720P Night Vision Cameras with 1TB HDD DVR Security System.
Key Takeaways:
- Setting up the Q-See 8-Channel 6 HD 720P Night Vision Cameras with 1TB HDD DVR Security System involves unboxing, mounting the cameras, connecting the DVR, configuring settings, and thorough testing to ensure optimal functionality.
- Regular maintenance, including cleaning the cameras, checking cables, and updating system settings, is essential to ensure the continued performance and reliability of the Q-See security system.
Read more: How To Turn On Q-See Night Vision Camera
Step 1: Unboxing the Q-See 8-Channel 6 HD 720P Night Vision Cameras with 1TB HDD DVR Security System
Before you begin the installation process, it is essential to unbox your Q-See 8-Channel 6 HD 720P Night Vision Cameras with 1TB HDD DVR Security System and familiarize yourself with its components. By doing so, you will have a clear understanding of what each item is and how it contributes to the overall setup.
Here is a breakdown of what you can expect to find in the box:
- DVR unit: This is the heart of the security system. It is responsible for recording and storing footage from the cameras.
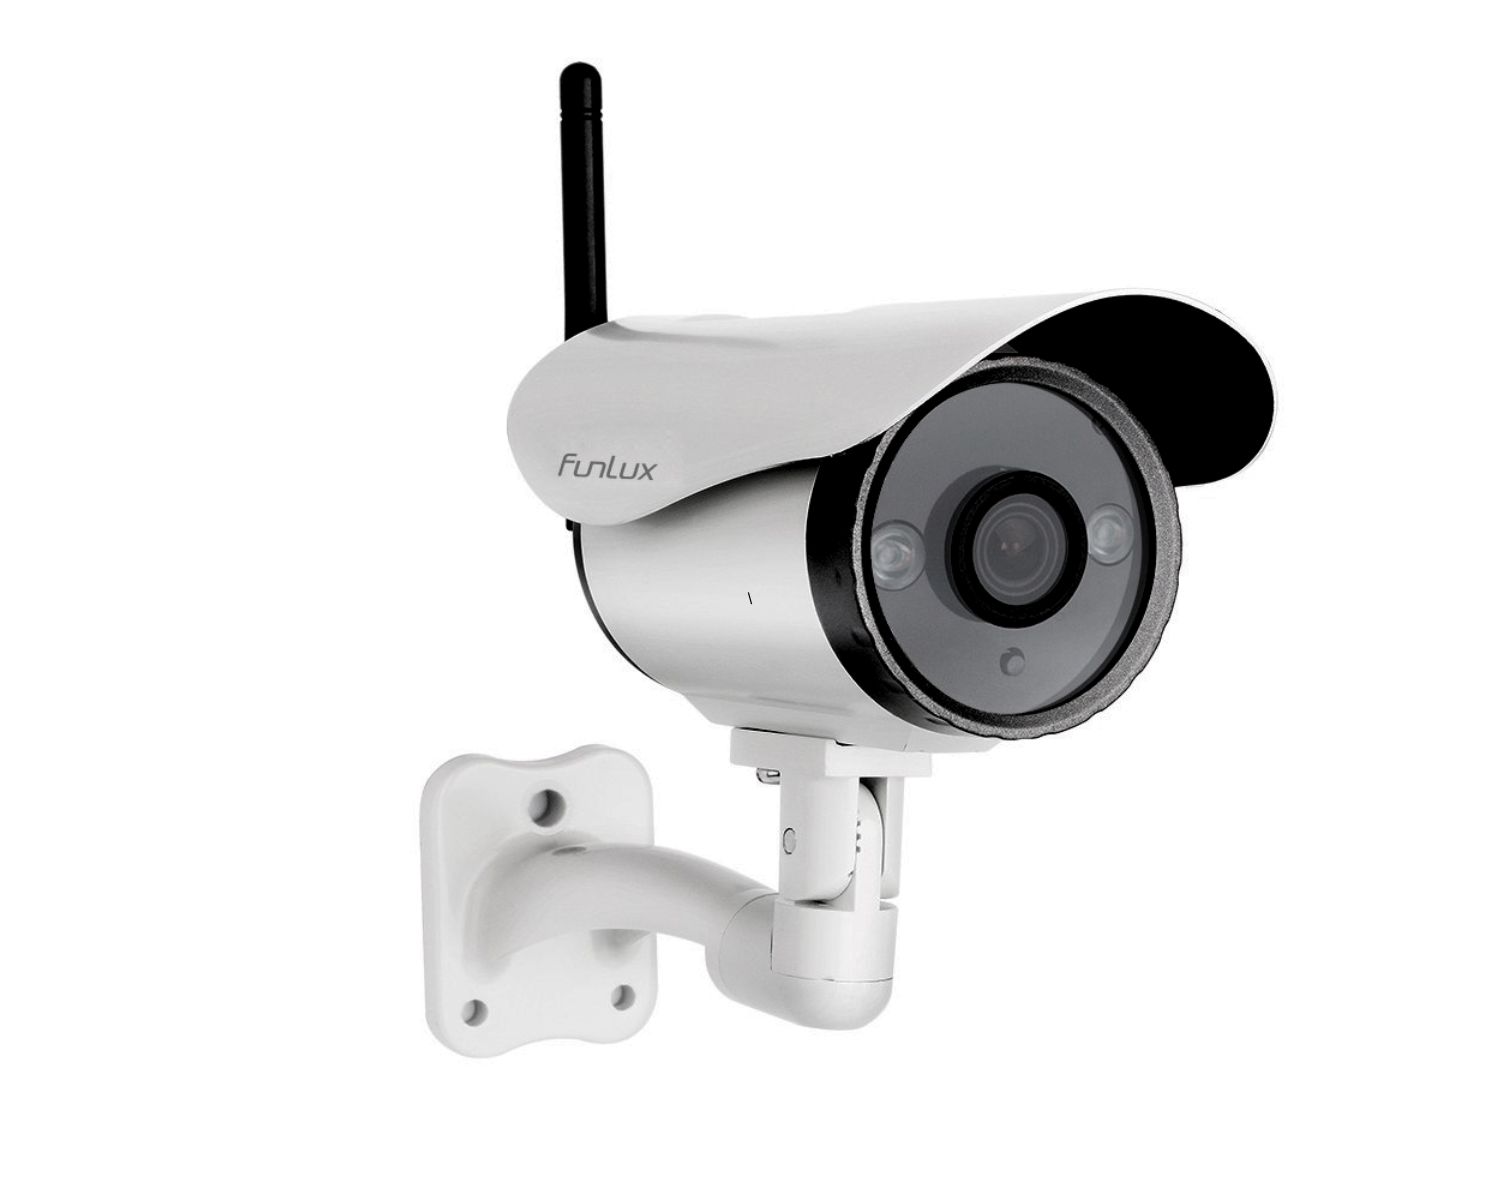
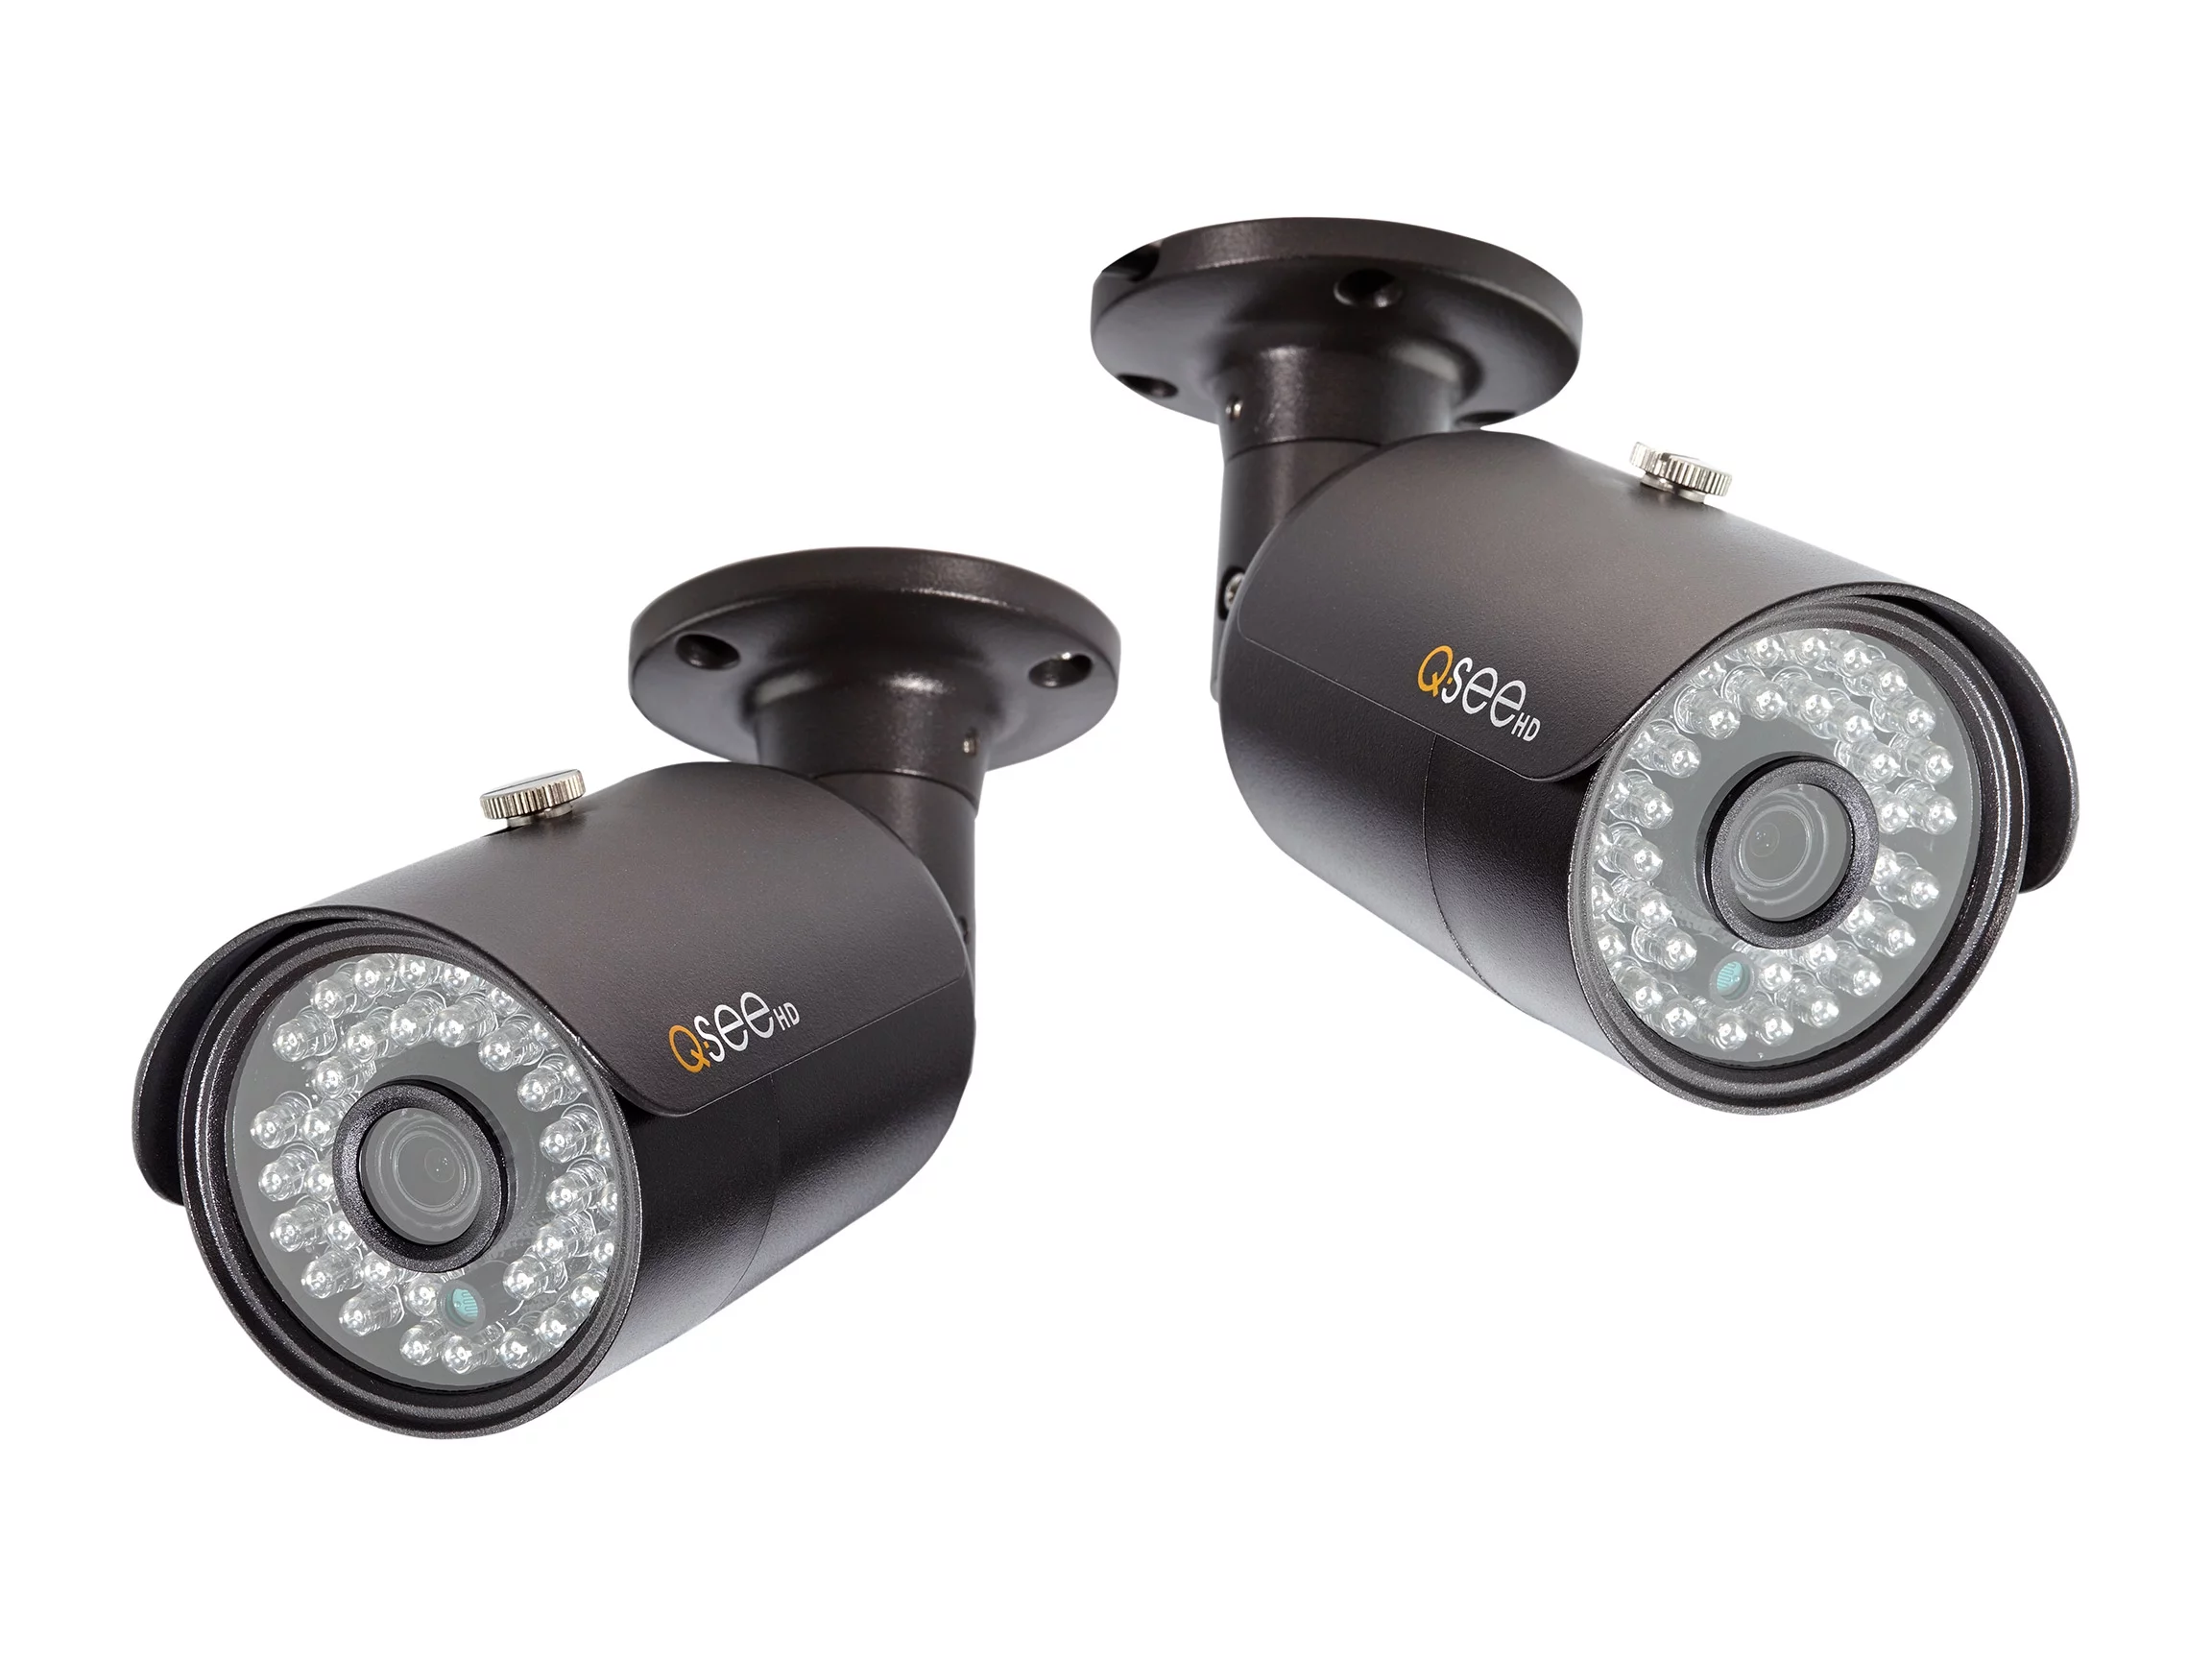
- Camera units: These are the HD 720P night vision cameras that will be strategically placed around your property.
- Cables: The package will include all the necessary cables for connecting the cameras to the DVR and power sources.
- Power supply: The system will come with a power supply for the DVR unit.
- Remote control: The remote control allows you to navigate and control the DVR’s settings.
- Mouse: A mouse is provided for easy navigation and control of the DVR’s user interface.
- Mounting brackets and screws: These are essential for securely mounting the cameras in the desired locations.
- Quick start guide and user manual: These documents provide detailed instructions and information on operating the system.
Once you have unboxed the system and checked that all the components are present, take a few moments to review the user manual and familiarize yourself with the different components and their functions. This will help you navigate the installation process with ease.
With the unboxing complete, you are now ready to move on to the next step: mounting the cameras.
Step 2: Mounting the Cameras
Mounting the cameras in strategic locations around your property is a crucial step in setting up your Q-See 8-Channel 6 HD 720P Night Vision Cameras with 1TB HDD DVR Security System. Proper camera placement ensures optimal coverage and maximizes the effectiveness of your surveillance system. Here’s how you can mount the cameras:
- Identify the areas: Take a walk around your property and identify the key areas that you want to monitor. This may include entry points, driveways, patios, or any other areas of concern.
- Determine the camera position: Once you’ve identified the areas, determine the best position for each camera. Consider factors such as the camera’s field of view and the angle at which you want to capture footage. Ensure that the cameras are mounted at a height where they are less likely to be tampered with.
- Prepare the mounting brackets: Attach the mounting brackets to the back of each camera using the included screws. Make sure the brackets are securely fastened to provide stability.
- Drill holes and mount the brackets: Using a drill, carefully drill holes in the chosen mounting locations. Insert wall anchors if necessary and then secure the brackets using screws. Ensure that the brackets are tightly secured to prevent the cameras from shifting once mounted.
- Attach the cameras: Once the brackets are securely mounted, attach the cameras to the brackets. Ensure that the cameras are properly aligned to capture the desired area of surveillance.
- Adjust the angle: After attaching the cameras, adjust the angle of each camera for optimal positioning. This can be done by loosening the screws on the brackets and rotating or tilting the cameras as needed. Once adjusted, tighten the screws to secure the desired angle.
It is important to note that while mounting the cameras, you should consider factors such as coverage, visibility, and potential obstructions. Ensure that the cameras have a clear line of sight to capture the necessary footage.
Once you have successfully mounted all the cameras, you are ready to move on to the next step: connecting the DVR.
Step 3: Connecting the DVR
Connecting the DVR is a crucial step in getting your Q-See 8-Channel 6 HD 720P Night Vision Cameras with 1TB HDD DVR Security System up and running. The DVR acts as the central hub for recording and storing footage from the cameras. Here’s how you can connect the DVR:
- Find an appropriate location: Select a suitable location for the DVR unit. It should be in close proximity to a power outlet and have sufficient ventilation to prevent overheating.
- Connect the power supply: Plug in the power supply that comes with the system into a nearby power outlet. Then, connect the power cable from the power supply to the DVR unit.
- Connect the cameras: Depending on the number of cameras you have, connect each camera to the appropriate BNC inputs on the back of the DVR. Insert the BNC connector into the corresponding input and tighten the screw to secure it.
- Connect the monitor: Use an HDMI or VGA cable to connect the DVR to a monitor or TV. Insert one end of the cable into the HDMI or VGA output on the DVR and the other end into the HDMI or VGA input on the monitor.
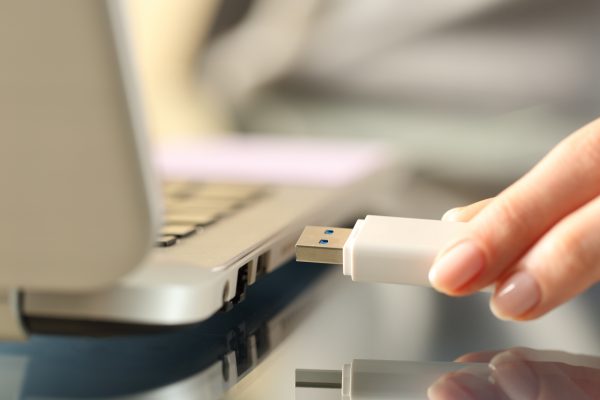
- Connect the mouse: Plug the provided mouse into one of the USB ports on the DVR. This allows you to navigate and control the DVR’s settings.
- Connect to the internet (optional): If you wish to access your security system remotely, you can connect an Ethernet cable from your router to the LAN port on the DVR. This will enable you to view live feeds and playback recorded footage from anywhere using a smartphone or computer.
- Power on the DVR: Once all the connections are made, power on the DVR unit by pressing the power button or using the remote control.
After following these steps, the DVR should now be successfully connected to the power source, cameras, monitor, and internet (if applicable). You should see the system booting up and displaying the live feeds from the connected cameras on the monitor.
In the next step, we will guide you through the process of setting up the DVR for optimal performance.
When installing the Q-See 8-Channel 6 HD 720P Night Vision Cameras with 1TB HDD DVR Security System, make sure to carefully read the instruction manual and follow the step-by-step installation guide provided. It’s important to properly position the cameras for optimal coverage and to securely mount them to prevent tampering. Additionally, ensure that the DVR is placed in a secure and well-ventilated area for optimal performance.
Step 4: Setting up the DVR
Setting up the DVR is a crucial step in optimizing the performance of your Q-See 8-Channel 6 HD 720P Night Vision Cameras with 1TB HDD DVR Security System. The configuration process involves initializing the DVR for recording, adjusting settings, and creating a secure access password. Follow these steps to efficiently set up your DVR:
- DVR initialization: After powering on the DVR, you will be prompted to initialize the system. This involves formatting the internal hard drive to ensure it is ready for recording. Follow the on-screen instructions to complete the initialization process.
- Date and time setup: It is important to set the correct date and time on the DVR. This information is crucial for accurate time-stamping of recorded footage. Navigate to the system settings menu and locate the date and time settings. Adjust the settings according to your specific time zone and daylight saving preferences.
- Recording settings: Access the recording settings menu and configure the recording parameters to suit your preferences. You can adjust options such as resolution, frame rate, and recording schedule. Higher resolution and frame rates will result in clearer footage but will consume more storage space. Set up a recording schedule based on your needs, whether it’s continuous recording or specific time intervals.
- Motion detection settings: The motion detection feature allows the DVR to start recording when motion is detected within the camera’s field of view. Configure the sensitivity and area of detection to minimize false alarms and ensure accurate motion detection. Adjust these settings according to your specific requirements.
- Network settings (optional): If you connected the DVR to your internet network, you can access your security system remotely. In the network settings menu, configure the network parameters, including IP address, subnet mask, gateway, and DNS settings. These settings may vary depending on your network setup. Consult the user manual for guidance on configuring network settings.
- Password setup: To ensure the security of your system, set up a strong password for accessing the DVR’s settings and live feeds. Navigate to the password settings menu and follow the instructions to create a secure password. Avoid using commonly used passwords and ensure your password is a combination of letters, numbers, and special characters.
- Save and apply settings: Once you have completed the desired configuration settings, navigate to the save or apply settings option to save and apply the changes. This will ensure that the DVR operates according to your specific preferences.
With these steps completed, your DVR is now set up and ready to start recording and monitoring your property. In the next step, we will guide you through the process of configuring the cameras.
Step 5: Configuring the Cameras
Configuring the cameras is a crucial step in optimizing the functionality and performance of your Q-See 8-Channel 6 HD 720P Night Vision Cameras with 1TB HDD DVR Security System. By properly configuring the camera settings, you can ensure optimal video quality, adjust camera behavior, and customize the system according to your specific needs. Follow these steps to efficiently configure your cameras:
- Access the camera settings: Using the mouse or remote control, navigate to the camera settings menu on the DVR. This menu allows you to make adjustments to each individual camera.
- Video quality settings: Adjust the video quality settings for each camera according to your preferences. You can choose the desired resolution, frame rate, and image quality for each camera. Higher-resolution settings will result in clearer footage but may require more storage space.
- Camera behavior settings: Customize the behavior of each camera by accessing the camera behavior settings. Here, you can configure options such as motion detection sensitivity, night vision settings, and audio recording. Adjust these settings based on the specific requirements and environment of each camera’s location.
- Privacy masking settings: If there are areas within the camera’s field of view that you prefer to keep private, you can enable privacy masking. This feature allows you to block out specific areas to ensure they are not captured in the recorded footage. Configure the shape and size of the privacy masks based on your needs.
- Rules and alerts settings: Configure rules and alerts to enhance the responsiveness of your security system. You can set up rules to trigger specific actions when certain events occur, such as motion detection or tampering. For example, you can configure an alert to be sent to your mobile phone or email when a camera detects motion during specific hours.
- Save and apply settings: Once you have completed the desired camera configurations, navigate to the save or apply settings option to save and apply the changes. This will ensure that the cameras operate according to your specific preferences.
With the cameras configured, they are now optimized to capture high-quality footage and respond to specific events or triggers based on your preferences. In the final step, we will guide you through the process of testing the system to ensure everything is functioning as expected.
Step 6: Testing the System
Testing the system is the final step in ensuring that your Q-See 8-Channel 6 HD 720P Night Vision Cameras with 1TB HDD DVR Security System is functioning properly and providing the level of security you desire. By thoroughly testing the system, you can identify any potential issues or gaps in coverage and make necessary adjustments. Follow these steps to effectively test your security system:
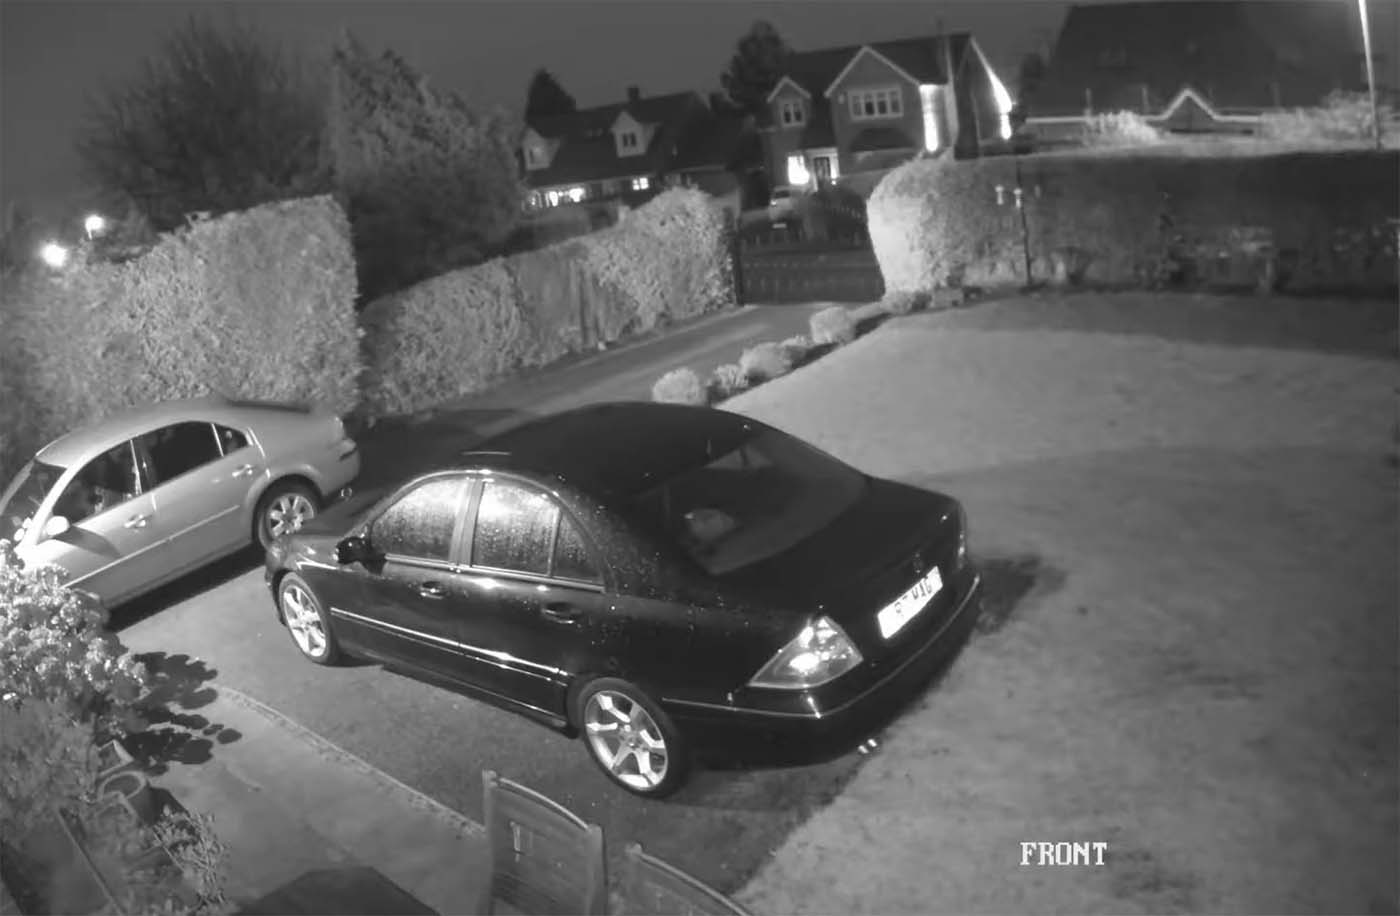
- Check camera feeds: Begin by checking the live camera feeds on the monitor or through the remote access app on your smartphone or computer. Ensure that each camera is capturing the desired areas and that the video quality meets your expectations. Take note of any blind spots or areas that may need additional camera coverage.
- Trigger motion detection: Walk through the monitored areas or create deliberate motion within the camera’s field of view to trigger the motion detection feature. Verify that the system correctly detects and records the motion. Check if the alerts (if configured) are sent to your mobile device or email as expected.
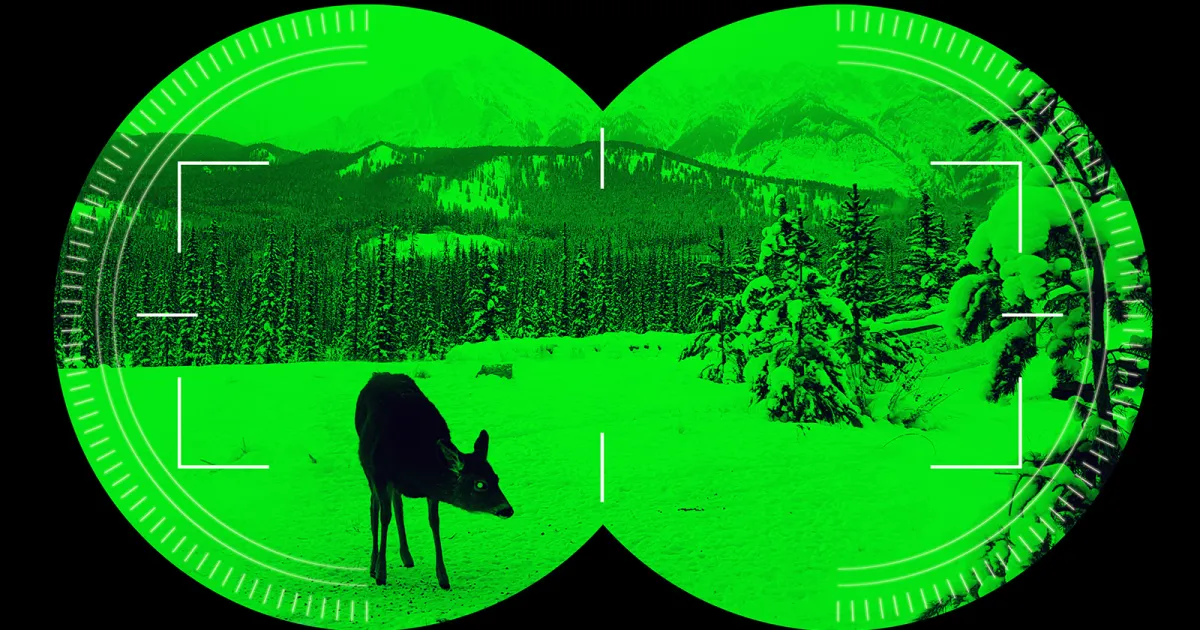
- Test night vision: If your security system includes night vision capability, test the night vision performance in low-light or dark conditions. Ensure that the images are clear and the cameras are capturing sufficient detail. Make adjustments as necessary to enhance night vision quality.
- Test remote access: If you have set up remote access, test the functionality by accessing the system via a smartphone or computer outside of your local network. Verify that you can view live camera feeds and playback recorded footage from anywhere with a stable internet connection.
- Review recorded footage: Playback the recorded footage from each camera to ensure that it is stored correctly and that you can easily access and review the recordings. Check for any issues such as corrupted files or incomplete recordings. Adjust the recording settings if necessary to optimize storage usage.
- Perform regular maintenance: Develop a maintenance routine to ensure the continued performance of your security system. Regularly clean the camera lenses, check cables for damage, and make sure the DVR is kept in a cool and well-ventilated area. Also, periodically review and update the system’s settings and firmware to benefit from any available enhancements or bug fixes.
By following these testing steps and conducting regular system maintenance, you can have confidence in the reliability and effectiveness of your Q-See 8-Channel 6 HD 720P Night Vision Cameras with 1TB HDD DVR Security System. Your home security will be enhanced, providing you with peace of mind and protection for your property and loved ones.
With the system successfully tested, you have now completed the installation and setup process for your Q-See security system. Remember to consult the user manual and manufacturer’s guidelines for additional information and troubleshooting tips. Enjoy the added security and surveillance capabilities that your system provides!
Thank you for choosing the Q-See 8-Channel 6 HD 720P Night Vision Cameras with 1TB HDD DVR Security System!
Conclusion
Congratulations on successfully installing and setting up your Q-See 8-Channel 6 HD 720P Night Vision Cameras with 1TB HDD DVR Security System. By following the comprehensive guide outlined in this article, you have taken a significant step towards enhancing the security and surveillance of your home.
Home security is a critical aspect of modern living, and advancements in technology have made it easier than ever to monitor and protect our properties. The Q-See security system offers a comprehensive solution with its high-definition cameras, night vision capabilities, and remote access features. It provides peace of mind by ensuring 24/7 monitoring and recording of activities within and around your home.
Throughout the installation process, you unboxed the components, mounted the cameras in strategic locations, connected the DVR and peripherals, configured the settings, and conducted thorough testing to ensure optimal functionality. By paying attention to details and following the steps carefully, you have created a reliable and effective security system tailored to your specific needs.
Remember to maintain your security system by regularly inspecting and cleaning the cameras, checking the cables for damage, and performing system updates as needed. Additionally, revisit your settings periodically to adjust for any changing surveillance requirements or improvements in technology.
With your Q-See security system in place, you can now enjoy the peace of mind that comes with knowing your home is protected. Whether you’re at home or away, you’ll have the ability to monitor your property and respond swiftly to any potential threats or incidents.
Thank you for choosing the Q-See 8-Channel 6 HD 720P Night Vision Cameras with 1TB HDD DVR Security System. We hope this guide has been helpful, and we wish you many years of enhanced security and surveillance with your new system.
Frequently Asked Questions about How To Install Q-See 8-Channel 6 HD 720P Night Vision Cameras With 1TB HDD DVR Security System
Was this page helpful?
At Storables.com, we guarantee accurate and reliable information. Our content, validated by Expert Board Contributors, is crafted following stringent Editorial Policies. We're committed to providing you with well-researched, expert-backed insights for all your informational needs.