Home>Home Security and Surveillance>How To Set Up Anni 4Ch 720P Wi-Fi NVR Kit – Wireless Security CCTV Surveillance Systems
Home Security and Surveillance
How To Set Up Anni 4Ch 720P Wi-Fi NVR Kit – Wireless Security CCTV Surveillance Systems
Modified: March 6, 2024
Learn how to easily set up the Anni 4Ch 720P Wi-Fi NVR Kit, a wireless security CCTV surveillance system, to protect your home with the latest in home security and surveillance technology.
(Many of the links in this article redirect to a specific reviewed product. Your purchase of these products through affiliate links helps to generate commission for Storables.com, at no extra cost. Learn more)
Introduction
Welcome to our guide on how to set up the Anni 4Ch 720P Wi-Fi NVR Kit – a comprehensive wireless security CCTV surveillance system that provides reliable protection for your home or business. This easy-to-use kit is designed to bring peace of mind by offering high-quality video monitoring and remote access capabilities.
Whether you’re a new user or a seasoned DIY enthusiast, this article will walk you through the step-by-step process of setting up your Anni 4Ch 720P Wi-Fi NVR Kit. By the end of this guide, you’ll have a fully operational and secure surveillance system that can help deter potential intruders and keep an eye on your property.
Before we dive into the setup process, let’s take a closer look at the features and components of the Anni 4Ch 720P Wi-Fi NVR Kit.
Key Takeaways:
- Setting up the Anni 4Ch 720P Wi-Fi NVR Kit is a breeze with its wireless connectivity, high-quality video, and remote access features. Just unbox, connect, and power up for reliable home or business surveillance.
- Enjoy peace of mind with the Anni 4Ch 720P Wi-Fi NVR Kit’s easy remote viewing via the mobile app. Troubleshooting tips are available for common setup issues, ensuring a smooth surveillance experience.
Read more: How To Reset Funlux 720P Outdoor Camera
Product Overview
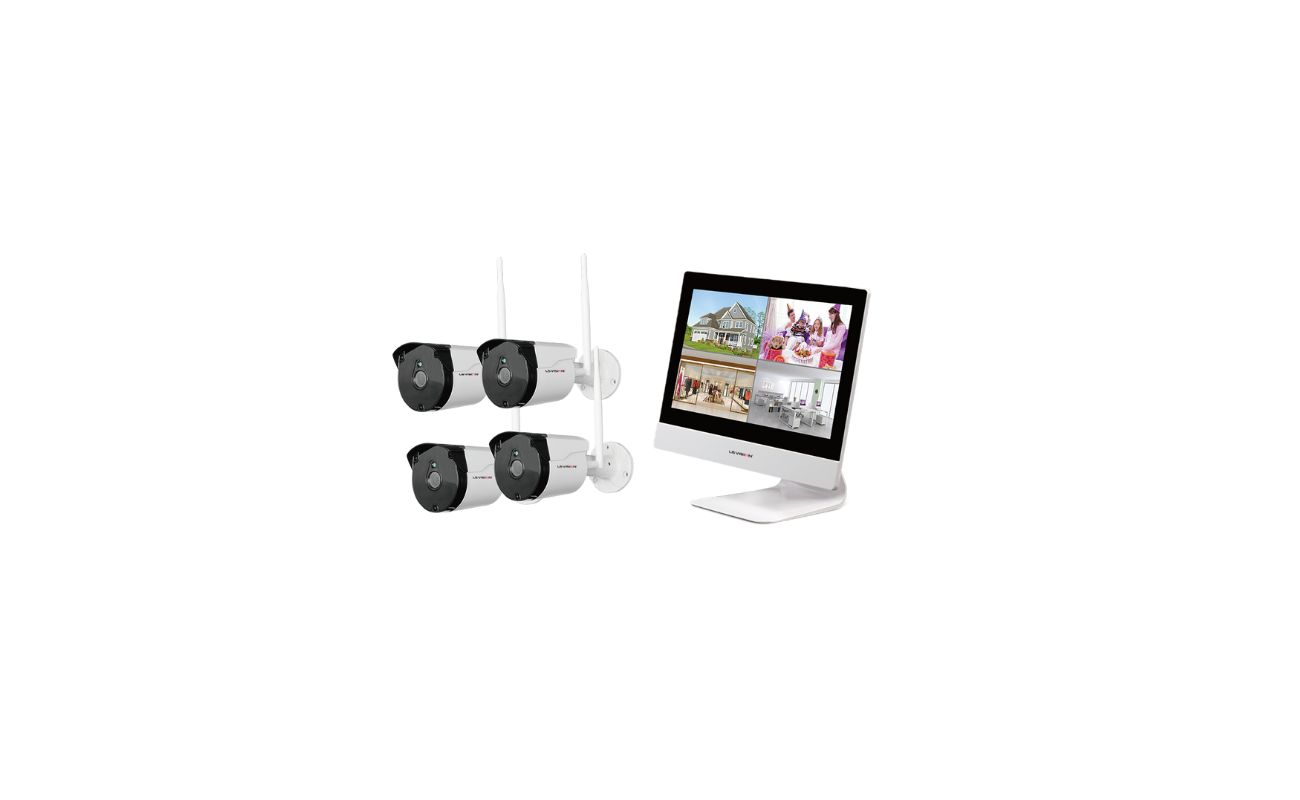
The Anni 4Ch 720P Wi-Fi NVR Kit is a comprehensive surveillance system that includes everything you need to monitor your property effectively. The kit consists of the following components:
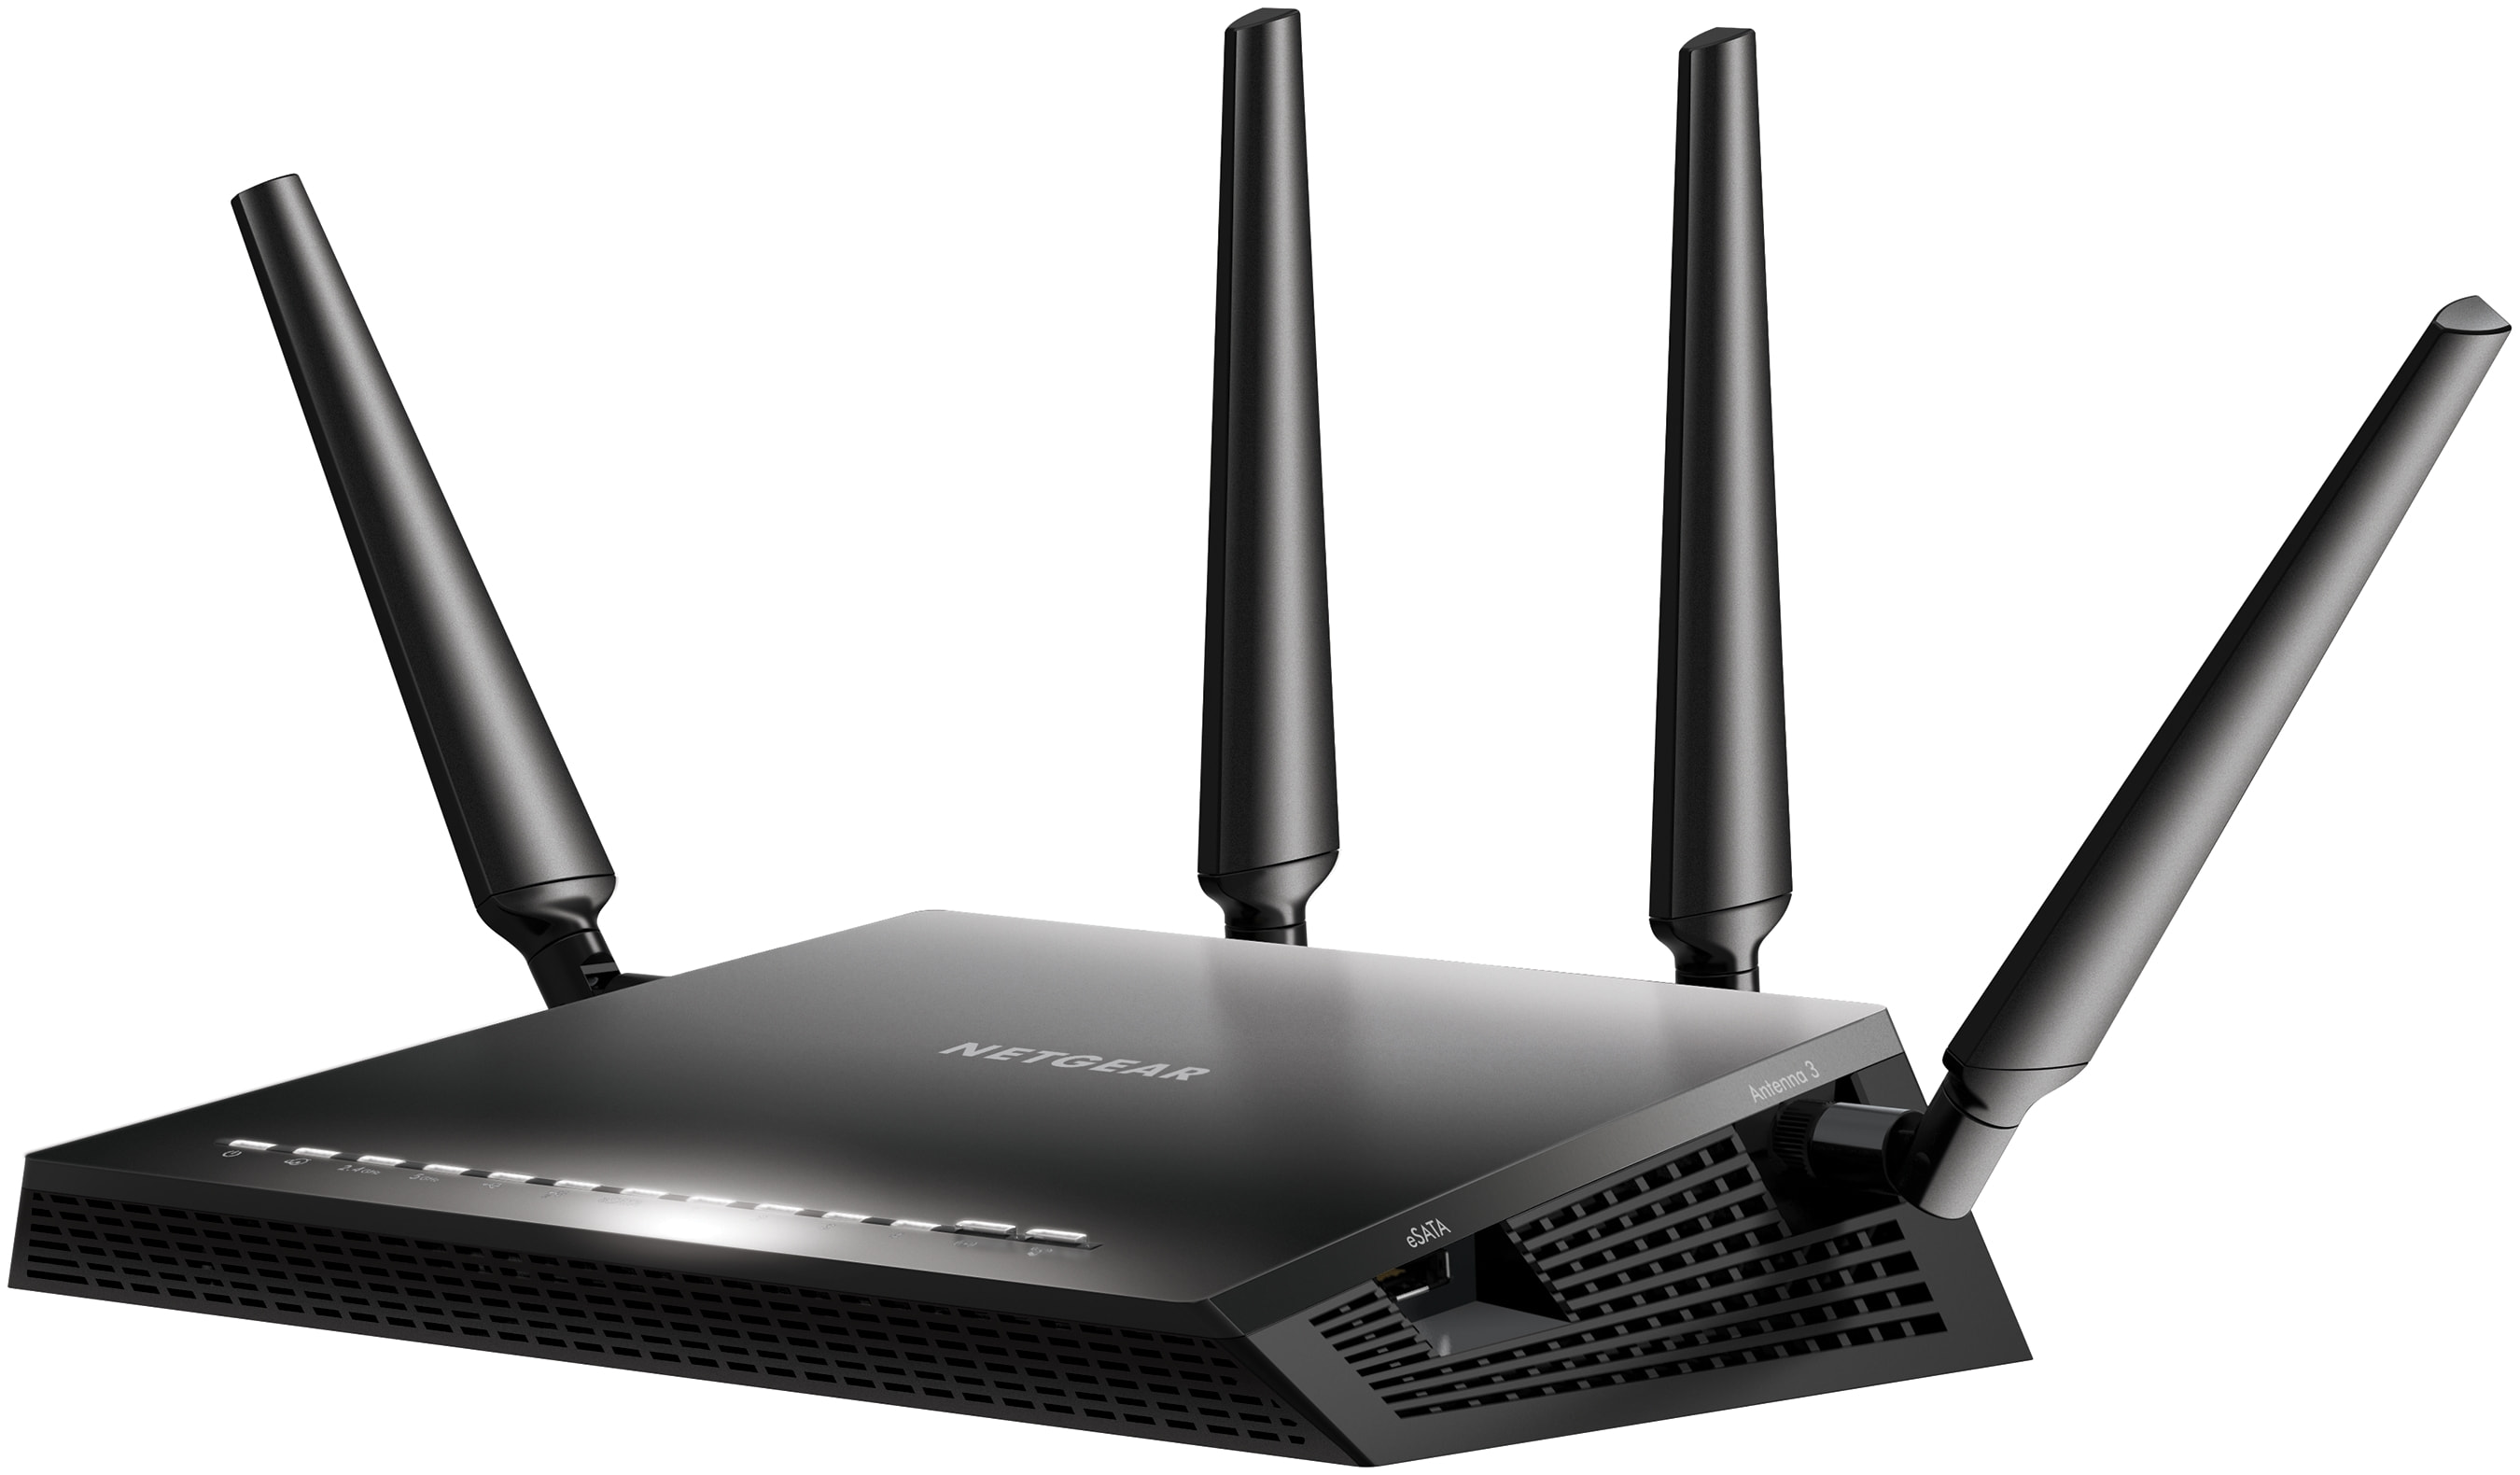
- Anni 4-channel Wi-Fi Network Video Recorder (NVR) – This NVR acts as the central hub of the system, connecting and managing all the cameras.
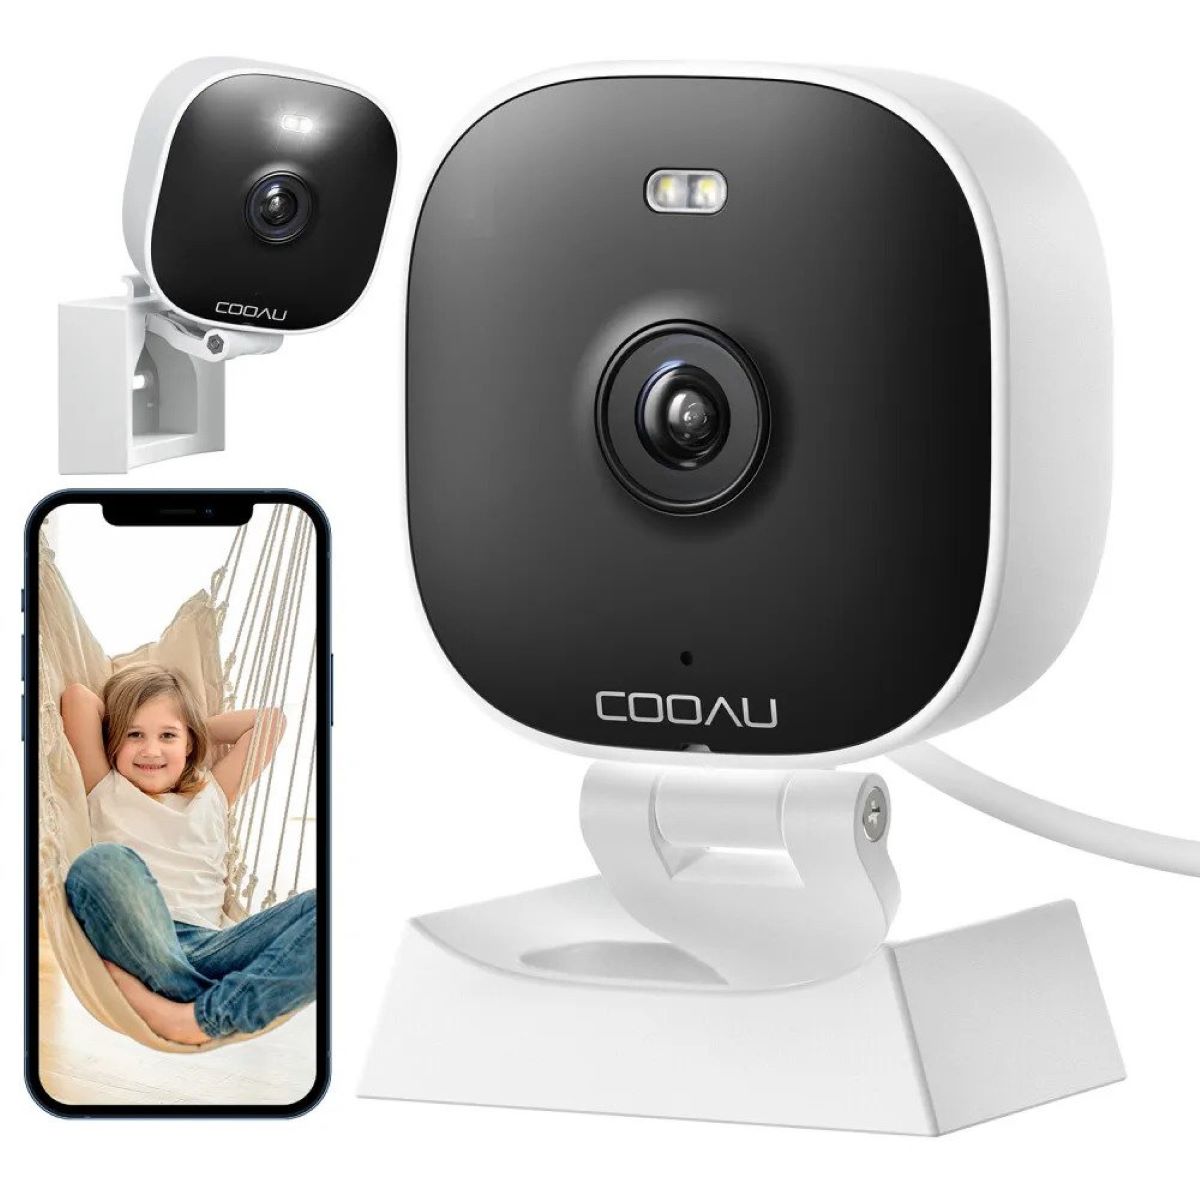
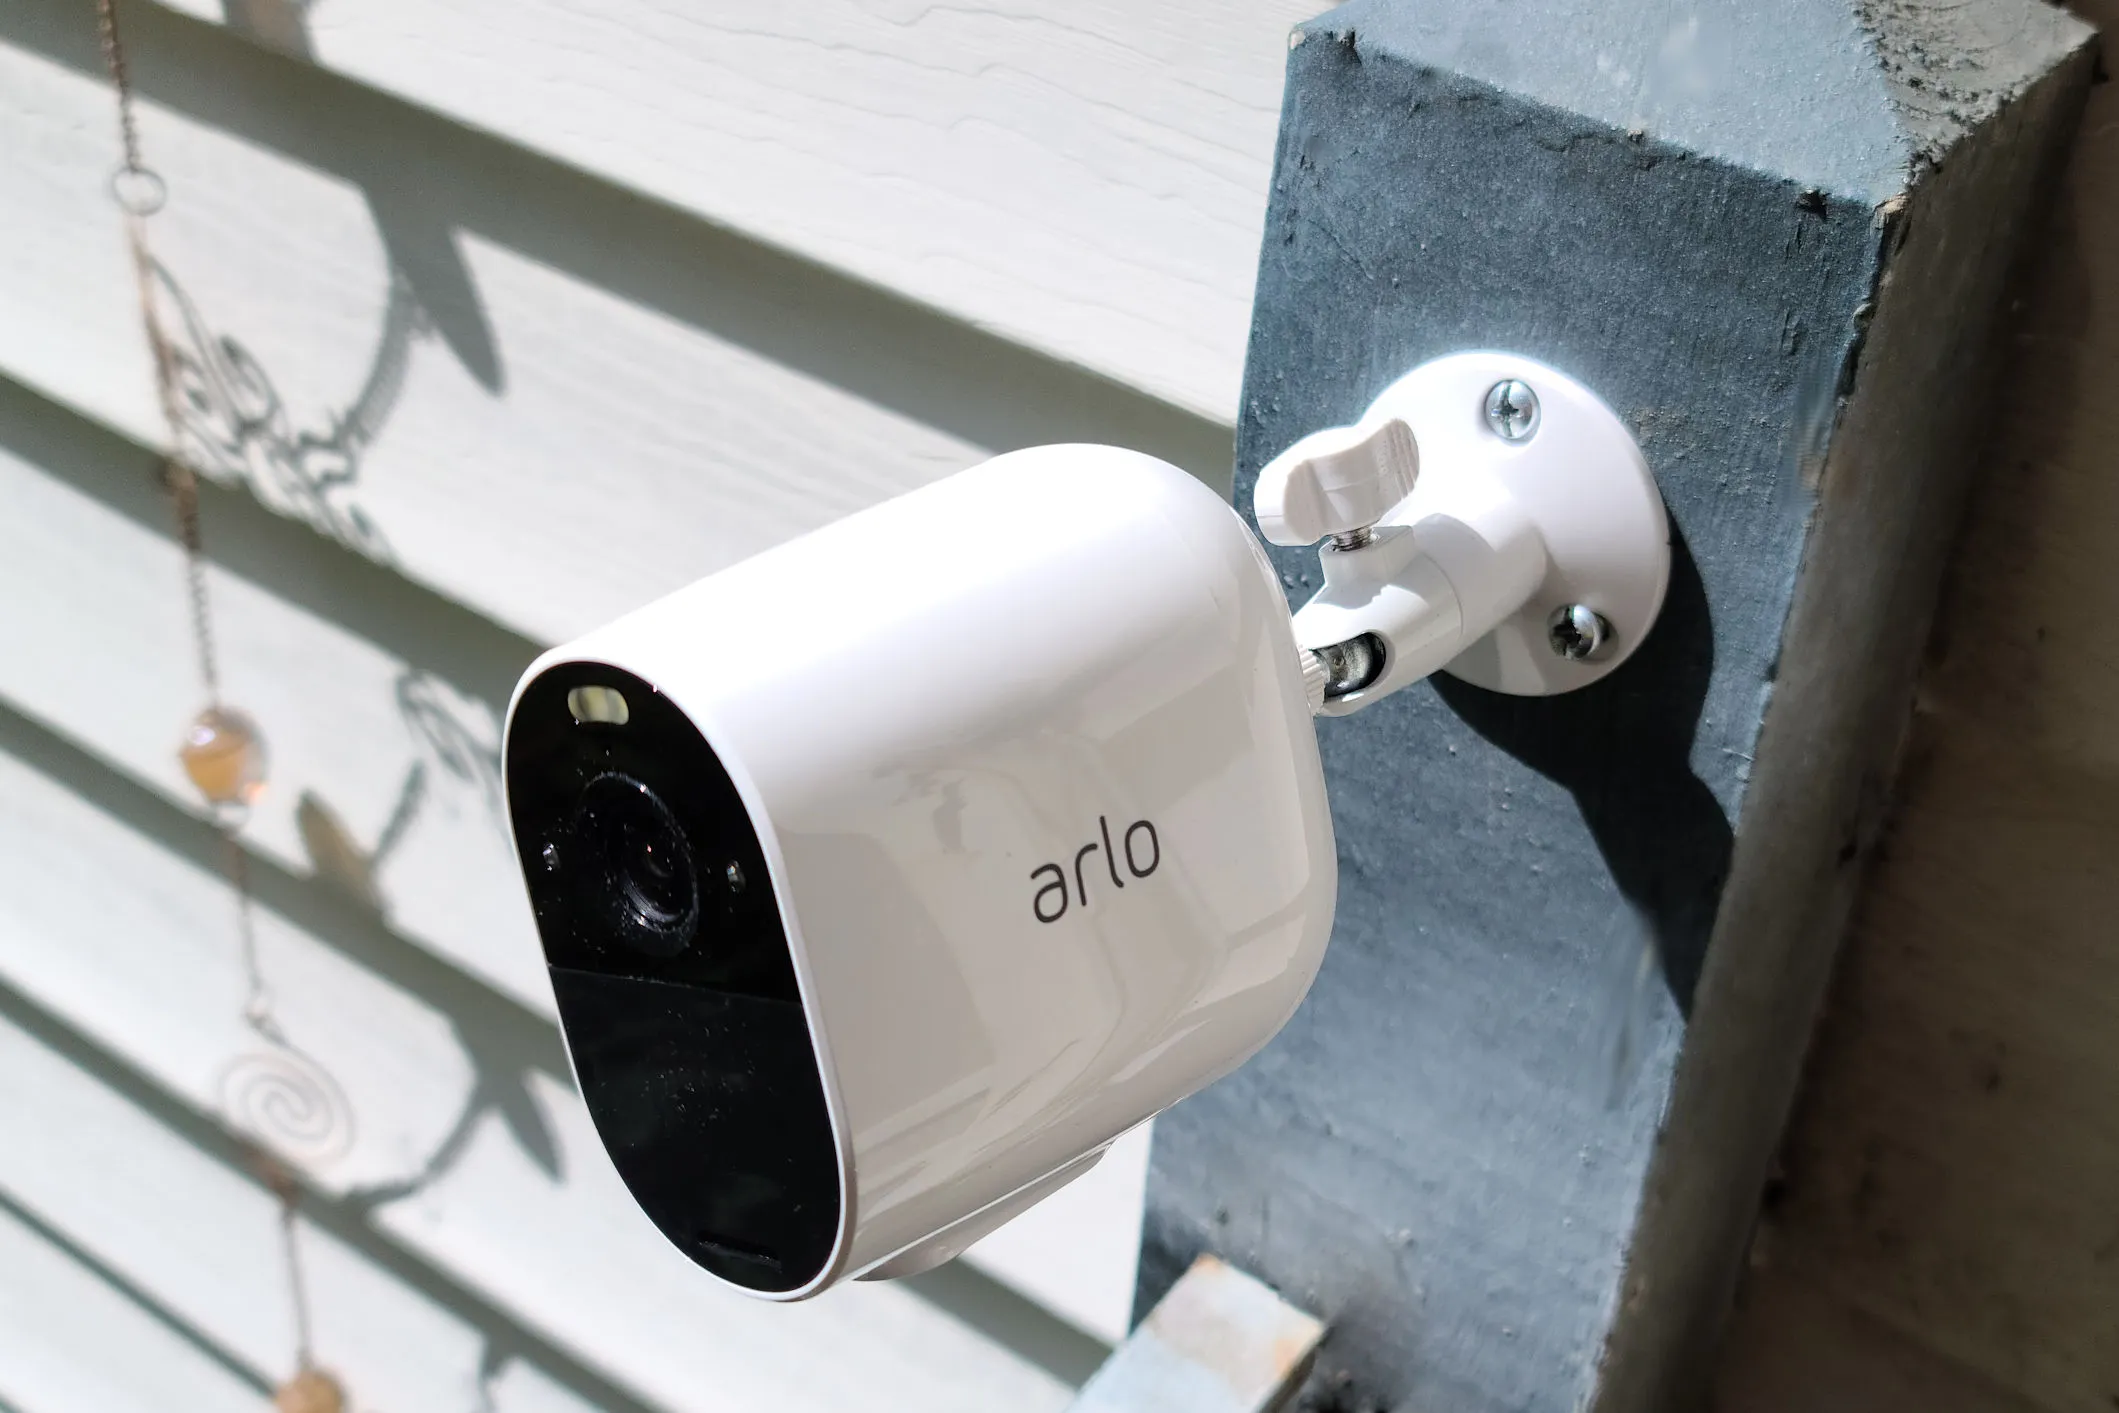
- Wireless IP Cameras – The kit comes with four wireless IP cameras, each capable of capturing high-definition 720P video footage.
- Power Supply – A power supply unit is included to provide power to the NVR and cameras.
- Network Cable – A network cable is provided to connect the NVR to your home router for remote access.
- Quick Start Guide – An easy-to-follow guide is included to help you set up the system seamlessly.
The Anni 4Ch 720P Wi-Fi NVR Kit offers several key features that make it an ideal choice for home and small business surveillance:
- Wireless Connectivity – The wireless IP cameras connect to the NVR over Wi-Fi, eliminating the need for messy cables and simplifying installation.
- High-Quality Video – The cameras capture video in 720P HD resolution, providing clear and detailed footage.
- Remote Access – You can access your surveillance system remotely from anywhere using a smartphone, tablet, or computer, allowing you to keep an eye on your property even when you’re away.
- Motion Detection – The cameras are equipped with motion sensors, triggering recording and sending alerts to your mobile device when activity is detected.
- Ease of Use – The Anni 4Ch 720P Wi-Fi NVR Kit is designed for DIY installation, making it accessible to users of all skill levels.
Now that you have a better understanding of the components and features of the Anni 4Ch 720P Wi-Fi NVR Kit, let’s move on to the next section: unboxing the kit and getting ready to set up the system.
Unboxing the Kit
When you receive your Anni 4Ch 720P Wi-Fi NVR Kit, it’s essential to unbox the package carefully and ensure that all the components are included. Here’s a step-by-step guide to unboxing the kit:
- Start by locating the package and carefully remove the packaging material.
- Once the package is open, you will find the Anni 4Ch 720P Wi-Fi NVR. Take it out of the box and set it aside.
- Next, locate the wireless IP cameras. Depending on the model, you may find them individually wrapped or in their own boxes. Gently take them out and place them nearby.
- Remove the power supply unit from the package. This will be used to power up the NVR and cameras.
- Look for the network cable provided with the kit. This cable will be used to connect the NVR to your home router for remote access.
- Lastly, locate the quick-start guide included in the package. This guide will provide you with detailed instructions on how to set up your Anni 4Ch 720P Wi-Fi NVR Kit.
Before proceeding with the setup process, take a few moments to inspect the components and ensure that everything is in good condition. It’s crucial to report any missing or damaged parts to the seller or manufacturer promptly.
With the unboxing process complete, you’re now ready to connect and set up your Anni 4Ch 720P Wi-Fi NVR Kit. In the next section, we’ll guide you through the process of connecting the NVR.
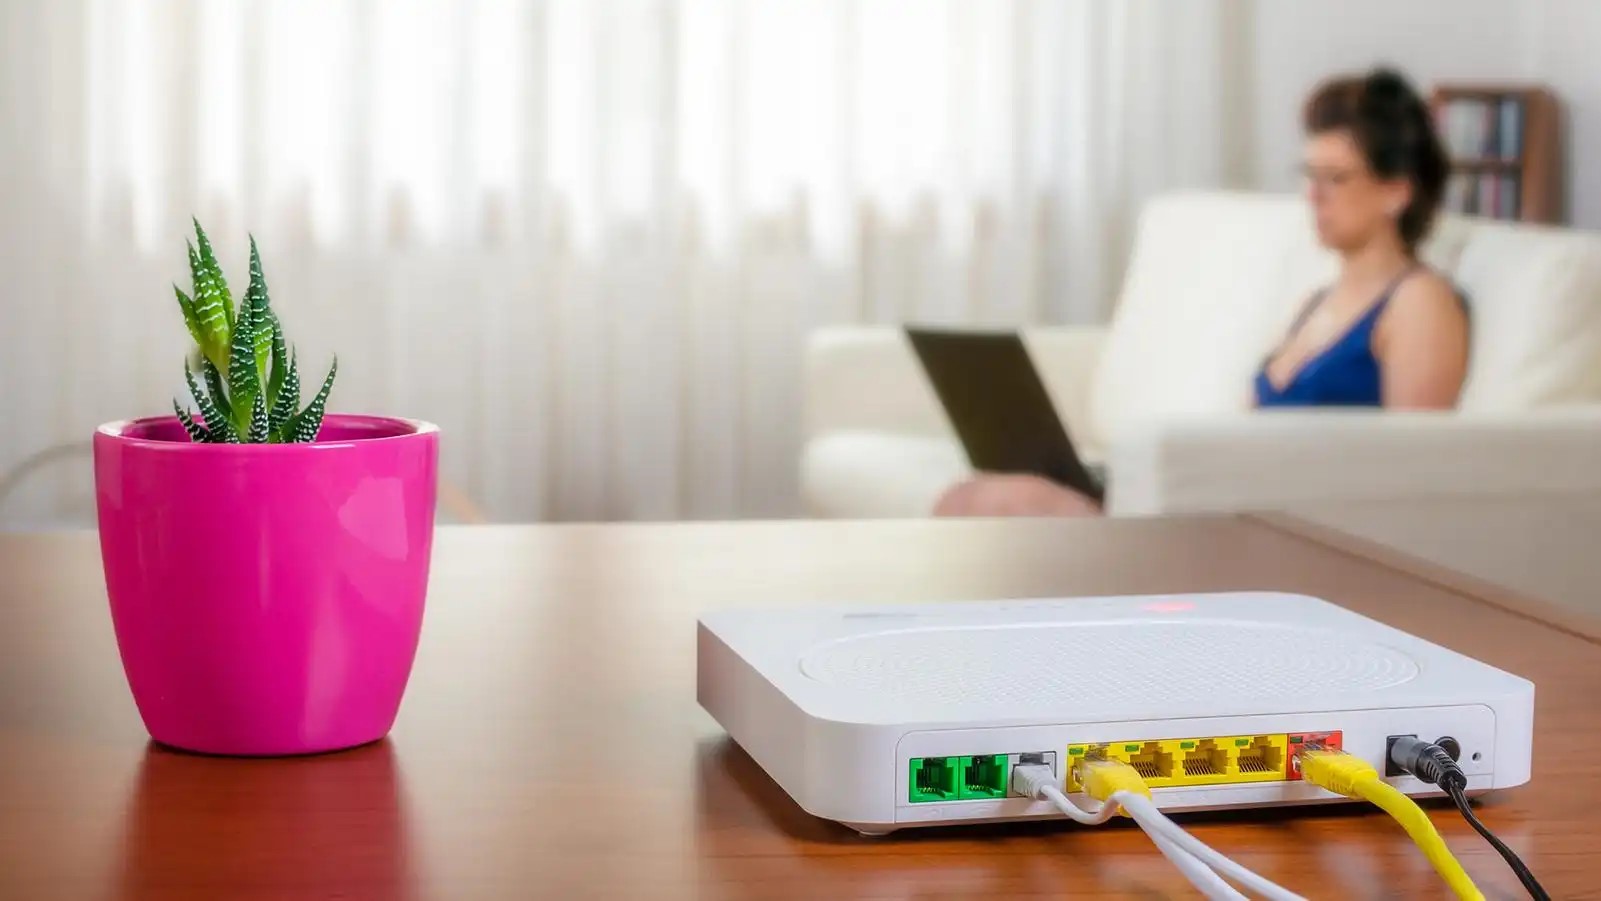
Connecting the NVR
Now that you have unboxed the Anni 4Ch 720P Wi-Fi NVR Kit and familiarized yourself with the components, it’s time to connect the NVR to start the setup process. Follow these steps to connect the NVR:
- Place the NVR in a central location where it can be easily accessible and has a stable Wi-Fi connection.
- Connect one end of the power supply cable to the power input port on the back of the NVR, and then plug the other end into a power outlet.
- Power on the NVR using the power switch or button on the front or side of the device. Wait for it to boot up, which should take a few moments.
- Once the NVR is powered on, connect one end of the network cable to the LAN port on the back of the NVR, and then connect the other end to an available port on your home router.
- Make sure that the router is connected to the internet and functioning correctly. This is crucial for remote access and viewing your surveillance footage from anywhere.
- Now that the NVR is connected to both power and the network, it’s ready to be paired with the wireless IP cameras. In the next section, we’ll guide you through the process of connecting the cameras to the NVR.
By following these steps, you have successfully connected the Anni 4Ch 720P Wi-Fi NVR to power and your home router. The NVR acts as the central hub that connects and manages the wireless IP cameras. In the next section, we’ll cover the process of connecting the cameras to the NVR.
Connecting the Cameras
With the Anni 4Ch 720P Wi-Fi NVR set up and connected, it’s time to connect the wireless IP cameras to the NVR. Follow these steps to connect the cameras:
- Locate the wireless IP cameras and position them in the desired locations where you want to monitor.
- Ensure that each camera is within the range of your Wi-Fi network for a stable connection.
- Plug in the power supply for each camera into a nearby power outlet. This will provide them with the necessary power to operate.
- Allow a few moments for the cameras to power on and connect to your Wi-Fi network.
- On the NVR display or on the mobile app, navigate to the camera settings and select the option to add new cameras.
- The NVR will then search for available cameras on the network. Once found, you will be prompted to add them to the system.
- Follow the on-screen instructions to pair each camera with the NVR. This may involve entering the camera’s unique identification code or scanning a QR code.
- Once the cameras are successfully paired with the NVR, you will see live video feeds from each camera on the NVR display or the mobile app.
With these steps, you have successfully connected the wireless IP cameras to the Anni 4Ch 720P Wi-Fi NVR. The cameras are now ready to capture high-quality video footage of your monitored areas. In the next section, we’ll cover how to power up the entire system to start surveillance operations.
Powering Up the System
Now that you have connected the Anni 4Ch 720P Wi-Fi NVR to power and the cameras to the NVR, it’s time to power up the entire system. Follow these steps to ensure the system is fully operational:
- Double-check that all the cameras are connected to power outlets and have successfully paired with the NVR.
- Ensure that the NVR is powered on and connected to your home router using the network cable.
- Verify that the NVR display or the mobile app is showing live video feeds from each camera.
- Use the included remote control or navigate through the NVR settings on the display to adjust any desired settings, such as video resolution or motion detection sensitivity.
- Make sure that the NVR is in a secure location and that all cables are neatly organized to minimize the risk of accidental tripping or disconnection.
- Perform a quick test by moving in front of the cameras to verify that the motion detection feature is working and that you can see the live video feed.
- Once you’ve confirmed that everything is functioning correctly, you can consider mounting the cameras permanently in their desired locations.
With these steps completed, your Anni 4Ch 720P Wi-Fi NVR Kit is now fully powered up and operational. It’s ready to provide secure and reliable video surveillance for your home or business. In the next section, we’ll guide you through the process of setting up the Wi-Fi connection to enable remote access to your surveillance system.
When setting up an Anni 4Ch 720P Wi-Fi NVR Kit, make sure to carefully follow the manufacturer’s instructions for connecting the cameras to the NVR and setting up the Wi-Fi connection. Properly positioning the cameras for optimal coverage is also important for effective surveillance.
Setting Up the Wi-Fi Connection
To enable remote access and control of your Anni 4Ch 720P Wi-Fi NVR Kit, you need to set up a stable Wi-Fi connection. Follow these steps to configure the Wi-Fi connection:
- On the NVR display or the mobile app, navigate to the Wi-Fi settings or network settings.
- Scan for available Wi-Fi networks and select your home network from the list.
- Enter the network password or passphrase for your Wi-Fi network.
- Wait for the NVR to establish a connection with your Wi-Fi network. This may take a few moments.
- Once the connection is established, you will see a confirmation message or an icon indicating a successful Wi-Fi connection.
- Ensure that the NVR is placed within the range of your Wi-Fi network to maintain a stable connection.
- Double-check that the NVR is still connected to the internet by accessing any online features or services available through the NVR.
- With the Wi-Fi connection successfully set up, you can now enjoy the convenience of remote access to your surveillance system.
Having a stable Wi-Fi connection is crucial for accessing your surveillance system remotely and receiving real-time alerts and notifications. It allows you to monitor your property from anywhere using the dedicated mobile app or a computer. In the next section, we’ll guide you through the process of configuring the NVR settings for optimal performance.
Configuring the NVR Settings
Now that your Anni 4Ch 720P Wi-Fi NVR Kit is connected to the internet via Wi-Fi, it’s time to configure the NVR settings to customize your surveillance system according to your preferences. Follow these steps to configure the NVR settings:
- Access the NVR settings either through the display menu or the dedicated mobile app.
- Explore the settings menu to customize features such as video resolution, recording options, motion detection sensitivity, and storage management.
- Adjust the video resolution to your desired level, balancing between video quality and storage capacity.
- Set up the recording options, choosing between continuous recording or motion-triggered recording to optimize storage usage.
- Configure the motion detection settings, adjusting the sensitivity level and the areas of the camera’s field of view where motion detection should be active.
- Set up the storage management settings, determining the retention period for recorded footage and establishing a backup schedule for critical data.
- Consider enabling remote access and configuring user accounts to provide access to authorized individuals.
- Take the time to explore other available settings, such as audio recording, PTZ (pan-tilt-zoom) functionality, or email notifications.
Remember to save your changes after configuring the desired settings. This will ensure that your preferences are applied and maintained for future use. Regularly revisit the settings menu to make adjustments as needed based on your evolving surveillance requirements.
With the NVR settings configured to your preferences, you now have a personalized surveillance system that aligns with your specific needs. In the next section, we’ll guide you on how to access the live view of your cameras.
Accessing the Live View
With your Anni 4Ch 720P Wi-Fi NVR Kit fully set up and configured, it’s time to access the live view of your cameras and monitor your property in real-time. Follow these steps to access the live view:
- Ensure that your NVR is powered on and connected to both power and the internet.
- If using a computer, open a web browser and enter the NVR’s IP address or domain name in the address bar. If using a mobile device, open the dedicated mobile app and log in to your account.
- Enter your login credentials to access the NVR’s interface or app, which will provide you with a live view of your cameras.
- From the live view, you can select individual cameras to view their video streams, adjust settings, and perform other surveillance-related actions.
- Monitor your property by keeping an eye on the live feed, taking advantage of features such as PTZ controls and audio support if available.
- If you have enabled remote access, you can also access the live view from anywhere using the mobile app on your smartphone or tablet.
- Enjoy the peace of mind that comes with being able to check in on your property at any time, from anywhere.
Remember to keep your login credentials secure and avoid sharing them with unauthorized individuals. Regularly update your password to ensure the security of your surveillance system.
By following these steps, you can easily access the live view of your Anni 4Ch 720P Wi-Fi NVR Kit and stay connected to your property at all times. In the next section, we’ll cover the process of setting up remote viewing and the mobile app for convenient access on the go.
Read more: How To Set Up Wireless Security NVR Kits
Remote Viewing and Mobile App Setup
With the Anni 4Ch 720P Wi-Fi NVR Kit, you can easily set up remote viewing capabilities, allowing you to access your surveillance system on the go using the dedicated mobile app. Follow these steps to enable remote viewing and set up the mobile app:
- Ensure that your NVR is connected to the internet and that you have a stable Wi-Fi or cellular data connection on the mobile device you will use for remote viewing.
- On your NVR, navigate to the settings menu and look for the remote viewing options.
- Enable remote viewing by following the on-screen instructions and configuring any necessary network settings or port forwarding rules.
- Once remote viewing is enabled, download and install the dedicated mobile app for your Anni 4Ch 720P Wi-Fi NVR Kit from the app store on your smartphone or tablet.
- Launch the mobile app and log in using your NVR’s credentials or the account created during the initial setup process.
- Follow the app’s prompts to add your surveillance system to the app by entering the NVR’s IP address or scanning a QR code.
- Once added, you will be able to access the live view, review recorded footage, receive motion detection alerts, and control various settings directly from your mobile device.
- Ensure that your mobile device is connected to the internet, either through Wi-Fi or cellular data, to access your surveillance system remotely.
- Enjoy the convenience of being able to monitor your property and view your cameras from anywhere, anytime using the mobile app.
It’s important to note that remote viewing requires a stable internet connection on both the NVR and the mobile device. Additionally, ensure that you have sufficient data or internet plan to support remote access without exceeding your limits.
By following these steps, you can easily set up the remote viewing capabilities of your Anni 4Ch 720P Wi-Fi NVR Kit and access your surveillance system conveniently from your mobile device. In the next section, we’ll provide some troubleshooting tips for common issues you may encounter during the setup process.
Troubleshooting Common Issues
While setting up and using the Anni 4Ch 720P Wi-Fi NVR Kit, you may come across some common issues. Here are a few troubleshooting tips to help you resolve them:
- No video feed from cameras: Ensure that the cameras are properly powered and within range of your Wi-Fi network. Check if the cameras are paired correctly with the NVR. Restart the NVR and cameras if necessary.
- Poor video quality: If the video quality is not satisfactory, check the cameras’ positioning and adjust their angles for better coverage. Ensure that there are no obstructions or interference sources affecting the wireless signal.
- Connection issues: If the NVR is not connecting to your home network, double-check the Wi-Fi password or try connecting with a network cable. Ensure that you have a stable internet connection and that your router is functioning correctly.
- Remote access problems: If you’re having trouble accessing the surveillance system remotely, confirm that the necessary port forwarding rules are in place on your home router. Verify that the mobile device has a stable internet connection and the correct login credentials are being used.
- App compatibility issues: If the mobile app is not functioning correctly, ensure that you have downloaded the correct app for your specific NVR model. Check for app updates and ensure that your mobile device meets the app’s minimum requirements.
- Power or connectivity loss: In the event of a power outage or loss of internet connection, make sure that the NVR and cameras are powered back on and that the internet connection is restored. The system should automatically reconnect once power and connectivity are restored.
If you encounter any other issues that are not covered here, it may be helpful to consult the user manual or reach out to the manufacturer’s customer support for further assistance.
By following these troubleshooting tips, you can overcome common issues and ensure smooth operation of your Anni 4Ch 720P Wi-Fi NVR Kit. In the next section, we’ll conclude our guide on setting up this comprehensive surveillance system.
Conclusion
Congratulations on successfully setting up your Anni 4Ch 720P Wi-Fi NVR Kit! You now have a reliable and comprehensive wireless security CCTV surveillance system that offers peace of mind and protection for your home or business.
Throughout this guide, we’ve covered the step-by-step process of unboxing and connecting the components, powering up the system, configuring the settings, and accessing the live view. We’ve also explored remote viewing capabilities through the mobile app and provided troubleshooting tips for common issues that may arise.
With the Anni 4Ch 720P Wi-Fi NVR Kit, you can monitor your property in real-time, receive motion detection alerts, and access recorded footage from anywhere using the dedicated mobile app. The high-quality video resolution and wireless connectivity make it a user-friendly and effective surveillance solution.
Remember to periodically check the system’s performance, ensure that the cameras are positioned correctly, and review the settings to align with your surveillance needs. Regular maintenance and updates will help optimize the system’s functionality and enhance its overall performance.
If you have any further questions or encounter any issues, refer to the user manual or reach out to the manufacturer’s customer support for guidance. They will be able to provide the necessary assistance to ensure your ongoing satisfaction with your Anni 4Ch 720P Wi-Fi NVR Kit.
Thank you for choosing the Anni 4Ch 720P Wi-Fi NVR Kit for your home or business security needs. We hope that this guide has been helpful in setting up your surveillance system and that it brings you peace of mind knowing that your property is protected.
Stay vigilant, stay secure!
Frequently Asked Questions about How To Set Up Anni 4Ch 720P Wi-Fi NVR Kit - Wireless Security CCTV Surveillance Systems
Was this page helpful?
At Storables.com, we guarantee accurate and reliable information. Our content, validated by Expert Board Contributors, is crafted following stringent Editorial Policies. We're committed to providing you with well-researched, expert-backed insights for all your informational needs.