Home>Home Security and Surveillance>How To Turn On Q-See Night Vision Camera
Home Security and Surveillance
How To Turn On Q-See Night Vision Camera
Modified: August 16, 2024
Discover how to activate the night vision feature on your Q-See camera and enhance your home security and surveillance. Ensure maximum protection day and night.
(Many of the links in this article redirect to a specific reviewed product. Your purchase of these products through affiliate links helps to generate commission for Storables.com, at no extra cost. Learn more)
Introduction
Welcome to the world of Q-See Night Vision Cameras! In today’s uncertain times, ensuring the safety and security of our homes has become more important than ever. Luckily, with advancements in technology, we now have access to a wide range of home security and surveillance systems to protect our loved ones and belongings.
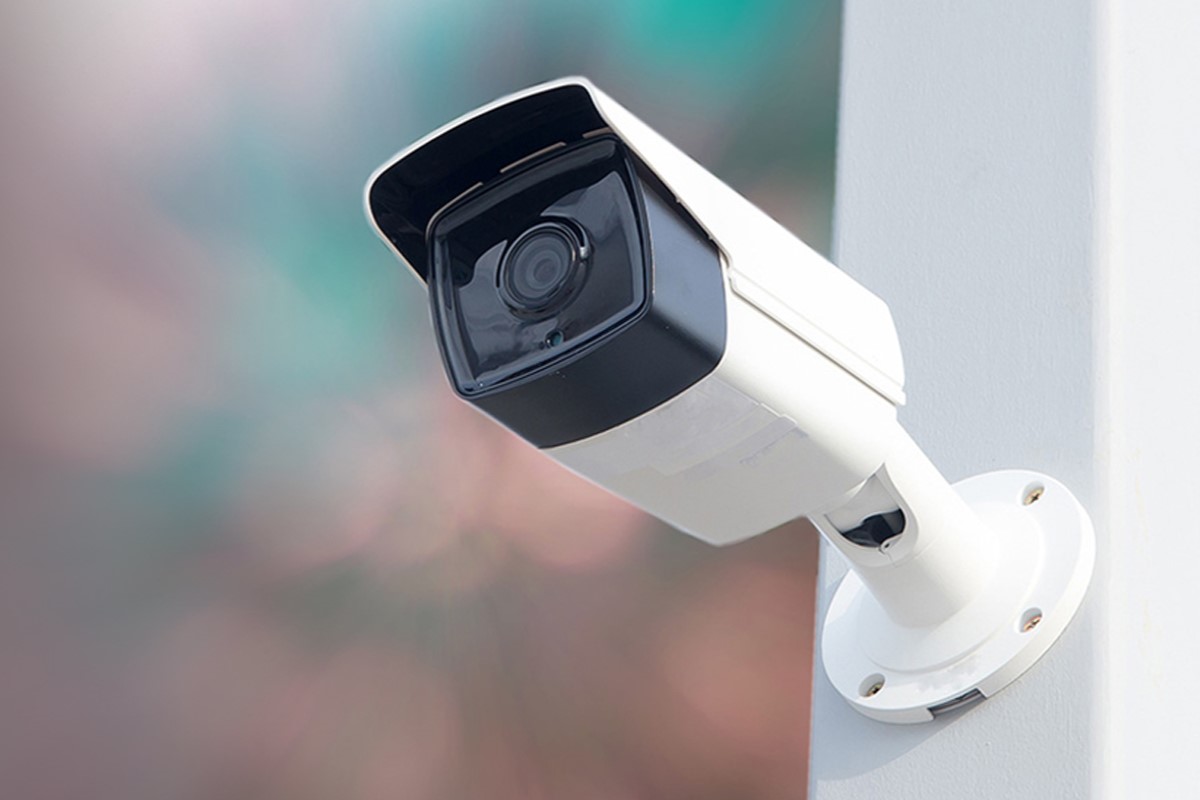
One such innovative solution is the Q-See Night Vision Camera. Whether you’re looking to monitor your home, keep an eye on your pets, or enhance the security of your property, the Q-See Night Vision Camera offers exceptional performance and reliability.
In this article, we will delve into everything you need to know about turning on your Q-See Night Vision Camera. We’ll walk you through the process step-by-step and address common troubleshooting issues, ensuring a seamless setup experience.
So, let’s get started and empower you to take control of your home security and surveillance with the Q-See Night Vision Camera!
Key Takeaways:
- Setting up your Q-See Night Vision Camera is easy! Just follow the step-by-step guide to mount, connect, and configure the camera for enhanced home security.
- If you encounter any issues, don’t worry! Our troubleshooting tips can help you resolve common problems, and Q-See’s customer support is there to assist you.
Read more: How Far Can Night Vision Cameras See
Understanding Q-See Night Vision Camera
Before we dive into the steps of turning on your Q-See Night Vision Camera, let’s take a moment to understand its key features and functionalities. This will provide you with a better understanding of how this innovative device works.
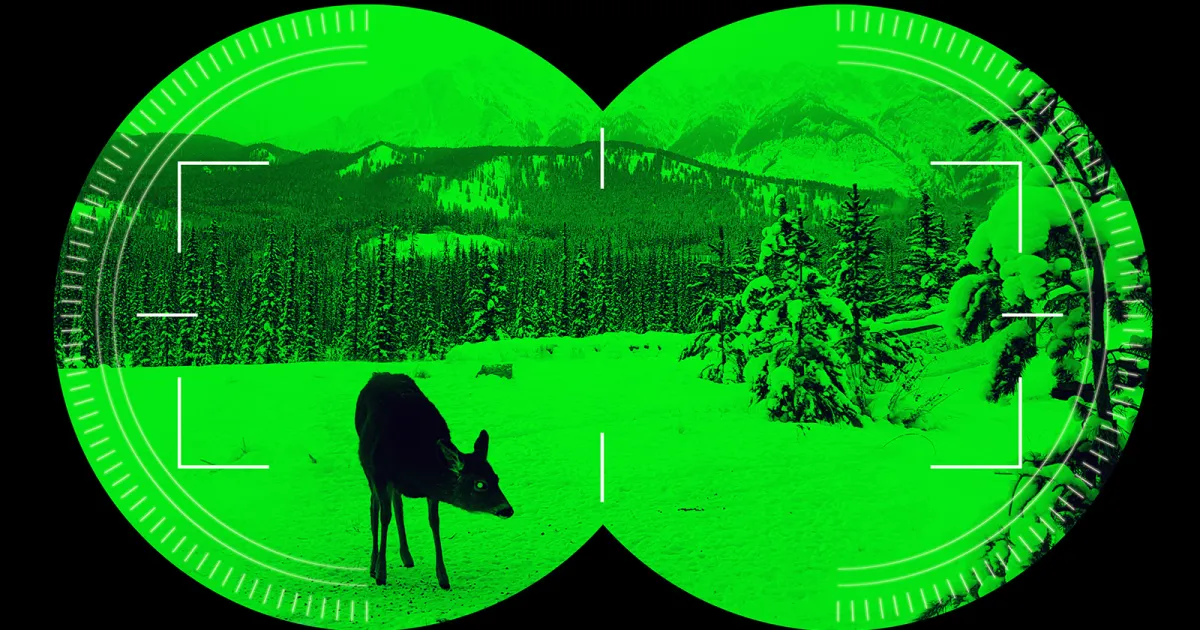
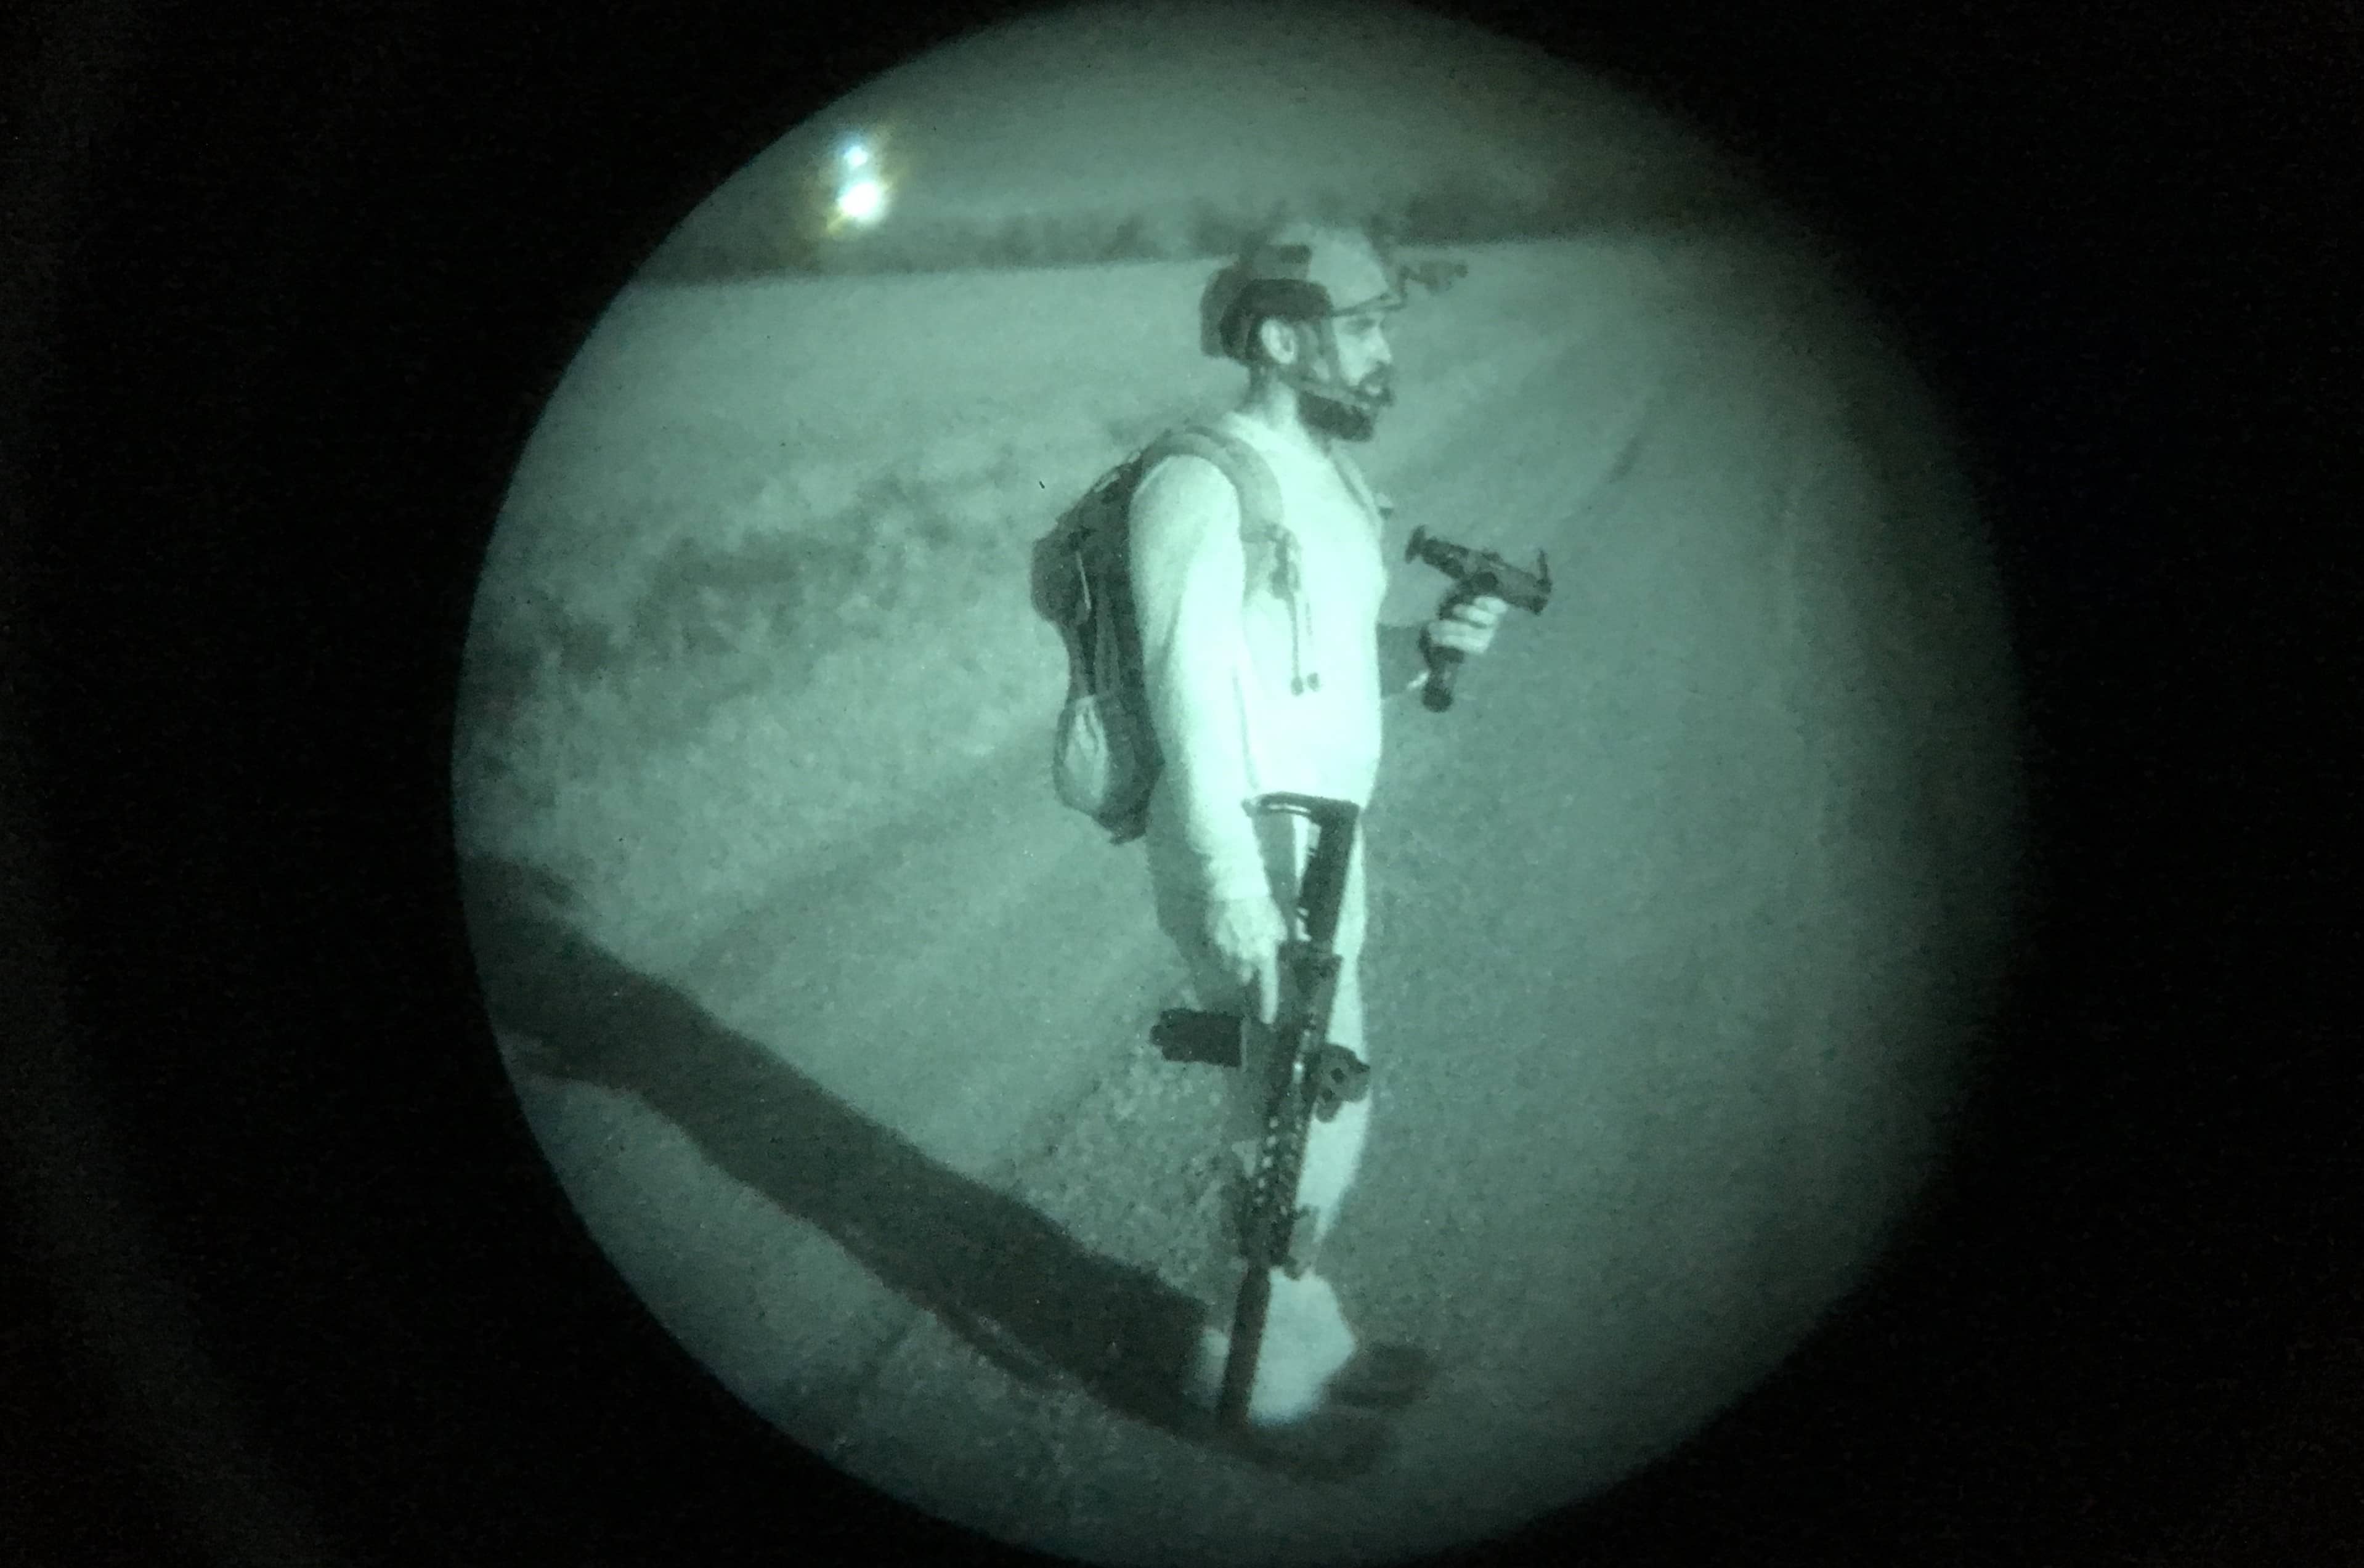
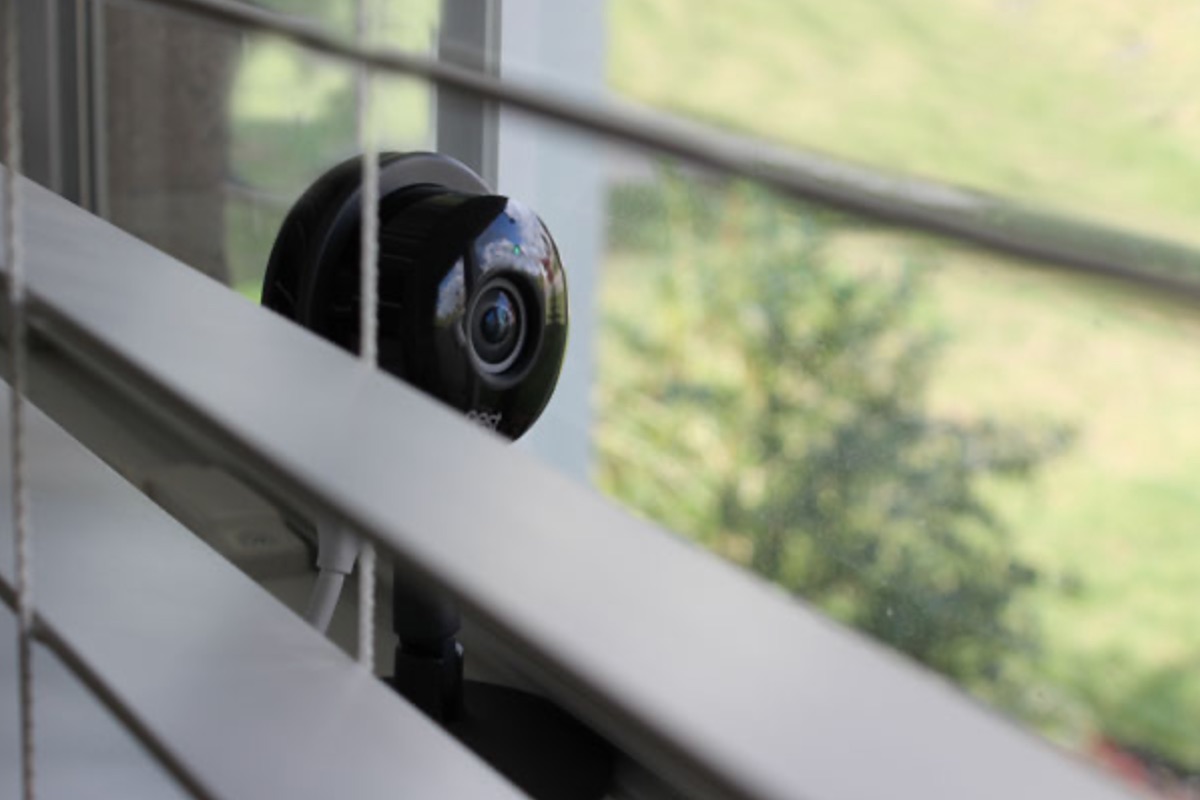
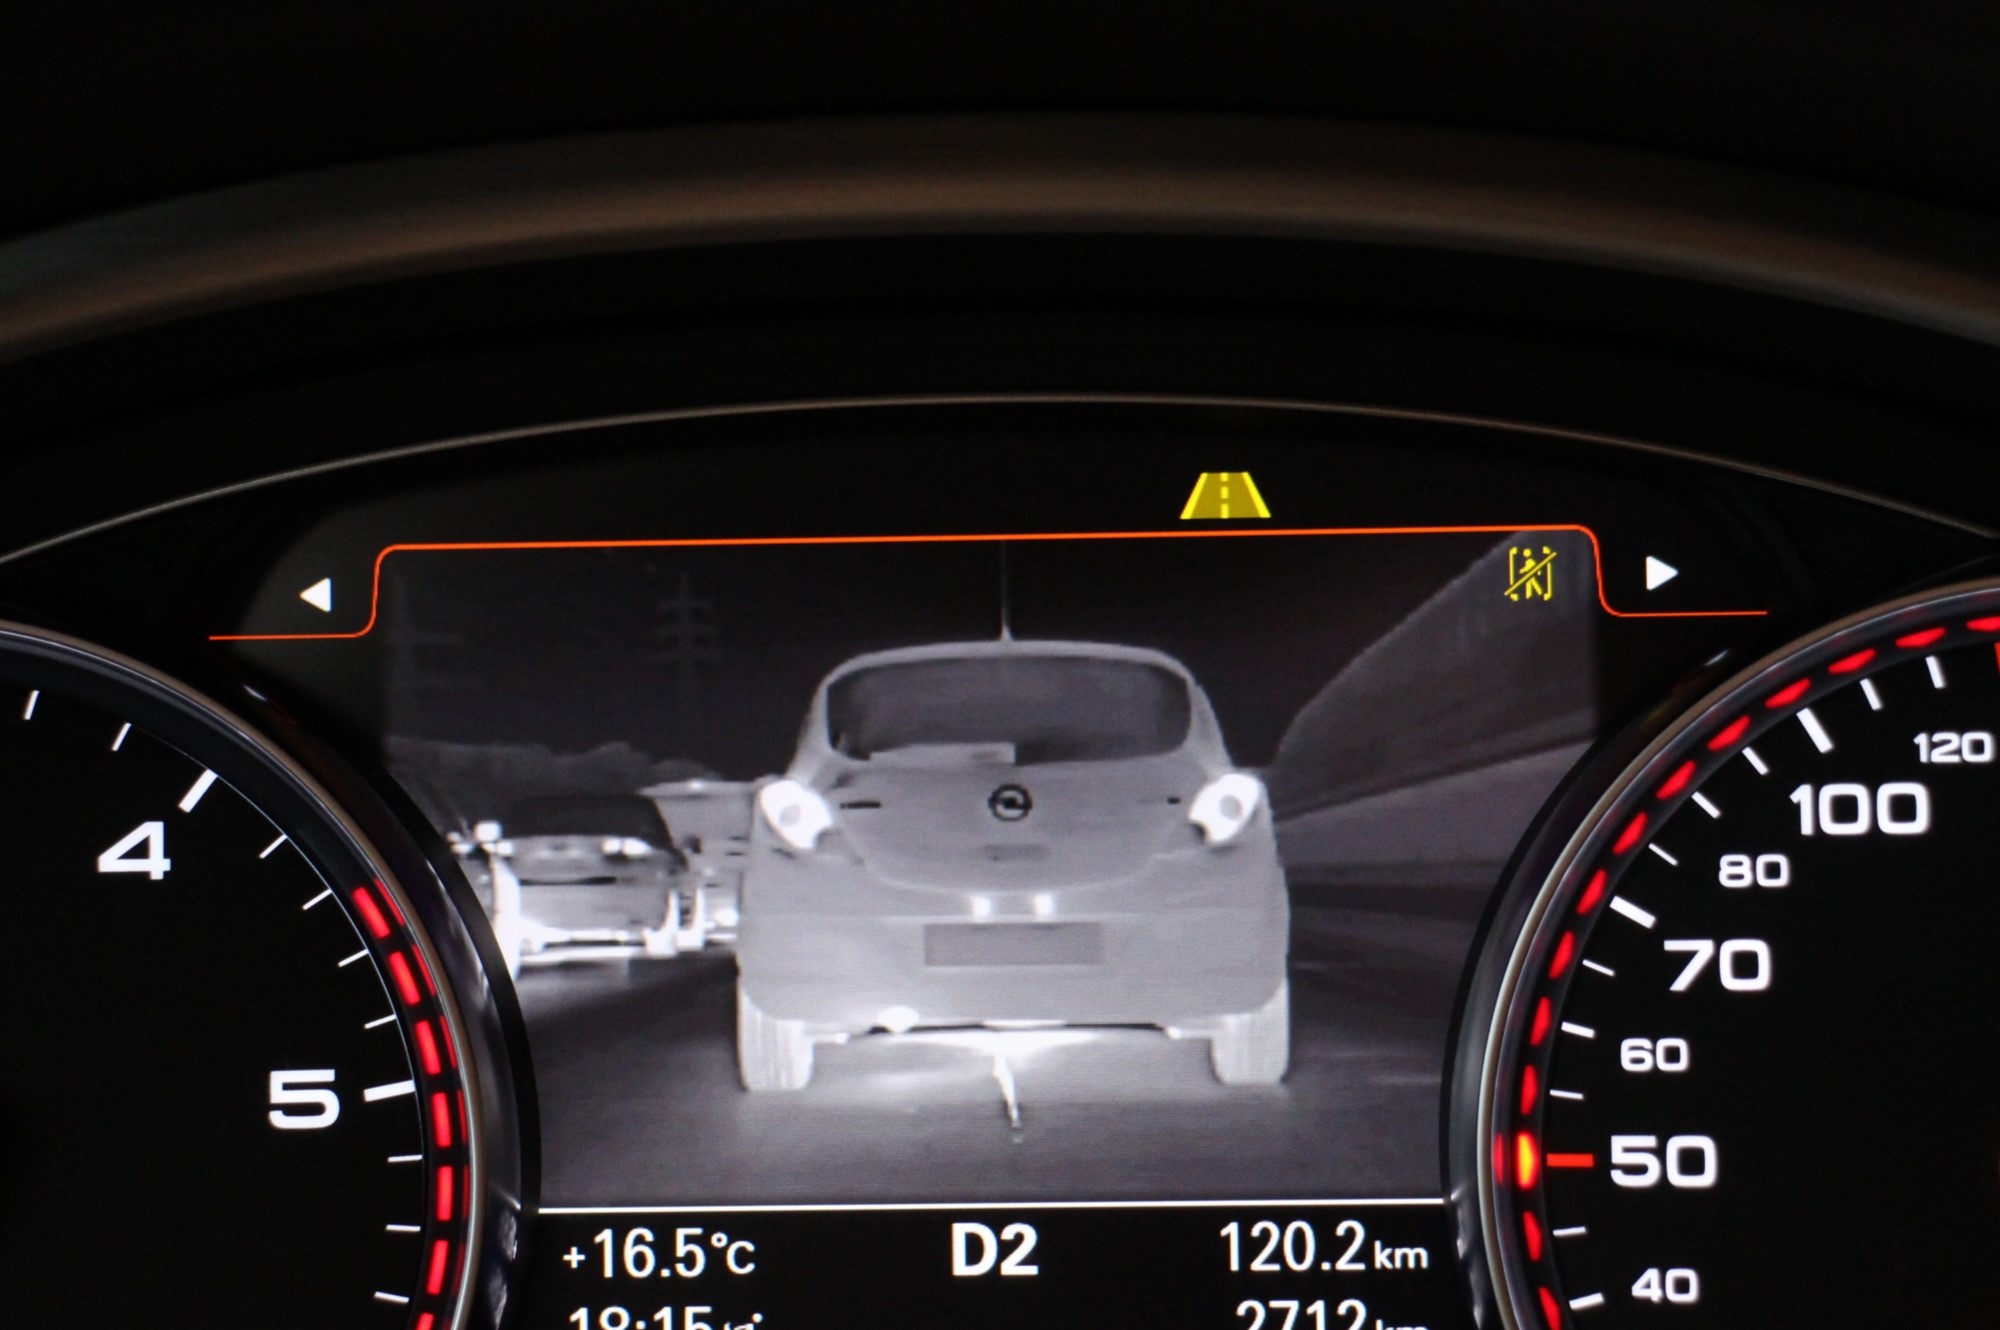
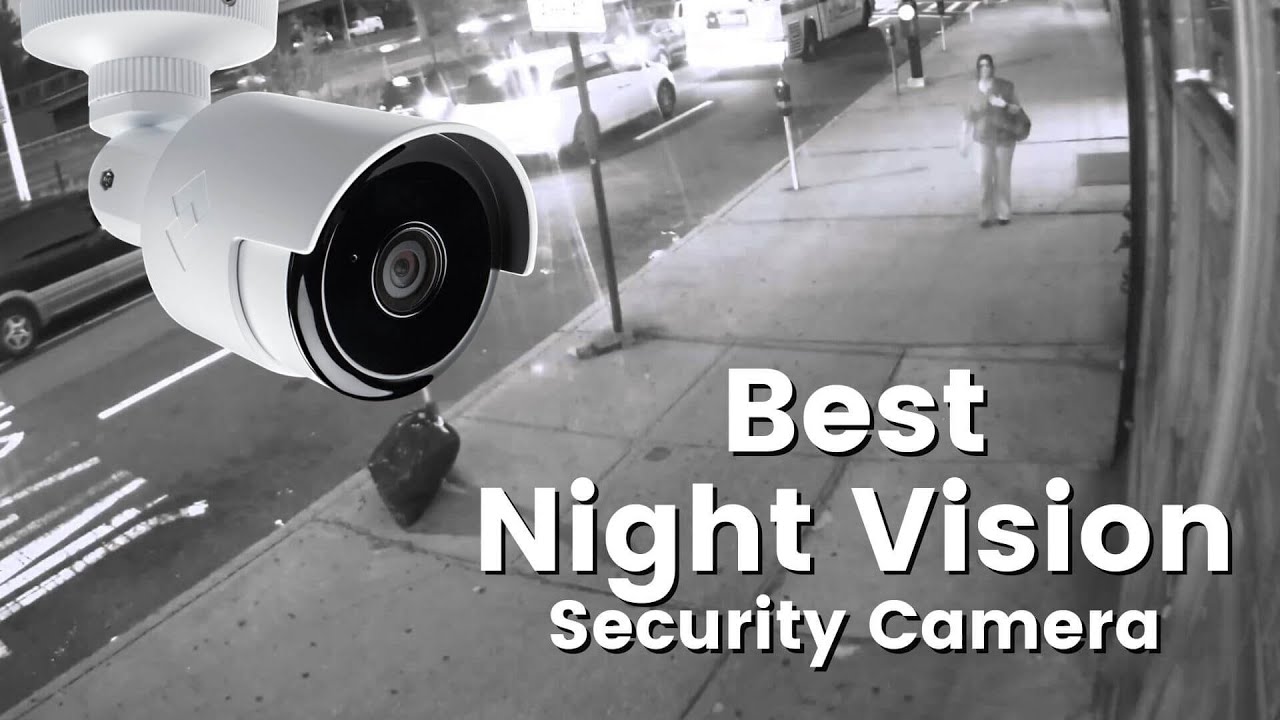
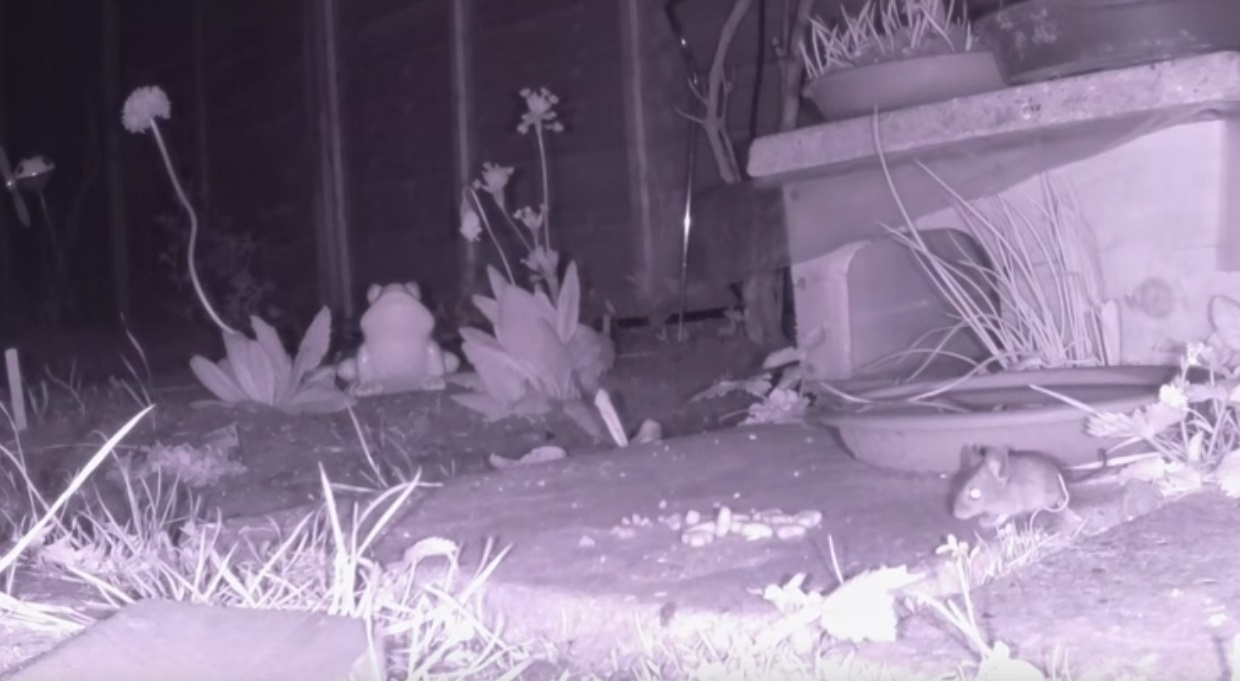
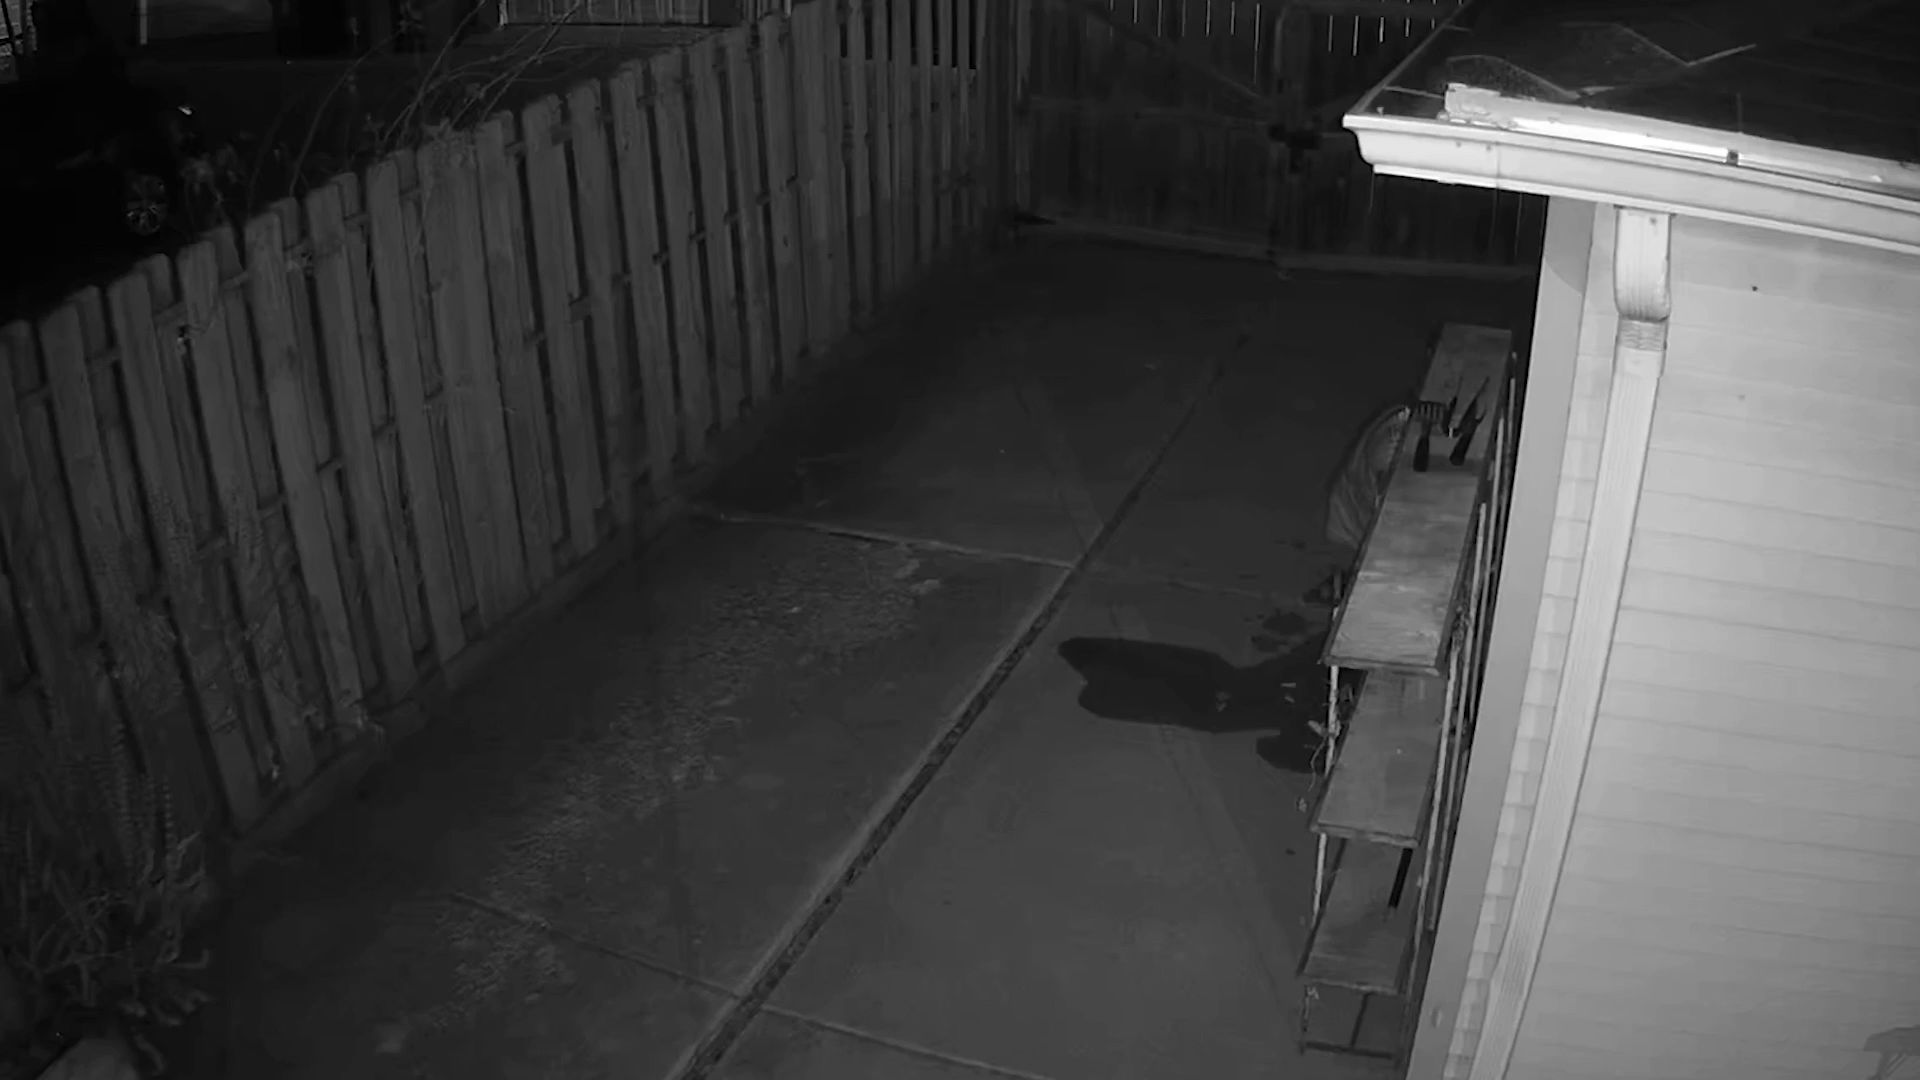
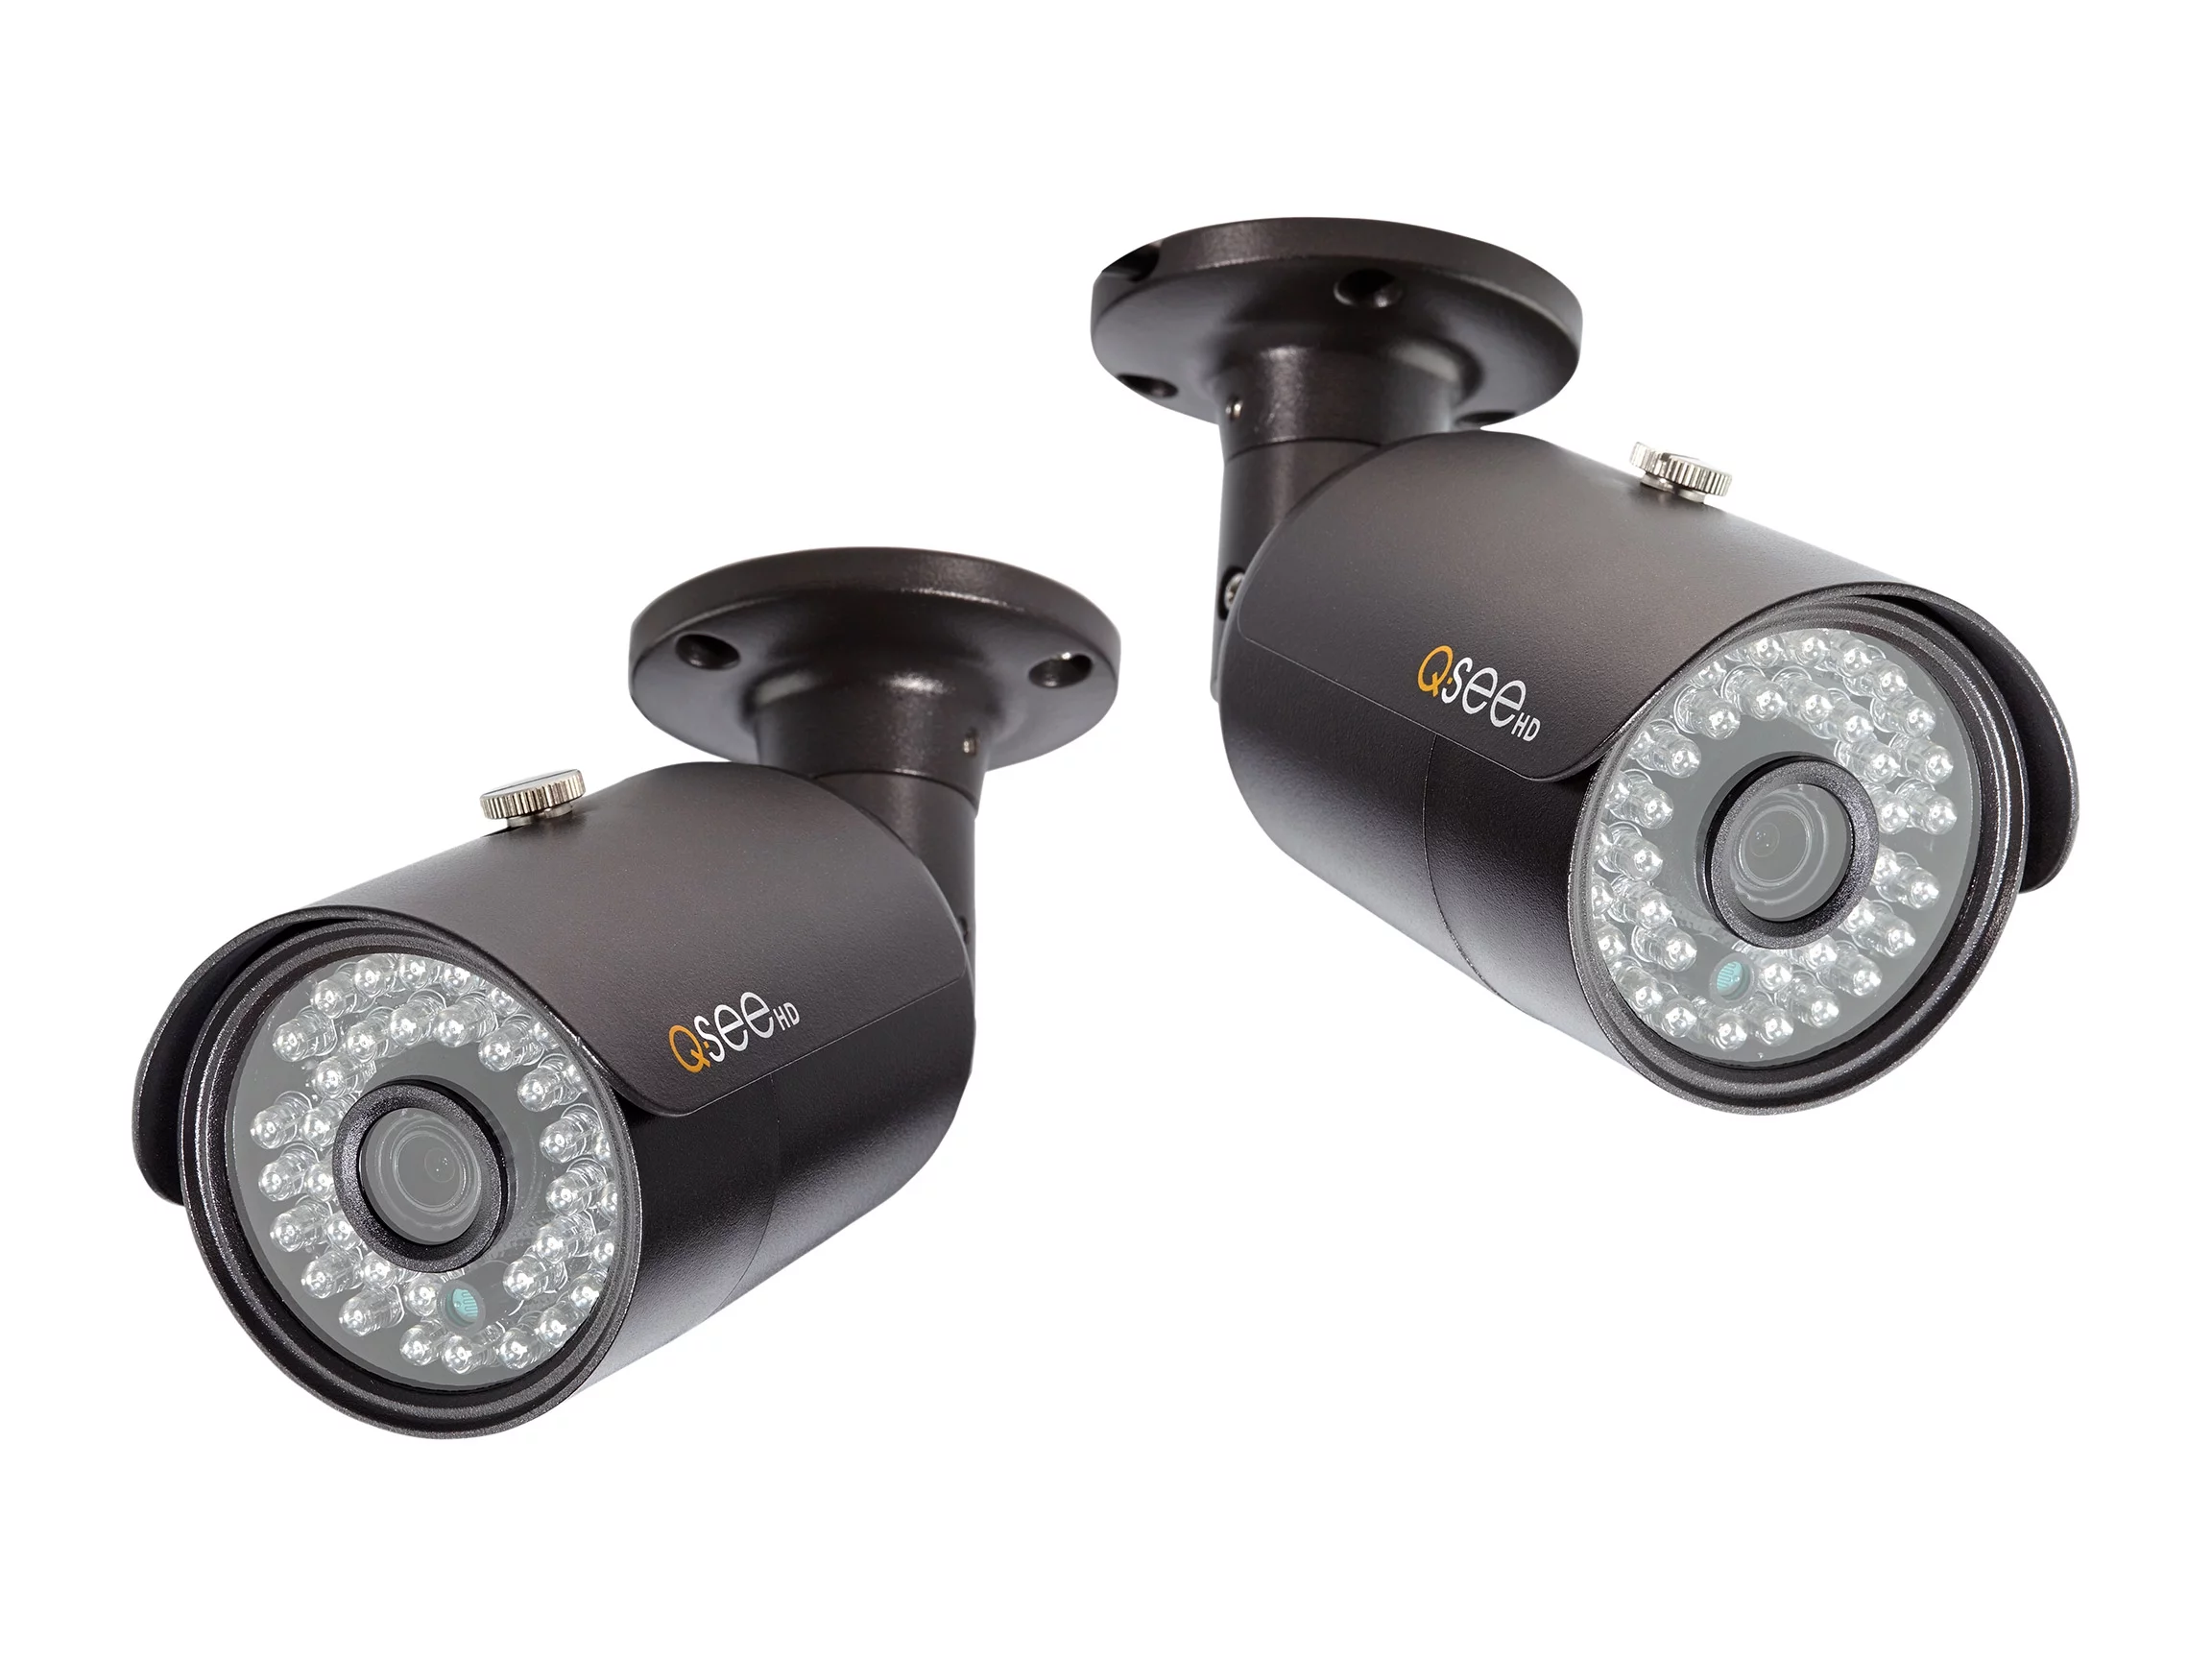
The Q-See Night Vision Camera is equipped with advanced infrared (IR) technology, allowing it to capture clear and detailed footage even in low-light or complete darkness. This makes it an ideal choice for nighttime surveillance or areas with limited lighting.
The camera’s infrared sensors emit invisible IR light, which the camera lens captures and translates into visible images. The result is enhanced visibility in the dark, providing you with reliable surveillance around the clock.
In addition to its exceptional night vision capabilities, the Q-See camera boasts high-definition (HD) resolution. This ensures crisp and clear video footage, allowing you to easily identify people, objects, or any potential threats.
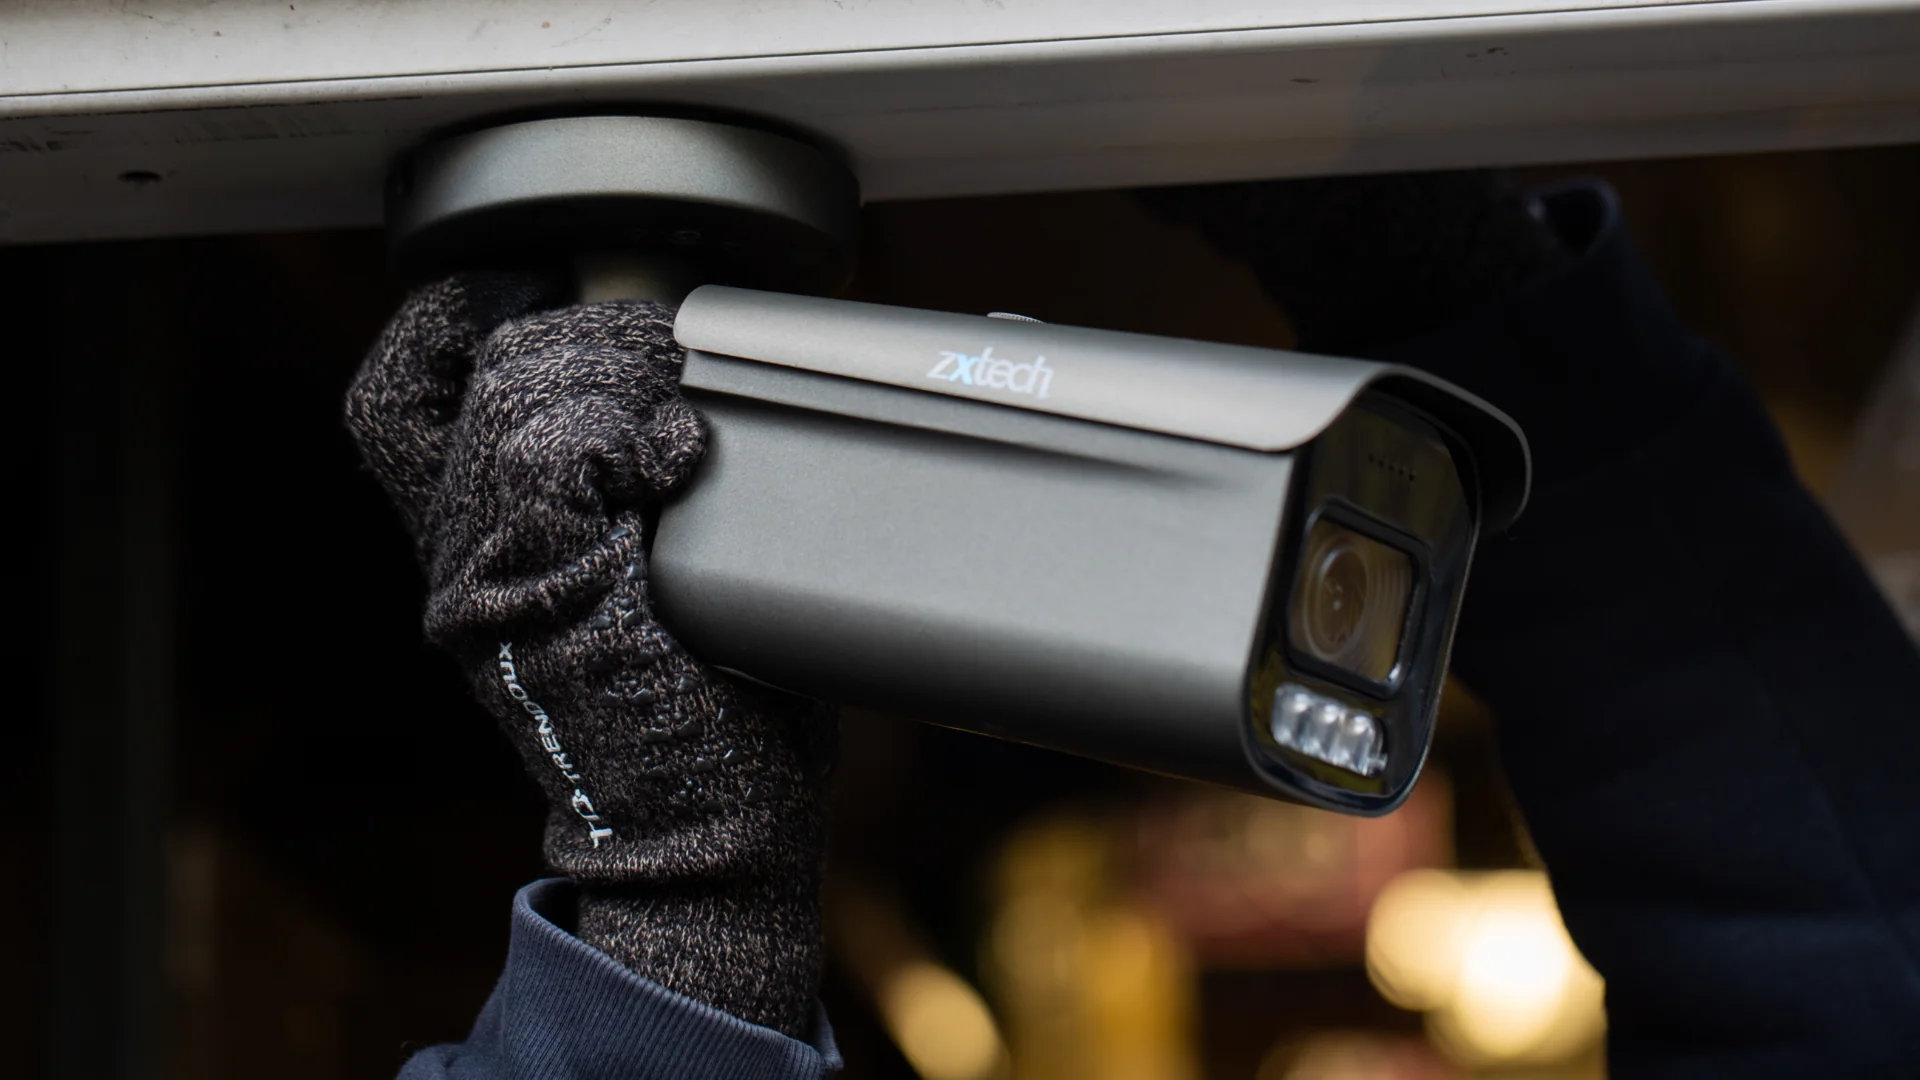
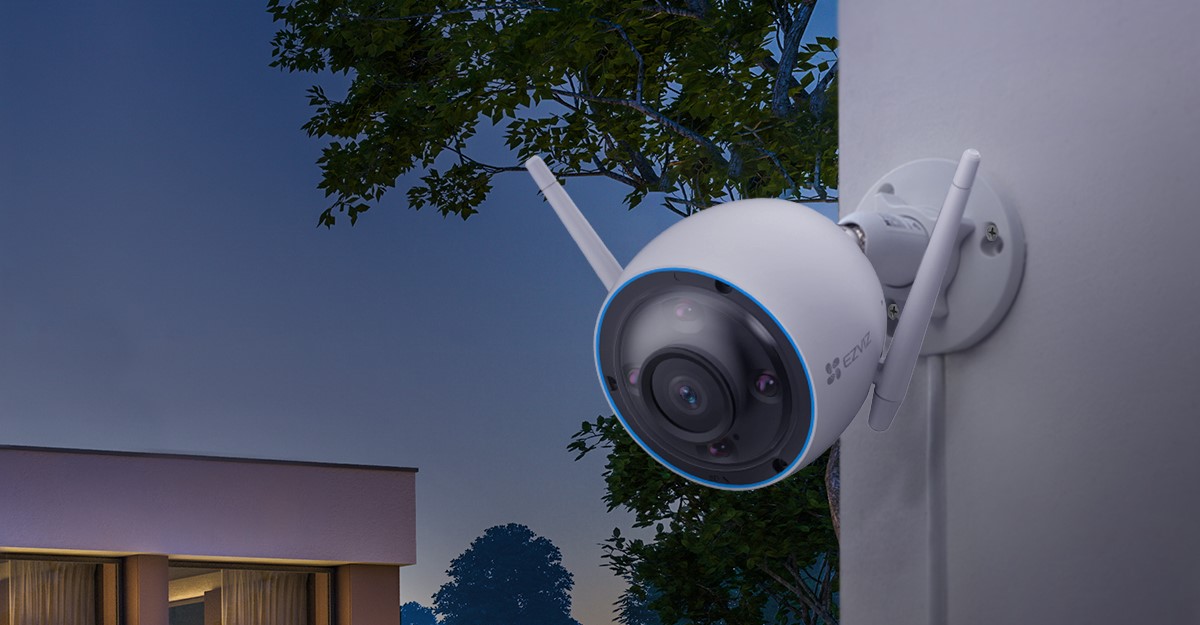
Furthermore, the camera is designed to be weather-resistant, making it suitable for both indoor and outdoor use. Whether rain or shine, you can rely on the Q-See Night Vision Camera to constantly monitor your property, providing you with peace of mind.
Another notable feature of the Q-See Night Vision Camera is its wide-angle lens. This allows for a broader field of view, ensuring that every corner of your property is under surveillance. With this wider coverage, you can monitor a larger area without the need for multiple cameras.
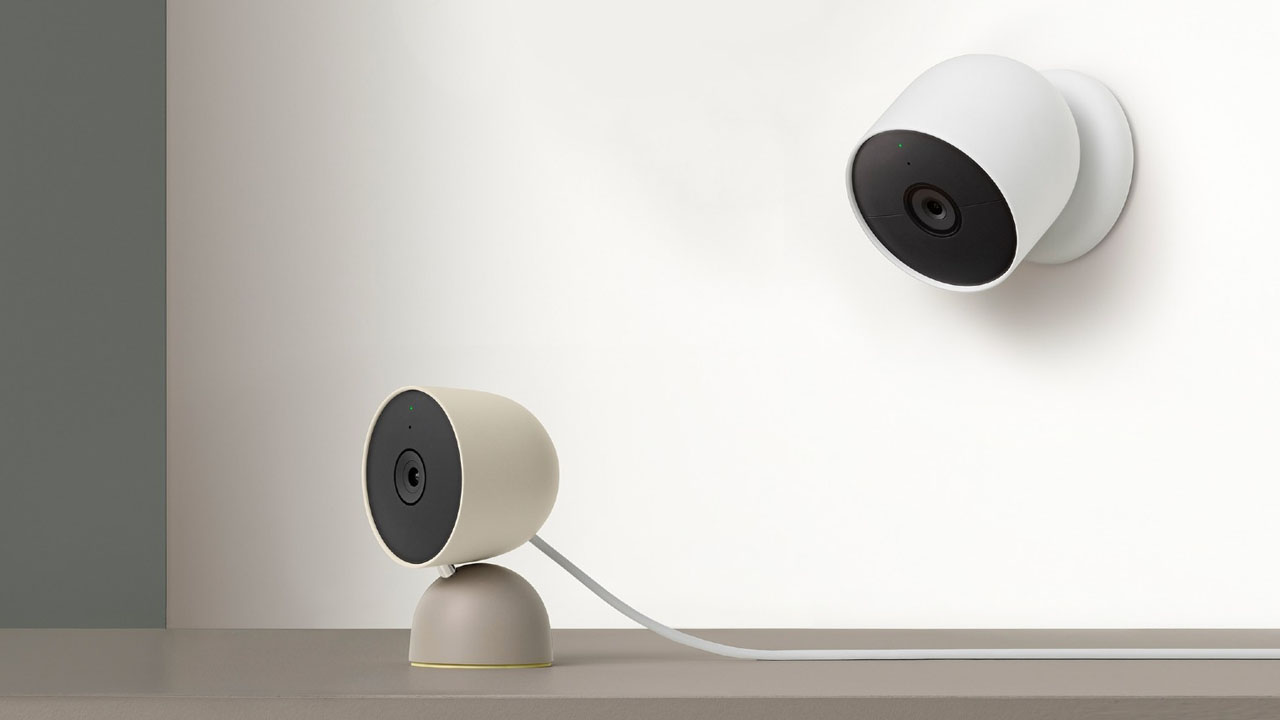
Moreover, the Q-See Night Vision Camera supports remote access and monitoring. By connecting the camera to your mobile device or computer, you can view the live feed and recorded footage from anywhere at any time. This is especially useful if you’re away from home but still want to keep an eye on things.
Now that you have a better understanding of the Q-See Night Vision Camera’s capabilities, let’s proceed to the next section to learn how to turn it on and start securing your home!
Step-by-Step Guide to Turning On Q-See Night Vision Camera
Now that you have your Q-See Night Vision Camera in hand, it’s time to set it up and get it running. Follow these simple steps to turn on your camera and start enjoying the benefits of enhanced home security:
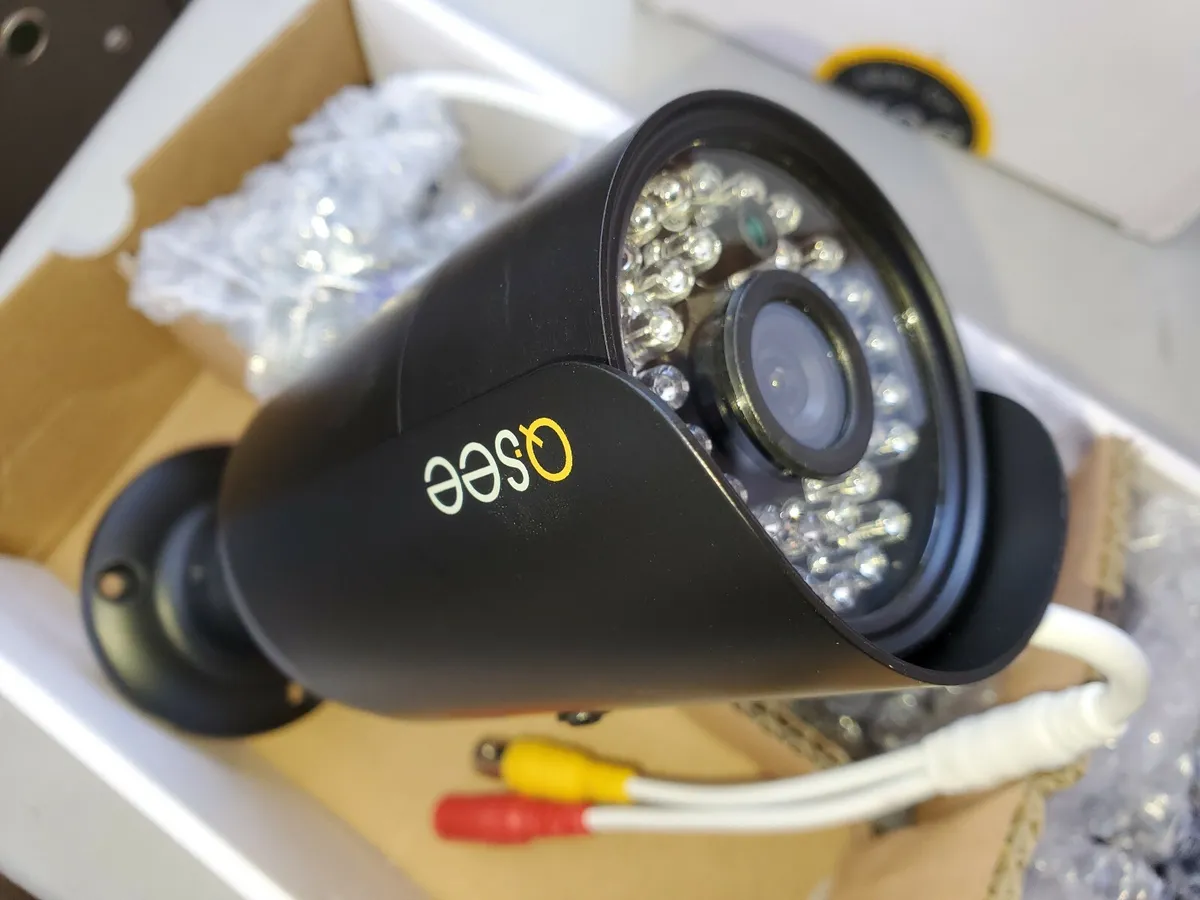
- Mount the Camera: Begin by selecting an optimal location for your Q-See Night Vision Camera. It could be near an entryway, in your backyard, or anywhere you want to monitor. Use the mounting bracket and screws provided to securely attach the camera to a wall or ceiling. Ensure that the camera is positioned at the desired angle for maximum coverage.
- Connect the Power Supply: Locate the power port on the back of the camera. Insert one end of the power adapter into the port and connect the other end to a power outlet. Make sure the power source is reliable and accessible.
- Connect to the Network: If your Q-See Night Vision Camera supports Wi-Fi connectivity, you can enable it by following the instructions provided in the camera’s user manual. This will enable you to access the camera’s live feed and recordings remotely.
- Configure the Camera: After the camera is powered on, you may need to perform initial configuration. This can typically be done through a mobile app or a web interface. Follow the on-screen instructions to connect the camera to your home network and set your desired settings, such as motion detection sensitivity and video resolution.
- Test the Night Vision: Now that your Q-See Night Vision Camera is powered on and connected, it’s time to test the night vision capabilities. Wait until it’s dark or manually cover the camera lens to simulate darkness. Access the live feed or check recorded footage to verify that the night vision is working as expected. Adjust the camera’s positioning if necessary to achieve optimal visibility.
- Adjust Camera Settings: Once you’ve confirmed the night vision functionality, you can further customize the camera settings to fit your specific needs. This may include adjusting the camera angle, enabling alerts for motion detection, or scheduling recording periods. Familiarize yourself with the camera’s user manual to fully utilize its features.
- Monitor and Review: Congratulations, your Q-See Night Vision Camera is now up and running! Monitor the live feed or access recordings to keep an eye on your property’s security. You can also review the footage as needed to identify any suspicious activity or incidents.
By following these step-by-step instructions, you can quickly and easily turn on your Q-See Night Vision Camera, ensuring enhanced security and peace of mind for you and your loved ones.
To turn on the Q-See night vision camera, locate the power button on the camera or its power adapter and press it to turn on the camera. Then, access the camera’s settings to enable the night vision feature if it’s not already on.
Troubleshooting Common Issues
While setting up your Q-See Night Vision Camera is generally a smooth process, you may encounter some common issues along the way. Don’t worry, as we’ve got you covered with these troubleshooting tips to help you resolve any problems that may arise:
- No Power: If your Q-See Night Vision Camera is not turning on, check the power connection to ensure it is securely plugged into a power outlet. Also, verify that the power adapter is functioning correctly. Try using a different power outlet or a different adapter if possible.
- Poor Night Vision Quality: If the night vision quality appears grainy, blurry, or not as clear as expected, there may be obstructions affecting the infrared lights. Ensure that there are no objects or debris in front of the camera lens that may be interfering with the night vision functionality.
- Connection Issues: If you’re experiencing connectivity problems, make sure your camera is within range of your Wi-Fi router or that you have a stable Ethernet connection. Check your network settings and ensure that you’ve entered the correct Wi-Fi password, if applicable.
- App or Software Troubles: If you’re using a mobile app or software to access your Q-See Night Vision Camera remotely, ensure that you have the latest version installed. If you’re encountering issues with the app or software, try closing and reopening it, or reinstalling it if necessary.
- Interference: In some cases, other devices operating on the same frequency range as your camera may cause interference, resulting in connectivity or performance issues. Try moving your camera away from other electronic devices, such as routers, microwave ovens, or cordless phones.
- Insufficient Lighting: While the Q-See Night Vision Camera excels in low-light conditions, if there is no ambient light at all, the night vision range may be limited. Consider adding additional lighting sources in areas where you require extended night vision coverage.
- Camera Not Detected: If your camera is not being detected by the app or software, ensure that you’ve followed the correct setup process. Check that the camera is compatible with the app or software you’re using and that you’ve correctly configured the network settings.
If you’ve exhausted these troubleshooting steps and are still encountering issues with your Q-See Night Vision Camera, it may be best to reach out to the manufacturer’s customer support for further assistance. They have the knowledge and expertise to help resolve any technical problems you may be facing.
Remember, troubleshooting is part of the process, and with a little persistence, you’ll soon have your Q-See Night Vision Camera working flawlessly to enhance the security of your home.
Conclusion
Congratulations on successfully setting up and turning on your Q-See Night Vision Camera! With its advanced features, including infrared night vision, high-definition resolution, and remote access capabilities, you can now enjoy enhanced home security and peace of mind.
We covered the essential steps to get your camera up and running, from mounting and connecting the power supply to configuring the camera settings and testing the night vision functionality. By following our step-by-step guide, you’ve ensured optimal performance and coverage for your Q-See Night Vision Camera.
However, in the event that you encounter any issues during the setup process or while using the camera, don’t panic. Our troubleshooting tips can help you resolve common problems and get your camera back on track. And if all else fails, don’t hesitate to reach out to Q-See’s customer support for further assistance.
Remember, investing in a reliable home security and surveillance system like the Q-See Night Vision Camera is crucial in today’s world. It enables you to keep a watchful eye over your property, deter potential intruders, and have visual evidence in the event of any incidents.
Stay vigilant by regularly monitoring the live feed and reviewing recorded footage to ensure the safety of your loved ones and belongings. Don’t forget to periodically check your camera settings and make any necessary adjustments to suit your evolving security needs.
With your Q-See Night Vision Camera in place, you can rest easy knowing that you have taken an important step towards securing your home. So, enjoy the peace of mind that comes with reliable surveillance, and keep prioritizing the safety of your household.
Frequently Asked Questions about How To Turn On Q-See Night Vision Camera
Was this page helpful?
At Storables.com, we guarantee accurate and reliable information. Our content, validated by Expert Board Contributors, is crafted following stringent Editorial Policies. We're committed to providing you with well-researched, expert-backed insights for all your informational needs.